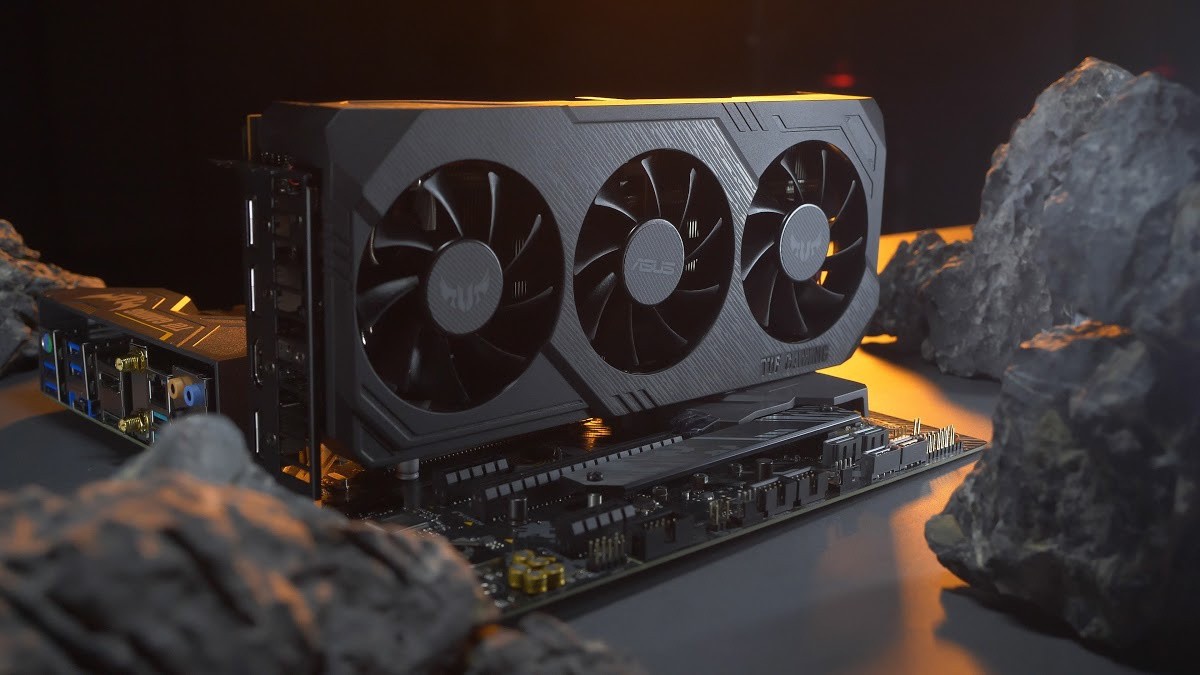
A designer’s biggest fear is to find out faults in the product at the last minute. Any form of electronic, however correctly designed and meticulously crafted, is prone to errors.
Most of the software emerges from the prototyping stage with problems and bugs that require fixing and constant troubleshooting. However, the company will have a horde of issues later on when some issue is left unattended before releasing the product in the field. This is the reason why electronic testing products, especially PCBs, is crucial.
This post will highlight a checklist vital for systematically testing PCB prototypes before deployment.
Why is PCB Testing Important?
Before proceeding, it is essential to understand why PCB testing is necessary. Well, testing is a critical element of the development cycle.
When carried out throughout the production cycle, PCB testing can help avoid problems in the production stage as well as save on costs. Various design analysis methods can be implemented in the early stages to assist in reducing more significant issues during the manufacturing stage.
However, there is a wide array of PCB testing procedures that can be implemented on physical boards. They can be used to solder functionality and joint issues to make sure that every single tested PCB works as intended.
Things to Consider Before PCB Prototype Power Up
One careless moment can be detrimental to your efforts, causing loss of time as well as money. You need to be careful with PCBs during the production stage. Thus, before PCB fabrication, assembly, and manufacturing, it’s essential to be extra cautious with PCB design. The following are four anomalies to take note of before powering up the prototype.
- Short Circuit
These are the most frequent causes of PCB prototype damage. Thus, it is crucial to focus your attention on fine-pitch elements such as micro-controllers with LQFP footprints.
Furthermore, any tiny solder leads that lead to shorts between couples of adjacent pins can devastate the micro-controller if powered up. Thus, it’s always recommended to measure the impedance of each voltage node as per the ground.
- Populated Components
It is a daunting task to spend more time troubleshooting the micro-controller and its failure to power up. Worse still, end up finding out that the crystal oscillator’s load capacitor is not populated. It is also probable to miss one or more parts during the assembly of many components of your new design.
Ensure that production can craft the circuit board you require with the necessary elements while working with a PCB prototype service. Have your BOM (bill of materials) ready with you.
- Inverted Polarity
In case you flip over the power with specific ICs (integrated circuits) that are soldered in opposite polarity, there is to return. You will be welcomed with a quiet popping sound, an acrid smell, and most probably, a cloud of smoke.
You’ll have to handle the mess, but if luck is on your side, it’s easy to remove the damaged components. There is also a possibility of human error during manual assembly such as a board to wire connectors. Make sure that you assemble each element as per its polarity.
Precautions Before PCB Prototype Power Up
The following are vital precautions you have to consider and keep in mind before powering up your PCB prototypes.
Precaution 1
Whether you think that all bases are covered, the chances are that things may go haywire when you switch on the PCB prototype. For this reason, it is advisable to use several LED indicators that stand for different voltages. They are crucial alerts to notify you when a particular voltage regulator is active when switched on. Additionally, you’ll have to take the voltage measurements for every single voltage regulator to determine whether they’re at correct values even when the LEDs are lit.
Precaution 2
When there are one or more LEDs off, you must switch off power on the PCB prototype because it indicates signs of damaged components. On the other hand, you may have missed soldering some other components. In case it’s the former, you’ll realize certain parts of the PCB prototype heating up abnormally in short, timely periods.
Precaution 3
In the case of a missing component, make sure that you cross-reference with your BOM to have the ability to find the missing part. When you work through the printed circuits provided by the PCB Assembly service, it will require proper consideration of the circuit board. Thus, to make sure you have the latest BOM, look for an intuitive PCB design and analysis software to automate BOM generation. You can research some of the best software to use online and purchase the one that can meet your requirements.
Checklist for Choosing a PCB Prototype Manufacturer
Selecting a PCB manufacturer is crucial and quite important. To choose a reliable prototype manufacturer, here is a list of essential things to consider.
- Design and Layout Support – Are the PCB design engineers well versed with your ideas? In case you present a rough sketch, can you count on an expert’s opinion on how best to implement your plan into actual practice?
- Turnaround Time – You may realize that your PCB prototypes do not perform as per your expectations. This way, you have a chance for progress, but only if your PCB manufacturer takes a short time to craft a new prototype. You need a manufacturer who can meet turnarounds as short as a day.
III. Debugging Service – when you find your initial schema somehow not right, you’ll have to rely on your PCB engineers’ experience to figure out why. This type of experience is what ensures that your prototype makes it to the market in a functional state.
Conclusion
Testing your PCB prototype is quite a task. Finding people with enough experience can highly assist you in the entire process. Follow this checklist to ensure you have an easy time systematically testing your PCB prototype.