Installation of the Amazon Basics CPU Cooler
Installation of this cooler is pretty easy since it is quite small and the instructions are easy to follow.
We will be doing our installation on an Intel Z490 system so this installation would be pretty much the same for Intel LGA 1200, 1150, 1151, and 1155 sockets.
The first thing you are going to want to do is find the Intel backplate and attach it to the back of your motherboard making sure the screw holes go through the holes in your motherboard.


Now remove the fan from the cooler and take the Intel mounting bars and install them on the base of the cooler.

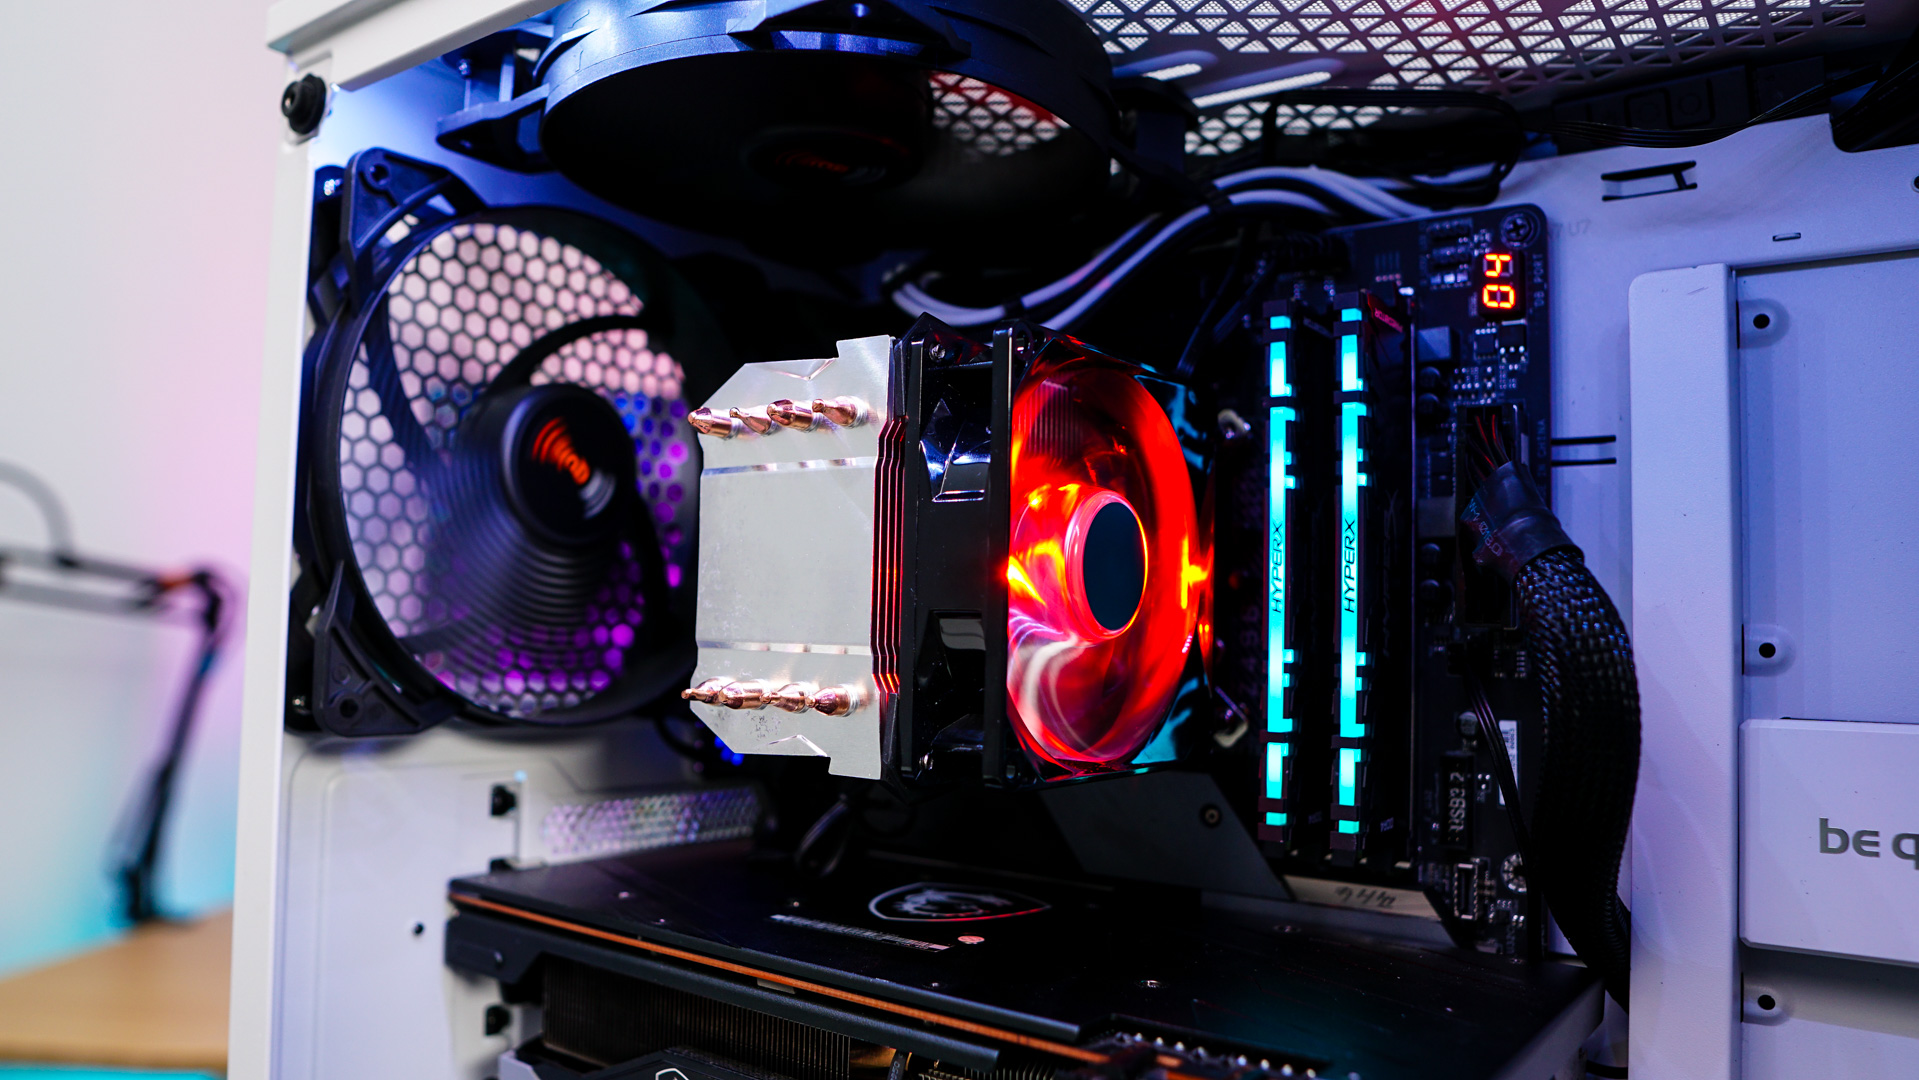
Apply the included thermal paste and then place the cooler on top of your CPU lining up the screws on the mounting bars with the screw holes in the backplate you installed previously. With everything lined up screw in the cooler to secure it.


Finally reattach the fan and be sure to plug it into your motherboard and either plug the 4-pin RGB connection to the included controller or directly to your motherboard.


With everything installed you are going to have 100% memory clearance and there is more than enough room to release your graphics card.