Setup & General Usage
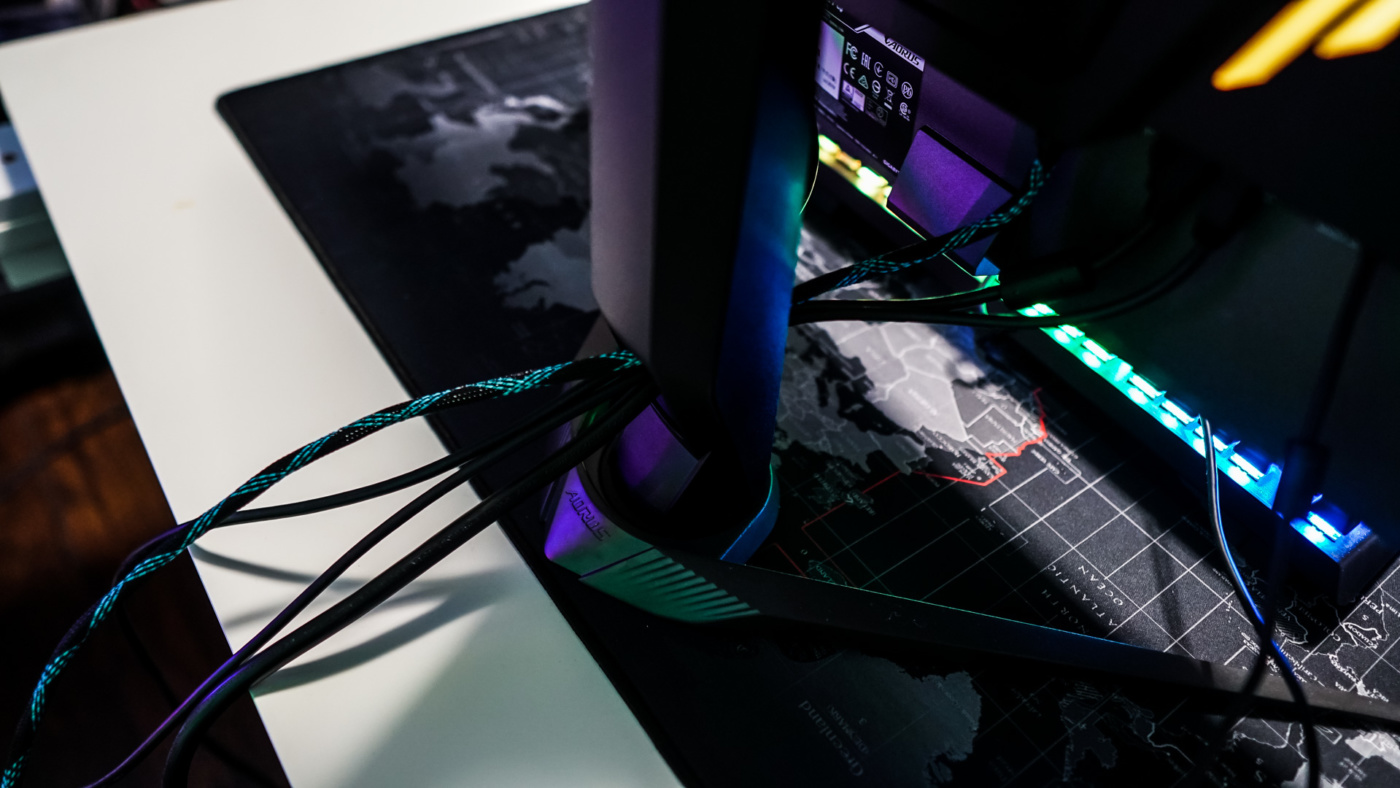
Getting the AORUS CV27Q setup is pretty simple. Connect the display to power, your computer, and also be sure to connect the included USB cable. With all of the cables connected and using the cable routing hole on the stand you really can’t see any wires from the front of the display, which is a plus.

When you power the monitor on you’ll notice the two RGB strips on the back of the monitor will light up. You can customize these as long as you have the USB cable from the display connected to your computer. Then you’ll be able to use MSI Mystic Light to change the colors and set different effects.


Pressing in the joystick on the bottom of the display will bring up the on-screen menu to configure the display. I do have to say the on-screen menu is one of the best that I’ve seen and it is very easy to navigate.

While the on-screen menu is really good, AORUS wants to make things even easier for you with their OSD sidekick software. Again you’ll need to have the display connected via USB, but once you do, you can configure the display with software, rather than the on-screen menu. This makes changing settings so much easier and convenient.

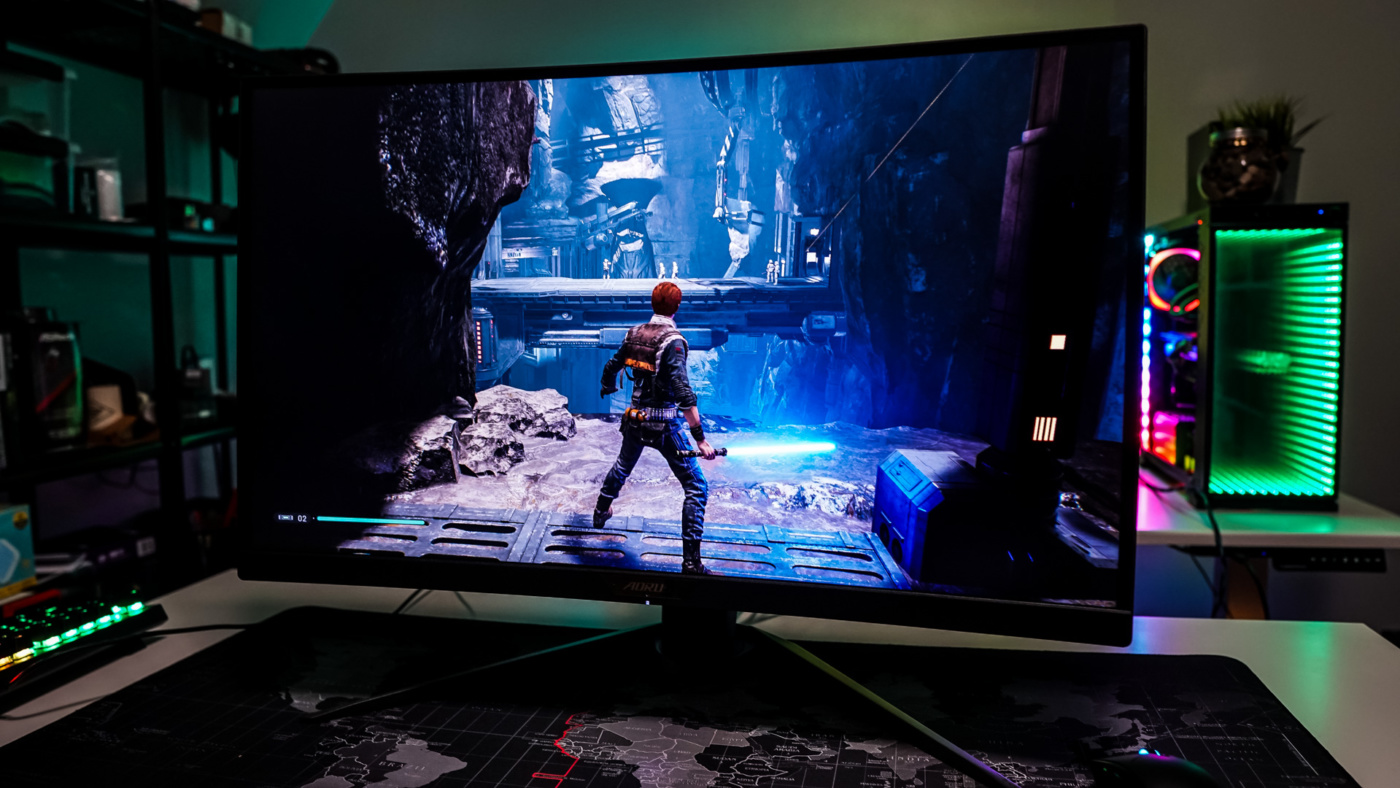
Moving more into the display itself you are going to get a 2560 x 1440 (QHD) resolution. This resolution with the 27-inch screen means that you should have more than enough desktop real estate to have two windows open side-to-side which definitely is a plus for productivity work.