Installation
Installing the Liquid Freezer II 240 is a pretty easy process, thankfully. Many first-time PC builders can get intimidated by the thought of adding any type of liquid to their system or by the complexity that an AIO might imply, when compared to a standard heatsink. We are here to say that that definitely isn’t the case with this AIO, and ARCTIC provides everything you need to get the kit installed, save for one item: the manual. ARCTIC, like we mentioned previously, has opted for providing a digital copy of their installation manual via scanning a QR code.
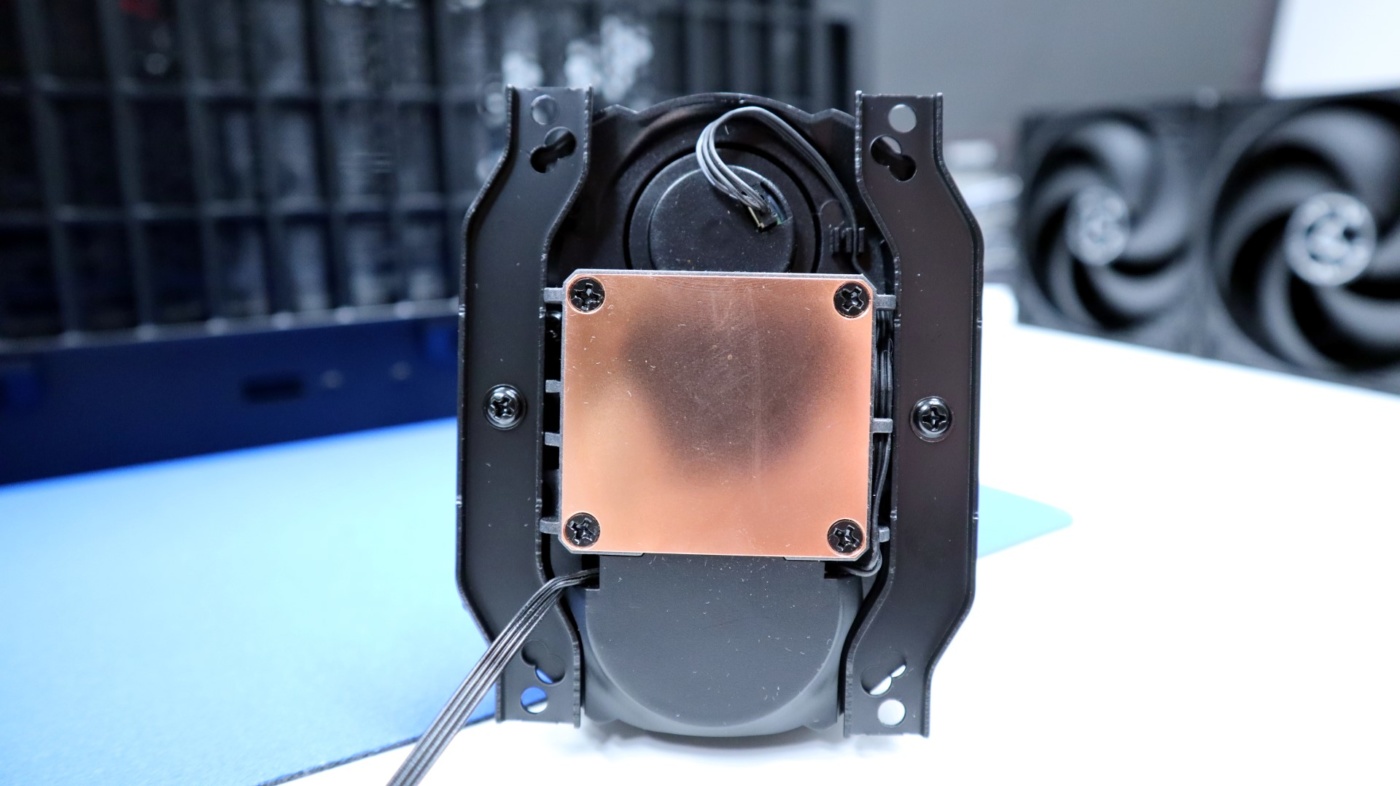
Moving on to the installation itself, in our AMD-based test system, we needed to outfit the CPU block with the appropriate mounting hardware. This consisted of attaching a metal bracket to each side of the underside of the cooling unit with a single screw.
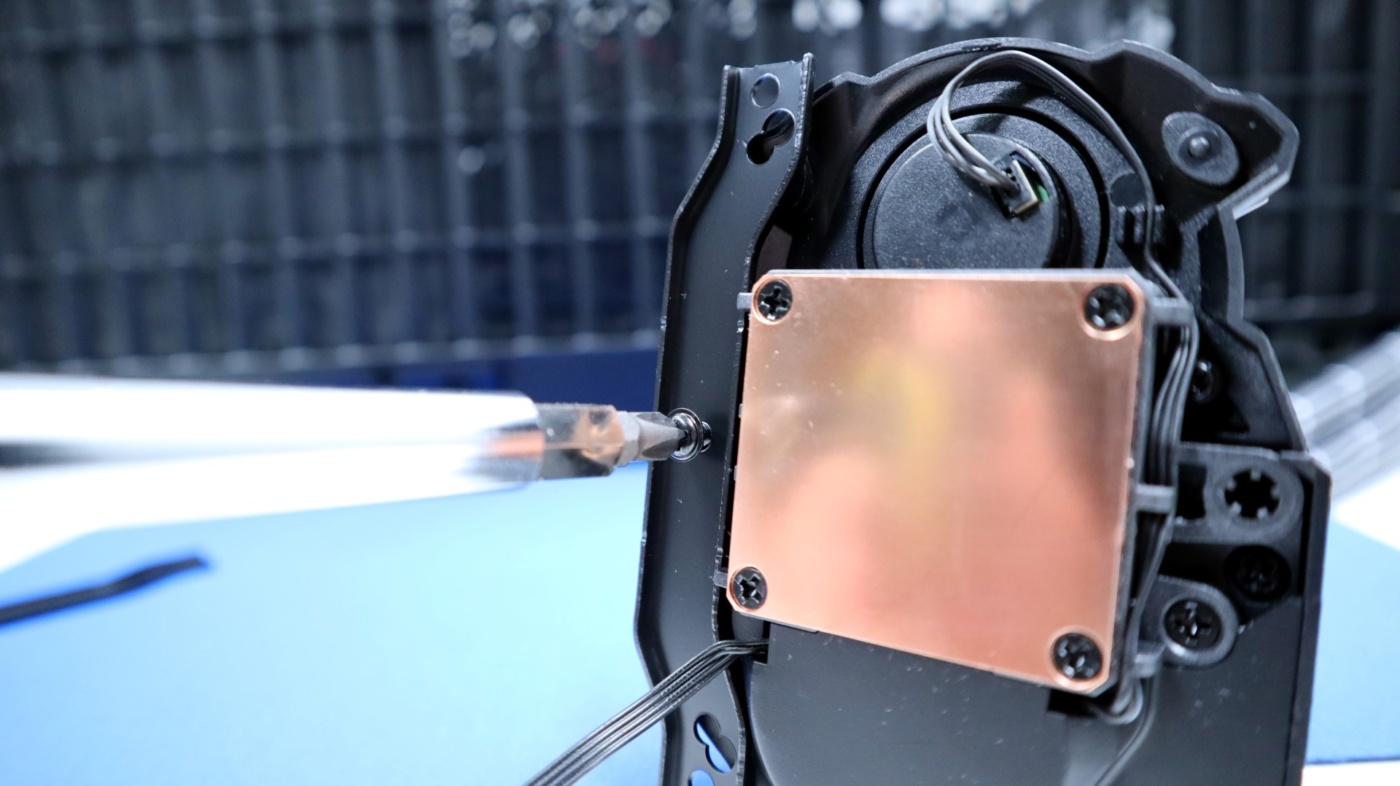
We were a bit surprised that only one screw was used on each side, but at no point were we worried that this mounting method would not be enough. With the two side brackets installed, we could move on to the next installation step.
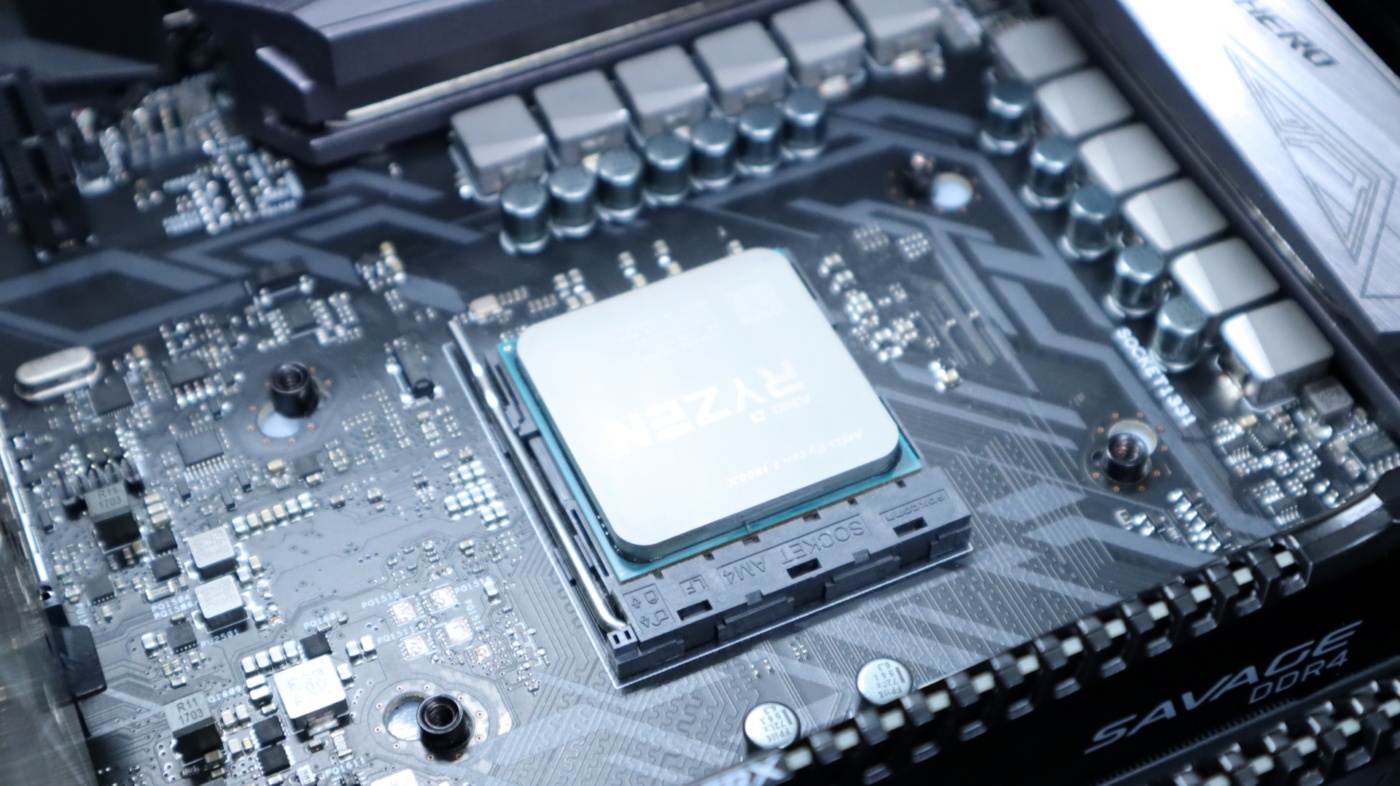
In order to mount the block to our AM4 motherboard, we first needed to remove the plastic mounting hardware that is used with the factory AMD cooler, as well as many other aftermarket coolers. Taking out the two screws on each bracket was simple, and it provided us with four threaded standoffs that could be used to attach the cooler.
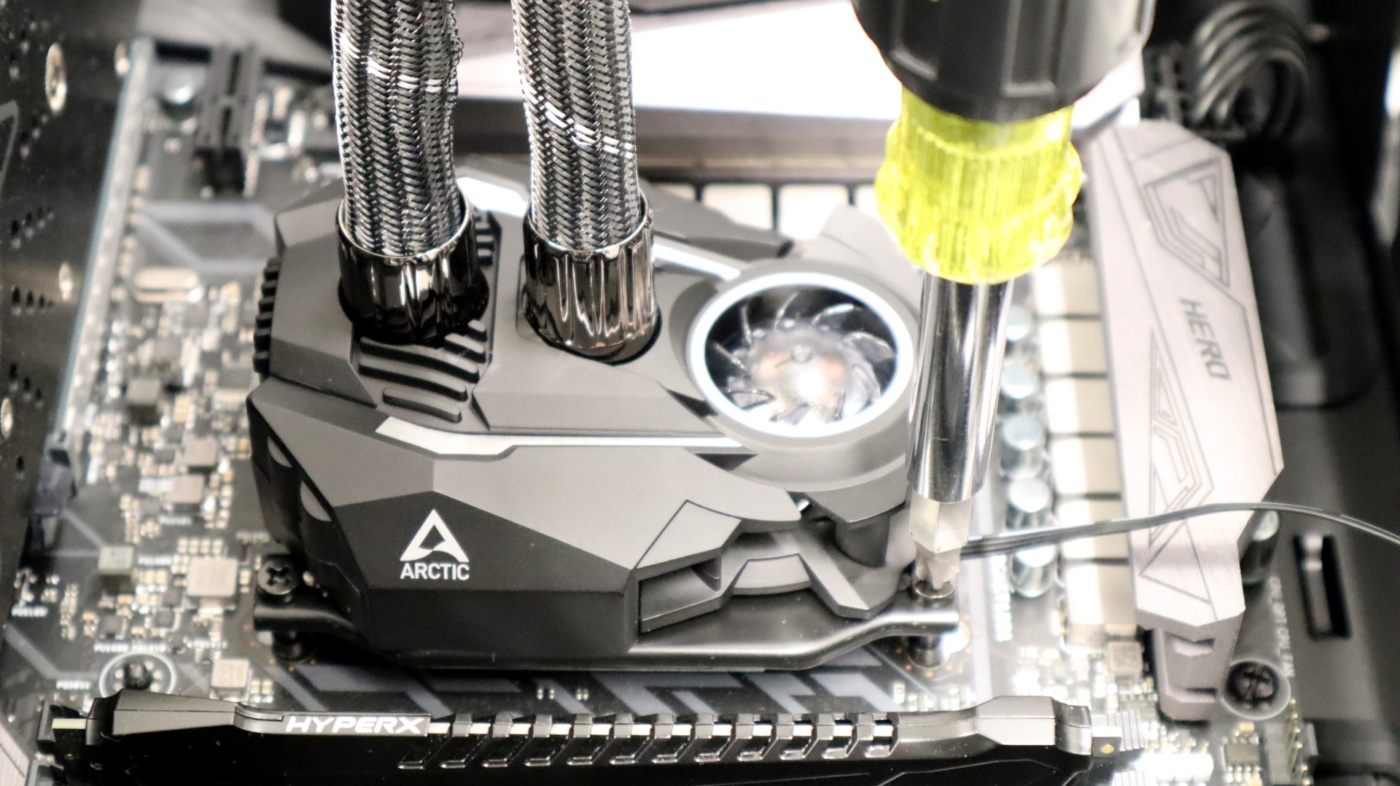
After applying the included MX-4 thermal paste to our CPU heatspreader, we used the included screws and simply inserted one at a time in each corner of the cooler, tightening as we made our way around.
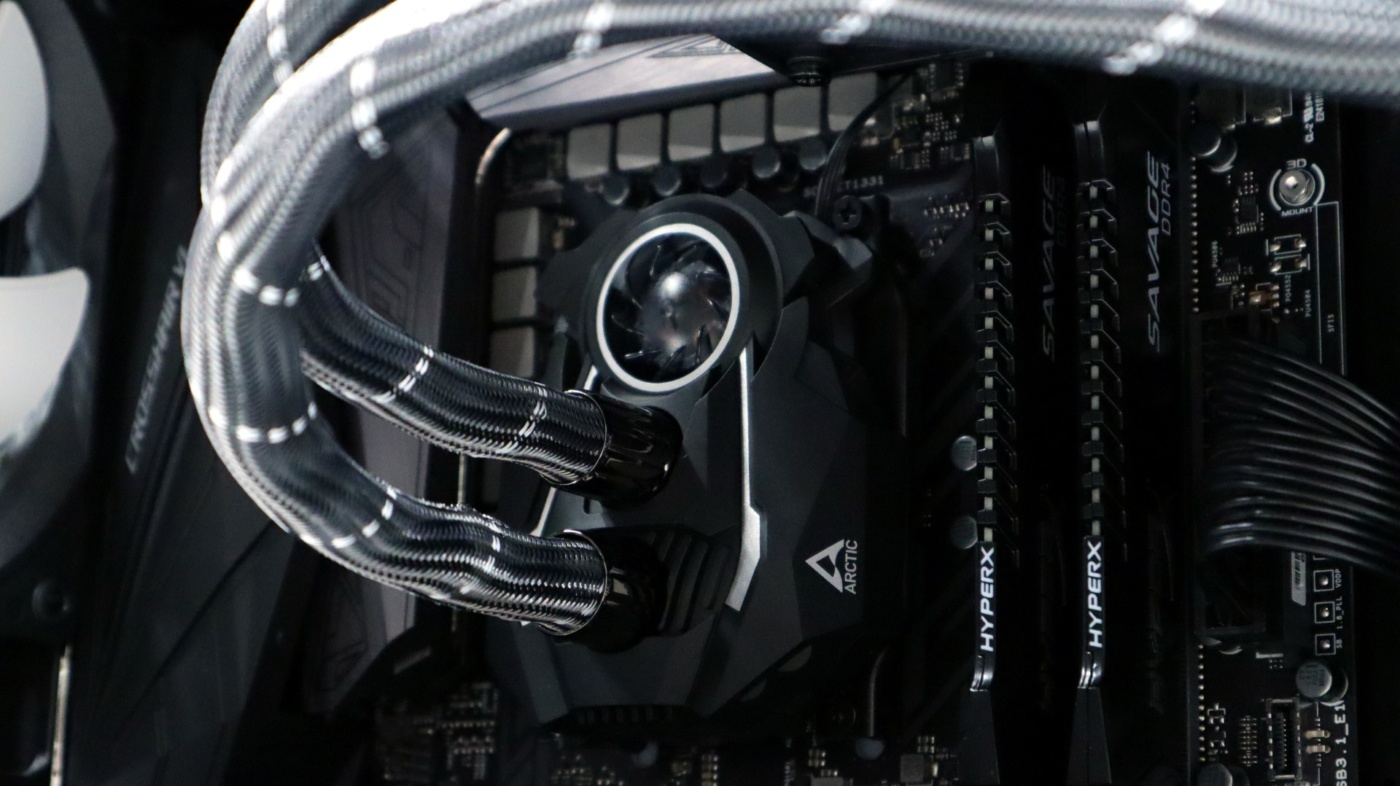
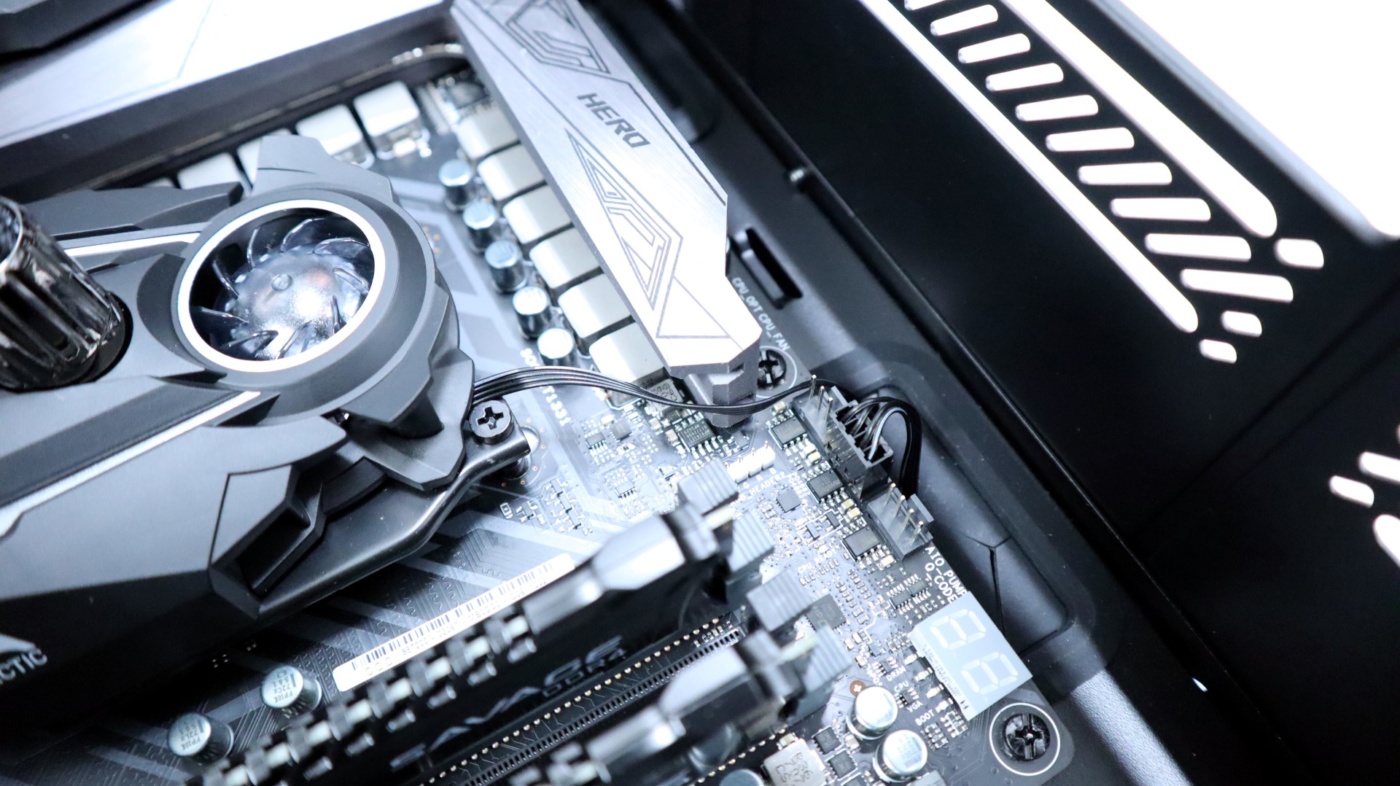
Next up we just had to connect the 4-pin PWM connector to our motherboard’s AIO header. This connection provides power and monitoring for all of the powered components of the AIO, including the pump, VRM fan, and 120mm radiator fans.
Installing the radiator and fans at the top of our case was quite easy, as we simply used the included screws and washers to secure the radiator to the matching mounting holes. This is a fairly easy process, as you are simply holding the radiator in place with one hand and installing screws with the other. We will say that we definitely recommend a magnetic-tip screwdriver for this process, as it make screw installation that much easier, especially on the first few when you only have one hand to work with. Mounting the radiator at the top of our case allows not only the hot air from the loop to exit the case, but it also pulls warm case air up and out for some additional full-system cooling. And since there is no RGB wiring to worry about, and our fans are connected via the nicely routed cabling, we are finished with the installation.