Installation
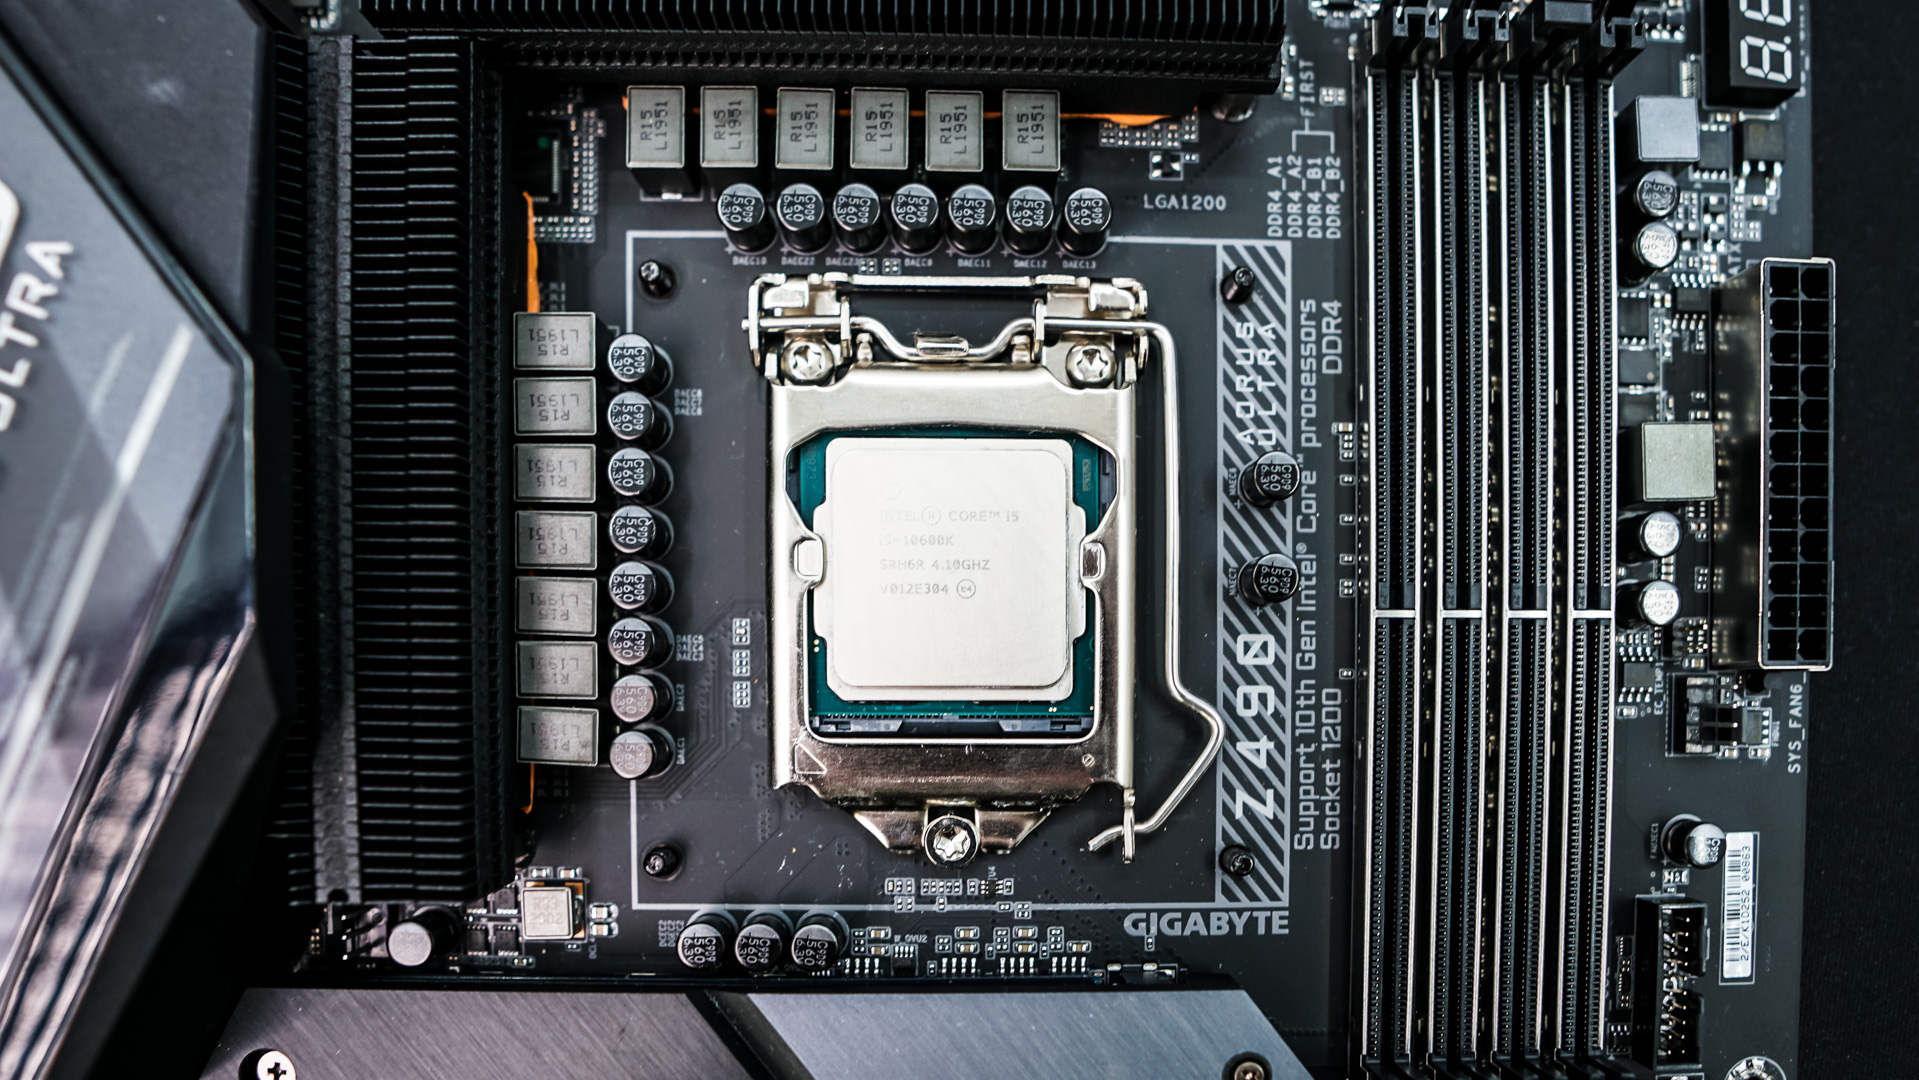
We will be doing our installation on an Intel Z490 system so this installation would be pretty much the same for Intel LGA 1200, 1150, 1151, and 1155 sockets.
The first thing you are going to want to do is install the backplate screws on the in the Intel backplate itself. They slide into the notches and you use the rubber O-rings to hold them into place.
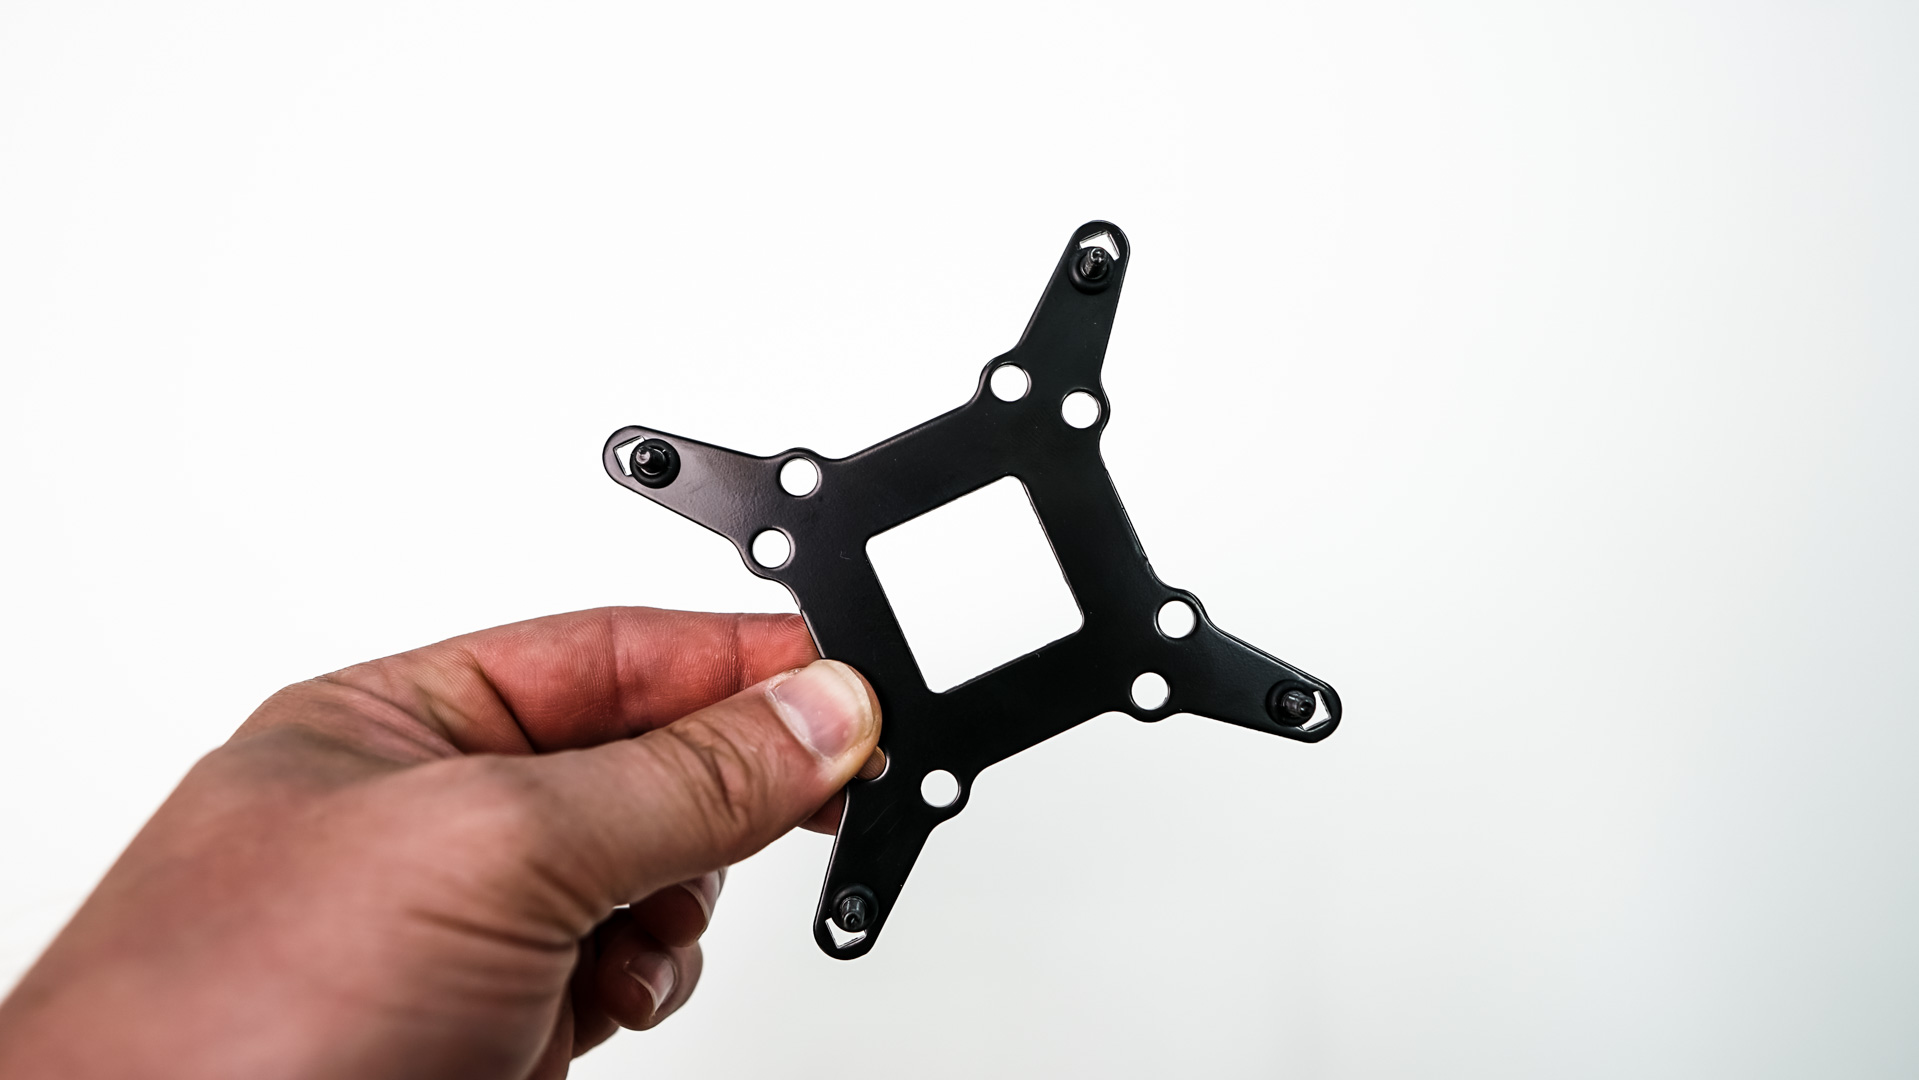
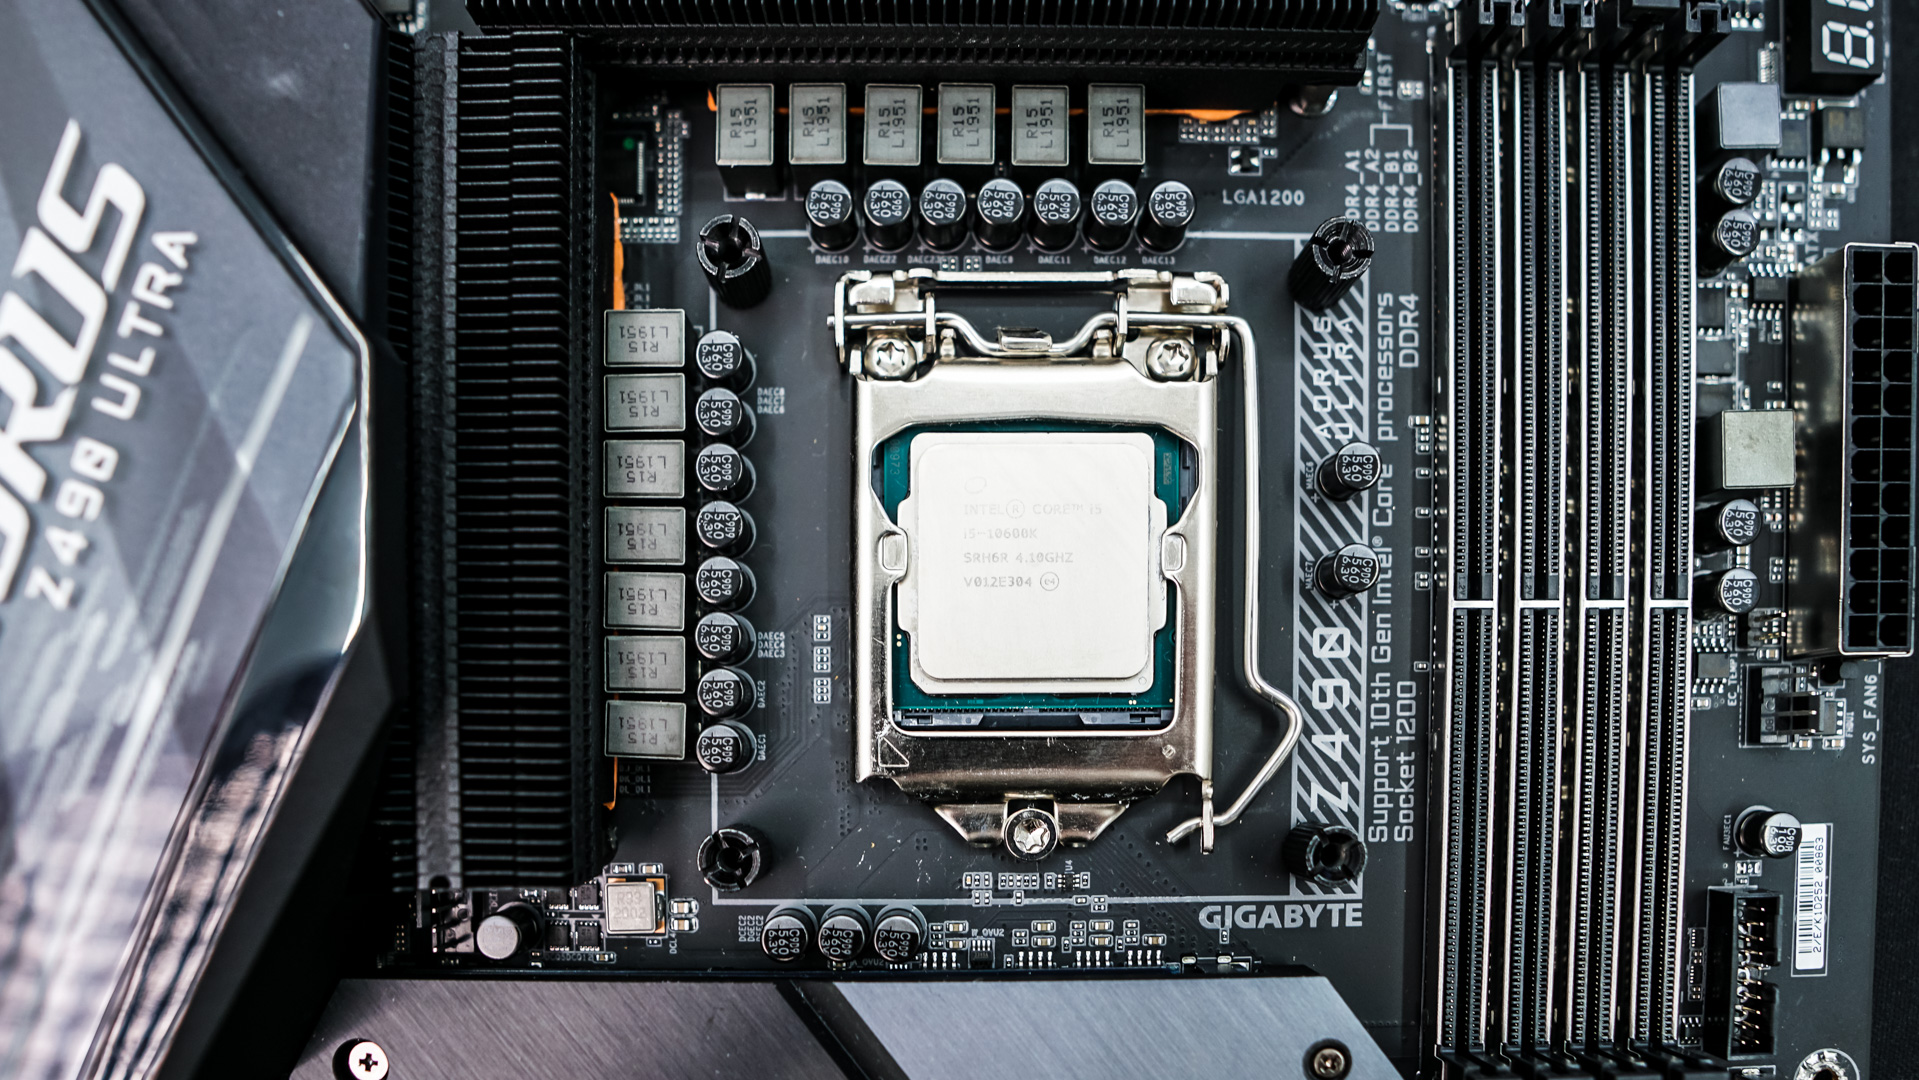
Then take the backplate and line it up with the holes on the backside of your motherboard pressing the screws through the holes.
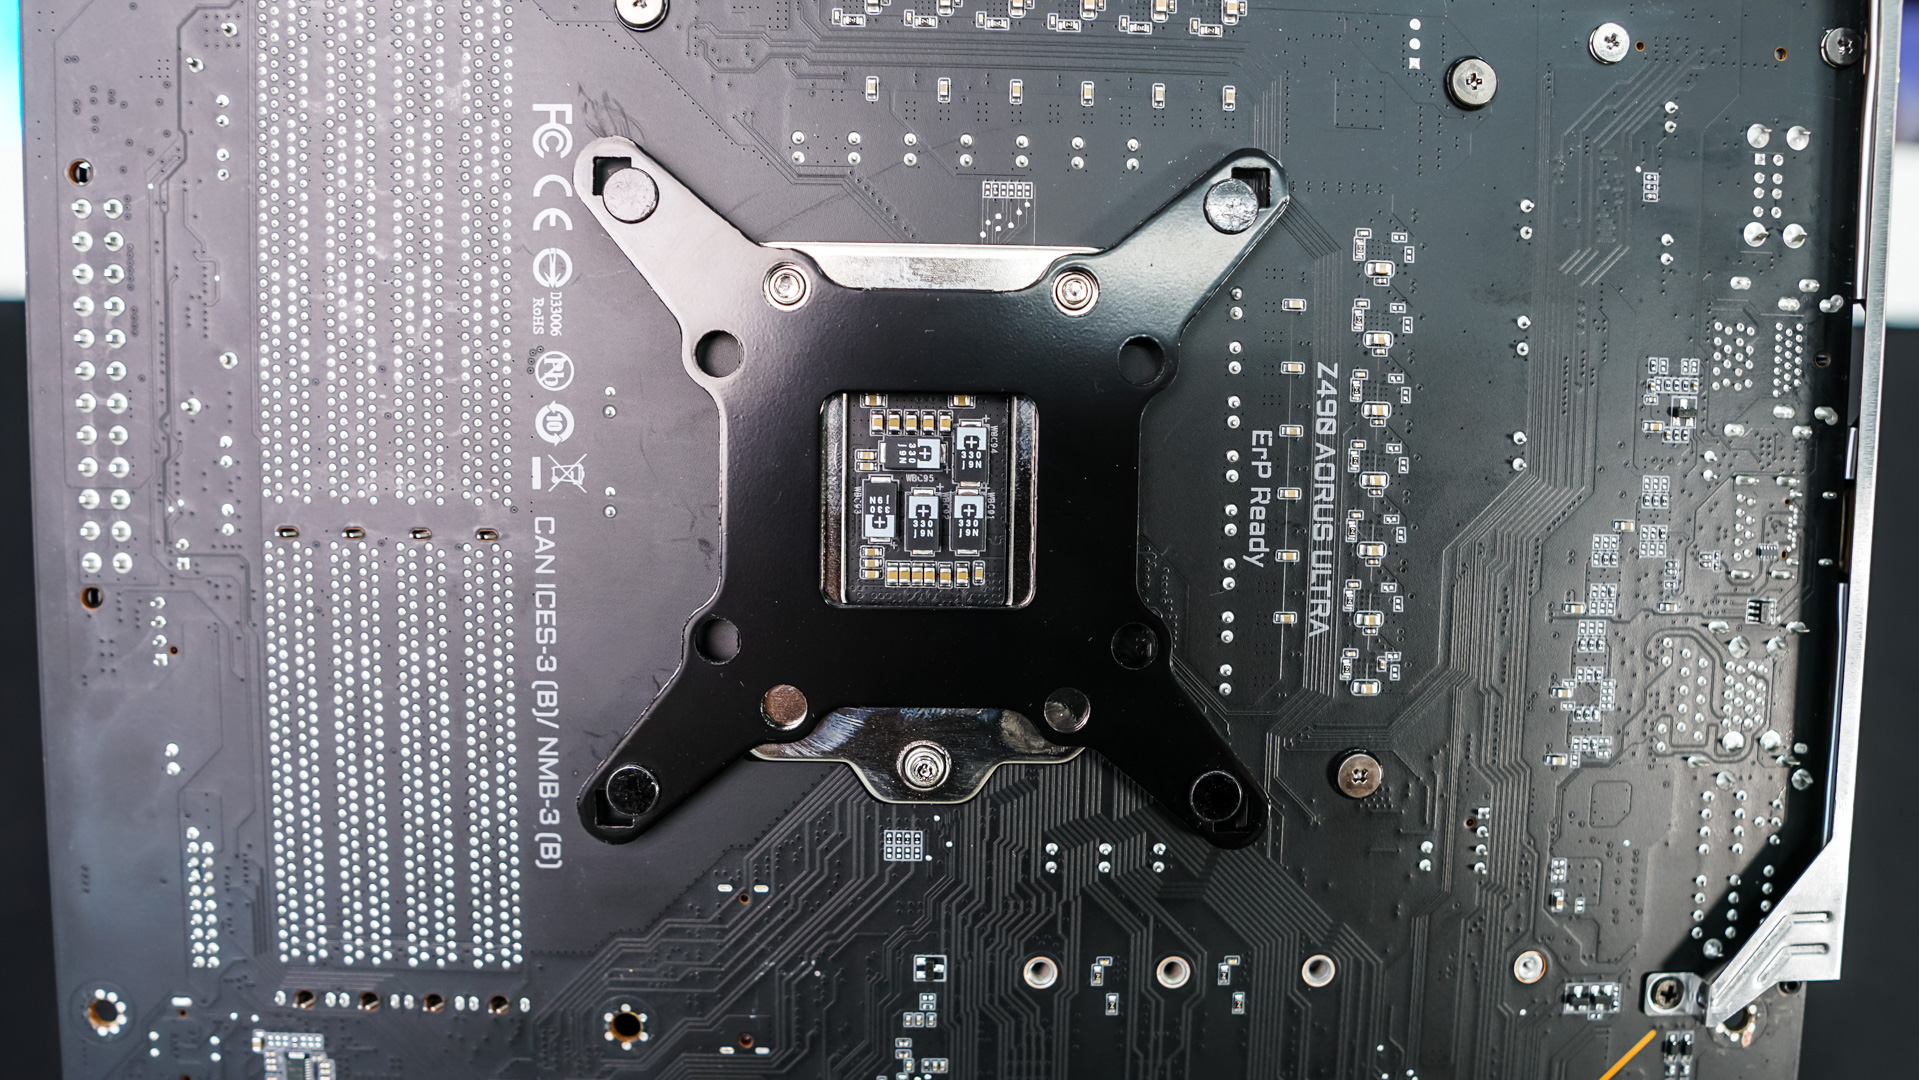
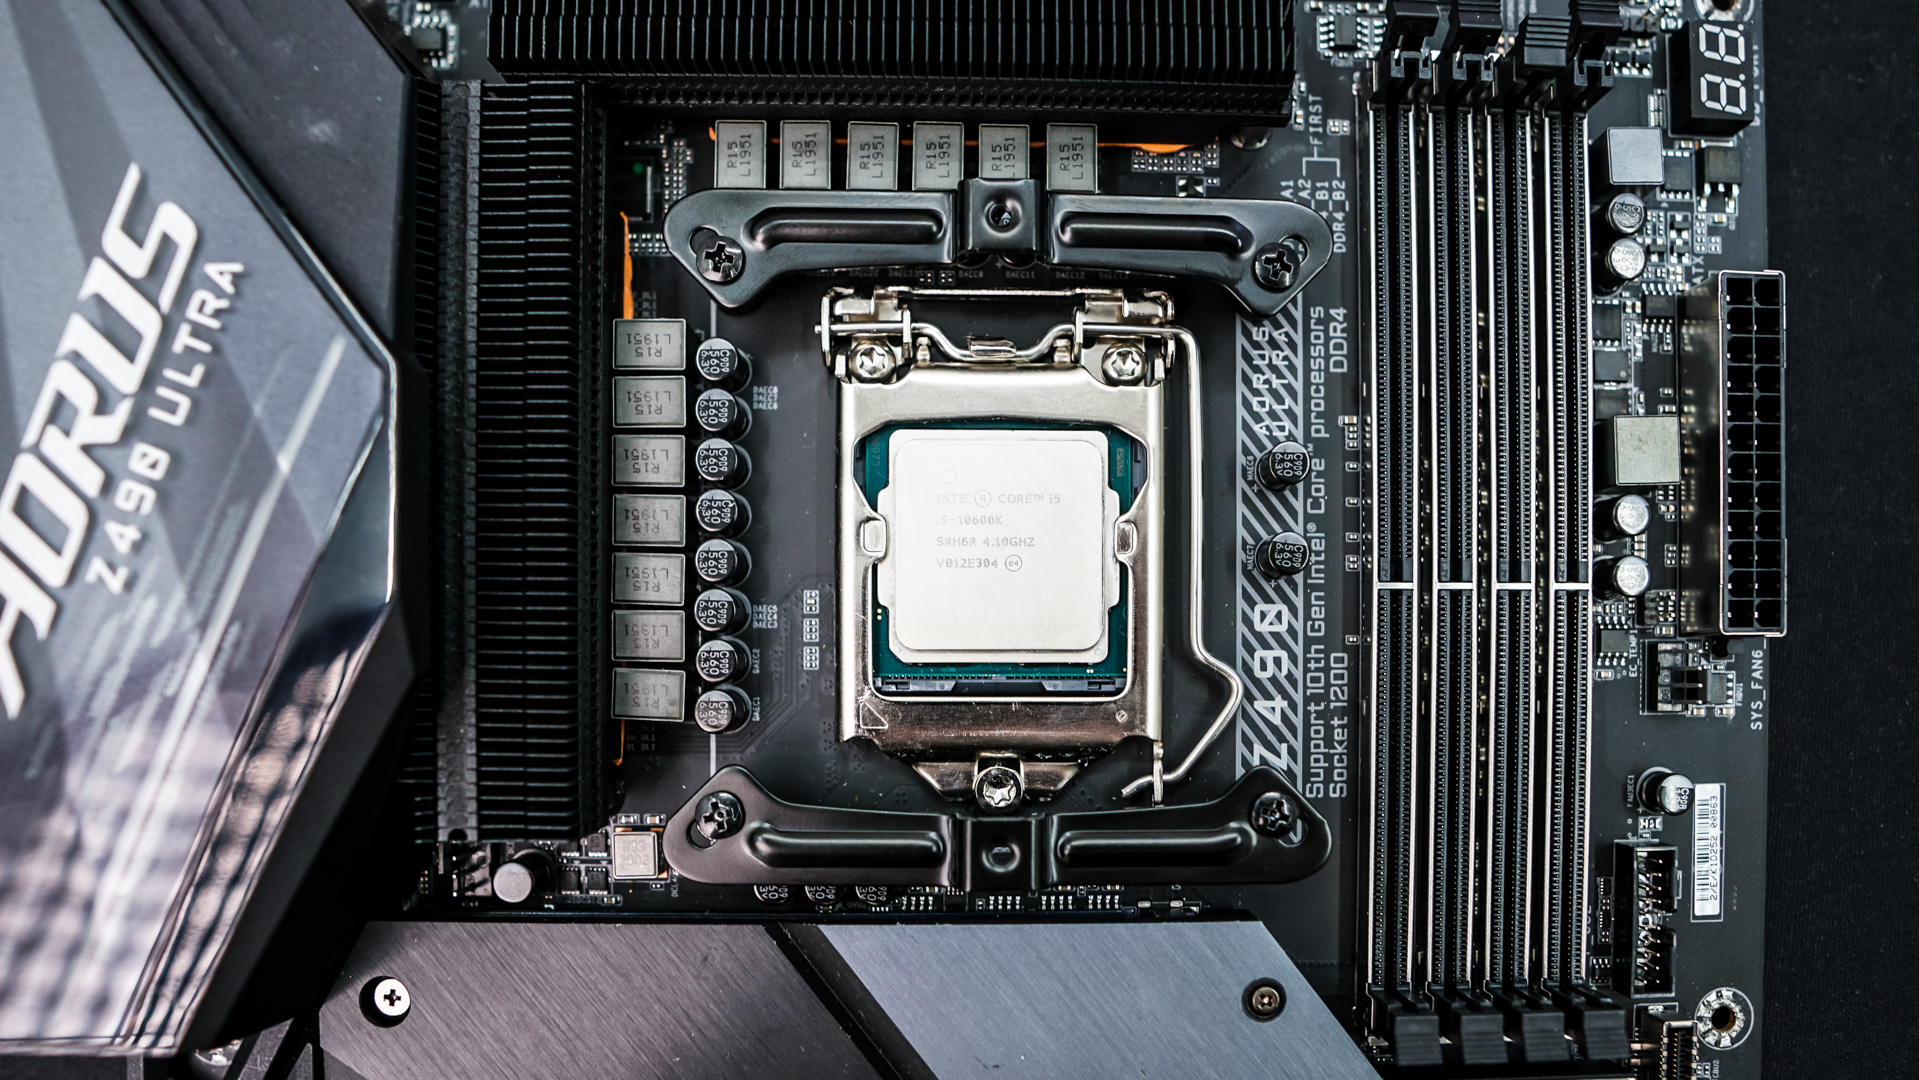
Now install the Intel spacer nuts which will secure the backplate to your motherboard. Once those are installed take the Intel mounting brackets and install them on the top and bottom of the socket as shown in the second photo below. These are secured with the included screws.
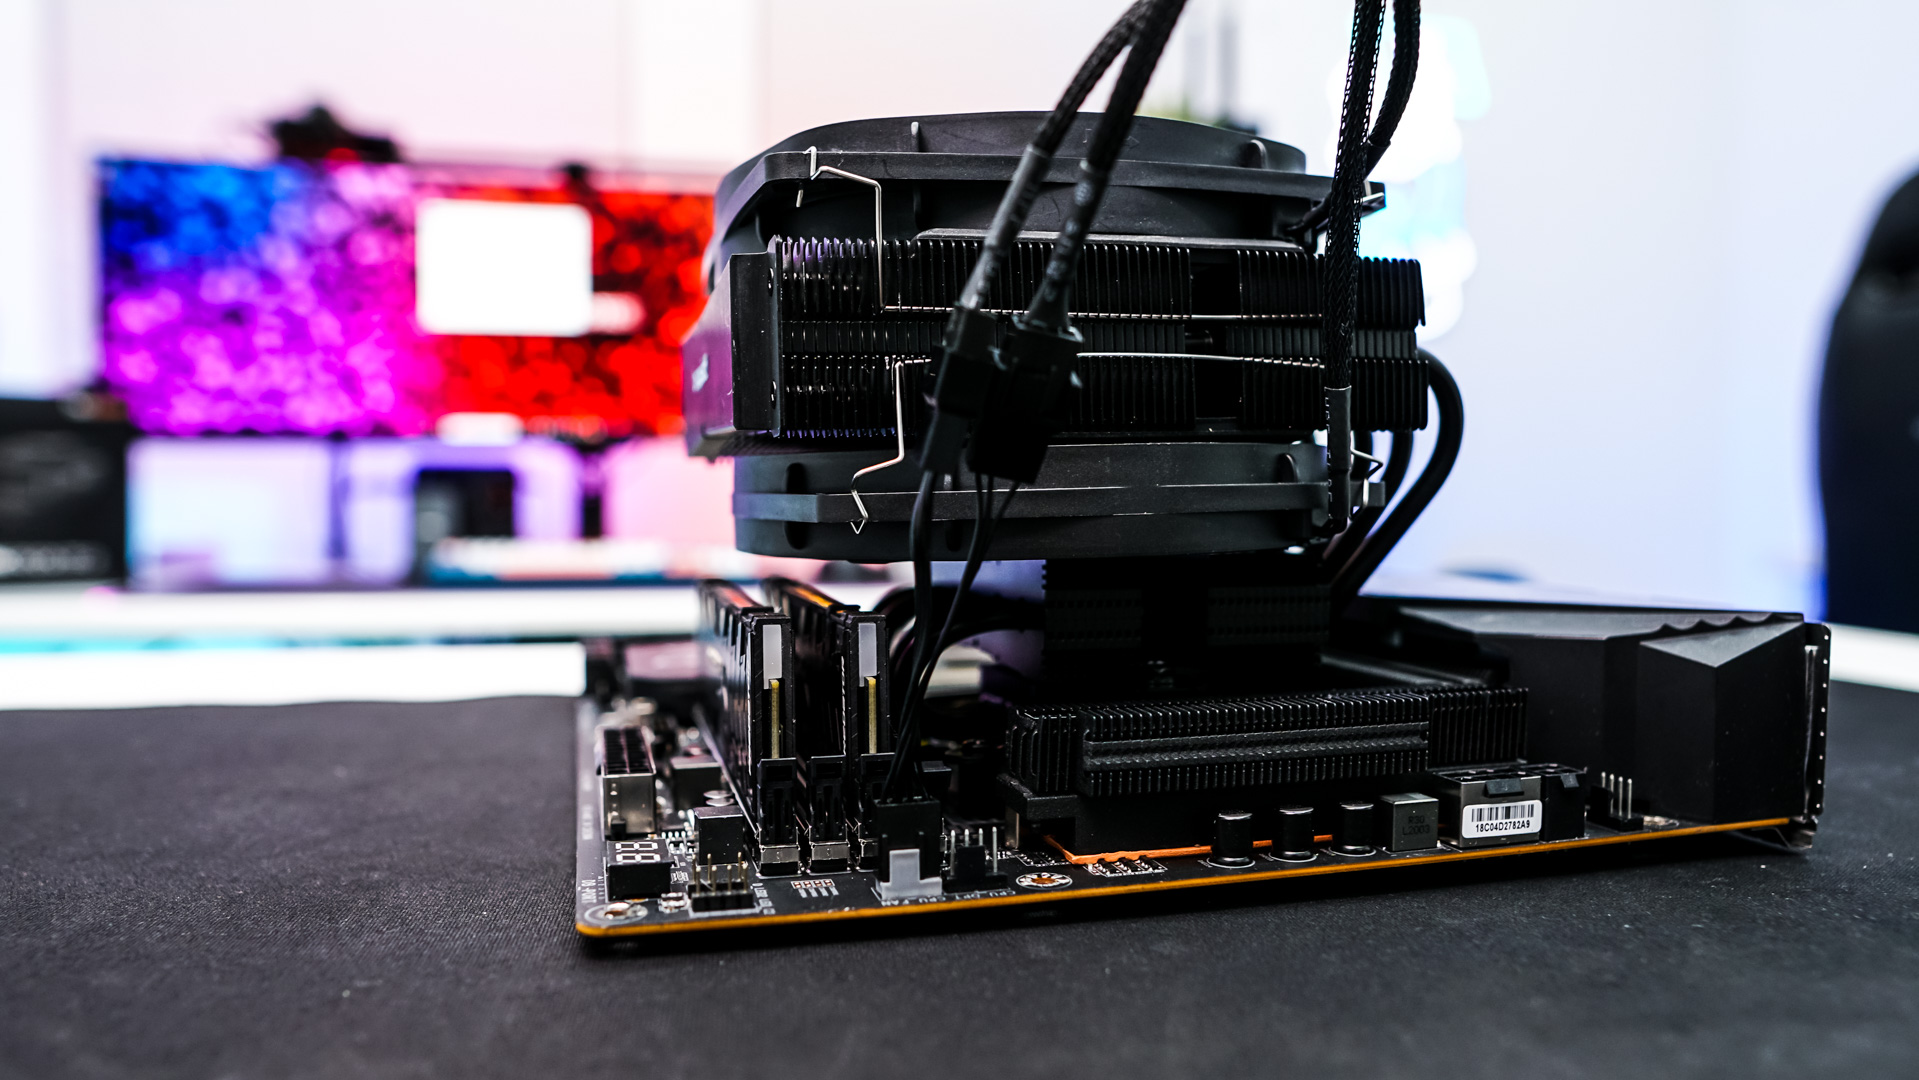
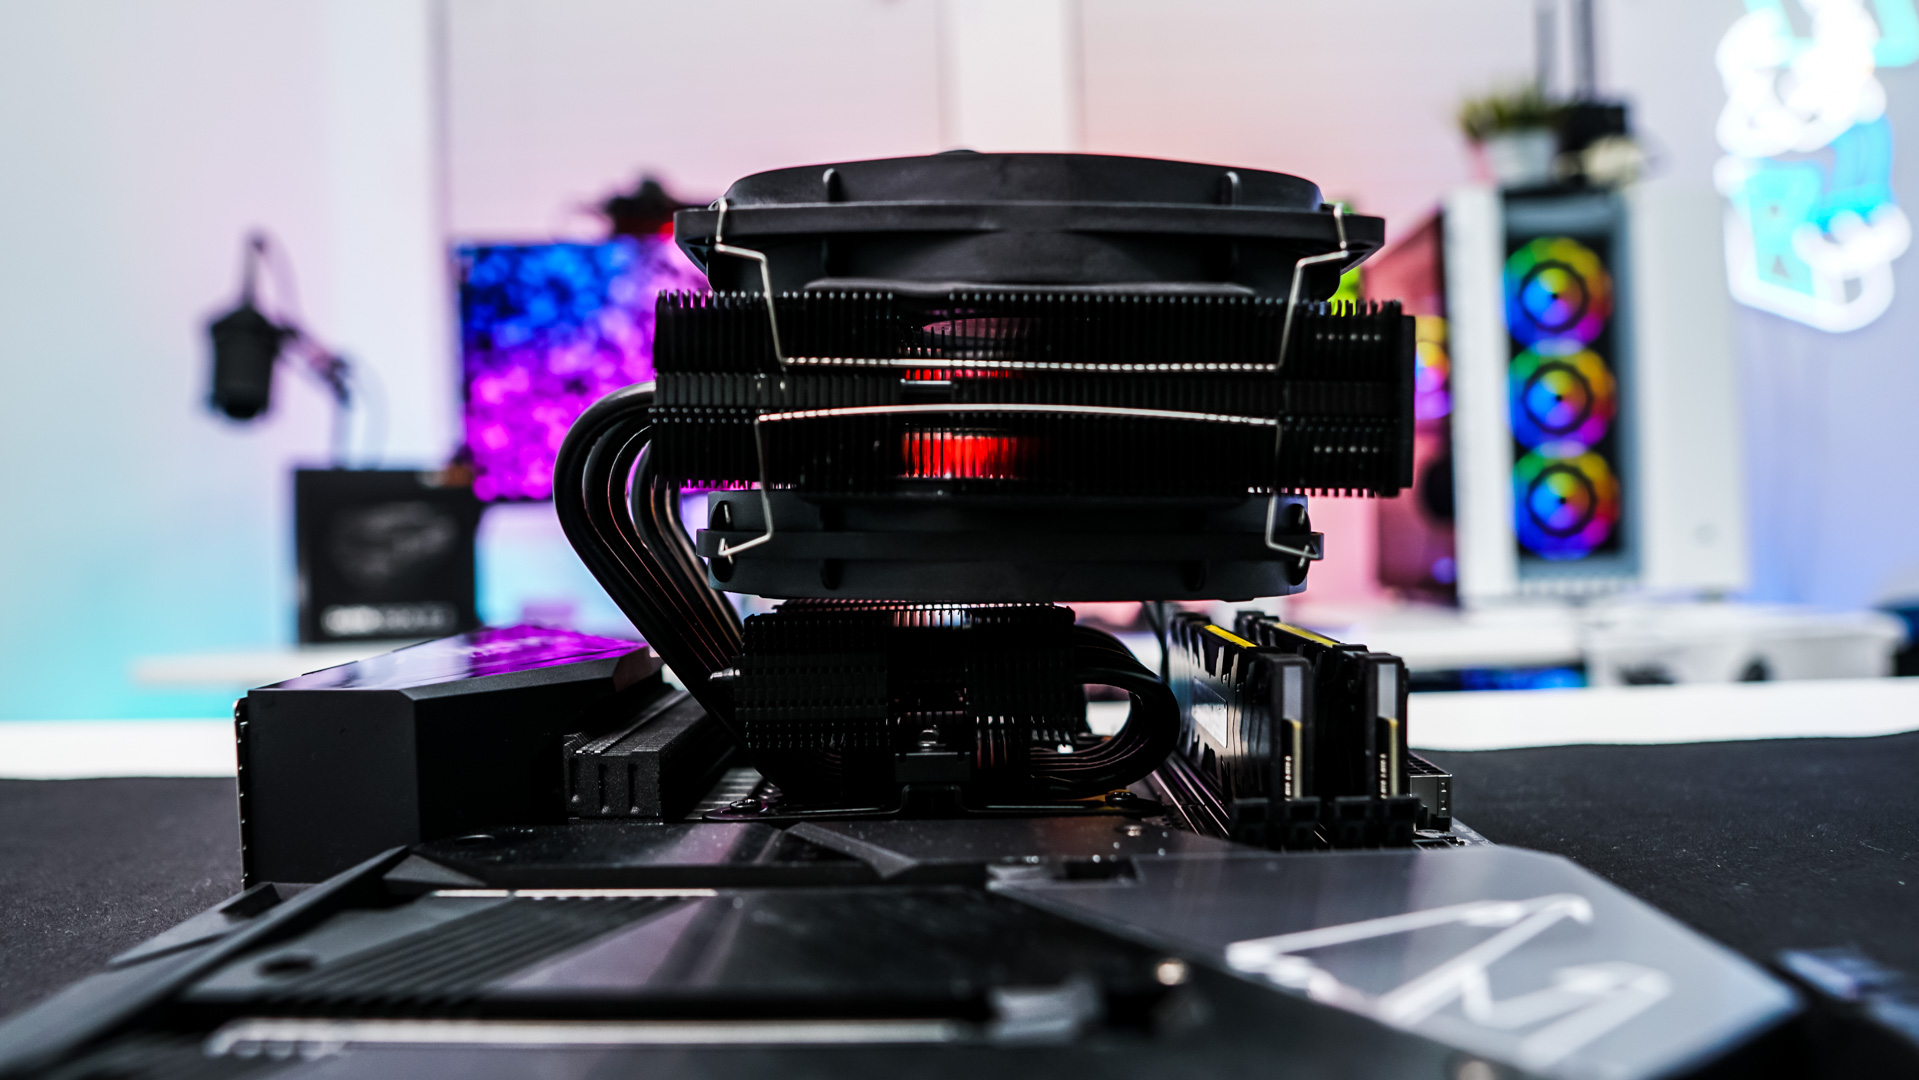
Apply the included thermal paste then carefully place the cooler on top of your CPU lining up the screws on the cooler with the holes in the mounting brackets. Using a long screwdriver tighten these screws to secure the cooler.
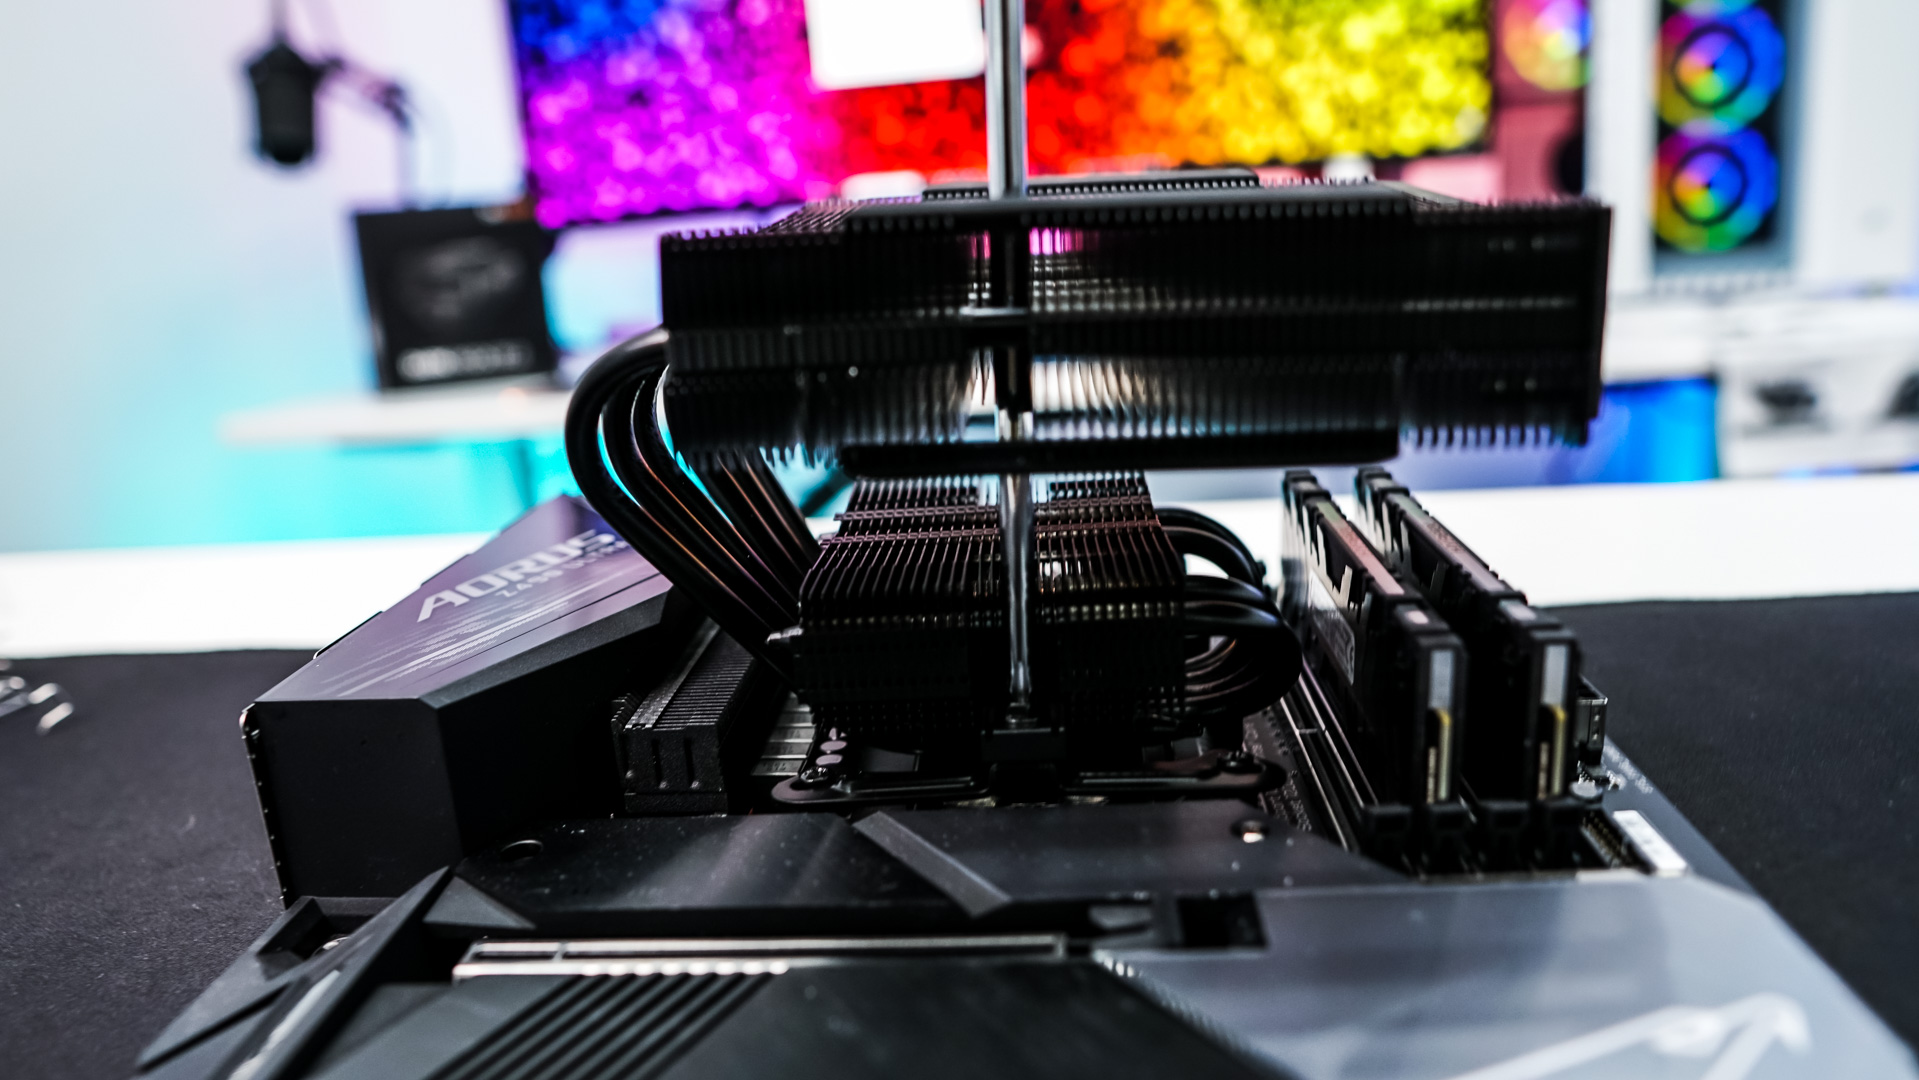
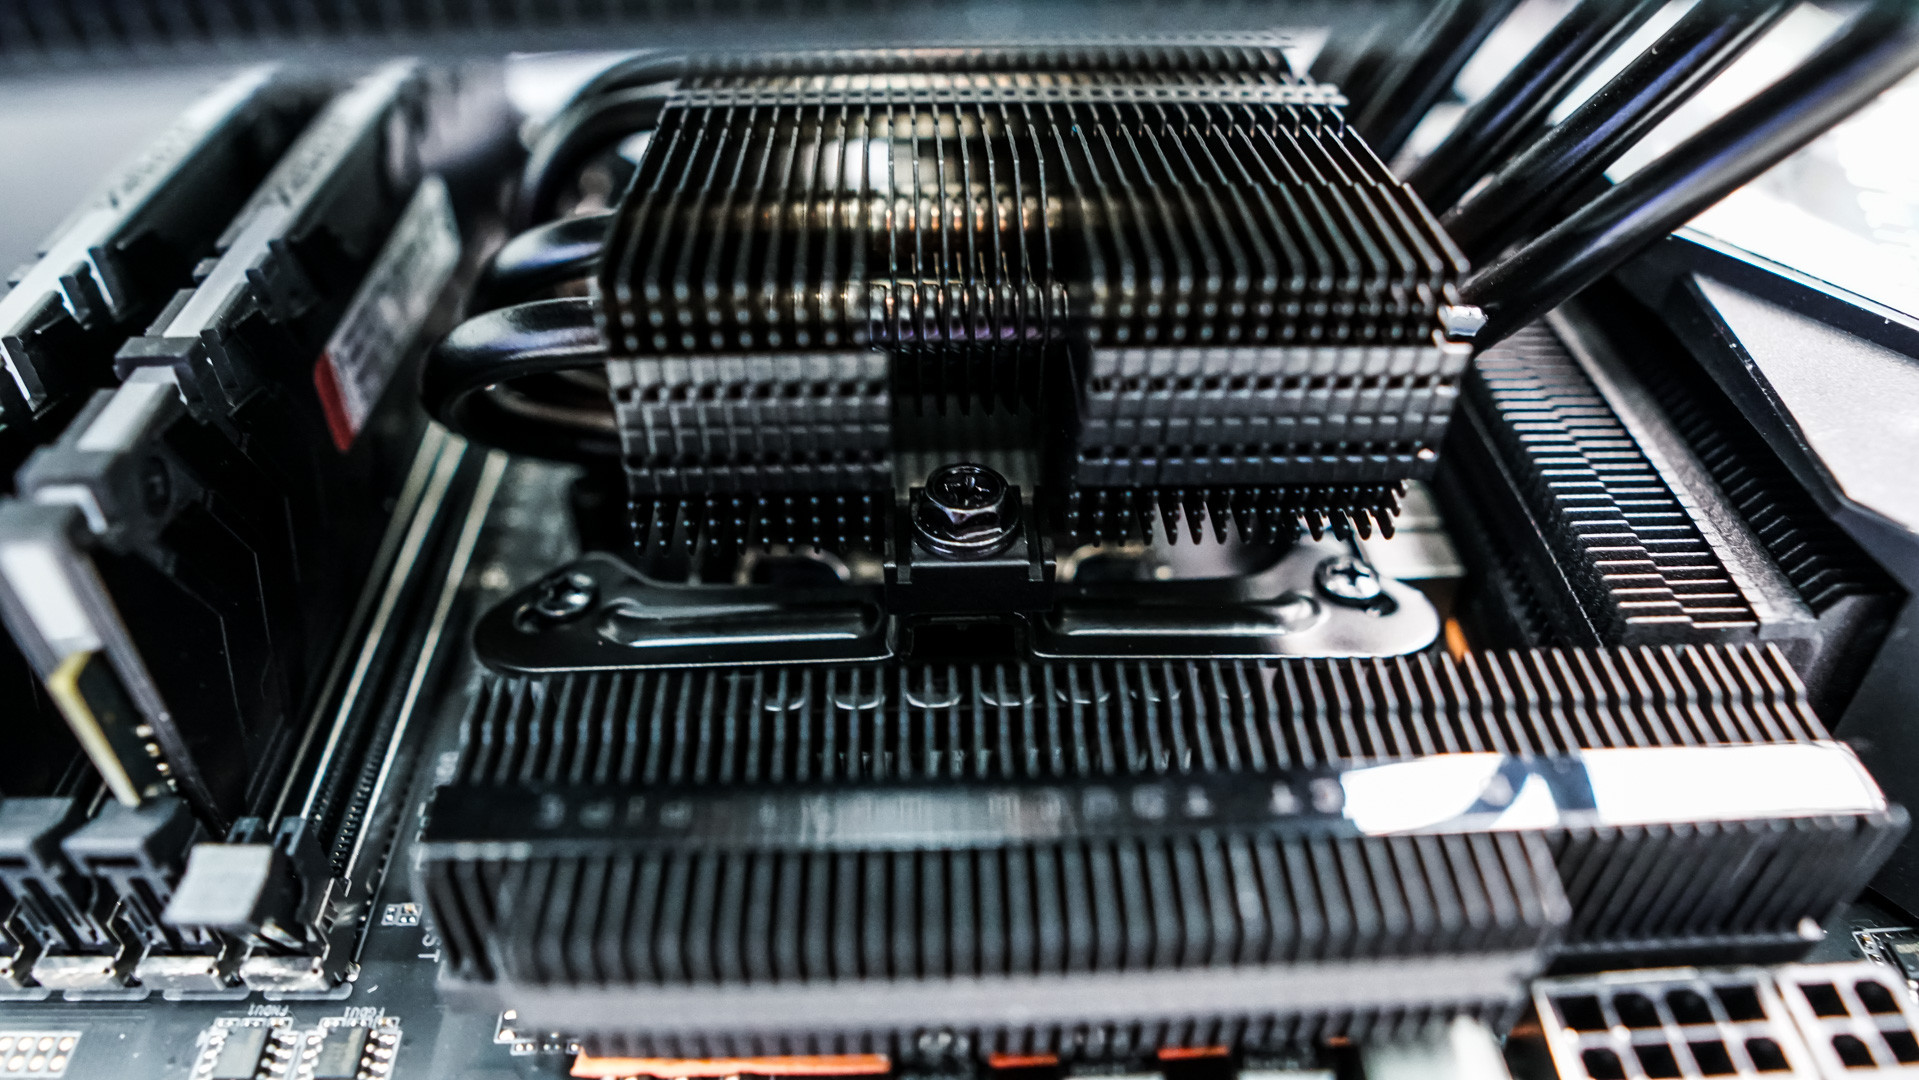
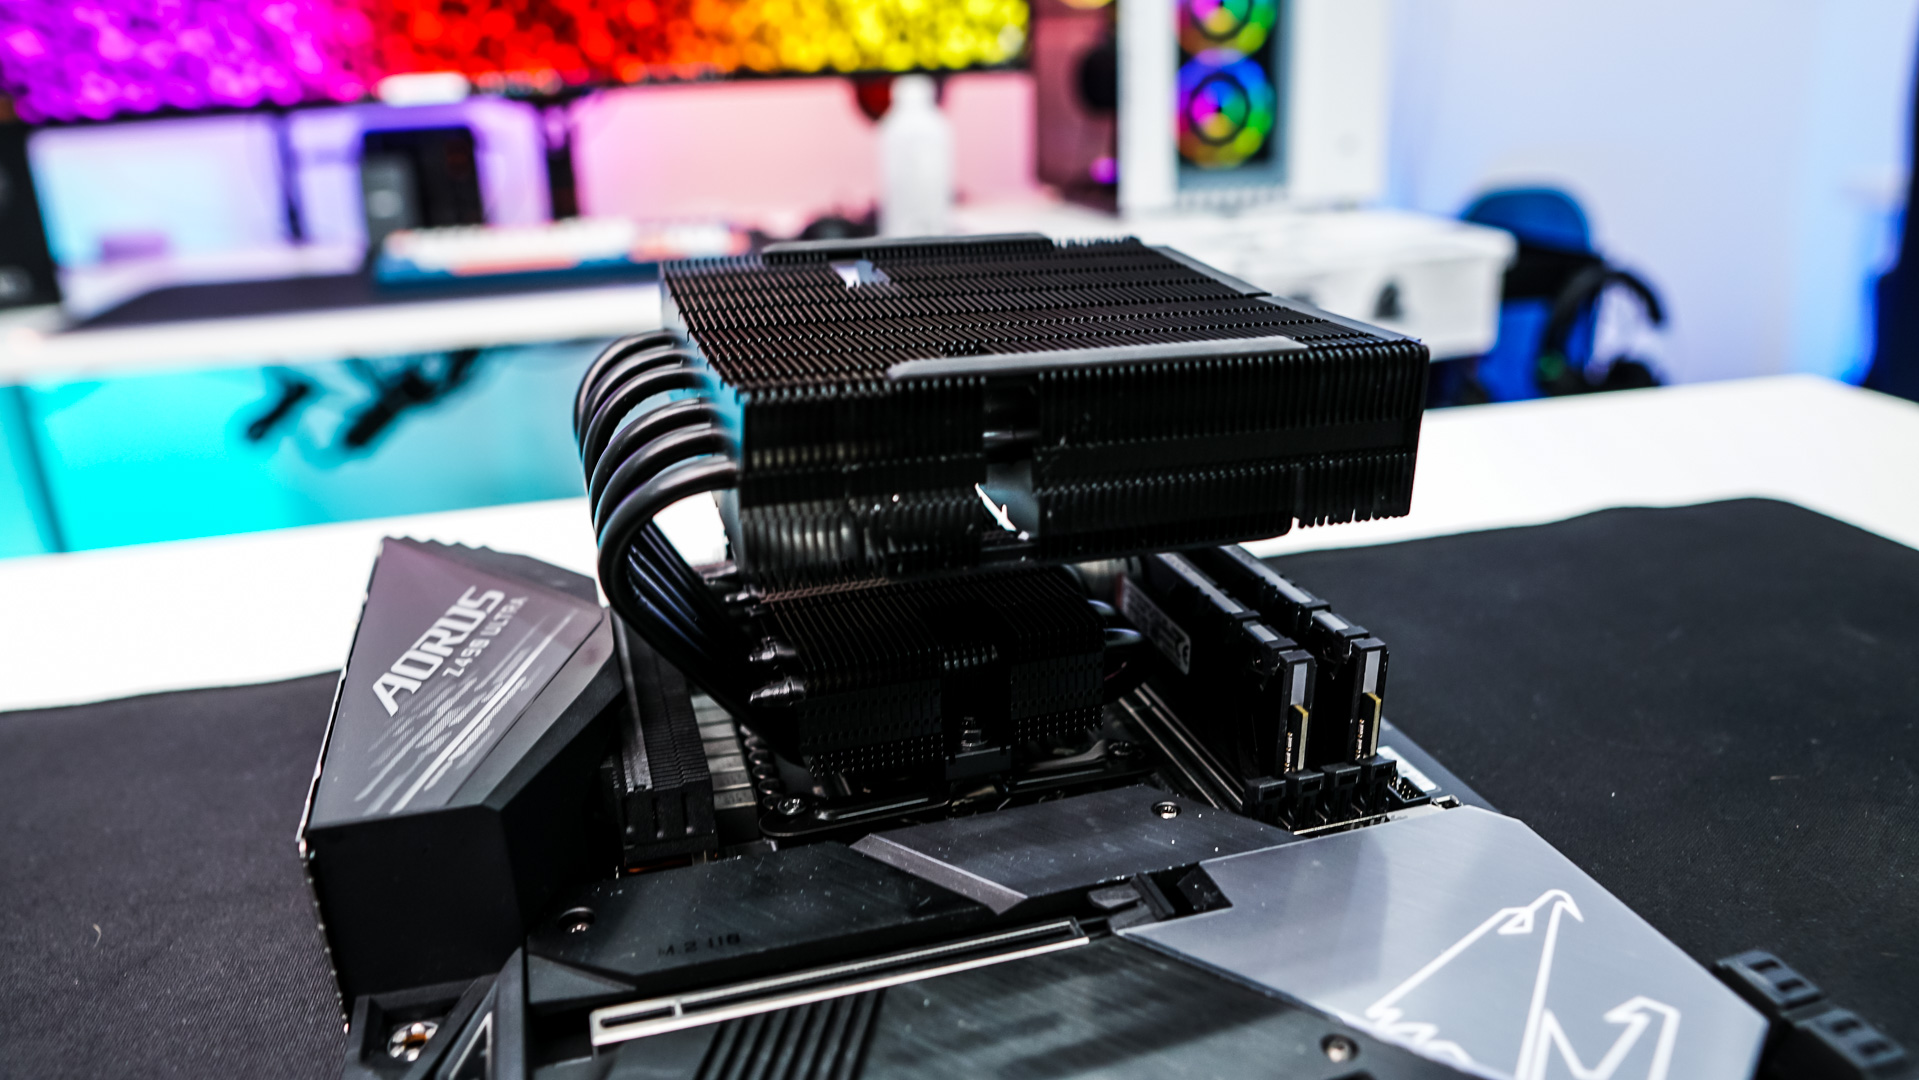

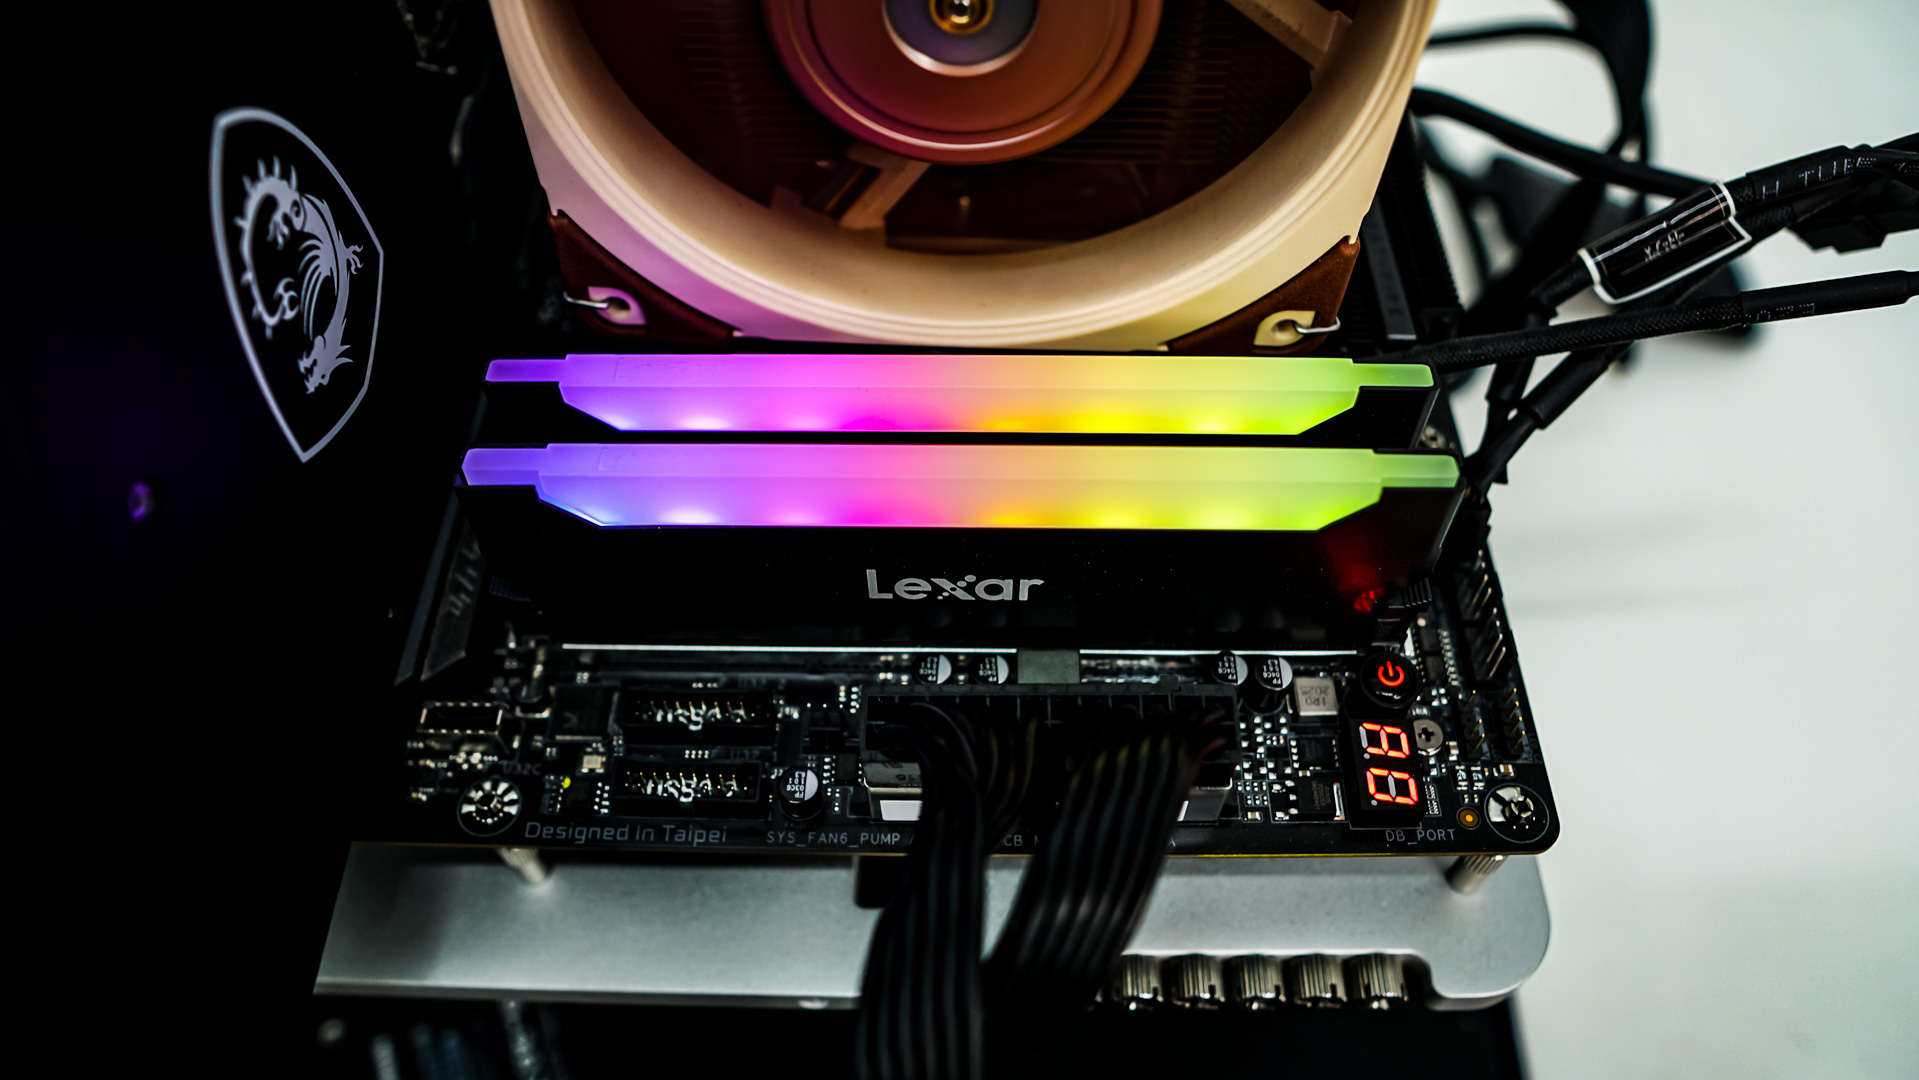
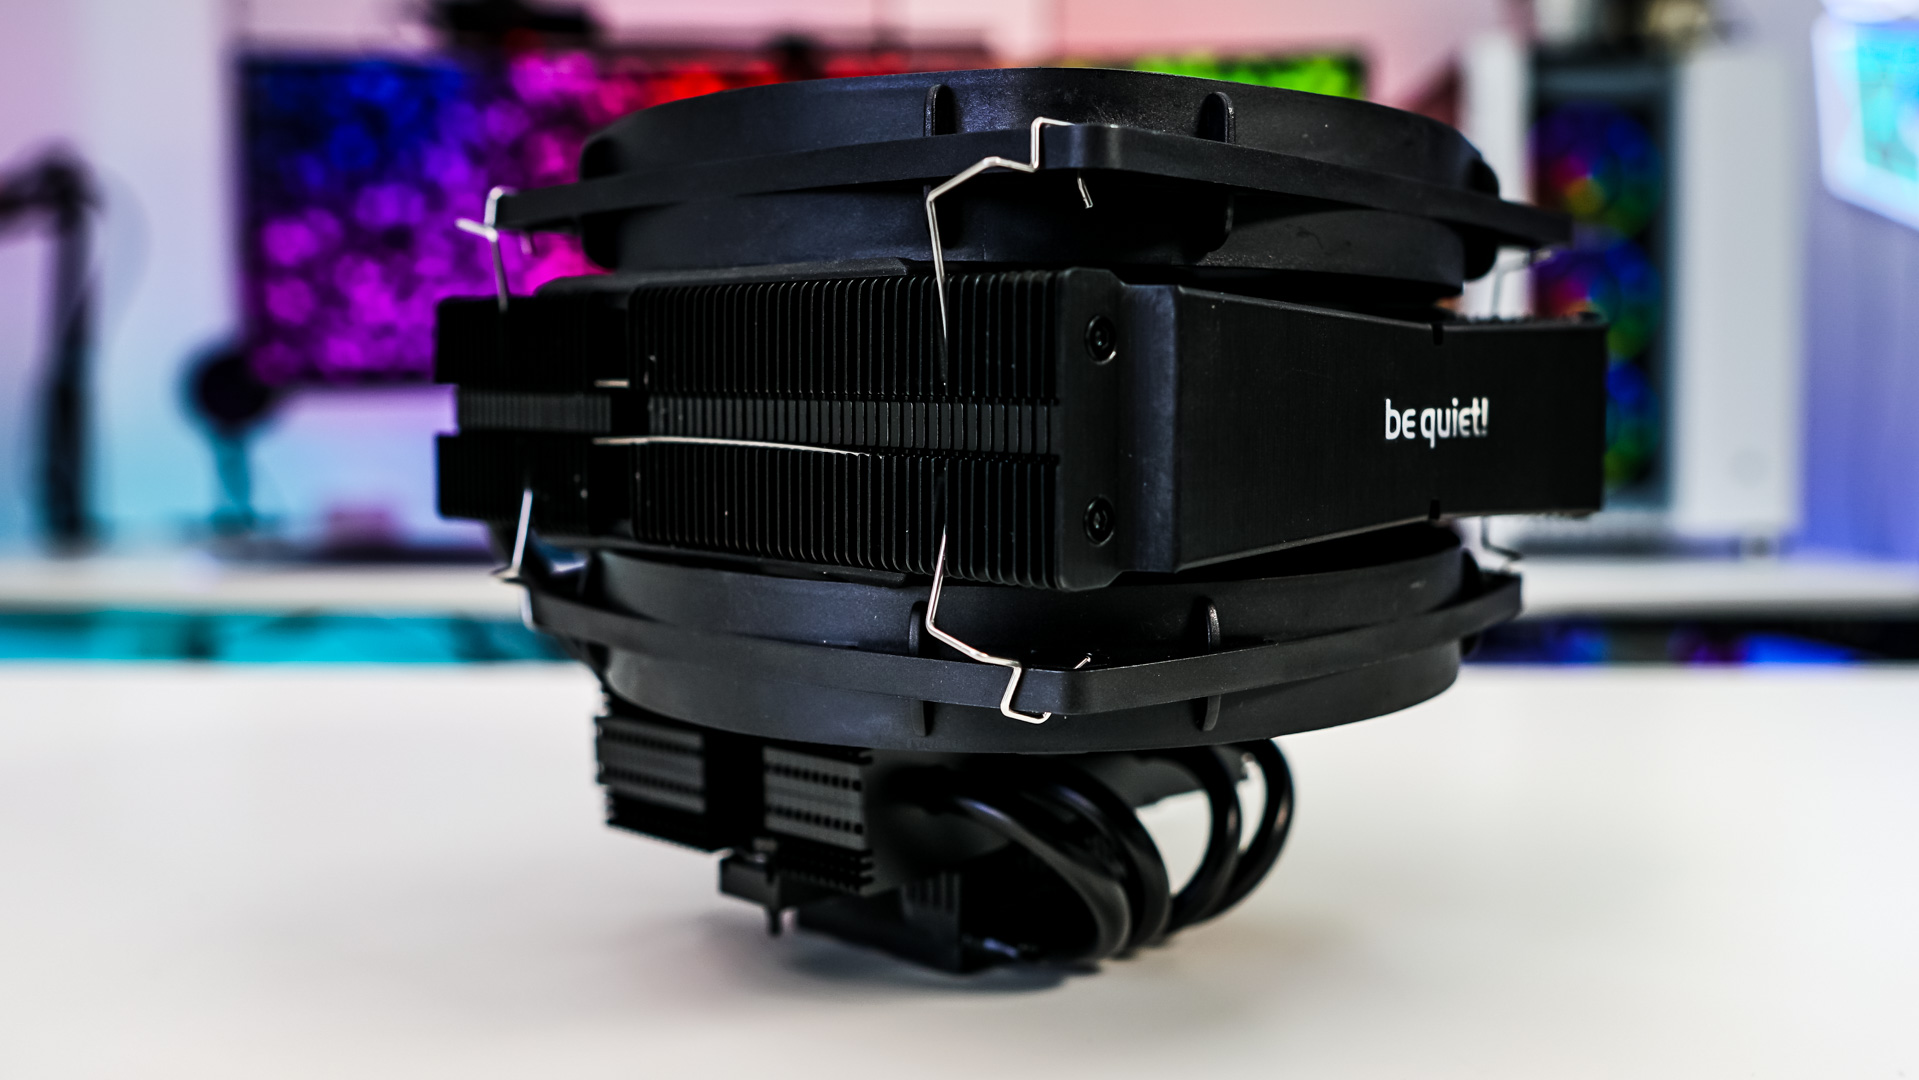
Now it is time to install the fans. Using the fan clips these go on pretty easily. Remember that the thinner fan goes on the bottom of the heatsink and the larger one goes on the top. Finally connect the fans to the included Y-connector and then plug it into the CPU fan header on your motherboard. Even with the fans installed there is more than enough room for our memory. I would say that because of the size of the cooler and the fan installation you’ll likely have to install the Dark Rock TF 2 outside of your case.