

be quiet! Silent Loop 3 Installation
As mentioned at the start of this review, we have taken on a brand new test bench platform in 2025, which we will go into more detail about later on. That said, the change from AMD’s AM4 to their AM5 platform really doesn’t change things up as far as installations go, so let’s get right into it.
Like most AIOs, the installation of the be quiet! Silent Loop 3 is a very straightforward process. As DIY PC building seems to be getting more popular each and every day, the option of AIO liquid coolers is sure to entice those wanting to have a more advanced build, and easy installation will go a long way towards not scaring off first-time builders. As I mentioned when I covered the included accessories, be quiet! has included all of the necessary mounting hardware for modern AMD and Intel platforms, as well as a physical installation guide. We are seeing more companies move to digital versions of their product manuals, and while I appreciate their reduced waste, I still prefer a physical copy of installation instructions.
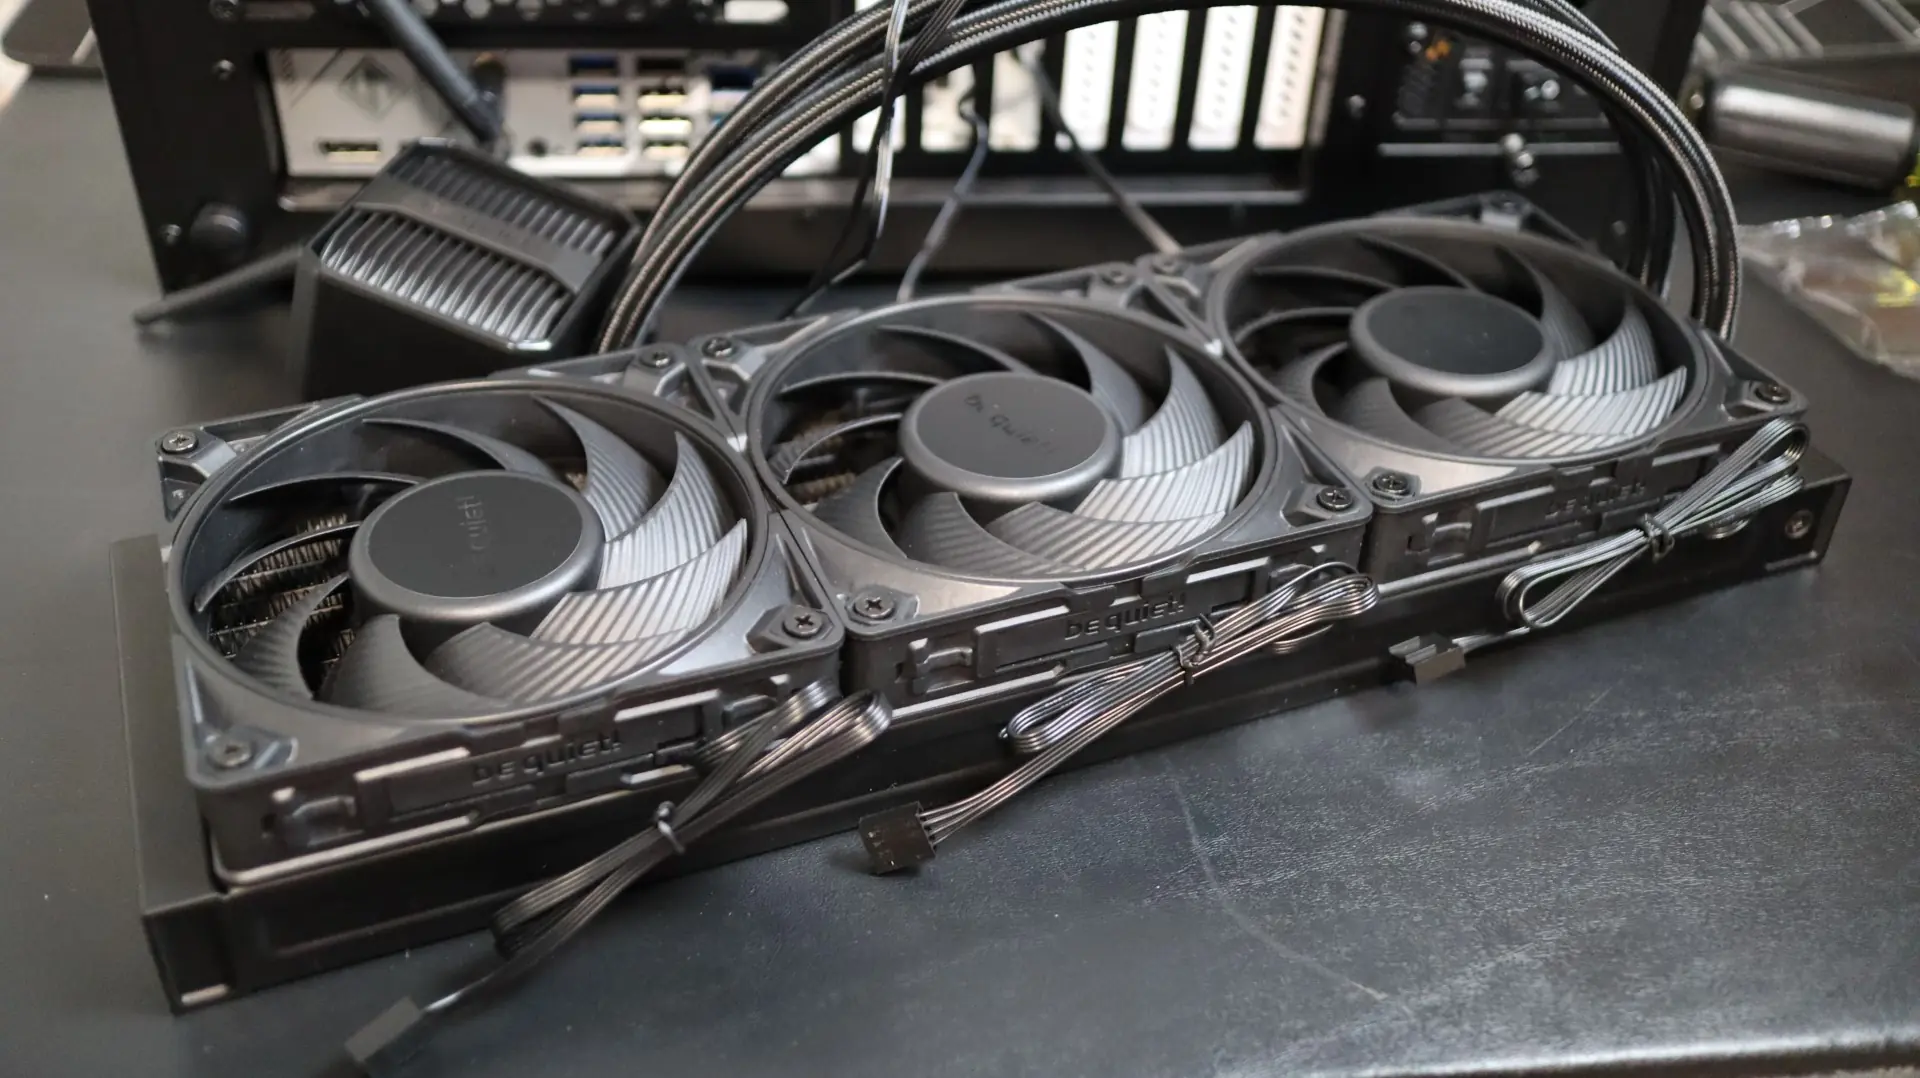
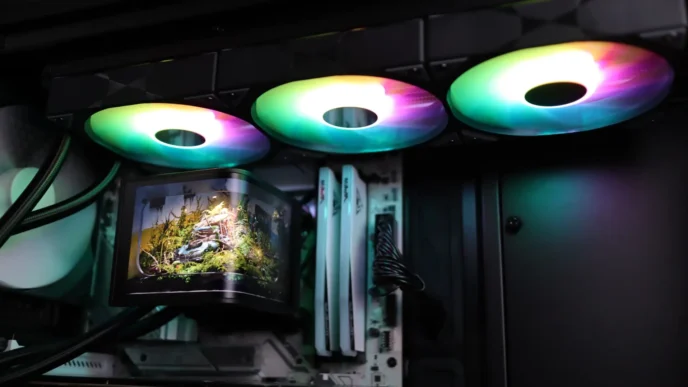
Our testing is performed with the fans in a push configuration, and as be quiet! leaves the fan mounting up to the customer, that was the first step. As expected, all went as planned, with the rubber feet at each corner of the Silent Wings 4 fans providing a nice buffer between the fan frames and the radiator body. I do appreciate when fans come pre-installed, as it saves a decent amount of time during the installation process, but there are certainly times when you will want to reorient the fans from their factory installations.
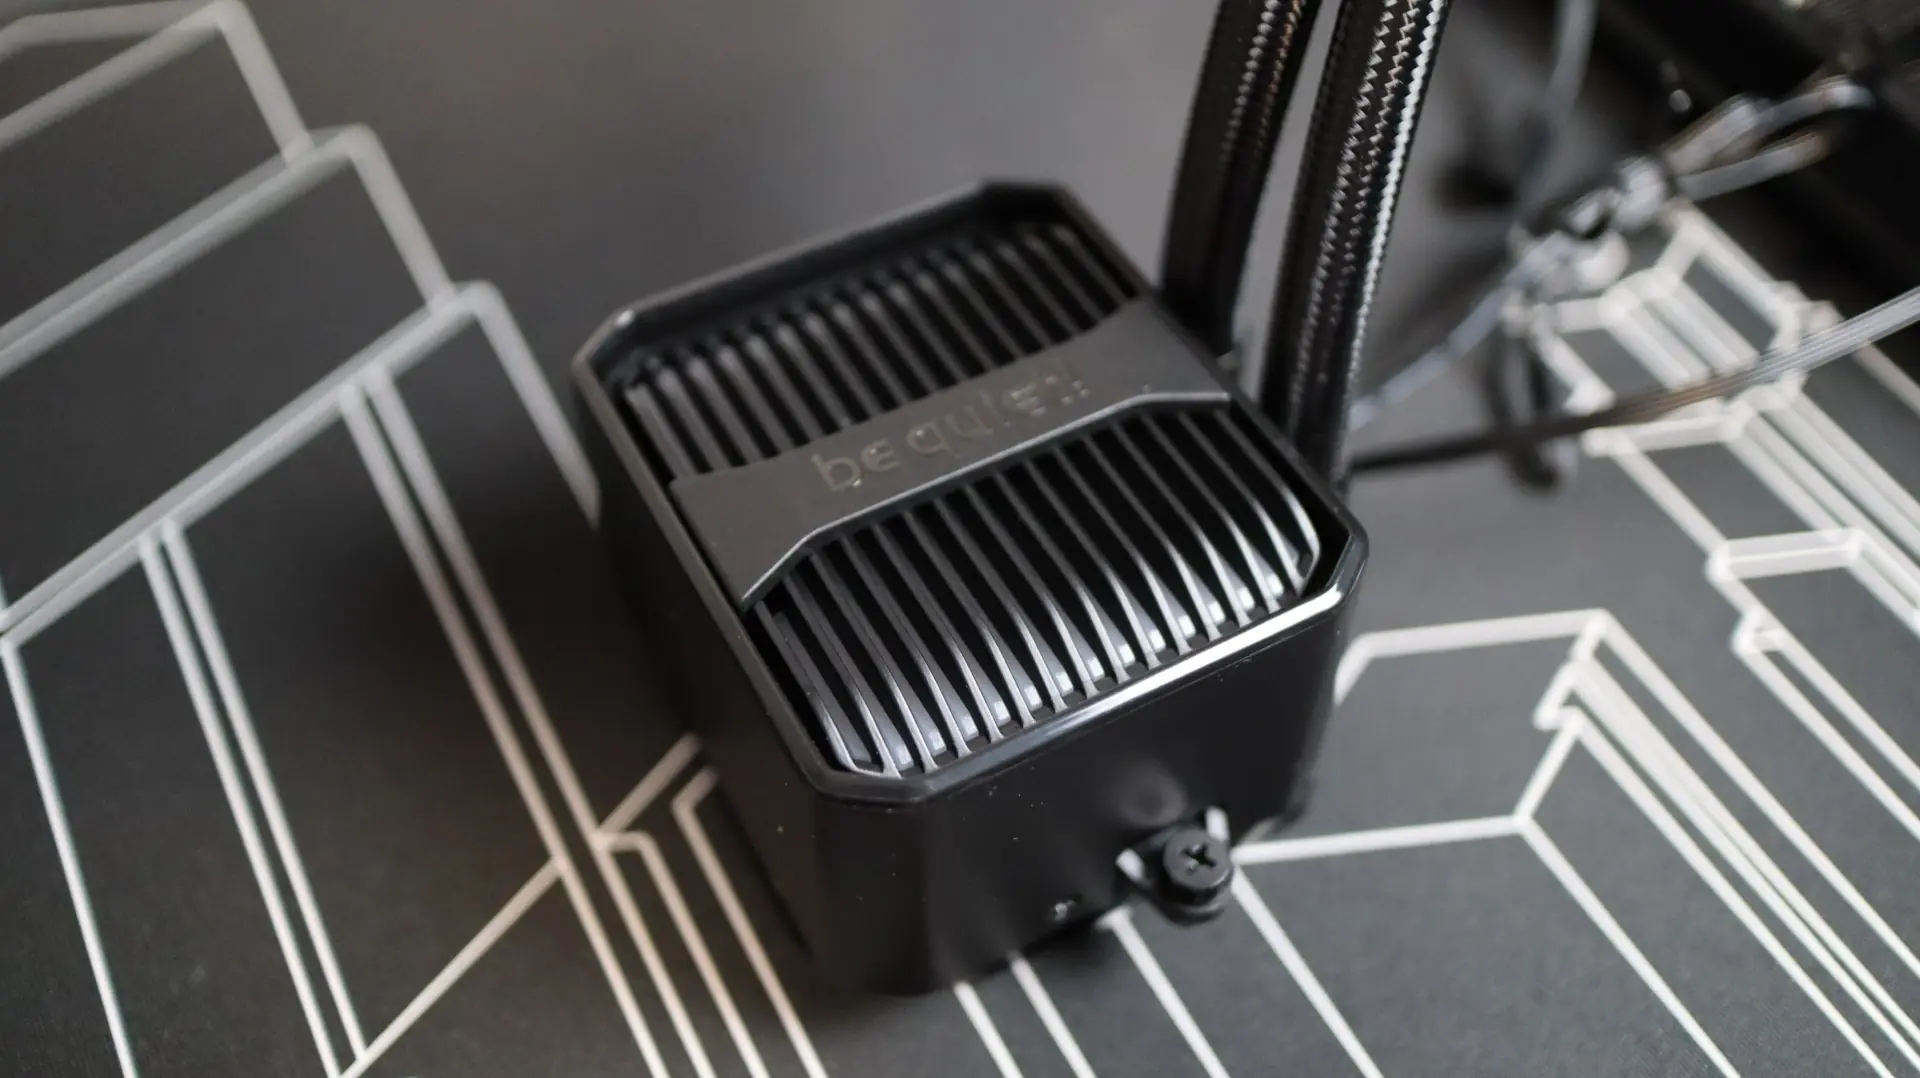
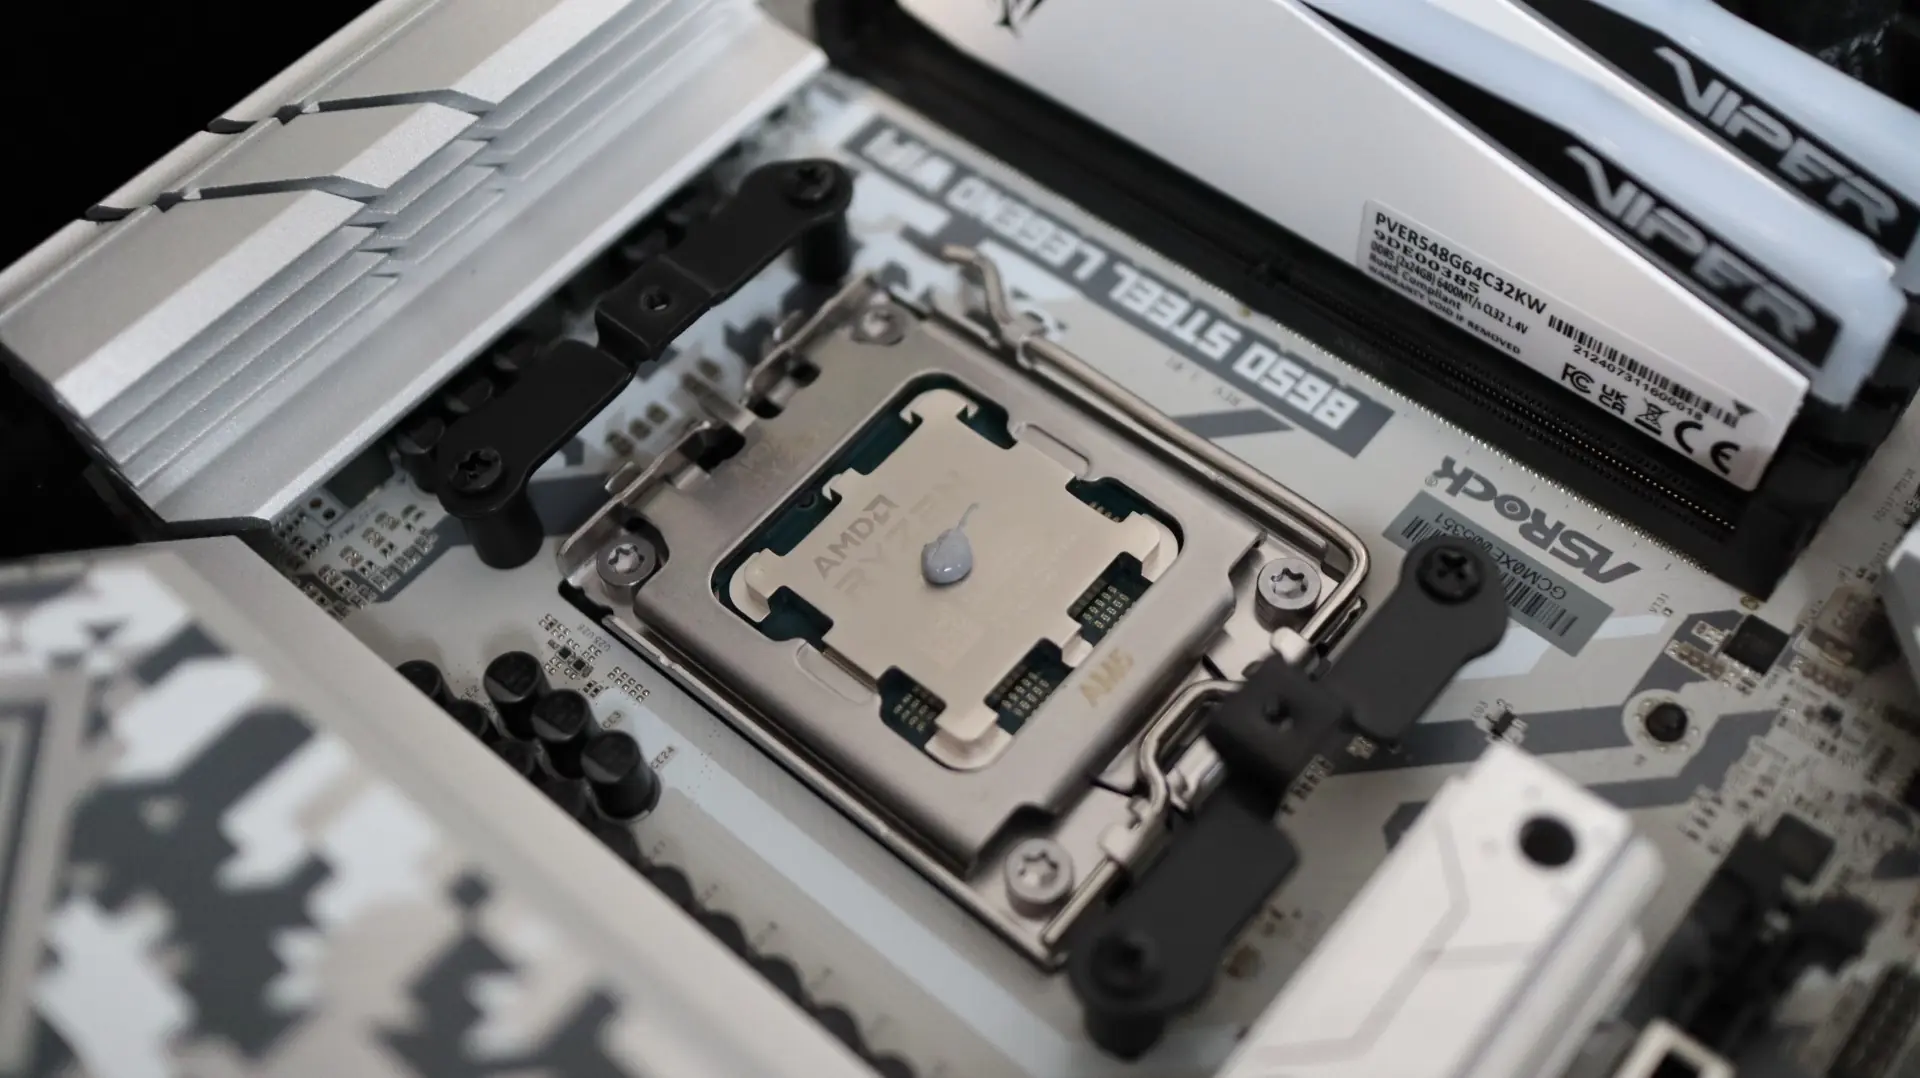
As previously mentioned, the Silent Loop 3 has universal mounting hardware installed, so there is no need to install any AMD mounting hardware to the pump housing for my Ryzen 7 7600X test system.
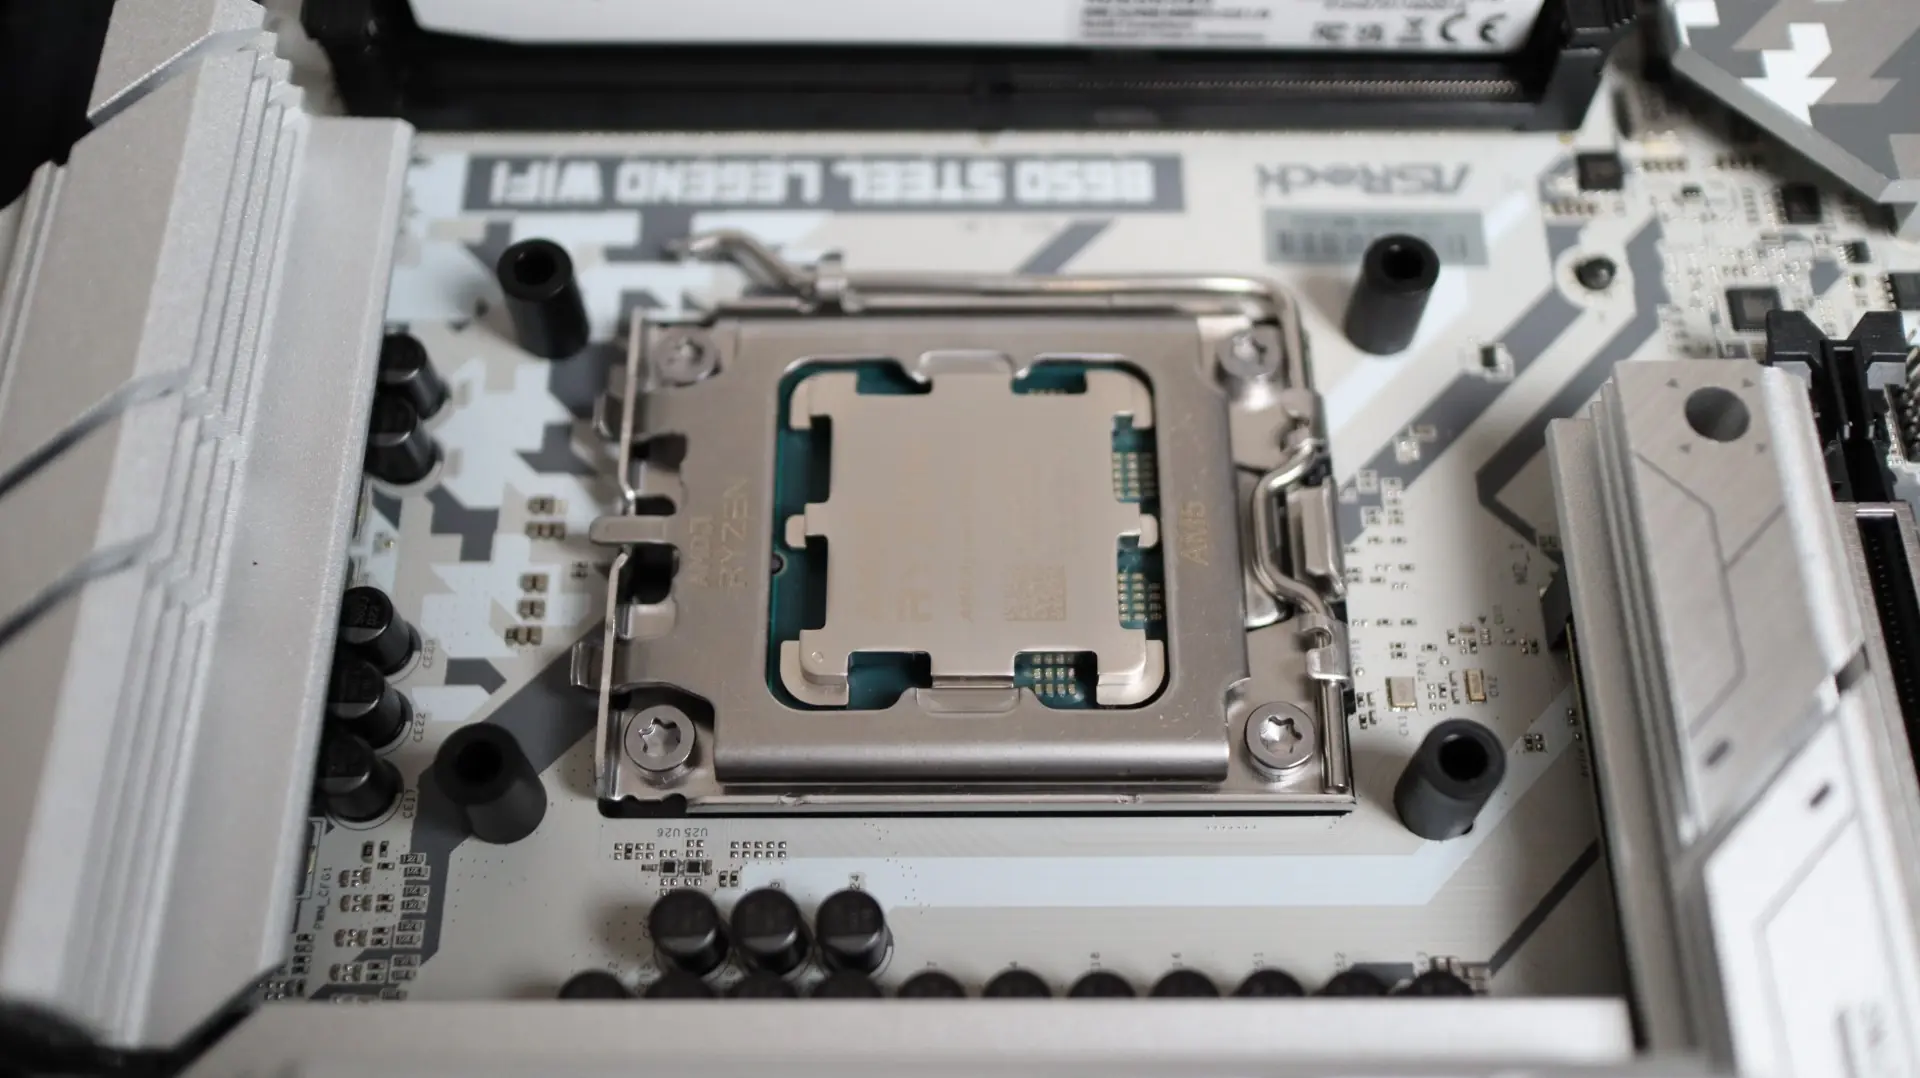
be quiet! chose not to use the factory AMD mounting clips for securing the cooler to the motherboard, so I did have to remove the plastic mounting brackets in order to secure the cooler to the motherboard. Instead, small standoffs are placed over the CPU backplate threads, and small mounting brackets are attached to the motherboard to support the use of the universal mounting hardware on the pump housing.
Again, we find that be quiet! has left some work up to the customer that some companies have taken on themselves. This comes in the way of not providing any pre-applied thermal paste, but instead including a small syringe of paste to apply on your own. I can see both sides of this argument, and really don’t have a preference, other than pre-installed paste being easier to work with for new builders.
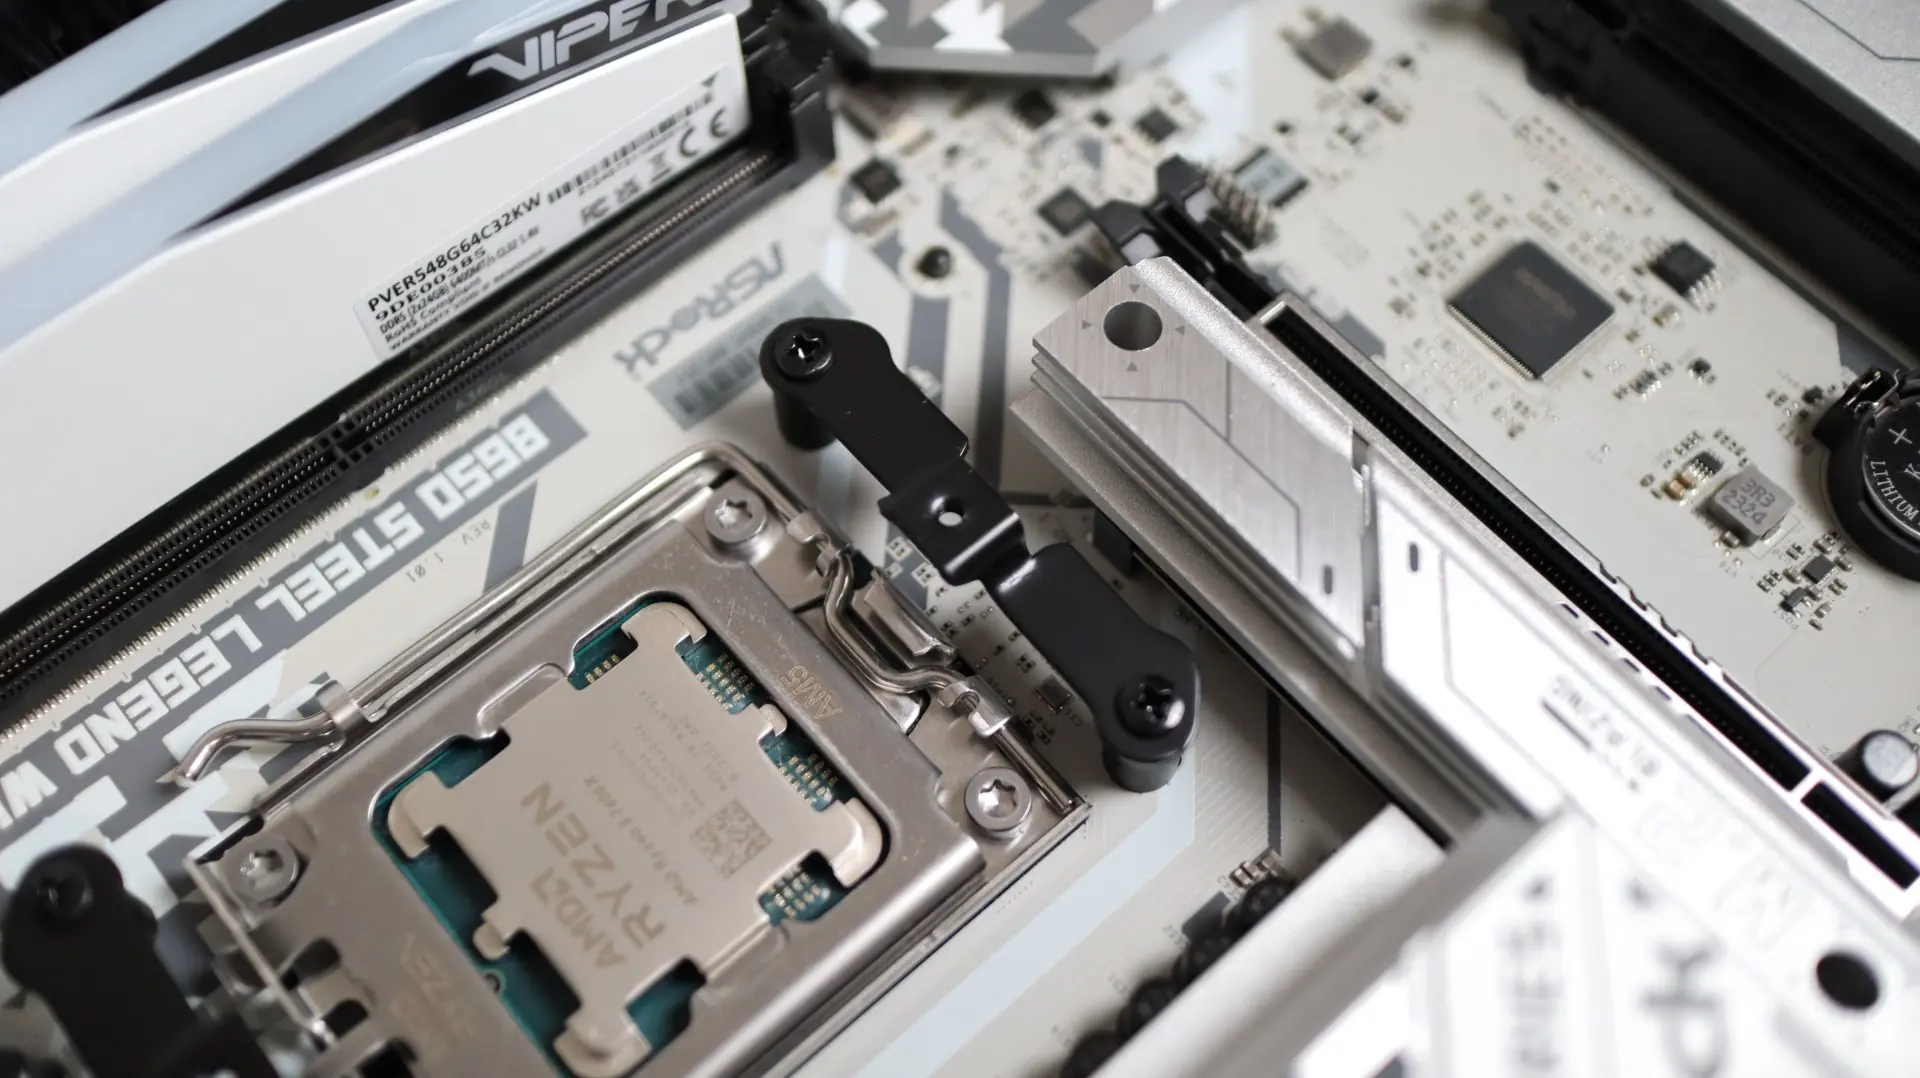
With the mounting hardware in place on the motherboard, it is time to simply line up the cooler with the brackets and tighten everything down via the two pump-based screws.
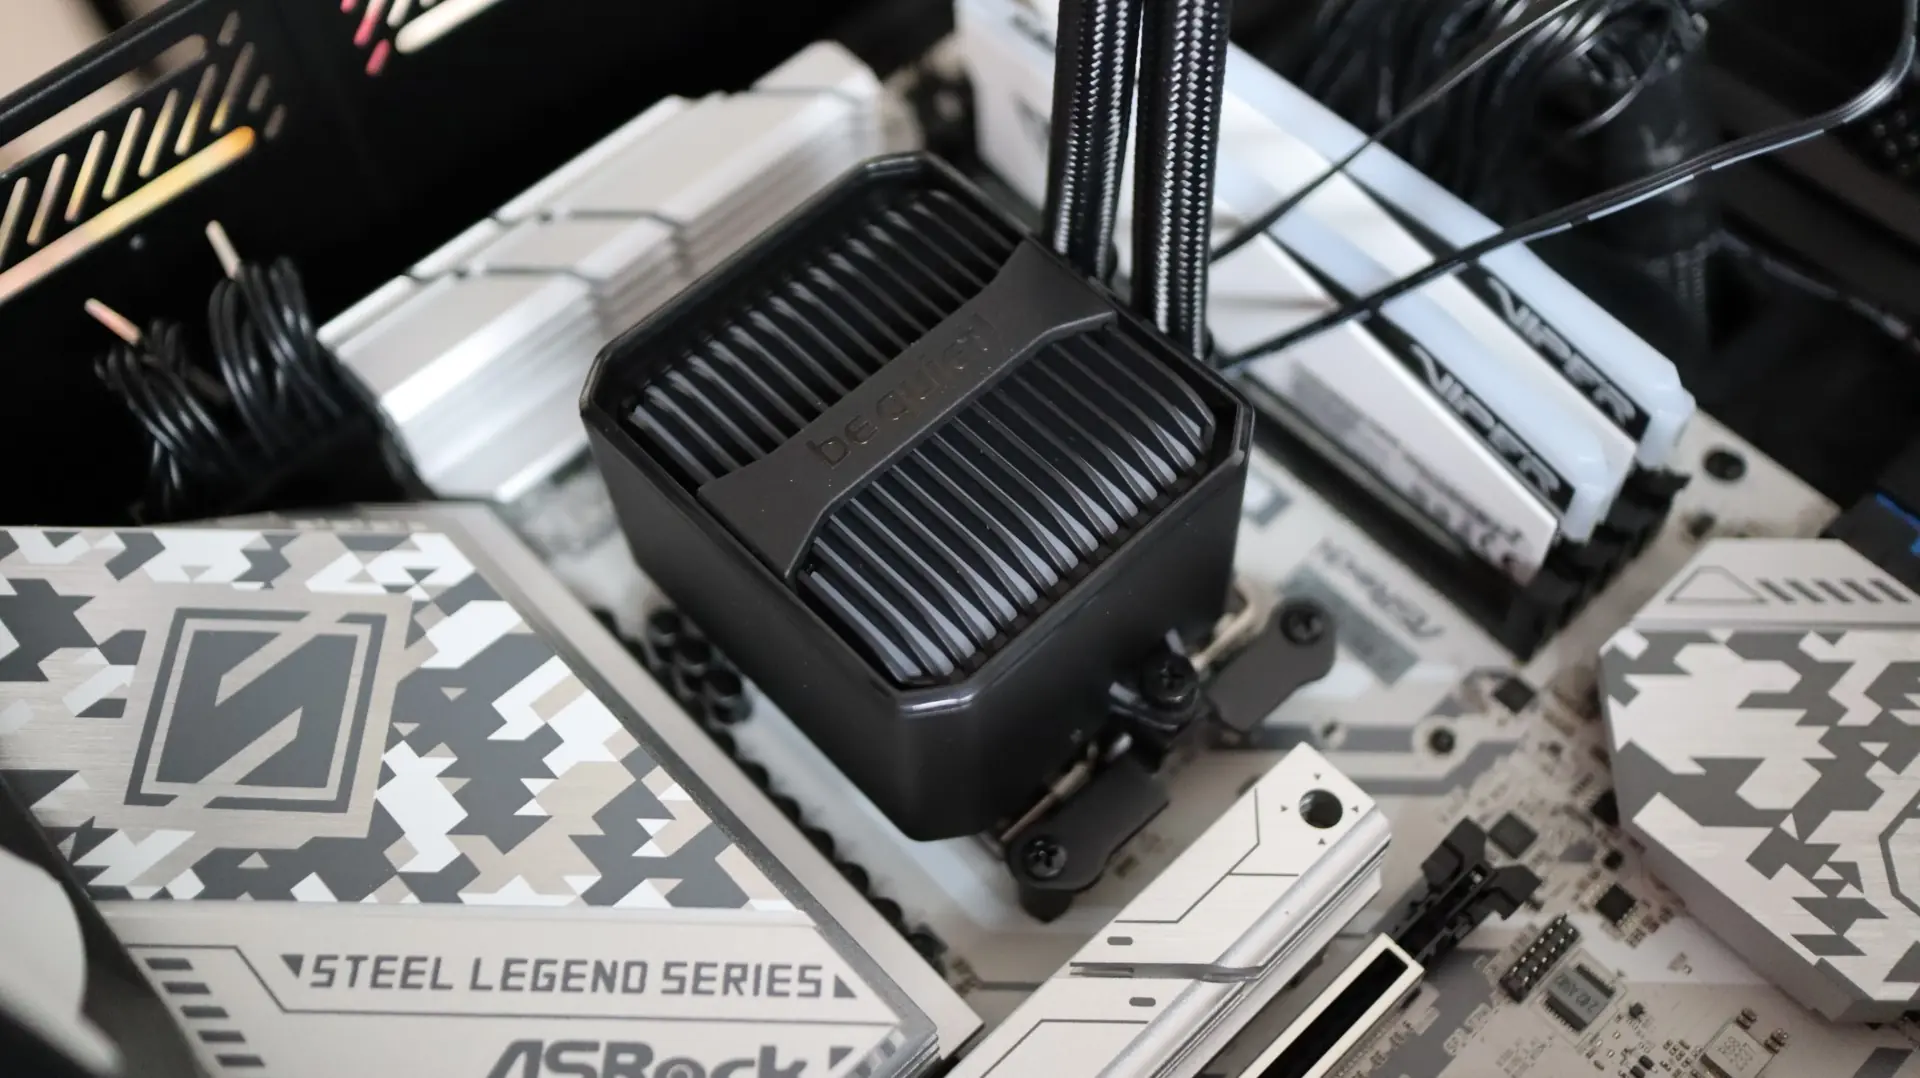
Next up is attaching the radiator to the top of our case. Using the twelve included screws, simply align them with the appropriate mounting points on your case, and tighten. I also made sure to thread the and PWM cables from the pump housing and radiator to their respective motherboard standoffs, as well as the 3-pin ARGB cable, through the cable grommets in my case in preparation of wiring everything up.

With everything installed, it was time for testing.


You should add results from Asus ROG Ryujin III 360 ARGB Extreme