A Look Inside
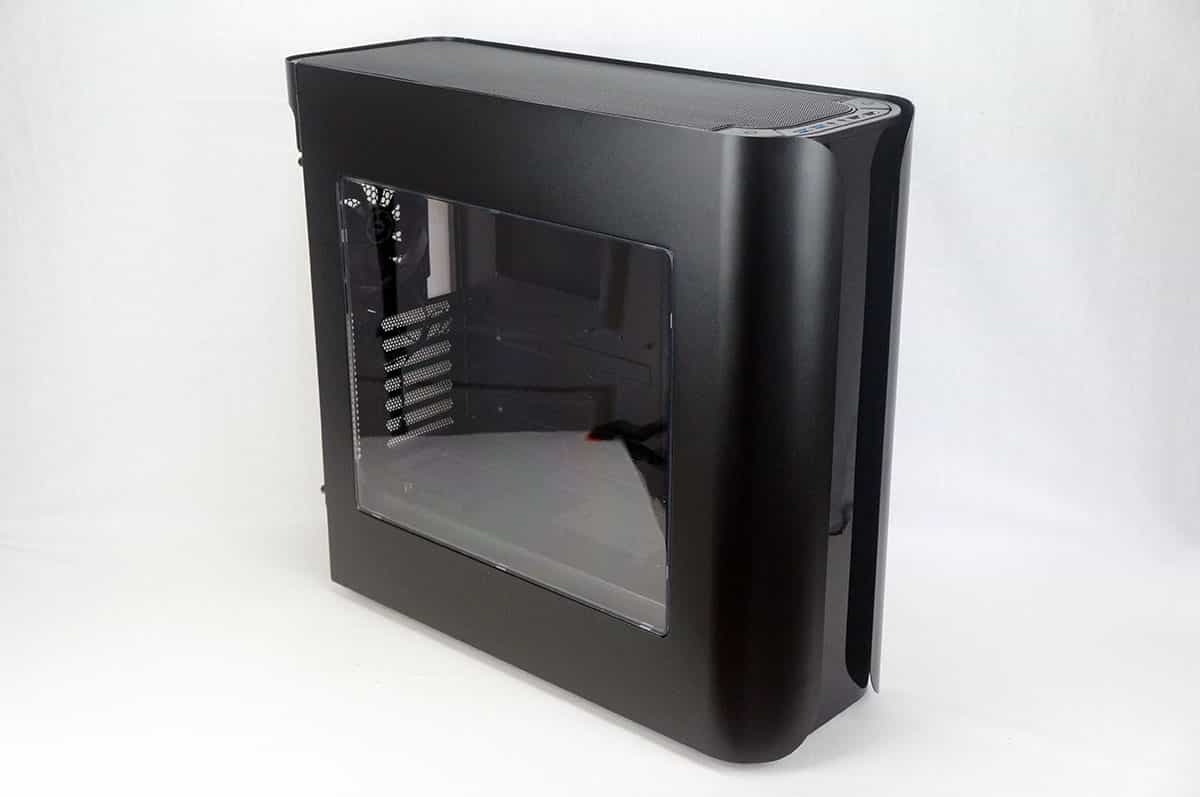
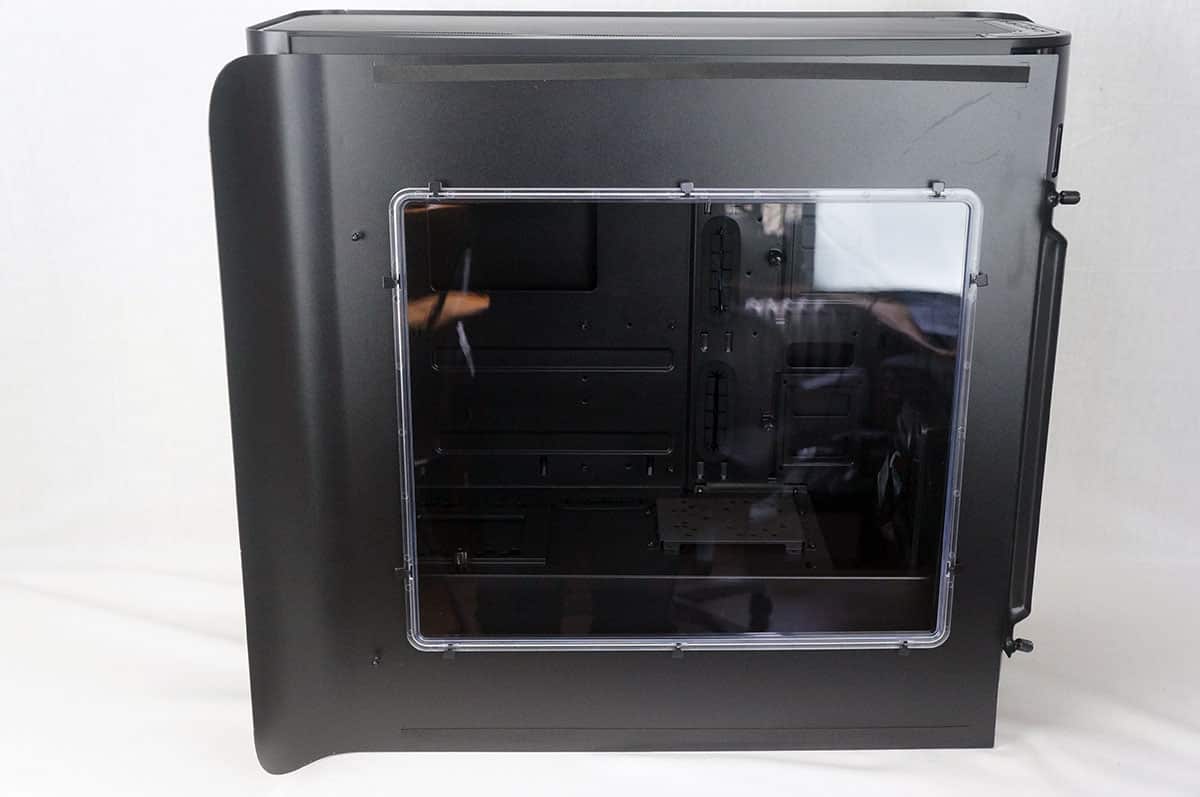
Getting inside the case is not that difficult since both side panels have thumbscrews. Now taking the panels off the Pandora is a little different than most cases. You first want to carefully pull the panel off from the curved part. This will unlock the panel from the front of the case. Now remove the thumbscrews and slide the panel off. You want to be careful to not try and pick up the case from the curved part or you will accidentally pop the panel off.
Opening the case up and taking a look inside you can see BitFenix has gone with a dual chamber design. The top of the case will house most of your components and the bottom of the case is reserved for your power supply and some extra storage. You can see there is a full power supply cover that helps keeps things inside nice and clean.
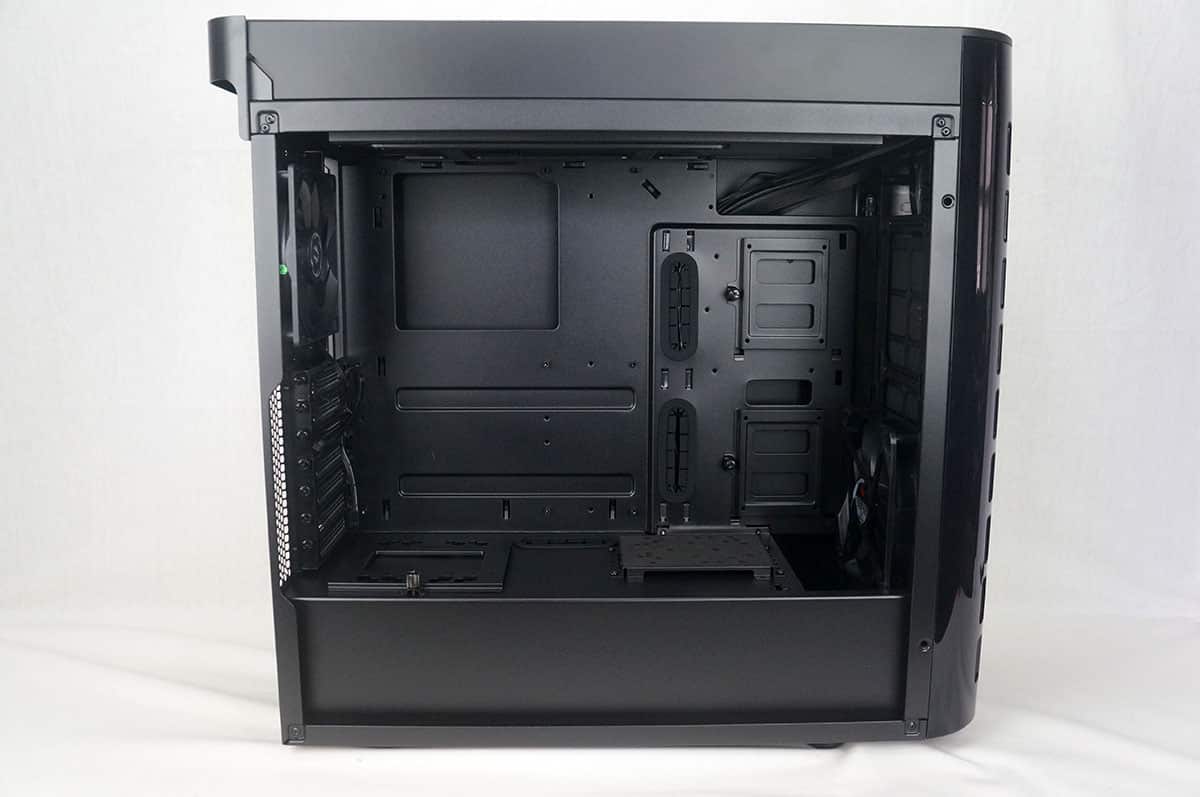
Starting at the front of the case we have a 140 mm intake fan. The front of the case has room for two 140 mm fans or three 120 mm fans as well as water cooling radiators up to 360mm. You will also notice that the PSU cover opens up at the front of the case so you have room for thicker radiators. Also towards the front of the case you will see two hard drive mounts. These support 2.5-inch hard drives. Finally there is a water cooling pump mount bracket up front too. This will make it very easy to install a pump if you plan on doing your own custom water cooling loop.

Moving to the back part of the case there is a larger hard drive mount. This is for 3.5-inch hard drives and is removable.
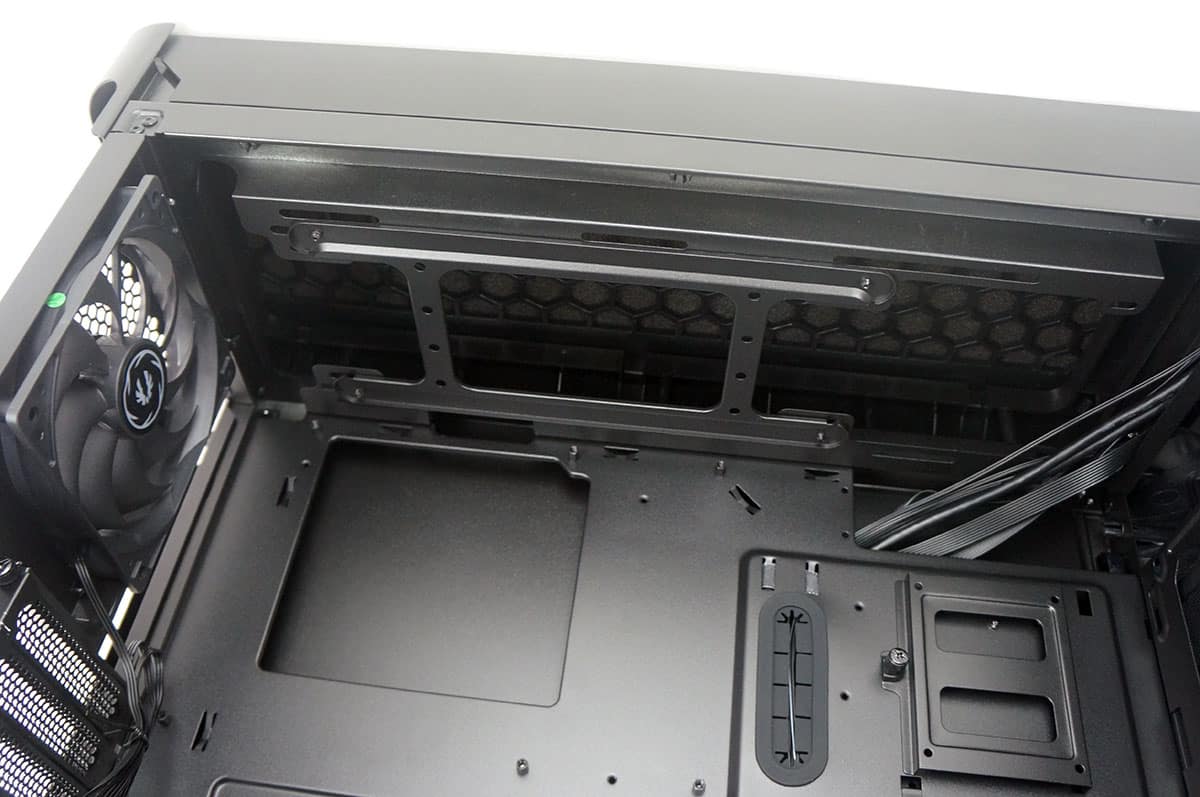
The Pandora ATX of course supports ATX motherboards. There is a large CPU cutout that will allow you to install aftermarket CPU coolers without having to remove your motherboard from the case. You can also see the three large cable routing holes with the rubber inserts, there are also two more towards the top of the case for your EPS power connection.
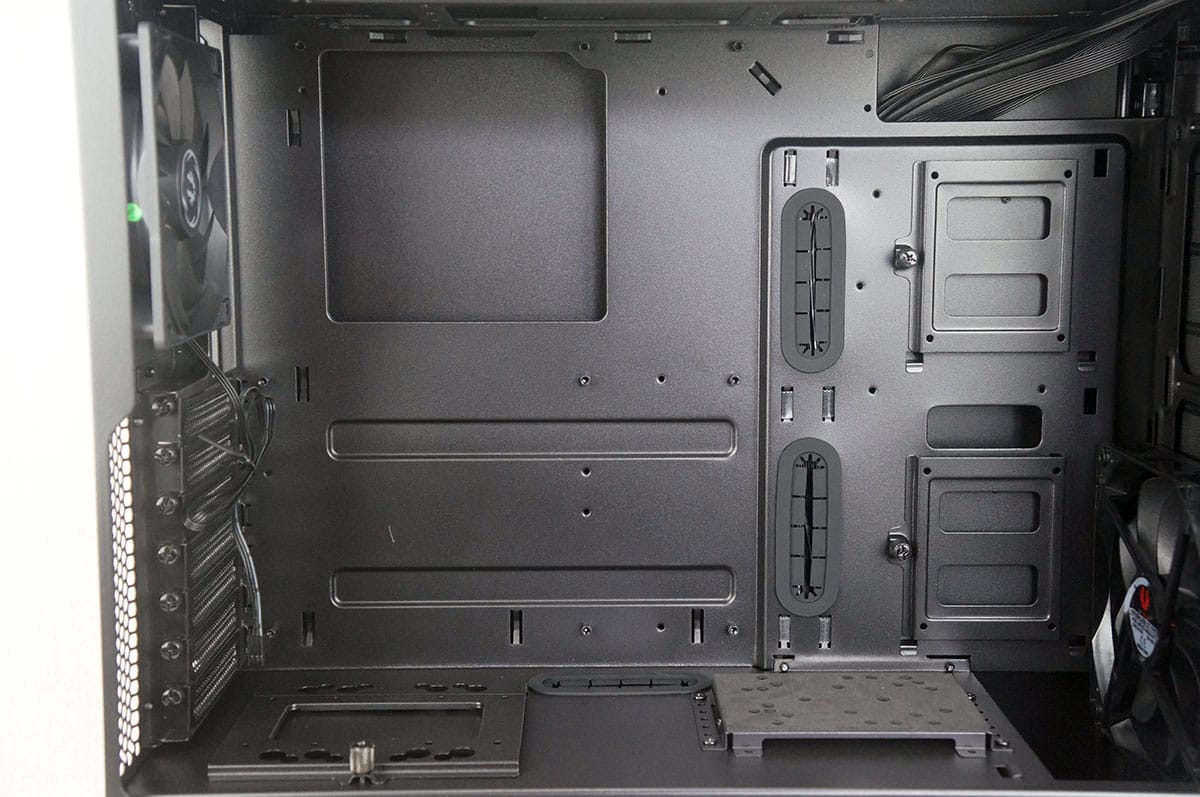
At the top of the case there is another water cooling item. BitFenix has pre-installed a reservoir mount bracket. This can be moved to the front of the case if you want. At the top of the case there is also room for three 120 mm fans or two 140 mm fans as well as support for water cooling radiators up to 360 mm.
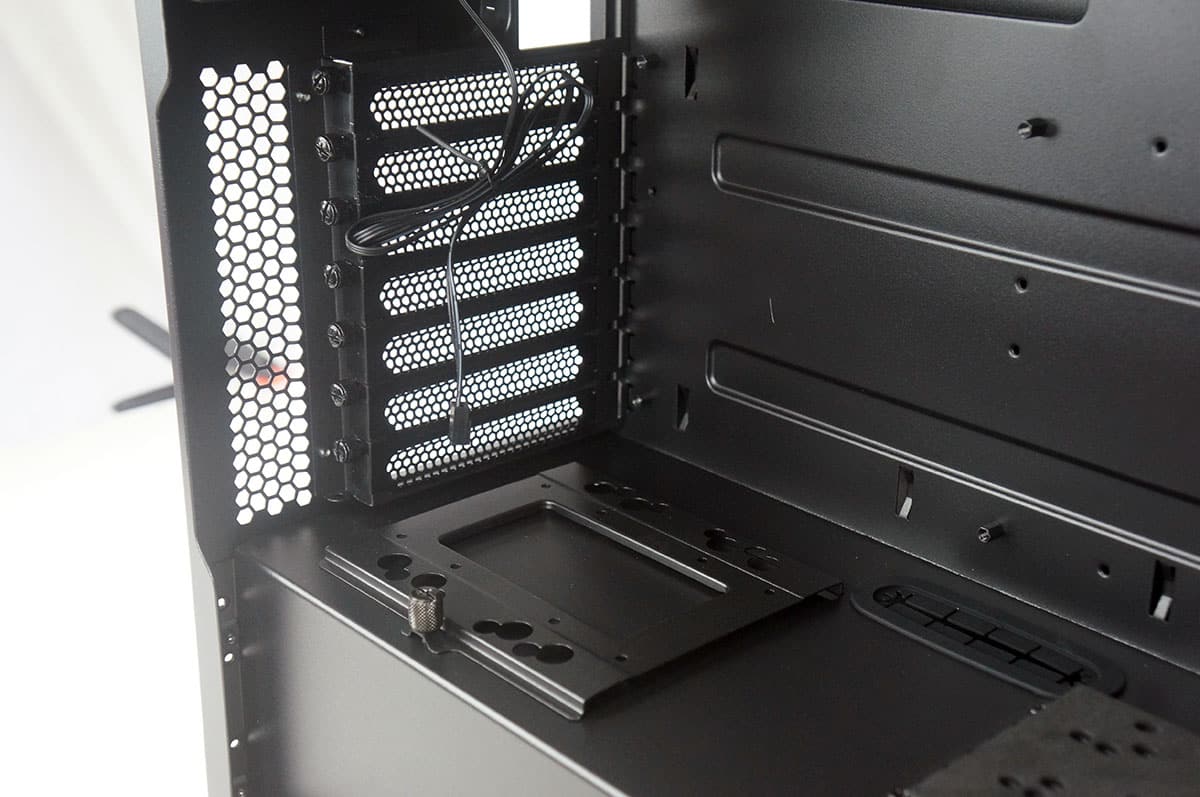
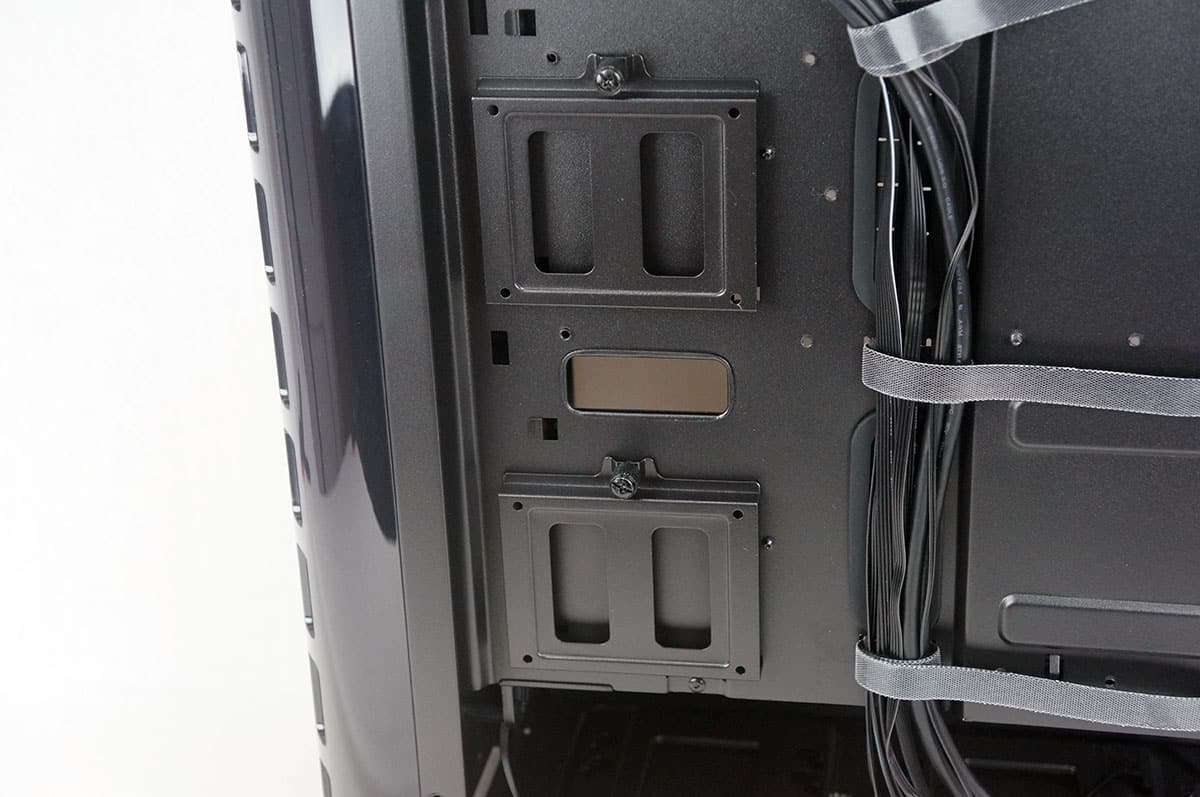
Taking the opposite side panel off the case we can see how the rest of the case is set up. The first thing you notice is how the cables from the front of the case are routed and the three included velcro ties. These are great to have as they make it very easy to keep all of your cables nice and neat.

There are two more 2.5-inch hard drive mounts on the backside of the case. Just like the ones on the front these are removable.
Moving down to the bottom of the case you have your power supply mount and two more 3.5-inch hard drive mounts. So you have a total of three 3.5-inch mounts and four 2.5-inch mounts.
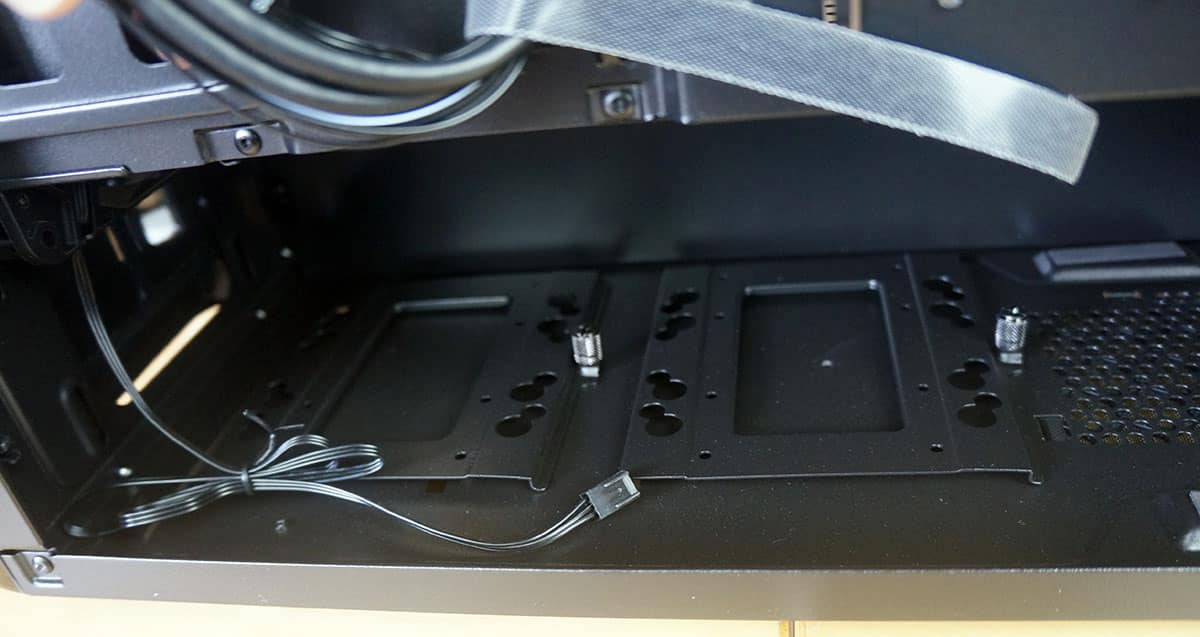
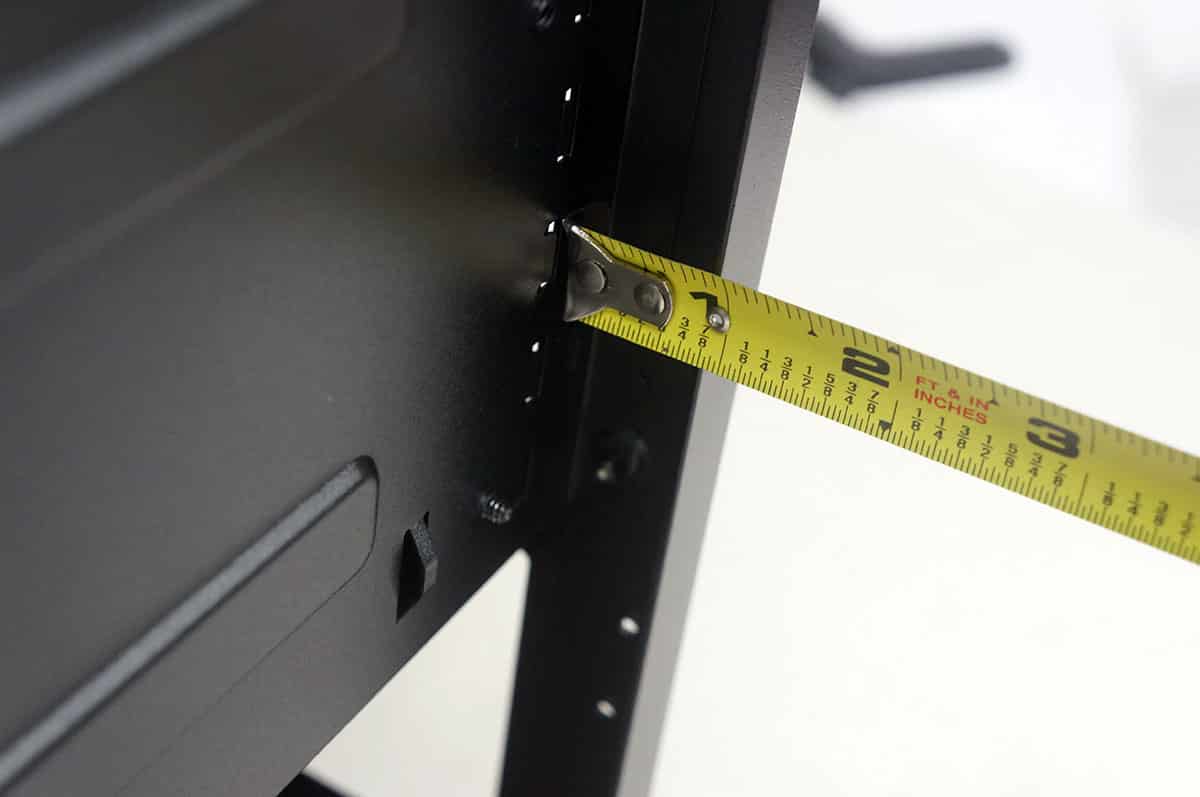
Doing a little measurement on the backside of the case we have about an inch of space between the backside of the motherboard tray and the back of the case. So routing cables behind the motherboard tray should not be an issue at all.


Updated after a long time. Well what do you think about these cases?
http://www.xtremegaminerd.com/best-full-tower-pc-cases/
You can find the updated list of best ATX cases at http://graphicscardhub.com/best-mid-tower-case/