
Installation
Before we get into installation I wanted to go over the different stacking modes. The normal HAF Stacker 935 mode is where you have the 915 stacked either on the top or bottom of the main compartment.


The other is the 945 setup which includes the main compartment and two 915 cases. Remember all of these cases are modular and can be stacked so if you like you can only buy two or three 915 cases and stack those together.

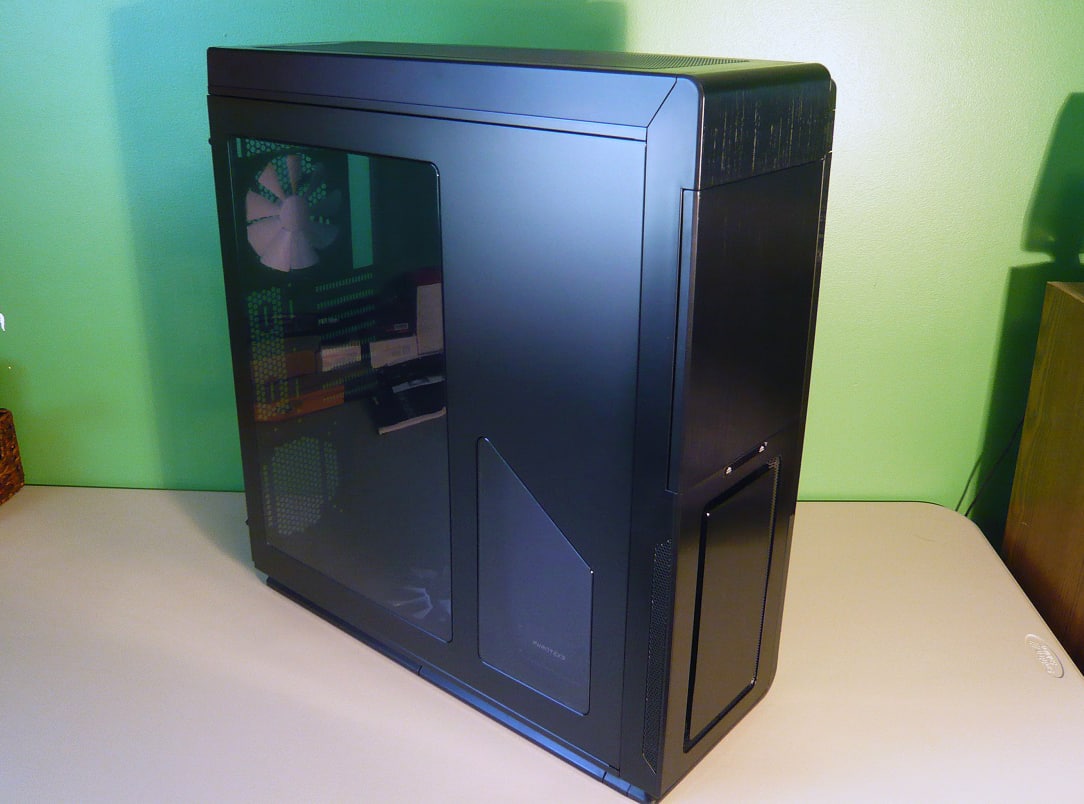
Now to start out installation we will be install our hardware in the main compartment first. There is quite a lot of room to work with inside and our motherboard goes in very easily.

Hard drives will be installed in the included trays. Cooler Master has made thing easy for 3.5-inch drives as the process is totally tool-less. The tray itself actually expands so you have an easier time getting the drive in. 2.5-inch drives attach to the trays by 4 small screws on the bottom. Once you have your hard drives installed you can go ahead and slide your drives back in.


Optical drive installation requires you to remove the front bezel to take out the bezel covers. Once you have done that you can put the front bezel back on and slide in your drive. Simply lock it into place with the tool-less locking system.


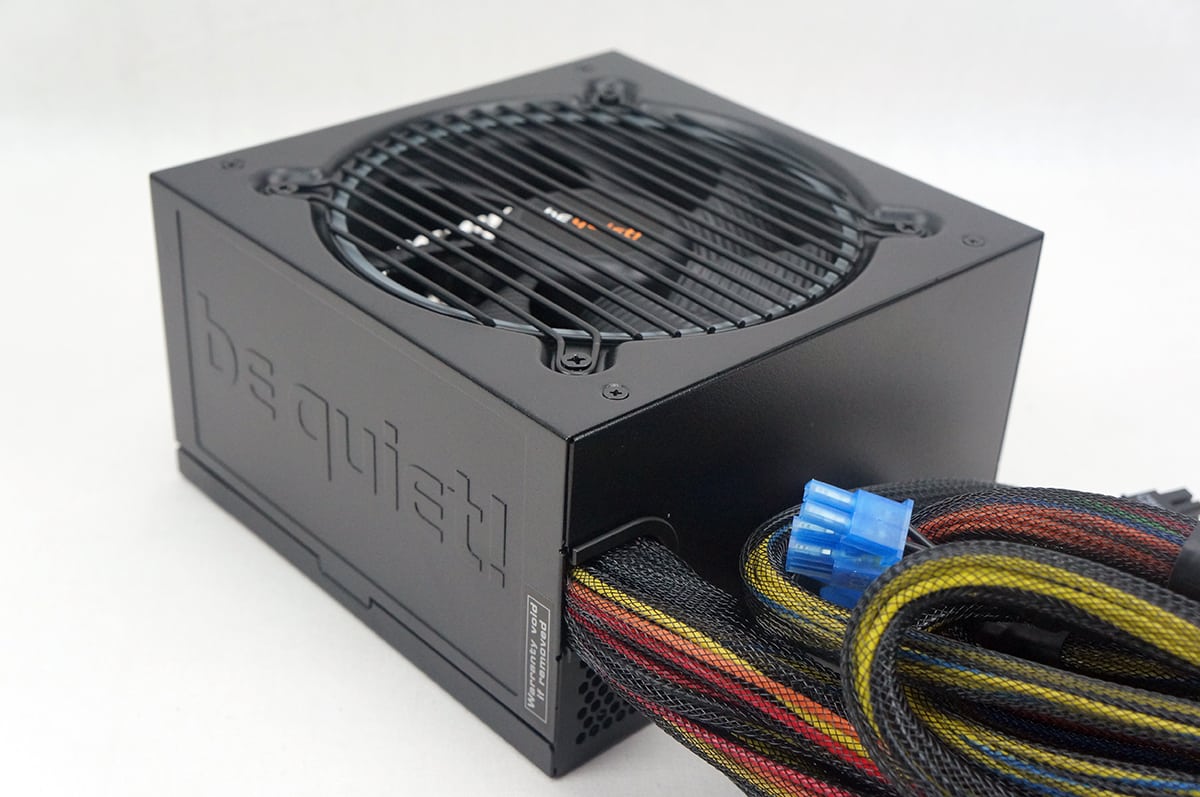
The power supply slides right into the bottom of the case and now it is time to route all of our cables. Since we can route them around the back of the motherboard tray it makes for a rather clean install.


No onto the 915, I decided to use the 915F for my build. The first thing to do was to install our mini-ITX motherboard. It makes things much easier if you remove to the top of the case.


We will be installing a single 2.5-inch hard drive in this case. Install the rubber standoffs as you see in the first image below. For installation on the bottom of the case just line up the standoffs with the holes then go ahead and slide it into place. Installation would be the same on the far side panel. While this installation works well we were unable to connect our SATA power connector and we were using Cooler Master own V850 power supply. I would have liked to have seen a single SATA power connector adapter included.


To install and secure the power supply at the front of the case you need to take off the front bezel. Here you can see the power cable that connects to your power supply and gets routed to the back of the case.


The last thing to install is our video card. Here we ran into an issue as well. The bottom part of the case actually gets in the way on the end of the metal I/O shield on the graphics card. We tested 3 different cards and got the same result. Because of this the card is not fully in our PCI-Express slot and we were unable to re-install the thumbscrews to secure the card. You can see though that the 915 can support very long graphics cards.


Here are shots of the two cases stacked together.


not visually pleasing