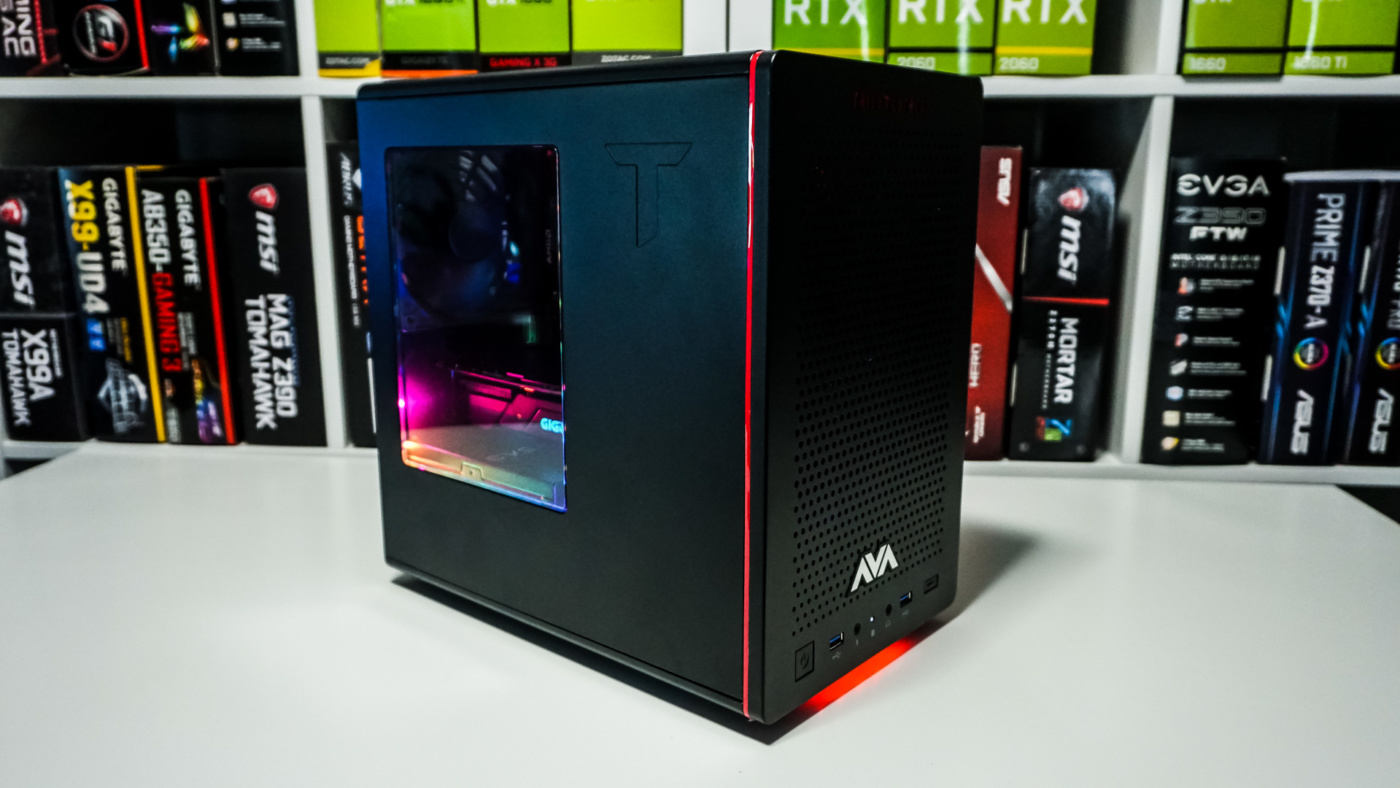
Installation
Its no secret we have not been a fan of the mounting systems Cooler Master has used on some of their recent coolers. With the Hyper 212 RGB Black Edition we have yet another different mounting system than the two previous Cooler Master coolers we’ve reviewed. We will be installing this cooler in our Ryzen system so the thing thing you’ll need to do is remove the AM4 bracket and backplate on your motherboard.
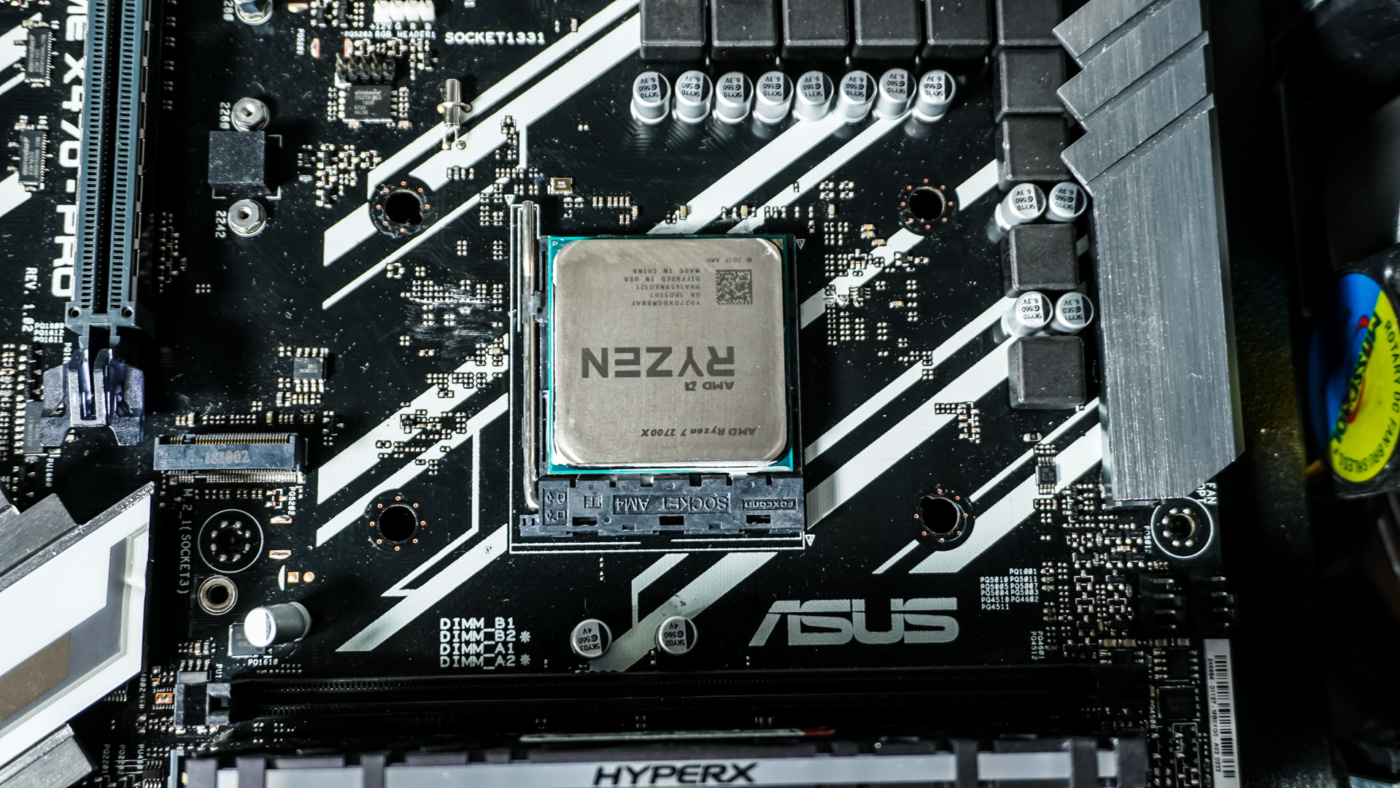
The next thing you are going to want to do is take the included backplate and put the appropriate mounting screws threw it. This mounting plate has an Intel side and an AMD side. For AMD installation the AMD side should be facing you when you are pressing the screws threw it. Then very carefully place the backplate on the backside of your motherboard making sure the screws go through the holes.

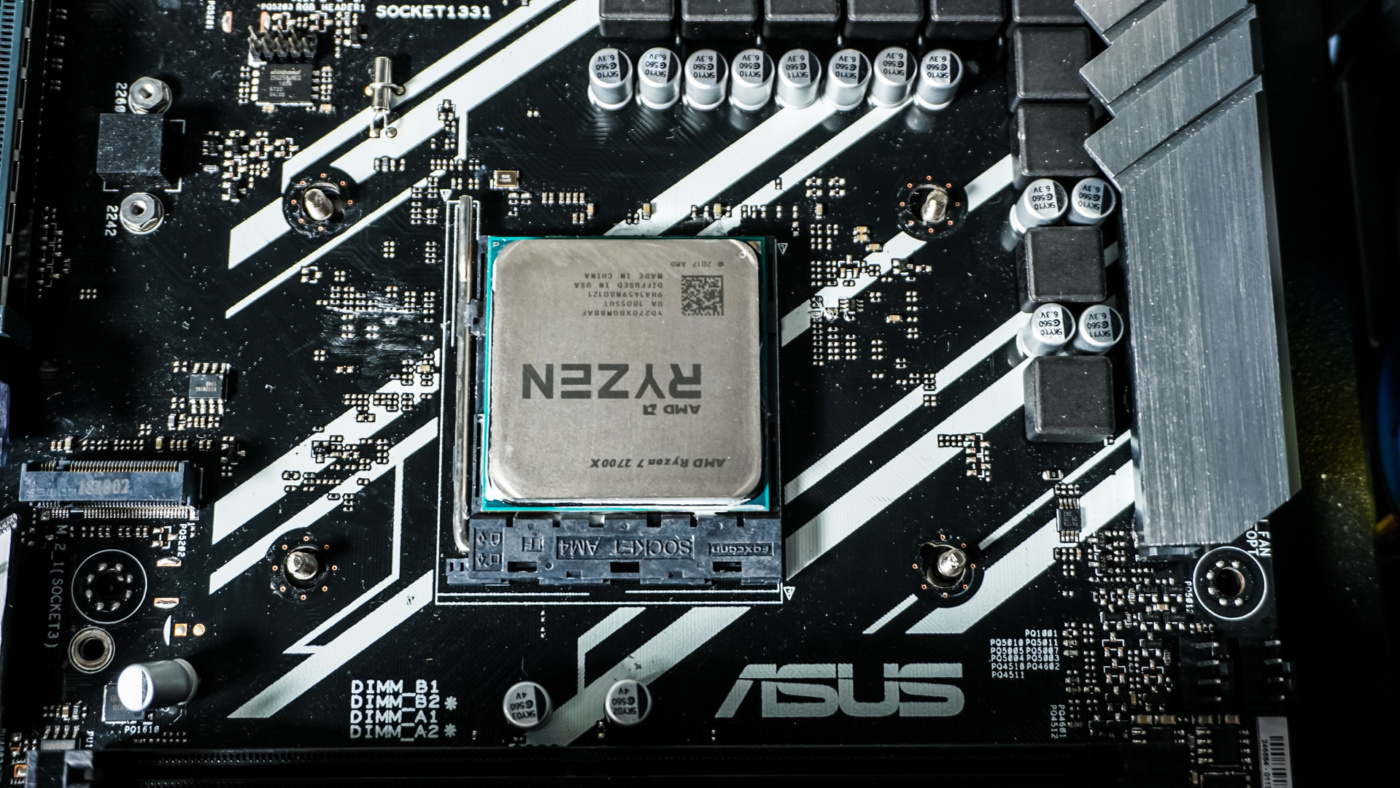
Now take the cooler and install the mounting bars on the bottom. There are different mounting bars for Intel and AMD so be sure to follow the instructions and use the correct ones.
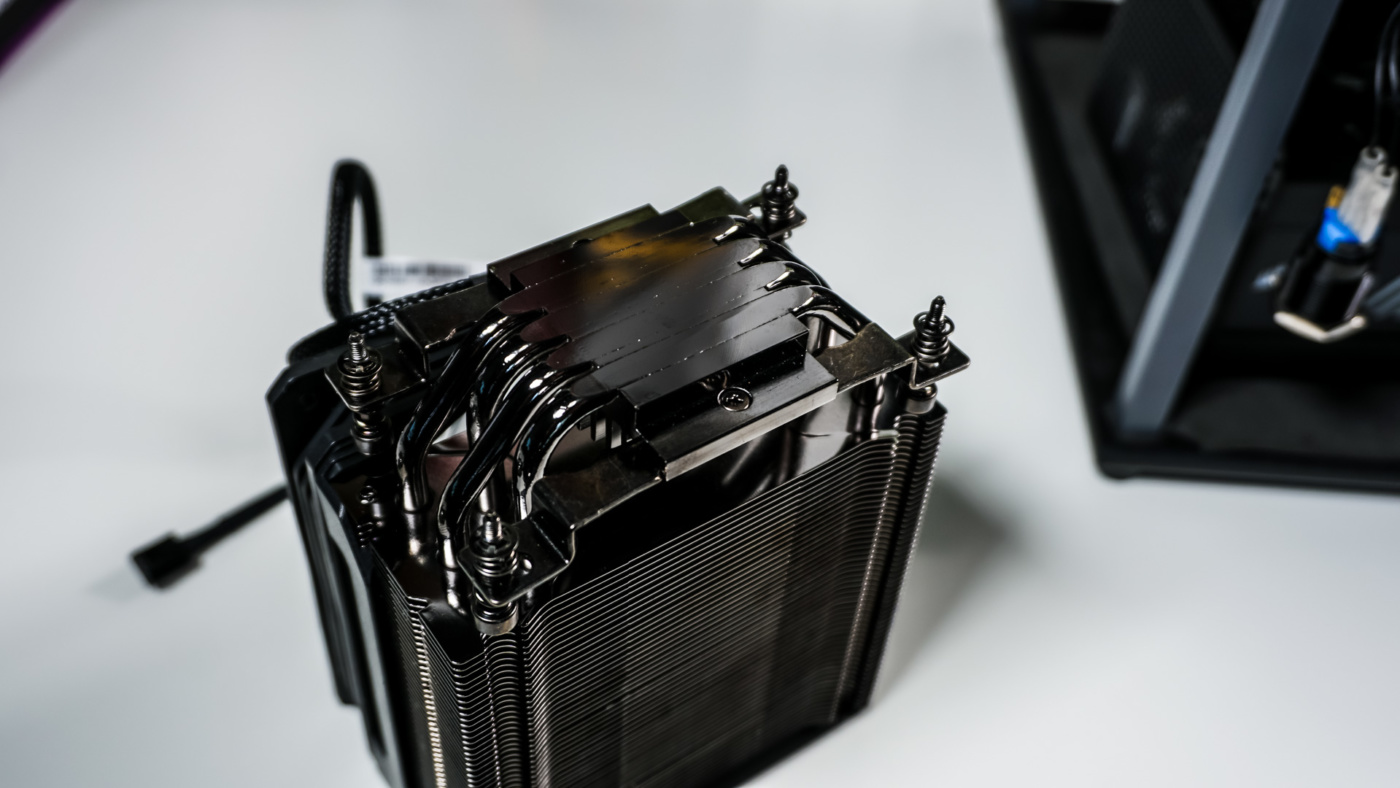
Ok now it is time to get the cooler on your CPU. First take the supplied thermal paste and apply it on your CPU. Take the cooler and remove the front fan, then very carefully place it on your CPU lining up the screws on the mounting bars with the holes from the bolts in the backplate. With everything lined up correctly tighten the screws with a screwdriver.
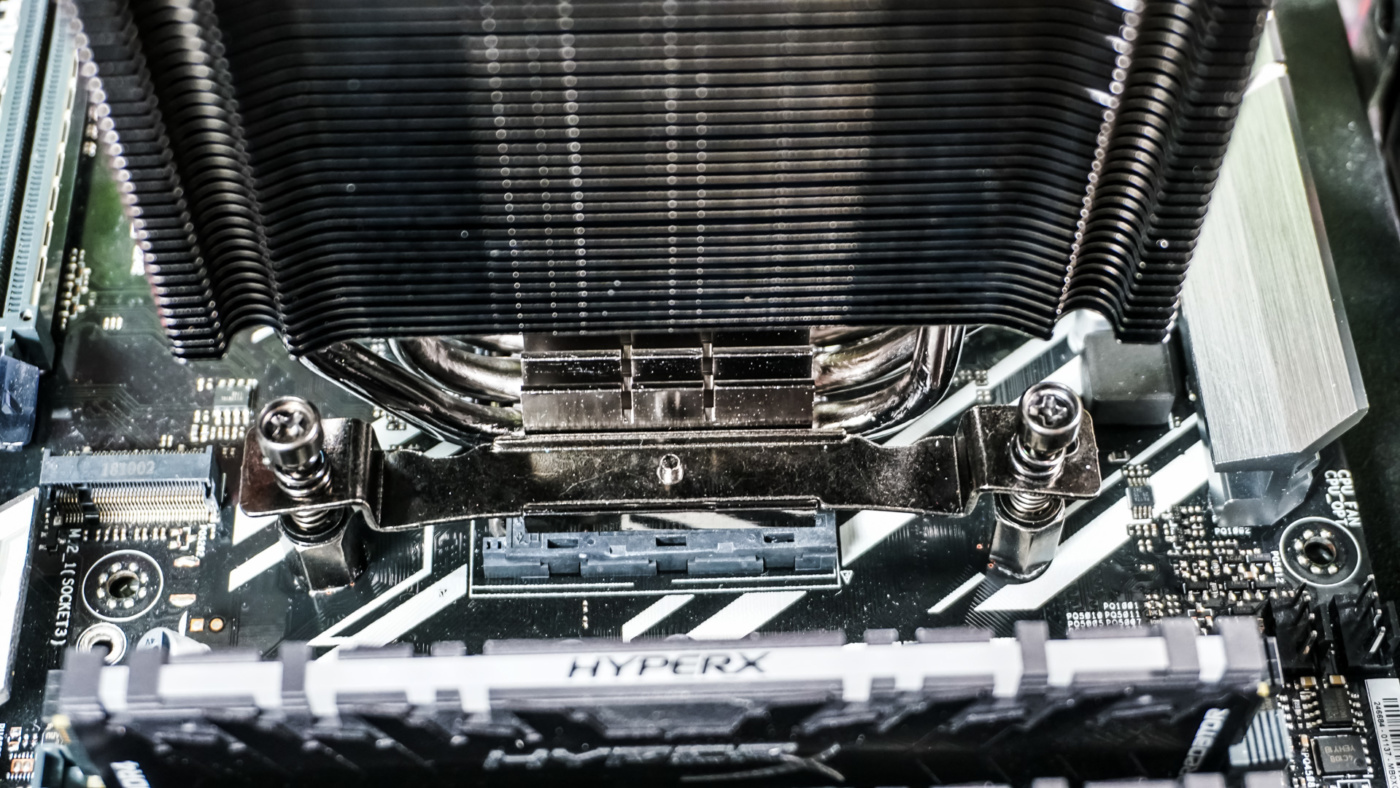
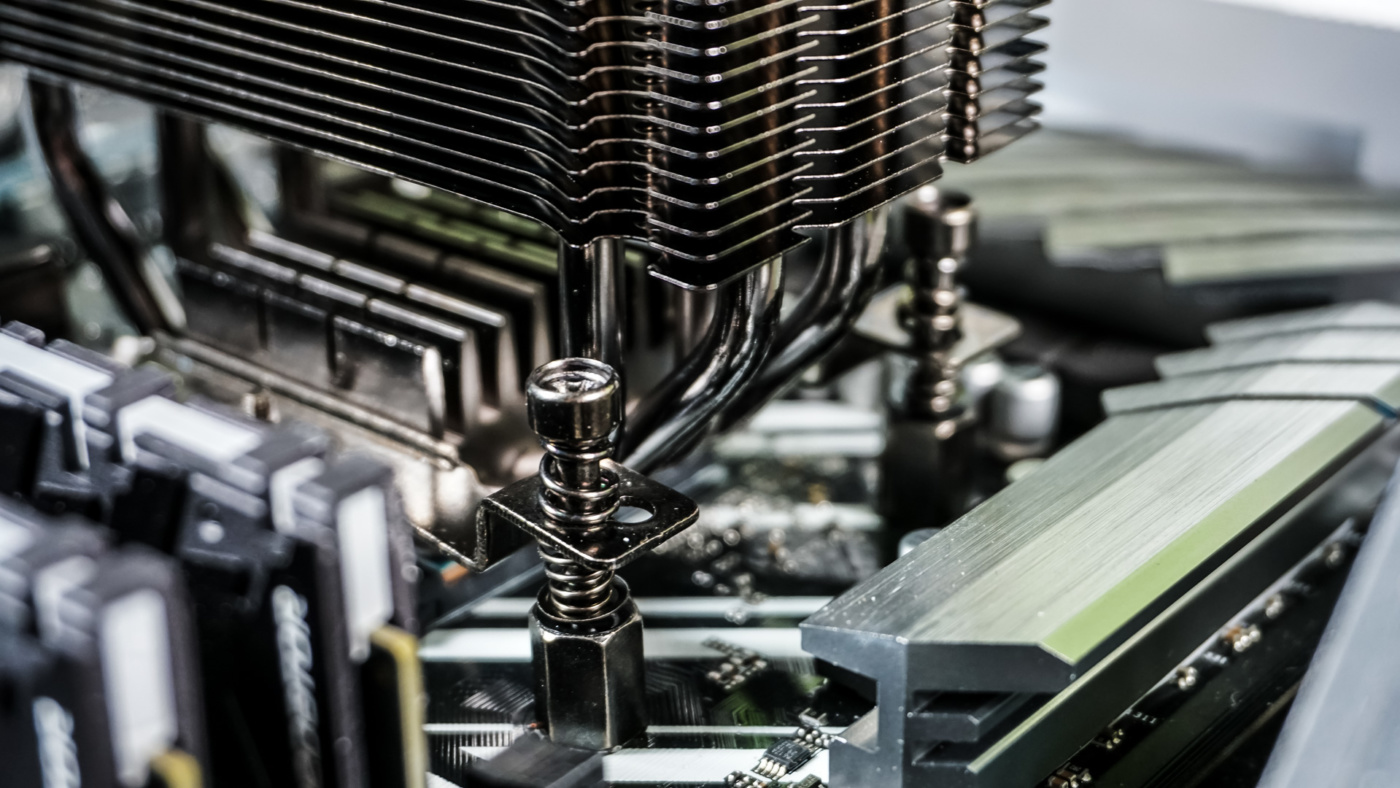
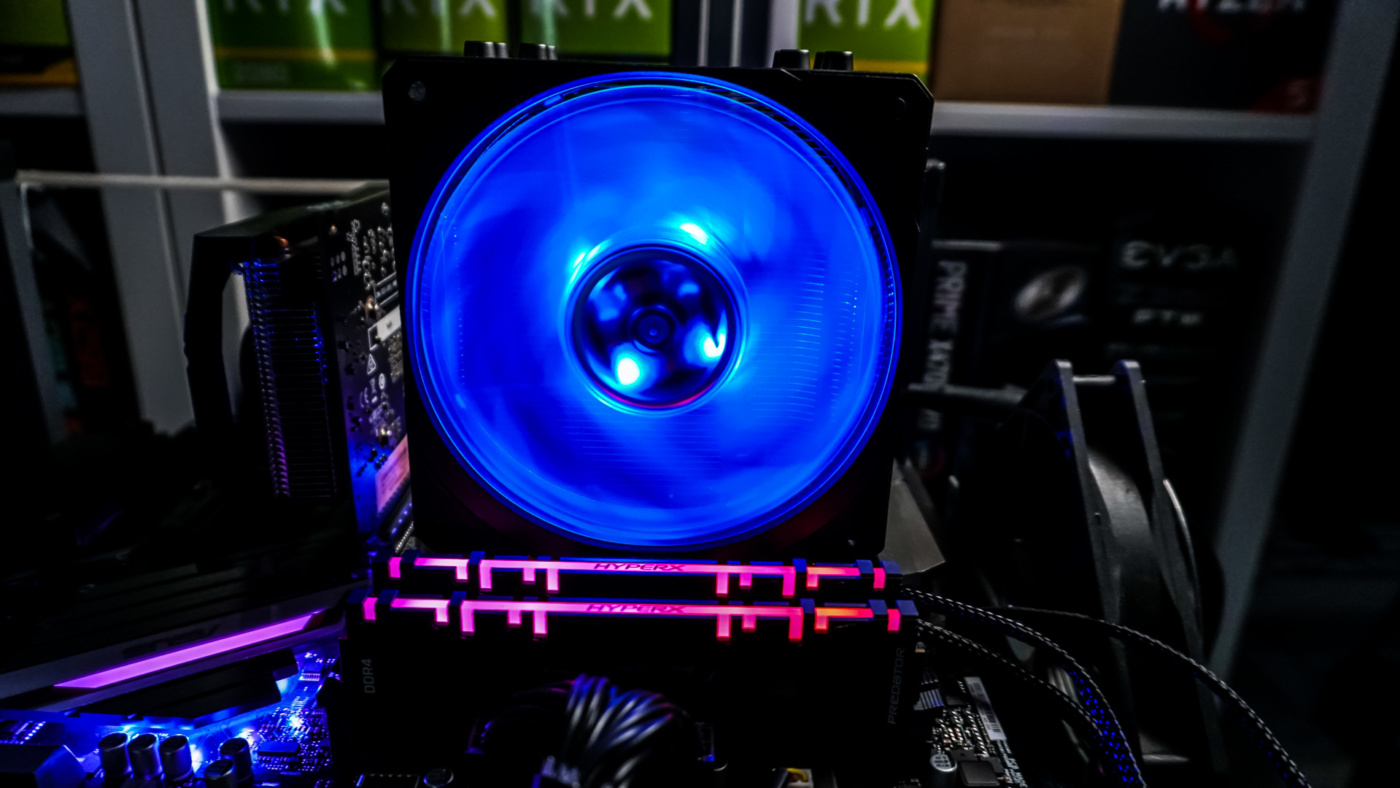
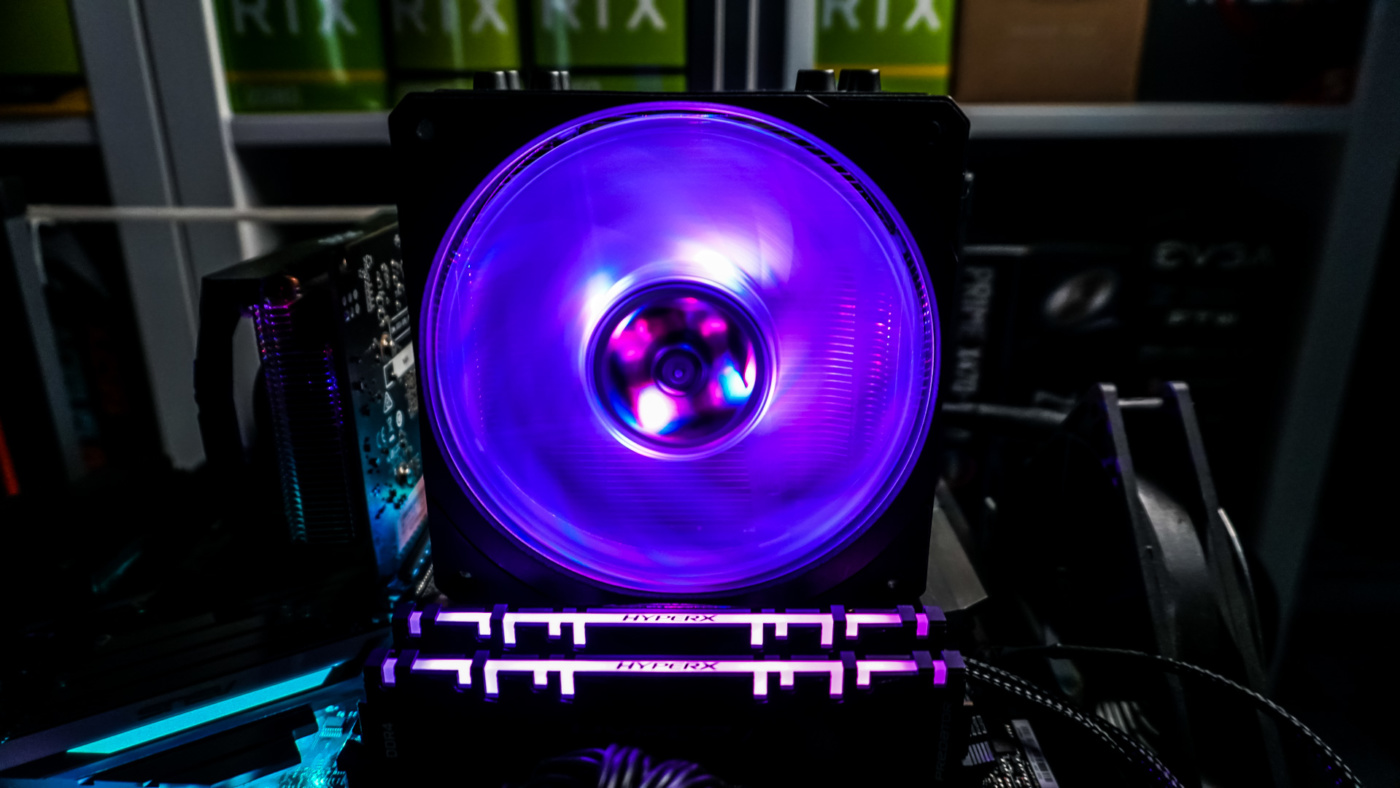
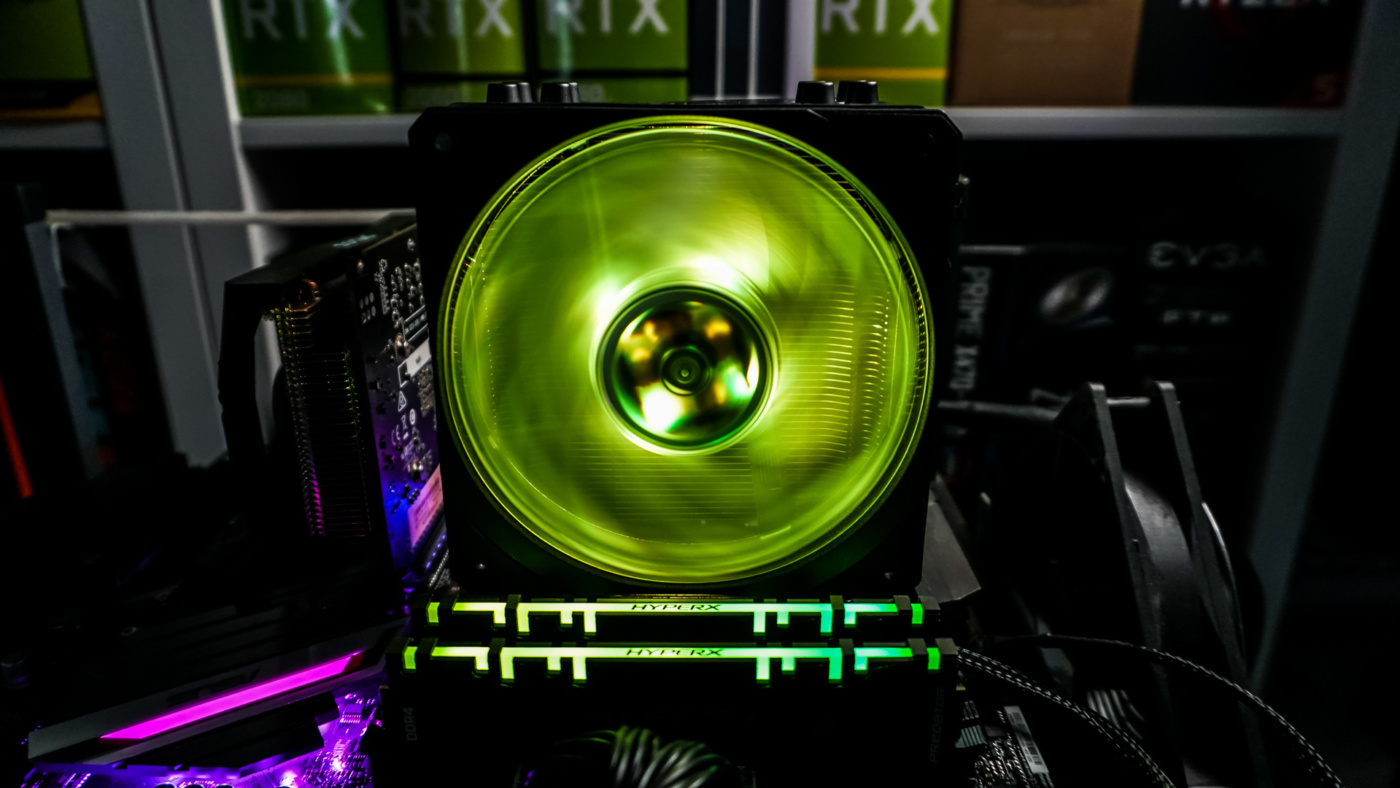
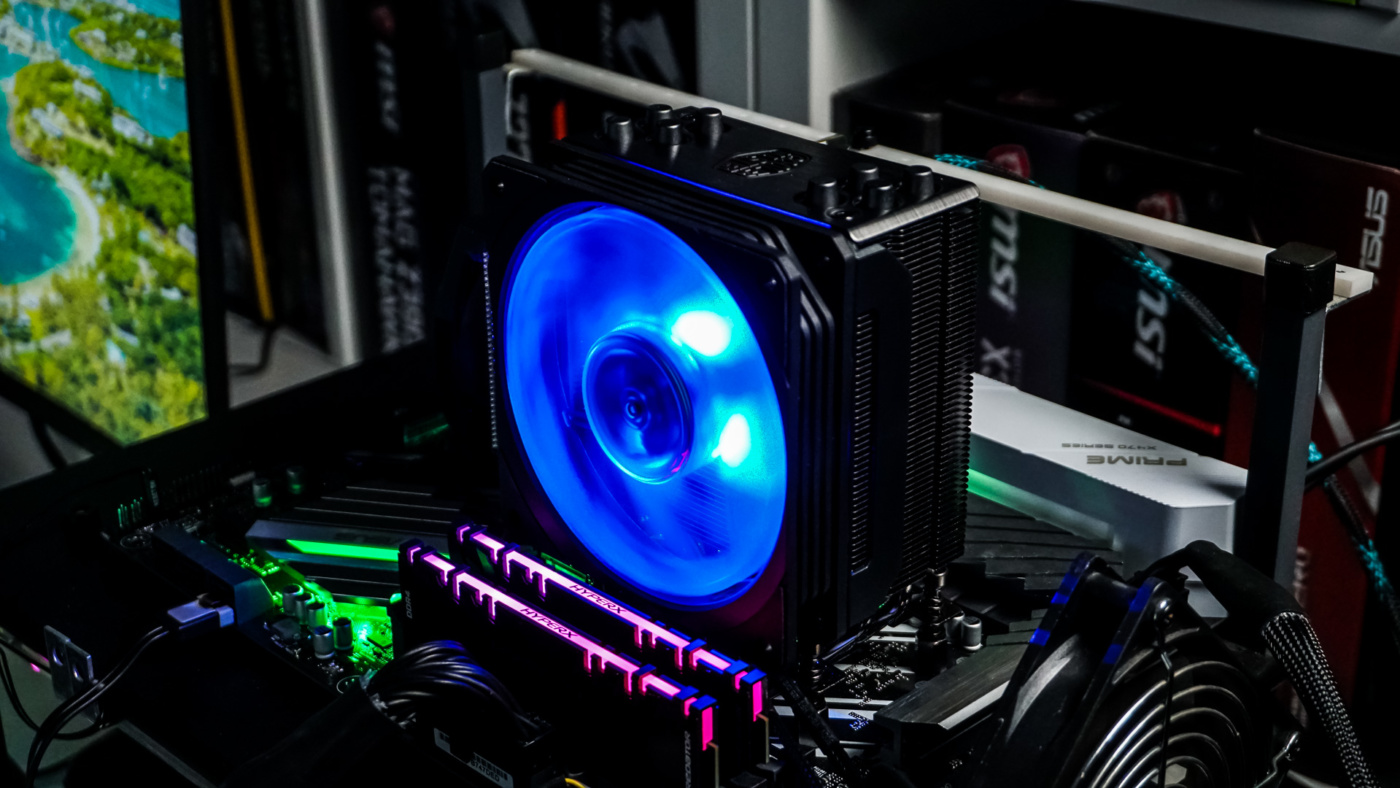
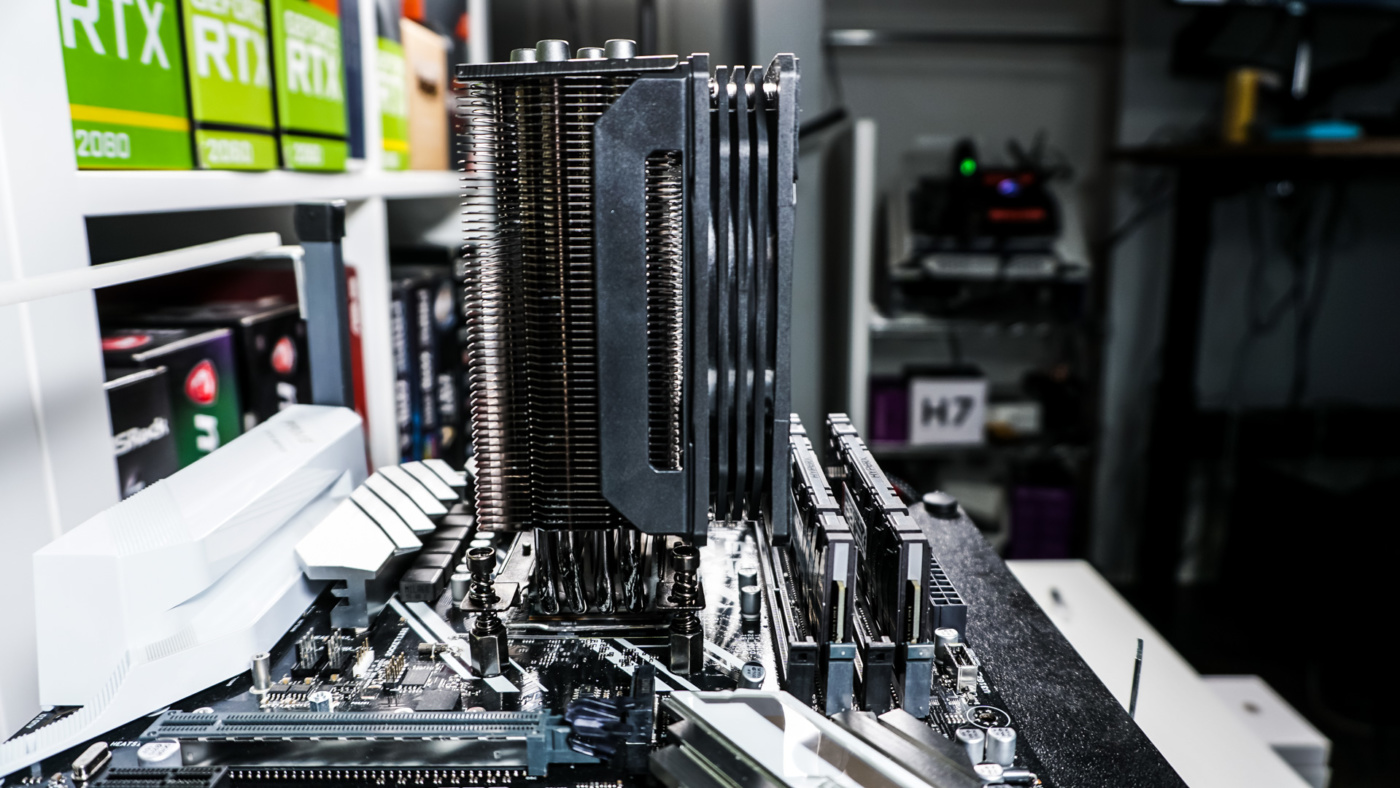
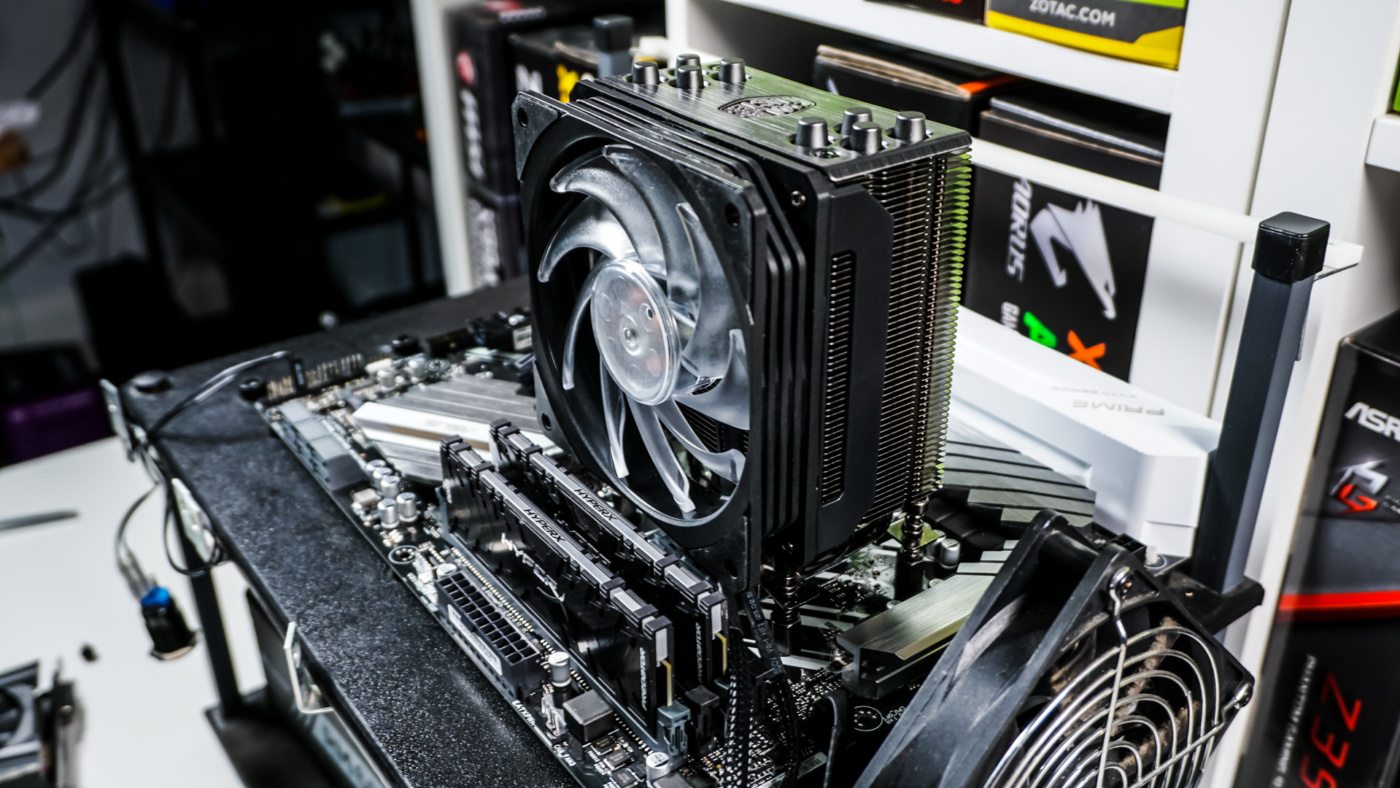
And just like that we have the cooler installed. I would have to say the installation is much easier than previous Cooler Master cooler we’ve reviewed. With the cooler installed we can see just how little space it takes up and how we have more than enough room for RAM clearance.
The last thing you are going to want to do is connect the fan to your motherboard. The fan also has a standard 4-pin RGB connection on it. You can either connect this to a 4-pin header on your motherboard or use Cooler Master’s included RGB controller. This RGB controller is pretty simple to use. There are three main buttons on the controller, one controls brightness, one will change the color, and the other sets the mode. There are six pre-set lighting effects to cycle through. The lighting on the fan is pretty bright at its highest setting, but I do like that you have the ability to turn it completely off if you want as well.