Installation
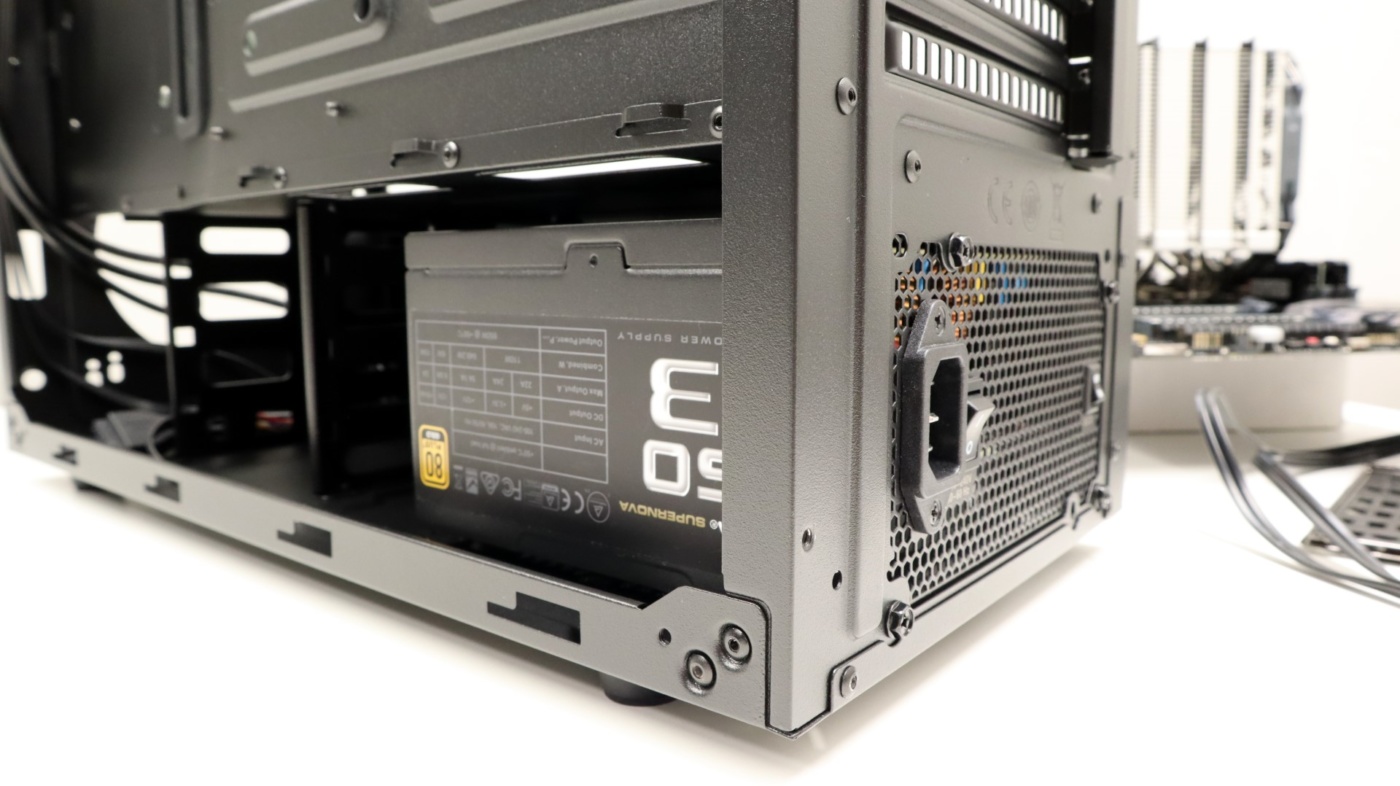
To start out, we always like to install our power supply first, and in the case of the NR600, that means sliding it in from the right side of the case and securing it with the included screws. As you can see, there isn’t a ton of room between the end of our power supply and the 3.5″ drive cage. While the NR600 can fit power supplies up to 180mm in length, the 150mm length of our test unit didn’t leave much room as is.

Next up was our motherboard, and it installed with ease. Cooler Master has provided one of our favorite features with the NR600, and many people may not know they even exist. You see, the center motherboard standoff has a small ring that stands up above its top that allows you to place your motherboard into position and keep it there while you install the screws. If you have ever installed a motherboard in a case, you know that it can be difficult to keep the motherboard right where you want it, especially with the padded rear panel covers that some motherboards provide.
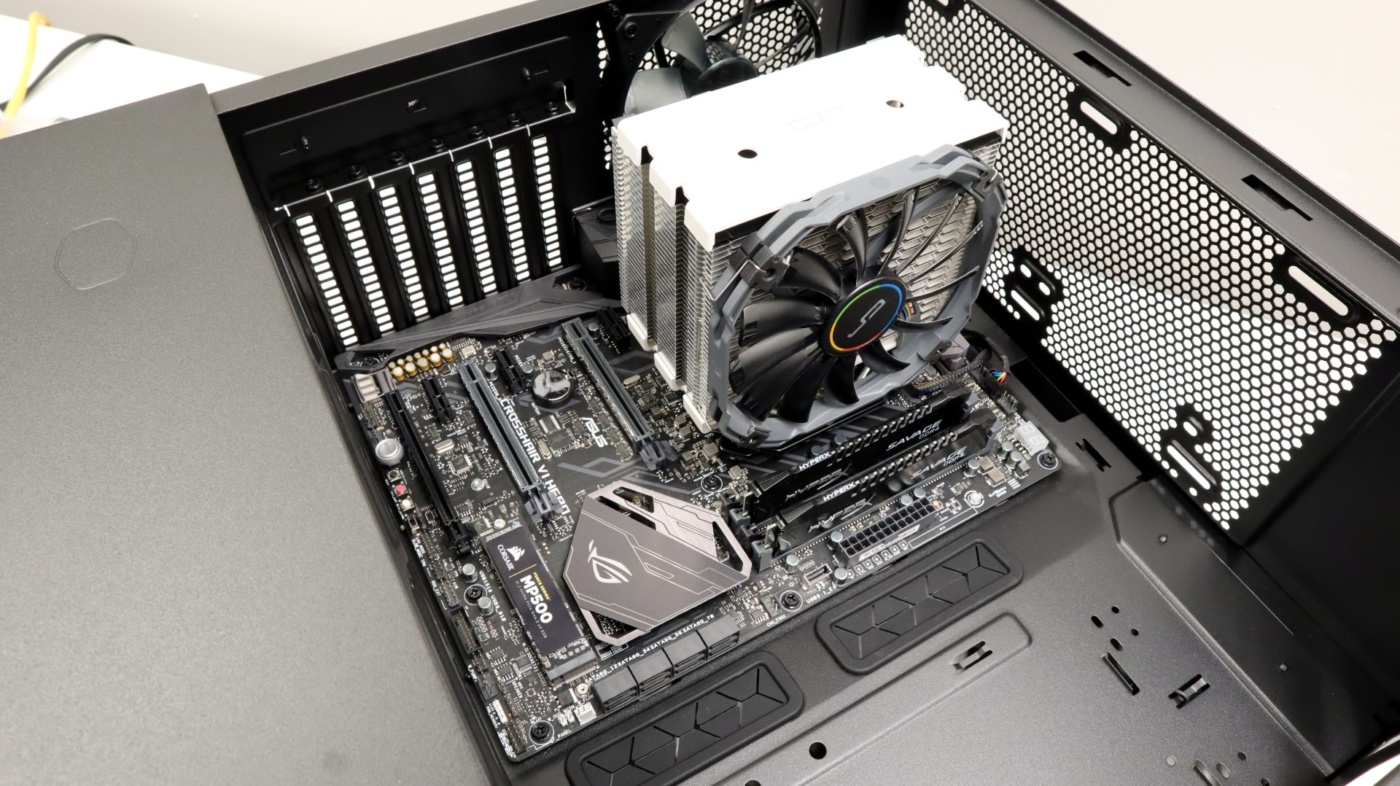
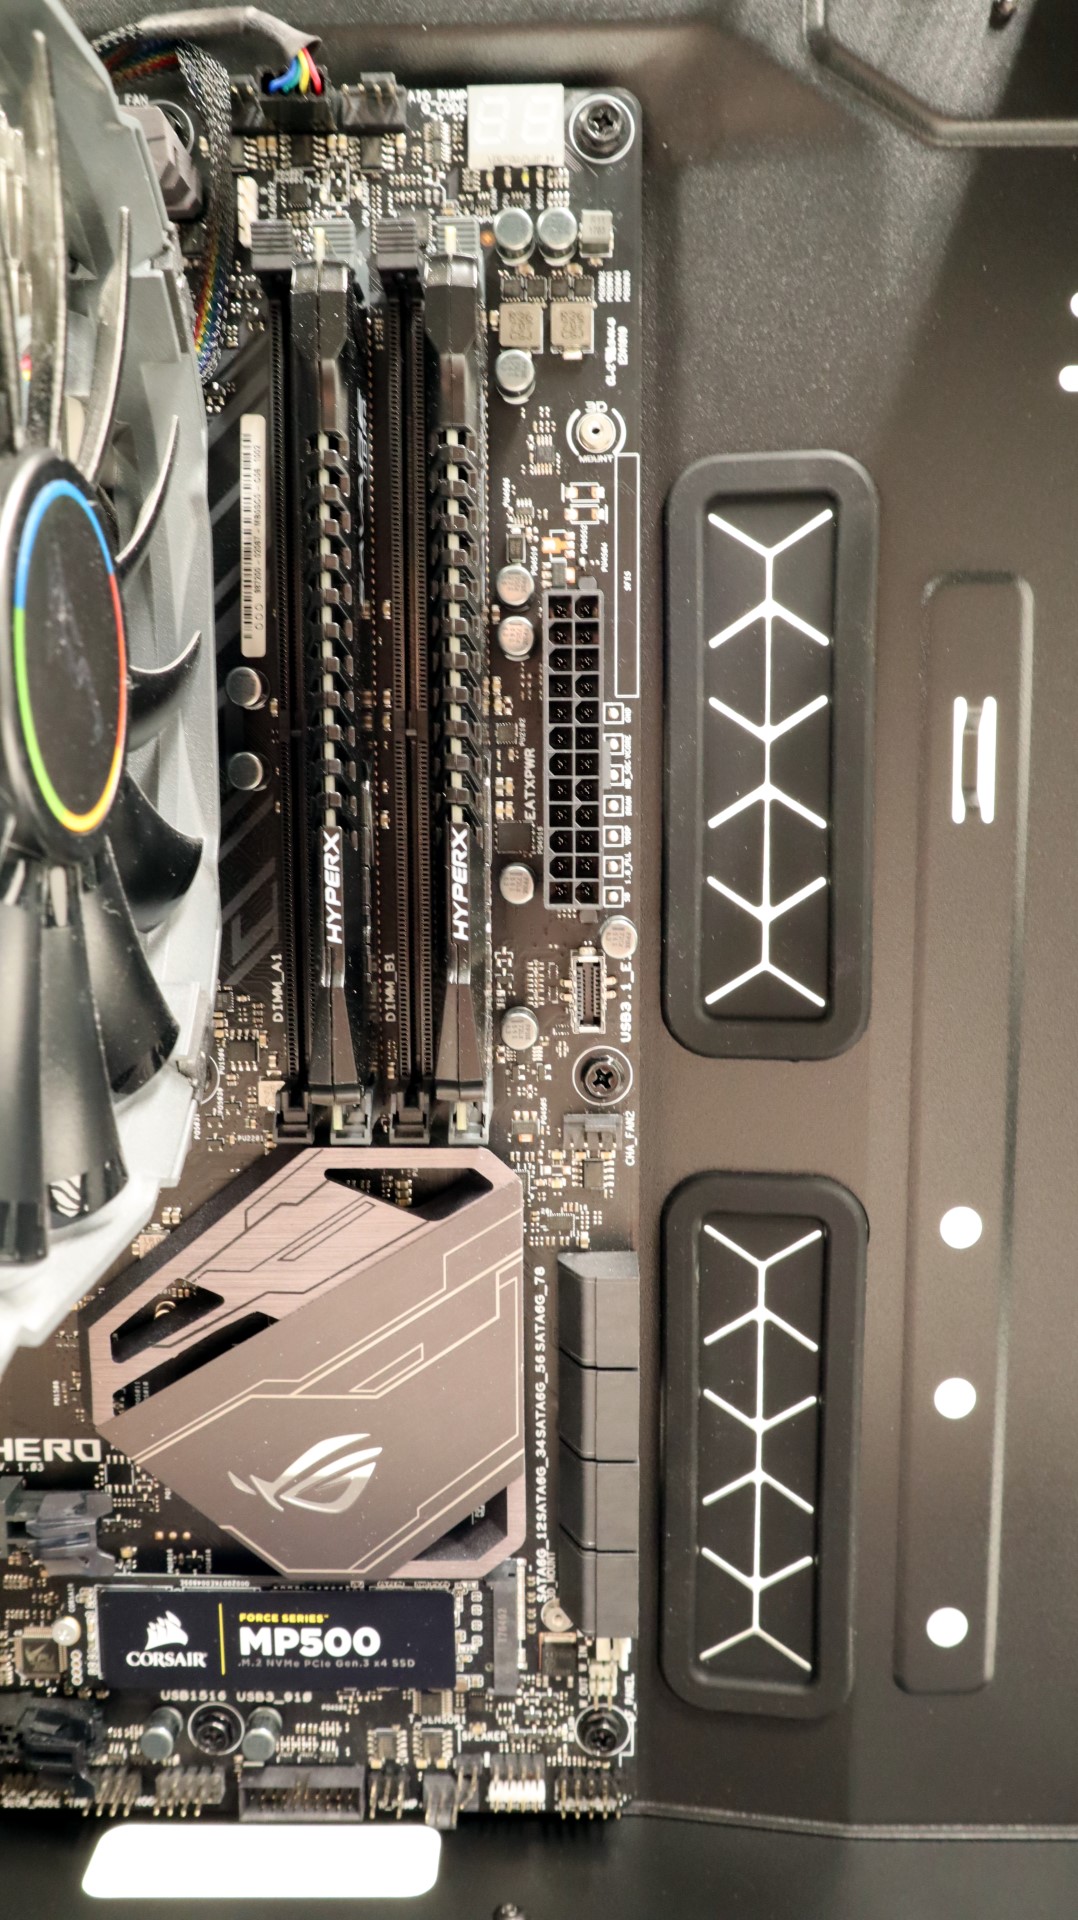
Clearances above the motherboard were ample, and the cutouts on the top portion of the power supply shroud lined up quite nicely with our motherboard’s I/O headers.
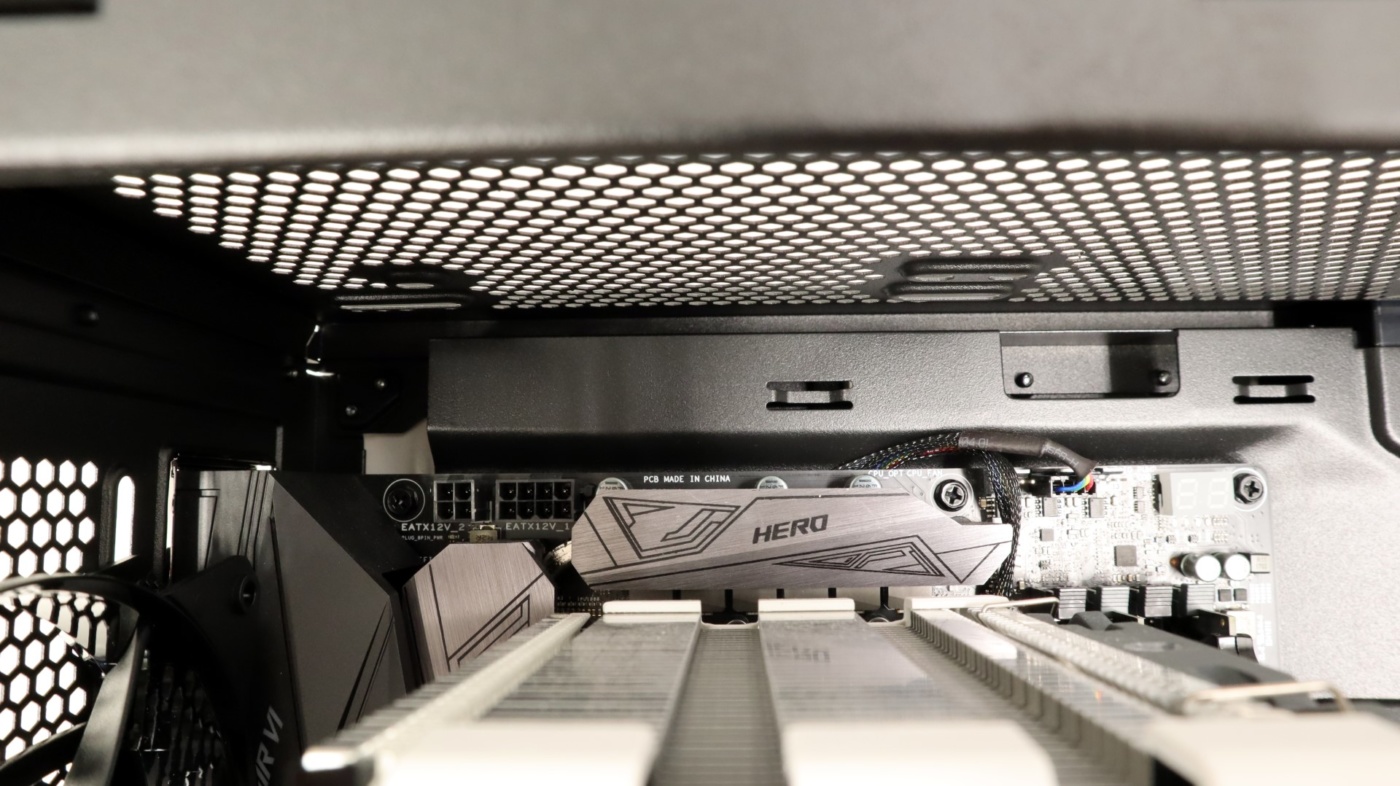
Another great lineup was found on the right side of the motherboard, where the 24-pin power cable and SATA ports lined up perfectly with the cable management cutouts. It’s designs like this that make building an enjoyable experience, and we were really happy to see this come together so well.
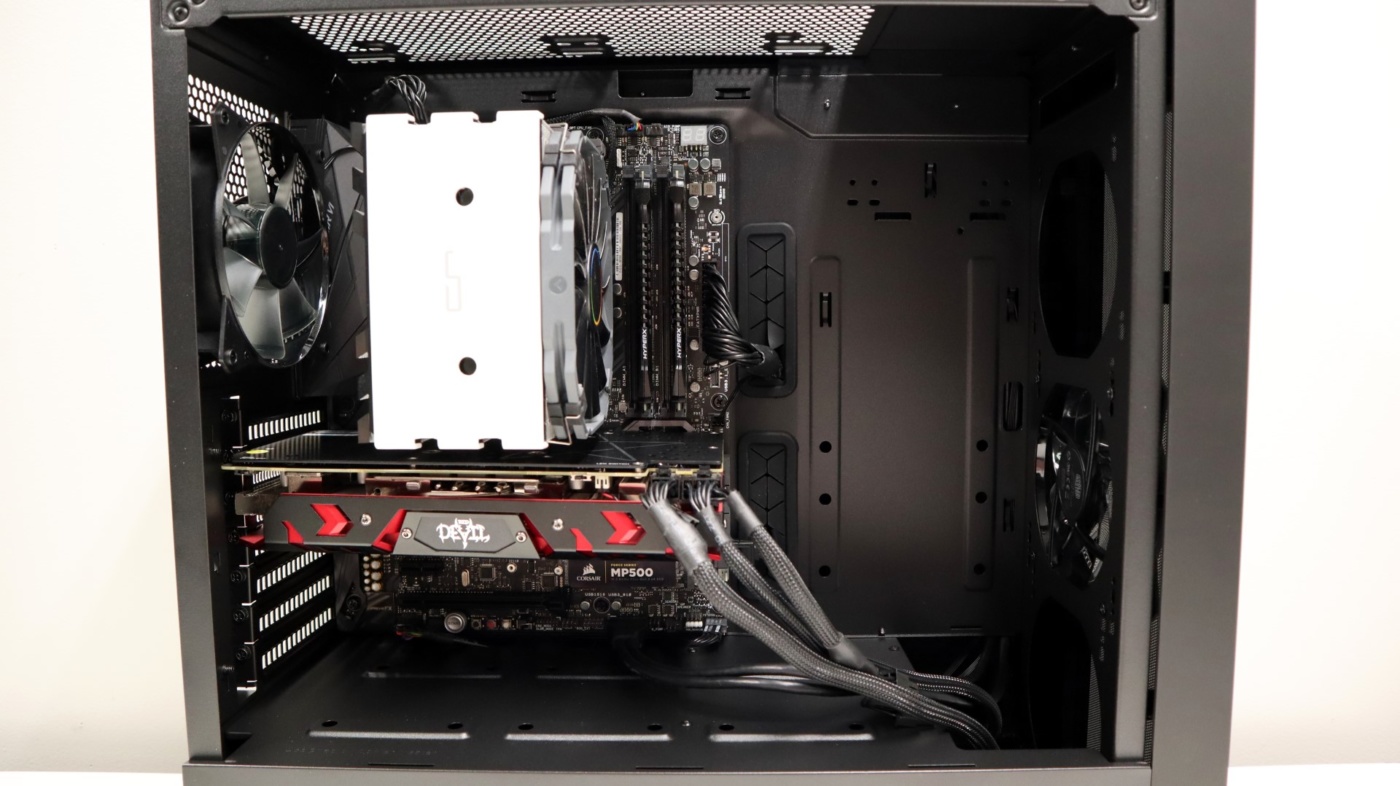
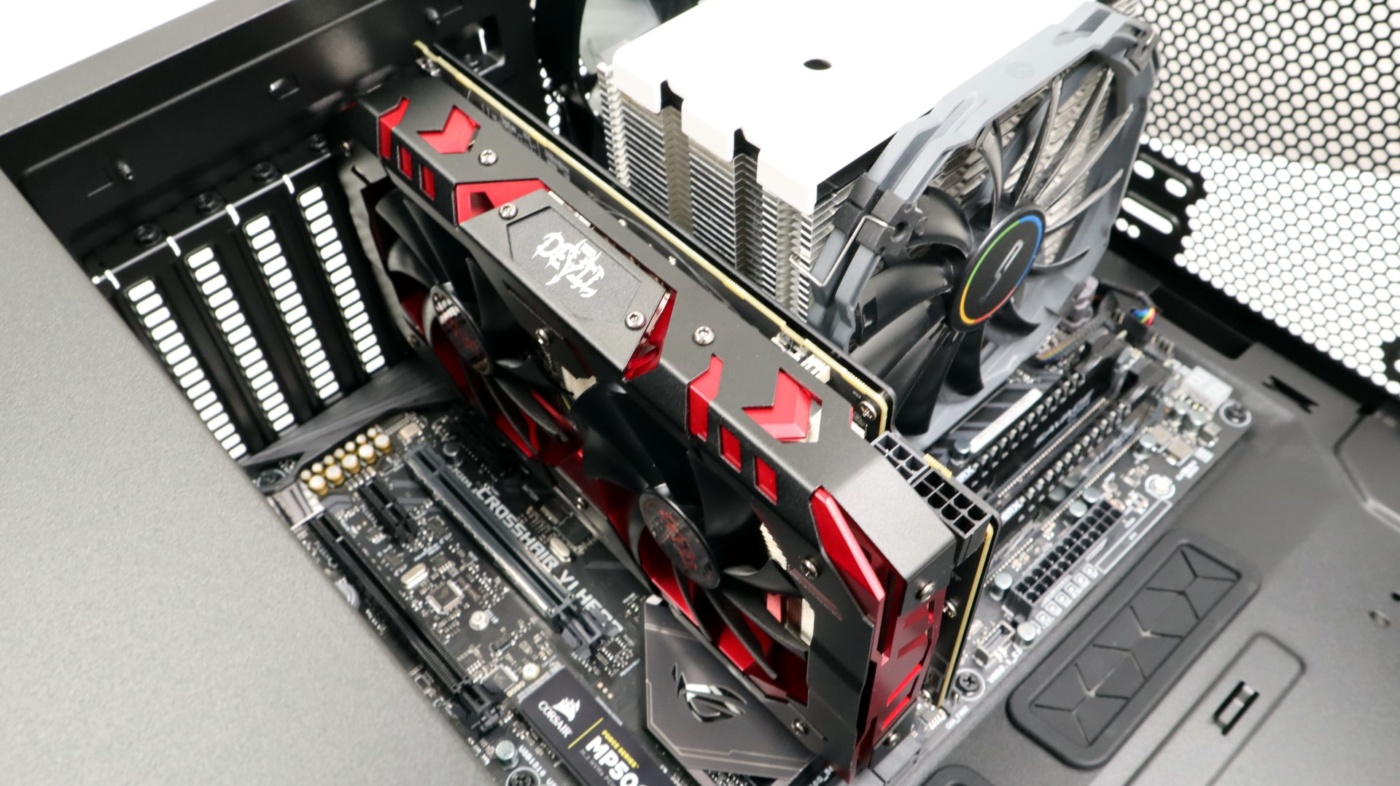
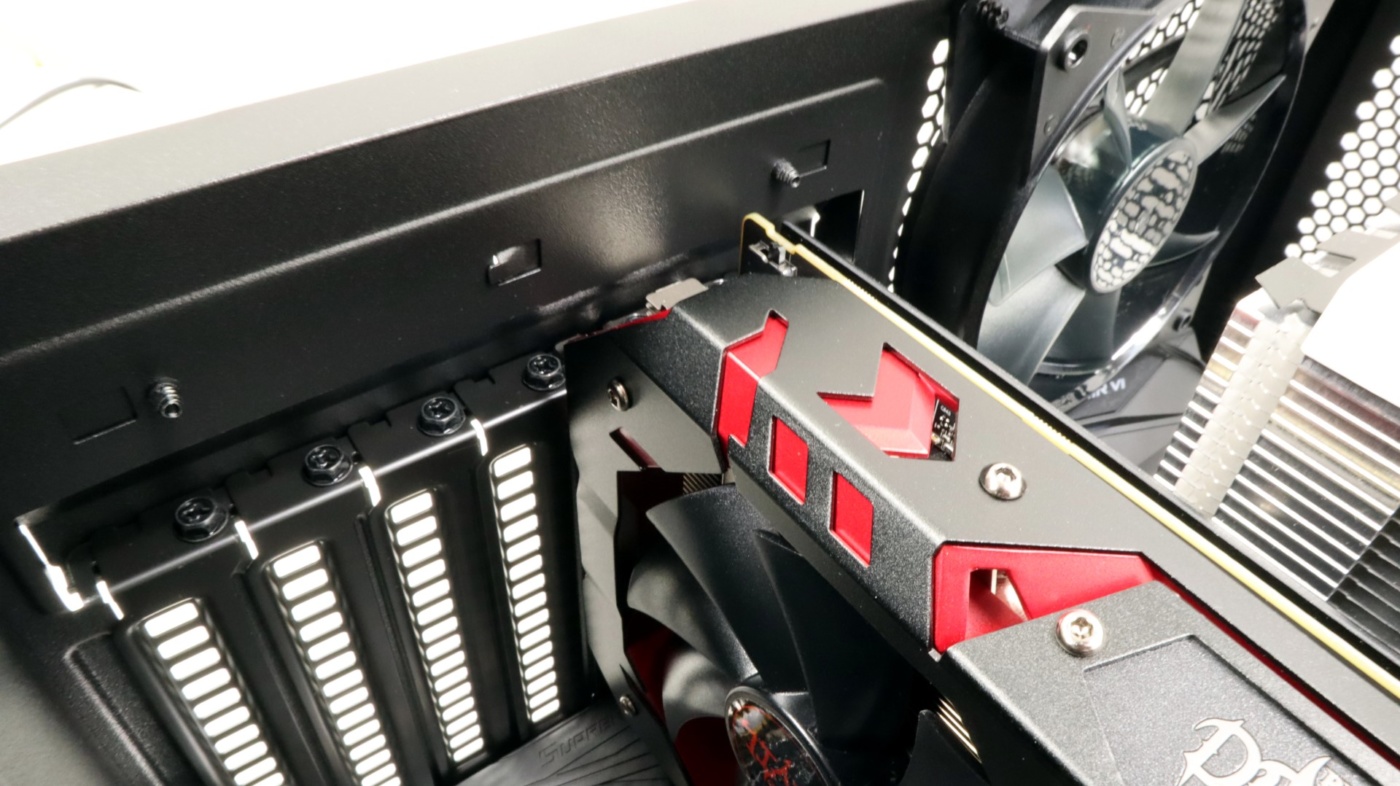
Next up was our graphics card, which installed with no issues at all. Our model has an extended width and thickness, and clearances were just fine all around.
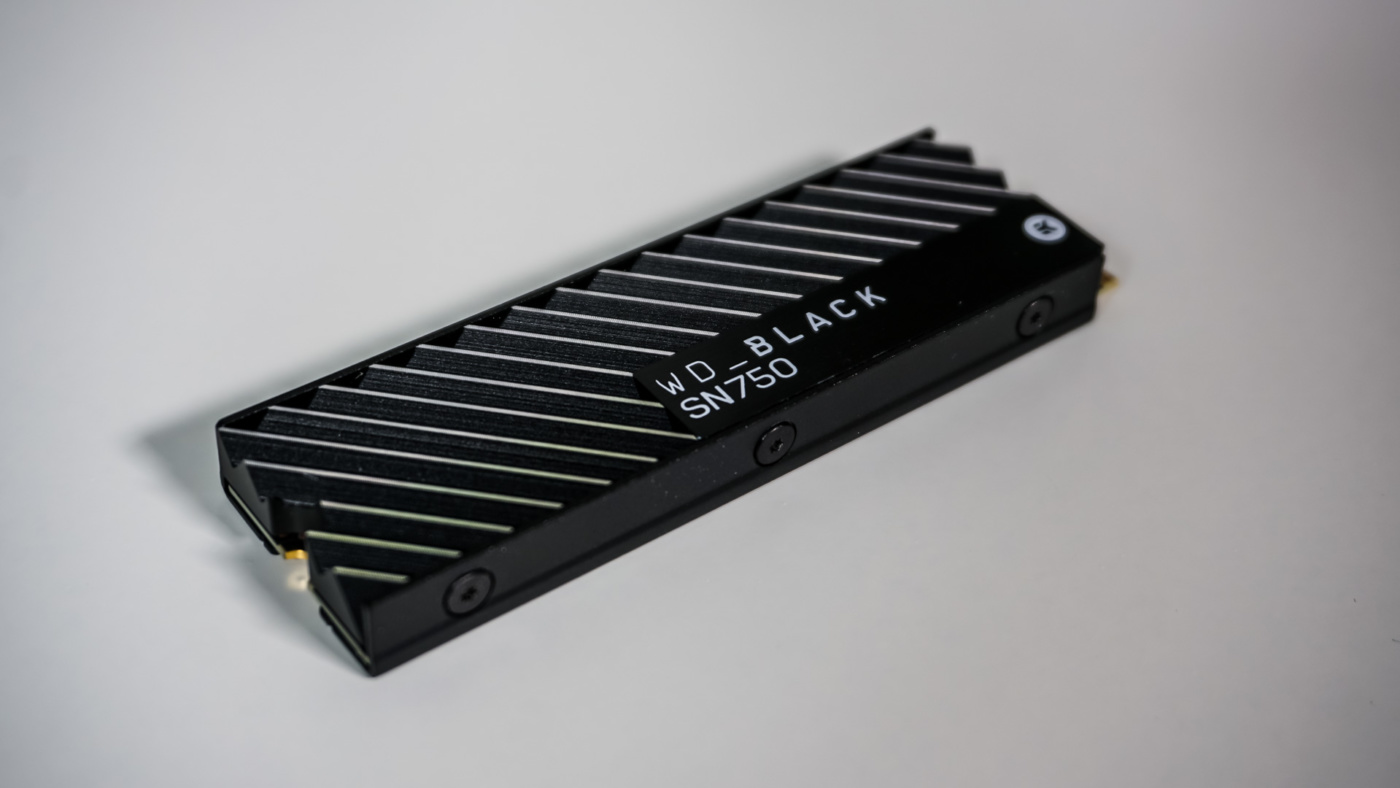
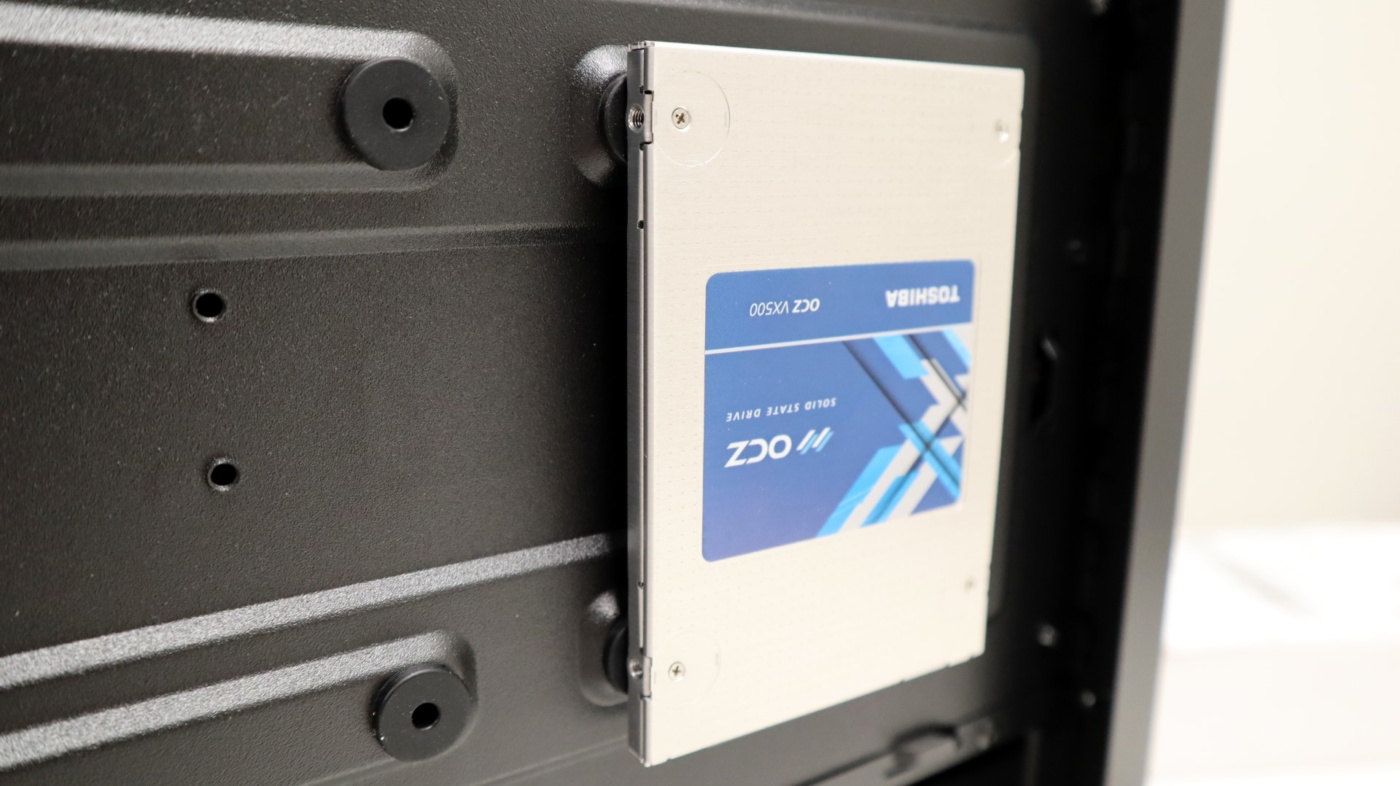
In addition to our M.2 SSD, we also installed a few 2.5″ SSDs. These were mounted on the backside of the motherboard tray, and we really like the installation method that Cooler Master has provided for drives in this case. As shown below, rubber grommets are provided and can be easily installed in the provided mounting holes, which will then be used to hold the drives in place.
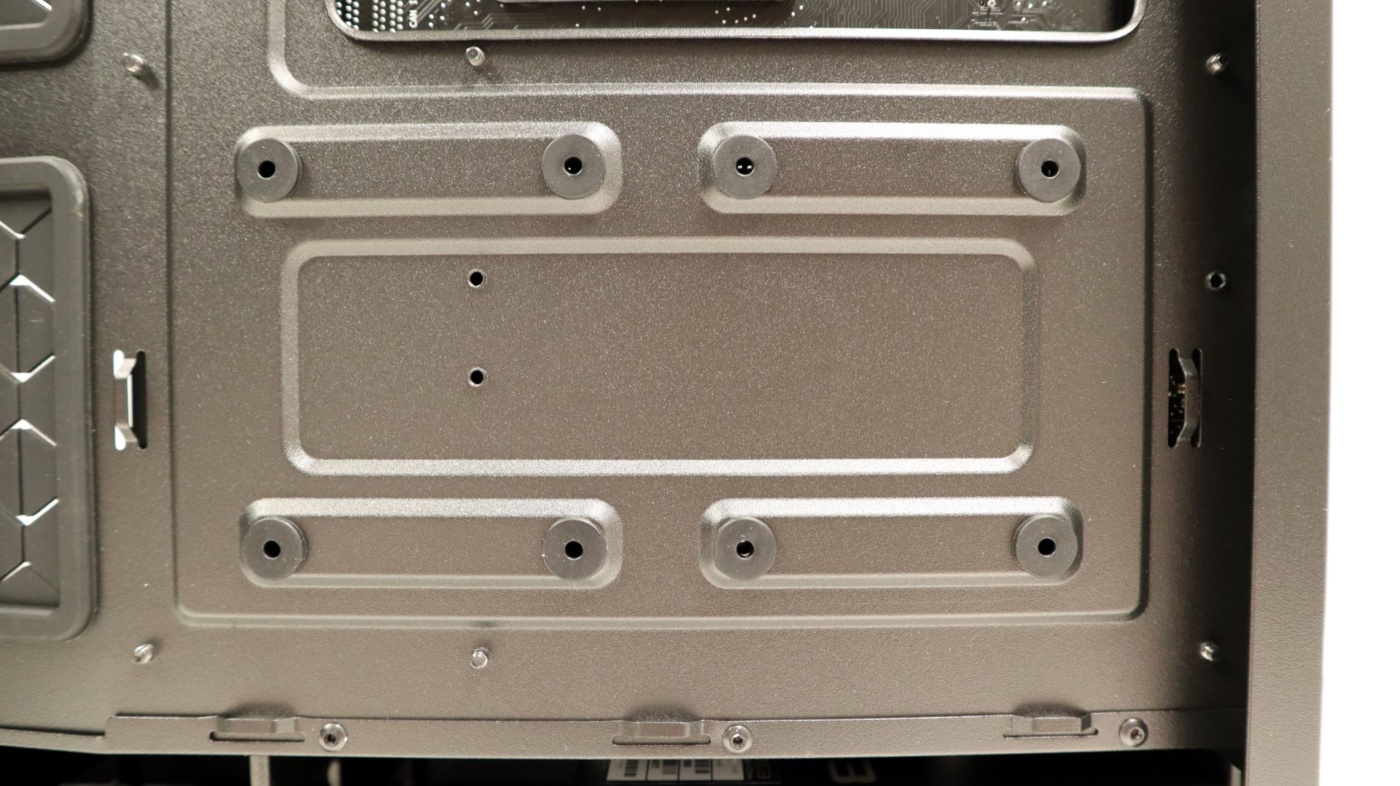
On the drive side of things, tool-less “pegs” are screwed into the drive, and then the drive is simply lined up with the rubber grommets and pushed into place.
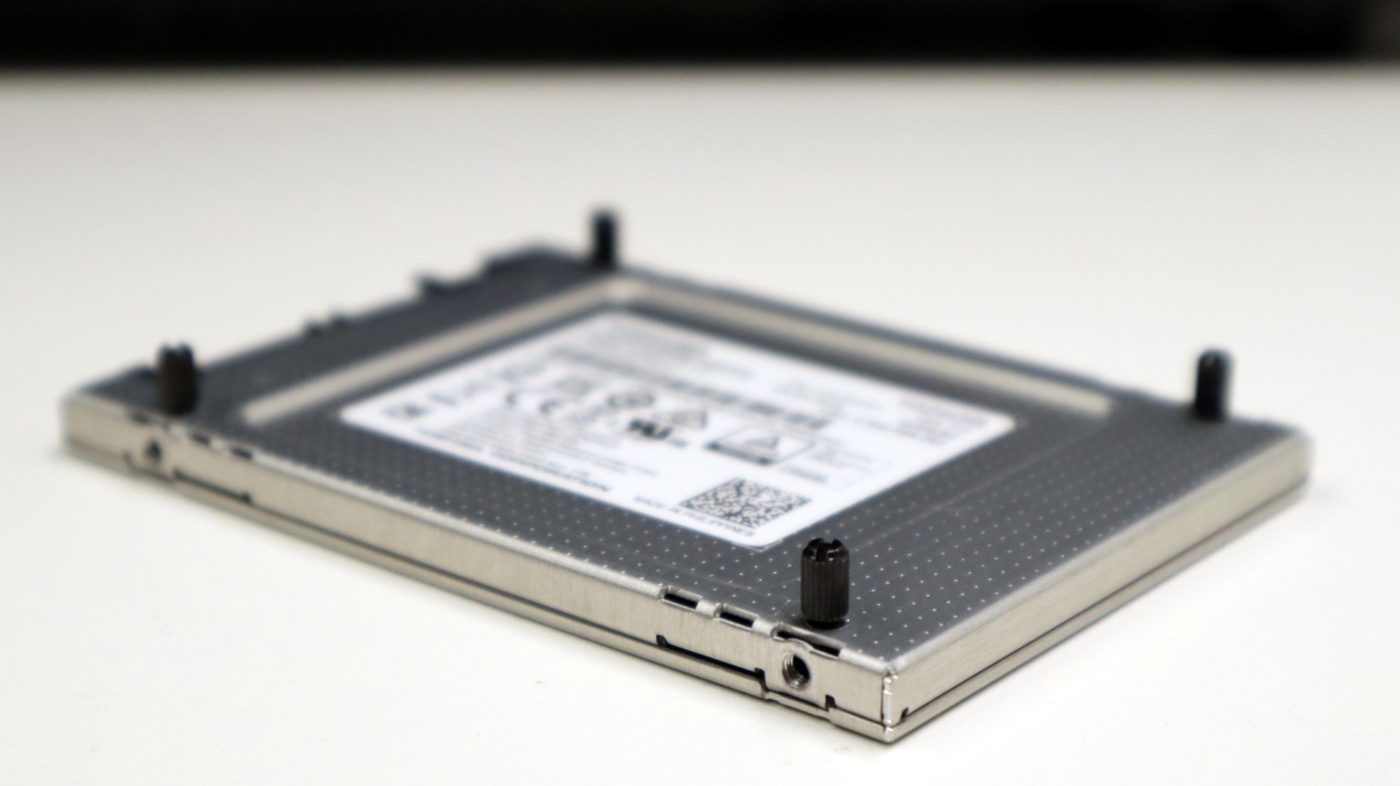
Friction takes care of keeping the drives where they are meant to be, and provide a bit of dampening for any spinning disks that may be installed in the case.
With all of our components in place, the last task was to wire up the system. The conveniently placed cutouts allowed us to run our 24-pin power and CPU power cables with ease, and our SATA cables were able to make use of one of the grommeted cutouts for cleanliness. Our I/O cabling made use of the power supply shroud cutouts, while our videocard’s power was routed from the large cutout at the front of the shroud. The included zip-ties were paired up with the tie-downs to keep everything in place, and the tie-down locations were pretty well placed.
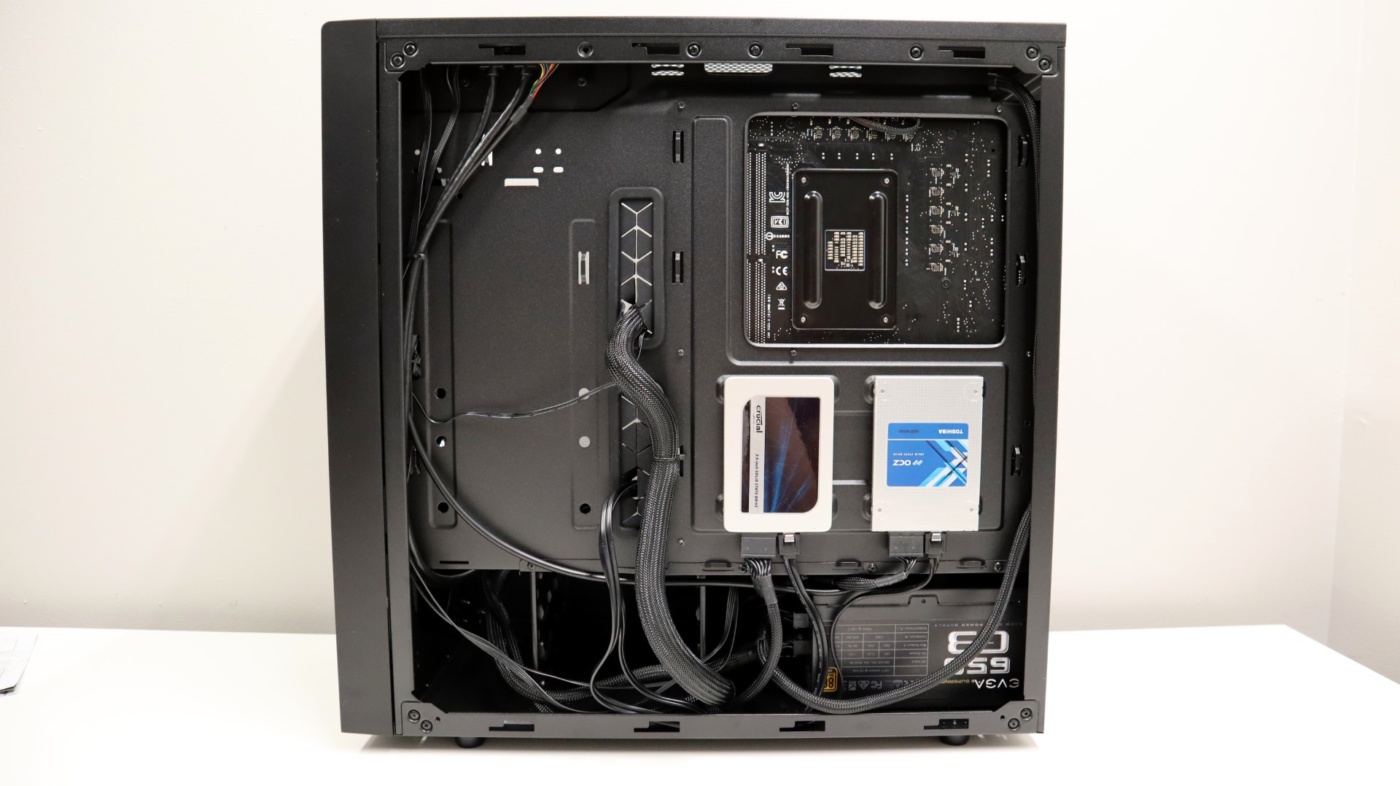
Overall, we were pretty proud of how clean our system looked once everything was in place. We also appreciated that the installation was pretty straightforward, and we didn’t run into any real issues. Our only complaint was the non-removable 3.5″ drive cage, but we were still able to make things work with how things were.