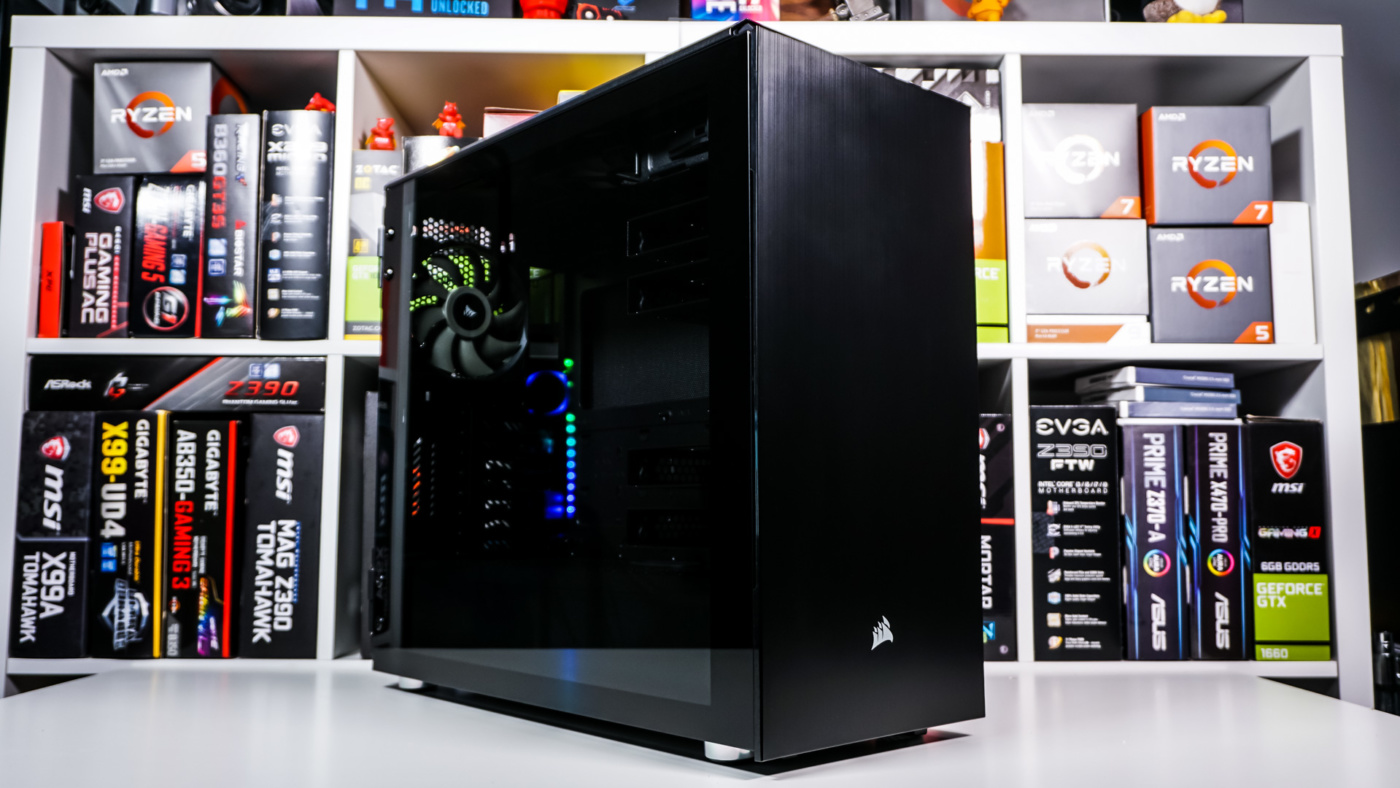
Installation
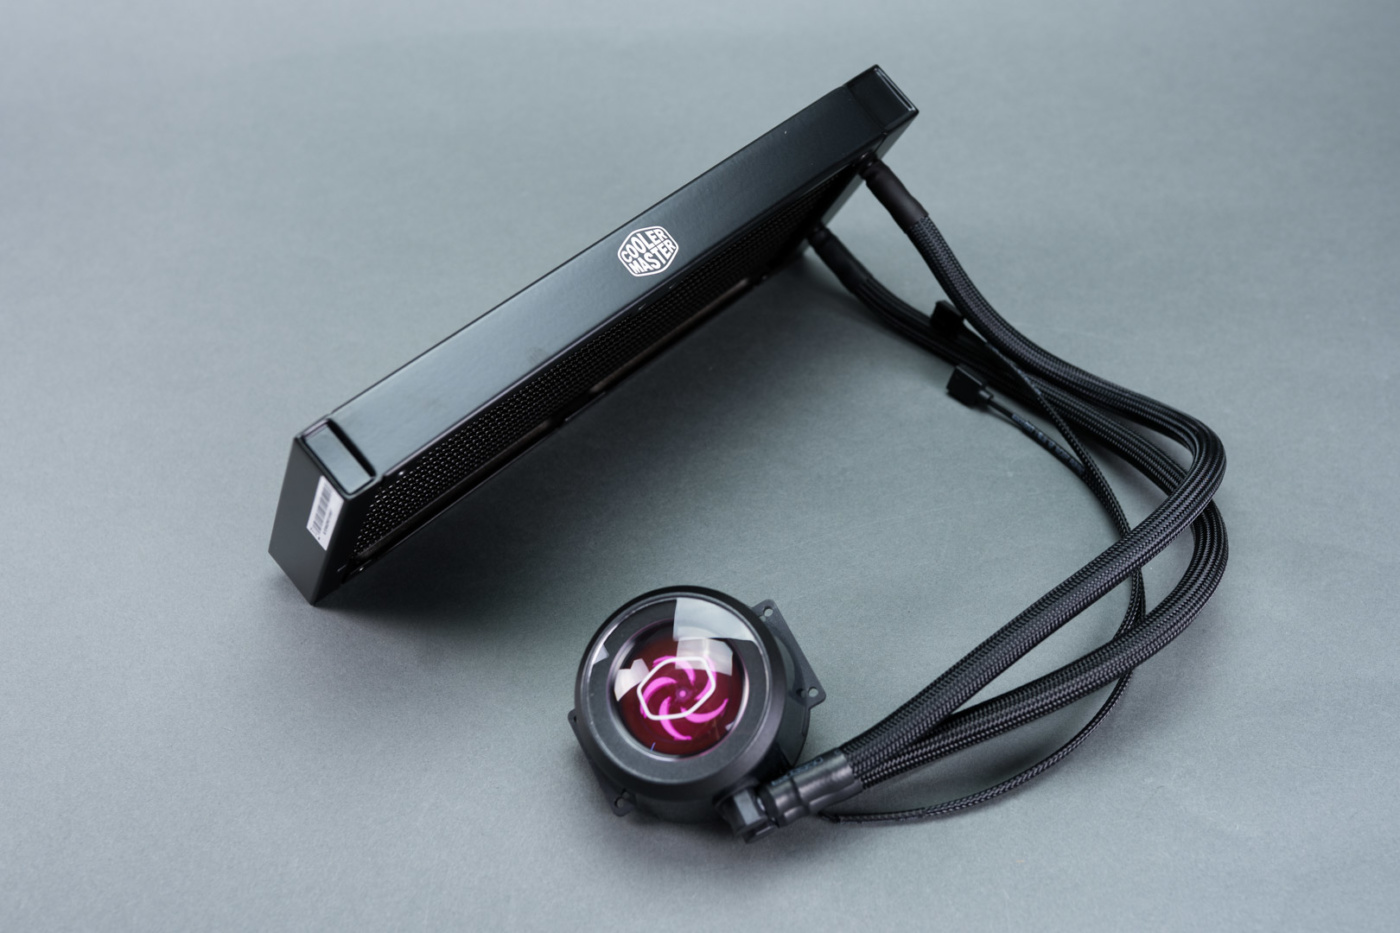
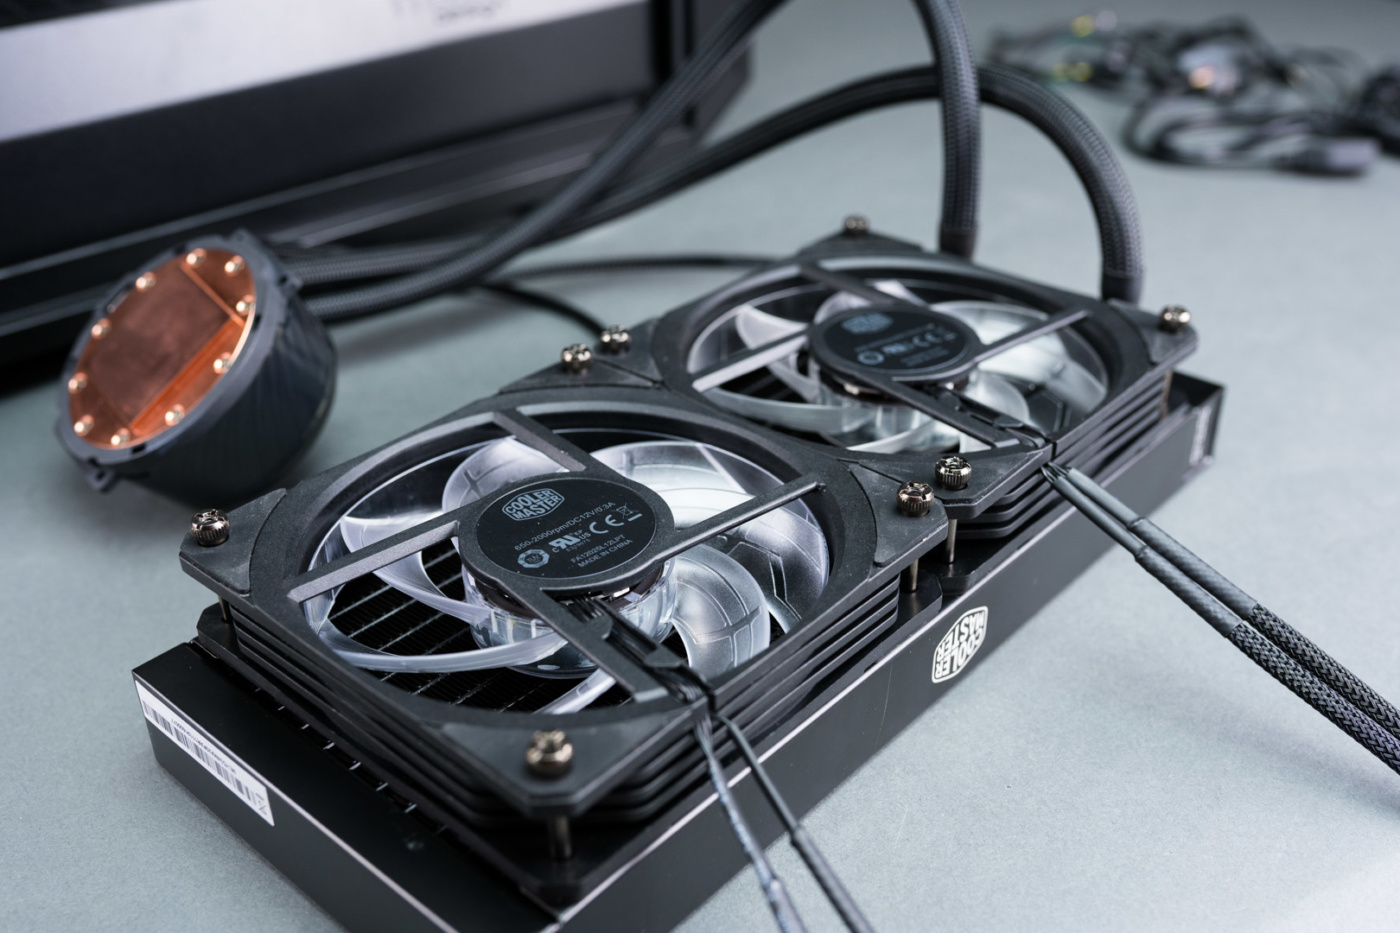
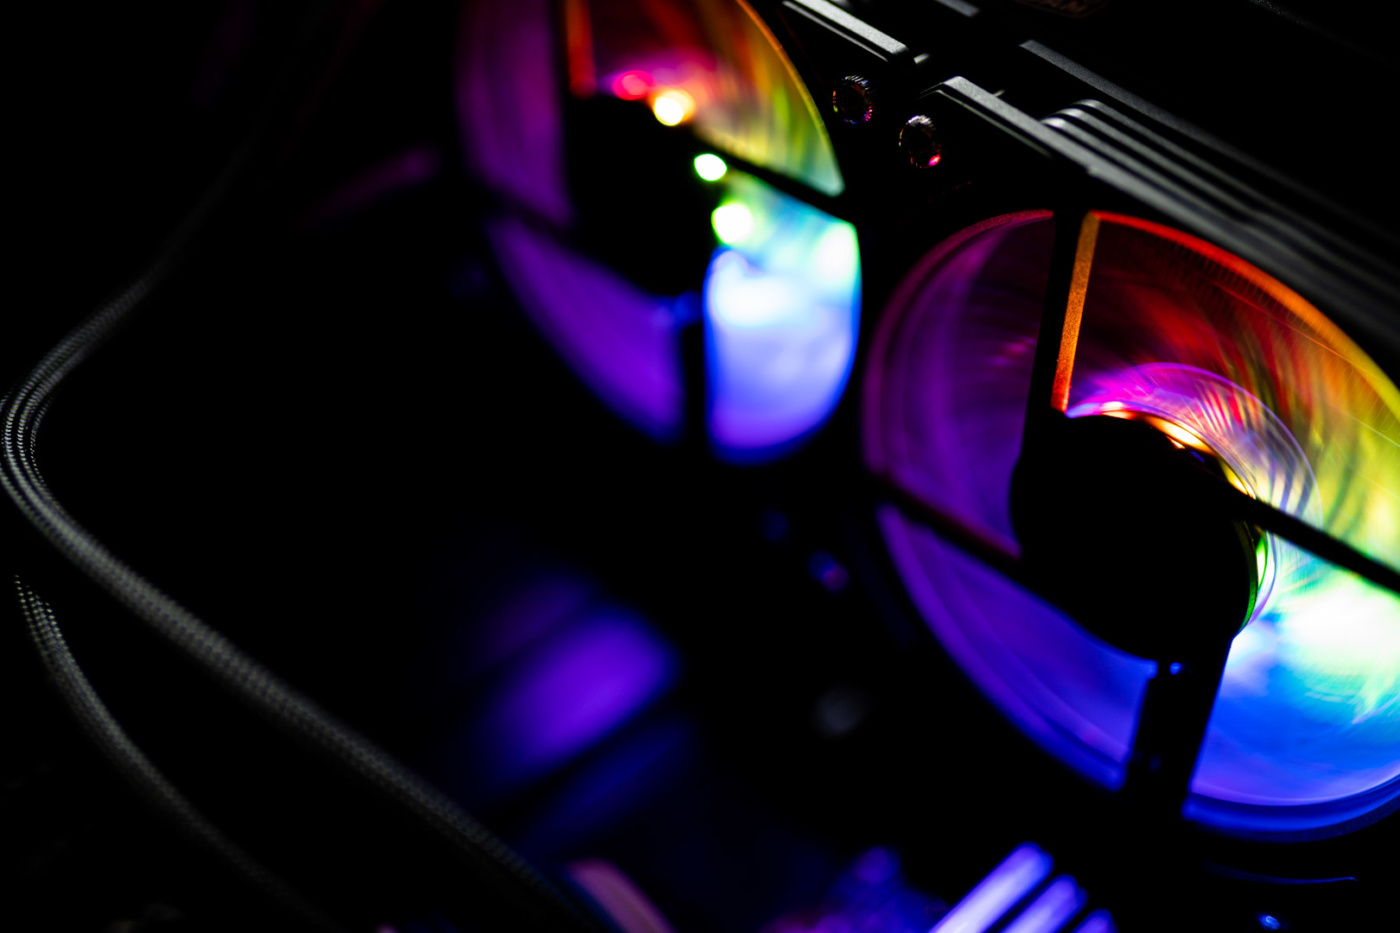
The Cooler Master installation procedure for their AIO line has gone relatively unchanged for a little while. The addition of the ARGB wiring adds a bit of complication, however it remains a fairly straight-forward process. The first thing we want to do is attach the fans to the radiator. We’ll be pulling fresh cool air in through the top of the rad and blowing it into the case to be exhausted out the back. Orient the fans such that the motors will face down and the cables will run to the back when we invert and install.
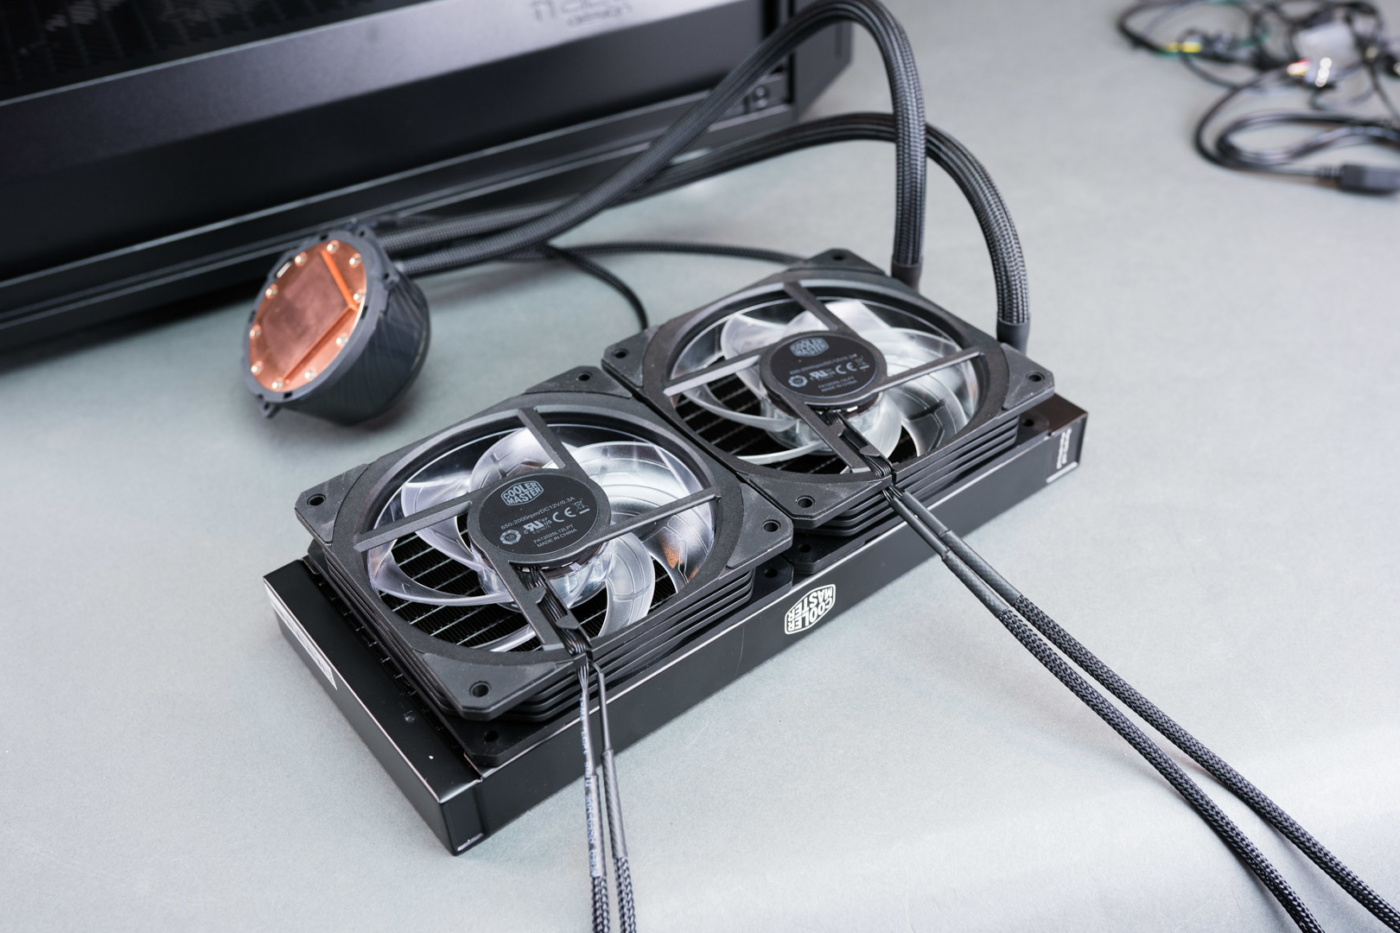
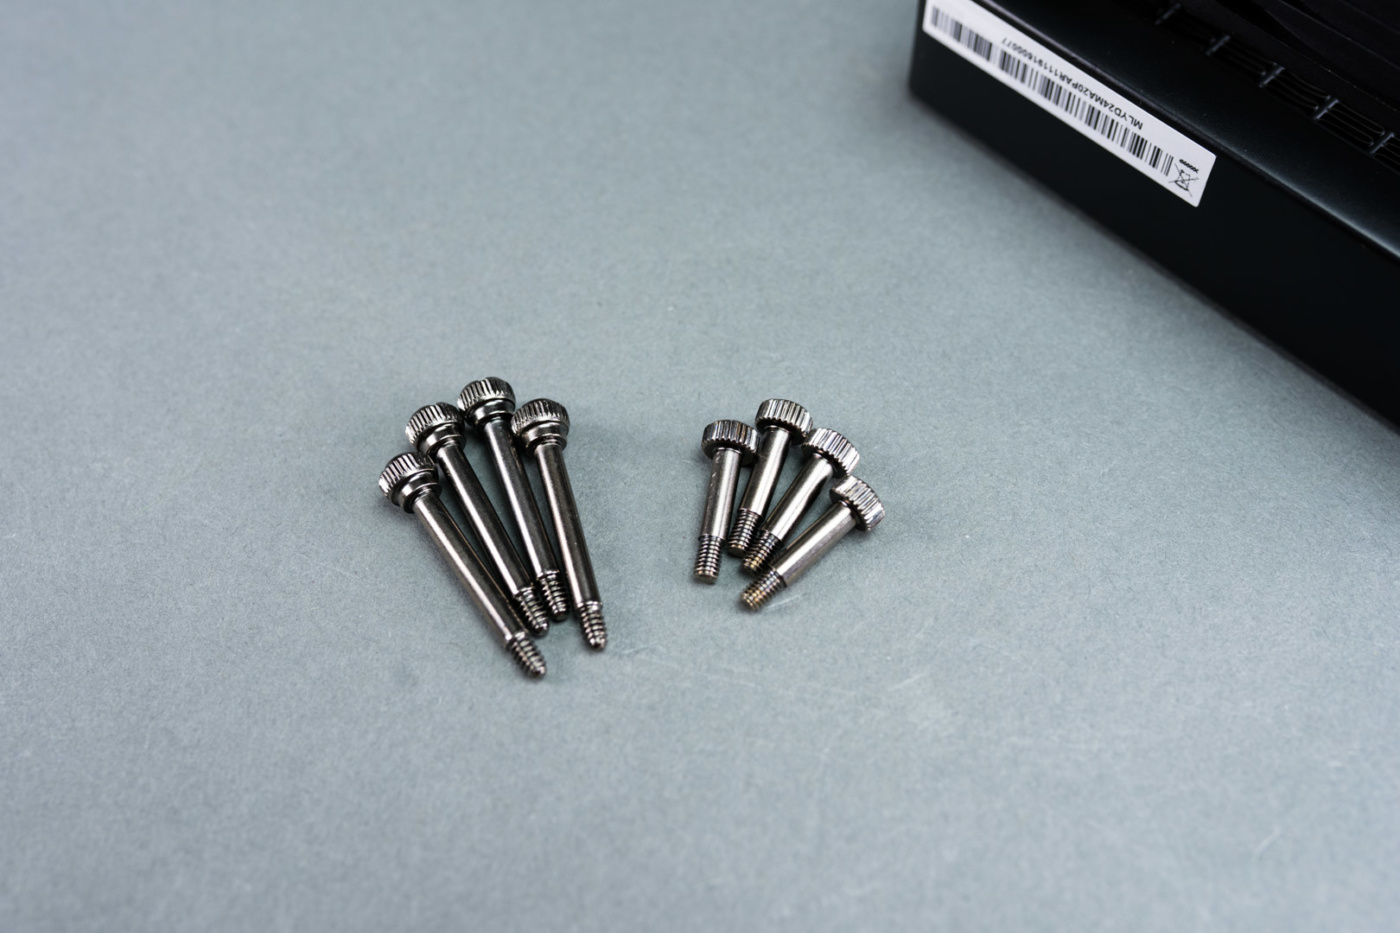
Of course this is where we attach those fans with the included thumb screws. Unfortunately we only have four. The shorter four that were included are for the AMD install. The good news for us at ThinkComputers is that we’ve got a couple of the older model AIOs kicking around and have those same screws available. This would be a tough spot without them. Hopefully you have yours, attach at all four corners a bit over finger tight.
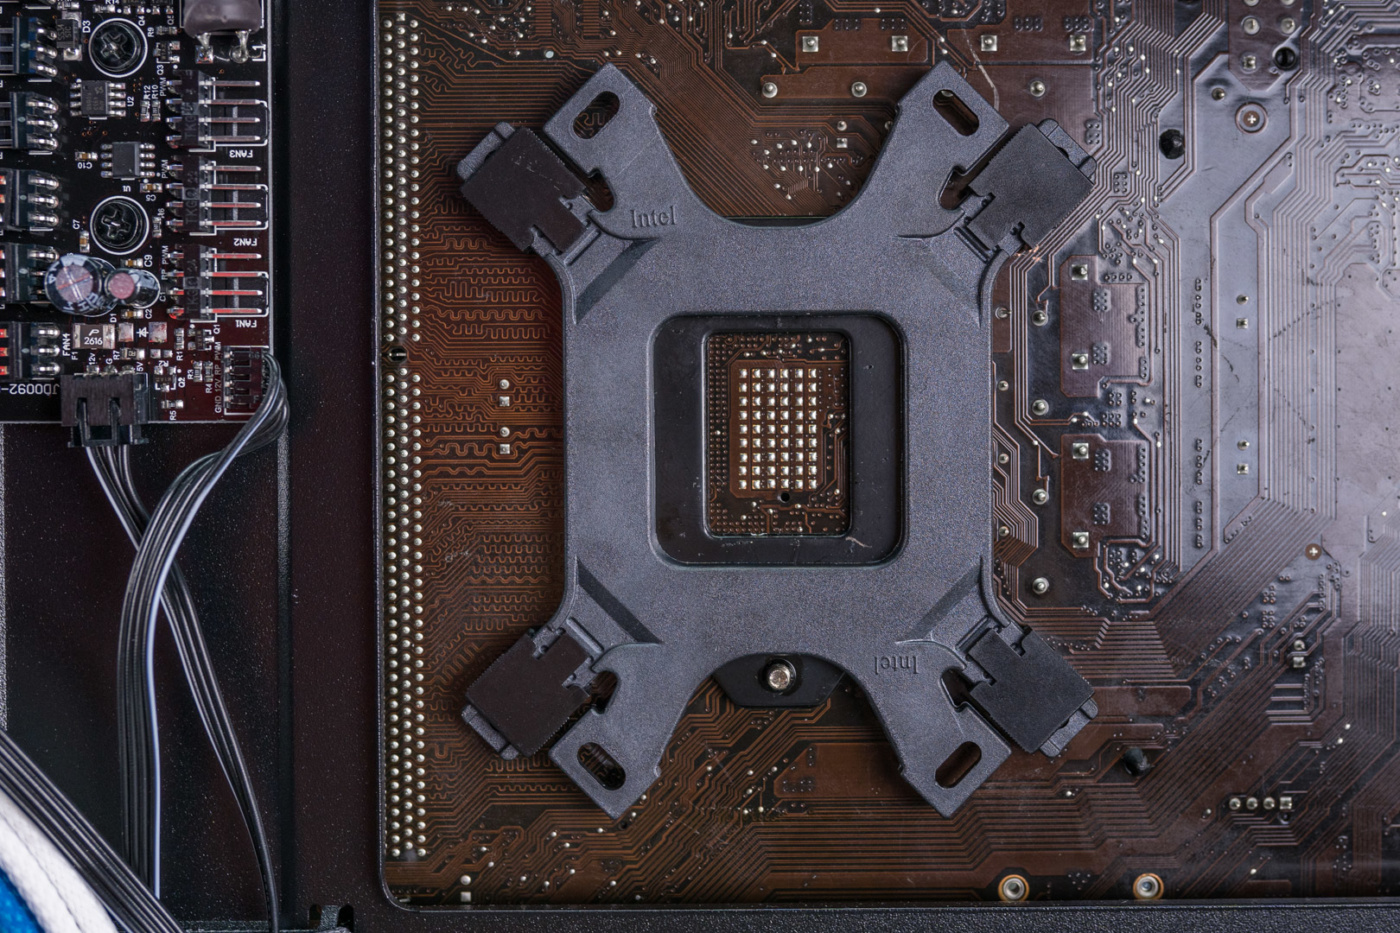
Next we put together the backplate. Grab the roughly T-shaped posts and insert them into the correct slide for your socket, ours is 115x. Using the black plastic locking ends secure those T-shaped bits being sure to snap them all the way in.
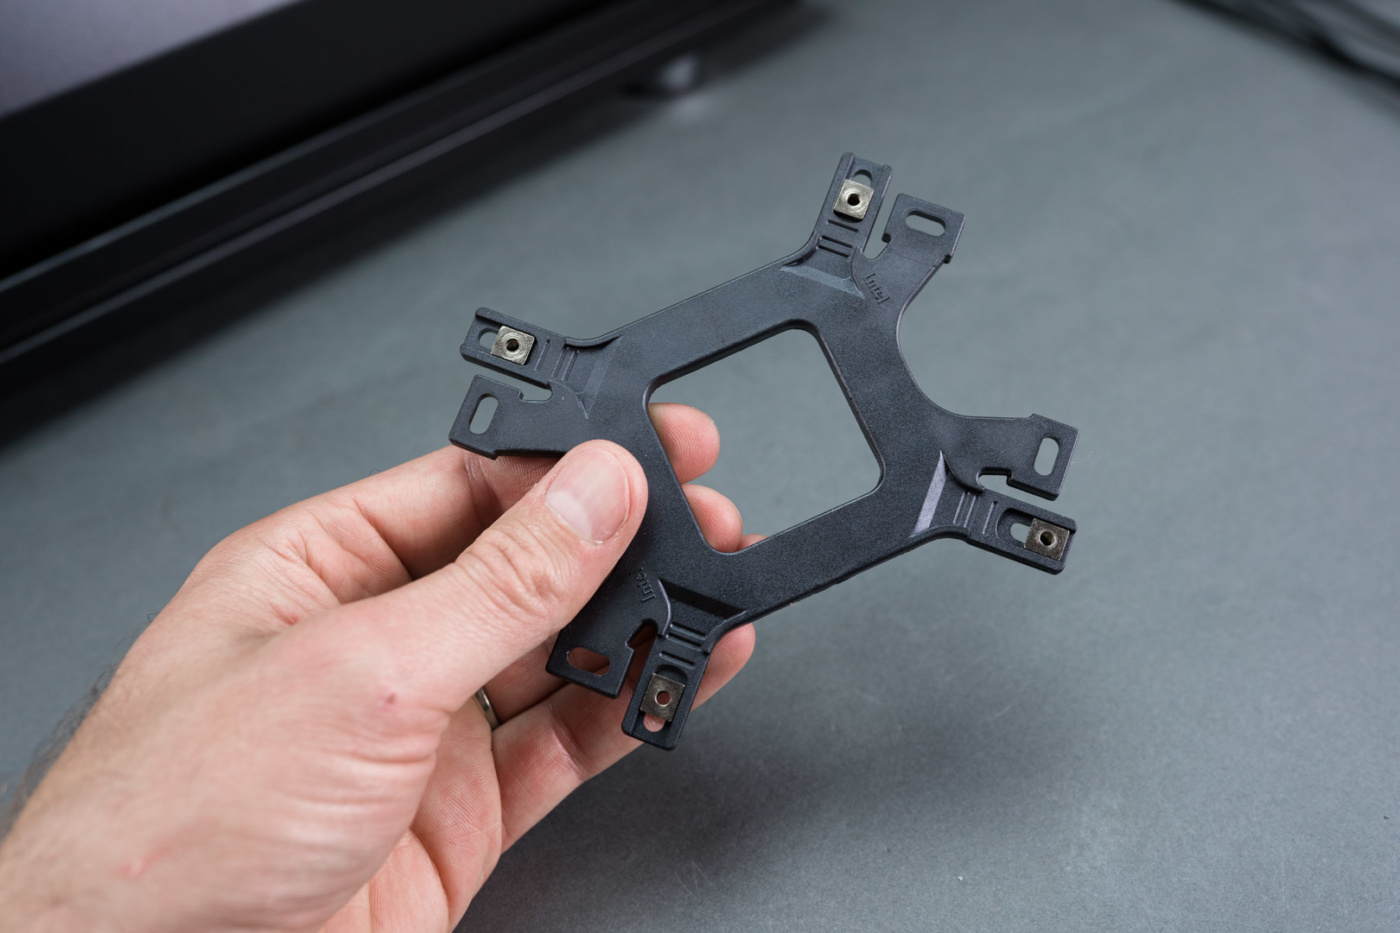
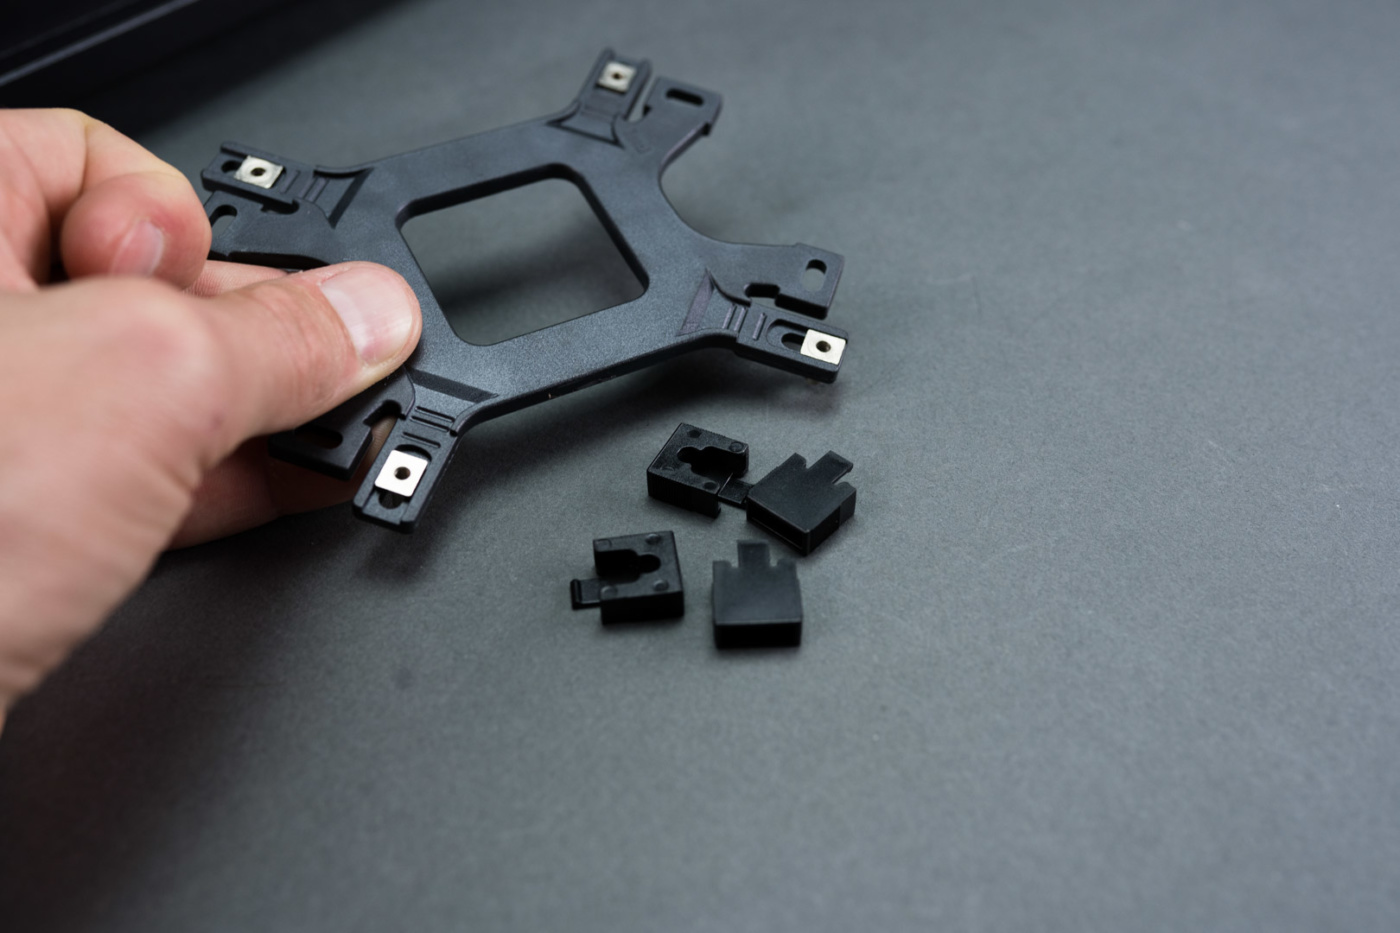
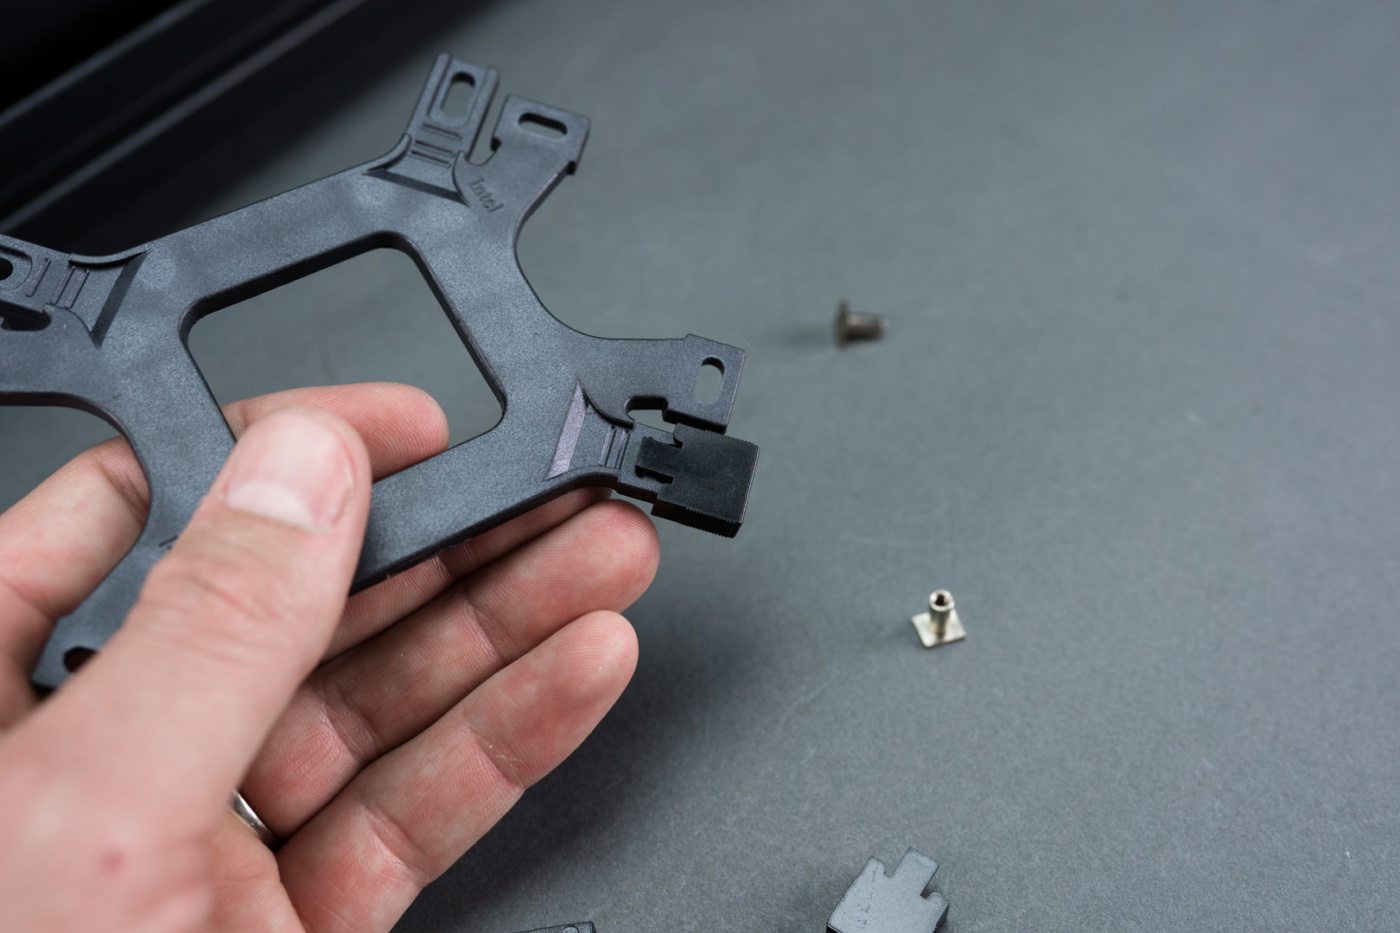
Repeat for all four corners.
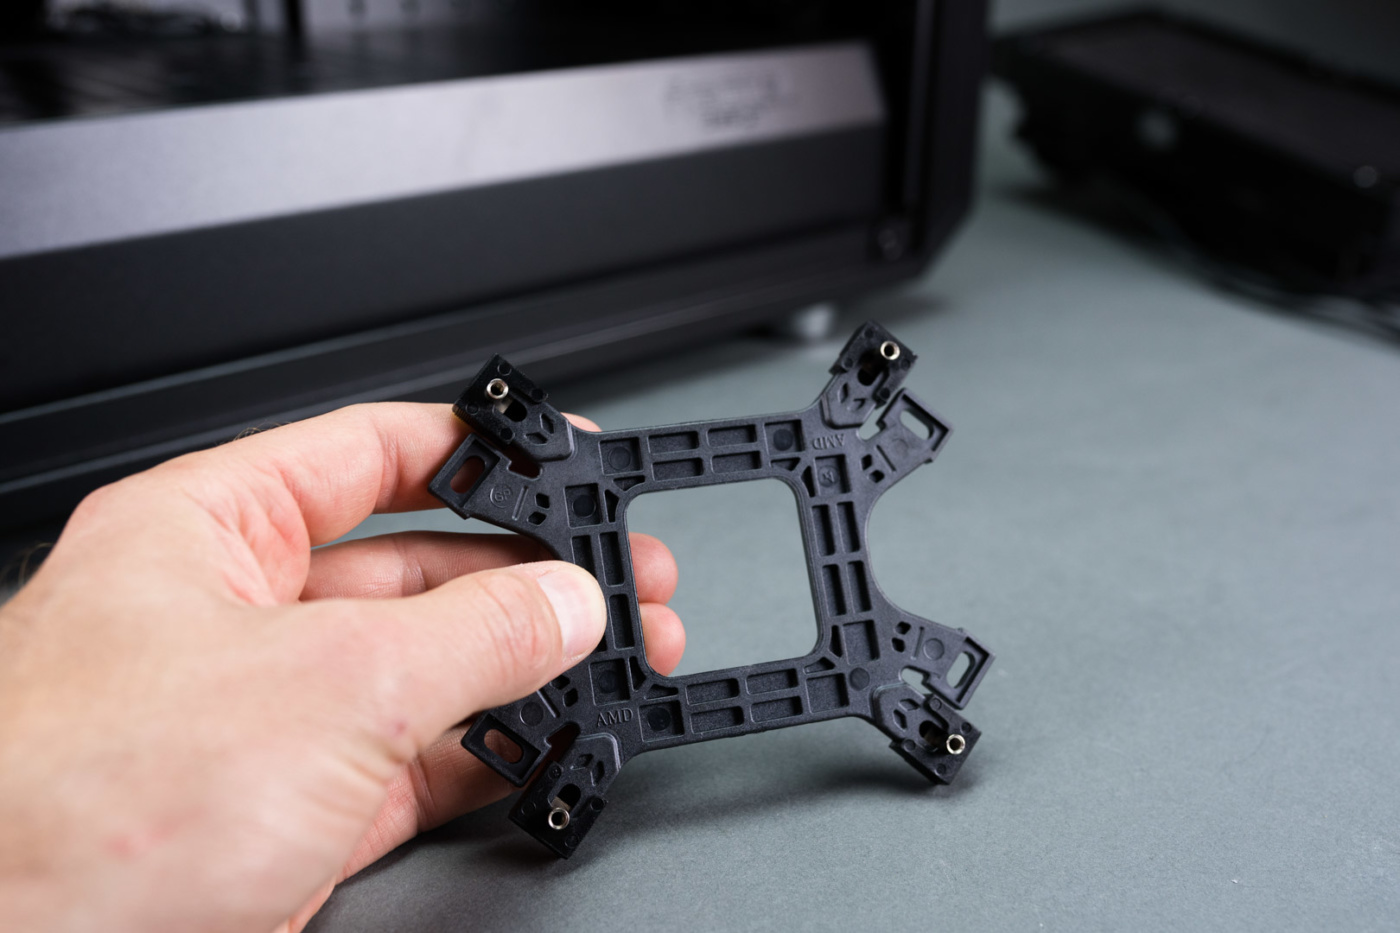
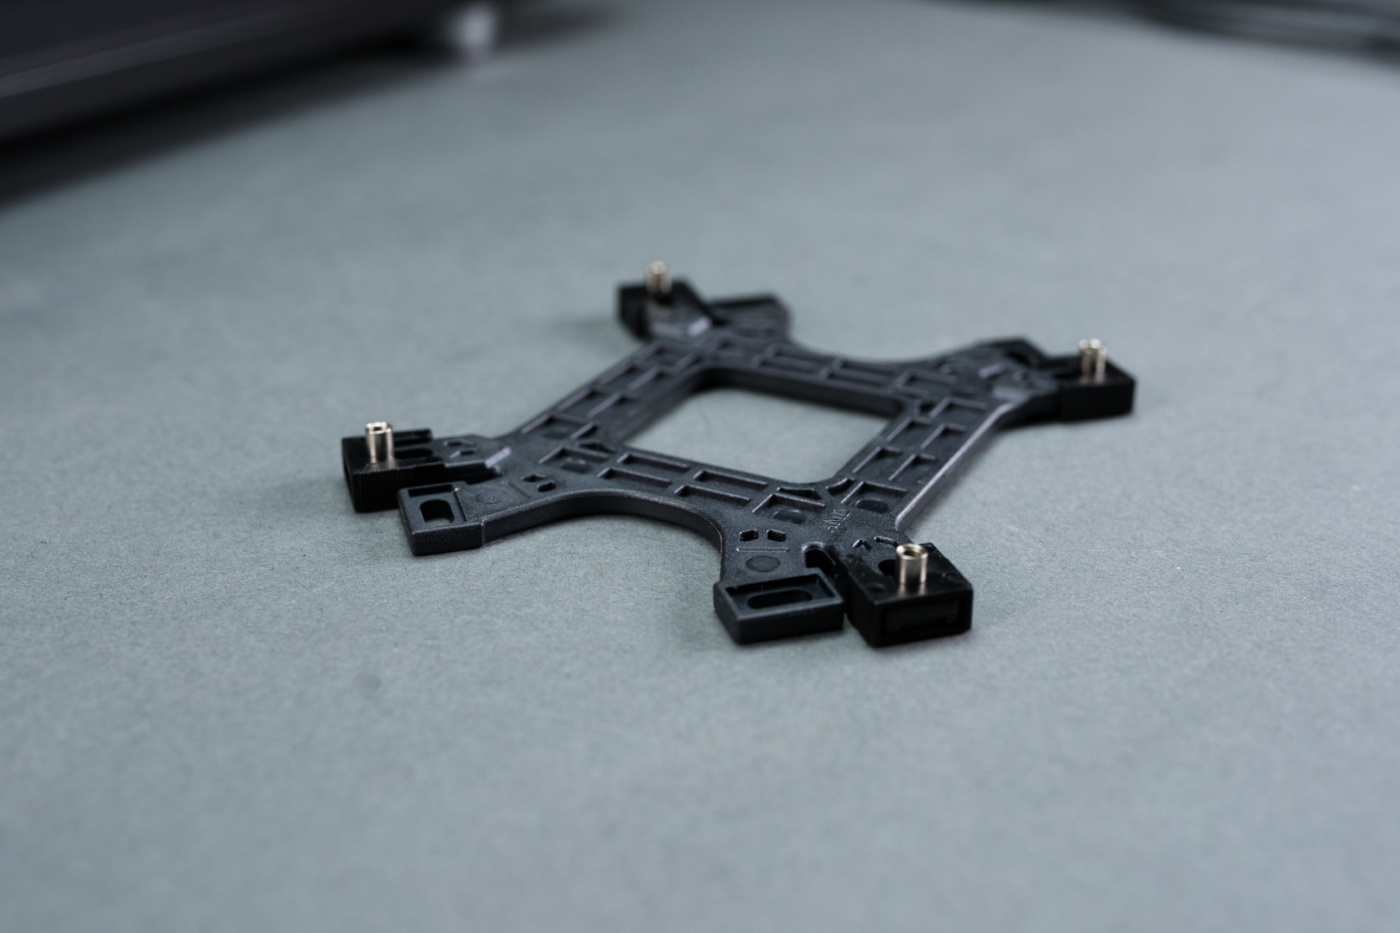
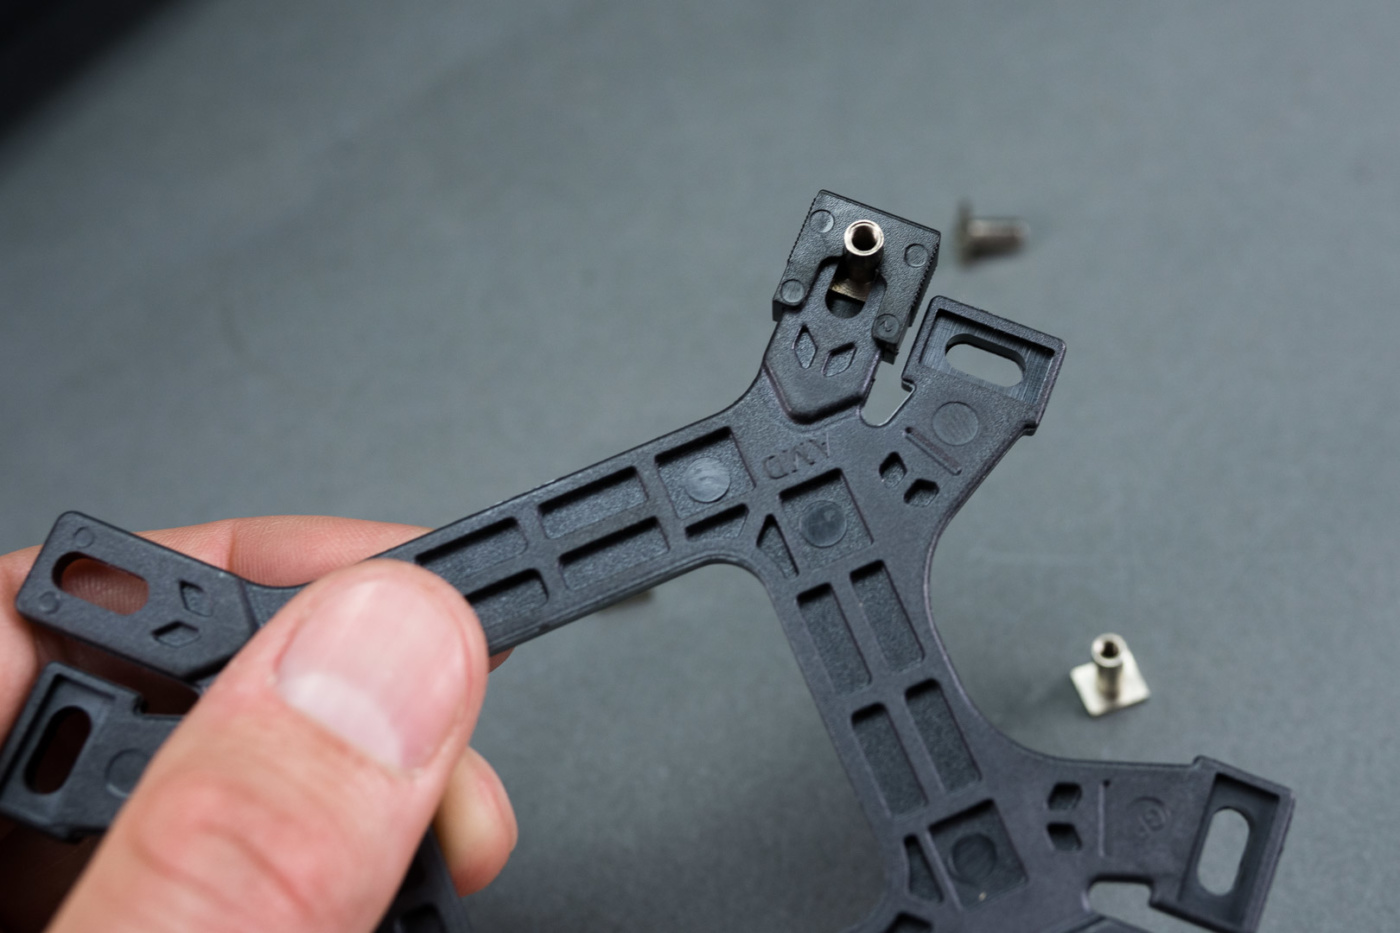
Adjust each corner to the correct length for your socket and insert into the mounting holes on the backside of your motherboard, securing on the front with the correct standoffs. Be sure to get the correct ones as there are three different types included in this kit. For 115x the longest ones with the same screw diameter on both sides are correct.
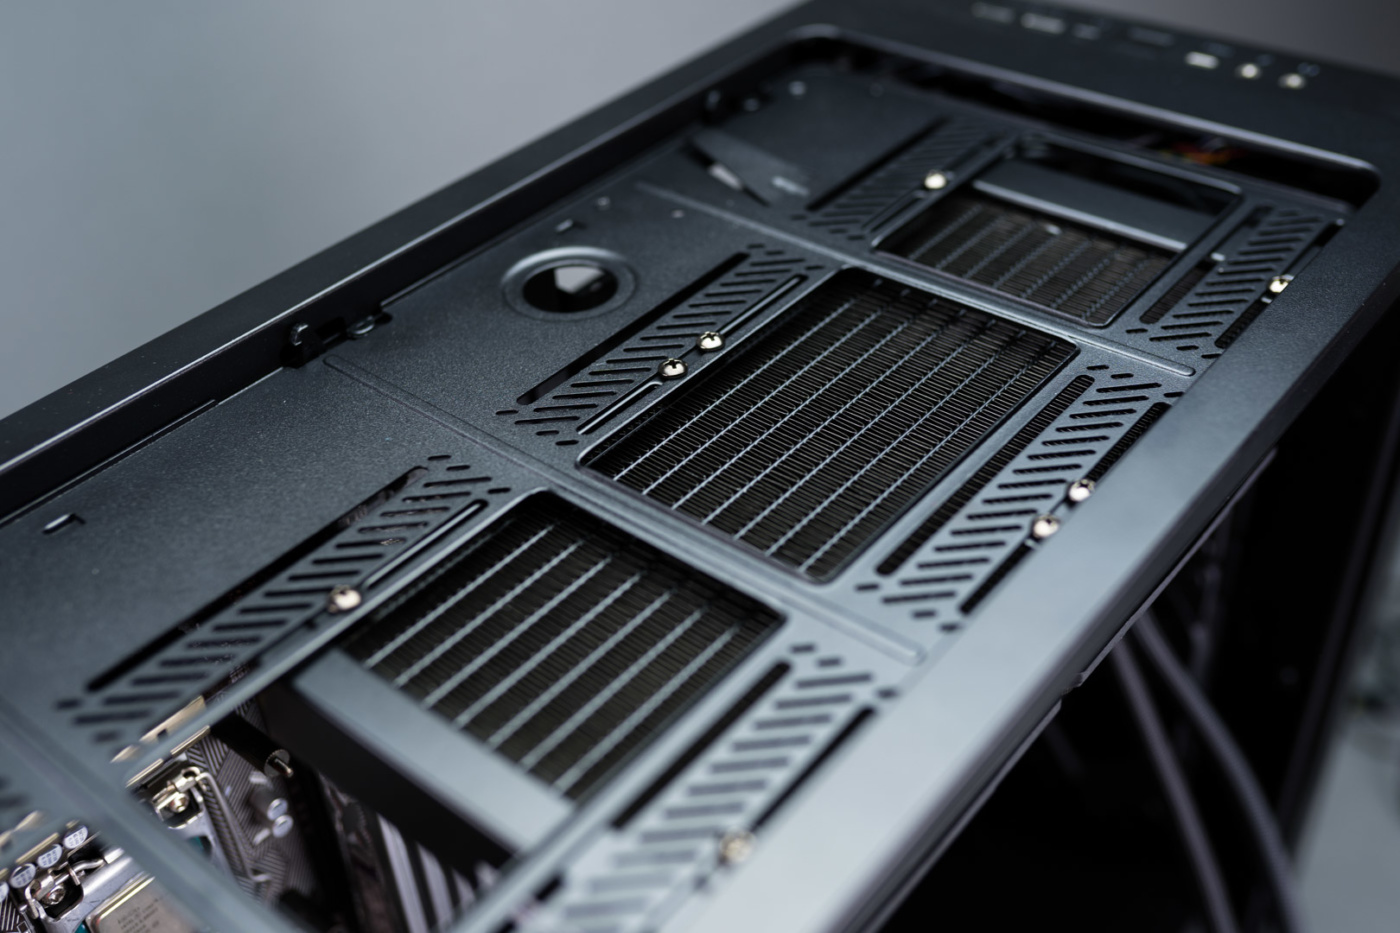
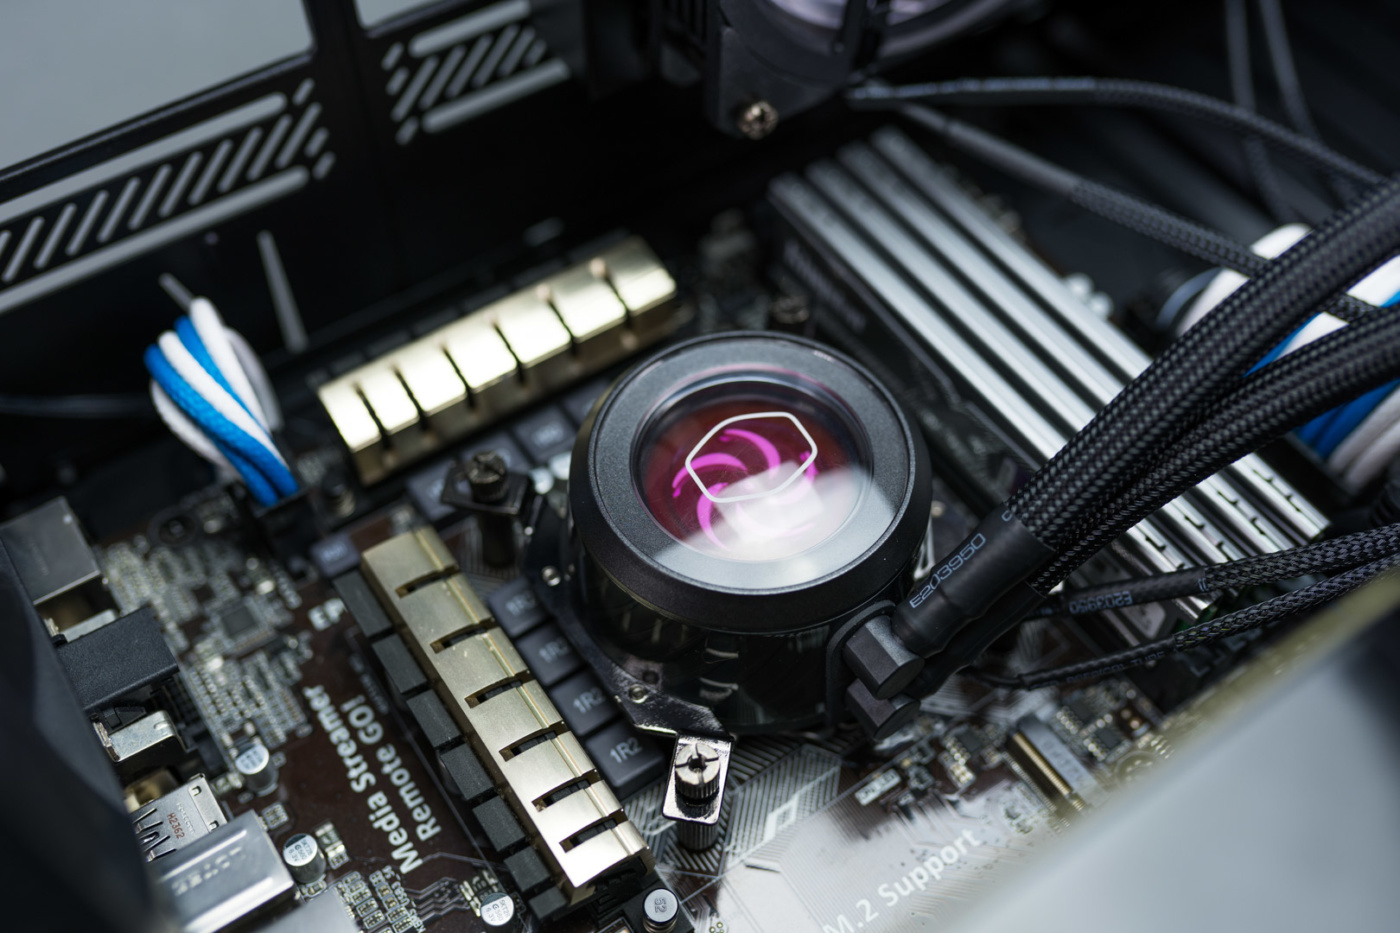
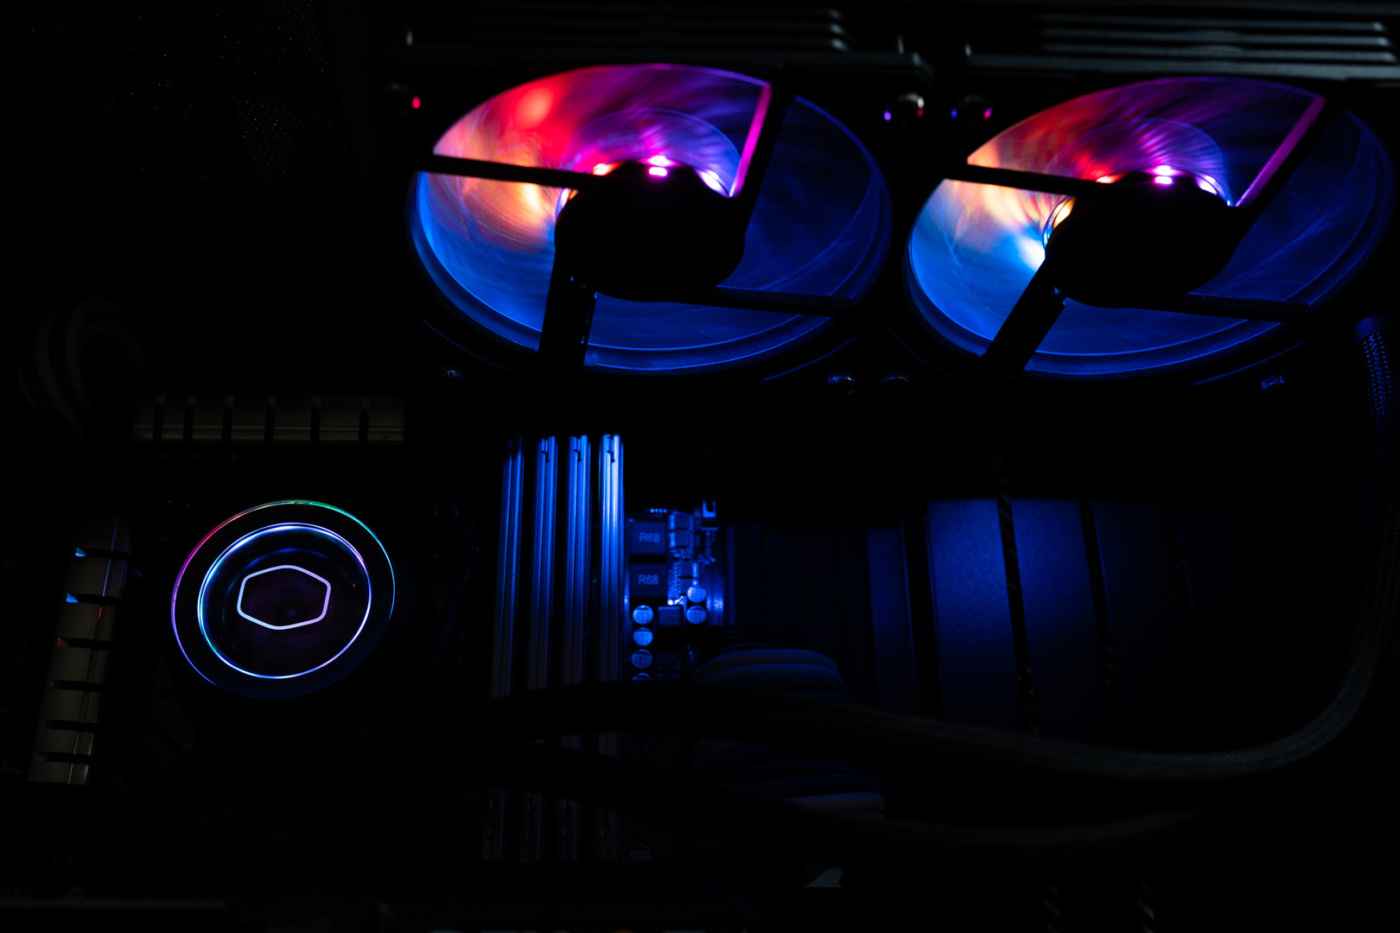
With the socket and radiator prepped we are good to secure it to the top of the case. Us the eight (correct amount received) short screws to do this. The easiest method is to hold the rad in place with one hand and start two screws in the middle on opposite sides with your fingers. Get a few threads in and then finish with a screwdriver once it hangs on it’s own.
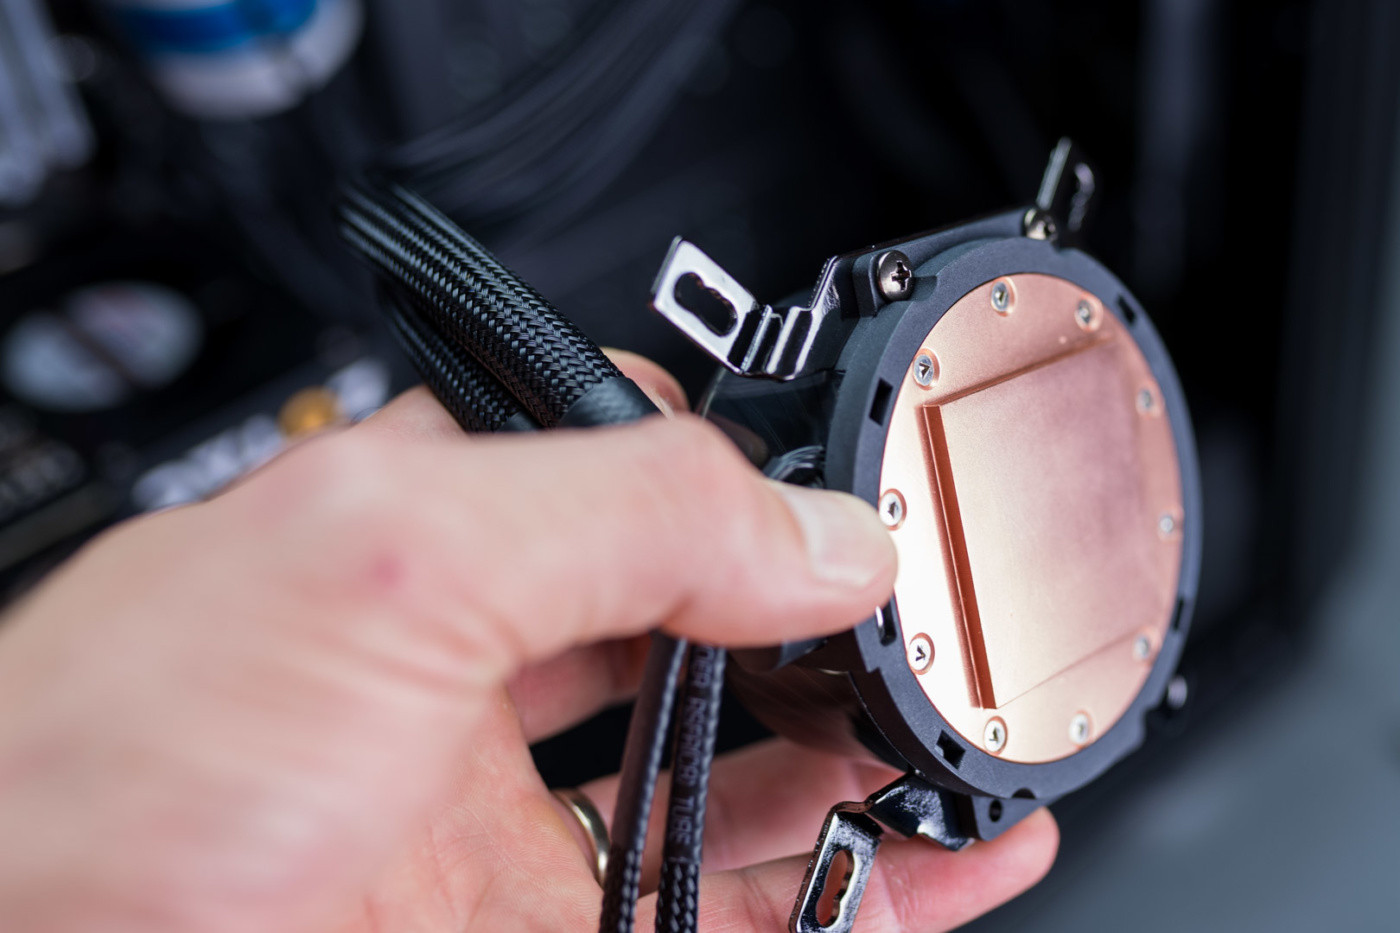
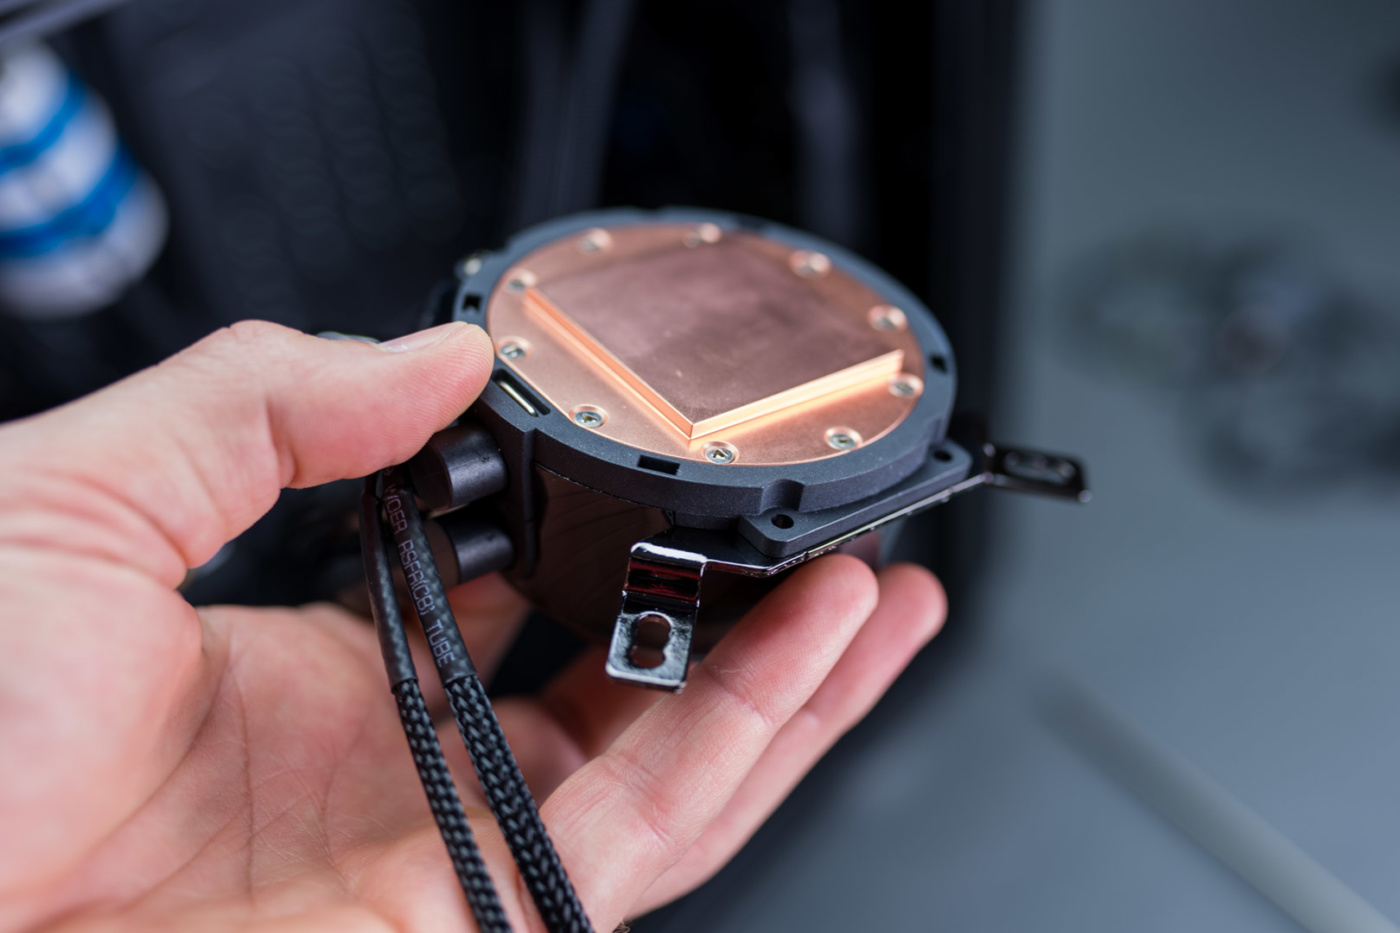
Now let’s get that pump ready to install. It will need the brackets attached first. One on each side again, be sure to select the correct brackets for your socket. They slide completely into the notches with the bend towards the top of the pump. The orientation is important as it gives you the correct mounting depth. Secure each side with two of four of the smallest included screws.

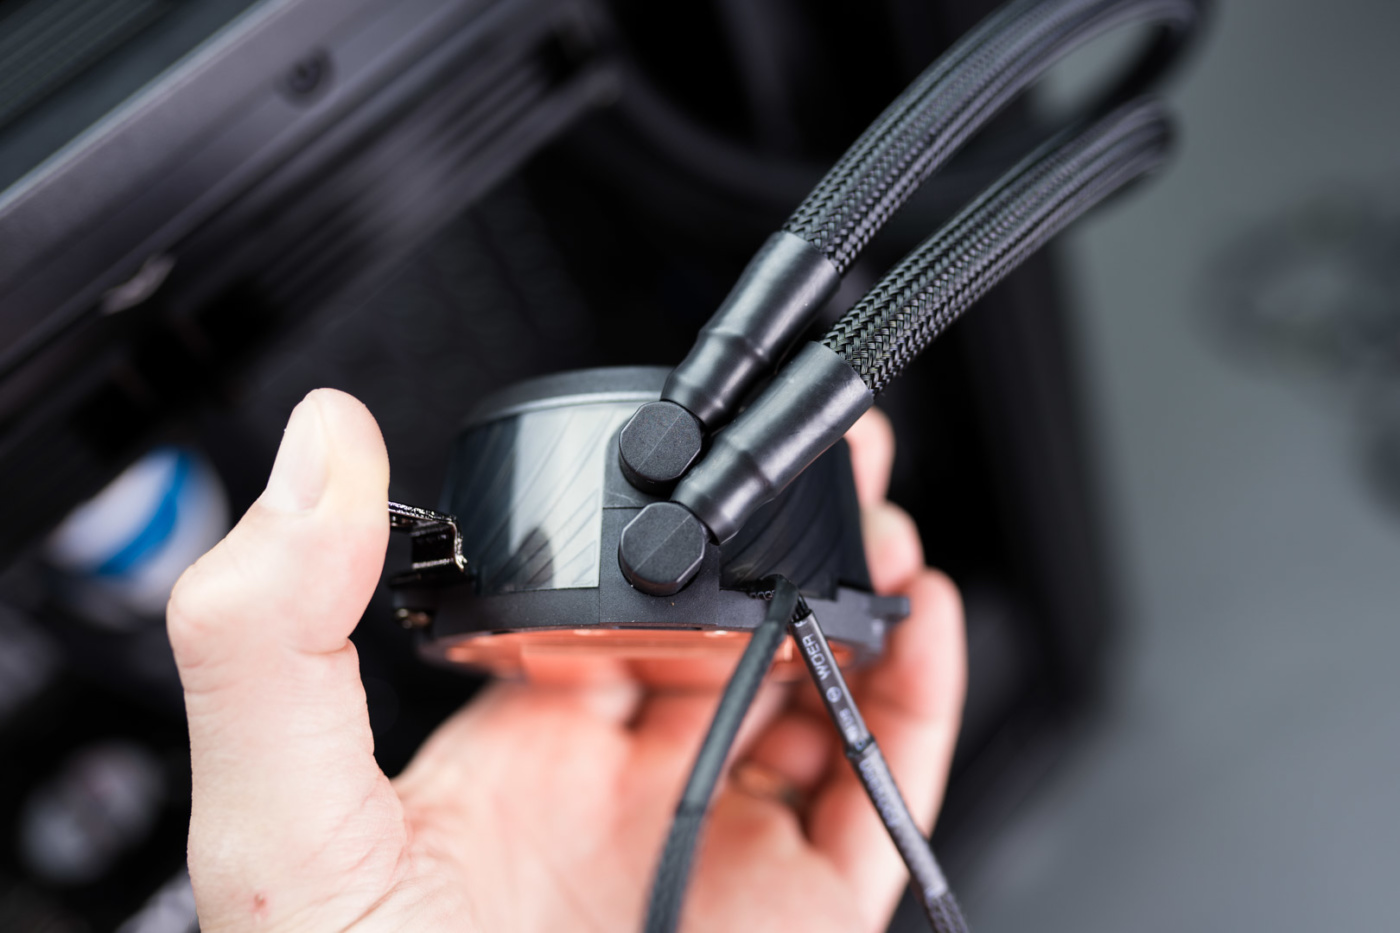
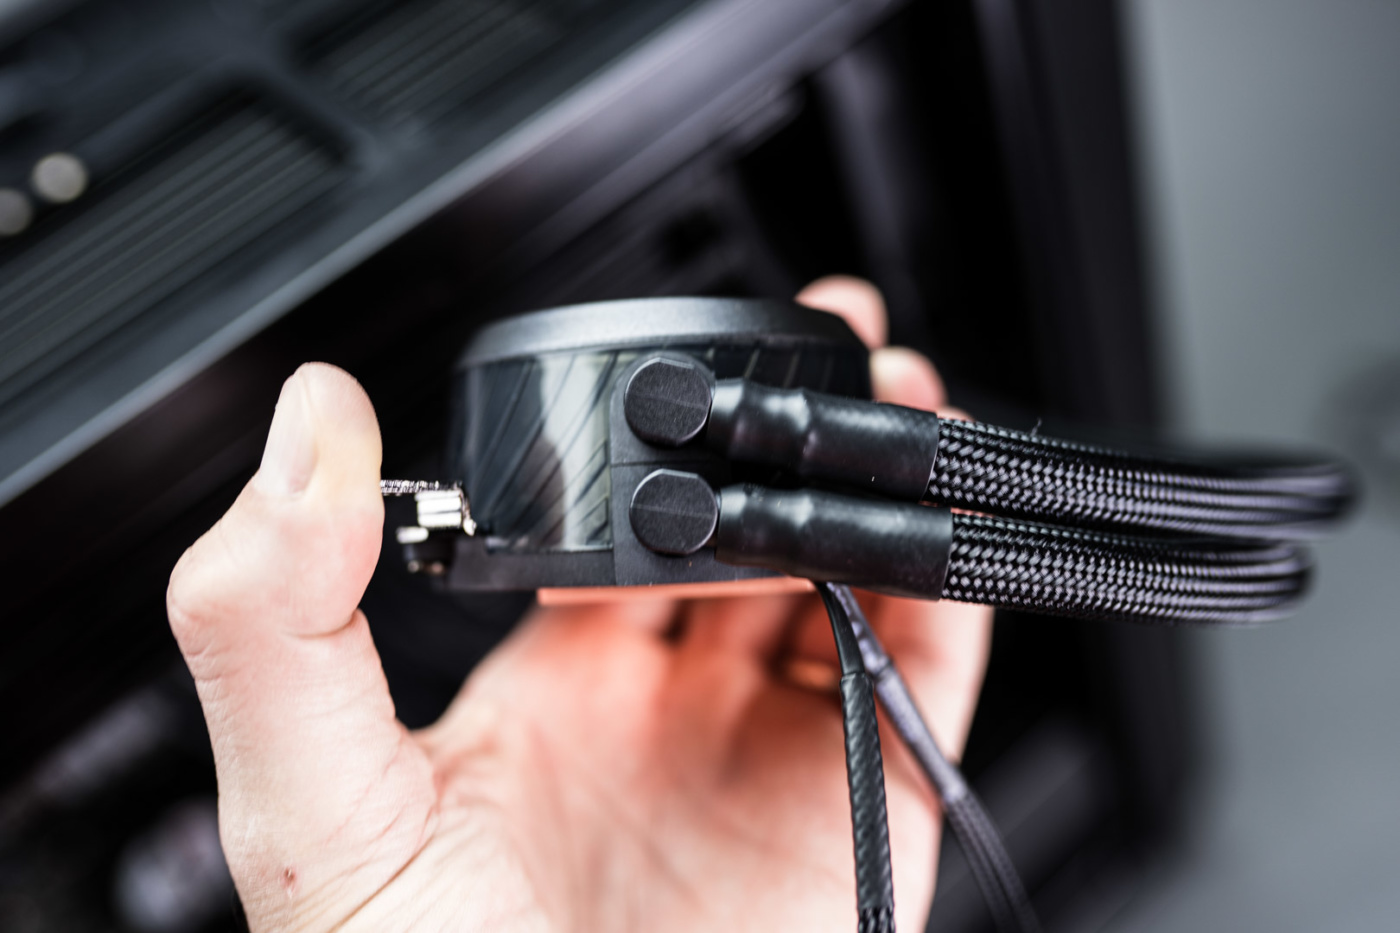
At this point we were starting to arrange around pump and tubing in a pleasing way when we came across a small shortcoming. Because of the tubing inlet/outlet arrangement you are really limited in the amount of play you have with those swivel fittings. Making the fittings longer and of different lengths would have easily fixed this.
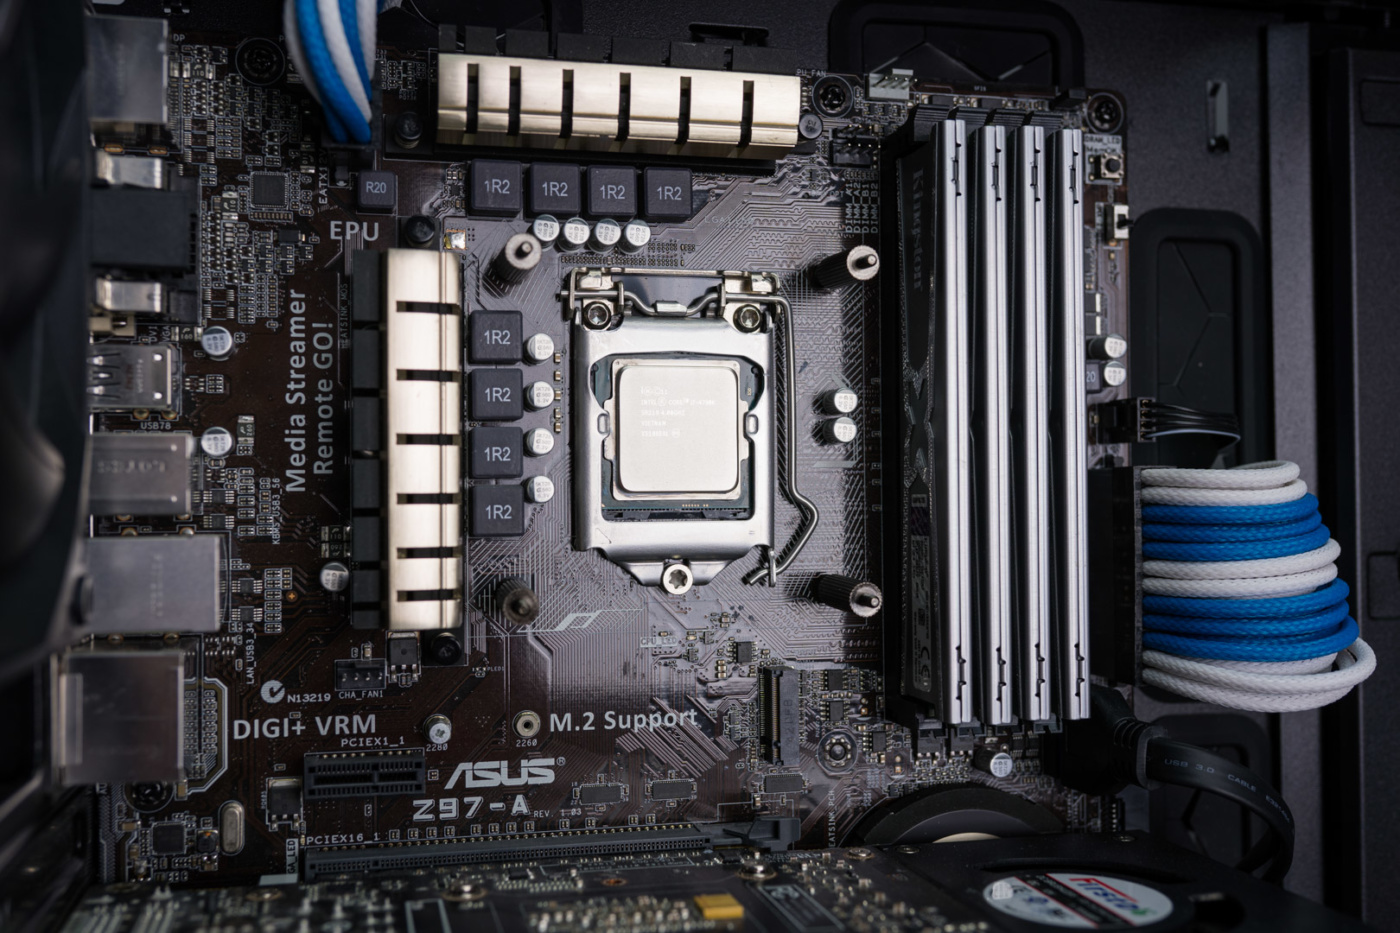
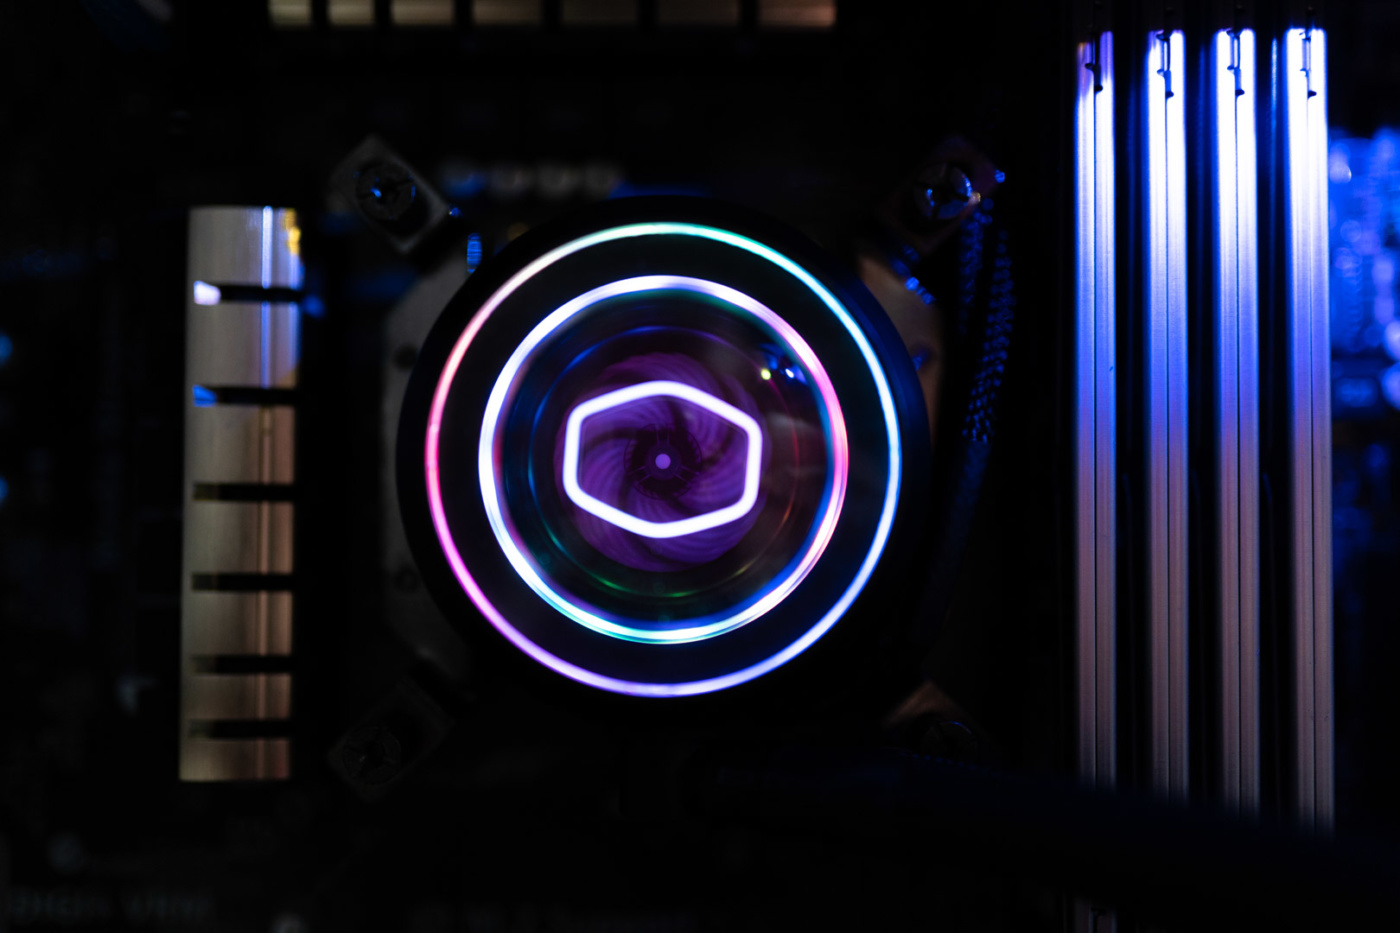
Apply your thermal paste in a grain of rice size bit to the top of the CPU heat spreader. After being careful to align the brackets with the standoff posts, press the coldplate firmly onto the processor. Hold with one hand while you secure with pump to the socket with the small knurled nuts. Finish tightening these following the pattern laid out in the manual with a screwdriver to ensure they are correctly and completely installed.
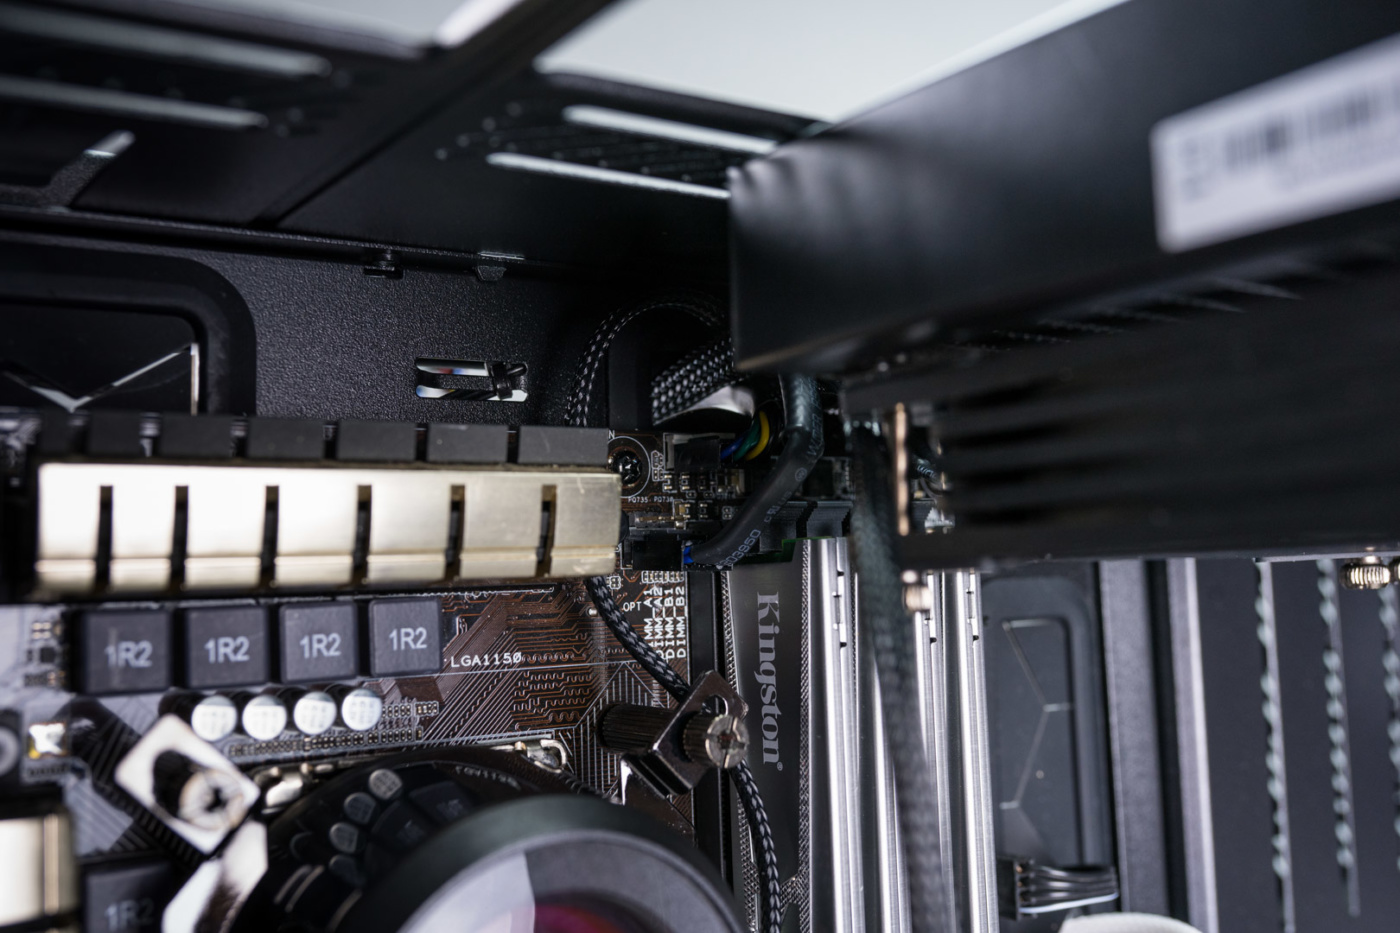
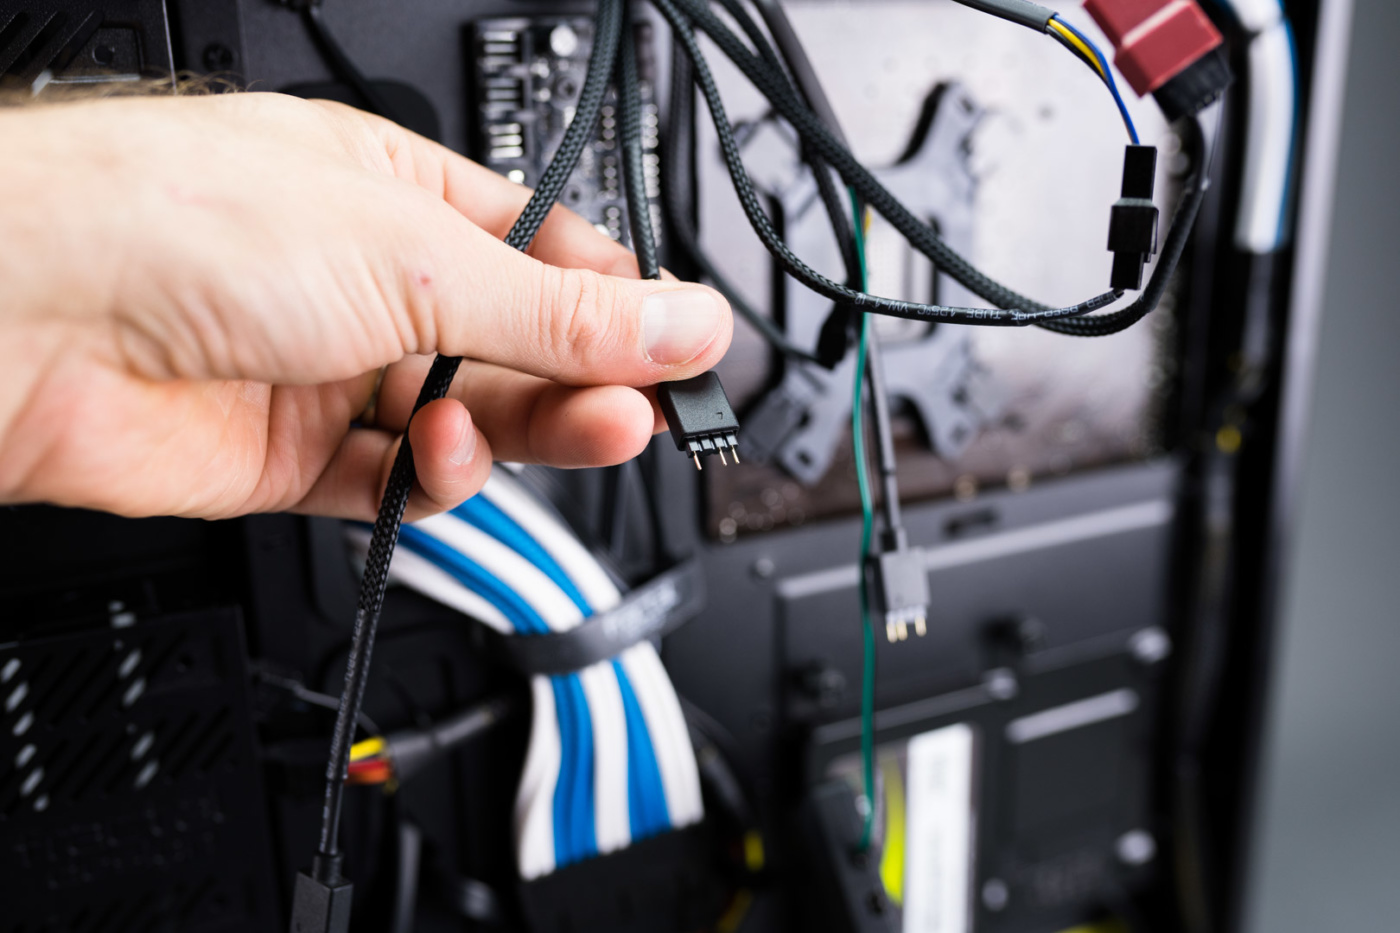
The hardware side is good to go, now onto the many electrical connections that are needed. You will want to feed the fan cables to the back of the motherboard followed up by the pump set. The four pin connectors are both then attached to their respective Y adapters, fed back to the front of the motherboard and installed in the CPU_FAN header for the pump power, and a motherboard Fan header for the fans.
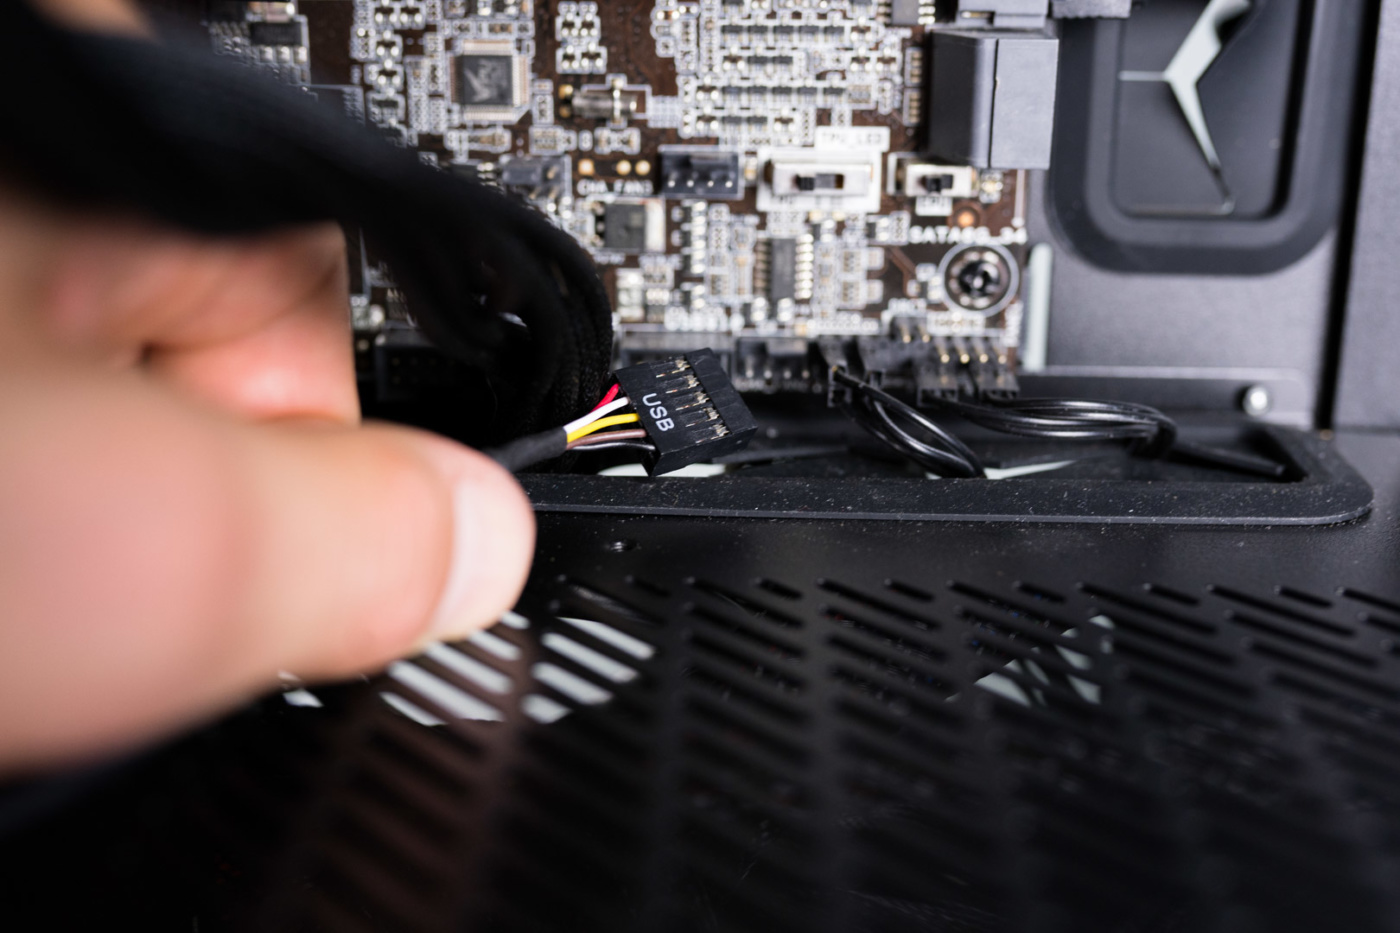
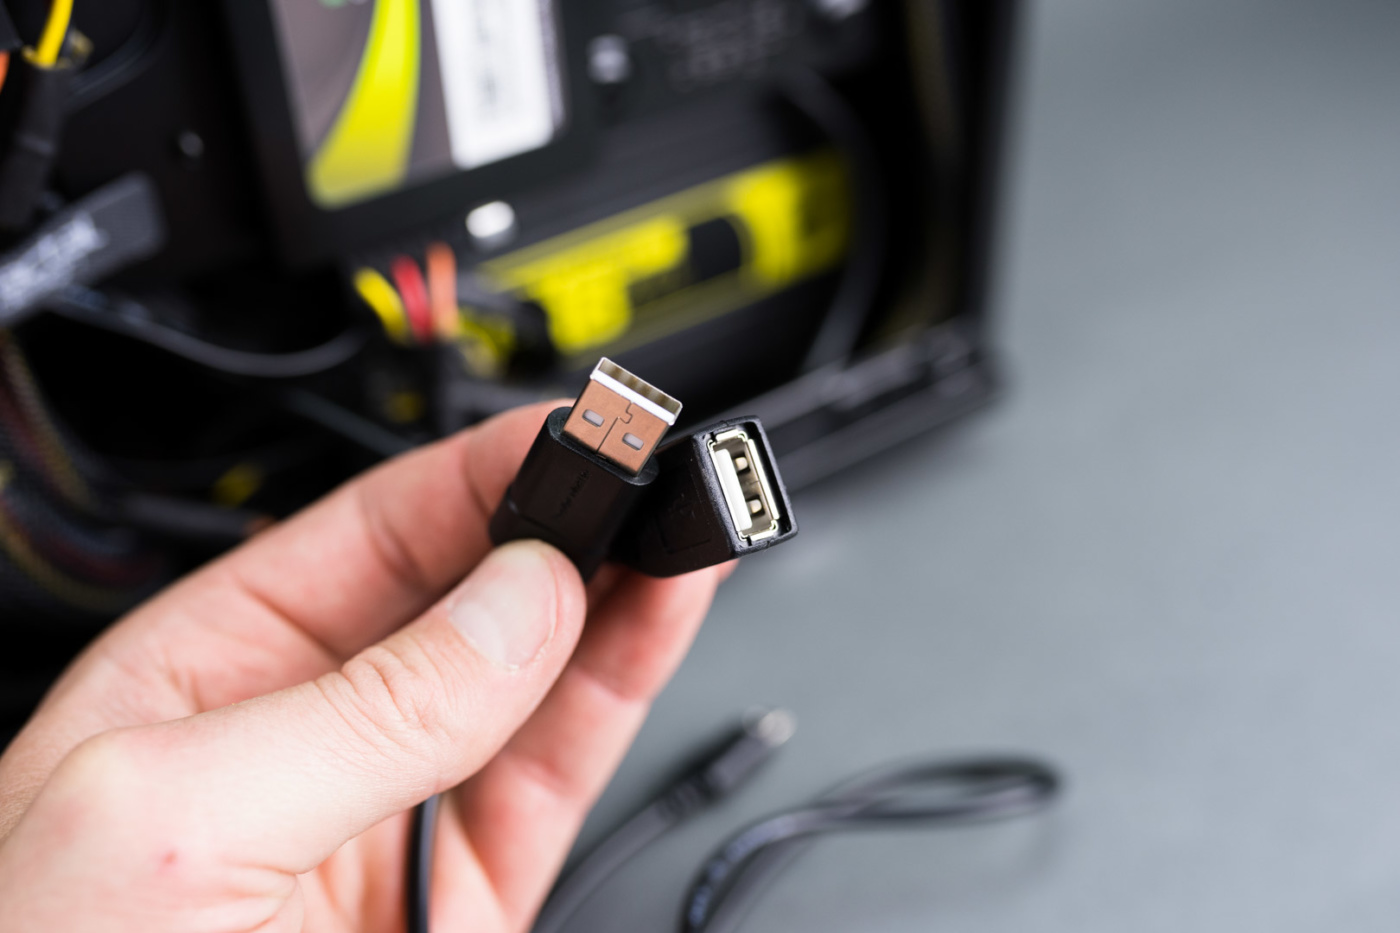
To gain software control of the lighting we need to plug the USB cable into an open USB header on the motherboard. Plug that cable into the included USB-A to Micro-USB cable. The Micro-USB end will plug into the ARGB hub.
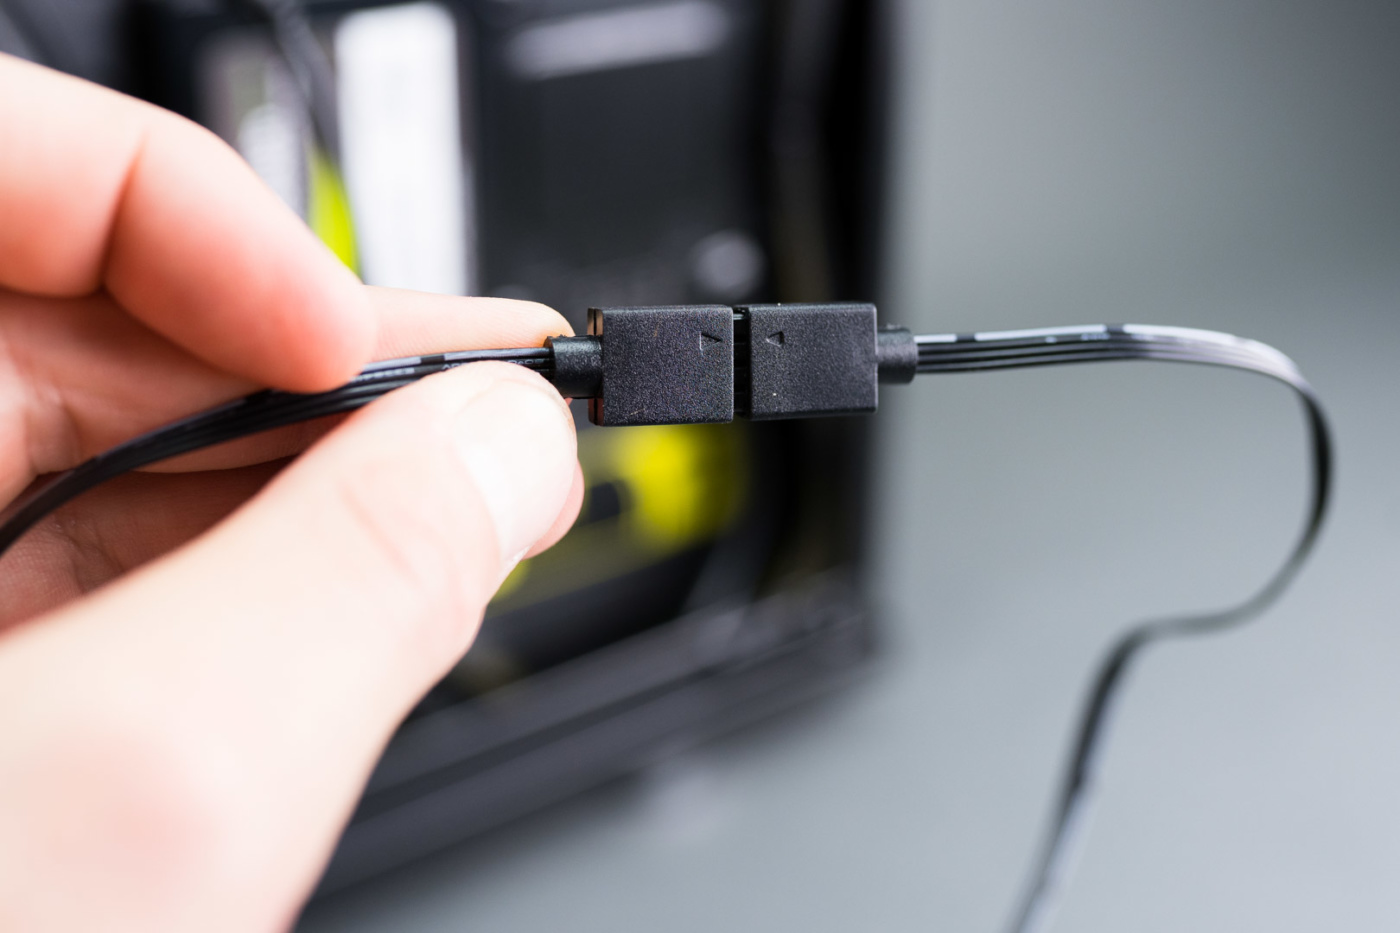
From the Y adapter for the pump power there is a single two pin connector. Plug this into the thermal port on the hub. There are three, three pin connectors that need to be plugged into the hub on the opposite side of the two pin. It doesn’t matter which ports you choose.

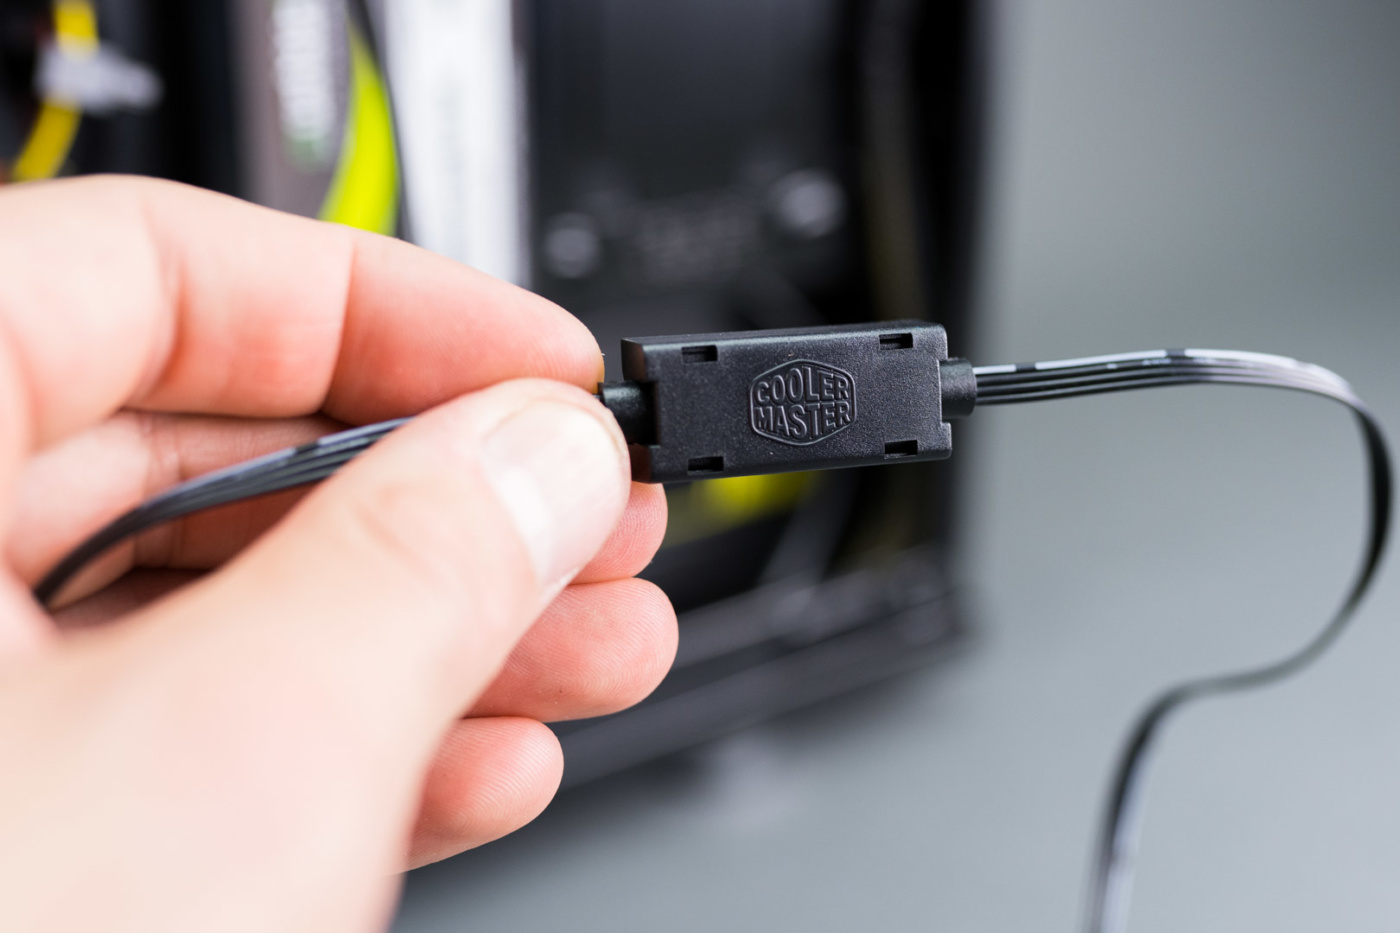
All of the ARGB wiring is passed on from CM’s previous generation ARGB liquid cooler. One neat addition that we don’t actually need for our simple installation here, but we want to demonstrate are the connector covers. Attaching two connectors in the past left them prone to unplugging on their own. With the covers they are secured to each other and it looks a bit nicer to boot.
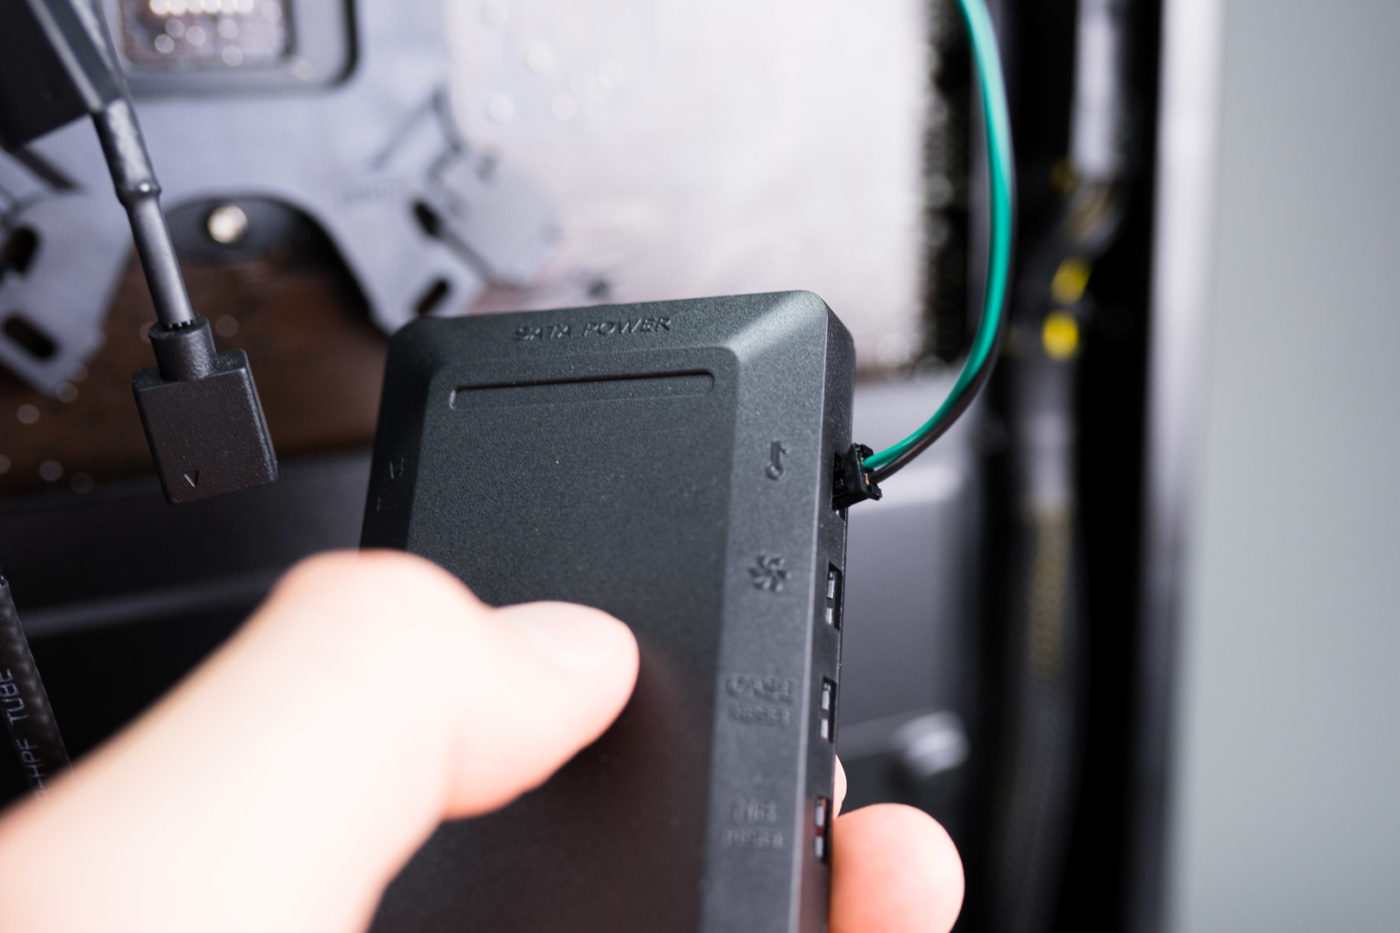
Finally we’ll need to plug a SATA power adapter from your PSU into the hub to give it power for the software mode. With that, installation is complete!
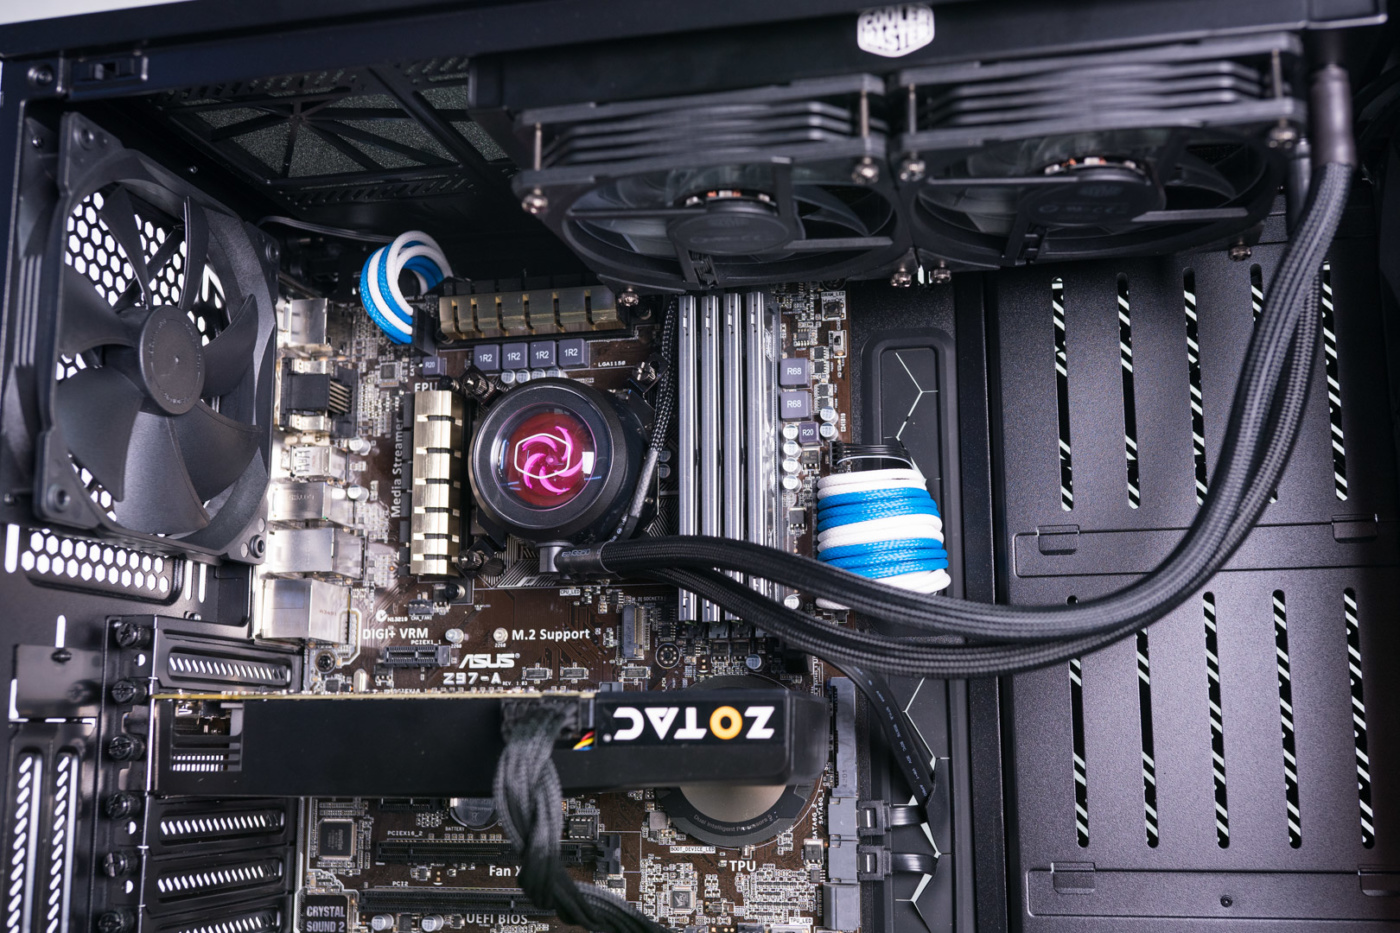
Fire your system up checking that the flow meter and fans are spinning and you are ready to get to work, gaming, or benching whichever you prefer!
Before you move on too quick, head to this Cooler Master Download Link to download the latest required firmware update for the hub and the Master Plus+ software. Both install right from the desktop.
With all boxes checked we are ready to get to performance testing!