Installation
Installing the Pro 140 is pretty straight forward, basically the same as installing one of the other coolers from this family and very similar to most other AiOs on the market. At this point most companies have figured out what their customers need and are making installations much easier.
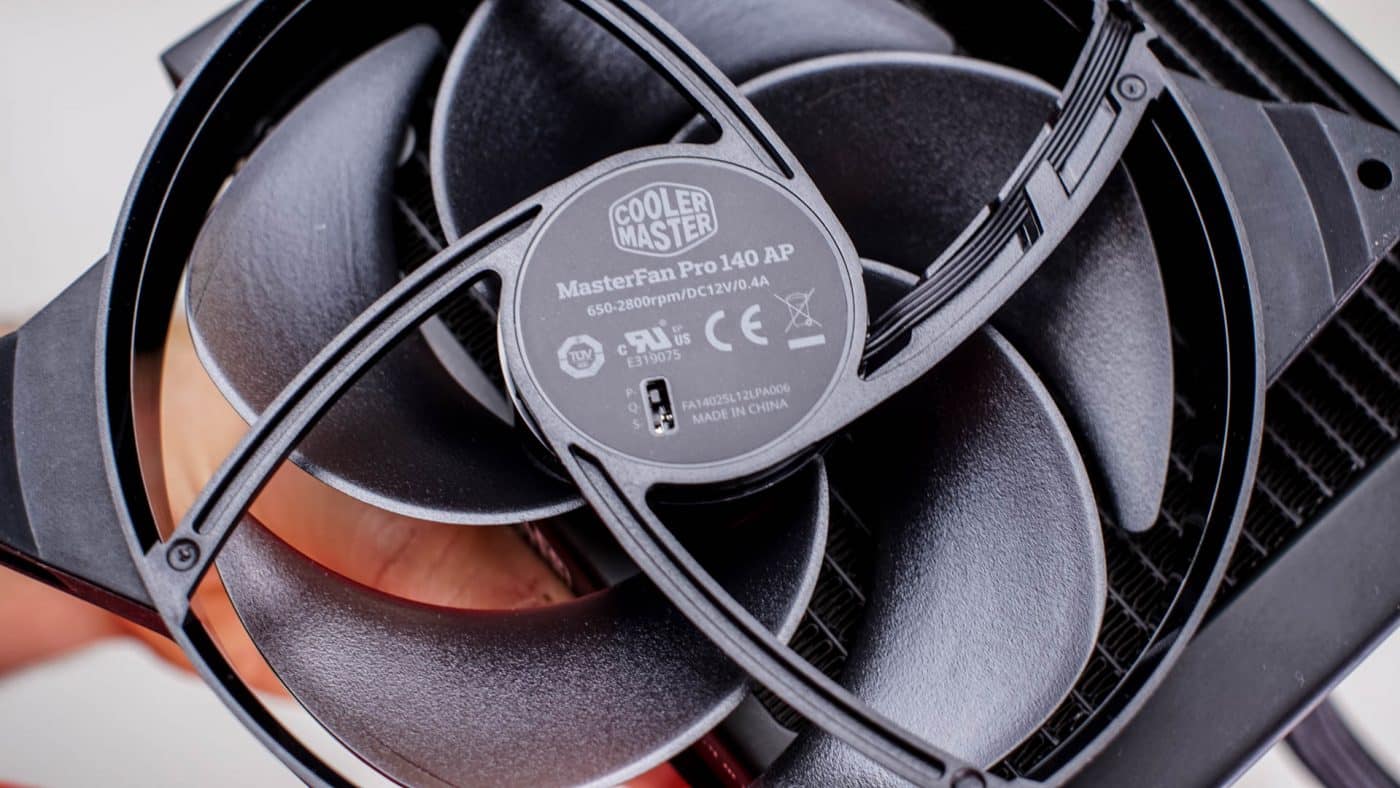
We begin by attaching the first of our two fans to the bottom side of the radiator. Whether installing in the top, front, or back of your case these steps are essentially the same. Place one of the rubber shrouds on the radiator and place the first fan within. Orient the fan such that the wiring will go towards the back of your case. Once the fan and shroud are aligned secure with a thumb screw at each corner.
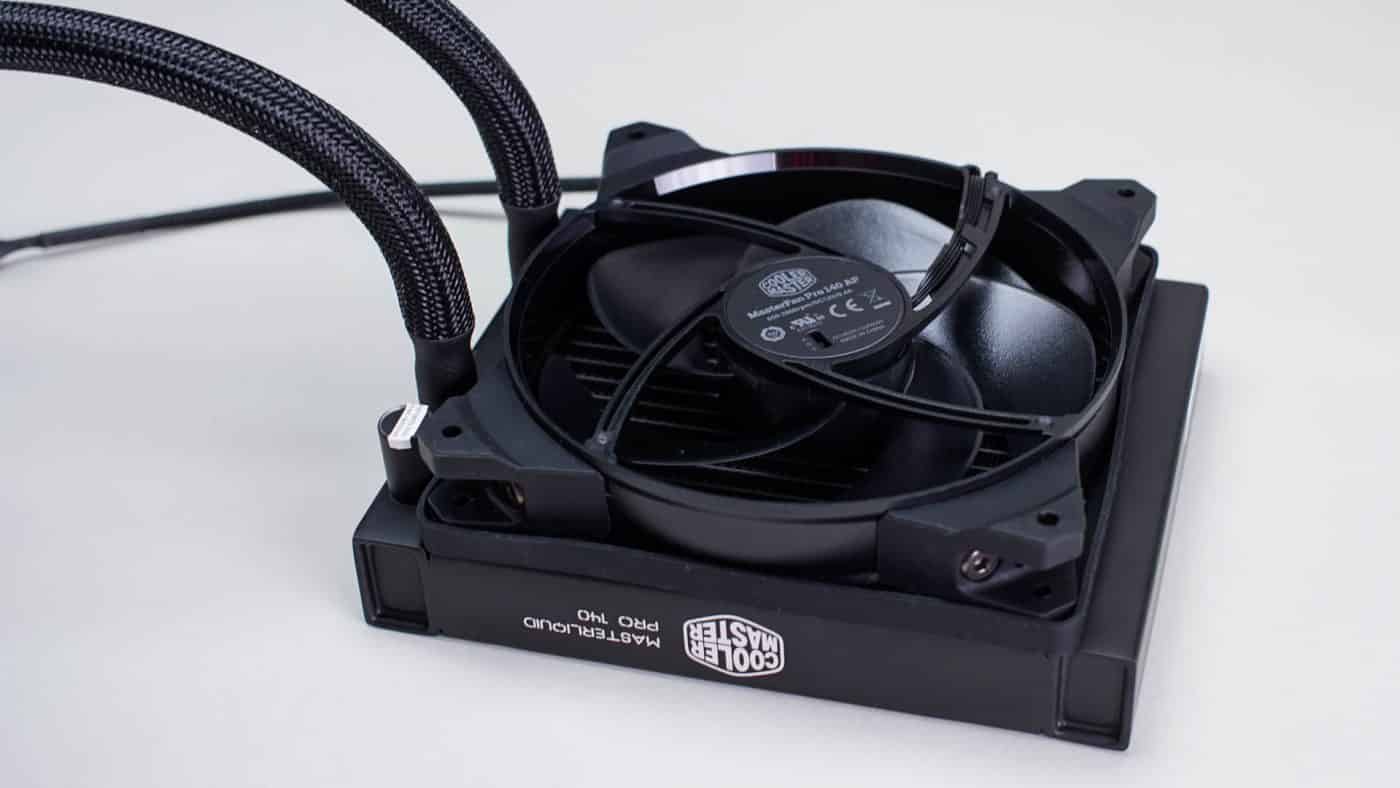
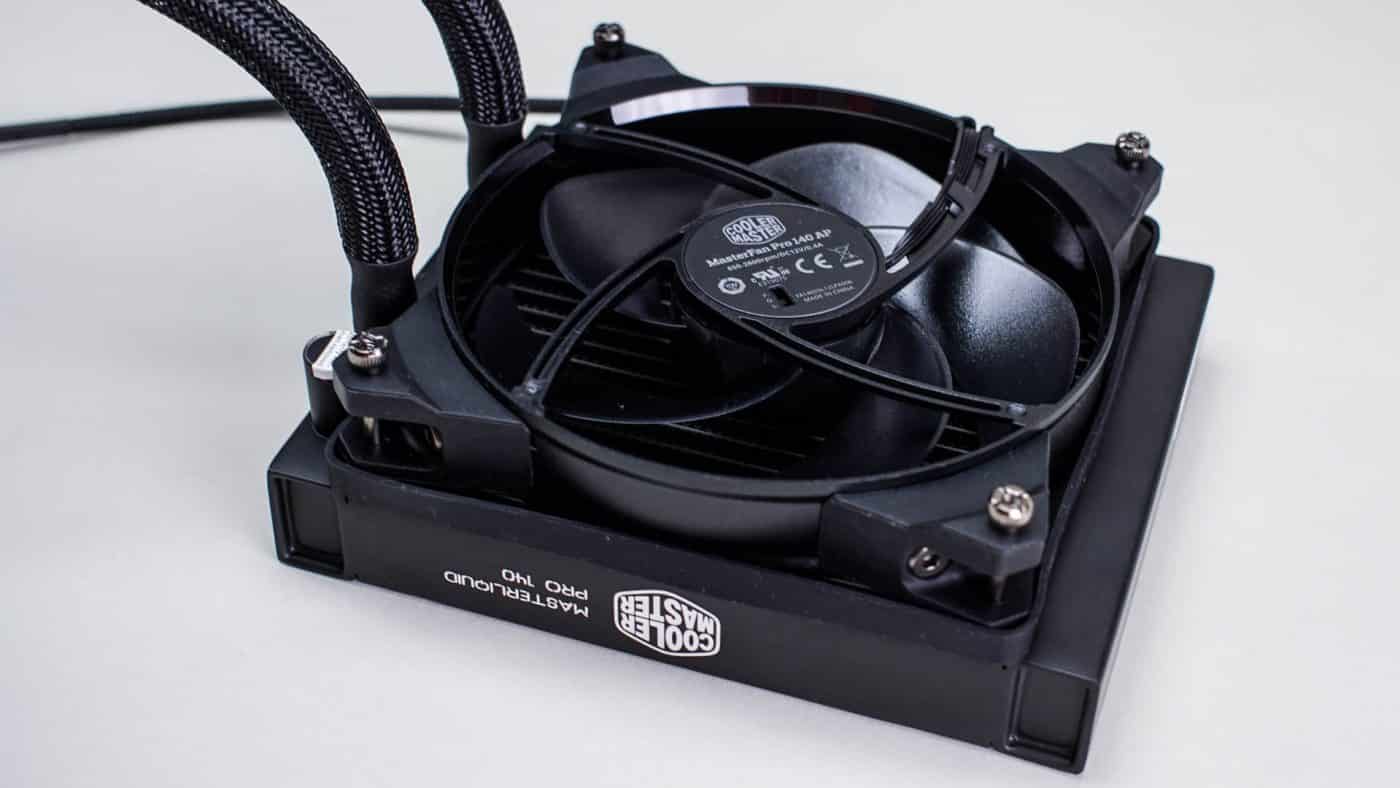
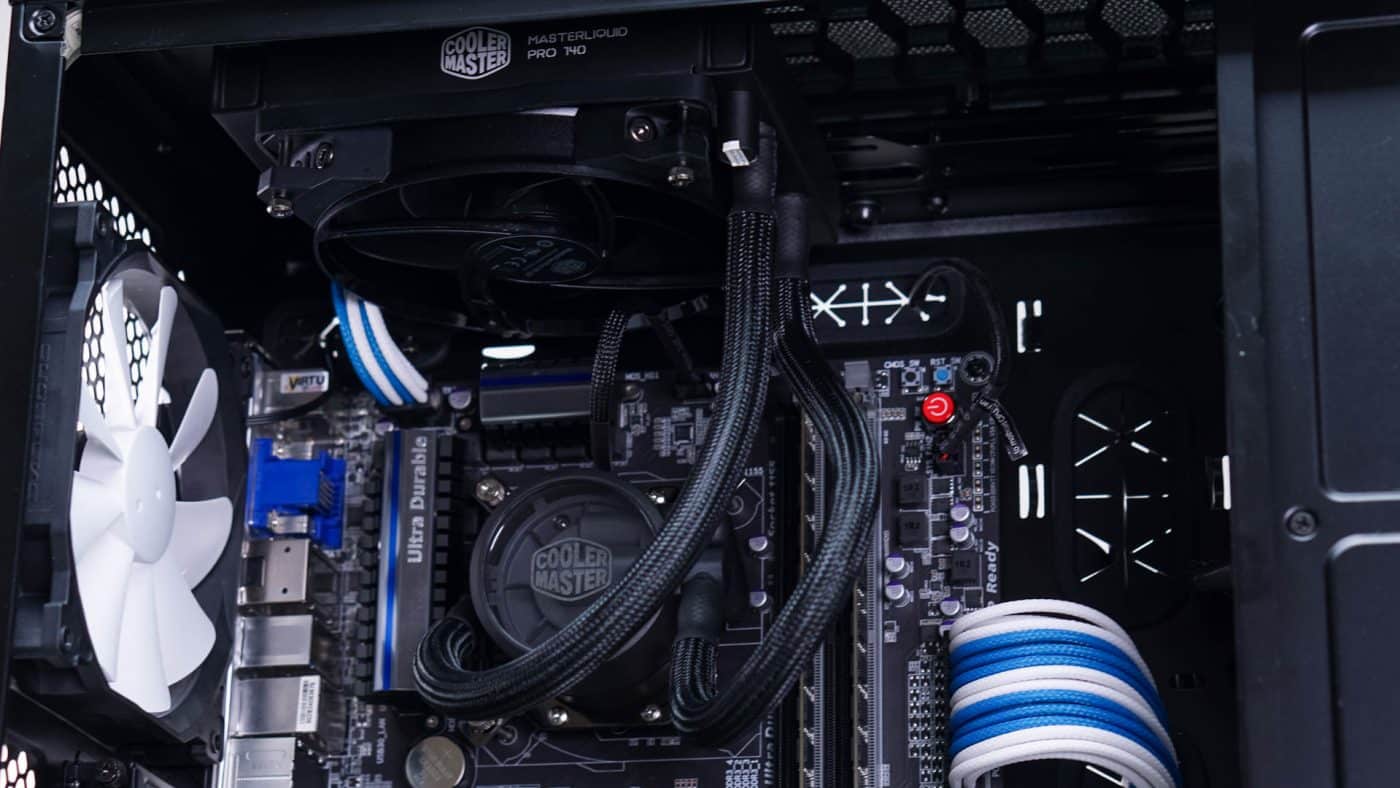
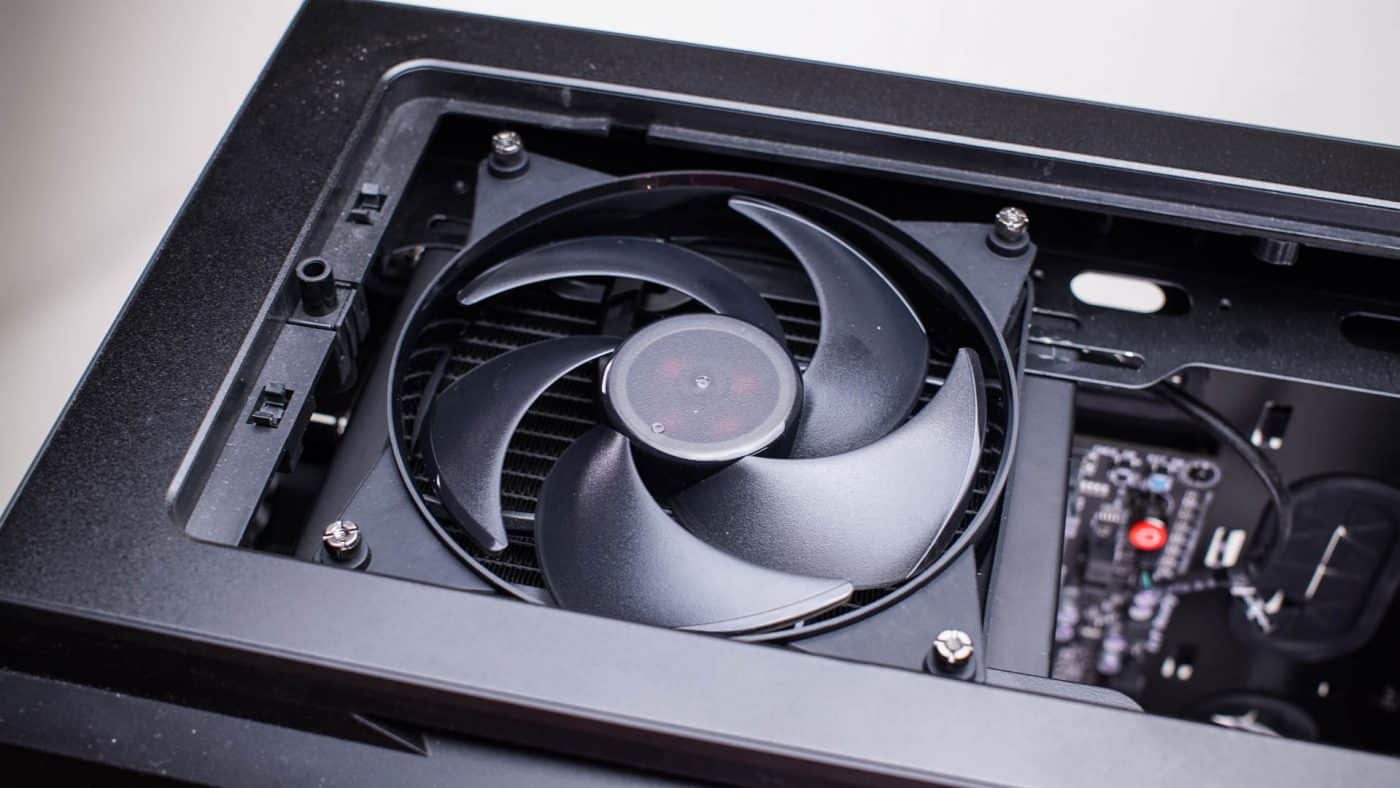
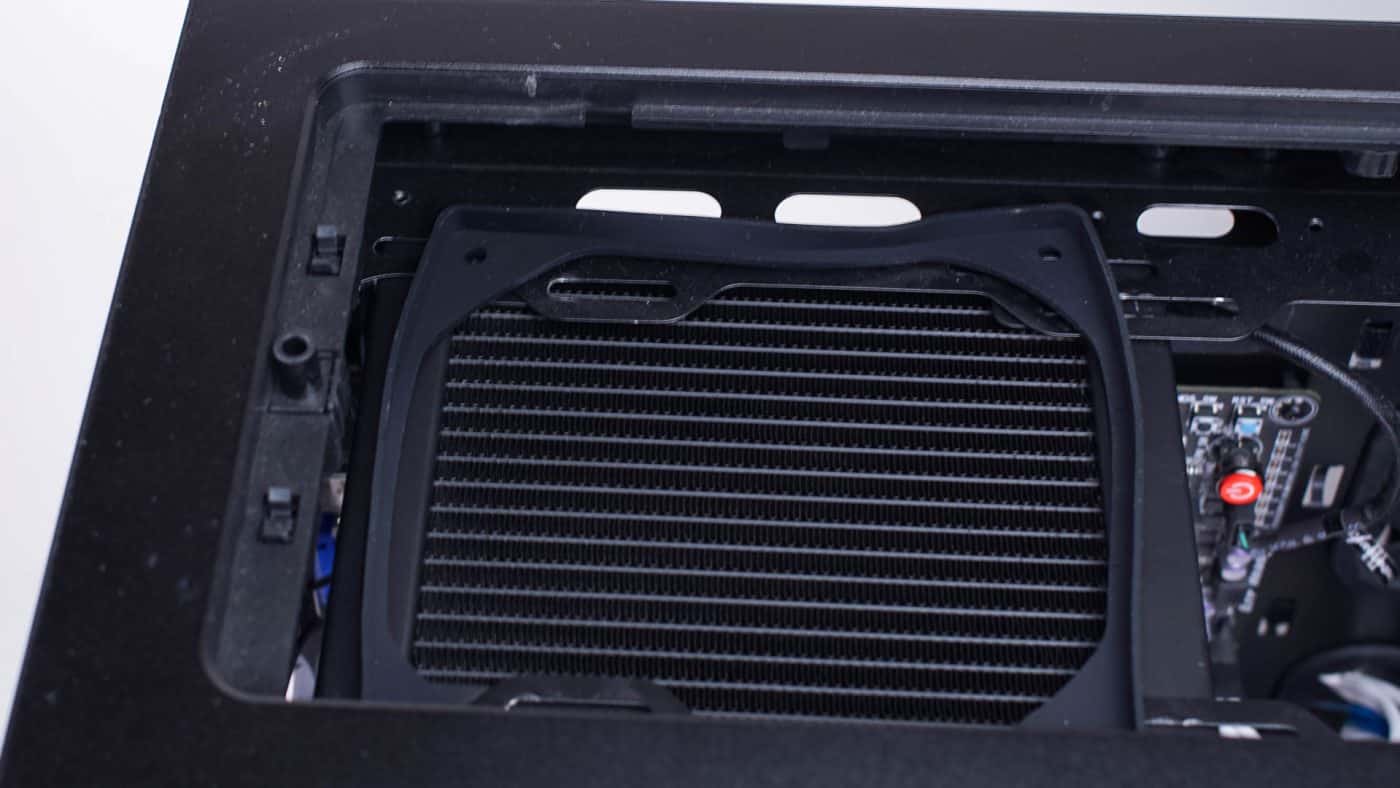
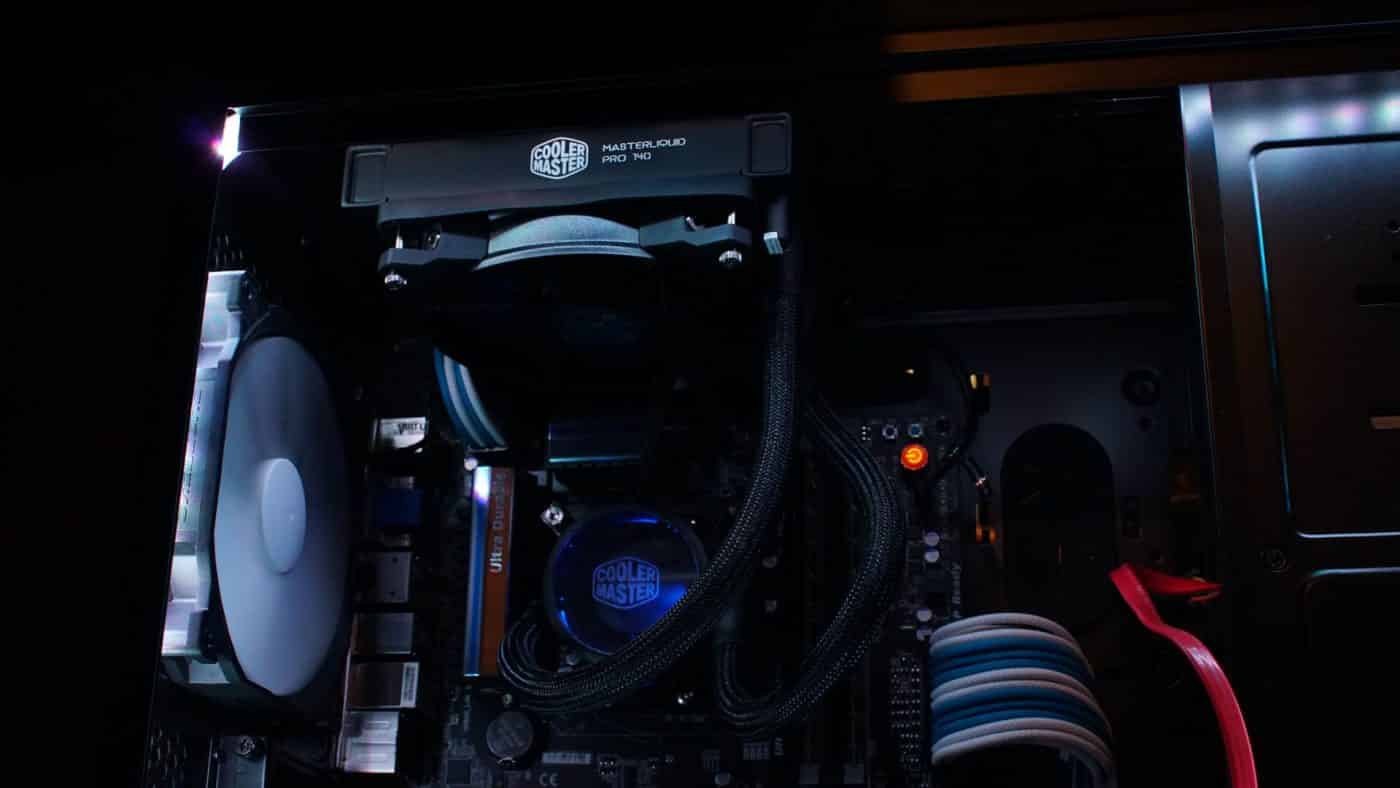
Now we’ll install the radiator into the top of the case. Since we are pulling air into the case be sure to set the fan speed for the inward facing fan if you won’t be using PWM control. We set ours to the performance setting just to be safe. Now wrap the other shroud around the edges of your fan and align with the radiator. Holding the radiator in place with one hand secure with the remaining four thumbscrews with the other.
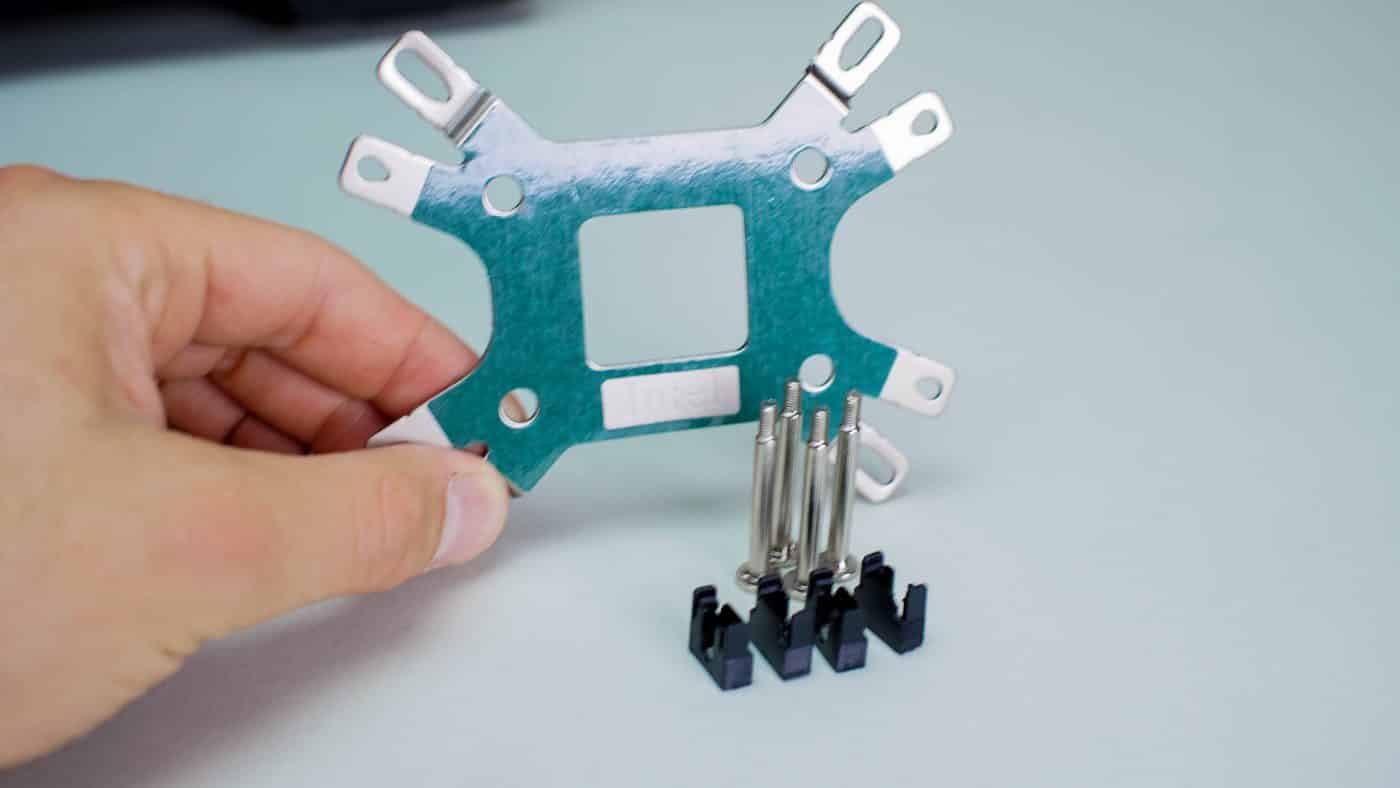
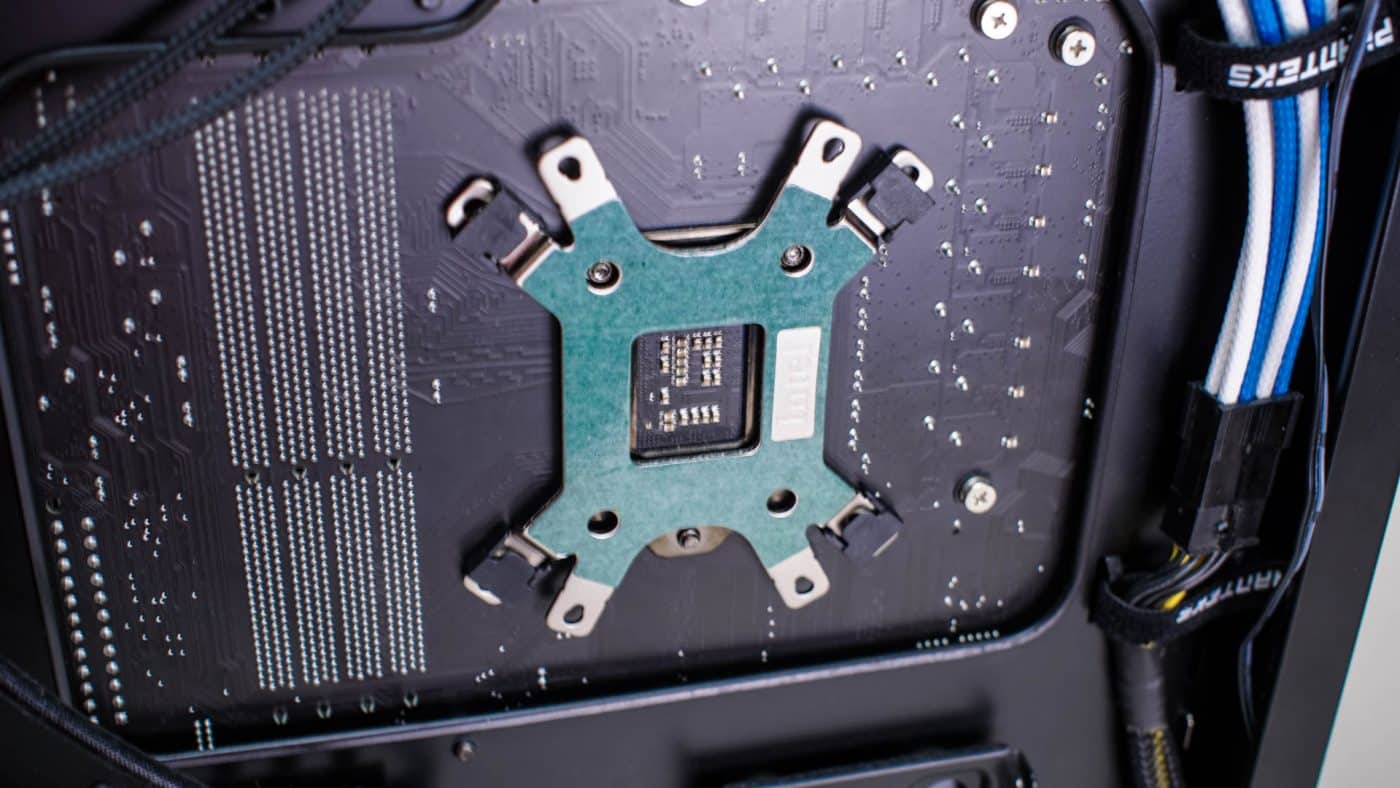
Next let’s install the backplate into the motherboard. Begin by assembling the plate with the four standoff screws and the black retention clips. These slip over the ends of the plate and the screw head and snap into place. Depending on your socket type you will then set the screws to the correct position. Keep in mind some Intel sockets will use the other ends. Once assembled insert the backplate into the motherboard from the back. There should be just enough tension to keep the plate from falling off while you move your case around. However there is not enough tension to keep it from falling out if you lay the case down.

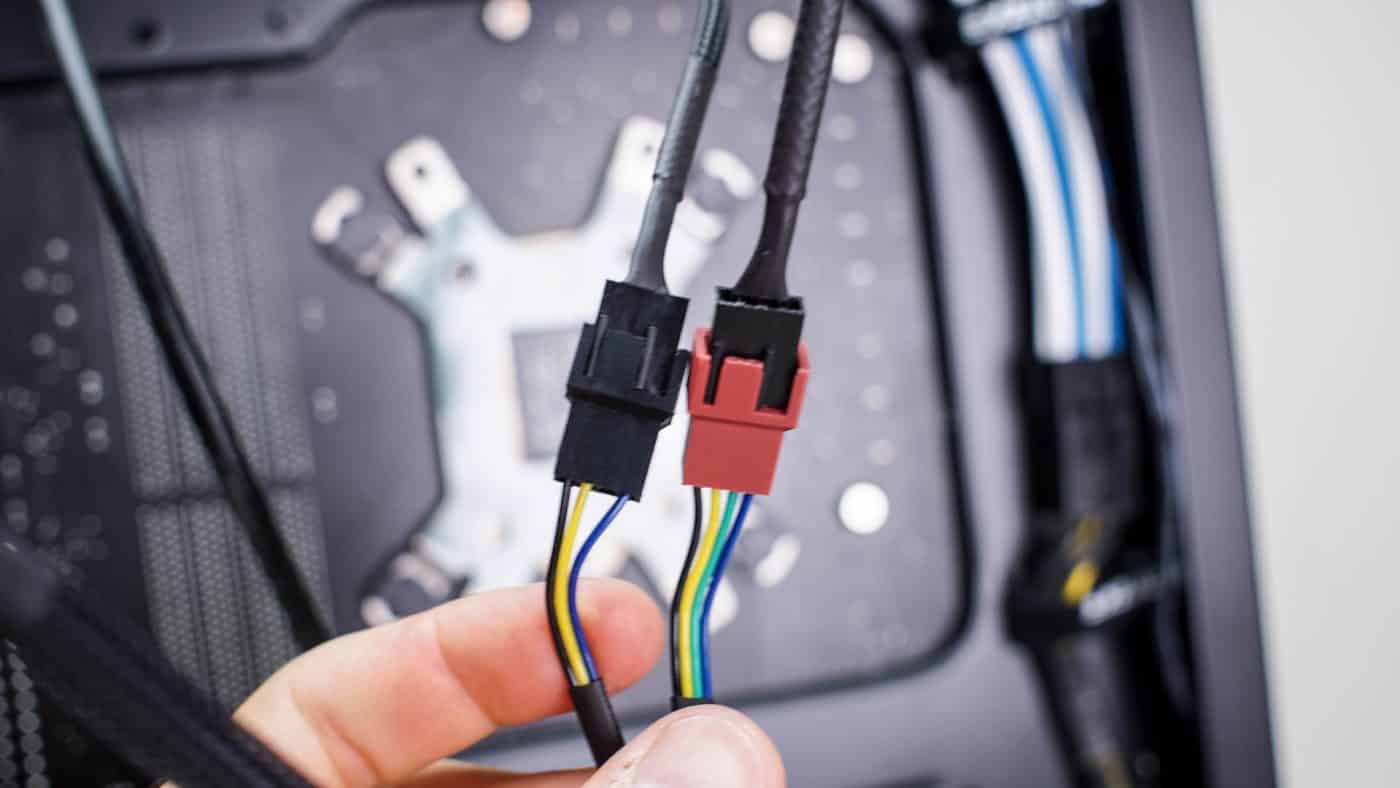
While you are at the back side of the case go ahead and connect the 4-pin fan connectors to the Y splitter if you intend to power them this way. Plug the other end into a power connector or a header on your motherboard to give them PWM control.
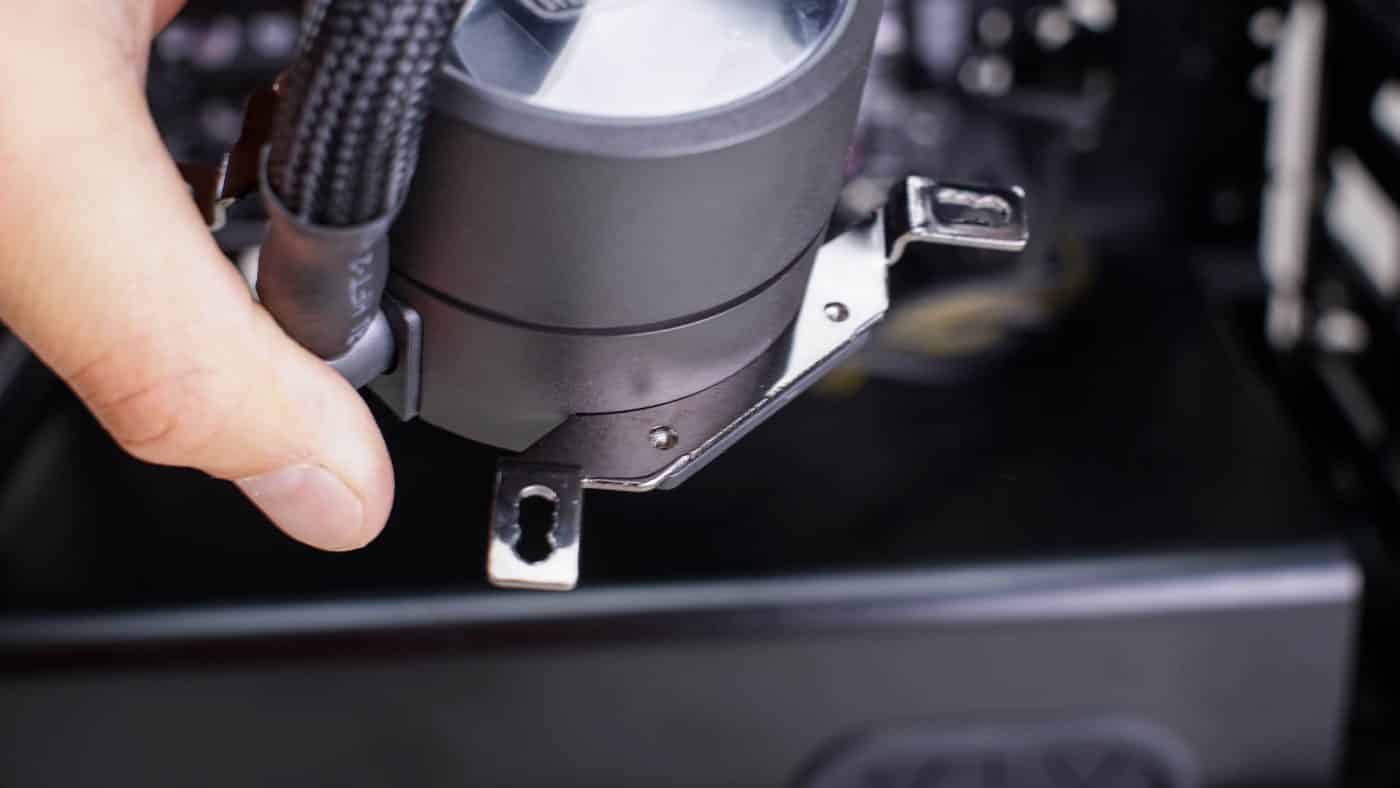
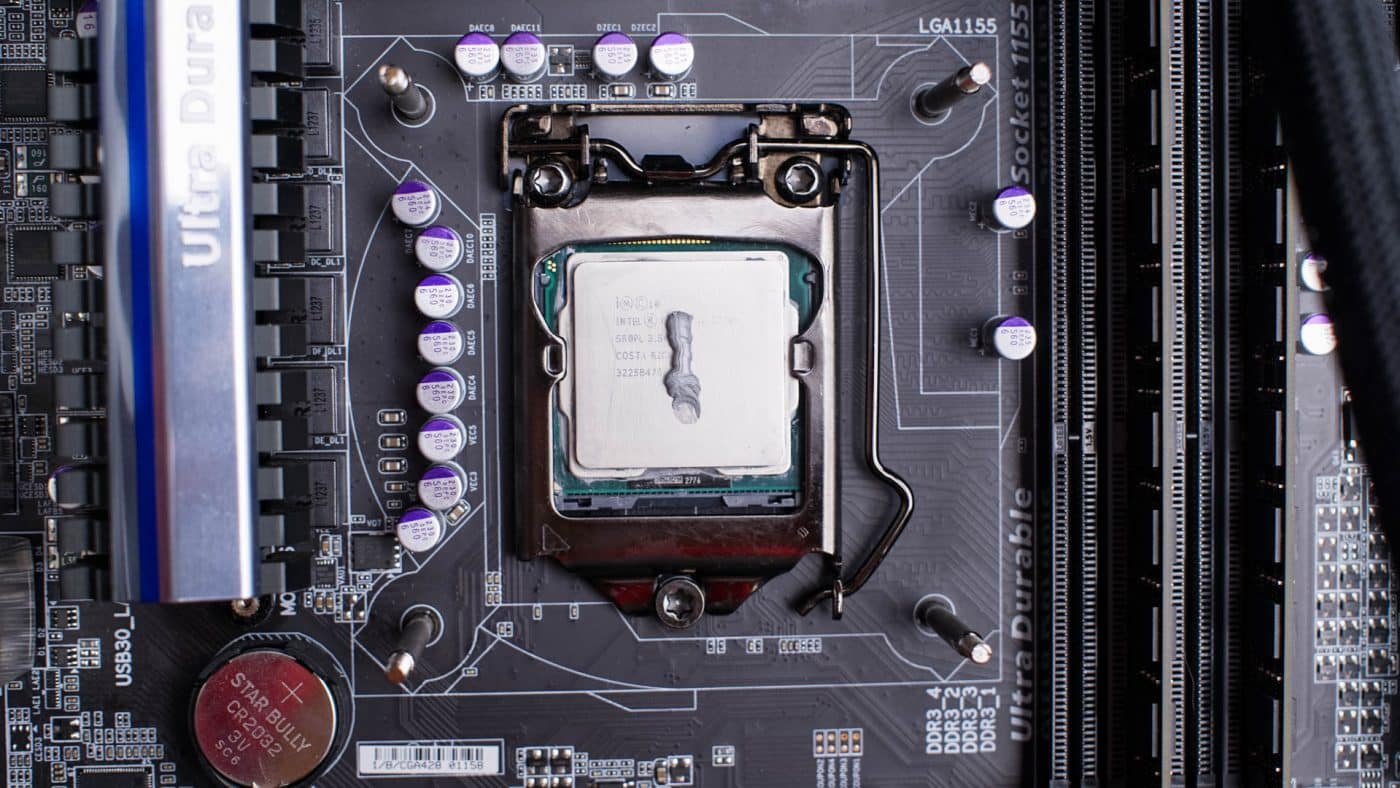
Next up attach the appropriate wings to the pump. They slide easily and firmly into the slots on the side of the pump and are secured with two screws each. Now you are ready to apply a grain of rice size amount of thermal paste directly to the CPU surface. You are also going to want to remember to remove the sticker from the base of the pump at this point. With everything set to go, align the holes in the wings with the standoff screws and press the pump firmly onto the CPU. Holding the pump in place with one hand thread the nuts onto the four posts and hand tighten them evenly. Once all four are set tighten them the rest of the way with a flat head screwdriver; they should bottom out.
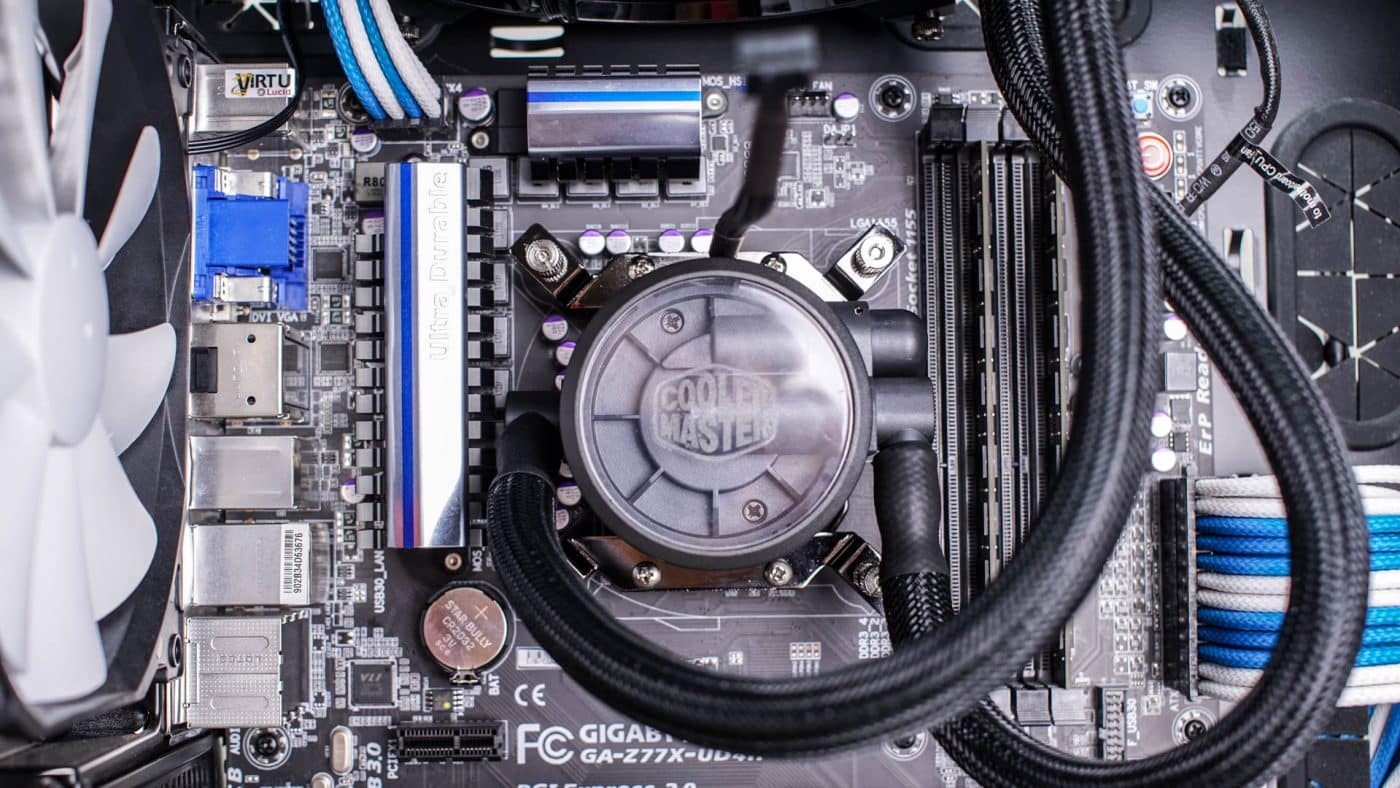
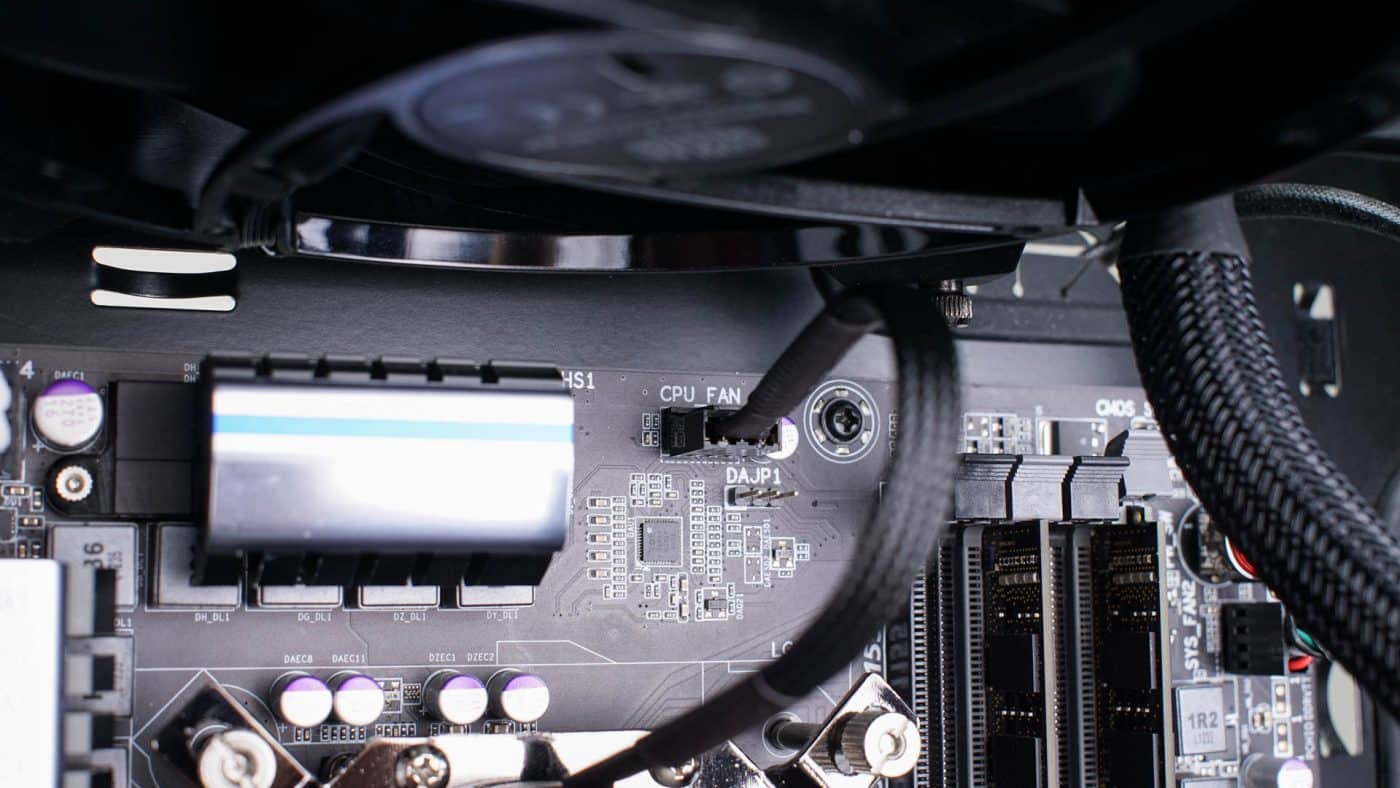
Finally attach the four pin on the pump to the CPU_FAN header at the top of your motherboard. Button the case back up and your installation is now complete. Hit the power switch and listen carefully to make sure everything is running smooth and quiet.


…Do you not find it odd that it outperformed the H100 and the CM 240? I feel like something went wrong… This doesn’t make sense 🙁