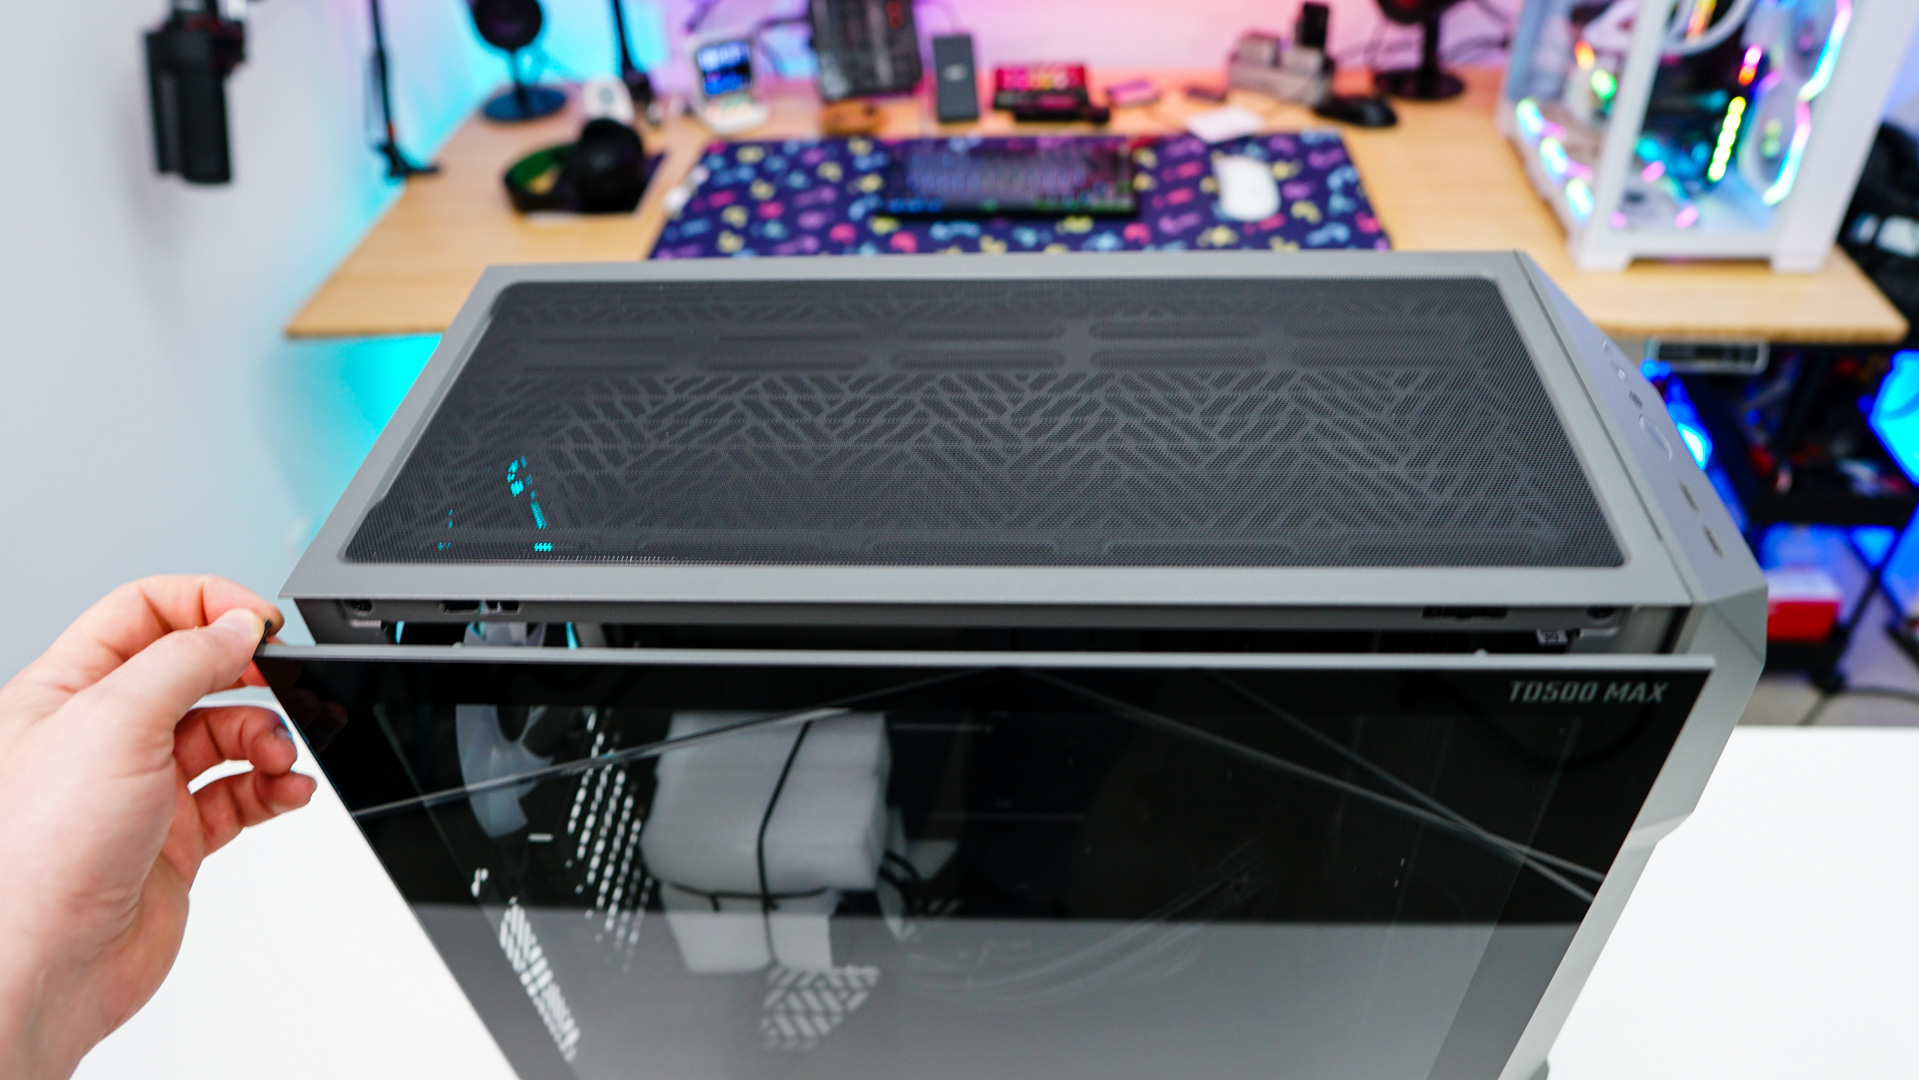
A Look Inside
Getting inside the TD500 MAX is quite easy. The main side panel does have a locking screw on the back of the case, but once you remove it you simply pull on the panel from the back and it will release and sort of just sit there. This allows you to simply pull it up and off the case and makes it so the panel doesn’t drop and scratch up your desk or break. With the main side panel removed we can see we have a pretty standard two compartment design.

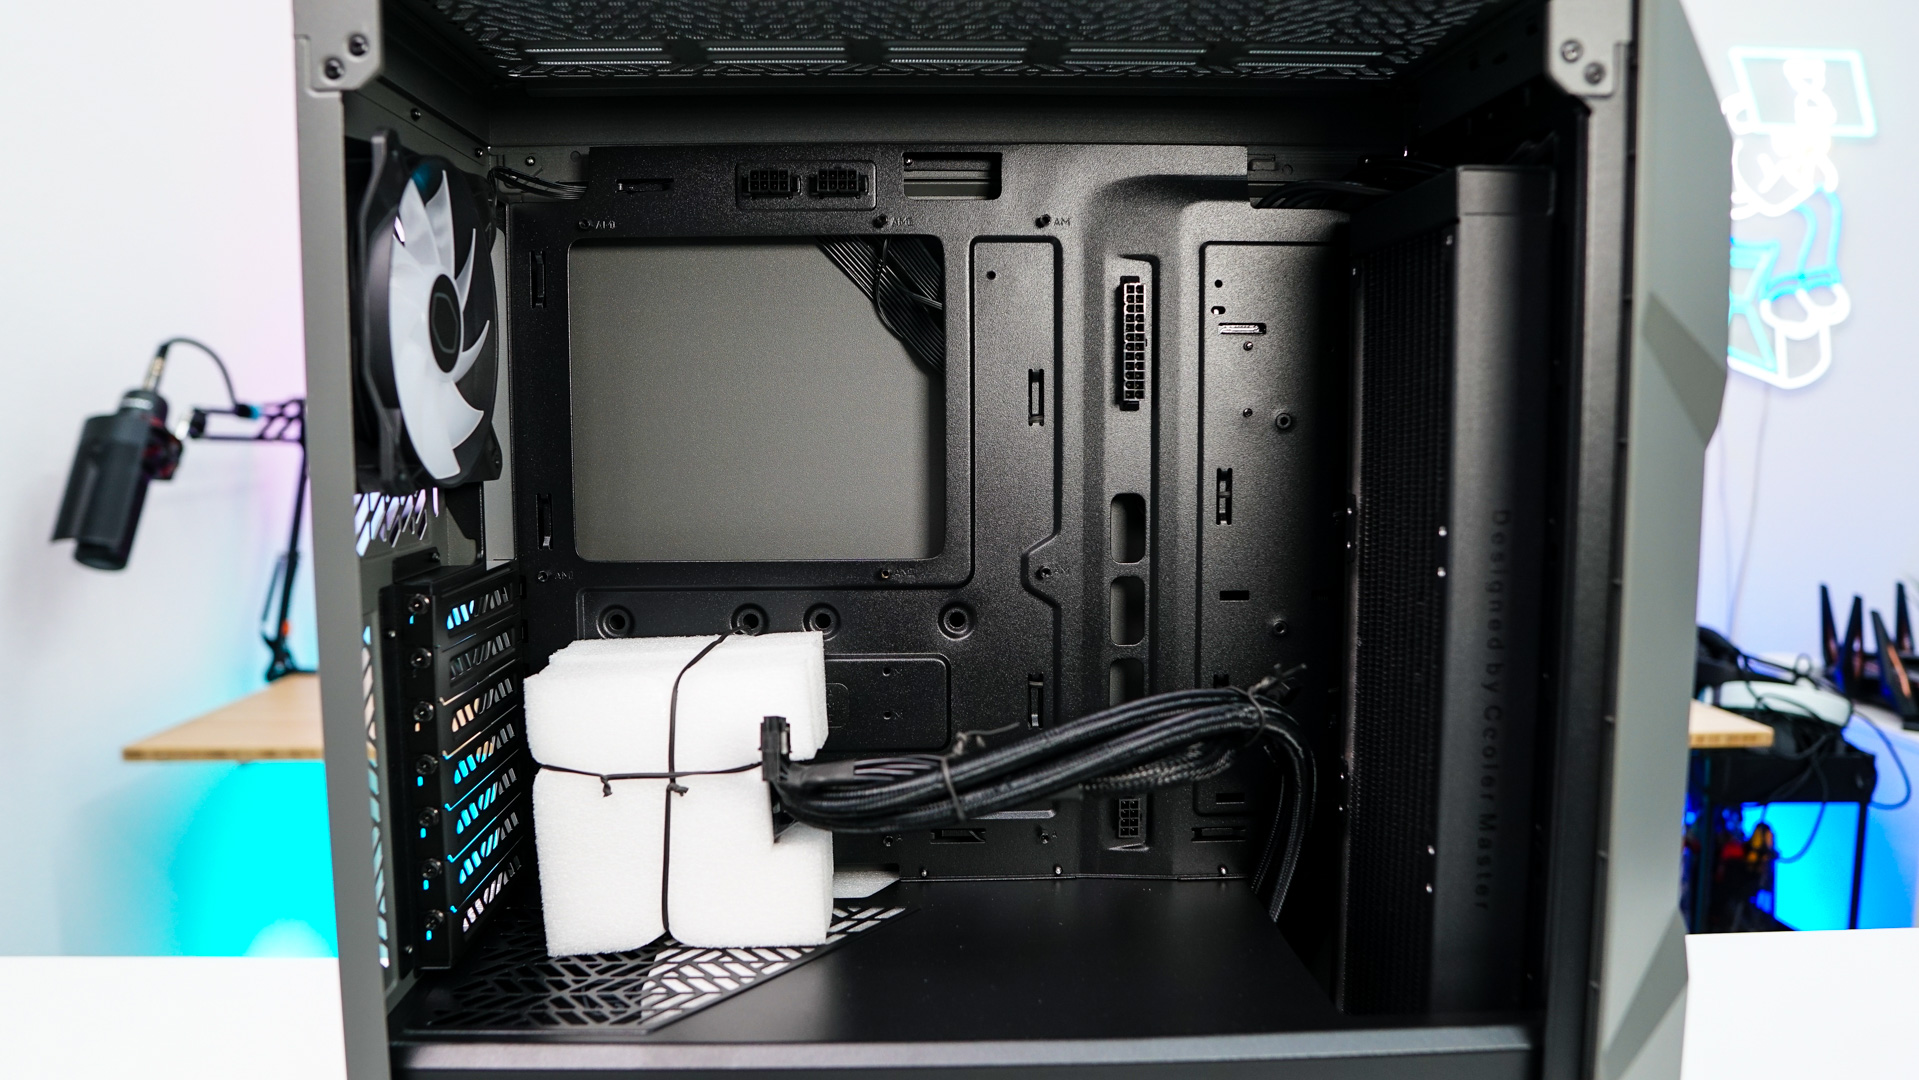
Once inside we can take a closer look at the motherboard tray. For those wondering this case will support mini-ITX, micro ATX, and ATX motherboards. You will notice some power connectors on the motherboard tray. There are two 8-pin EPS connectors at the top, a 24-pin ATX on the side, and an 8-pin PCI-Express towards the bottom. What Cooler Master has done is pre-route your power connections and mount the connectors into the motherboard tray. Then they have supplied short connectors that you’ll simply install and connect to your motherboard and graphics card. This should make the whole process a lot easier for the end user.


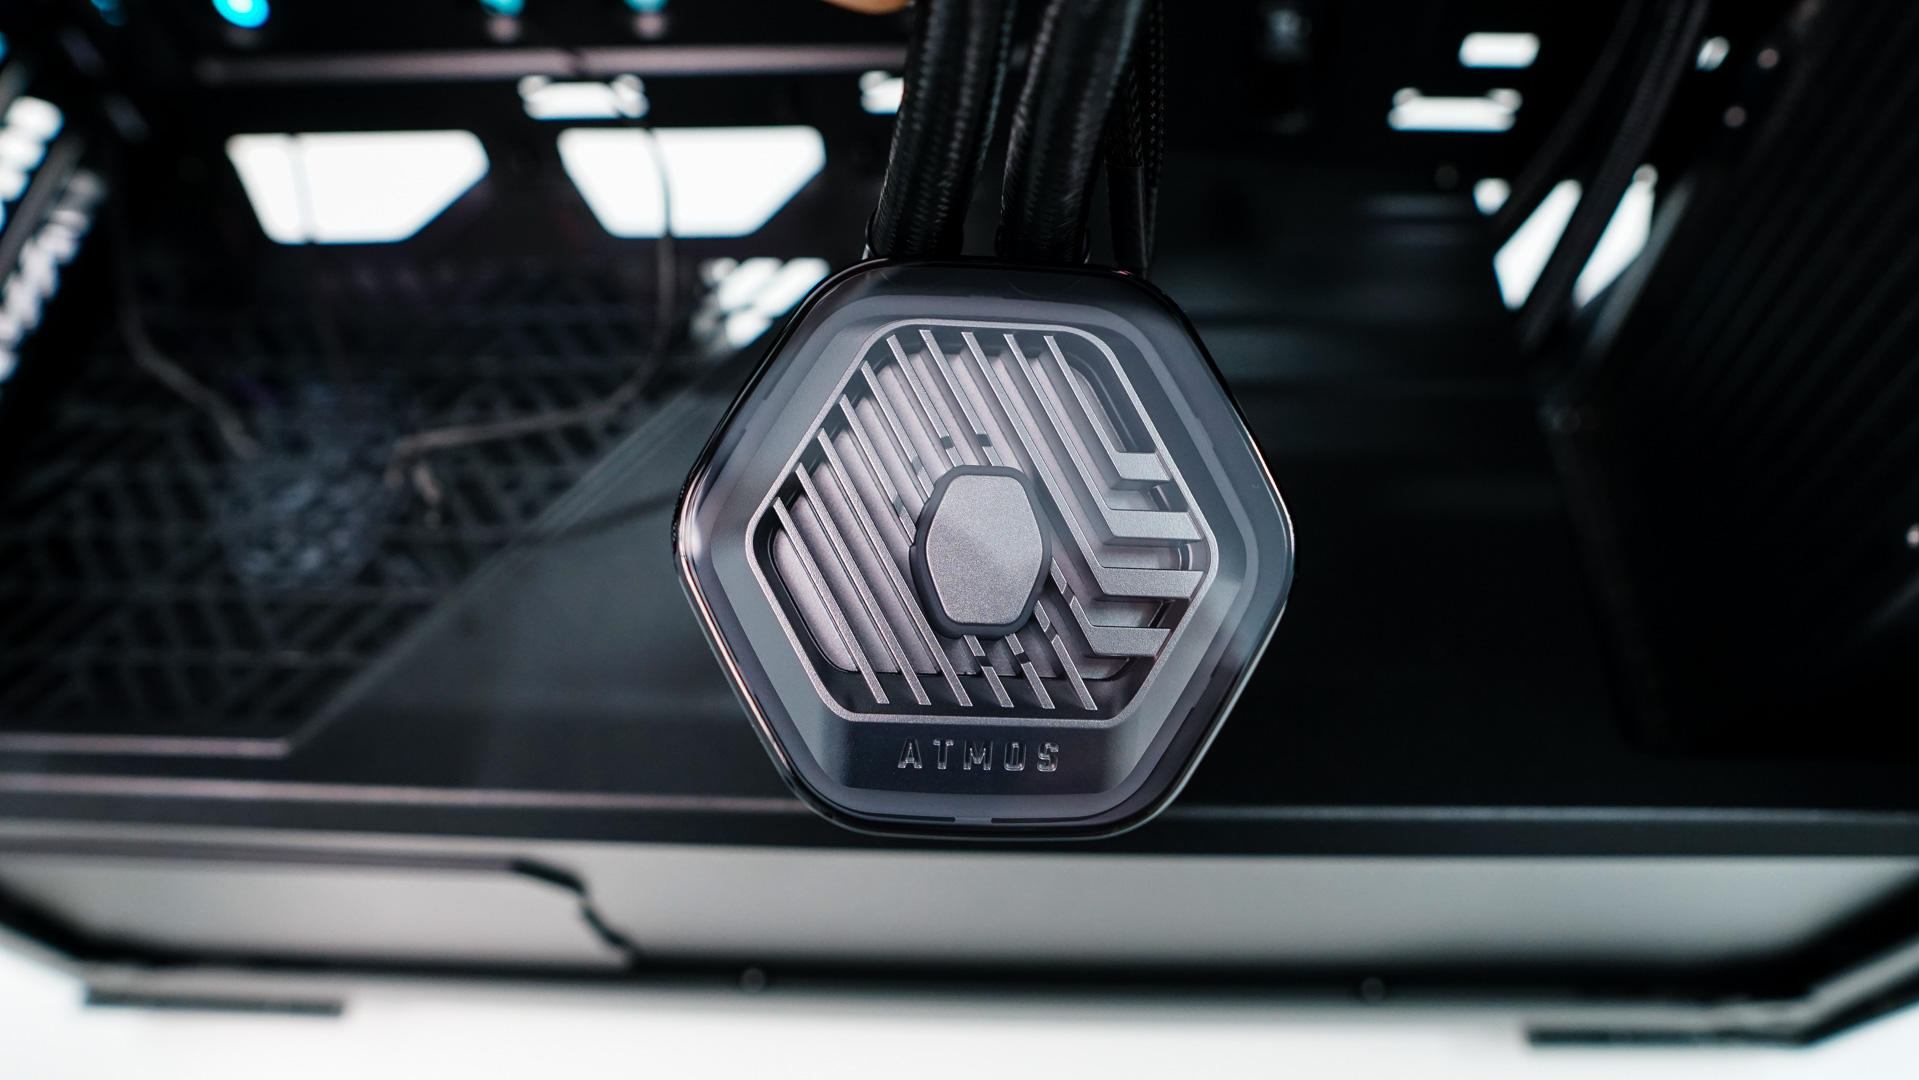
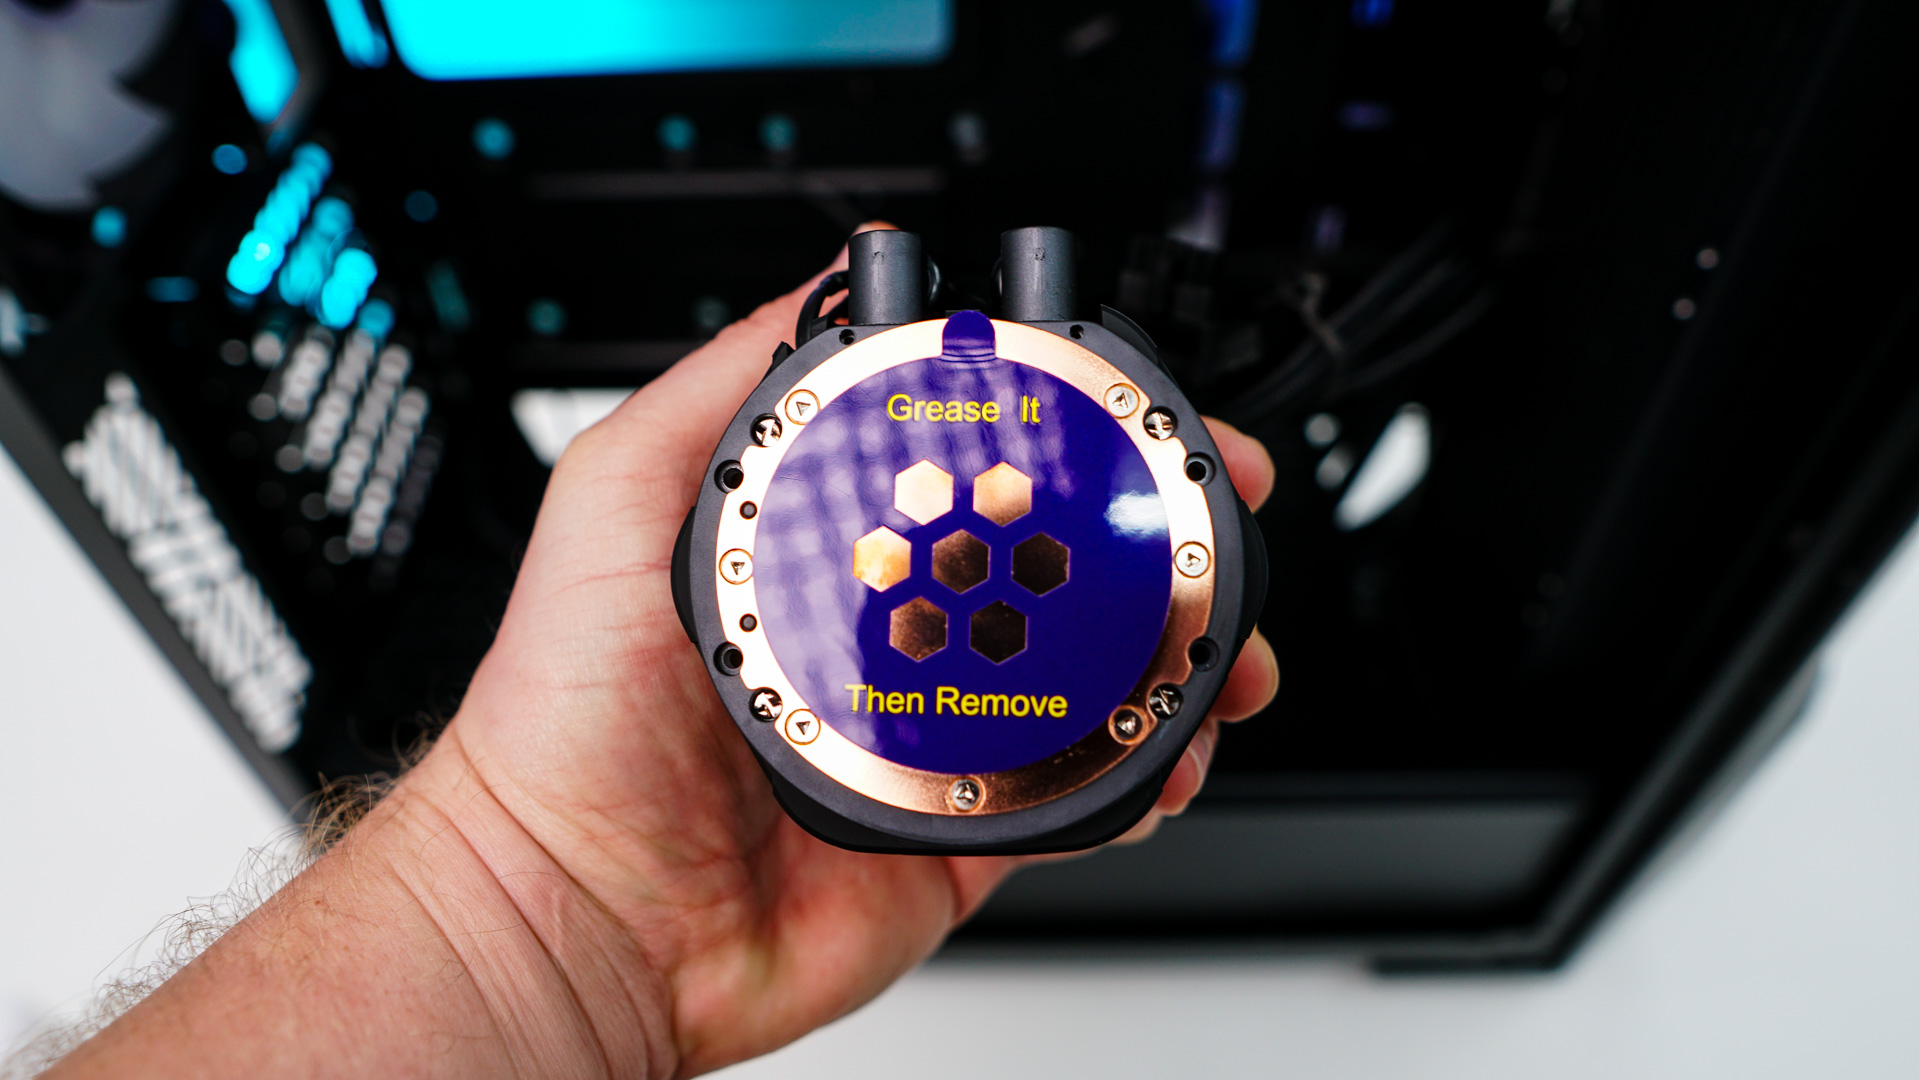
Towards the front of the case we have our radiator which is part of the “MAX Edition” of the ML360 Atmos AiO cooler. The reason this is the “MAX Edition” is that it is thicker than the normal version of the cooler at 38mm. Coming up from the bottom of the radiator is going to be your pump block and we also find a 12VHPWR power cable. This is only a 450W connector, so please keep that in mind. The pump block has a pretty nice design on it, and it is setup for you to install the included thermal paste on it. If you want even more details on this cooler you can check out our review of the MasterLiquid 360 Atmos.

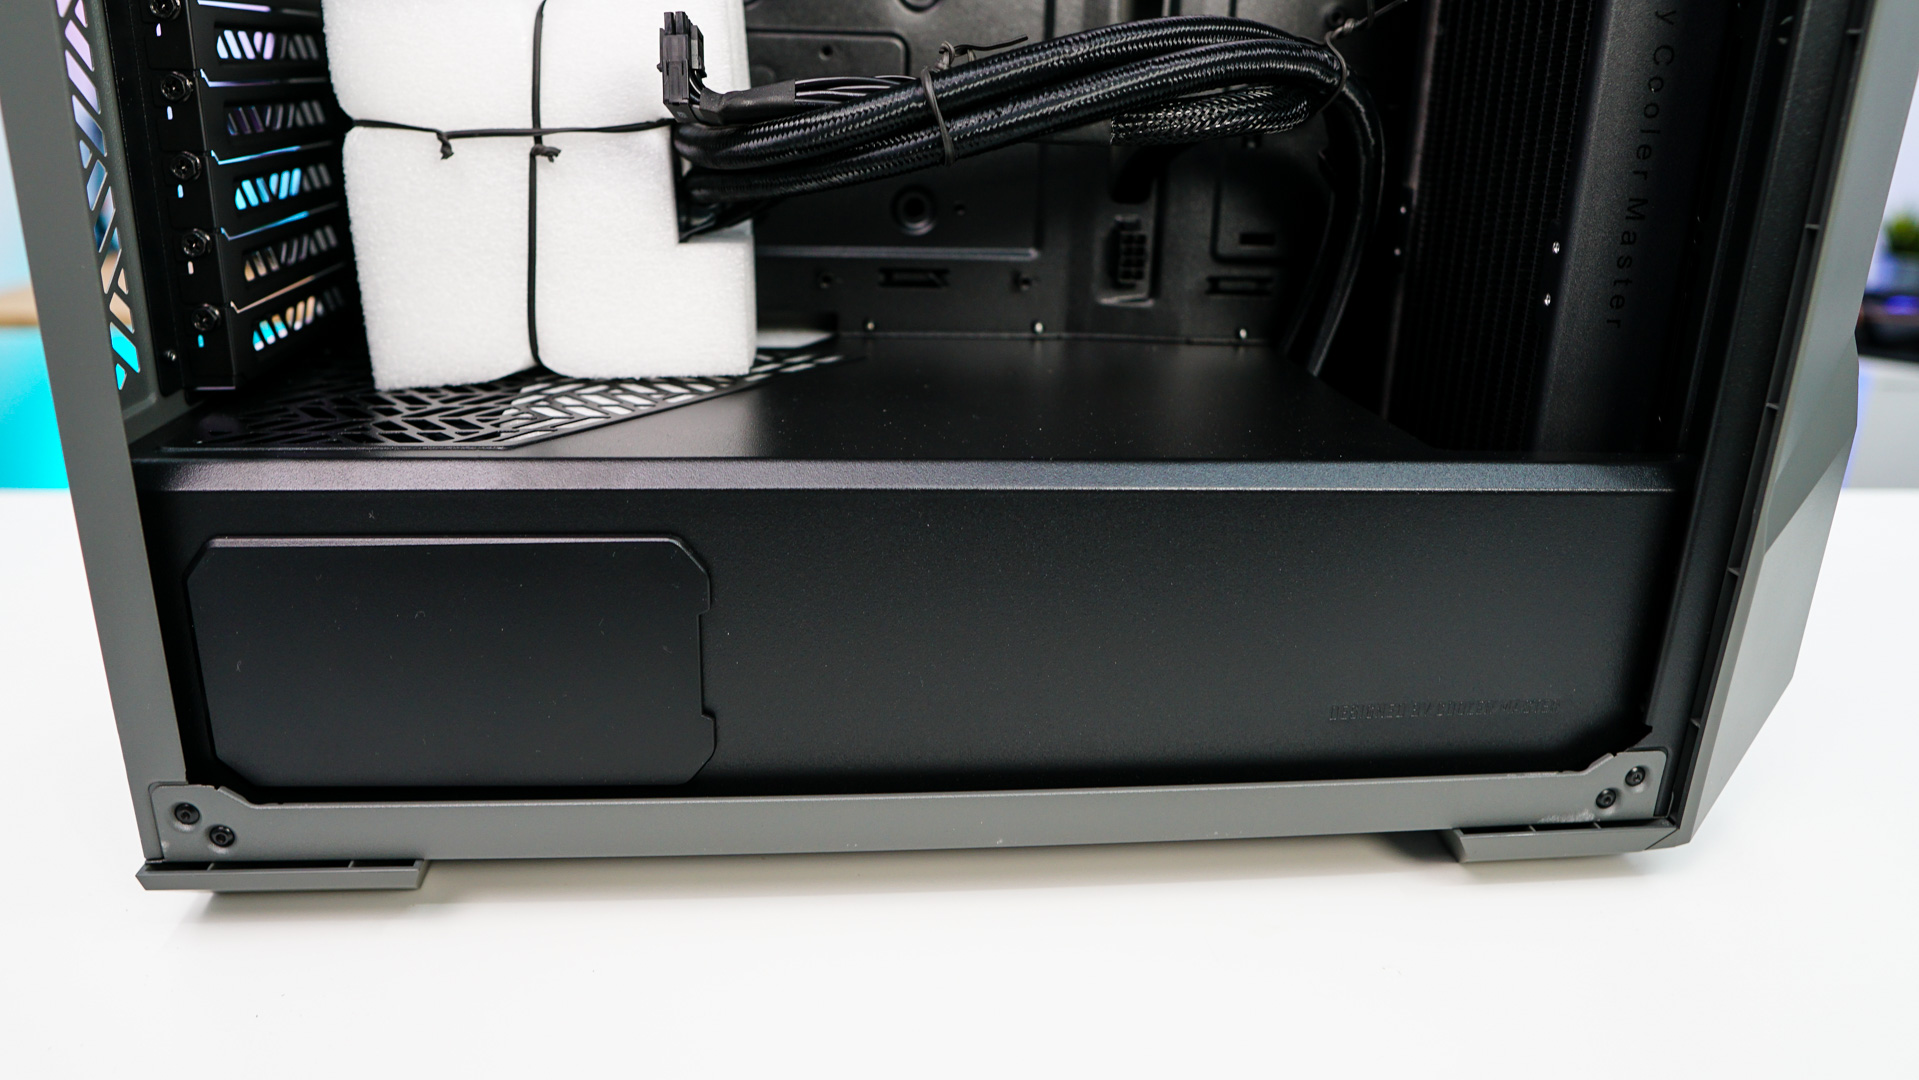
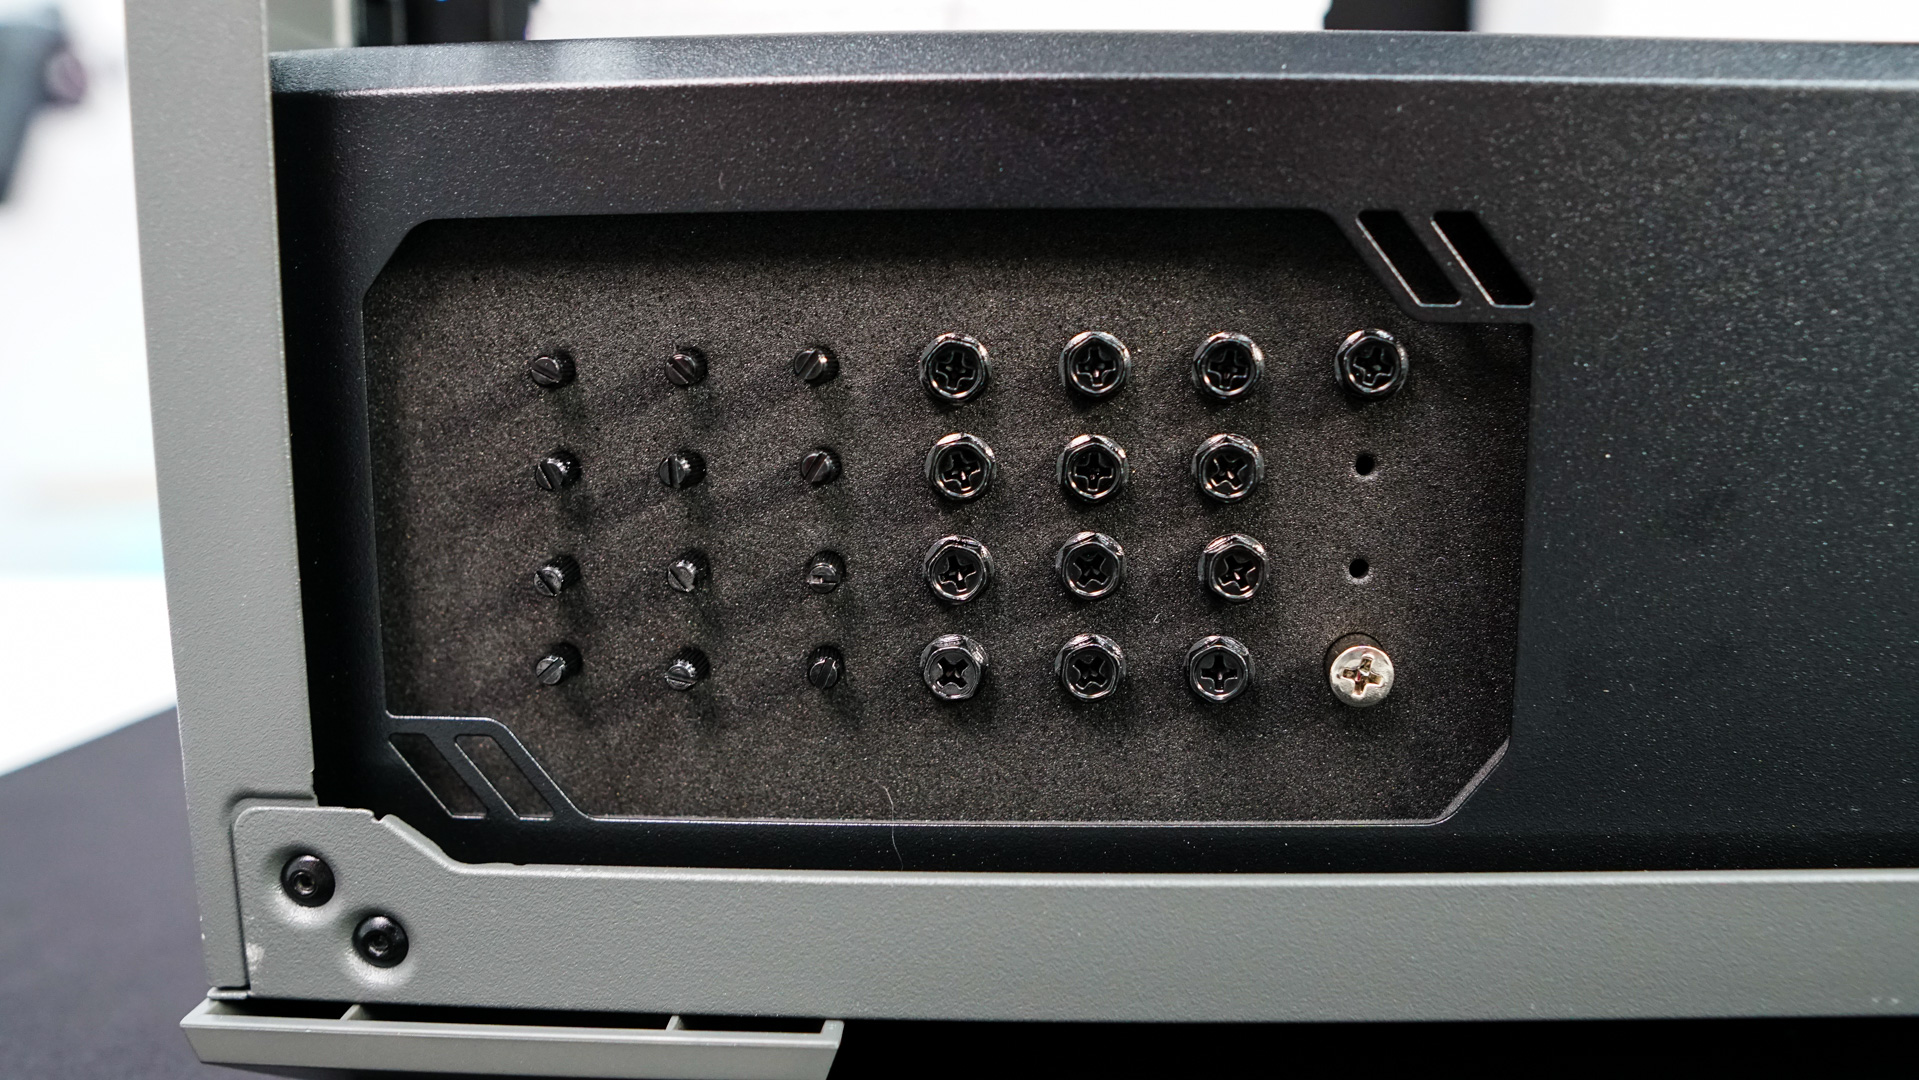
The power supply cover extends the entire length of the case. There is what looks like a removable power supply window, but this is actually where Cooler Master has actually placed all of the mounting screws for the case.
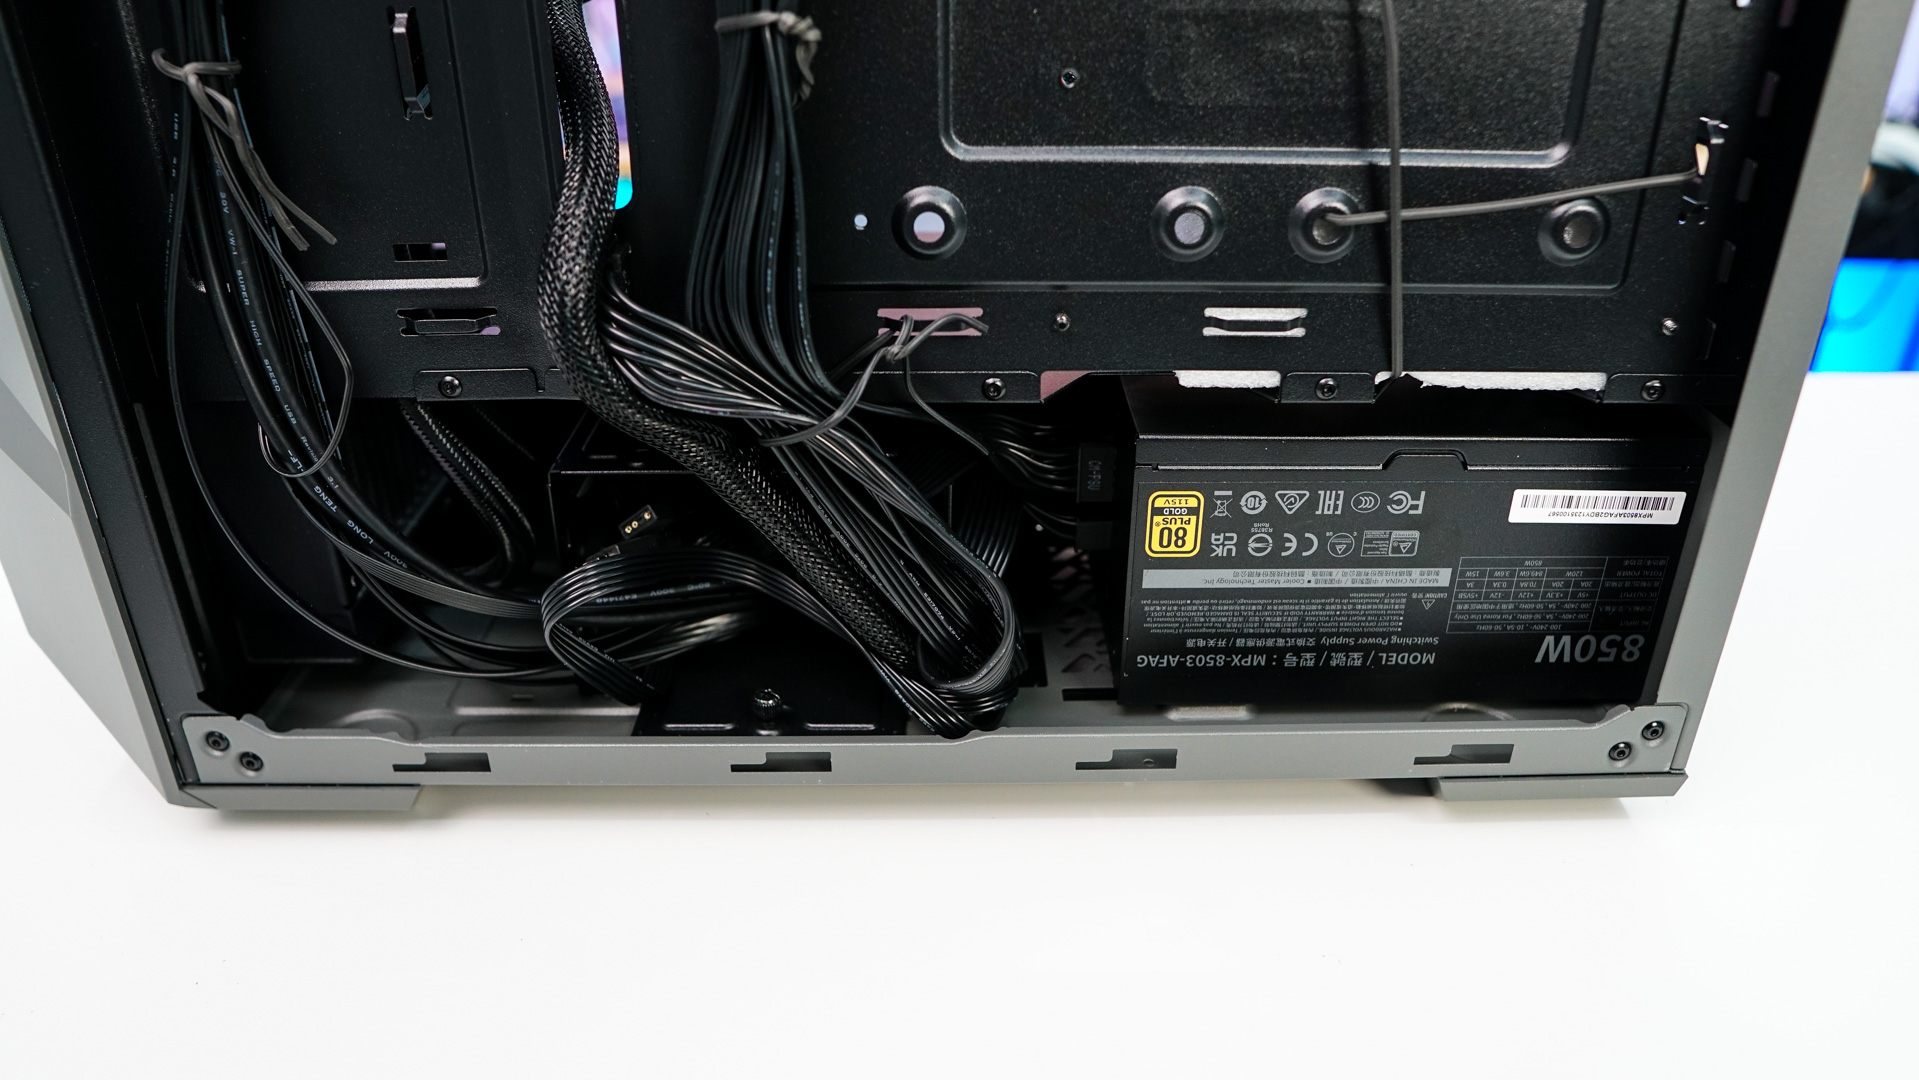
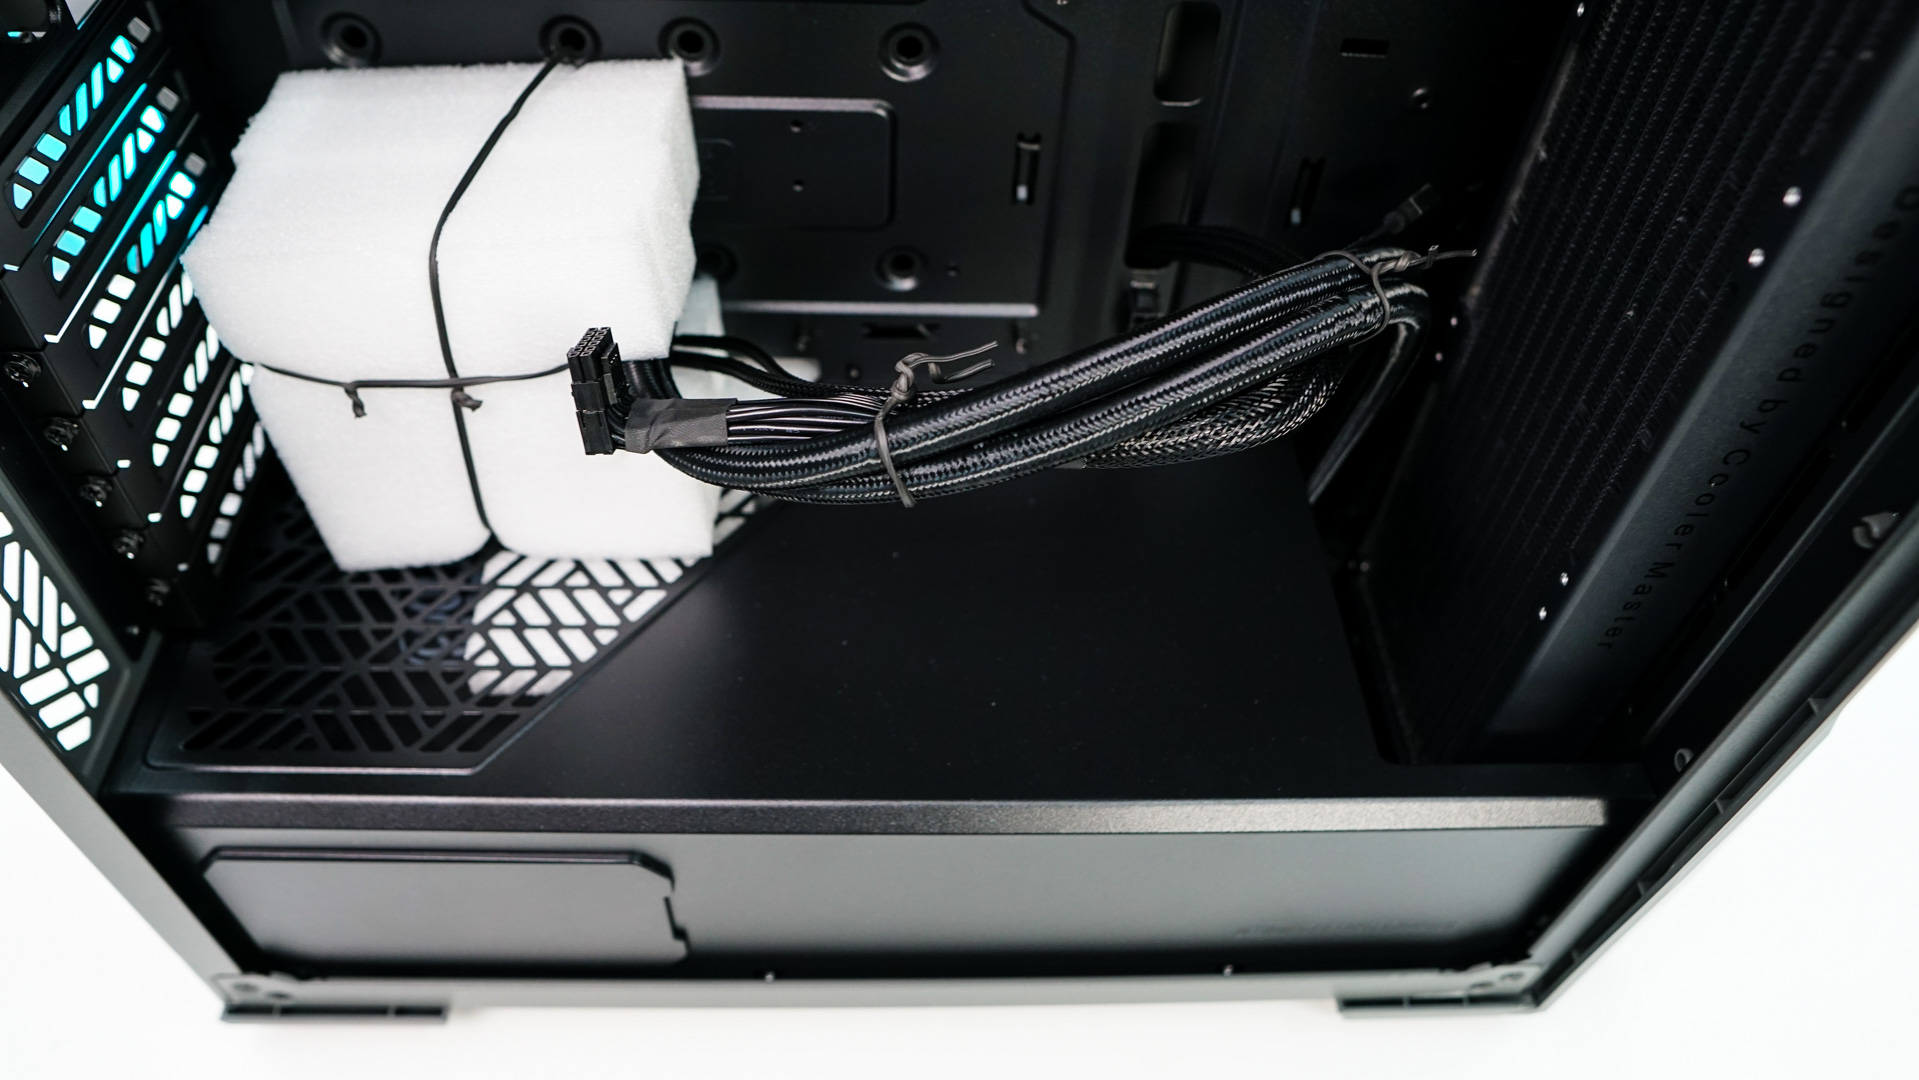
Removing the opposite side of the case we can see how the rest of the case is designed and how Cooler Master has pre-wired all of the components that come with the case. All four fans have been pre-wired to the included fan / ARGB controller. Most of the power connections from the power supply have been wired as well, but I was a bit disappointed to not see any velcro ties and Cooler Master removed the rubber inserts from the cable routing holes in the motherboard tray.
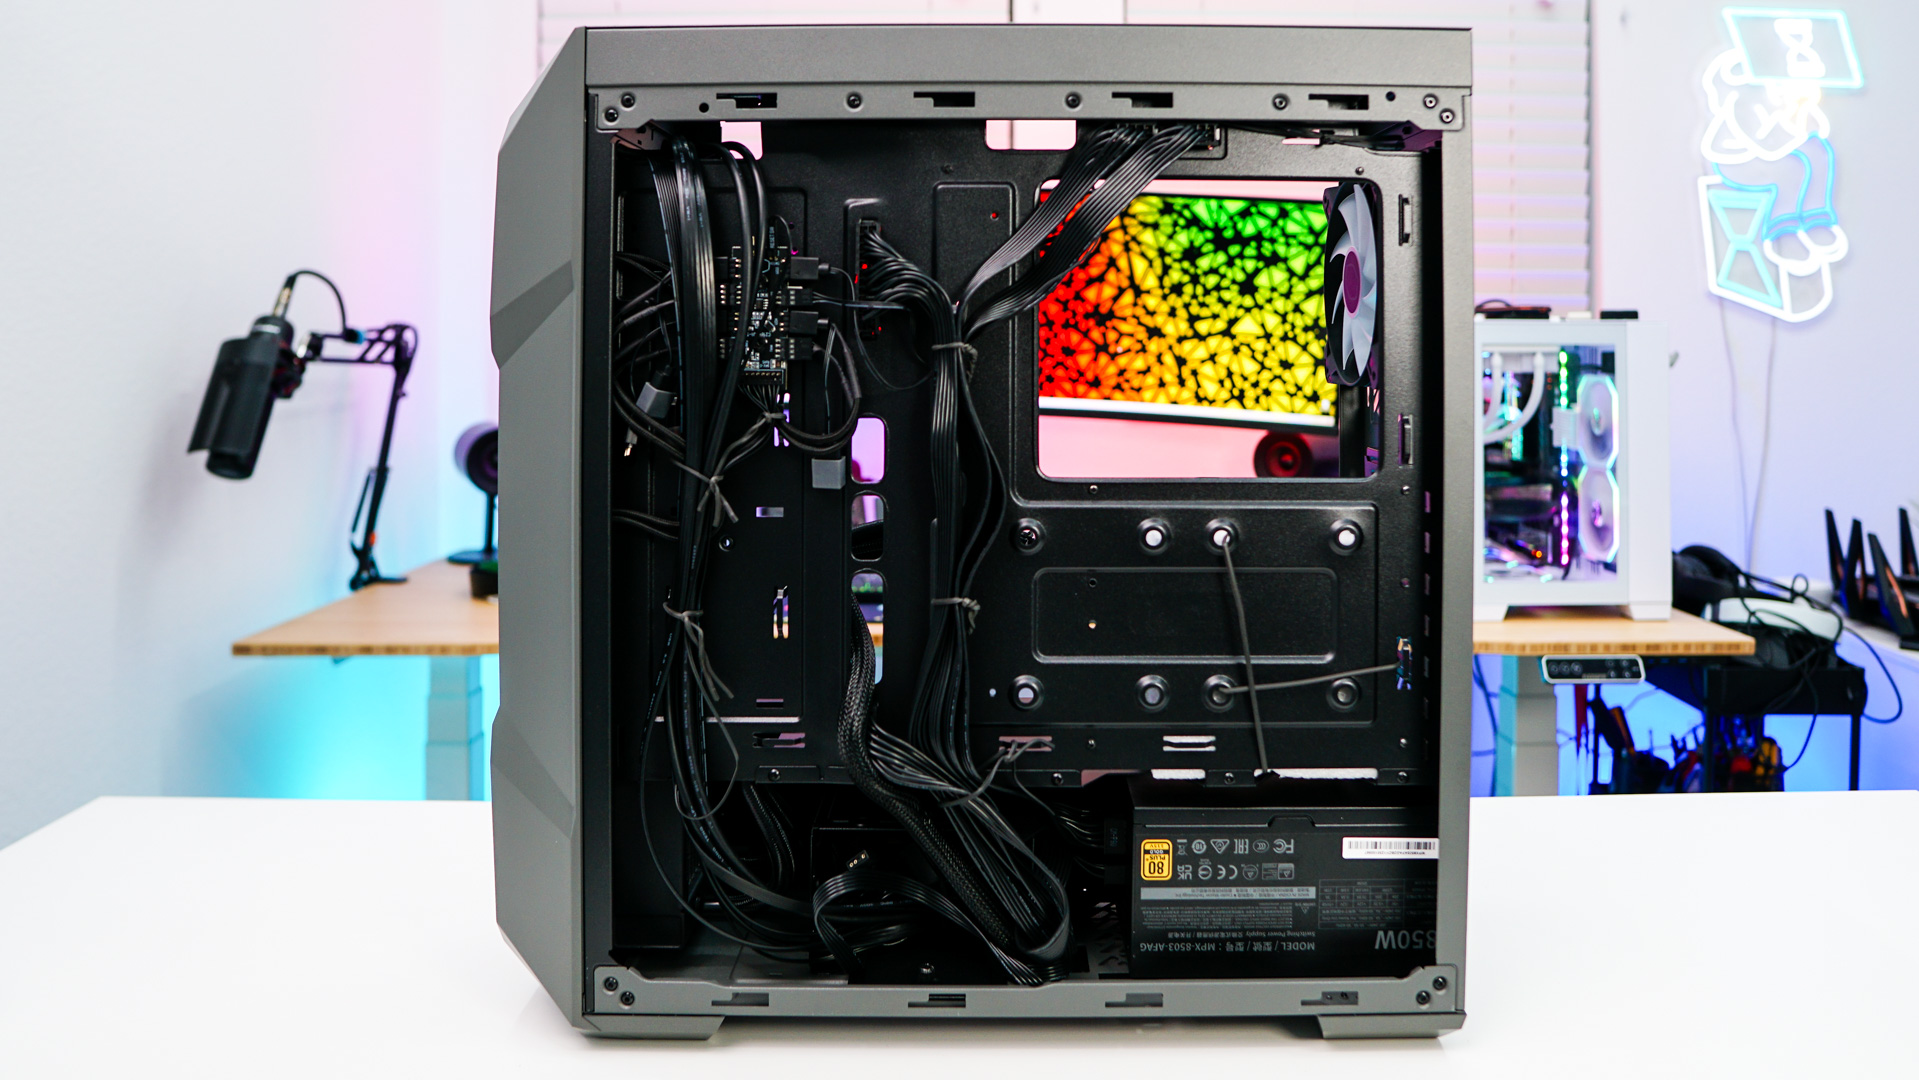

There are two mounts on the back of the motherboard tray for 2.5-inch solid state drives and moving to the bottom of the case there is a cage that supports two 3.5-inch drives as well as a single 2.5-inch drive. So in total you can install 5 hard drives in this case.
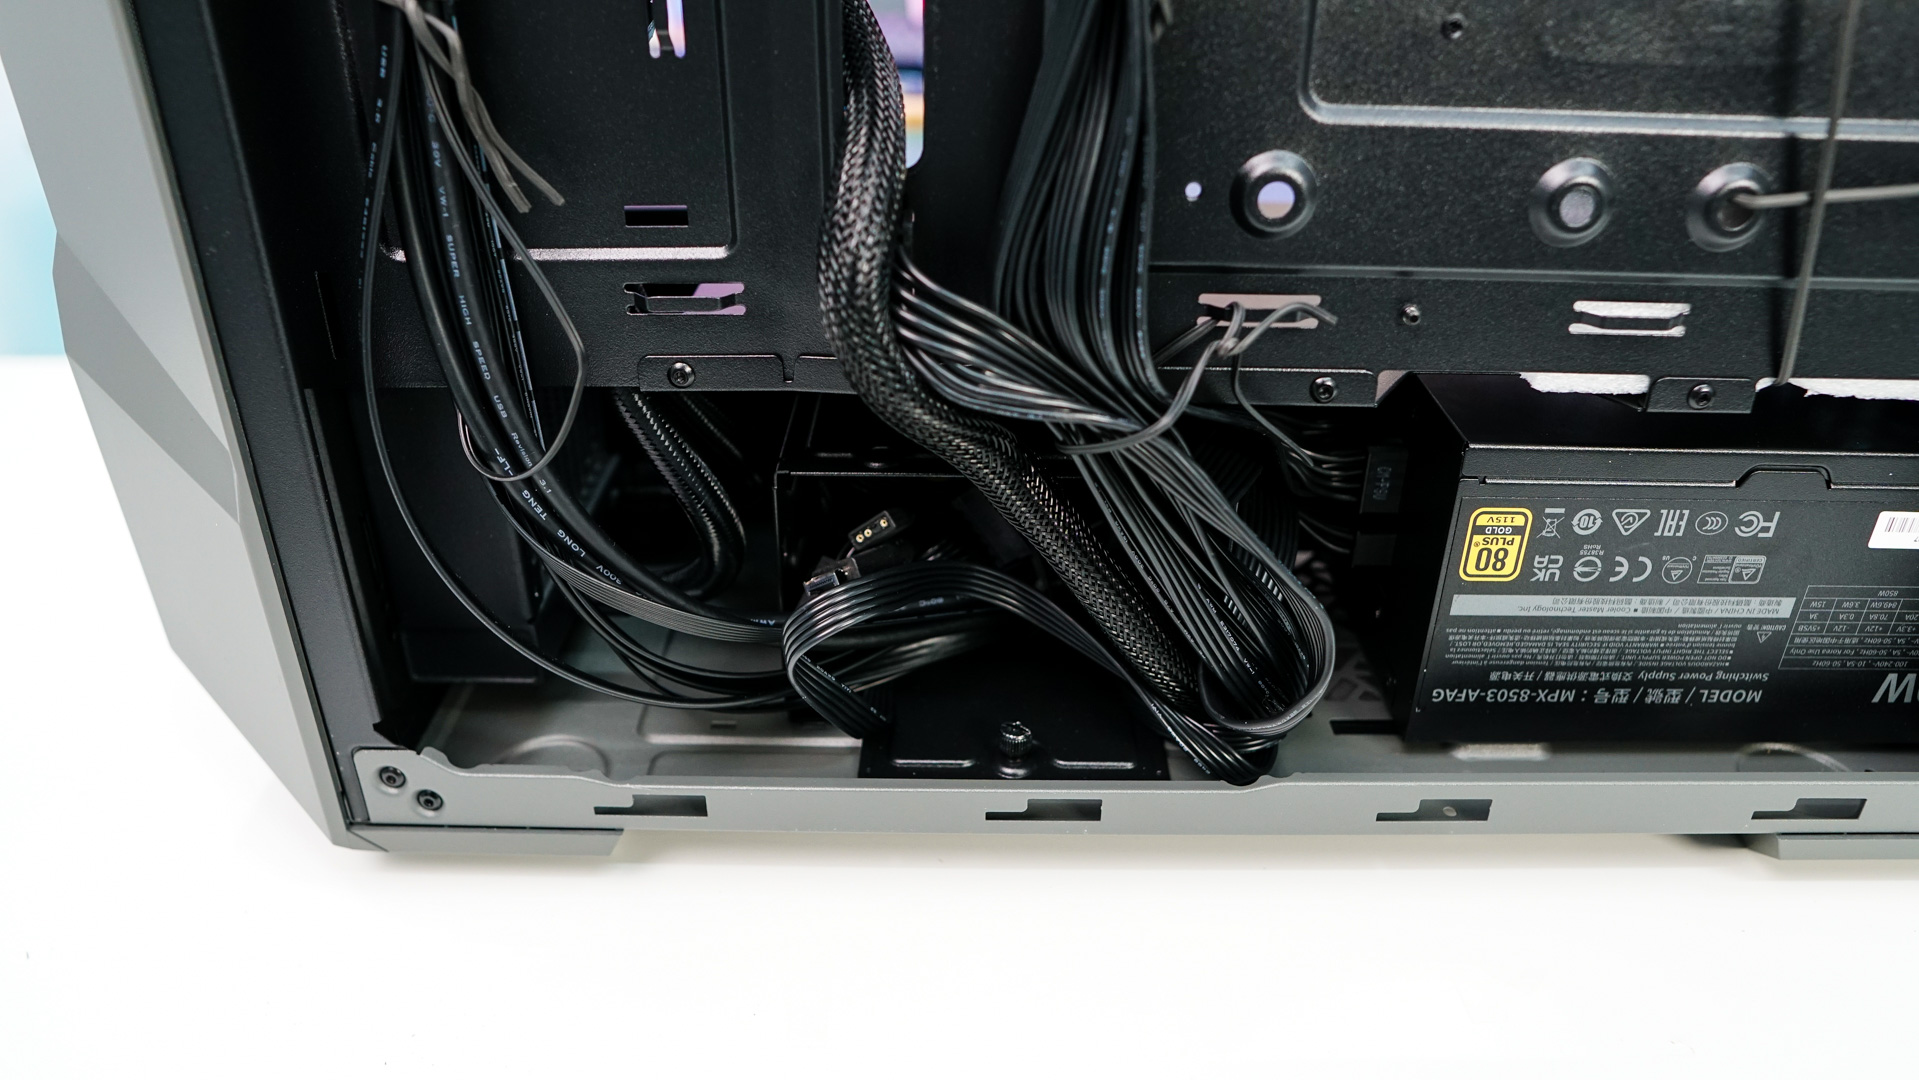
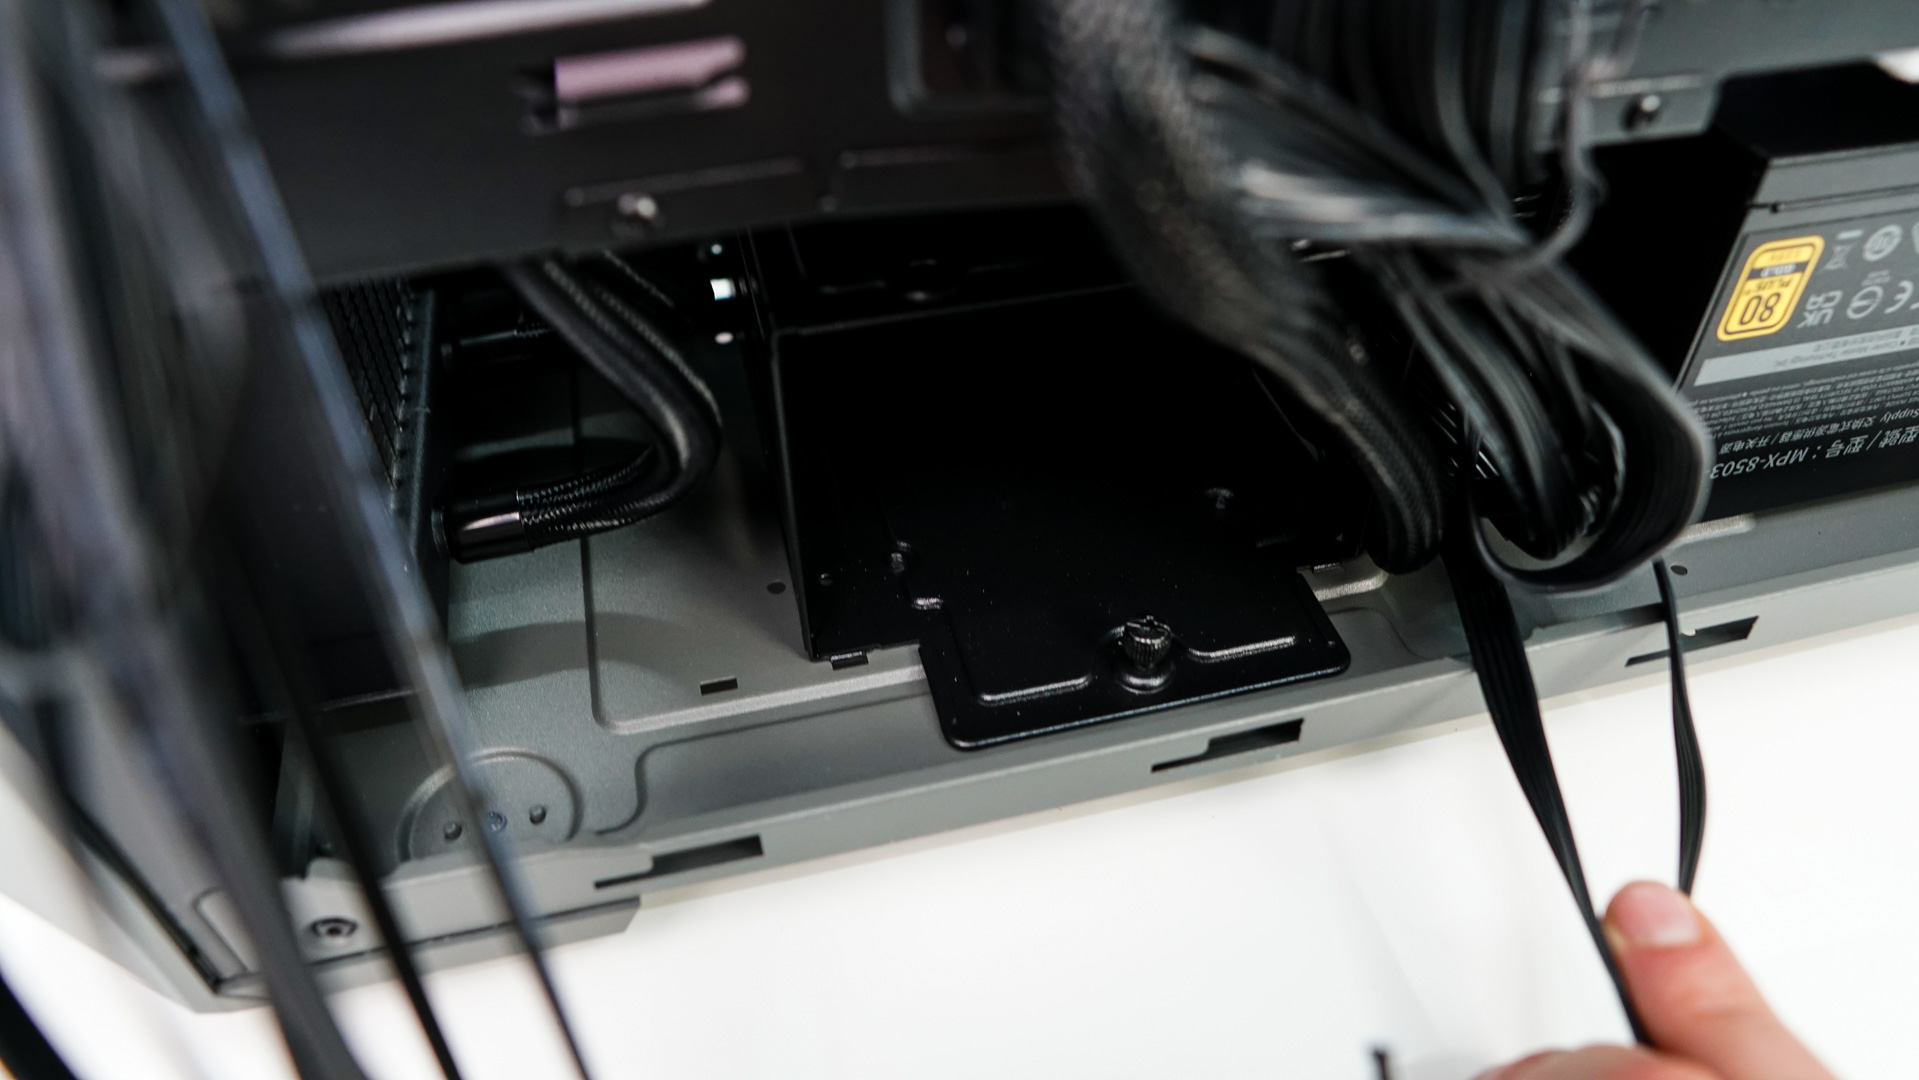
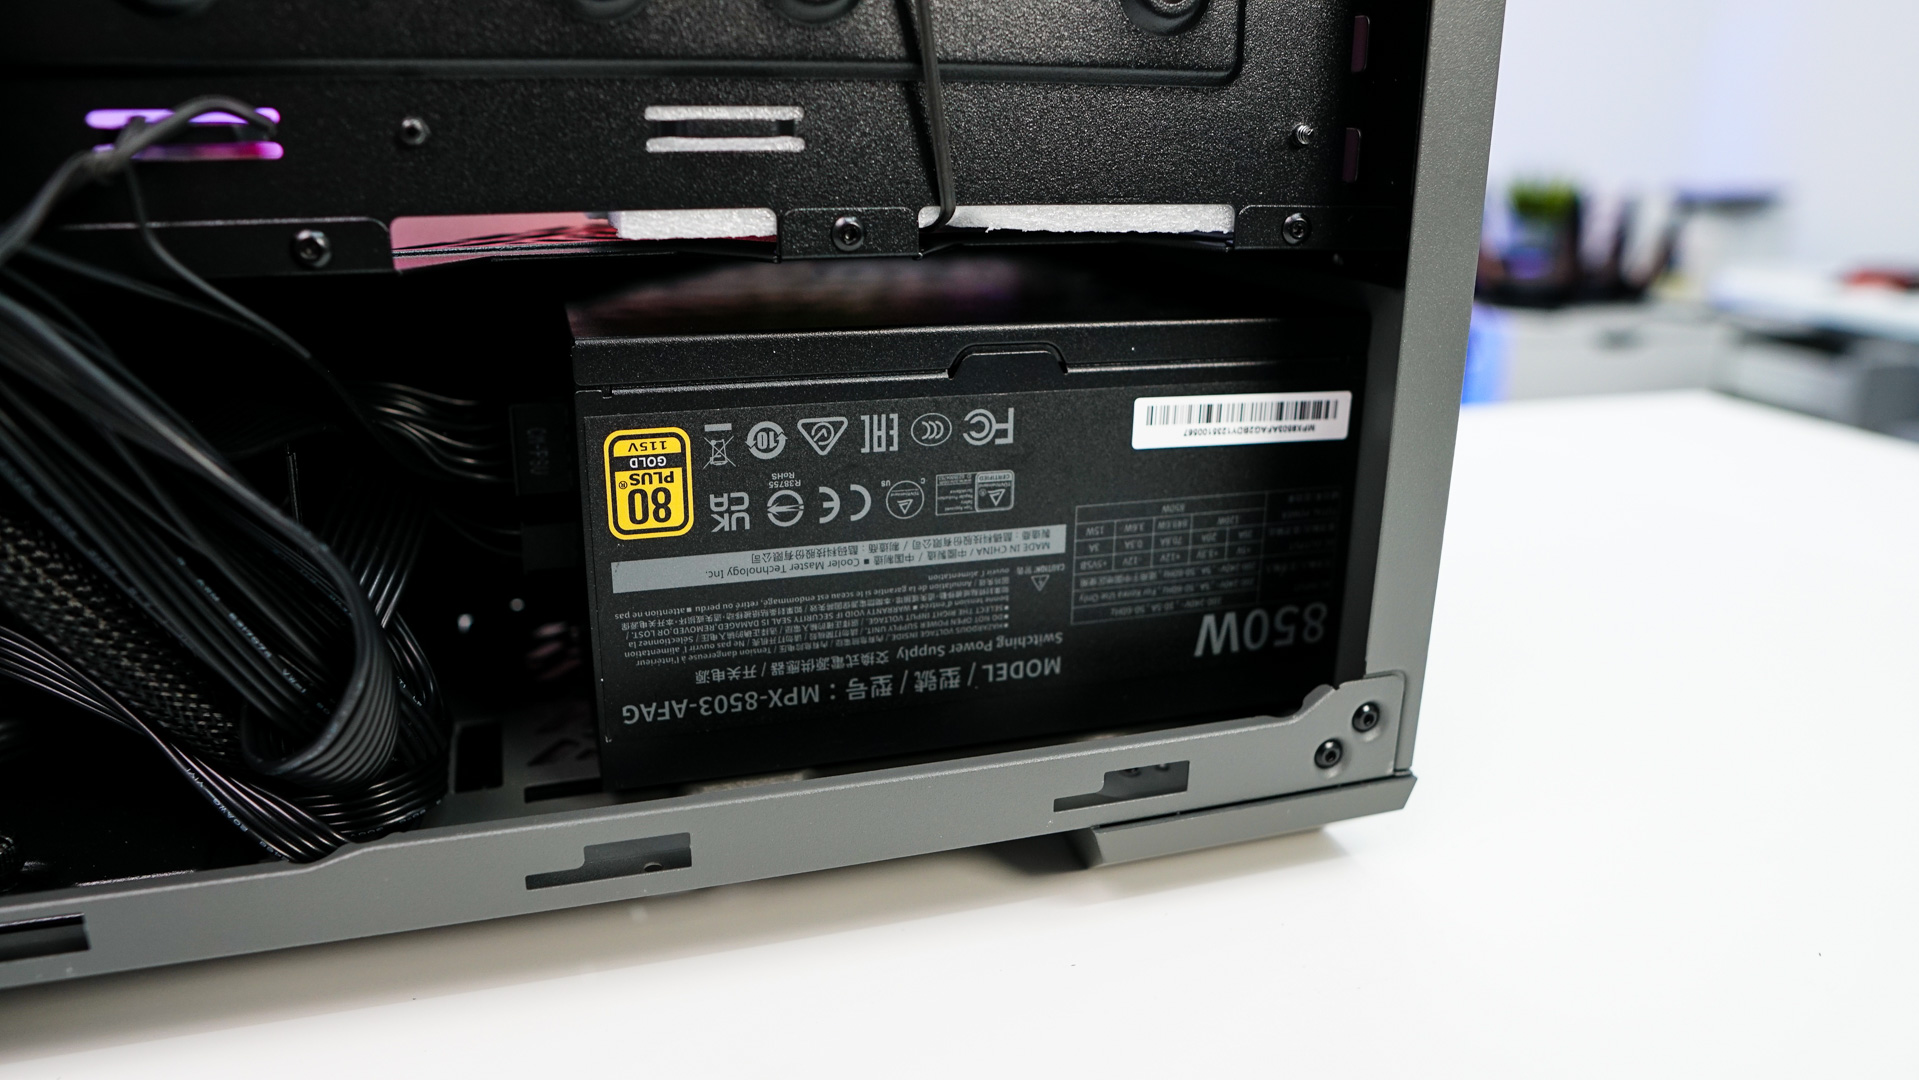
Also in the bottom of the case we have our pre-installed power supply which again is the Cooler Master GX II Gold 850W ATX 3.0 power supply.