Setup & Usage
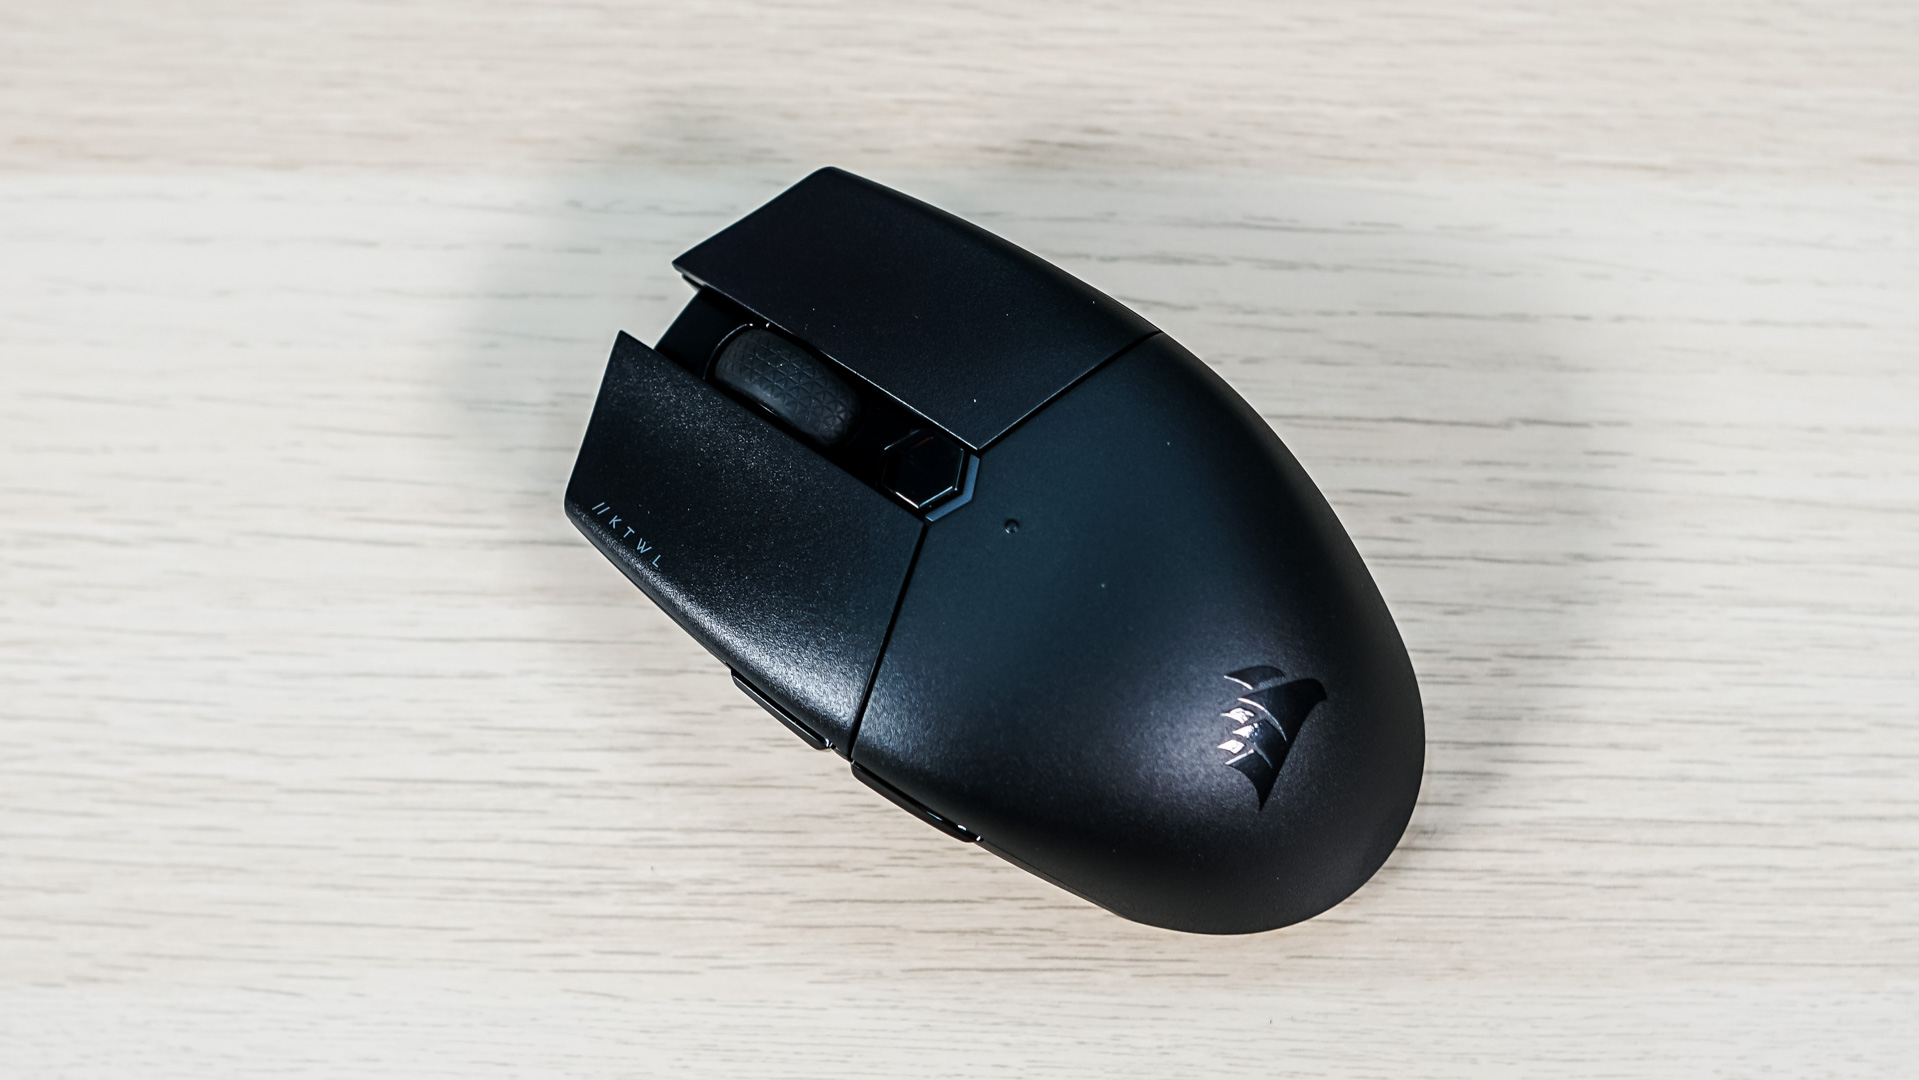
Getting the Katar Pro Wireless setup and ready to use is quite easy. Install the battery and take the included dongle and plug it into an open USB port in your computer. Windows will automatically recognize it and you won’t have to install anything. Moving the slider on the back of the mouse to the Wireless symbol and you should be good to go. The mouse will work no problem. but if you want to do any sort of customization you’ll need to download Corsair’s iCUE software.
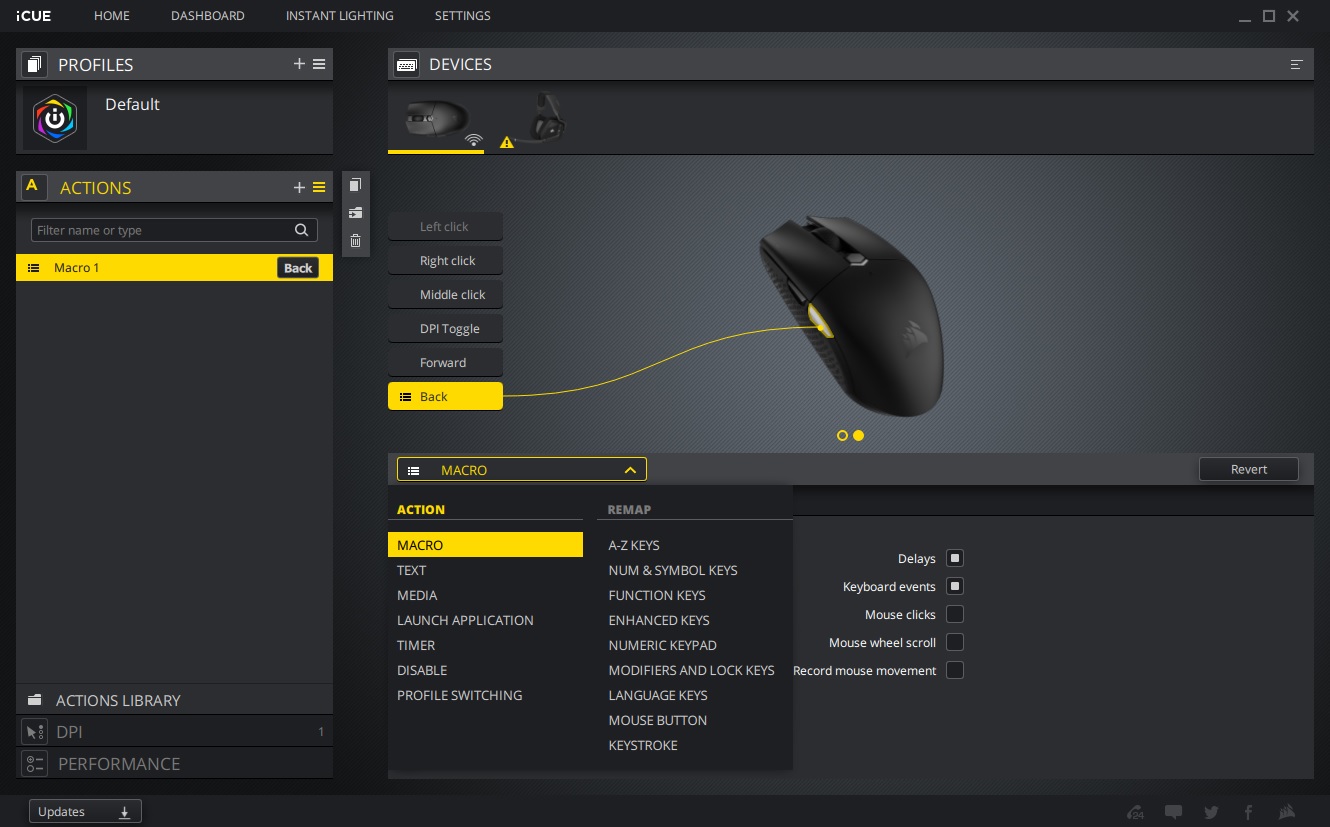
Opening up iCUE and selecting the Katar Pro Wireless you can reprogram all of the buttons on the mouse using the actions tab. Each button can be reprogrammed to a macro, text, media, launch an application, and much more.
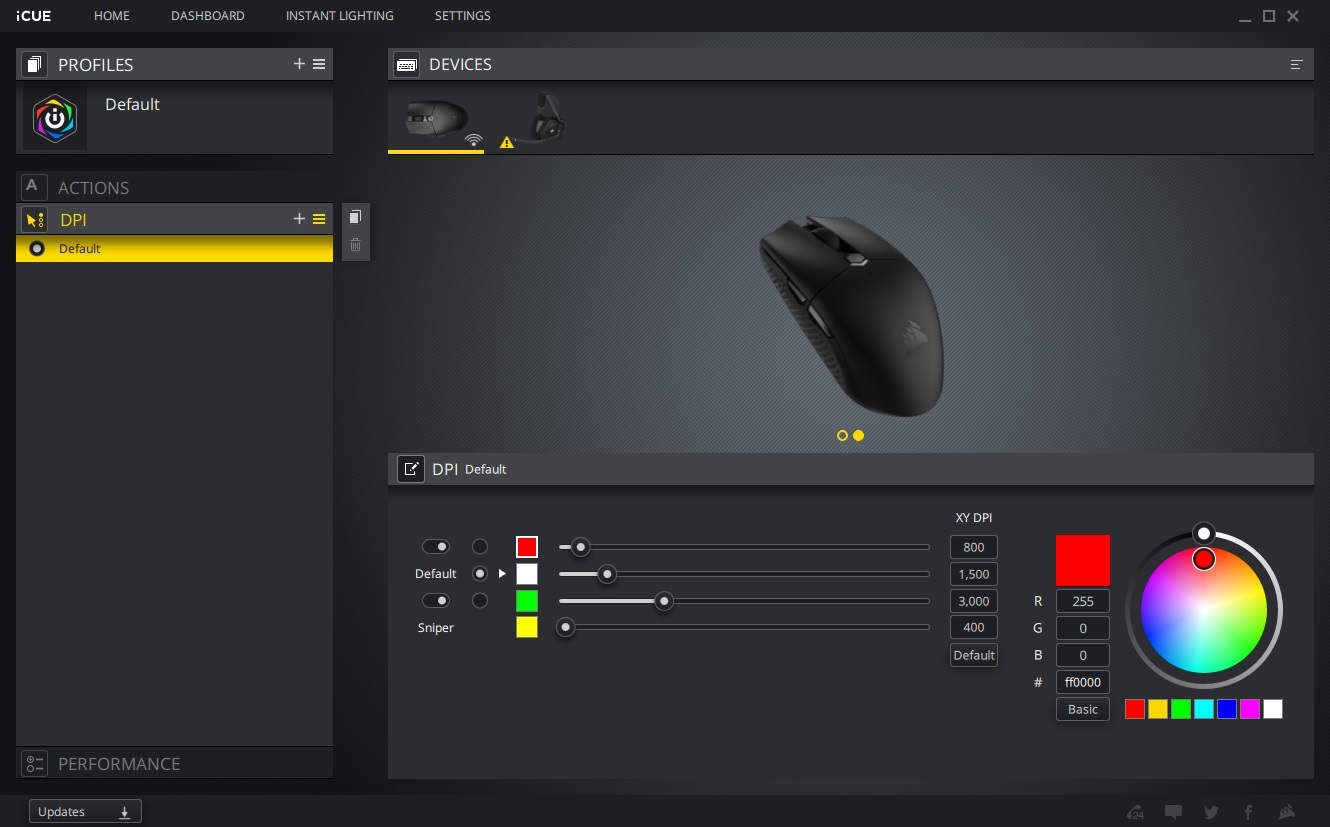
The next tab is DPI. Here you can set four different DPI levels (up to 10,000) and the colors they correspond with. These colors will illuminate the LED on the mouse that is right below the DPI switch button.
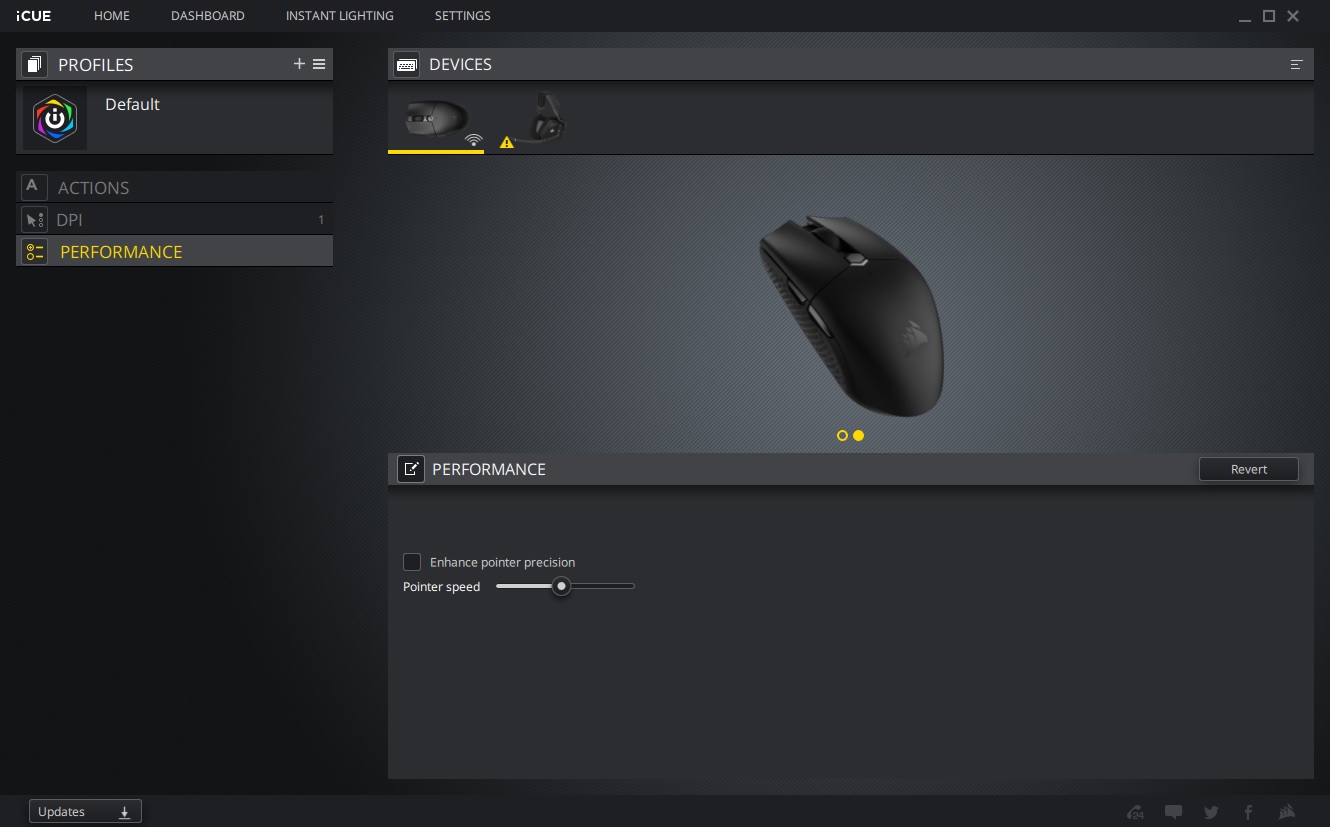
The final tab is performance. All you can do here is turn on enhanced pointer precision and adjust the pointer speed.
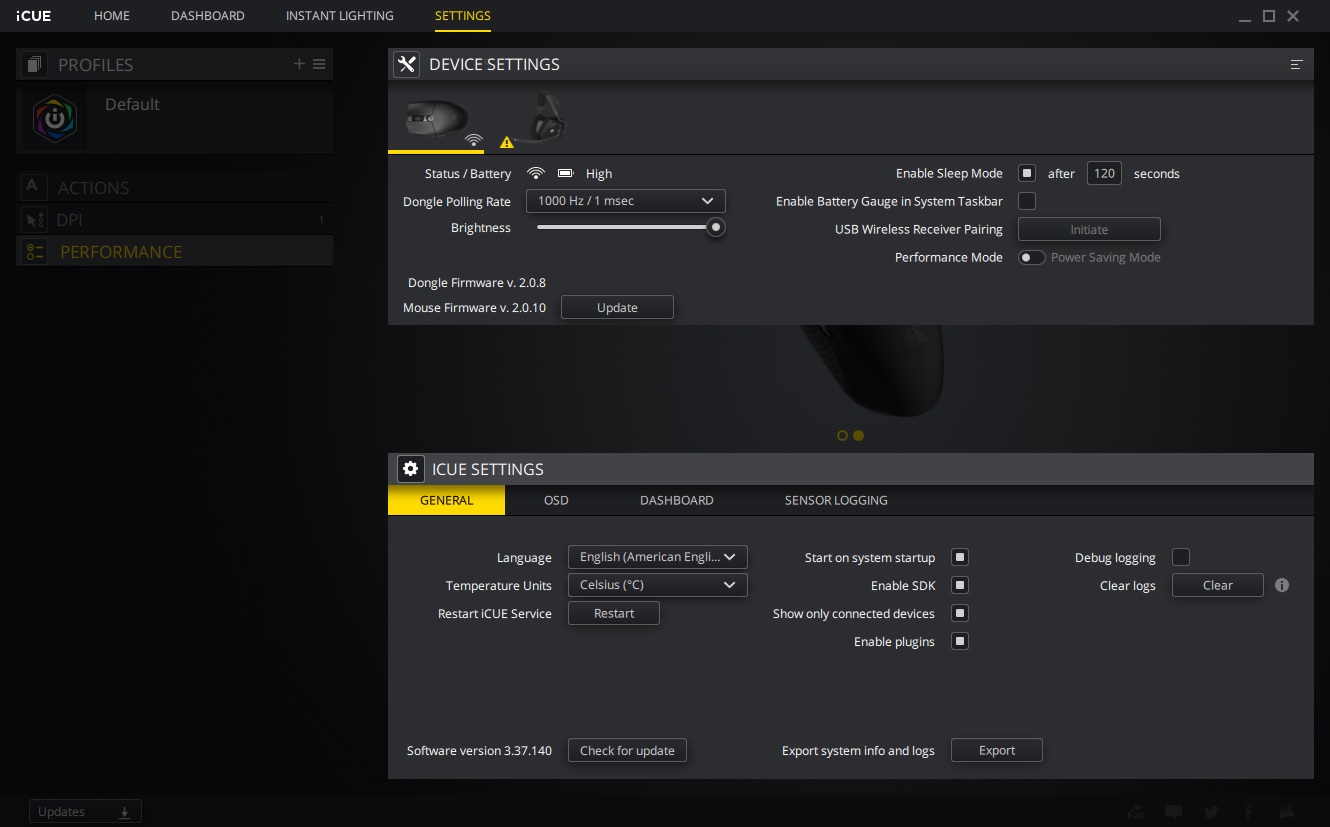
Clicking on settings at the top of iCUE we can see our wireless status and battery level, polling rate, LED brightness, enable or disable sleep mode, set the battery gauge to be viewed in the taskbar, re-pair the USB receiver, switch between performance mode and power saving mode, and finally you can update the firmware on both the mouse and the dongle.