Installation
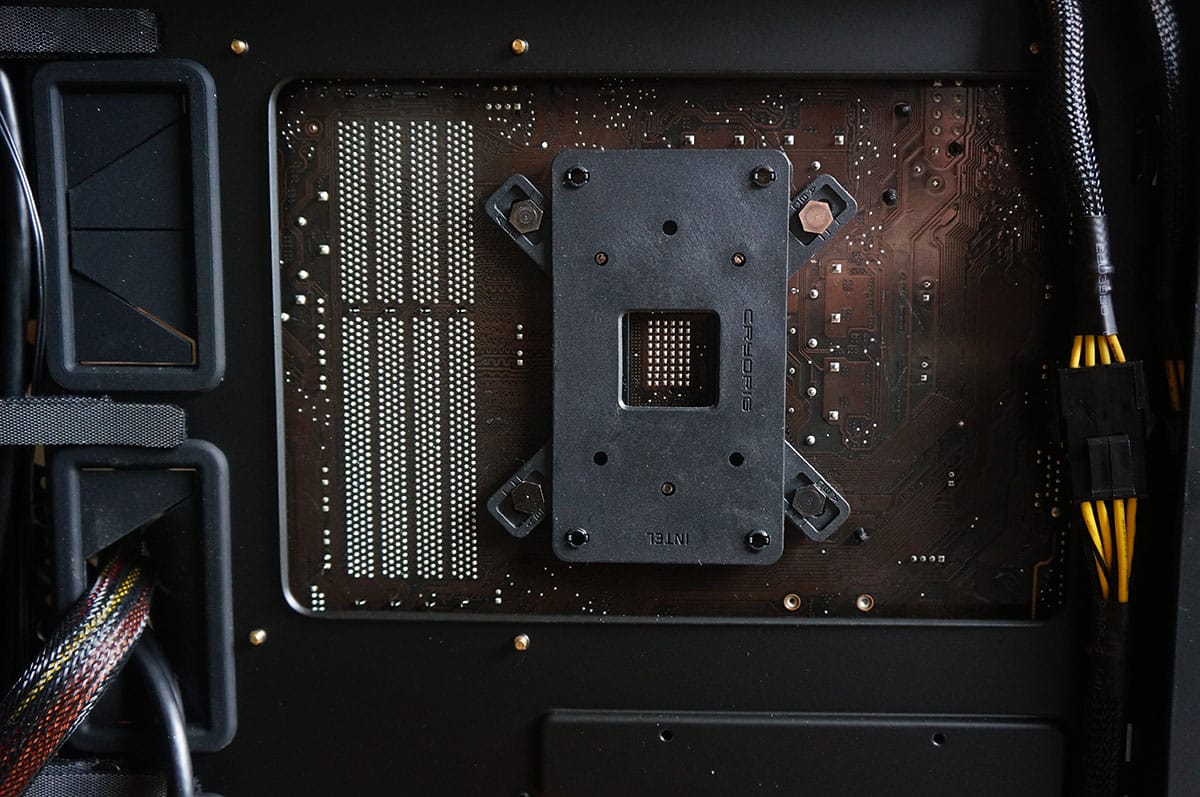
Getting the M9i installed is pretty simple, being an entry-level cooler many first time builders will be using this cooler so having easy installation is definitely a must. To get started take the backplate and slide the pillars through it with the “Intel” marking facing towards you. Then carefully slide the pillars (now attached to the backplate) through the backside of your motherboard.
Next take the mounting bars and pass the pillars through them. Secure the mounting bars with the included thumbscrews. If you want your cooler to be vertical with the fan blowing air out of the back of your case install the bars vertical (like the photo below). If you want your fan to be at the bottom blowing air out the top of your case install the bars horizontal. You can also apply your thermal paste at this time.
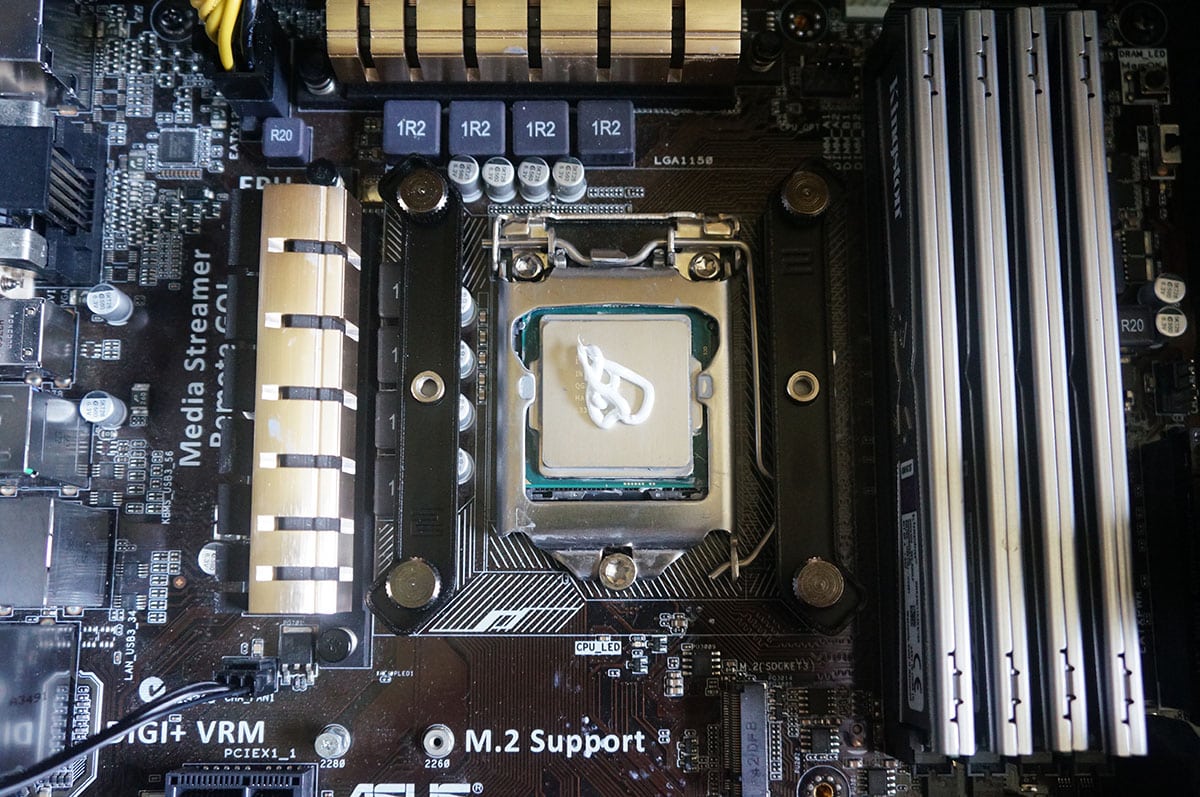
Remove the cooling fan from the heatsink. Then carefully place the heatsink on top of your CPU lining up the screws on the base of the cooler with the holes in the mounting bars. Then just screw them in to secure the cooler. Finally reinstall your fan, plug it in, and you are good to go.

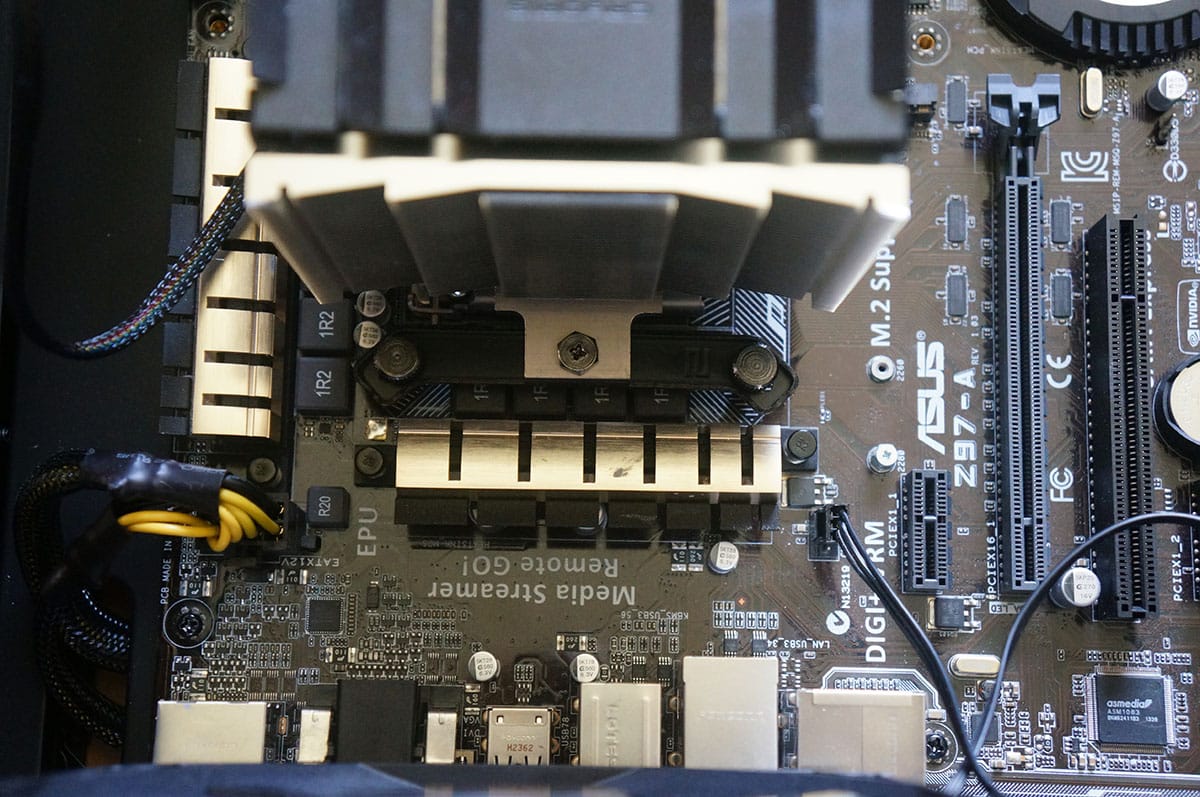
With the cooler installed there is still quite a lot of room. The fan actually sits right before our memory so even if we had memory with large heatspreaders it would not matter. On the opposite side there is a ton of room if you wanted to add that second fan.


Can it be install vertically on intel i5 6600k with gigabyte z170x gaming 3 motherboard?