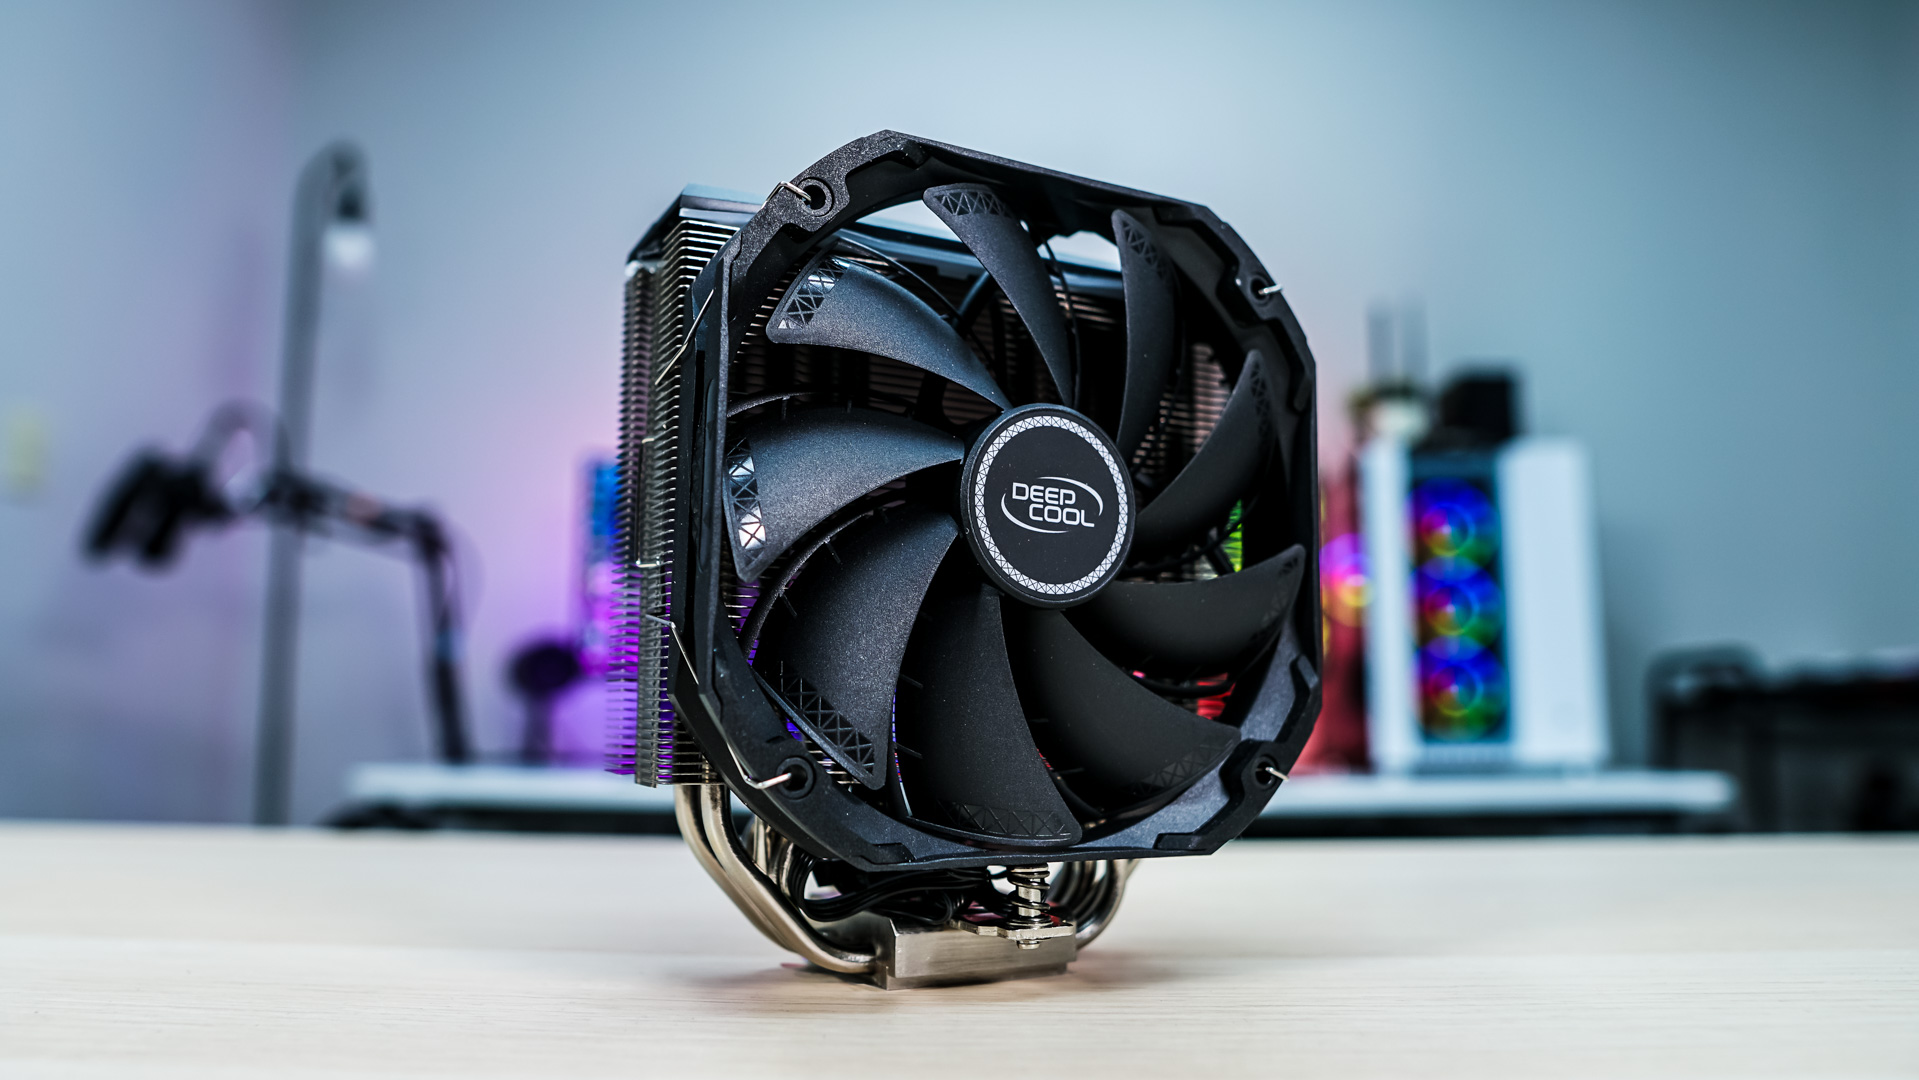
Installation
Getting the AS500 installed is pretty easy. We will be installing it on our B550 motherboard, so our installation process will be for AM4. The first thing you are going to want to do is remove the two default brackets on each side of the CPU socket. Do not remove the backplate that came with your motherboard, we will need it.
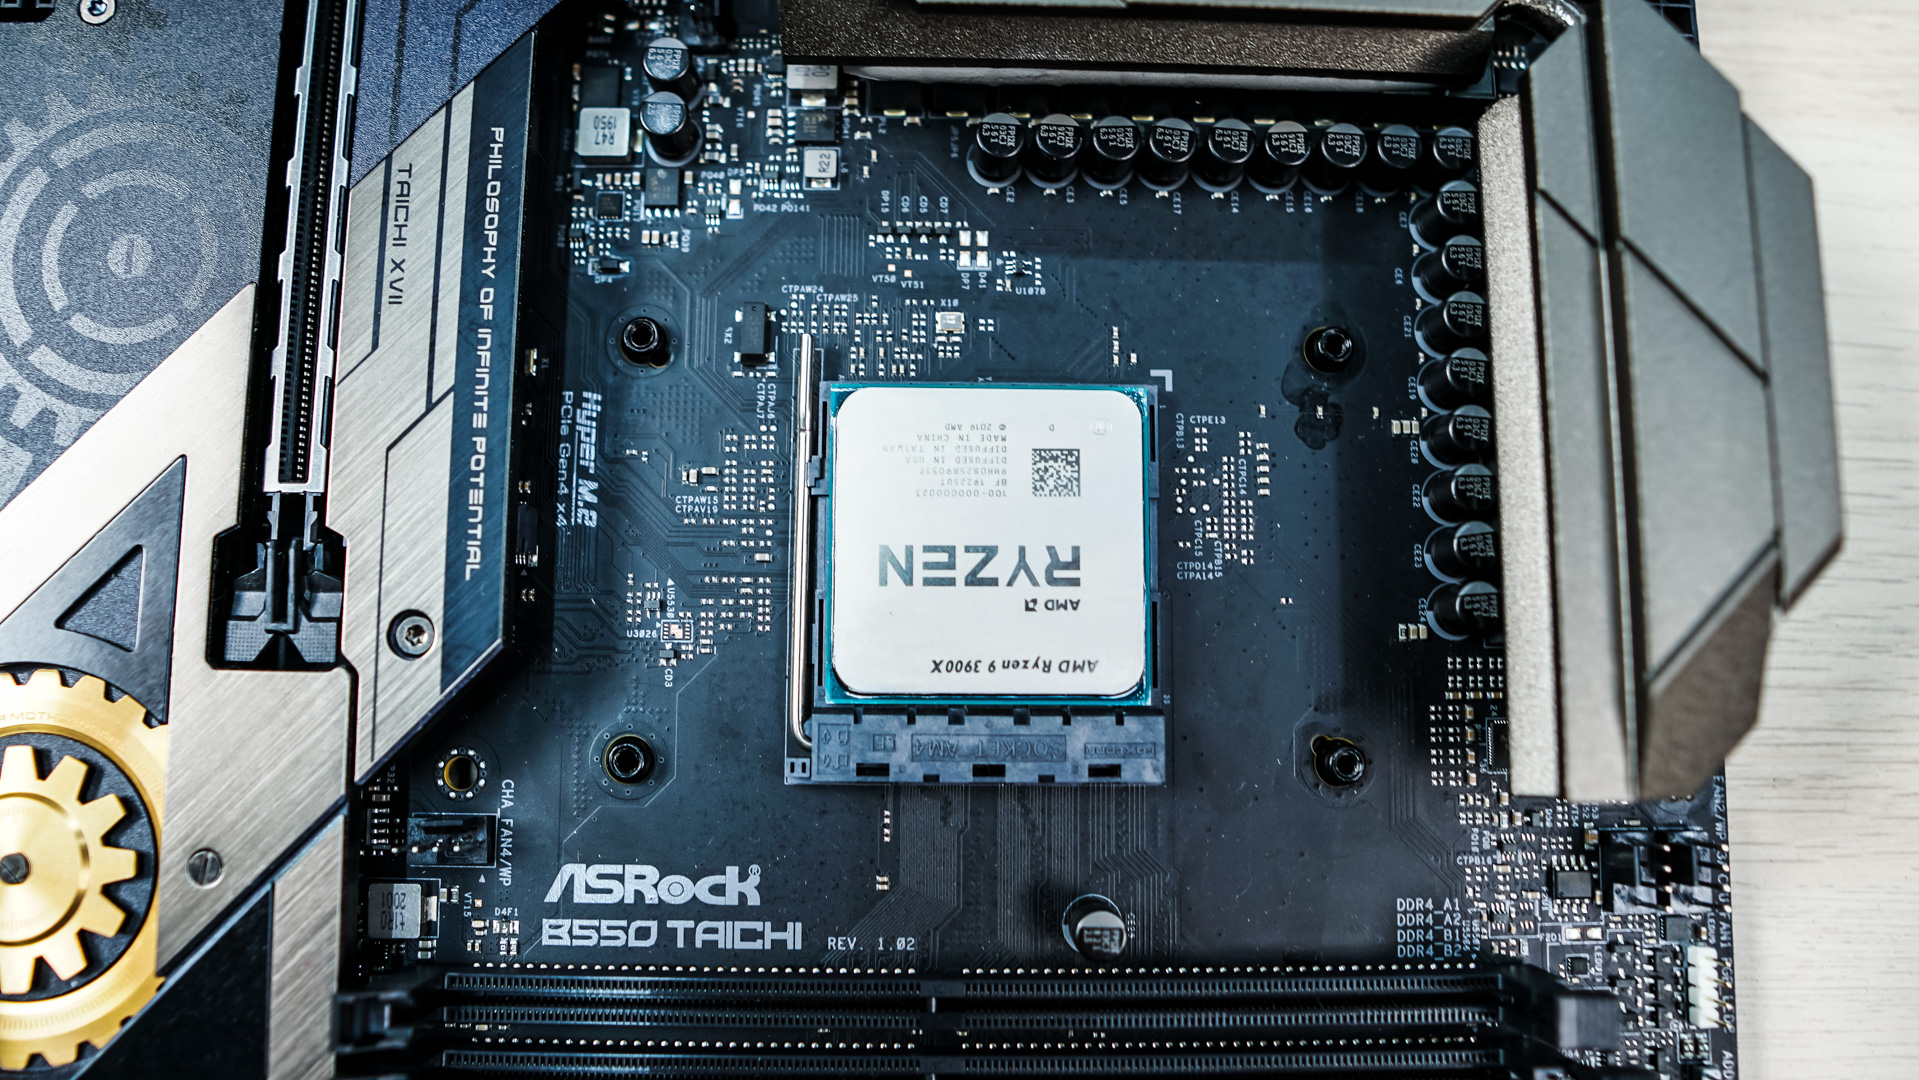
With the brackets removed and the backplate still in place we’ll need to secure it. To do that take the large screws that have spacers on them and screw them into the backplate securing it to the back of the motherboard.
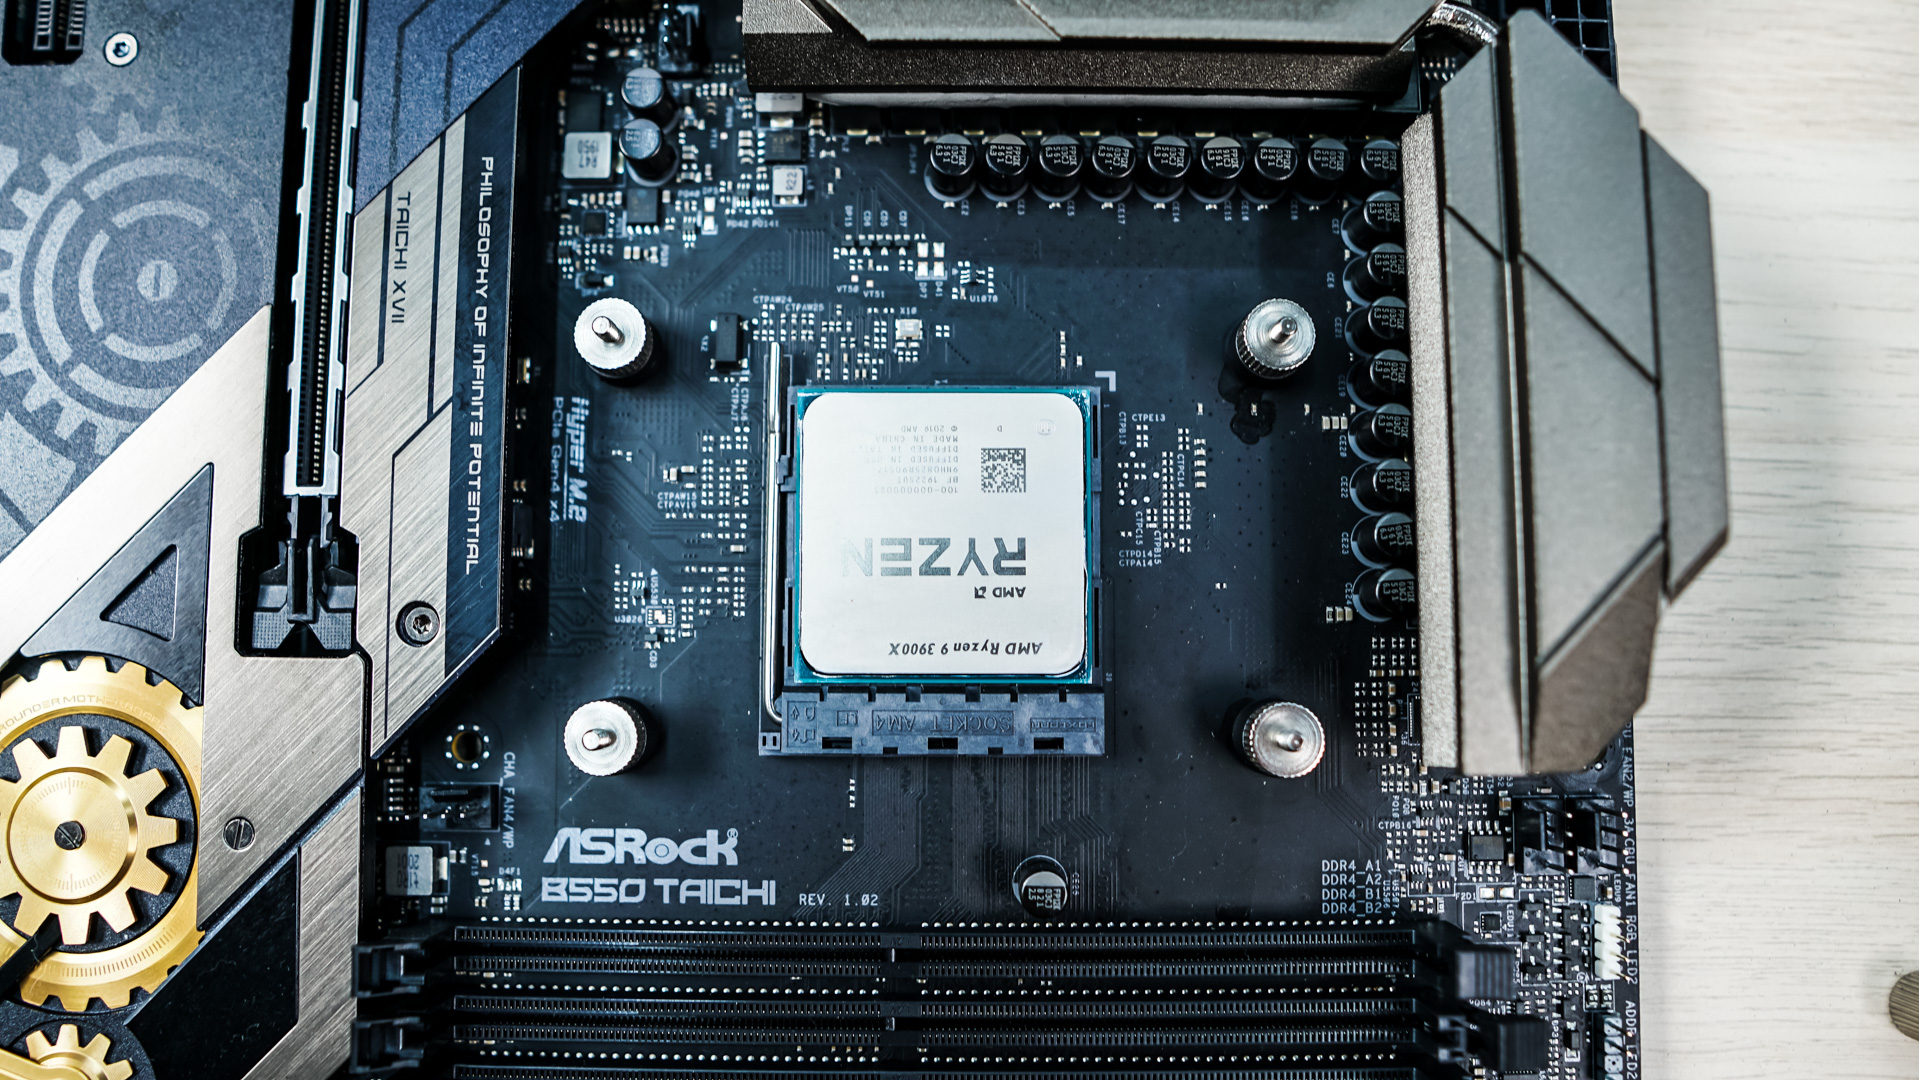
Next take the AMD mounting brackets and install them like you see below, using the included thumbscrews to secure them.
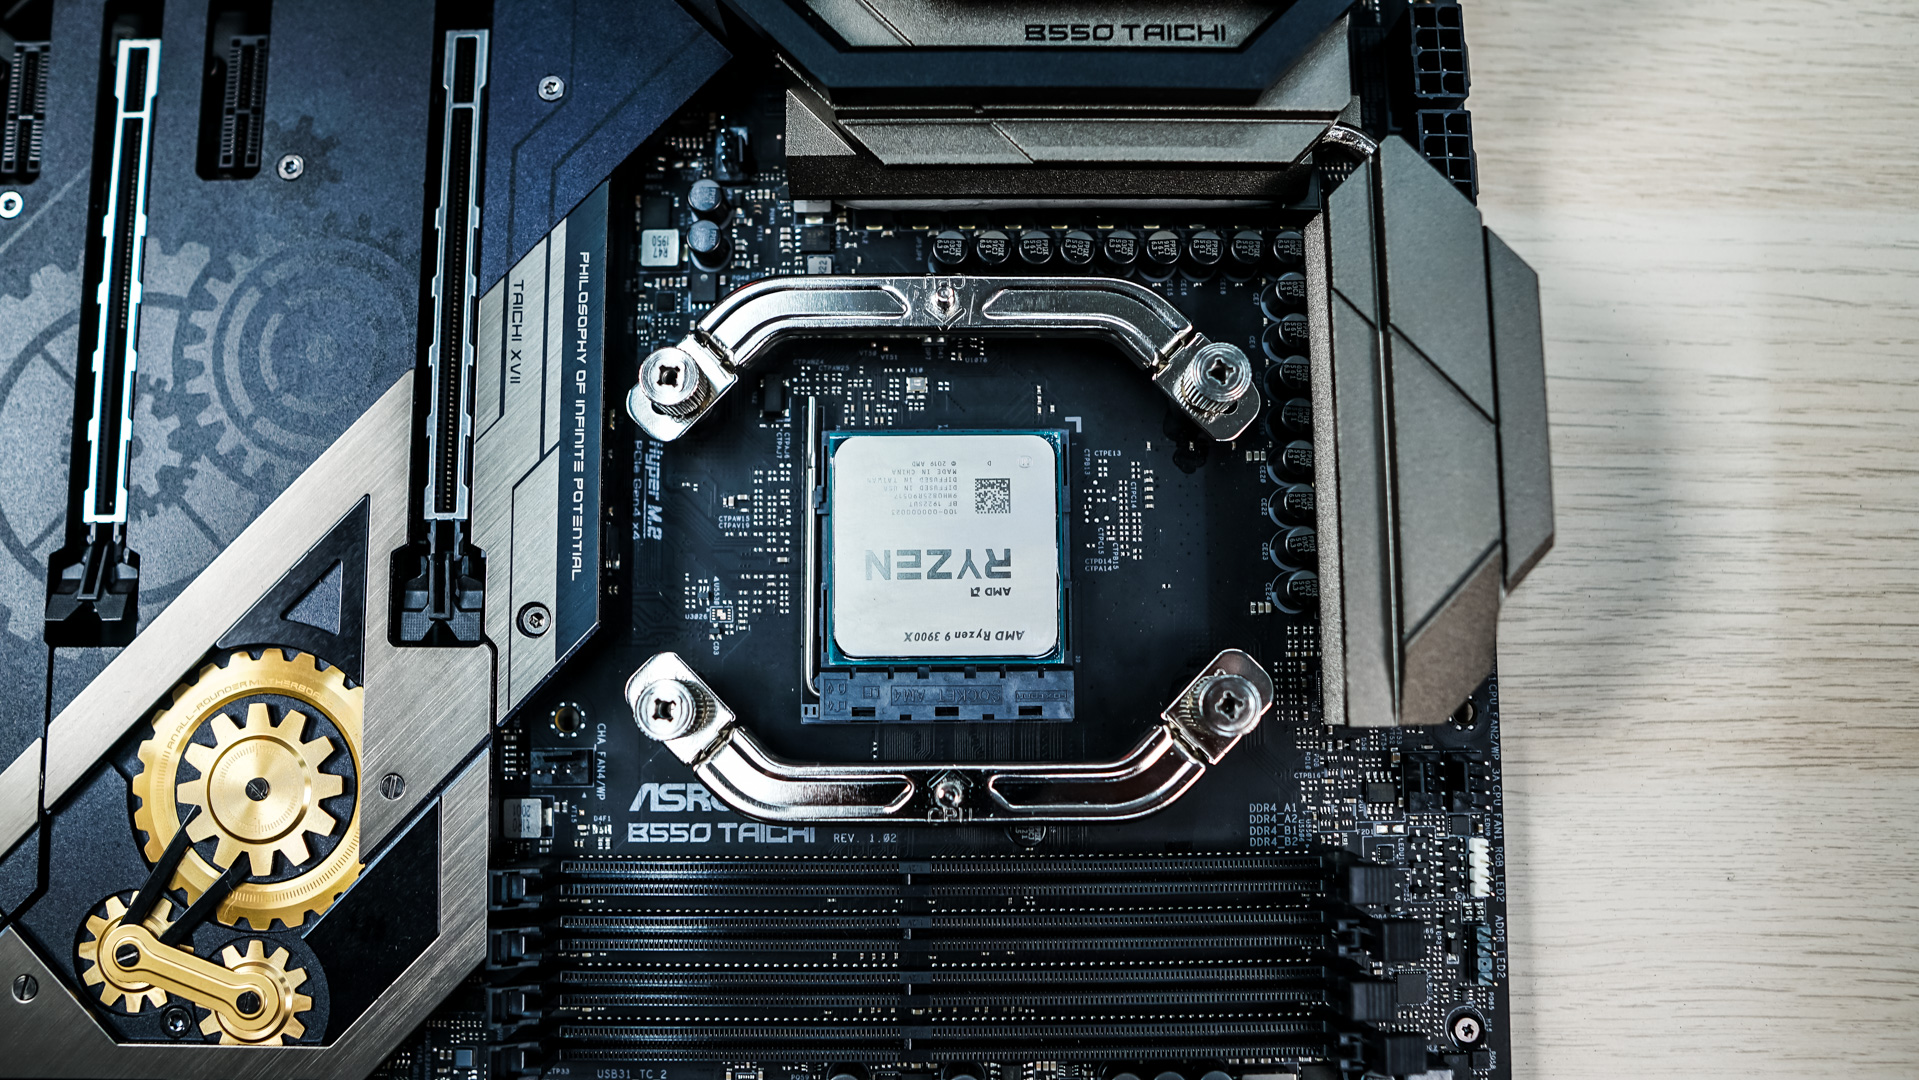
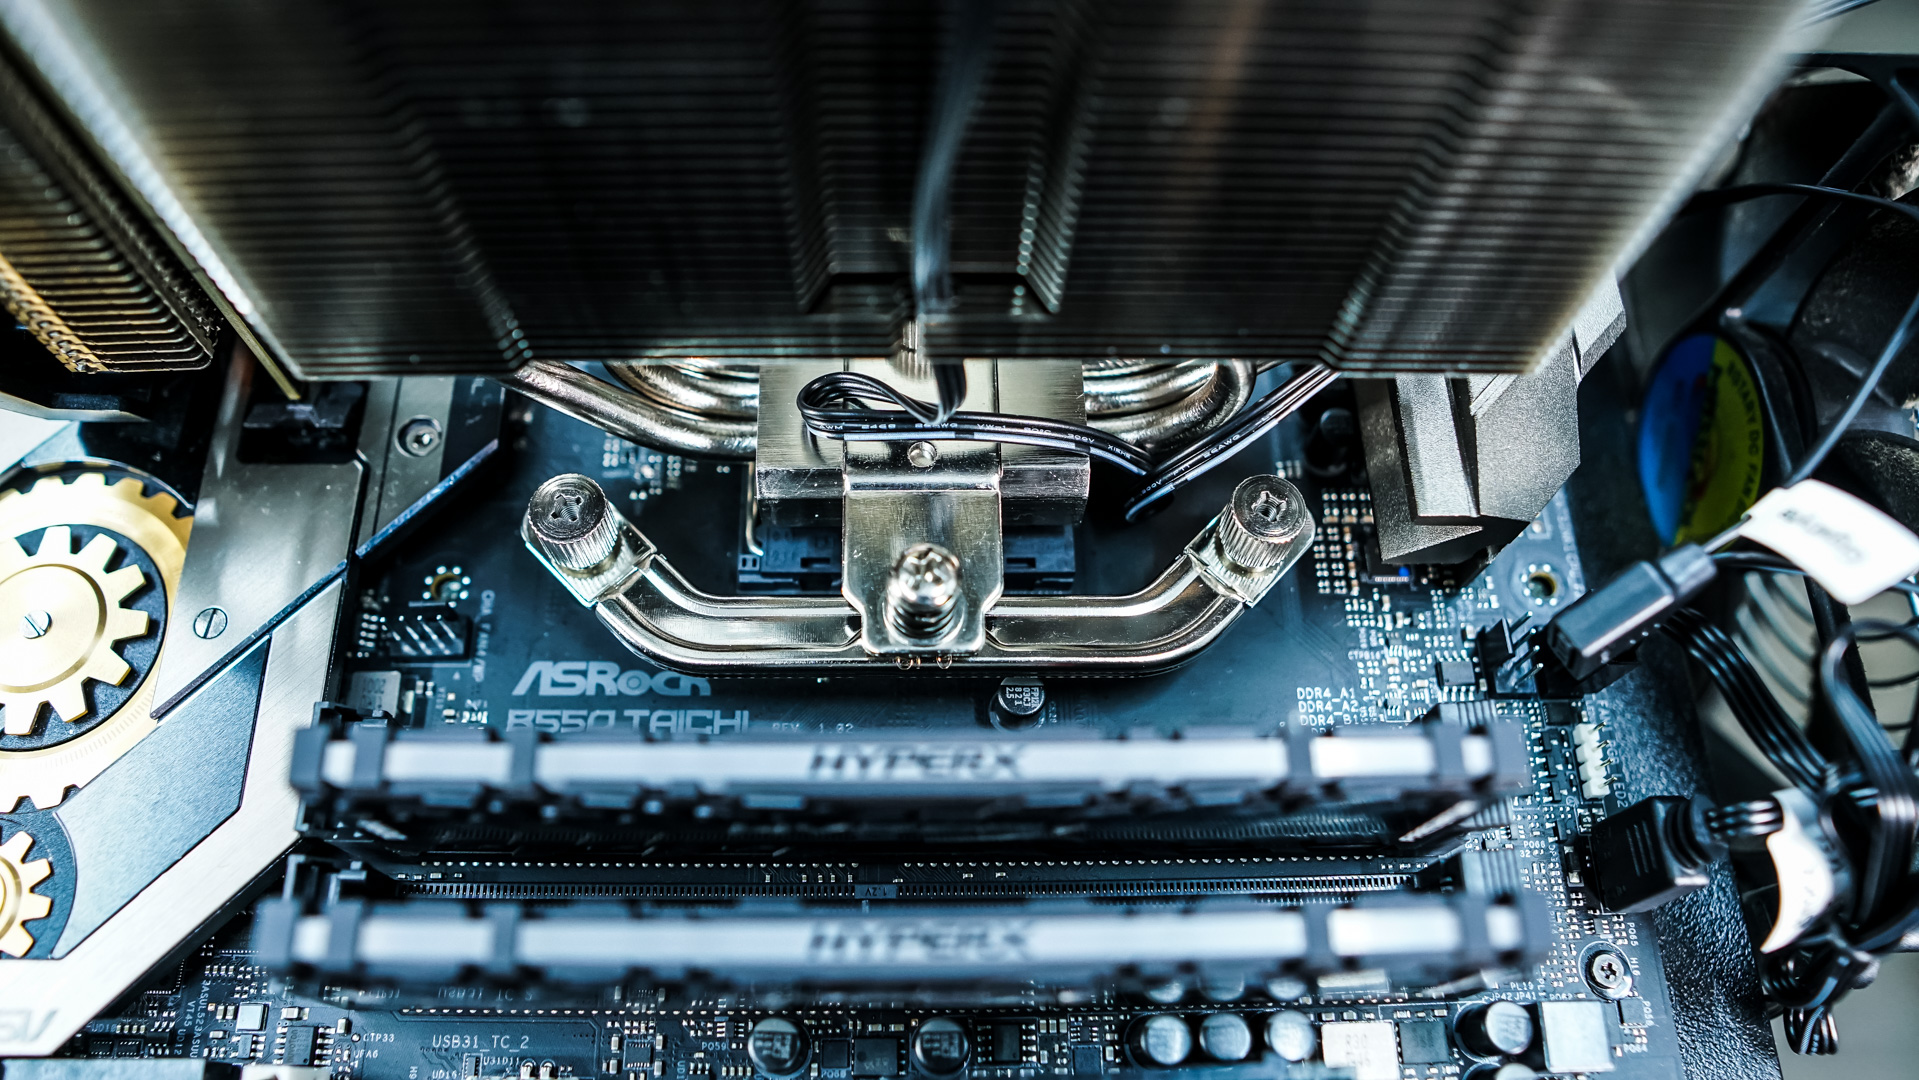
Take the included thermal paste and apply it to your CPU. Them remove the fan from the cooler. With just the heatsink carefully place it on top of your CPU lining up the screws with the brackets you just installed. Now secure the cooler by tightening the screws on each side.
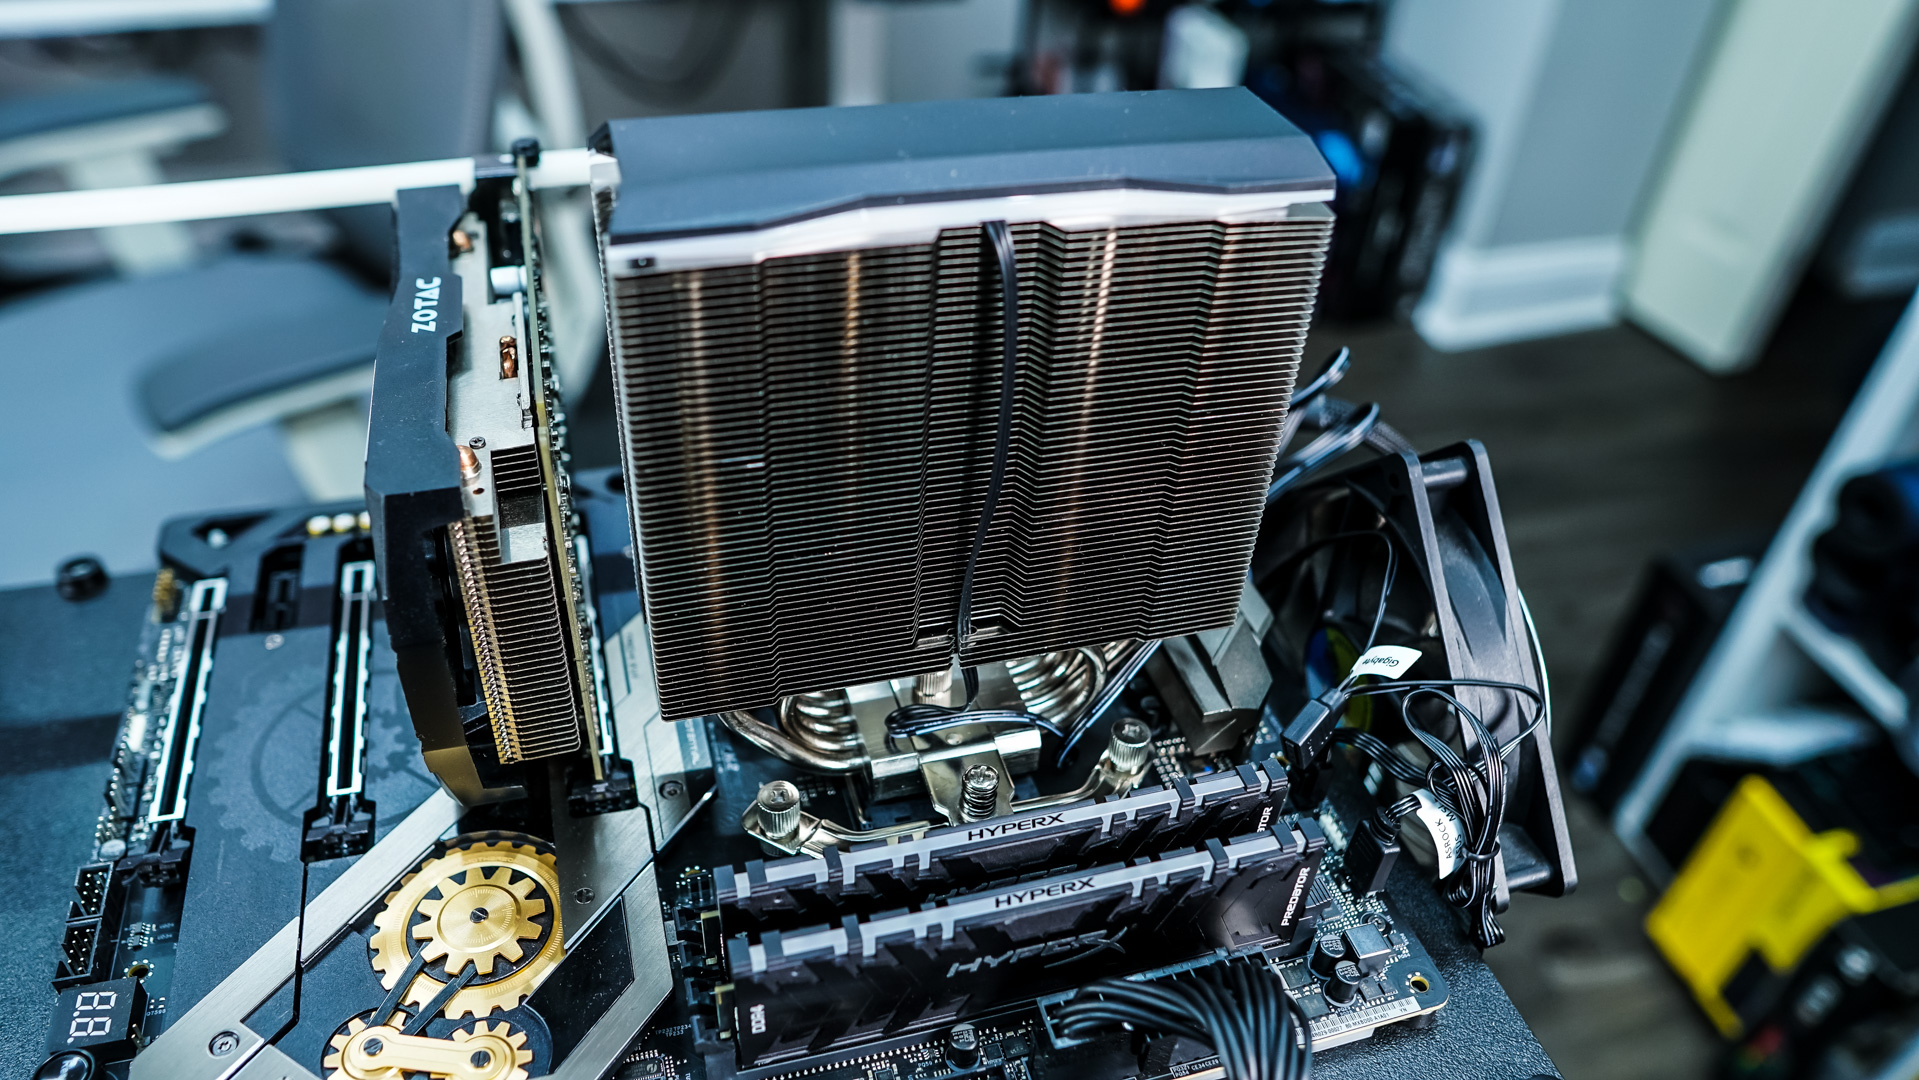
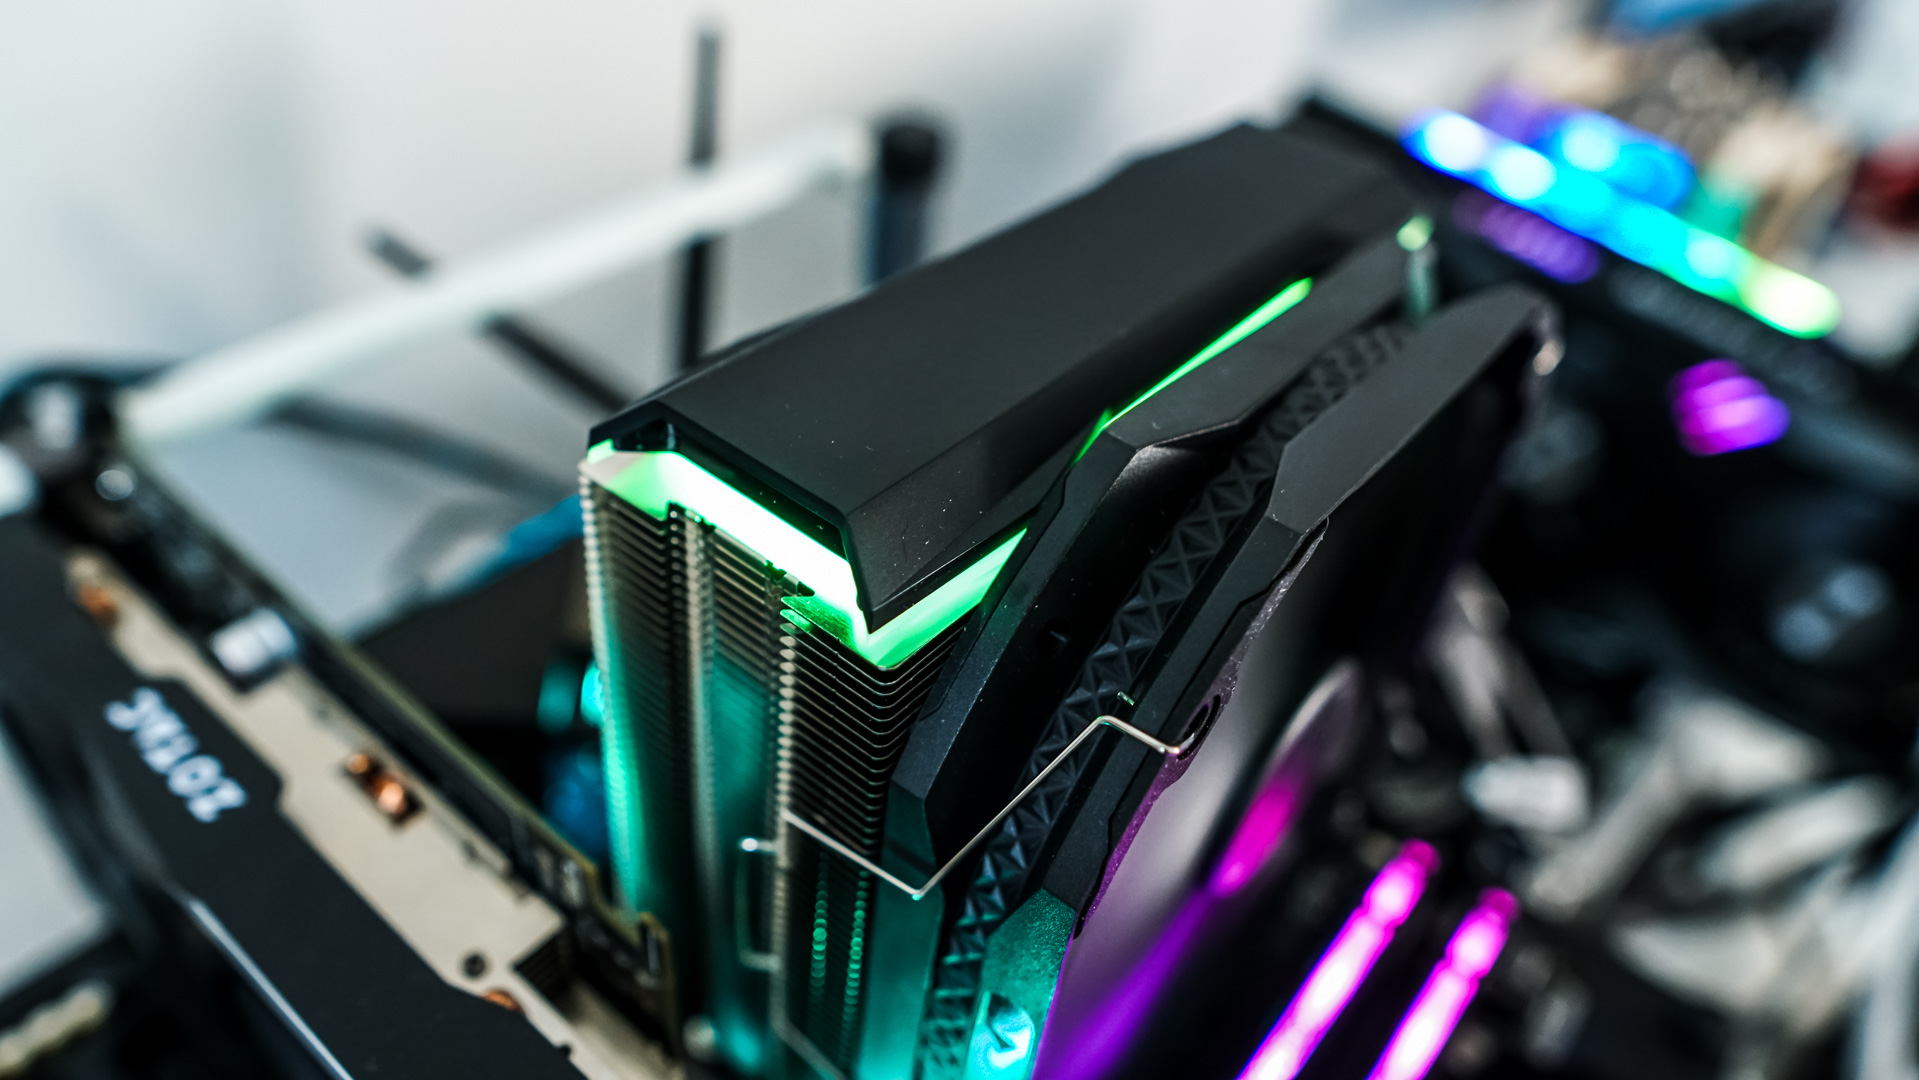
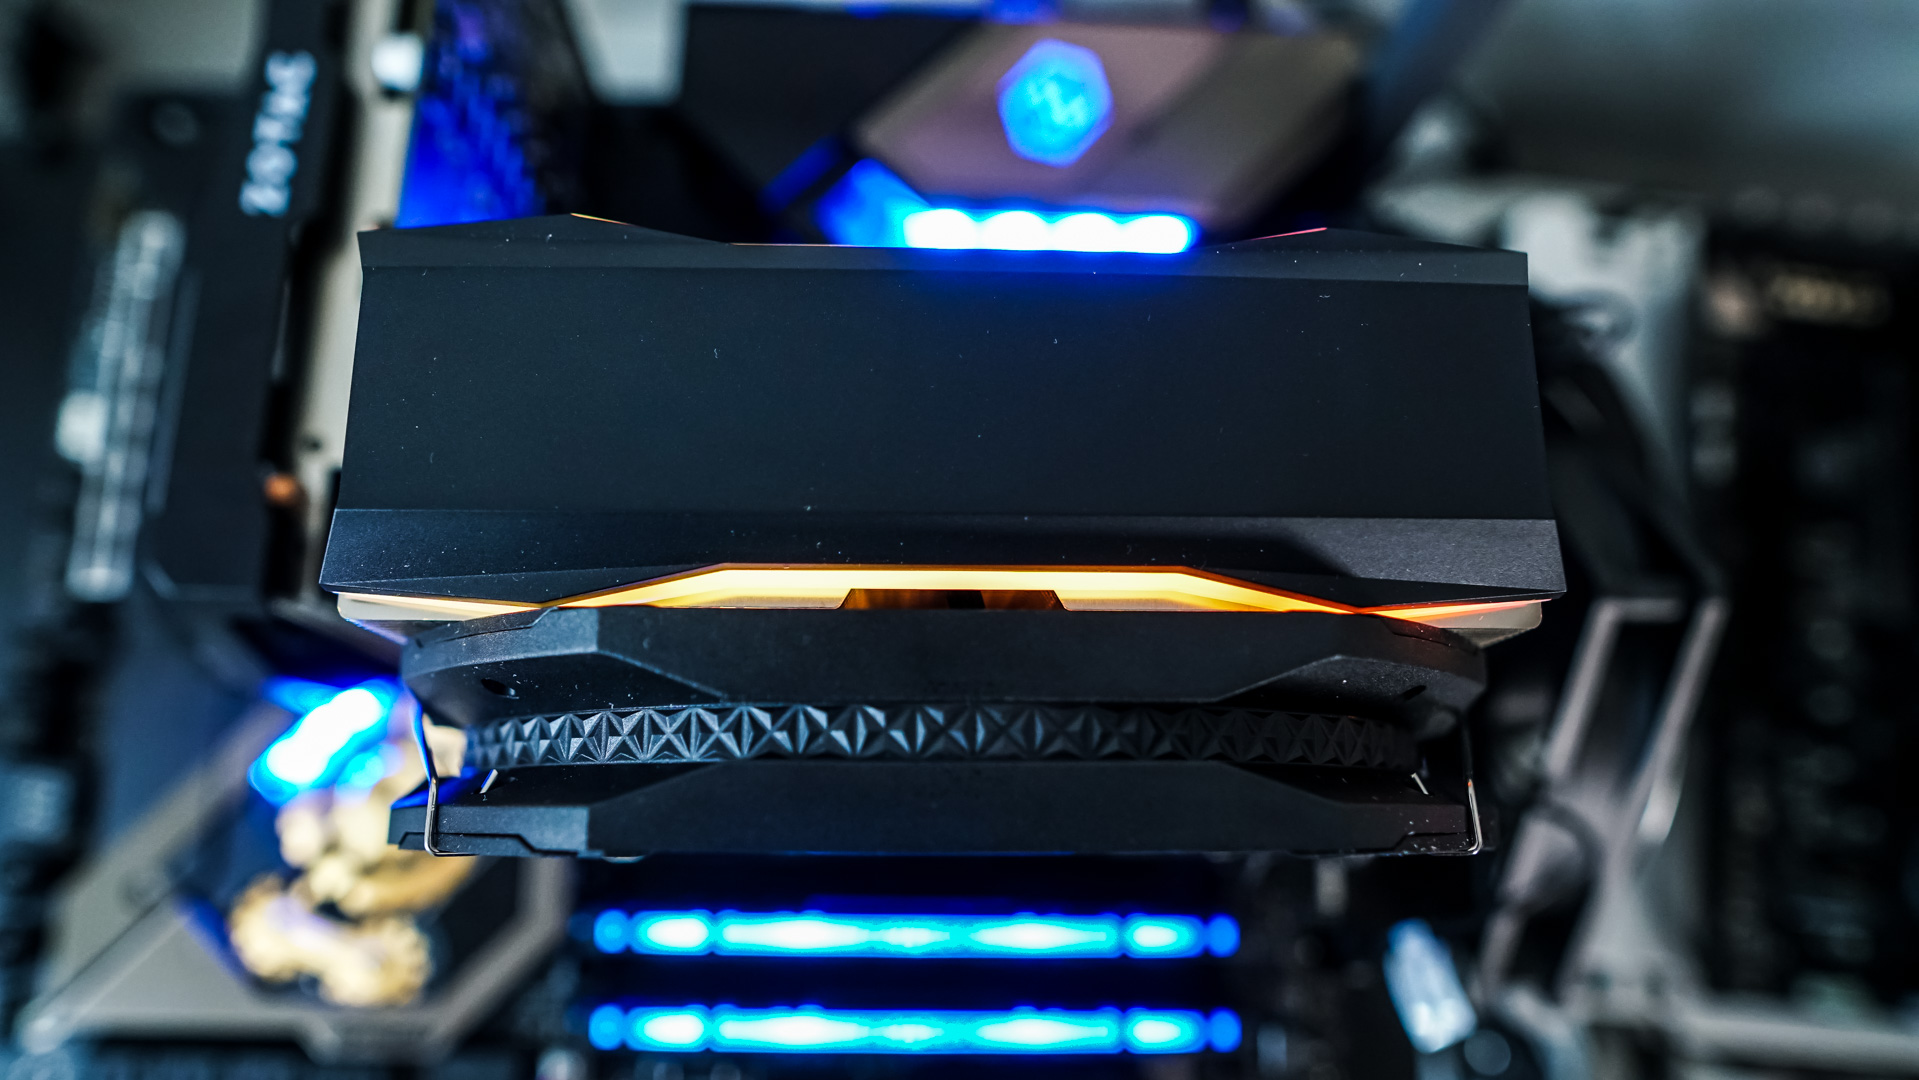
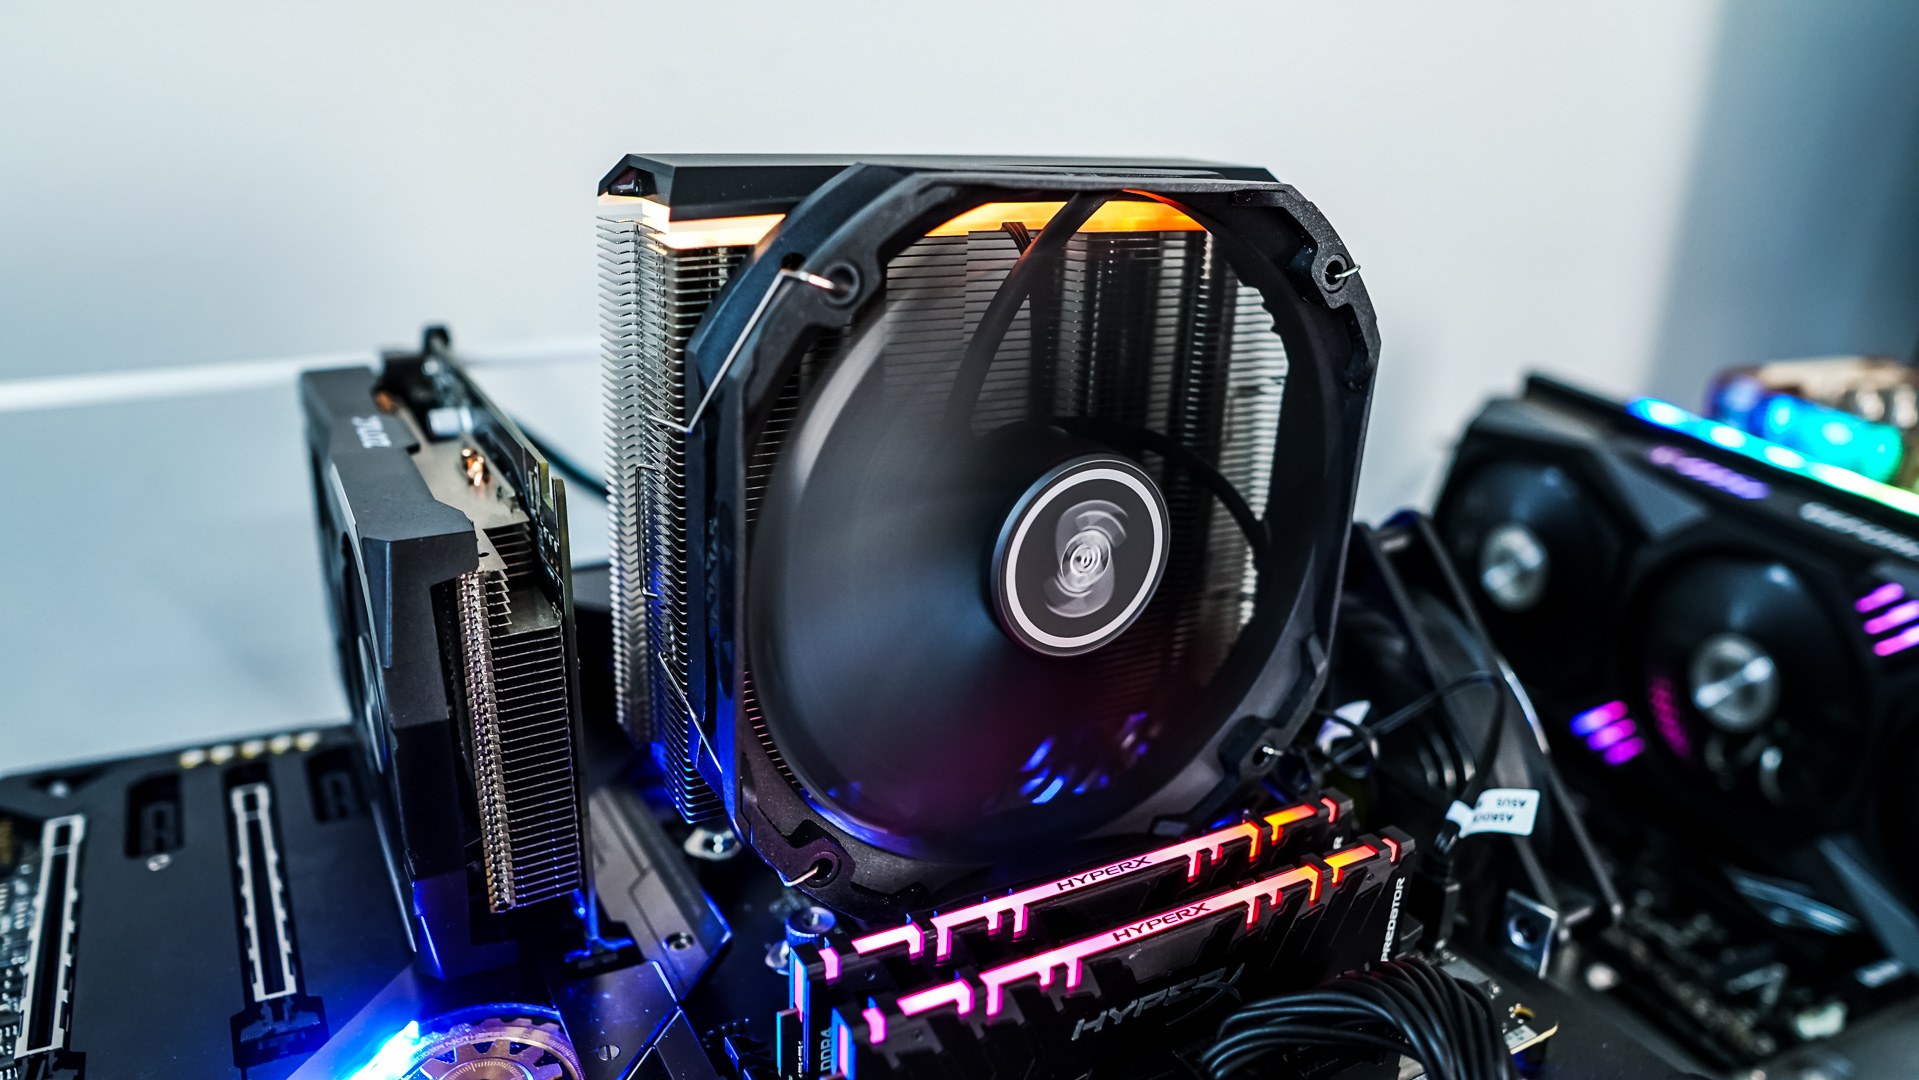
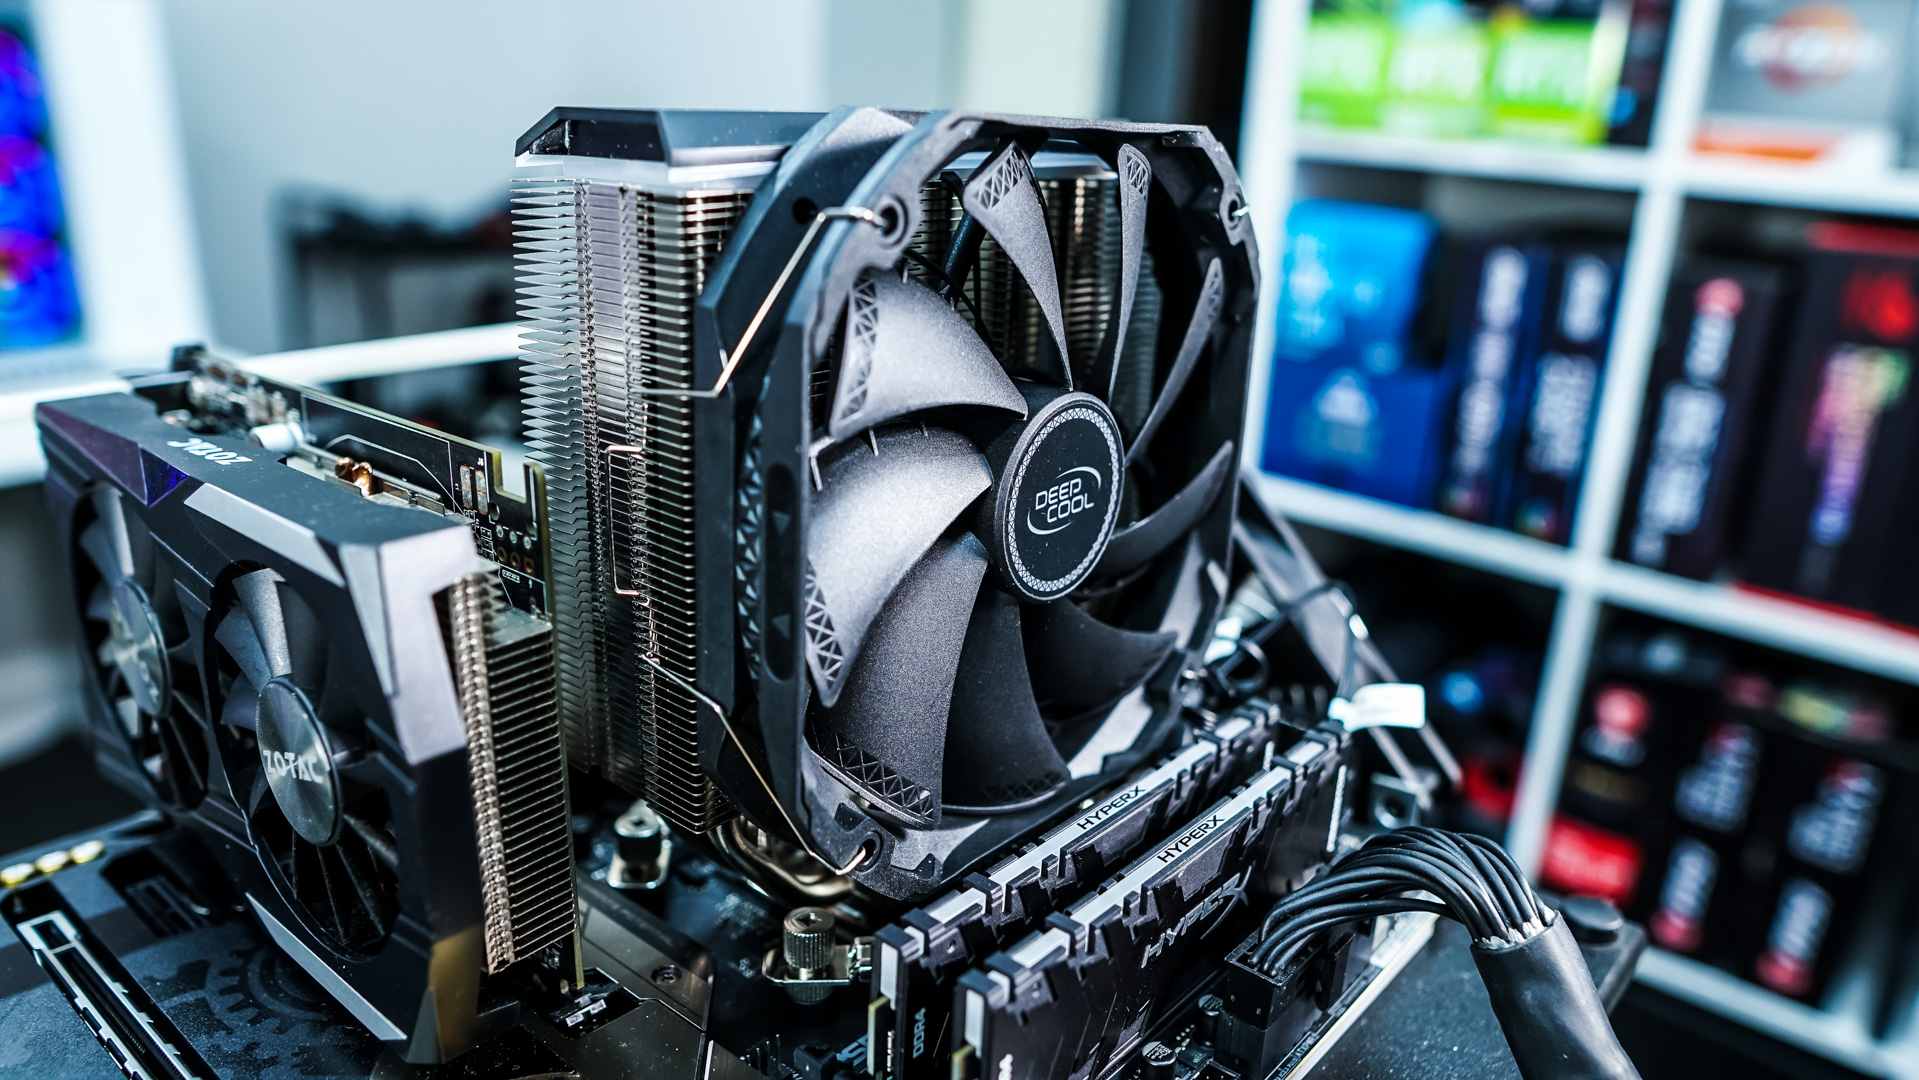
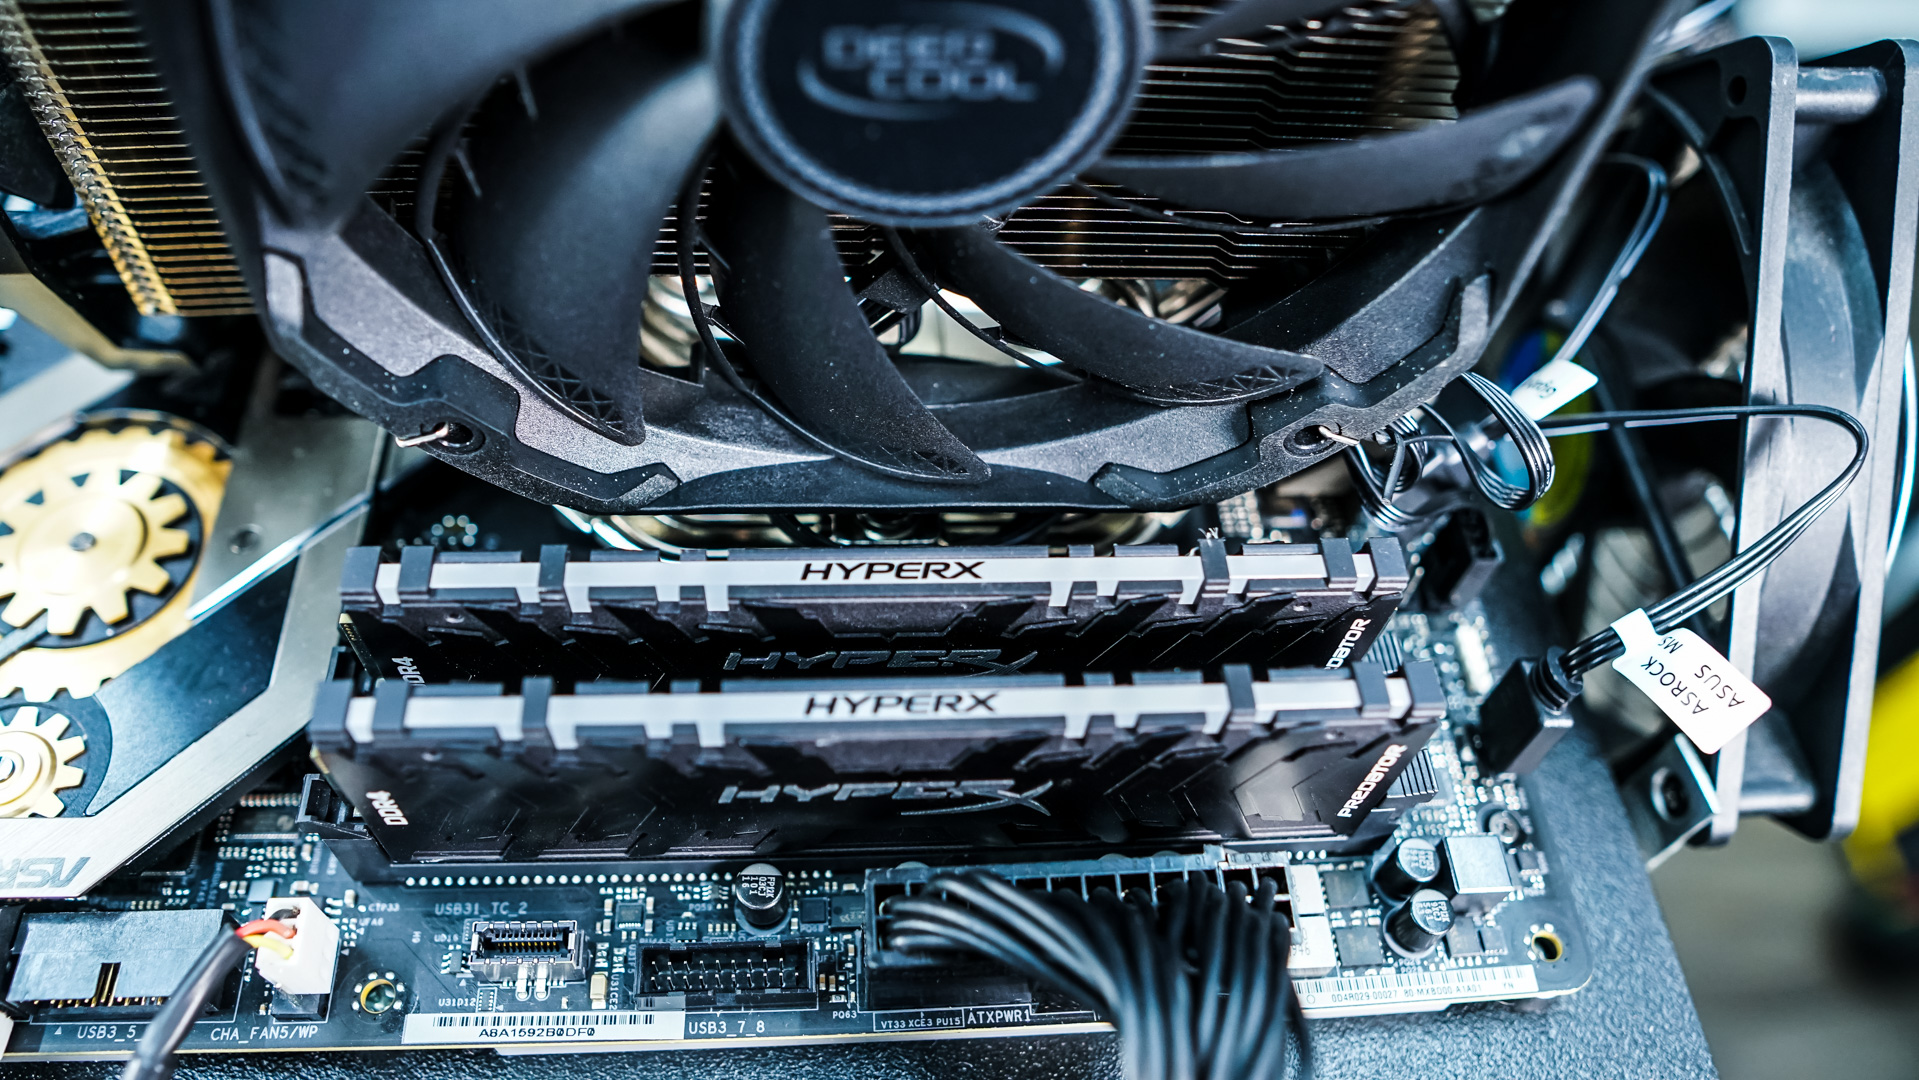
Now re-install your fan, connect it to the CPU fan header on your motherboard and either connect the RGB cable to your motherboard or the included controller. As you can see even with the fan installed we have more than enough room for our memory and there are no clearance issues.
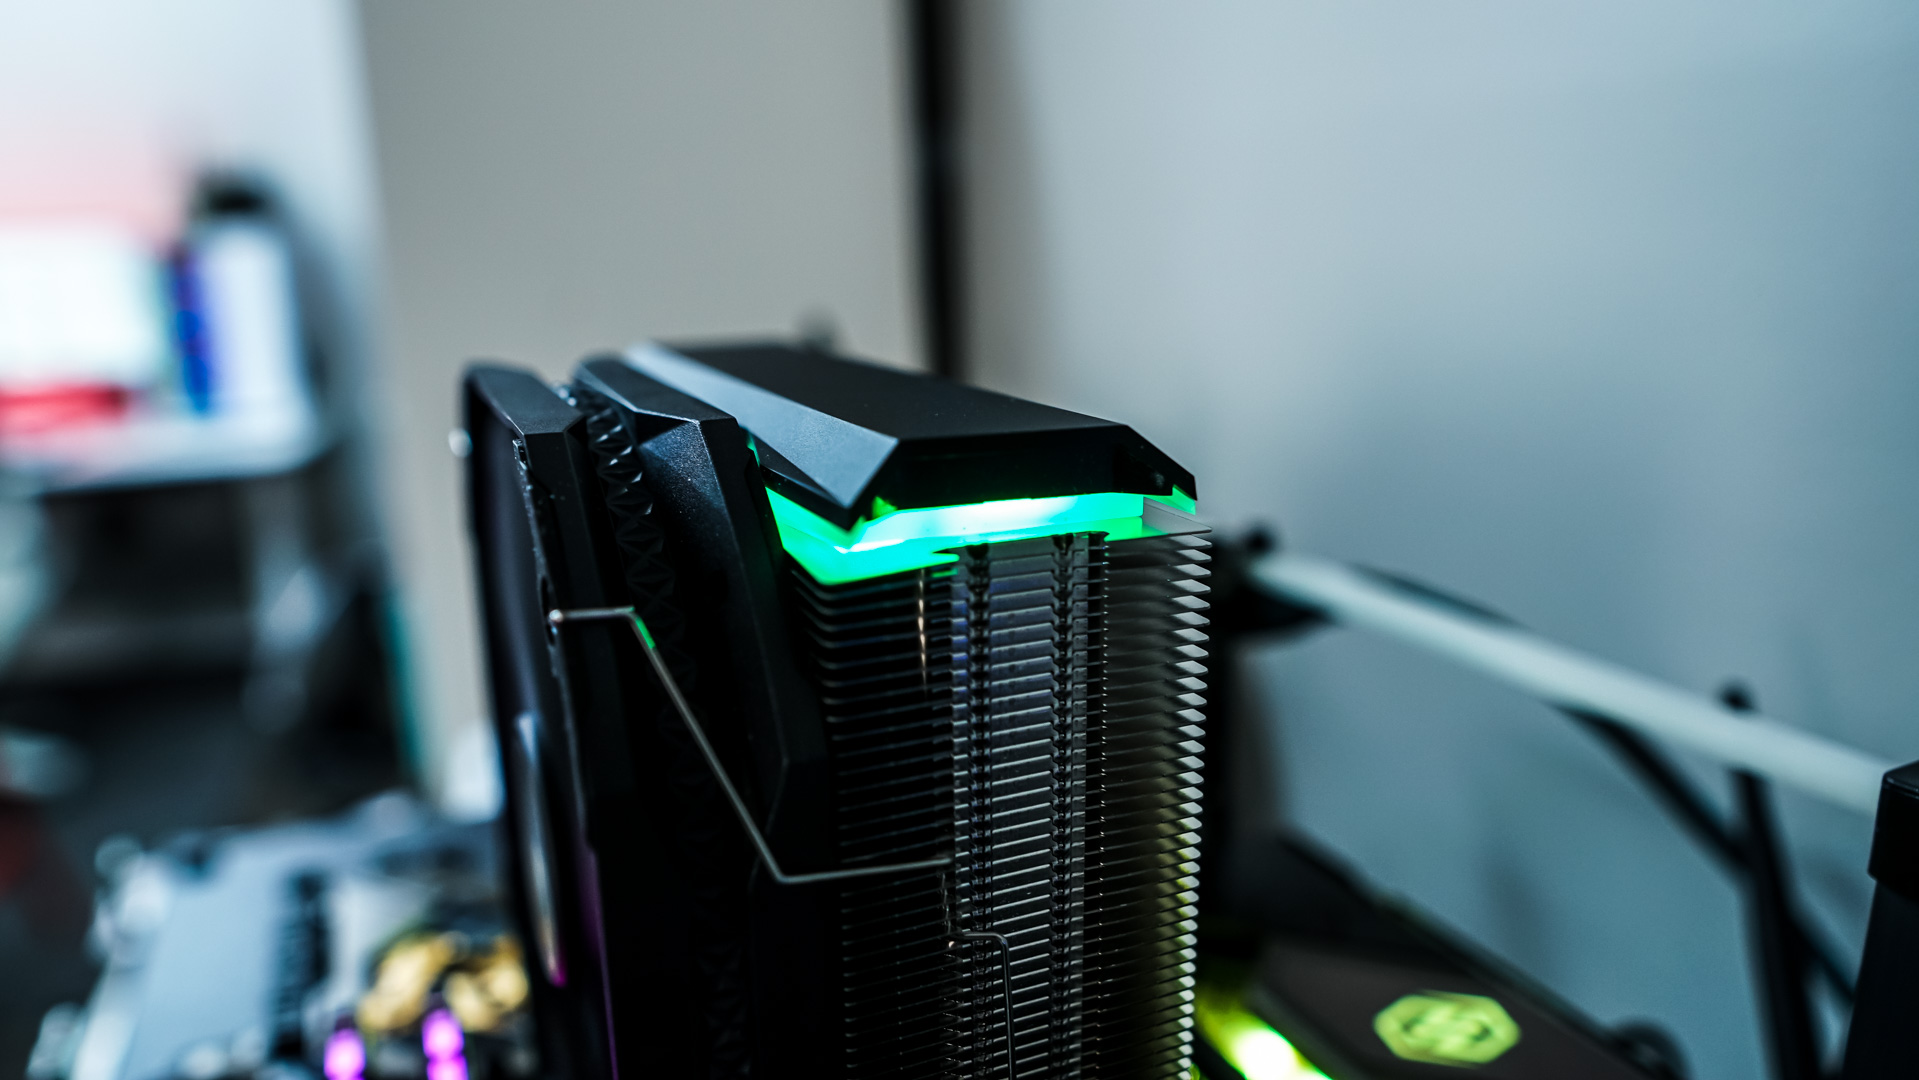
We opted to connect the ARGB connection to the header on our motherboard and the had no issues with ASRock’s Polychrome sync software. It is nice t hat Deepcool does include an RGB controller in the case your board does not have an ARGB (3-pin) header or you just don’t want to use your motherboards software. The lighting on the cooler itself is pretty subtle, which I actually prefer these days.