Installation
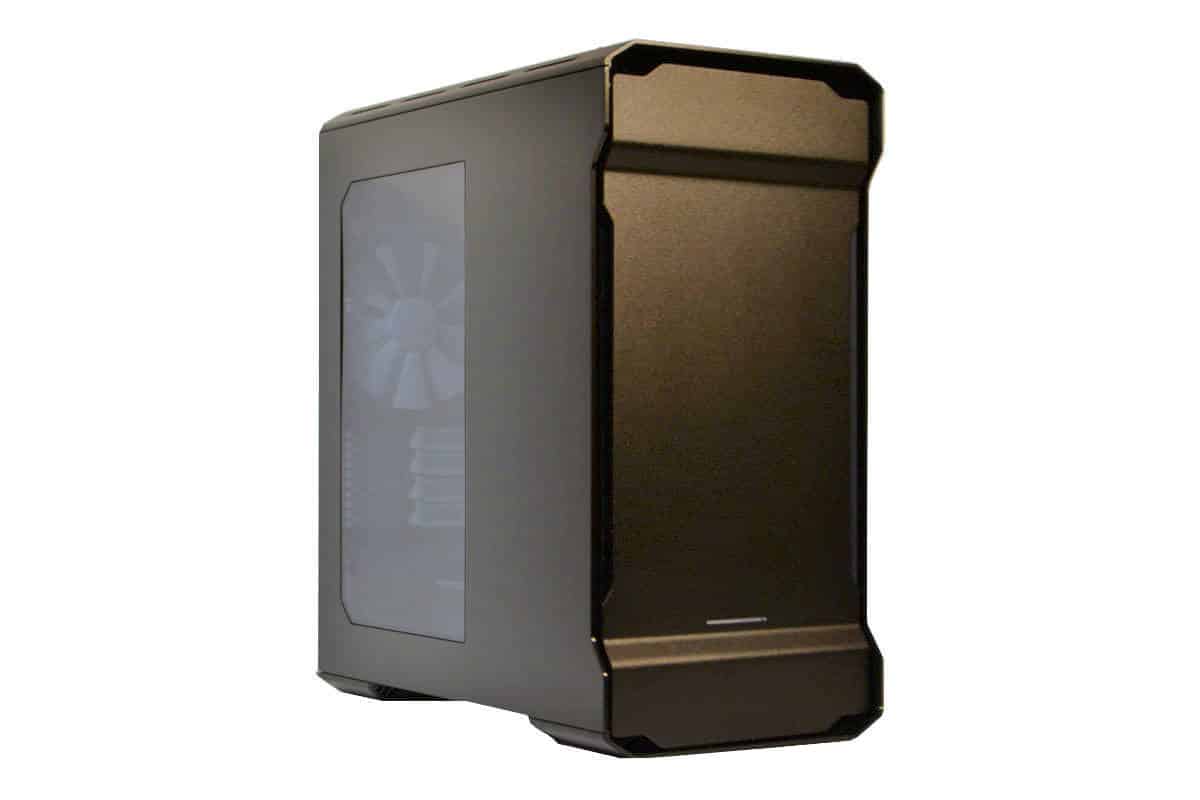
Installation inside of this case is actually quite easy, even though things are a little tight compared to a normal ATX case. The first thing we will be installing is our motherboard, which is a mini-ITX motherboard. As I mentioned this case supports both mini-ITX and micro-ATX motherboards.
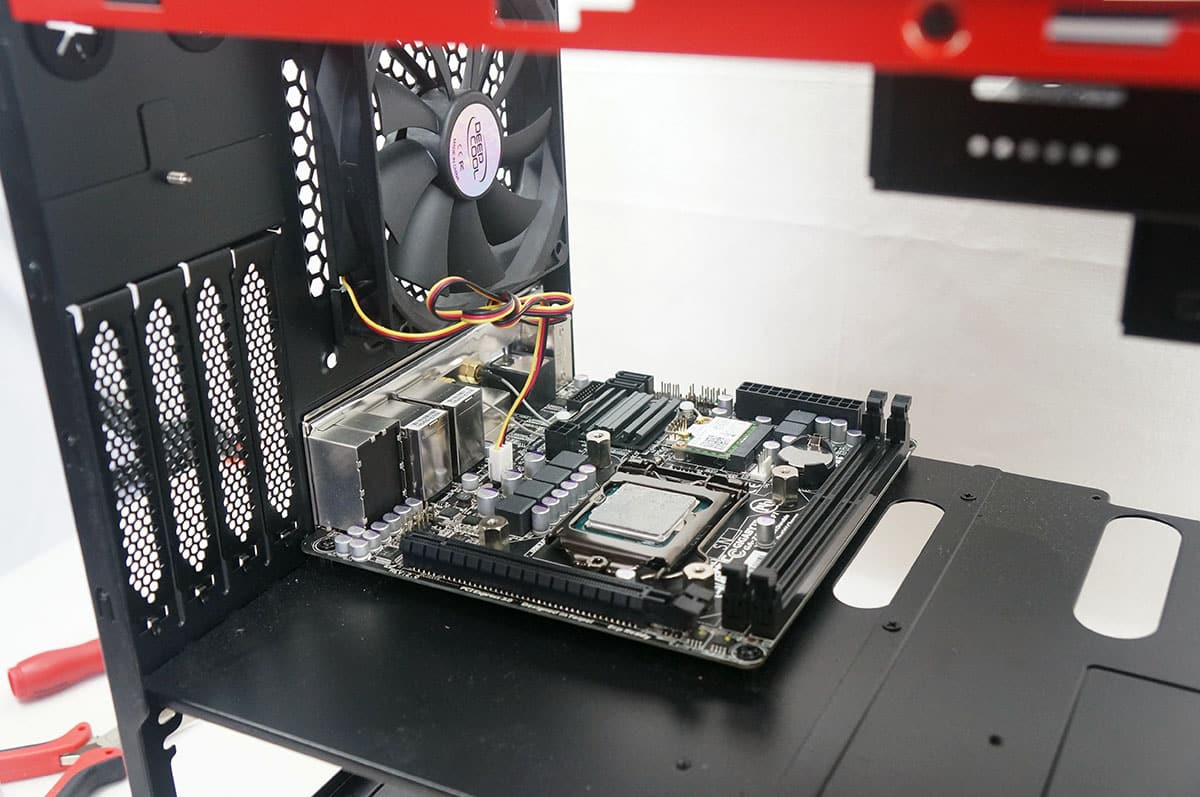
I had no problem getting the motherboard installed in the case. You might need a smaller screwdriver to properly screw in the mounting screws.
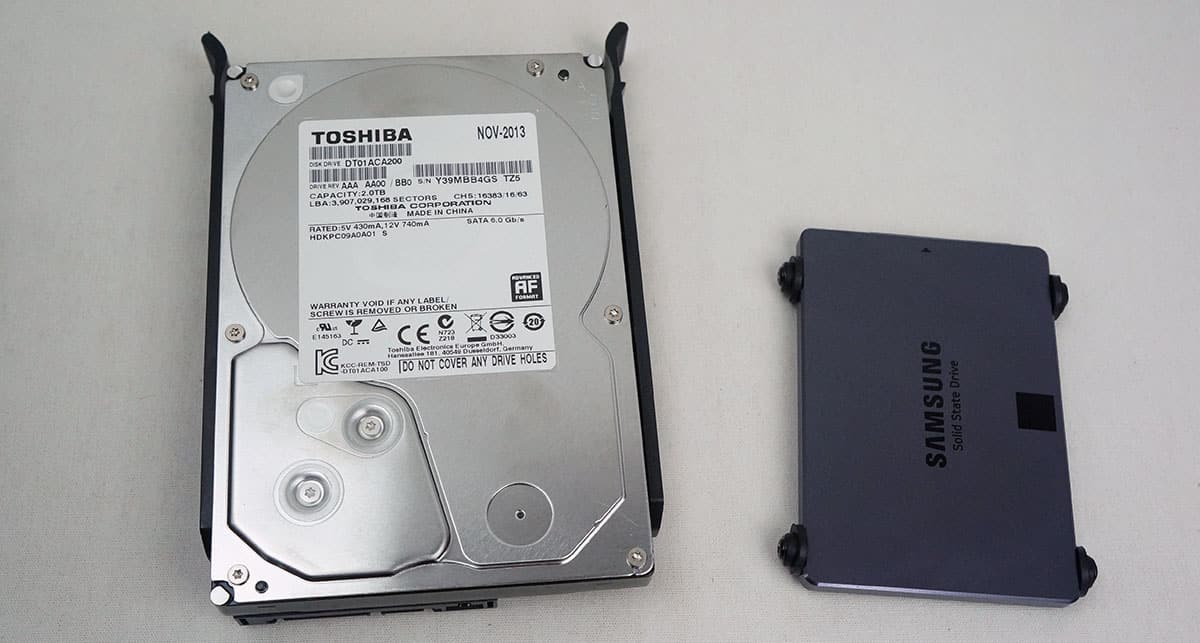
Next we have our hard drives. I will be installing one 3.5-inch drive and a smaller 2.5-inch solid state drive. The 3.5-inch drive is easily installed in one of the removable hard drive trays. Installation is completely tool-less here. For the 2.5-inch drive you need to install the rubber bumpers on each side with the supplied screws. Once you have your drives ready they should look like this.
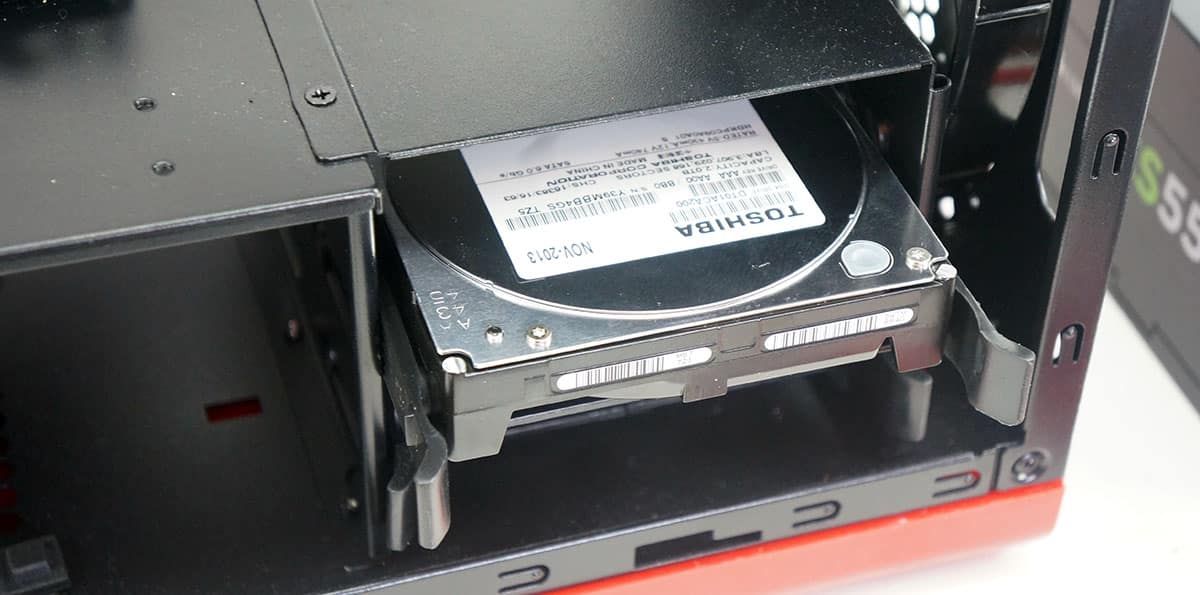
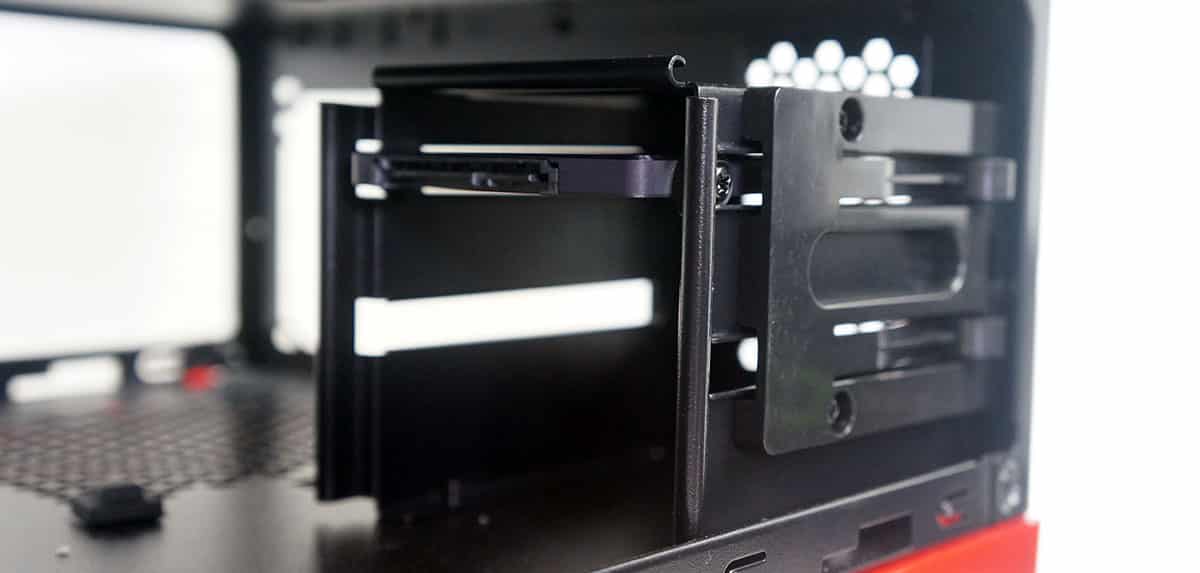
Now slide the 3.5-inch drive in the large hard drive cage and the 2.5-inch drive in the smaller or rear cage. Each should slide in and lock into place.
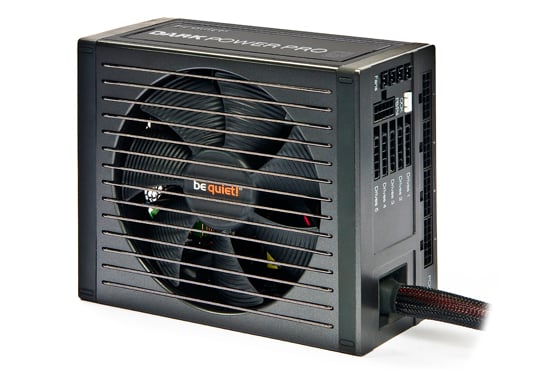
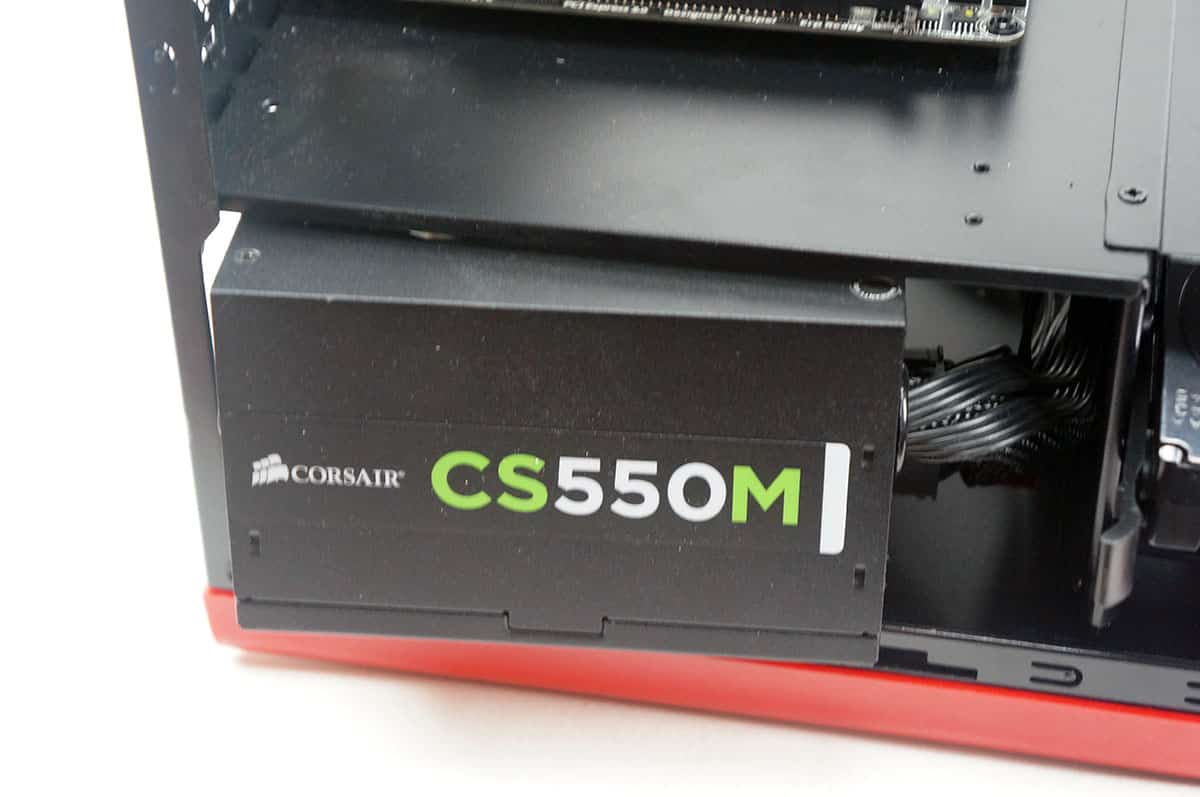
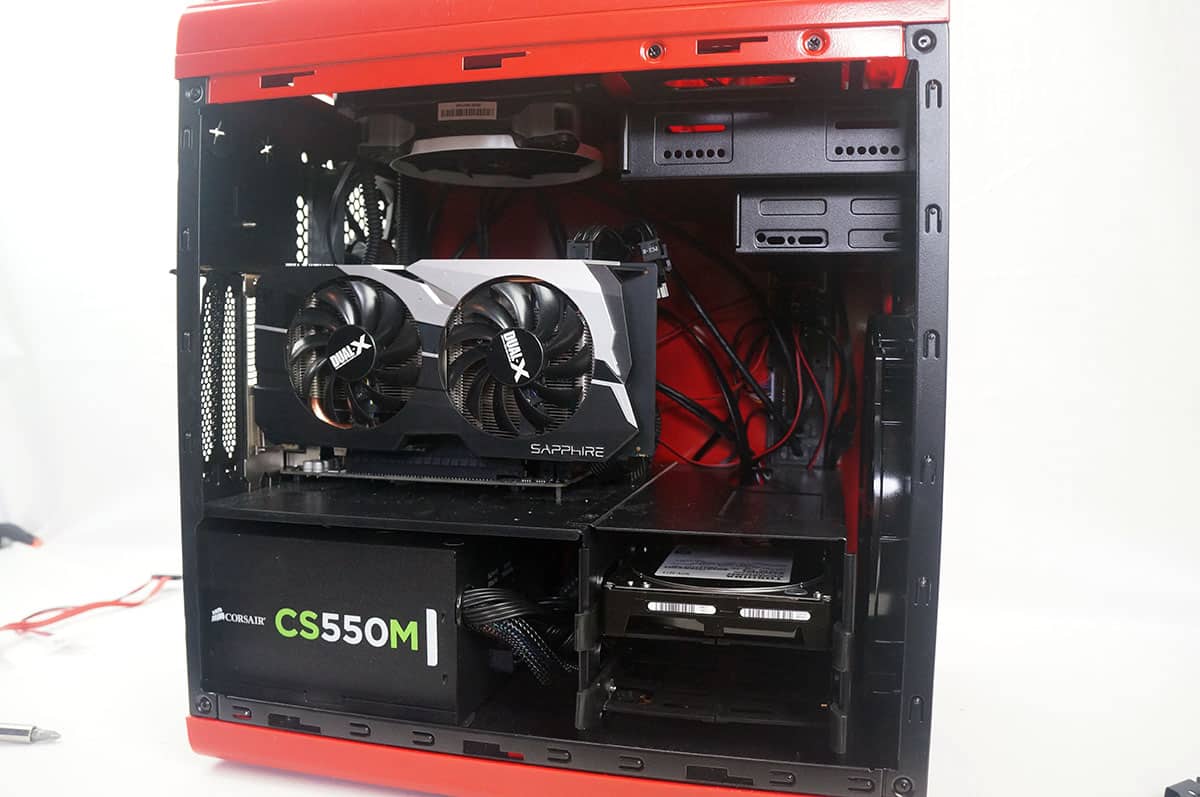
Our power supply is next. It easily slides in from the side of the case. I had no issues getting the Corsair CS550M installed in this case.
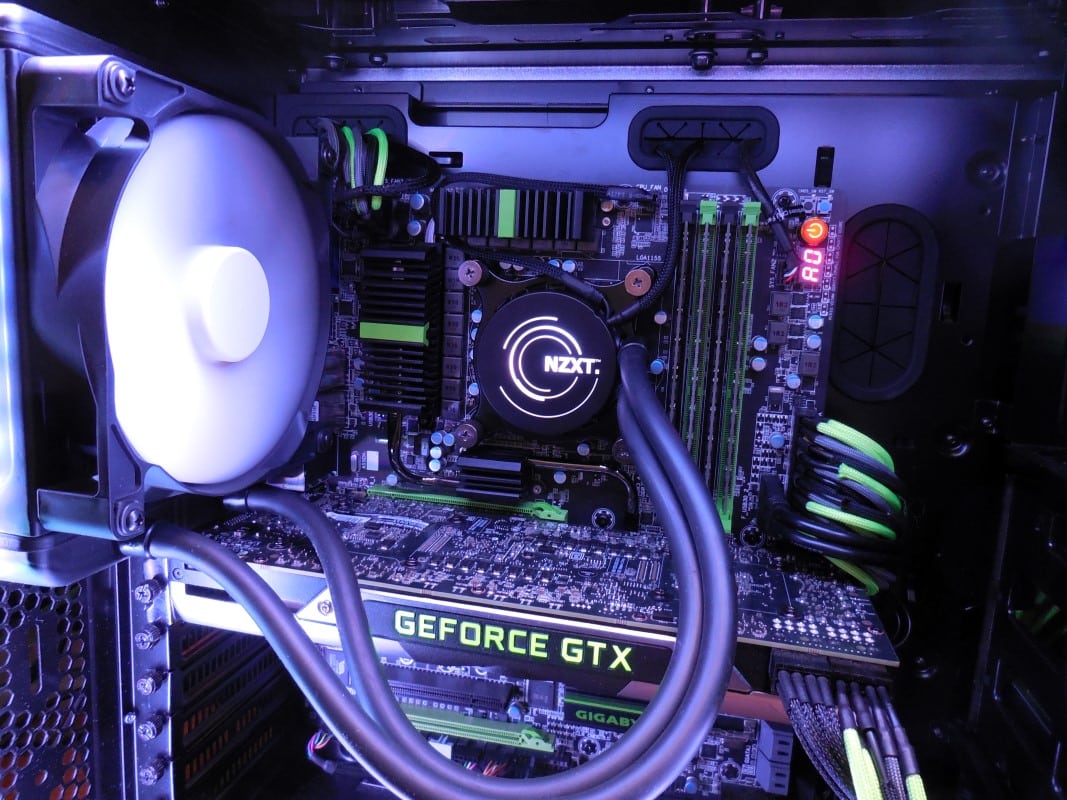
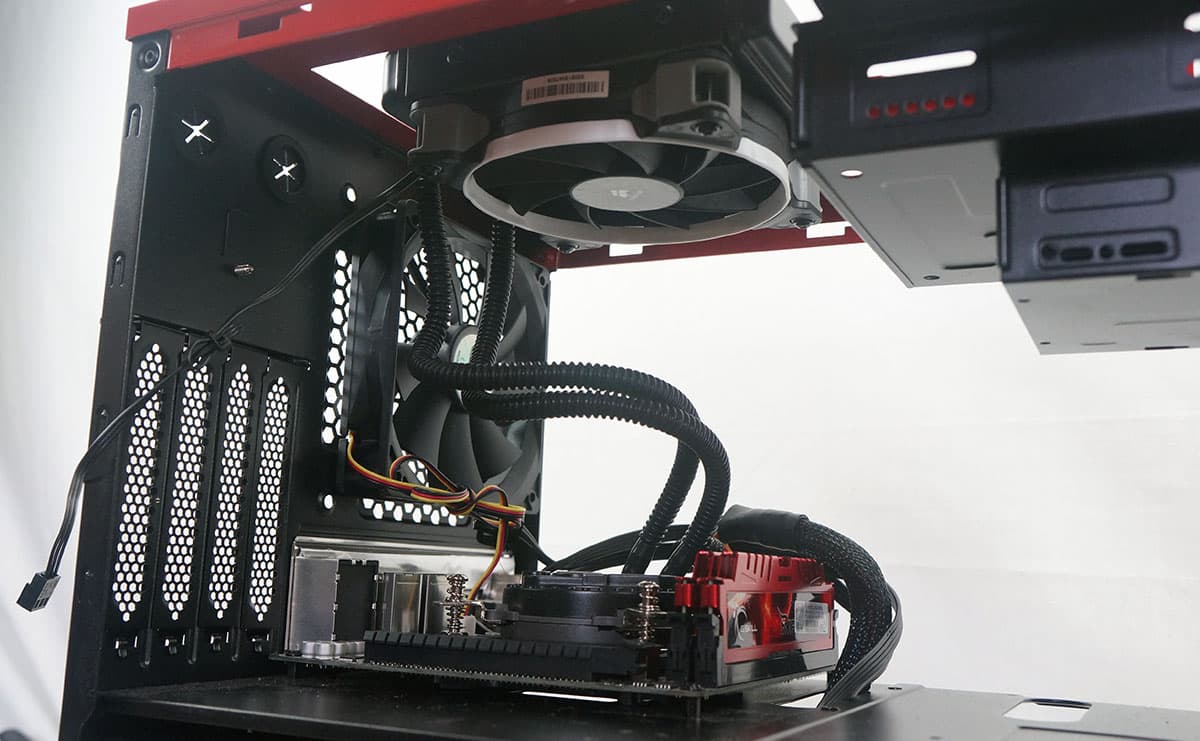
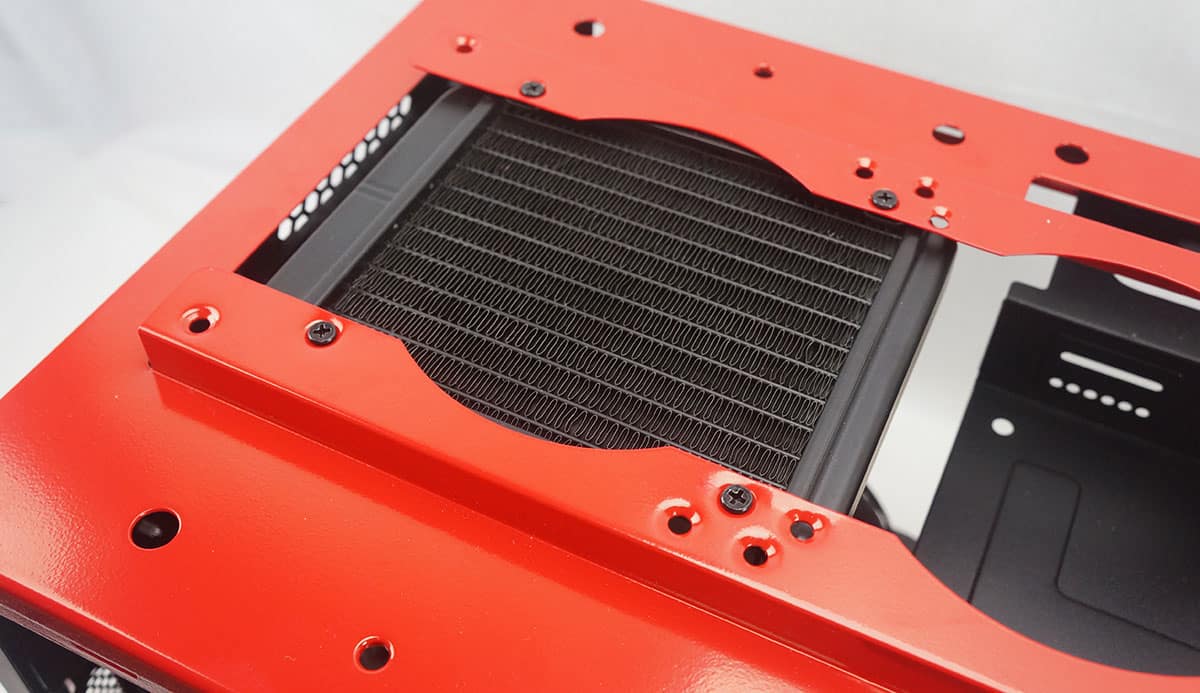
If you were wondering why I did not have a CPU cooler pre-installed on my motherboard is because I planned on installing an AiO liquid cooling system. This system was easily installed using the top fan mounting on the case.
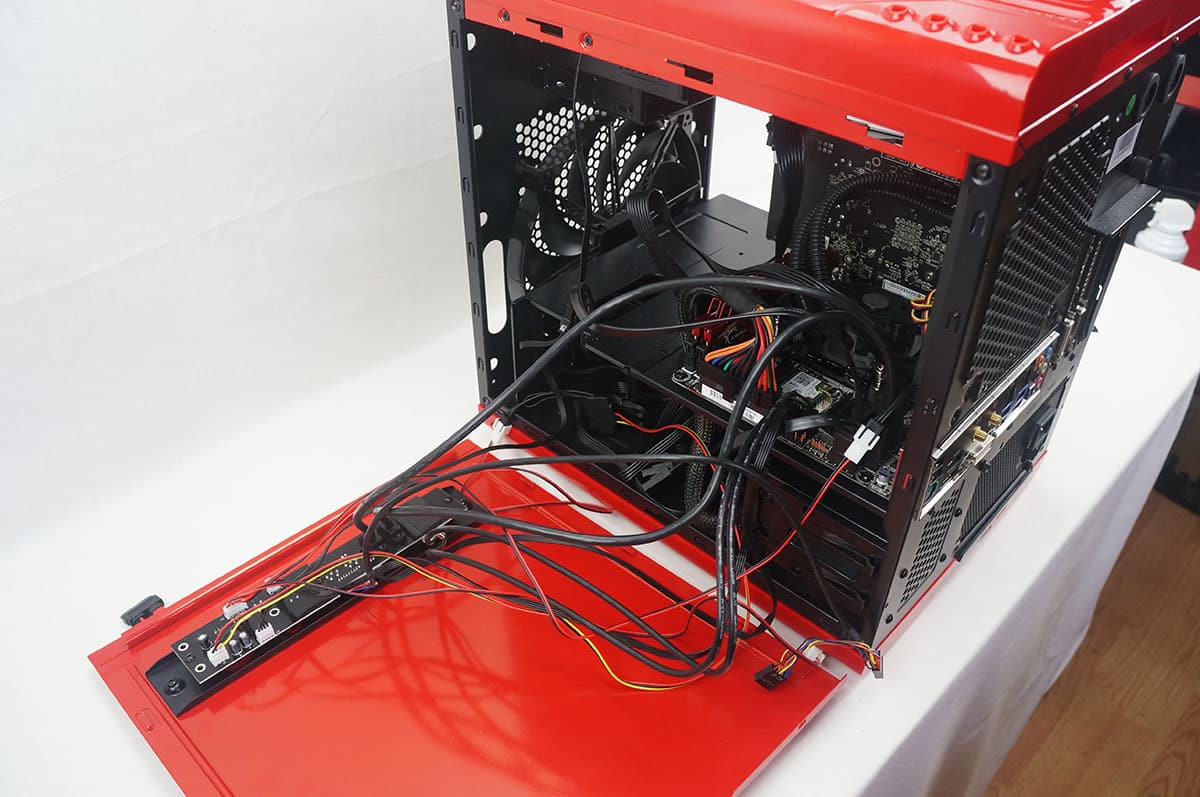
Now with everything installed I went ahead and started to wire everything up. It is sort of a pain because all of your front panel connections are on the side panel so you will need that close when wiring your fans and other connections. It looks a mess here, but I was able to hide most of the cables in the bottom section of the case. On thing that was sort of a bummer was that the panel where all of the front connections are sort of broke off at the top. I had to tape it for it to stay in place. This seems like a common thing as I know two other people with this case that had the same issue.
With everything installed and all wired you can see we have a pretty clean looking system and lots of room for more expansion.
With the side panel re-installed you can see it is a little hard to see our hardware inside. This can be fixed by installed some type of light inside, although a clear side panel window would have a been a better fit here.
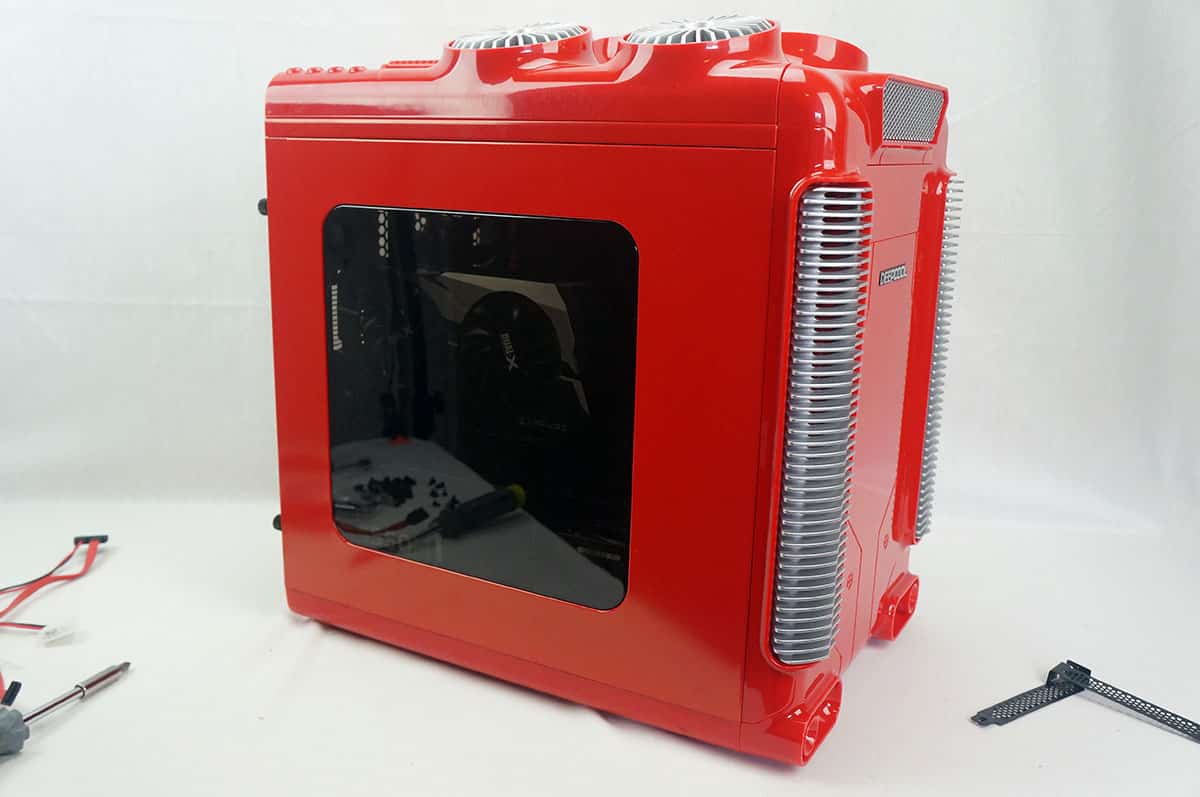
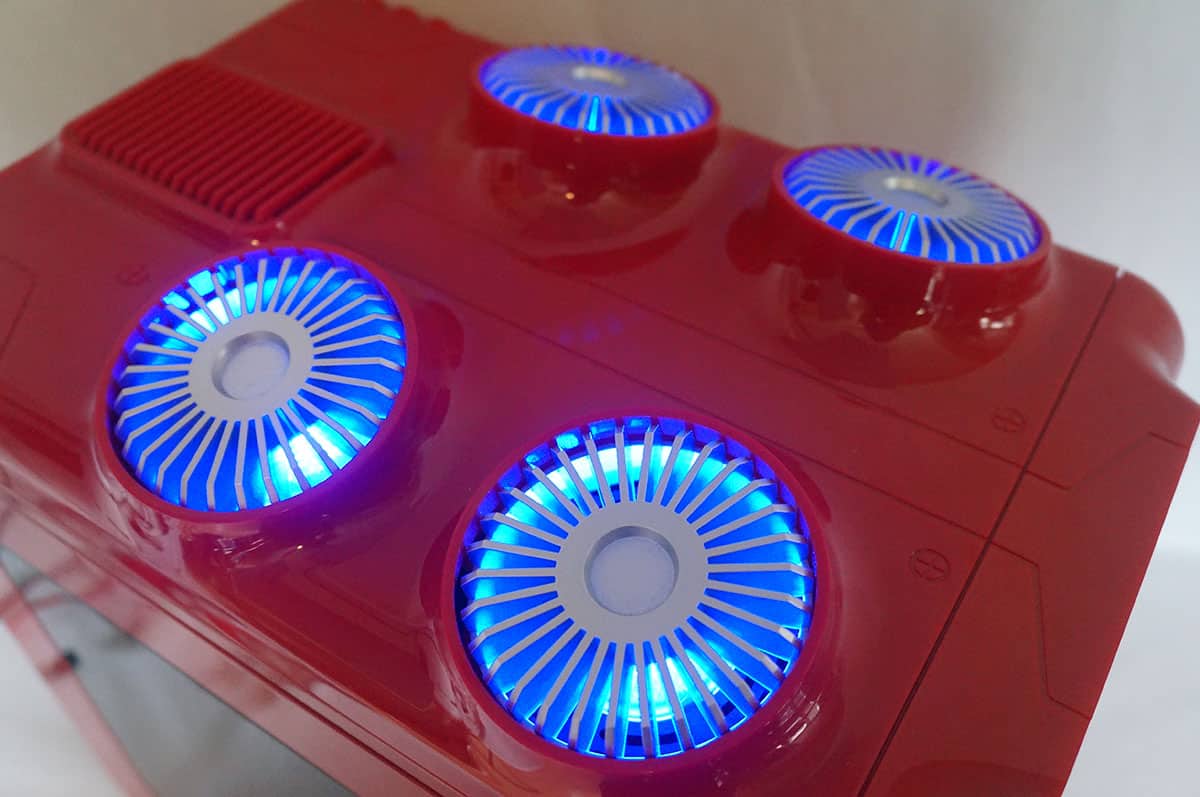
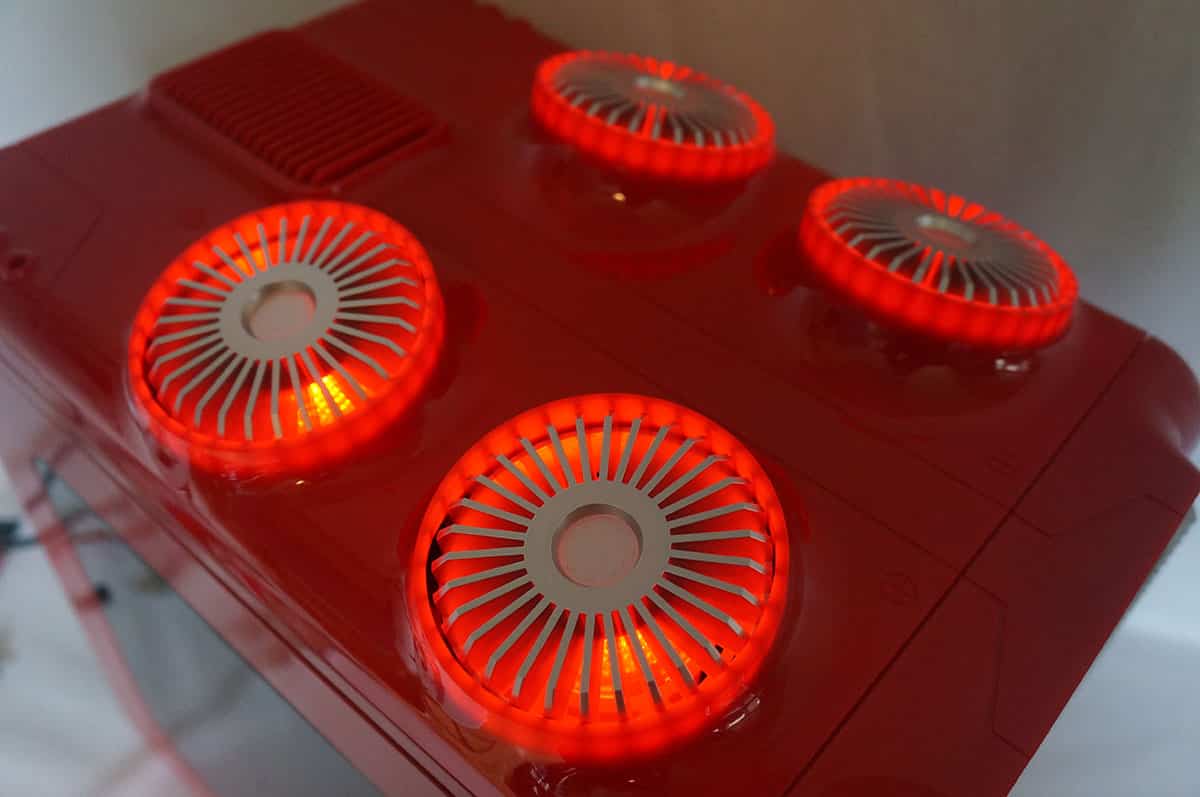
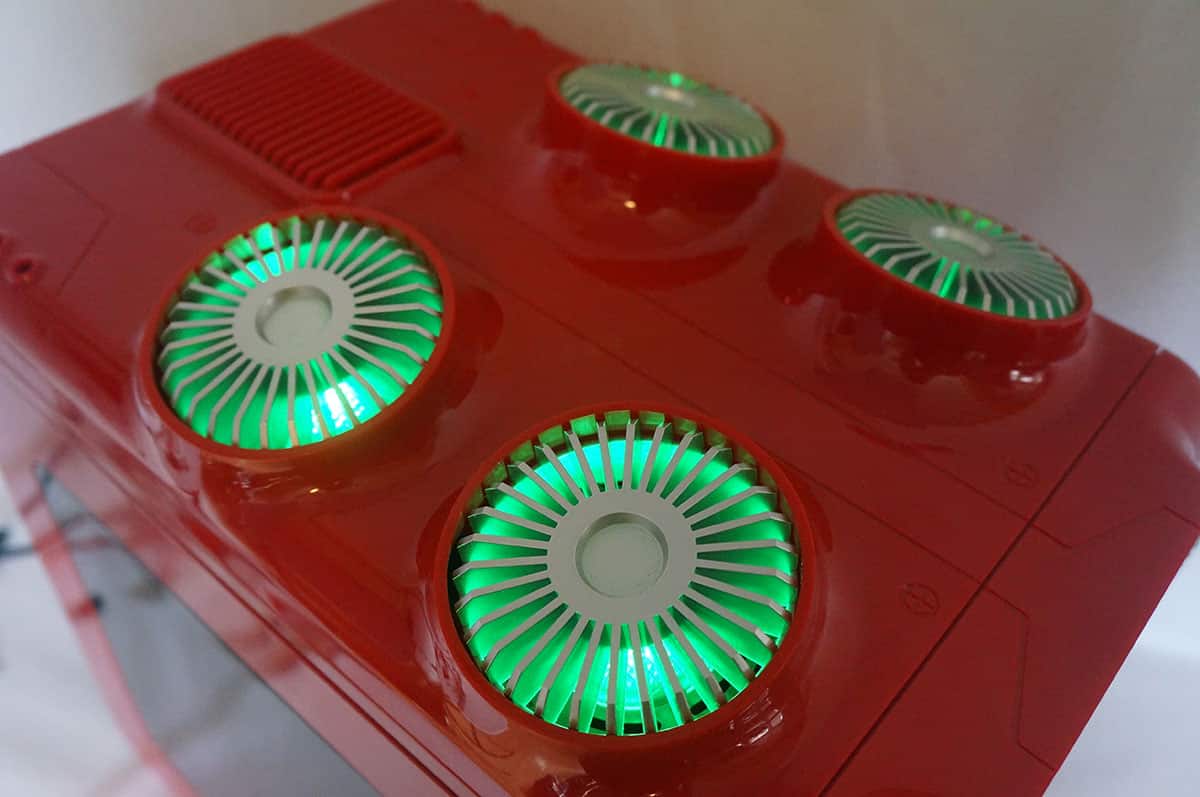
Once you power the system on you can toggle the LEDs on the top “steam vents” on and off. You can select between blue, red and green lights or have them completely off. You also have the option for any of the colors to pulse, which looks quite cool.