Installation
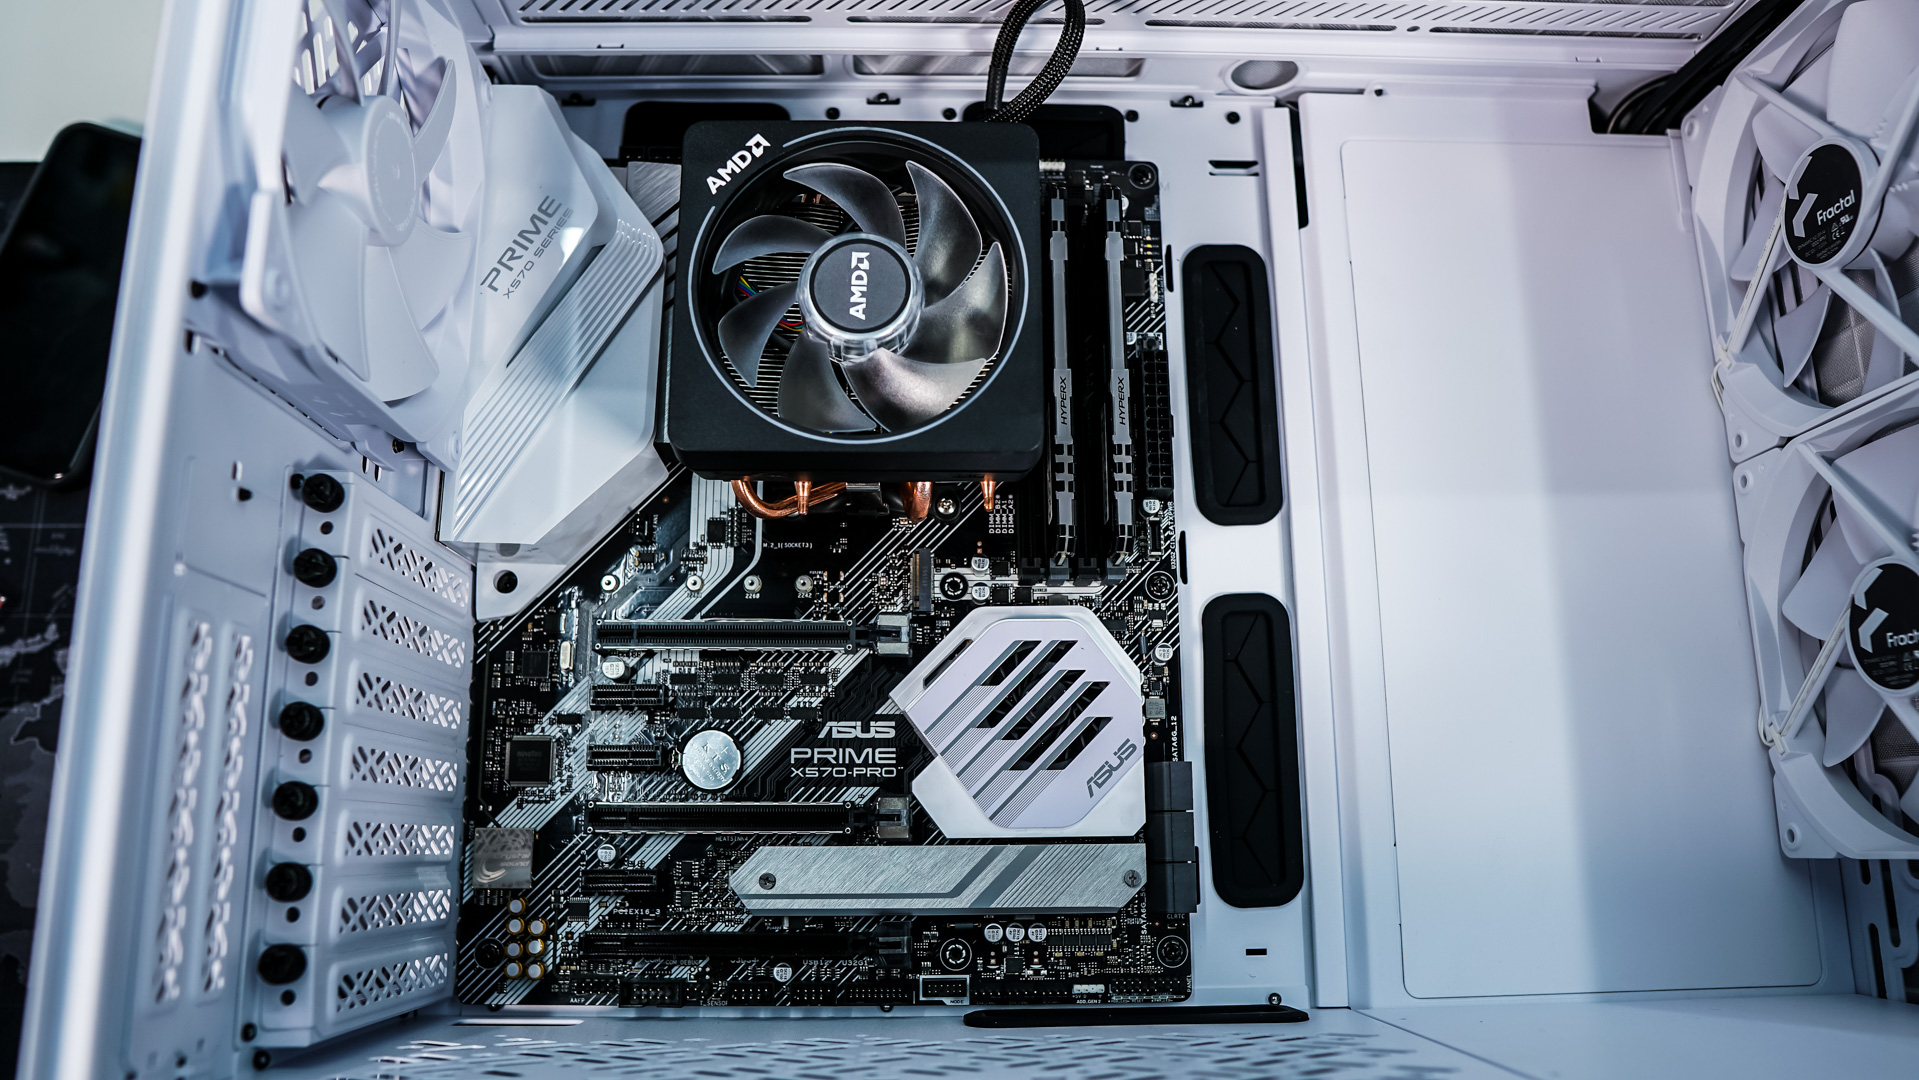
Installing your hardware in the Define 7 is quite easy. The first thing we are going to be installing is our motherboard, which goes in pretty easily. It is a tighter fit, but definitely not the tightest we’ve seen on a case.
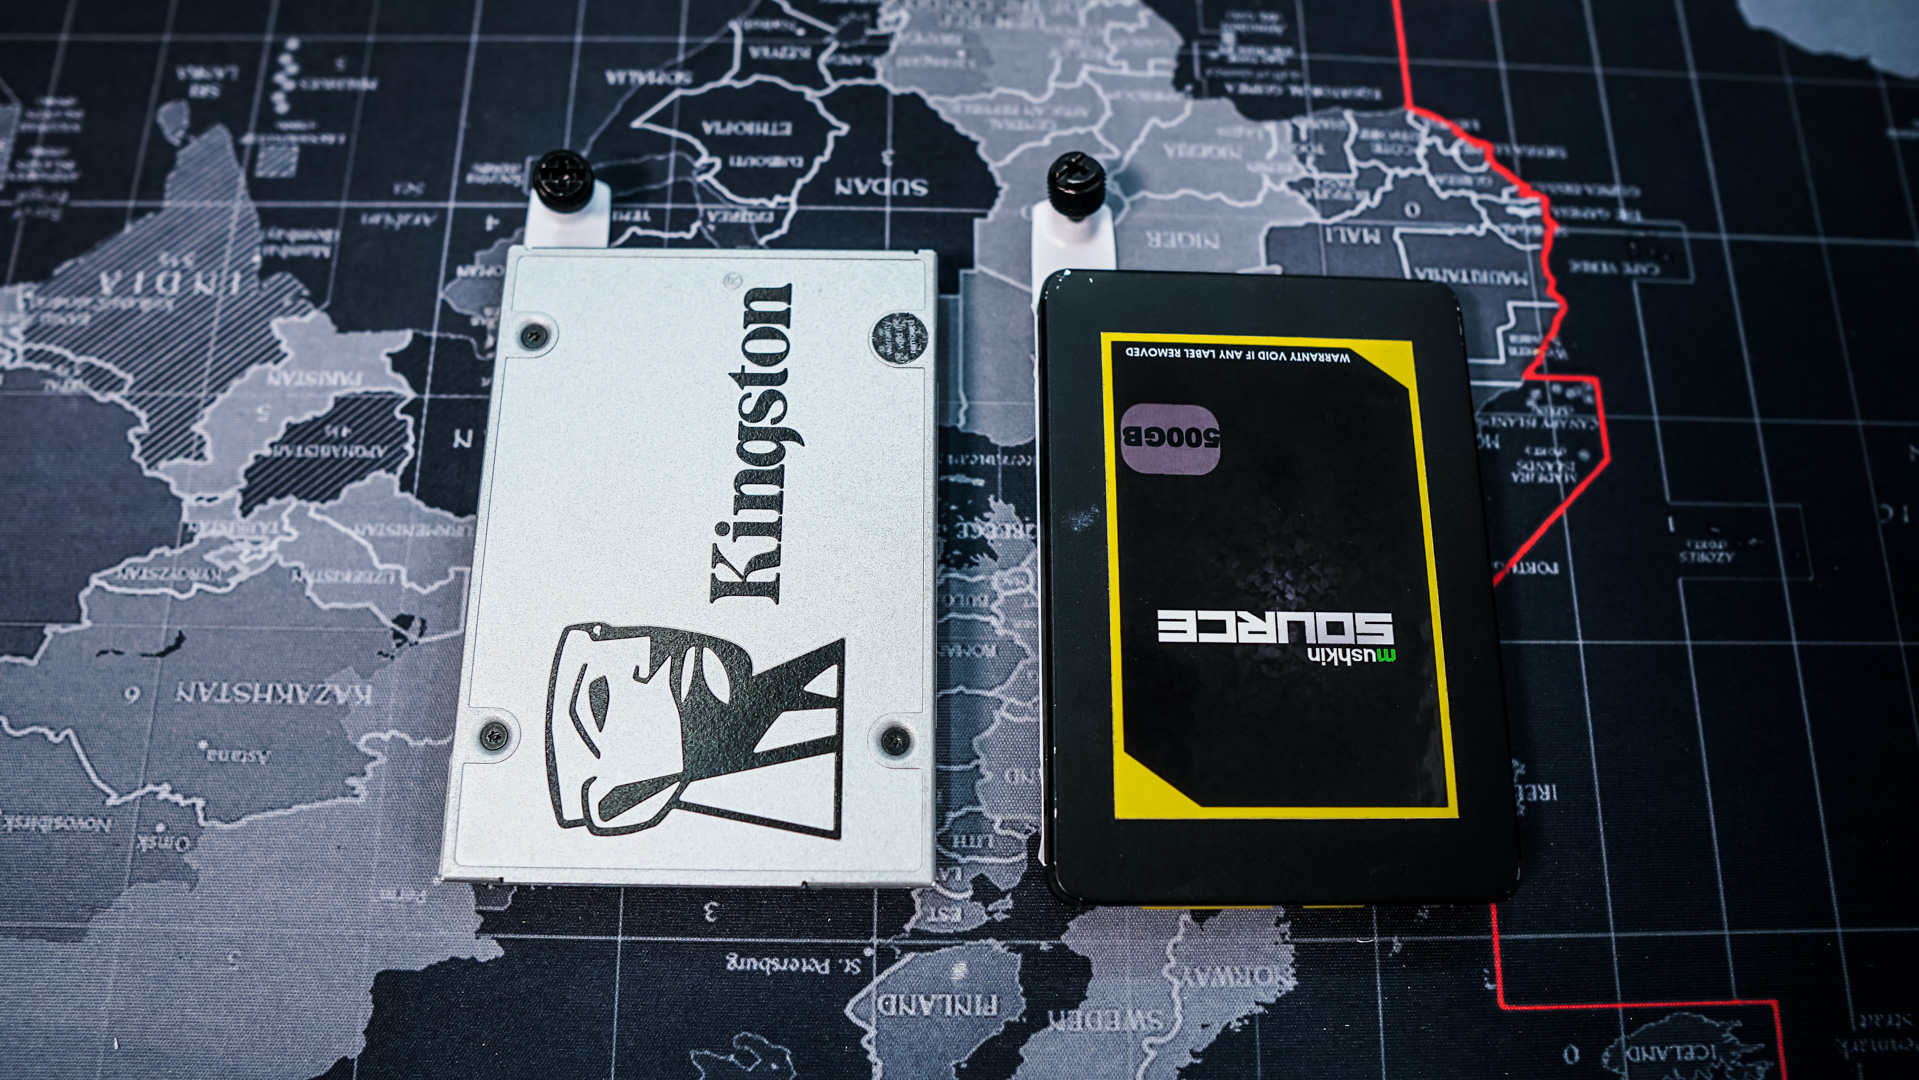
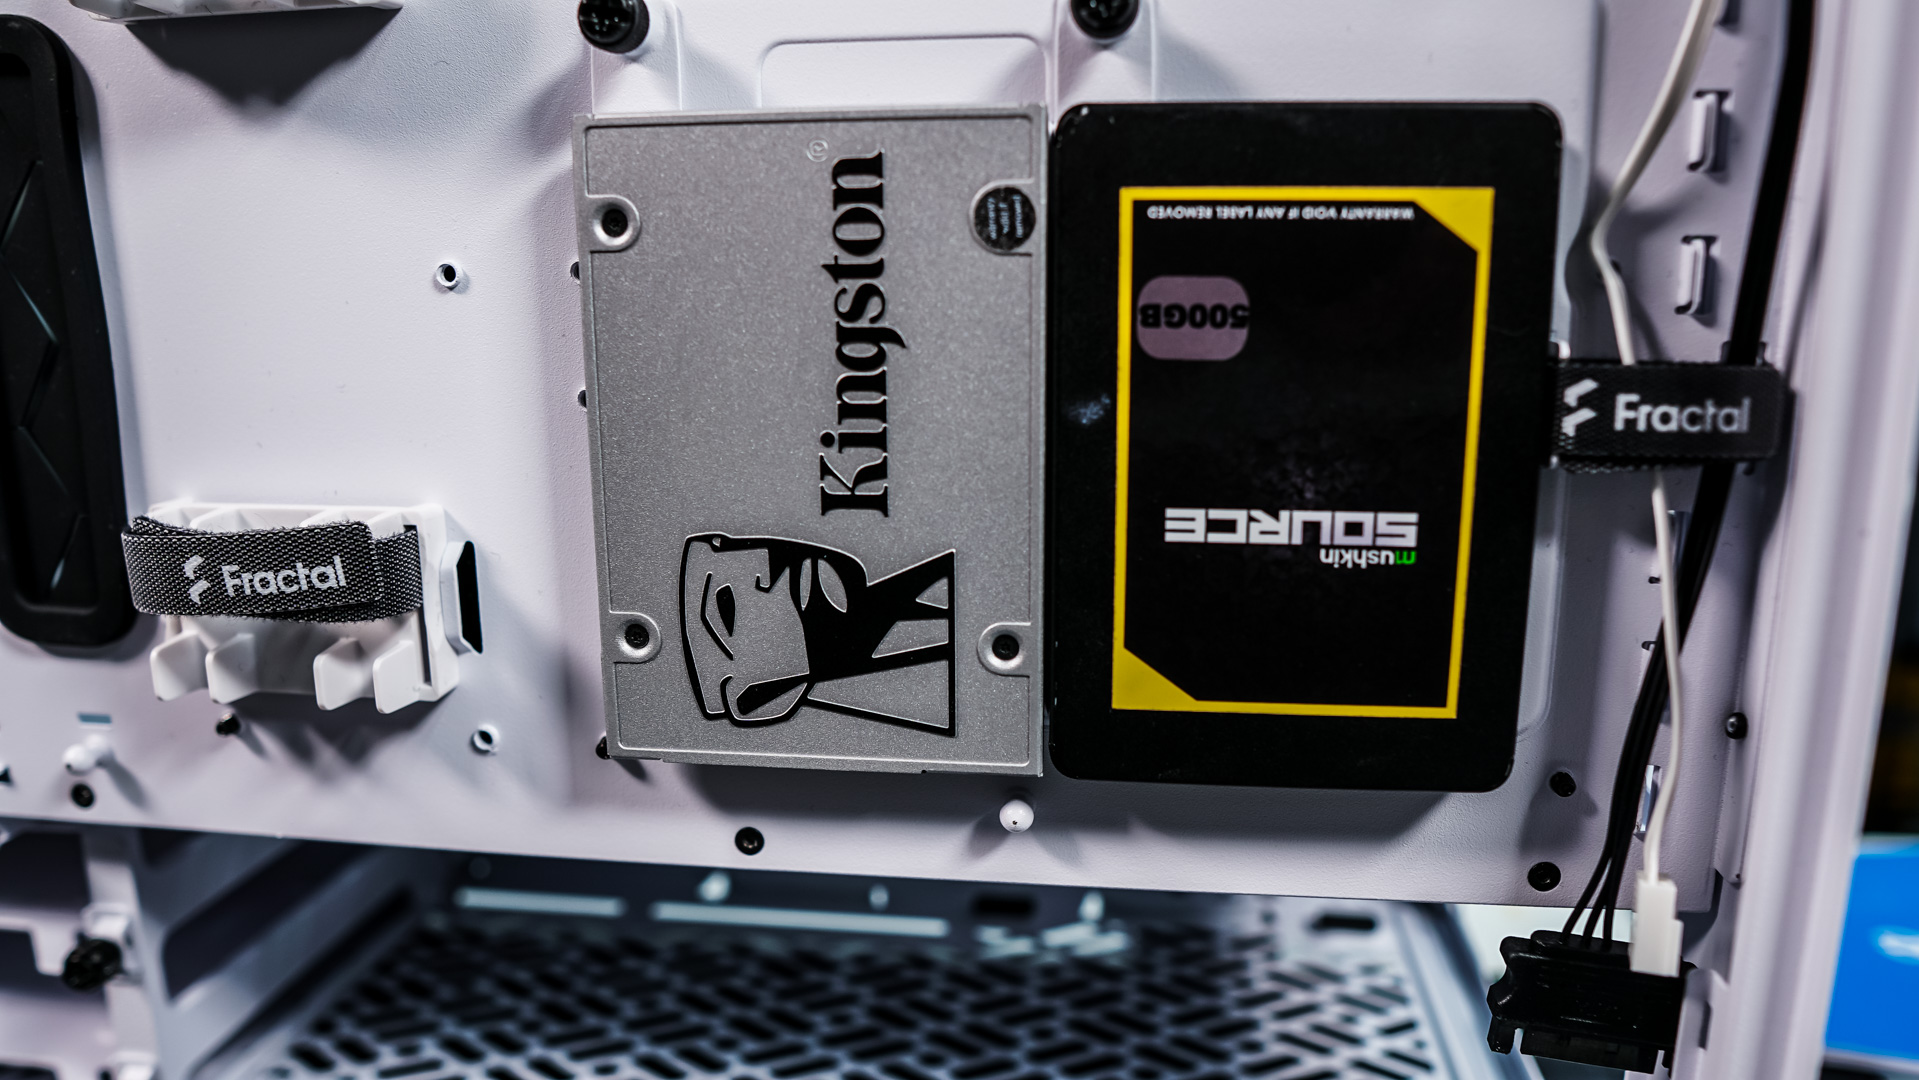
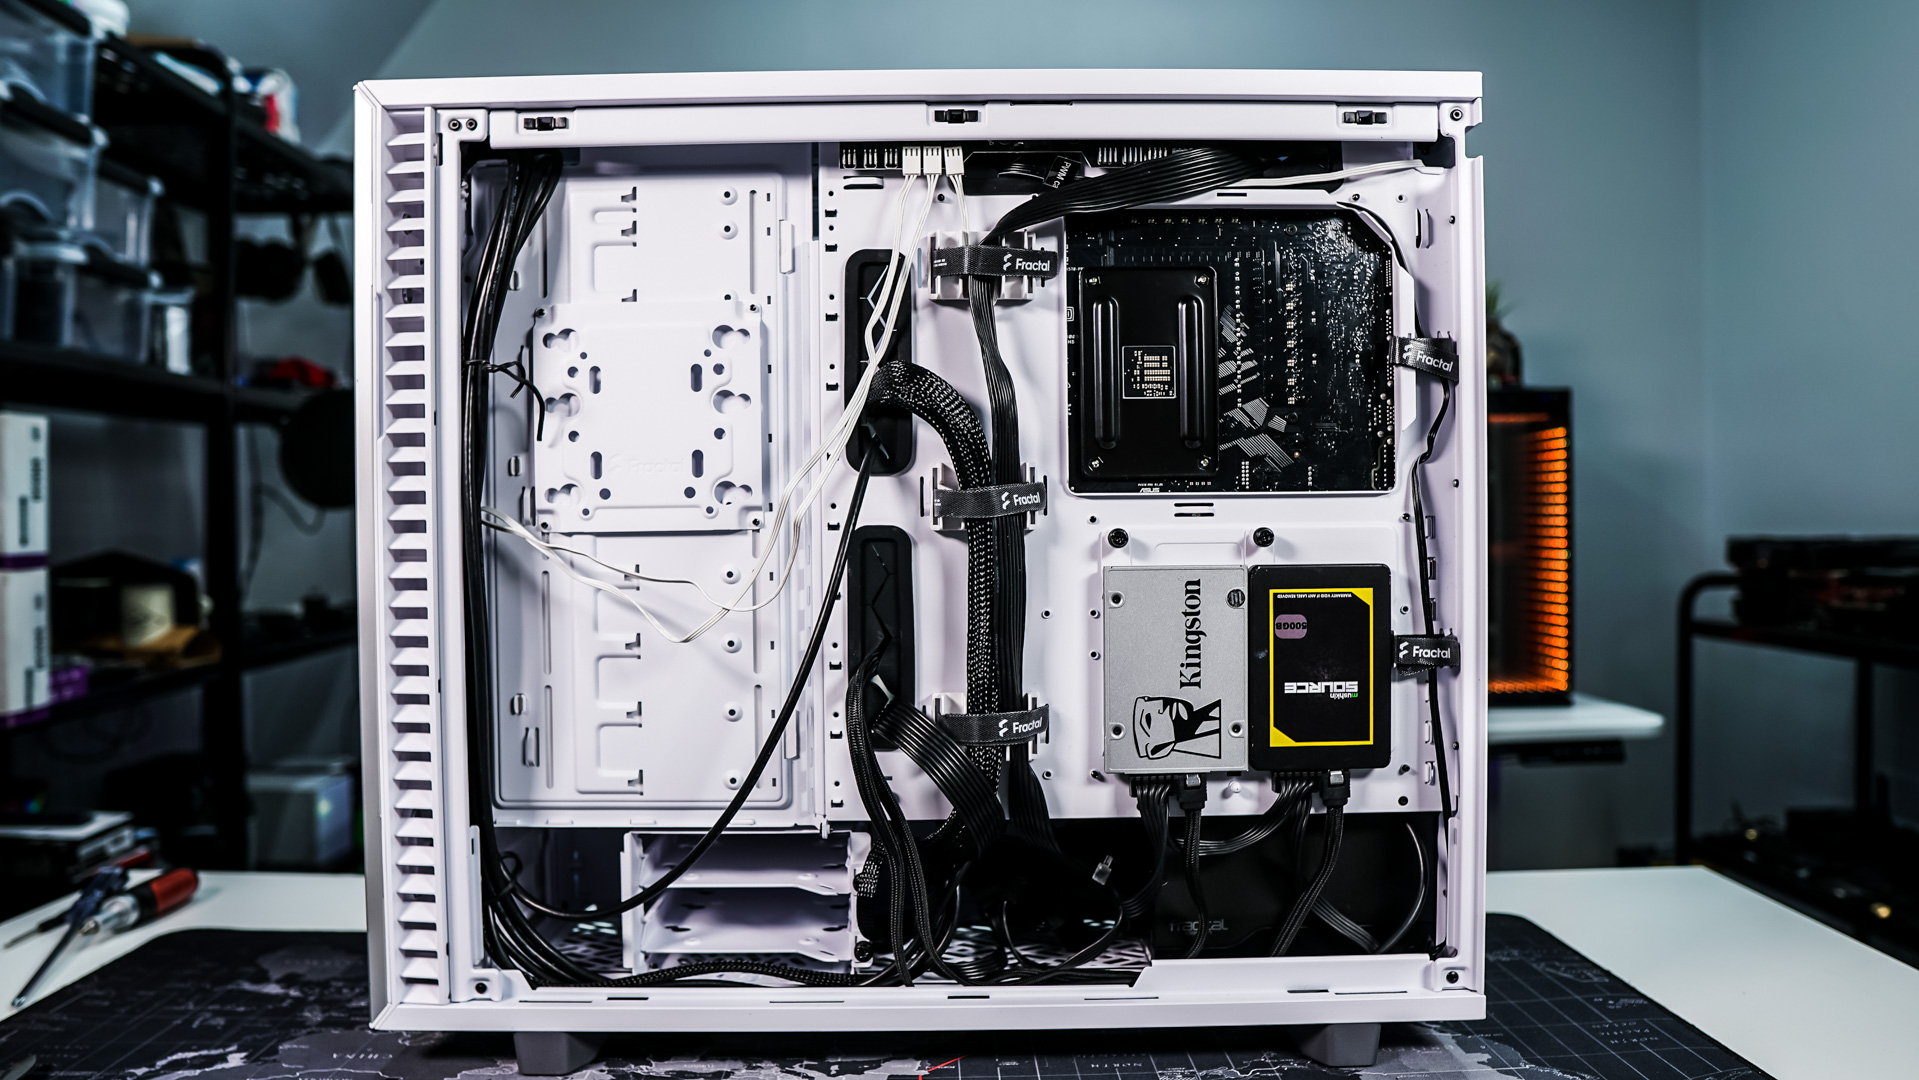
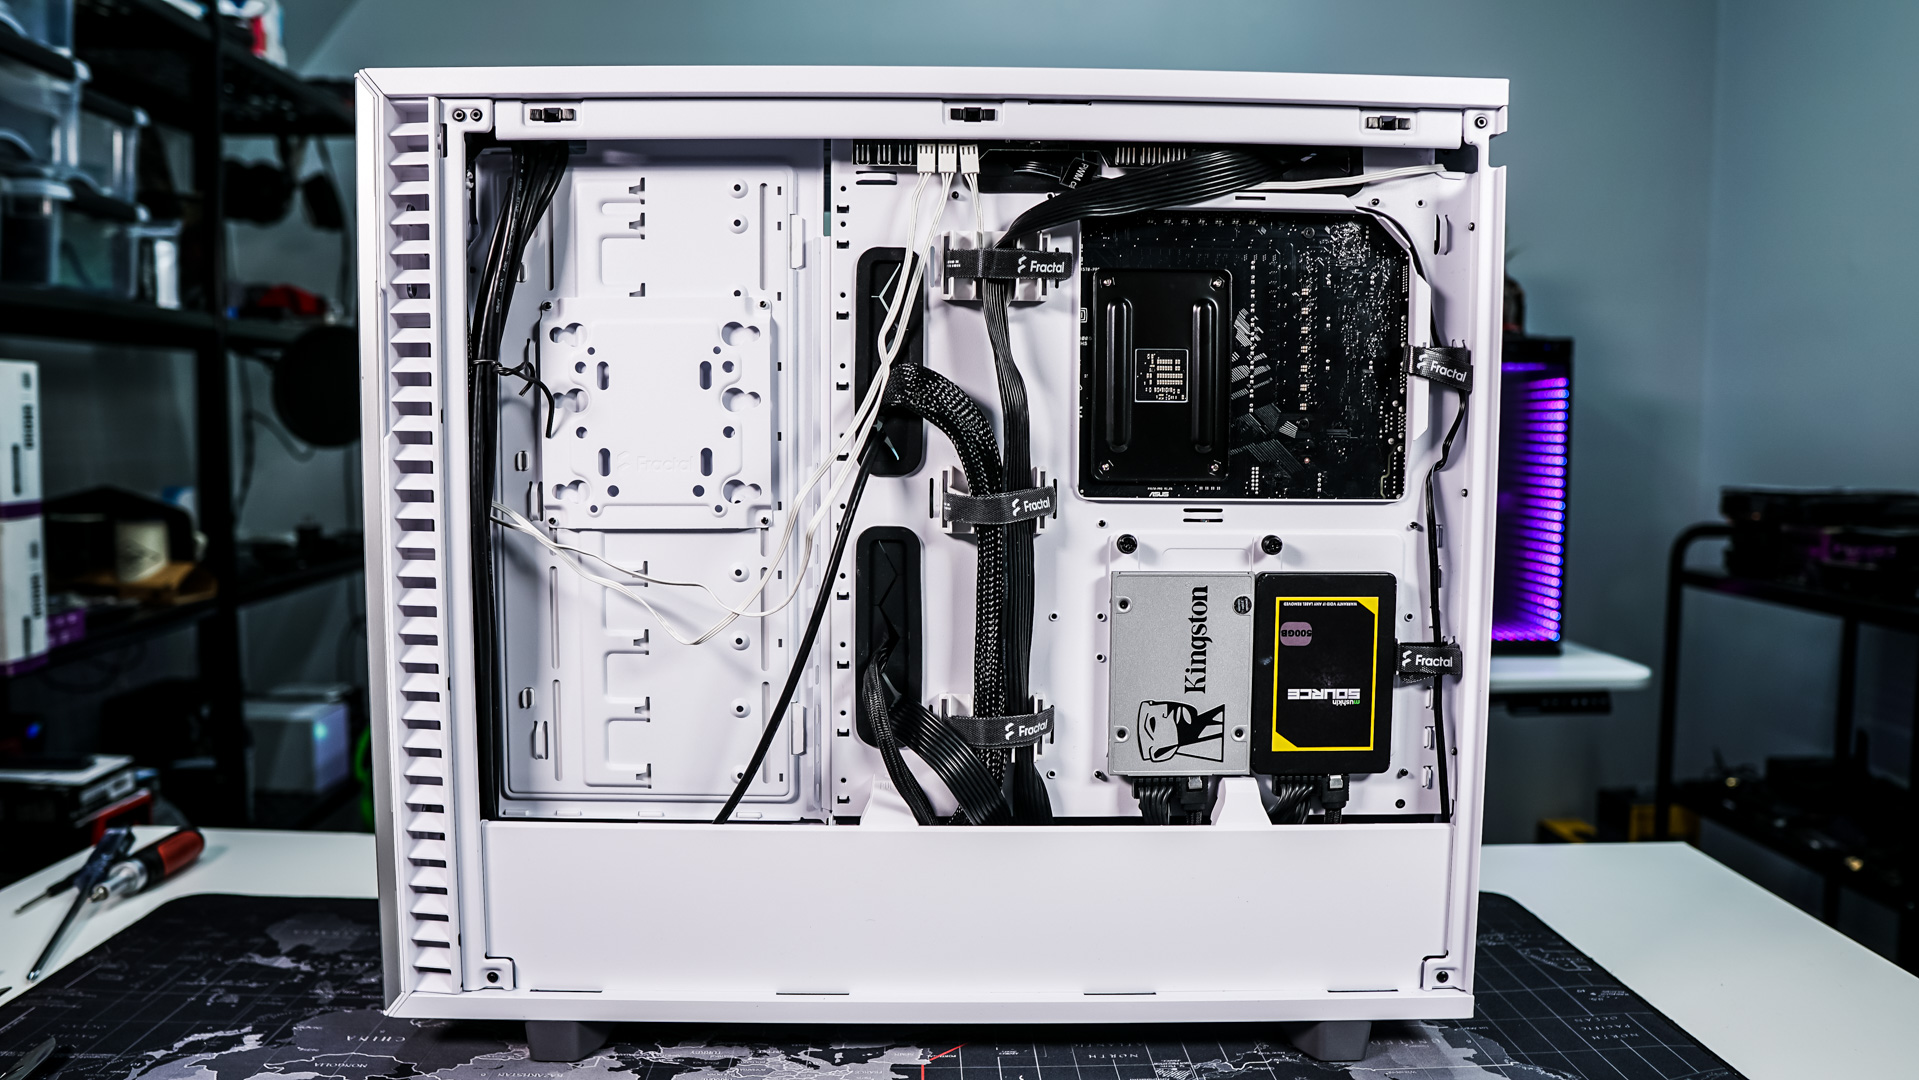
Next is our hard drives and we will be installing two 2.5-inch solid state drives. We’ve opted to install them on the two removable trays on the backside of the motherboard tray. So all we have to do is remove the trays, install our drives, and simply reinstall the trays.
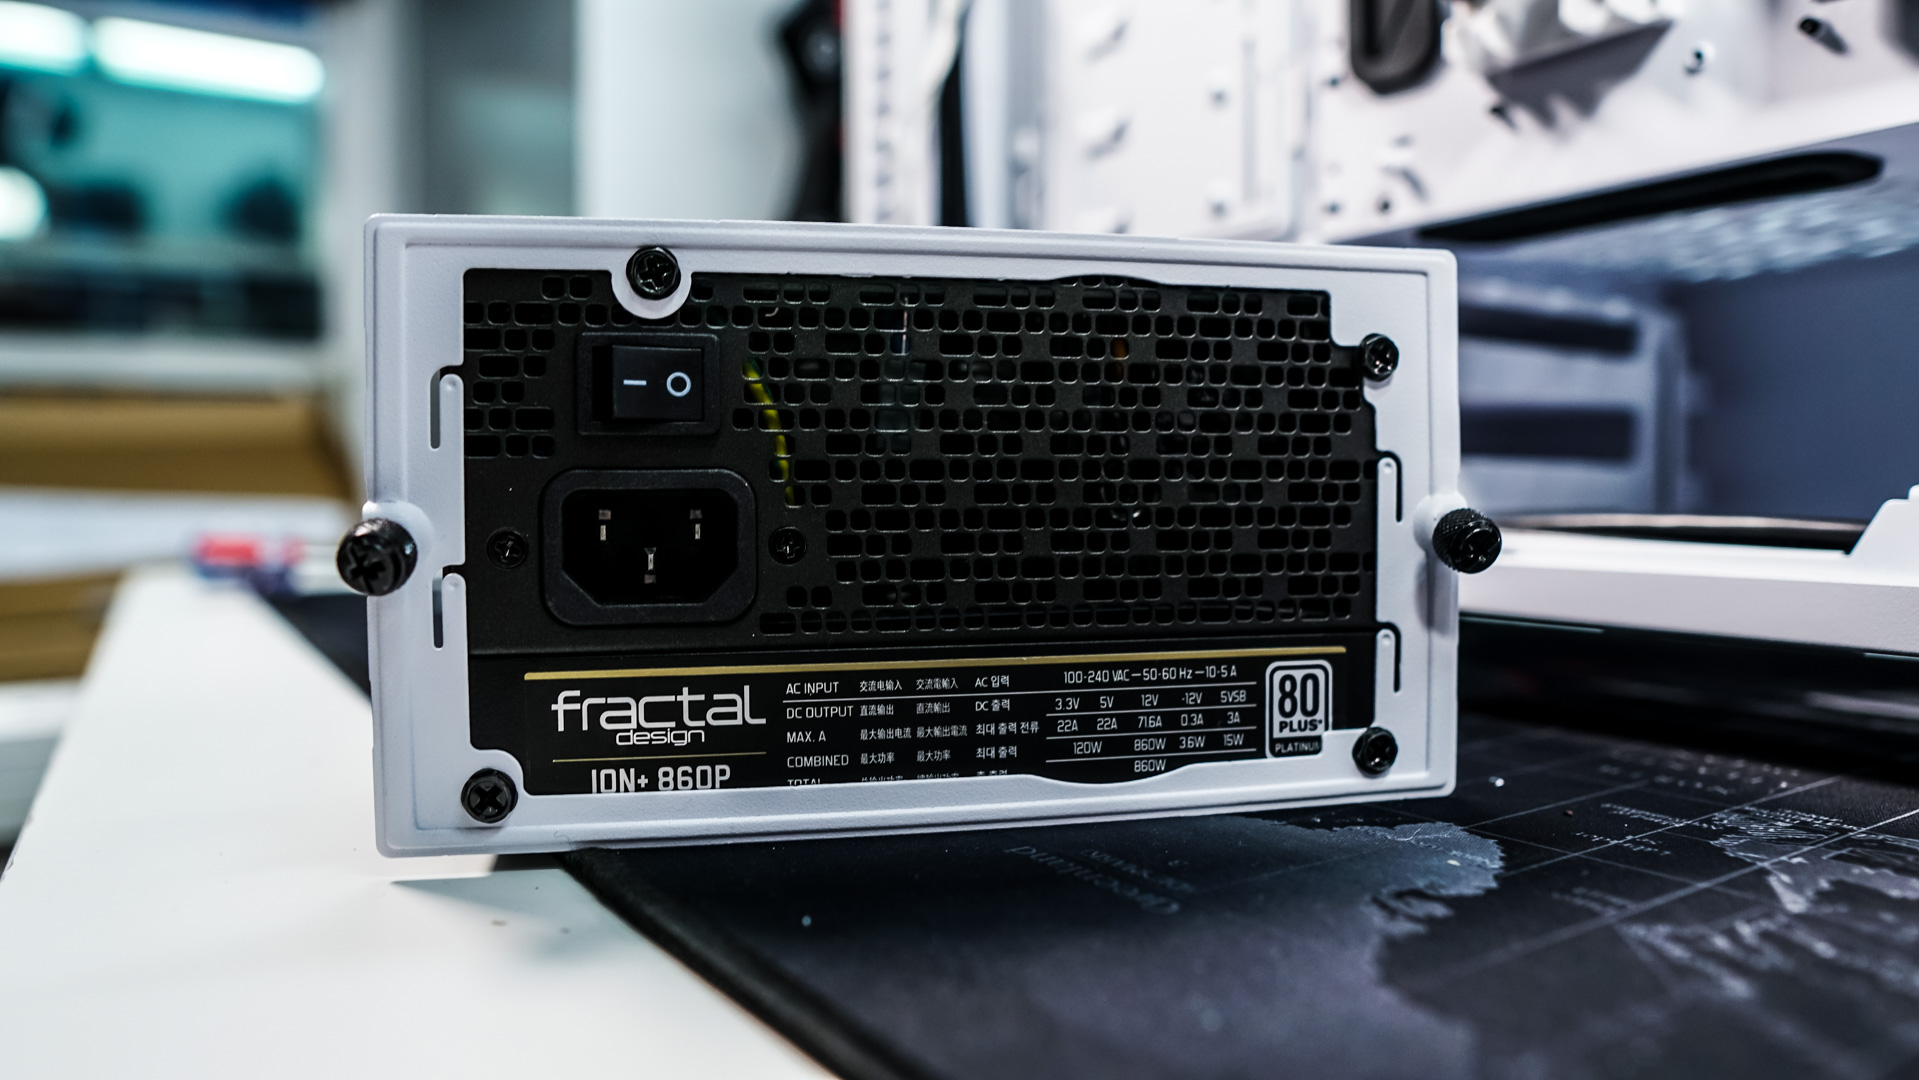
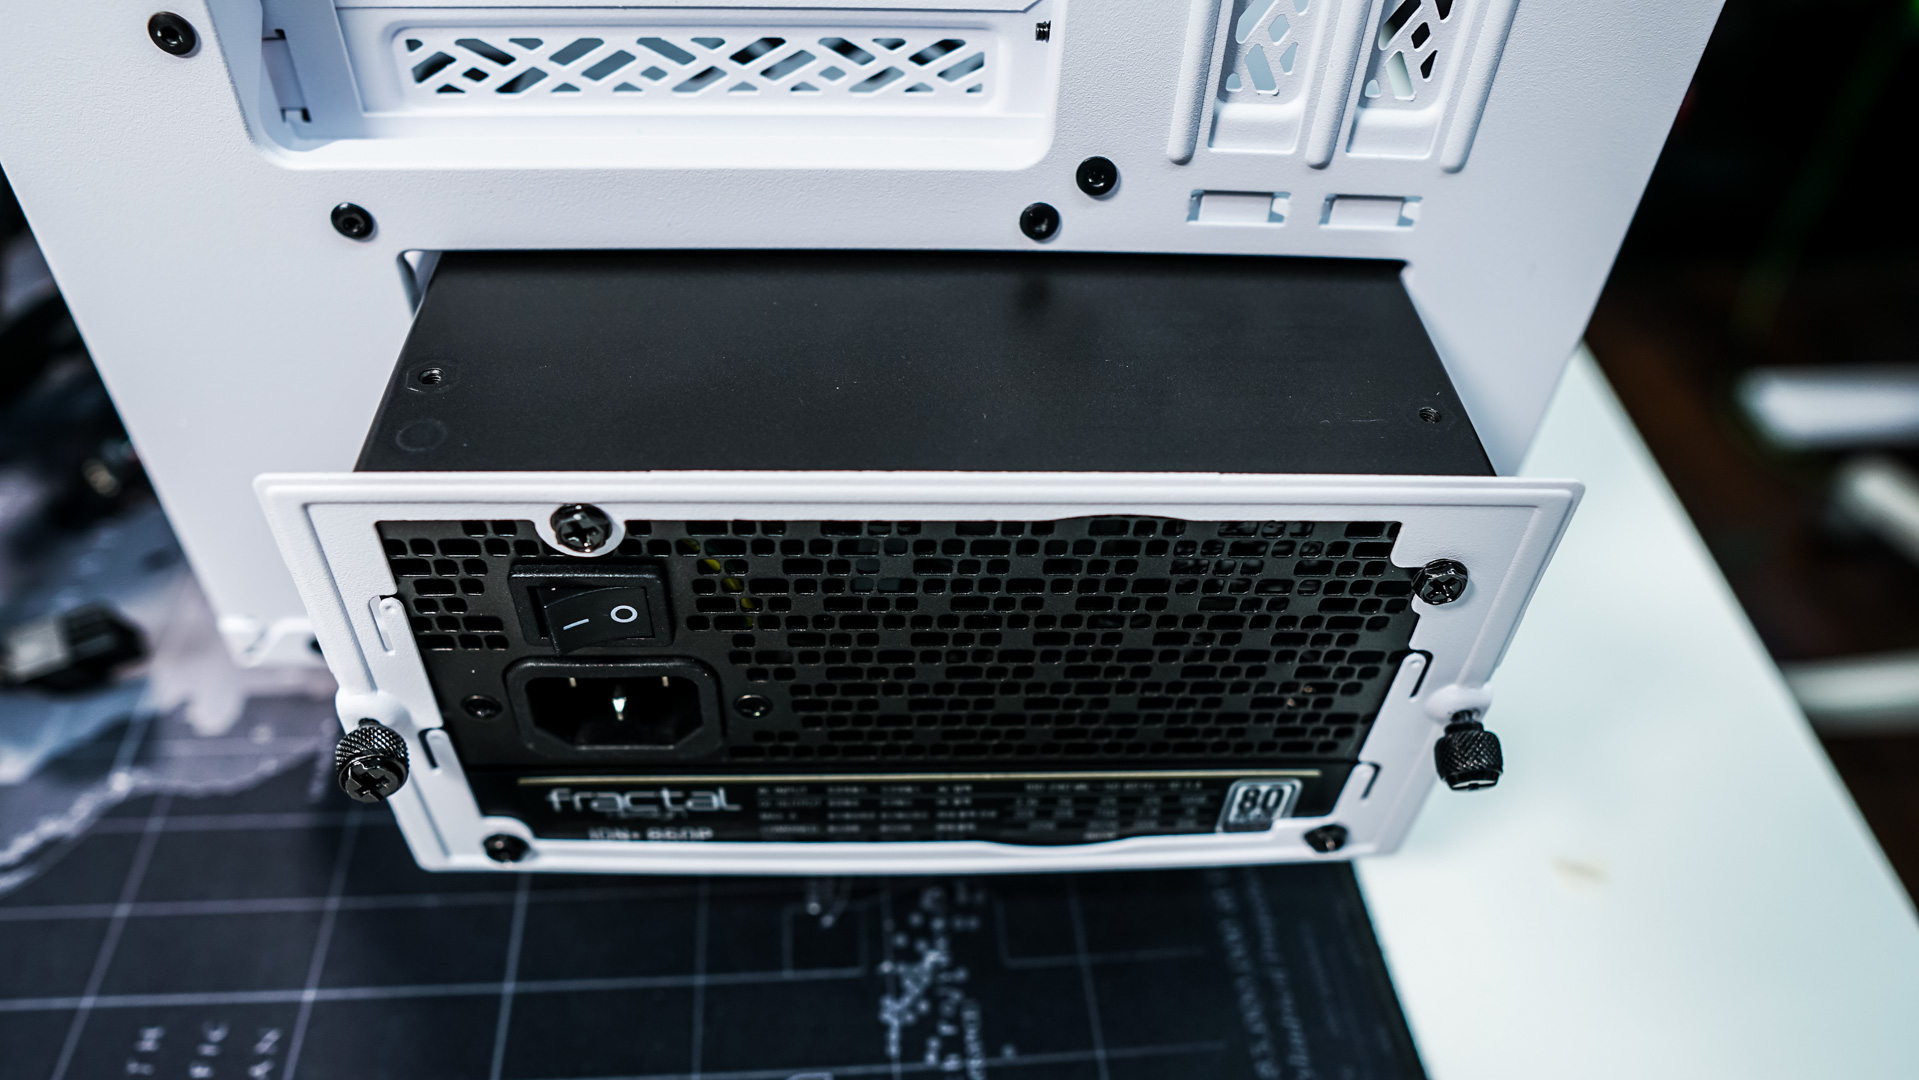
Your power supply installs from the back of the case using the power supply bracket. Remove the bracket from the case, install it on your power supply, then simply slide your power supply in the from the back of the case and secure it with the screws on the bracket.
Before we connect all of our power supply cables we want to connect all of the other cables in the case. Doing this once again we run into the issue with our bottom headers on our motherboard. After connecting things, especially our USB 3.0 header it is a mess. One I think there should be at least 1 more cable routing hole and there should be a bit more space between the bottom of our motherboard and the power supply cover.

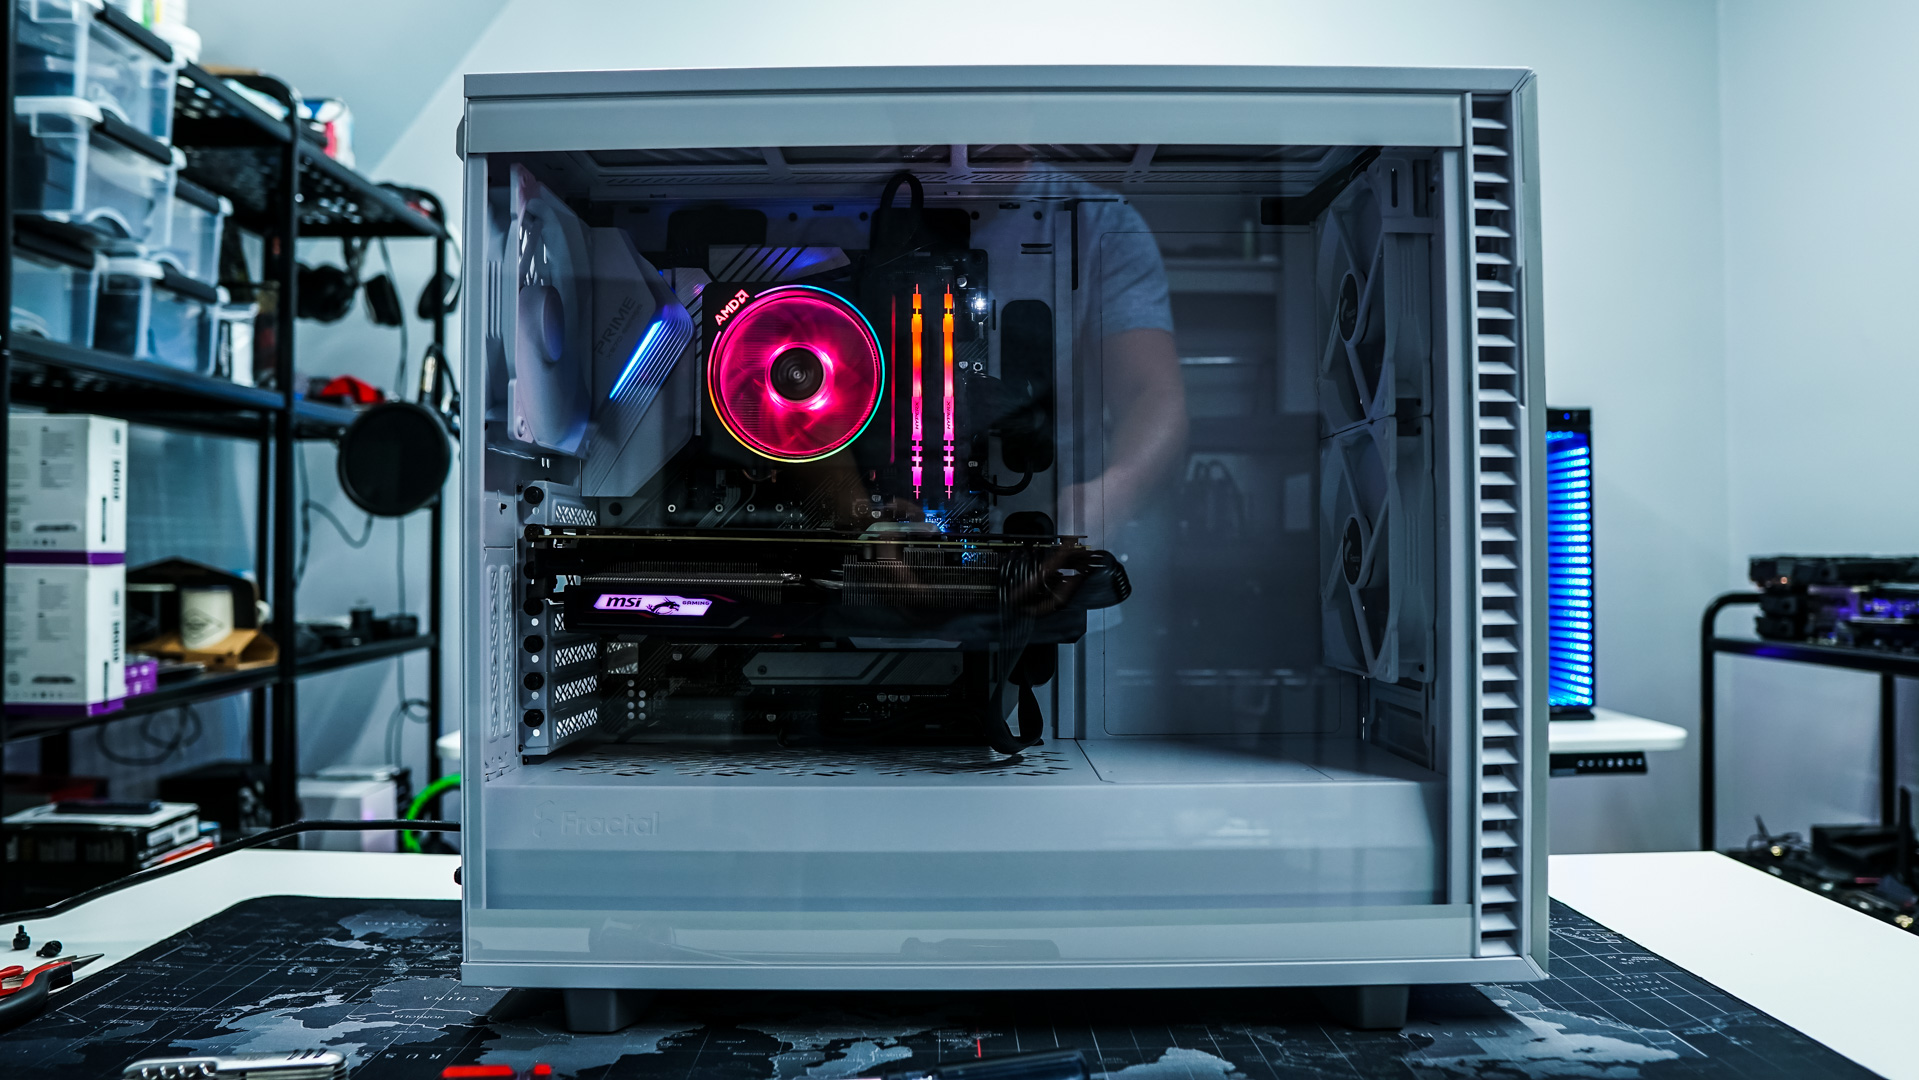
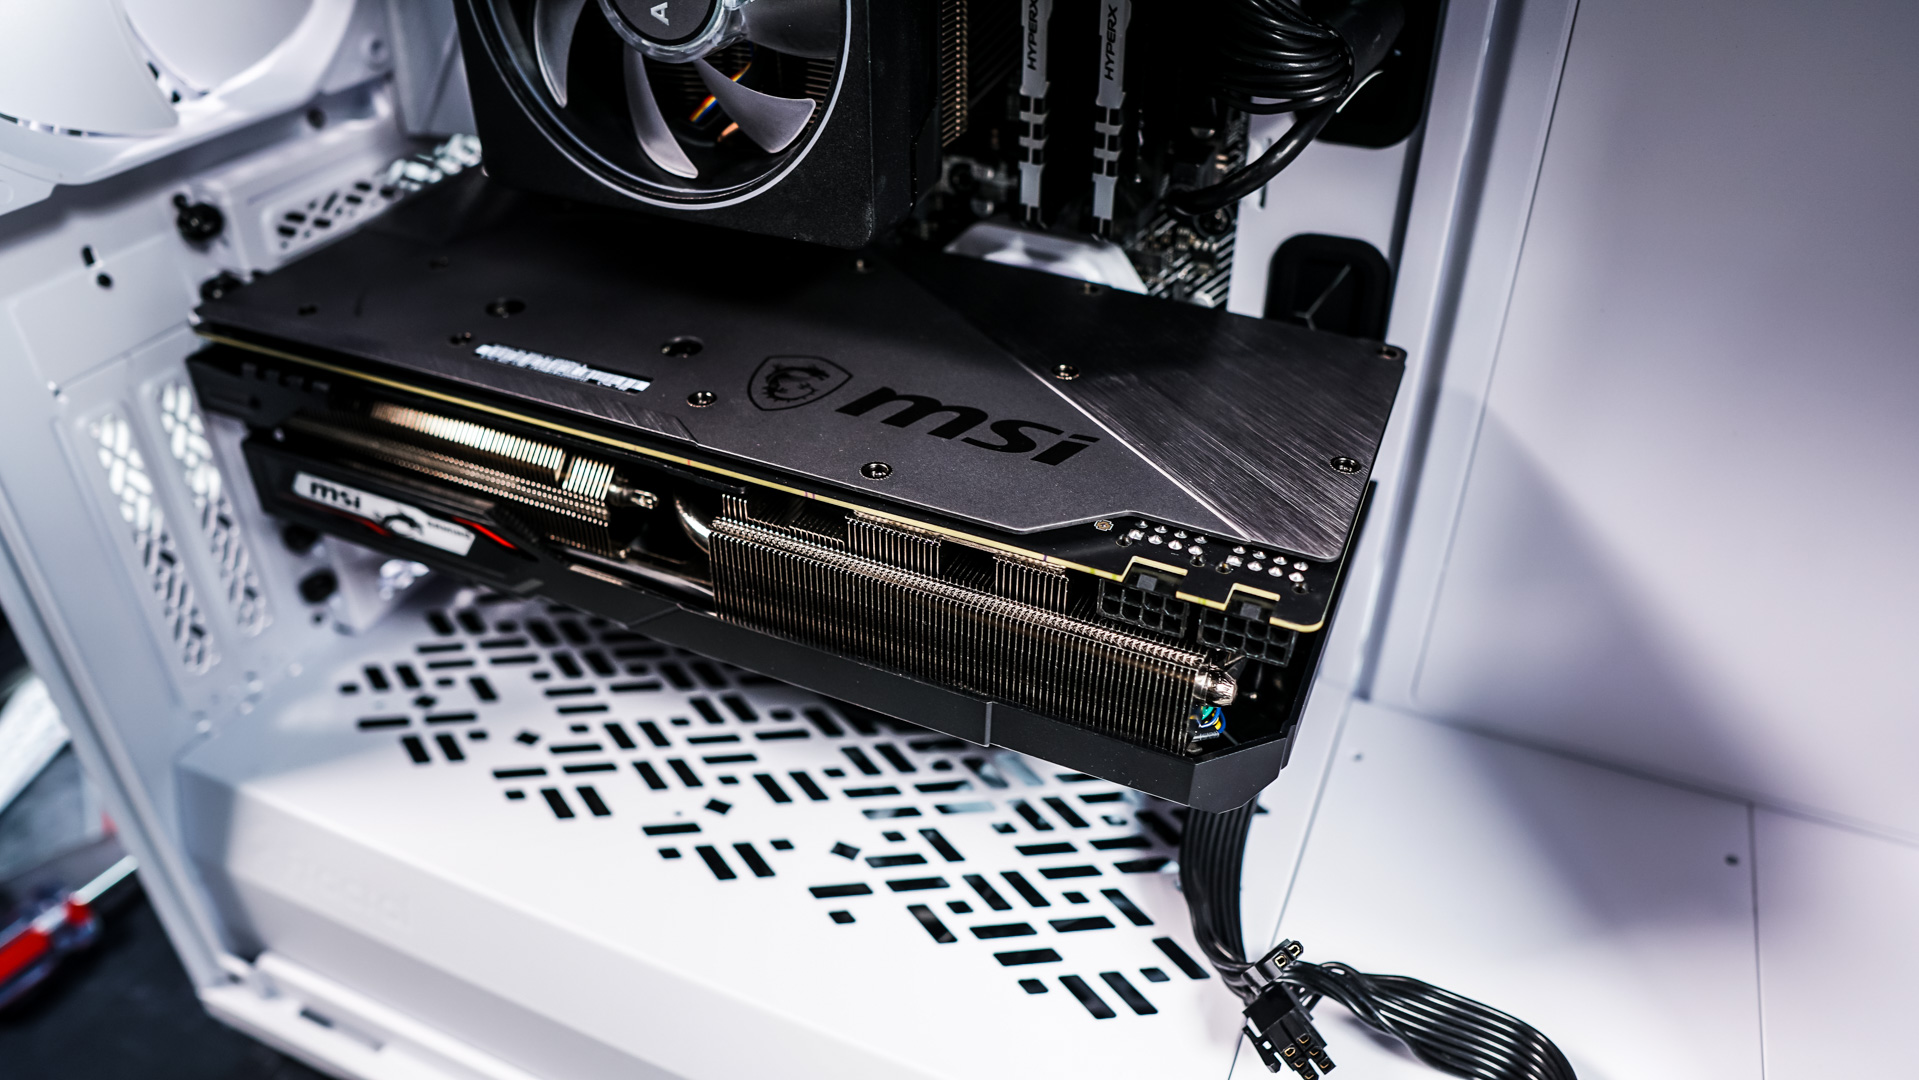
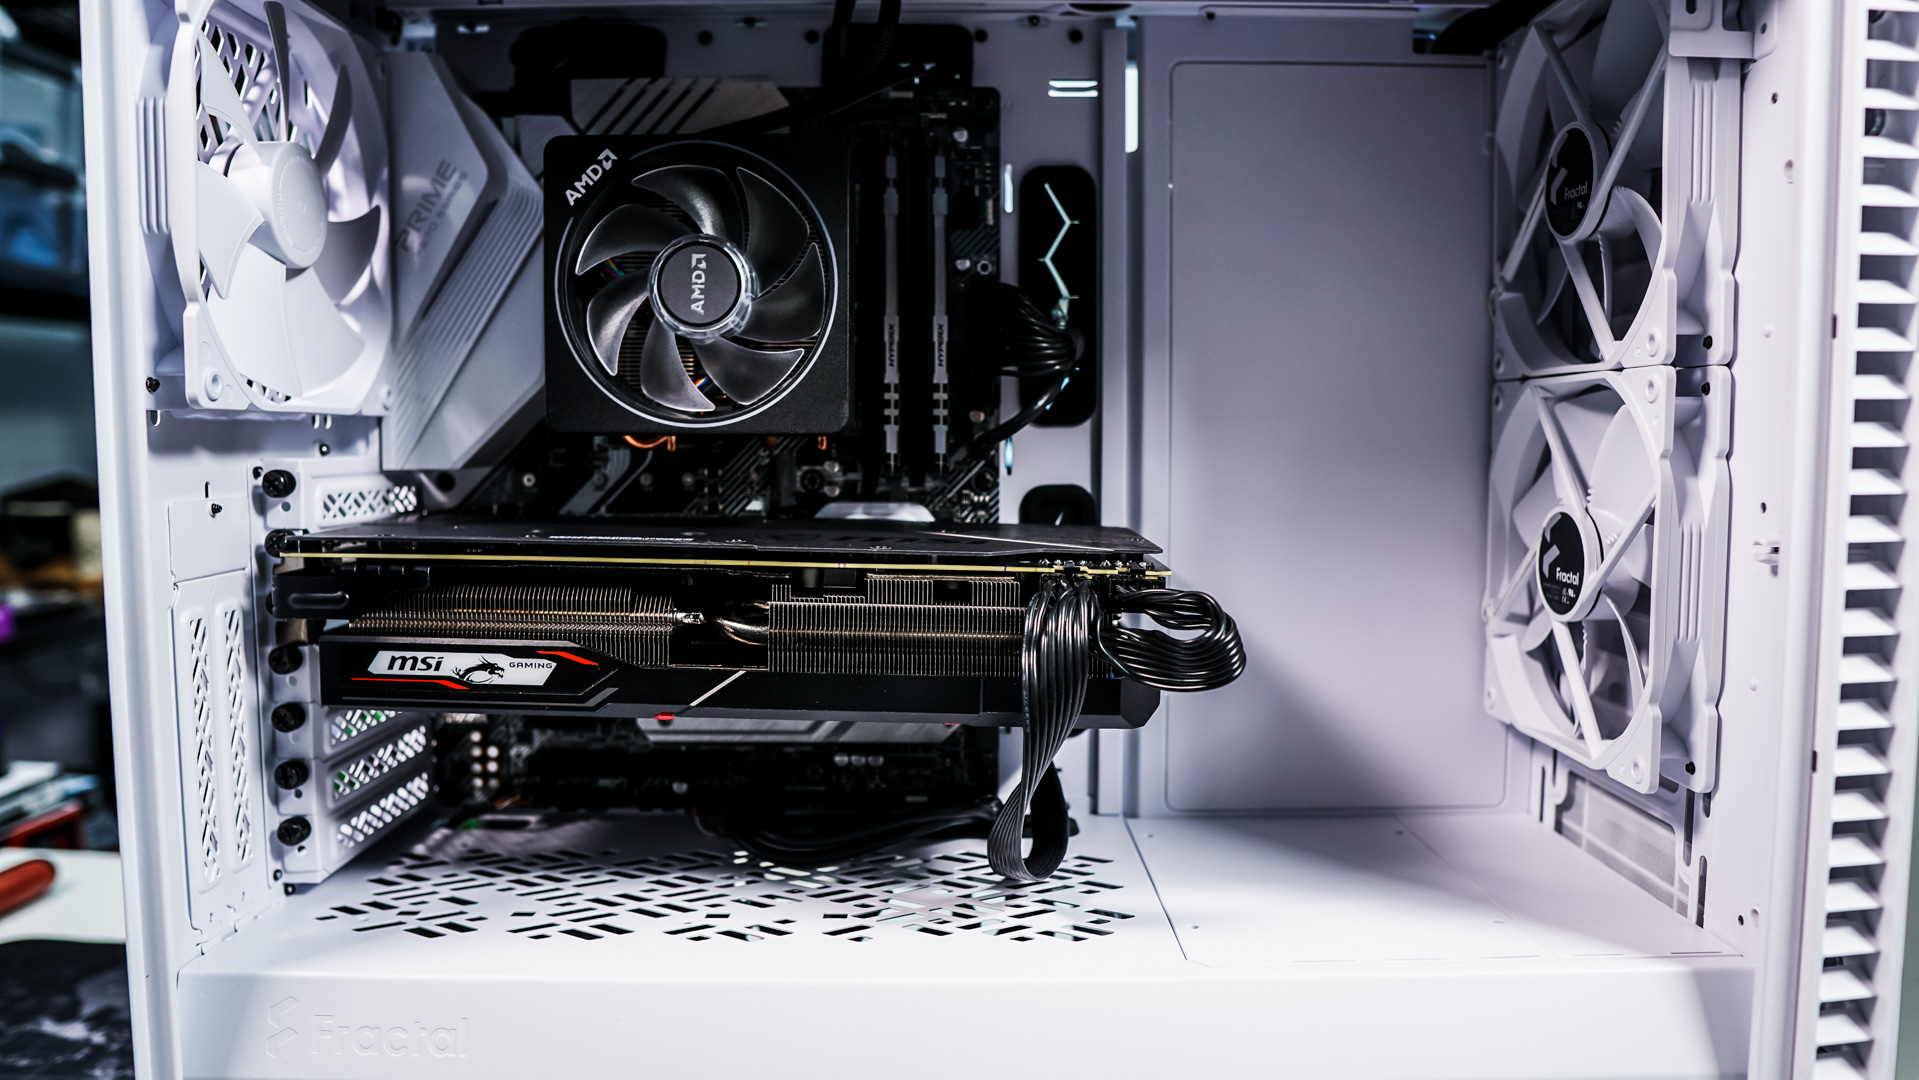
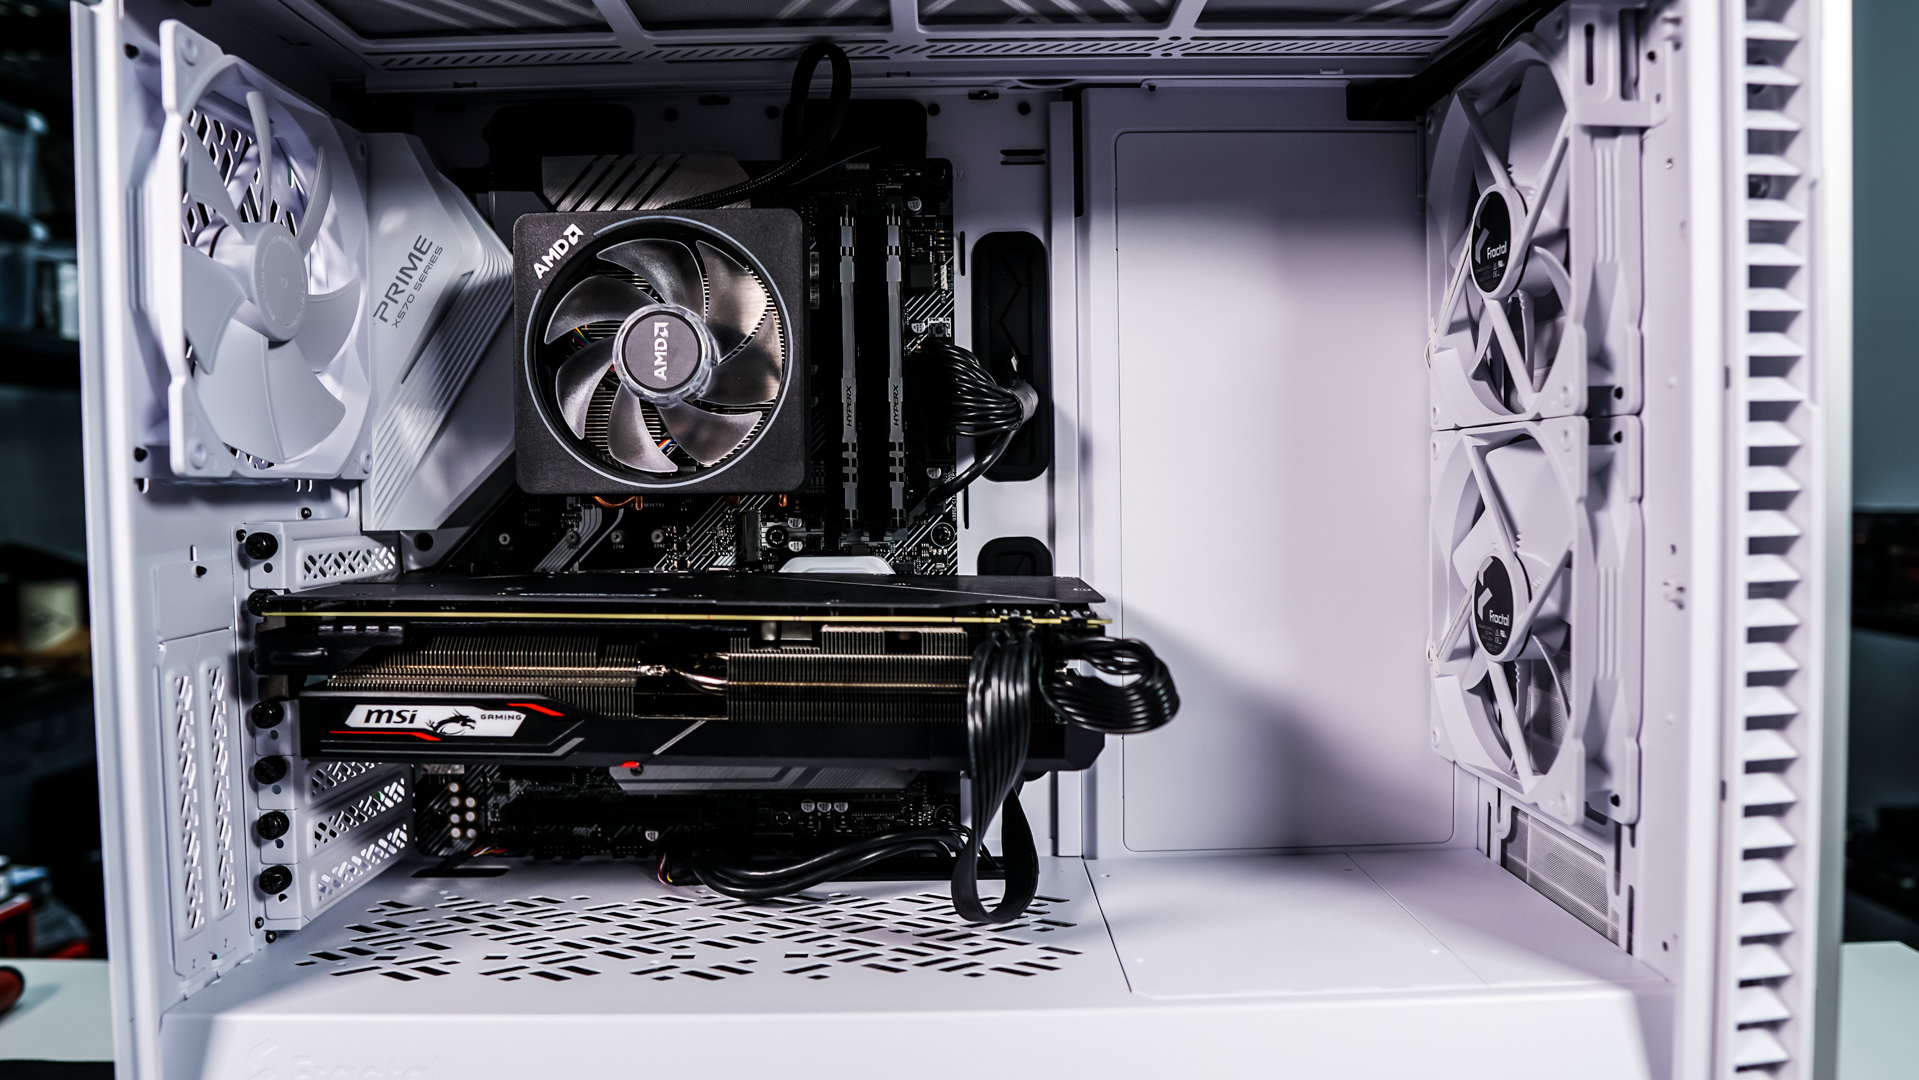
Installing our graphics card is quite easy as this case supports the longest graphics cards out there. Simply slide it in and secure it with the thumbscrews.
Now it is time to connect the rest of our cables and organize things. The large cable guides and velcro straps really make organizing and running your cables easy. It is also nice that you have the cable shield to hide most of your cable mess.
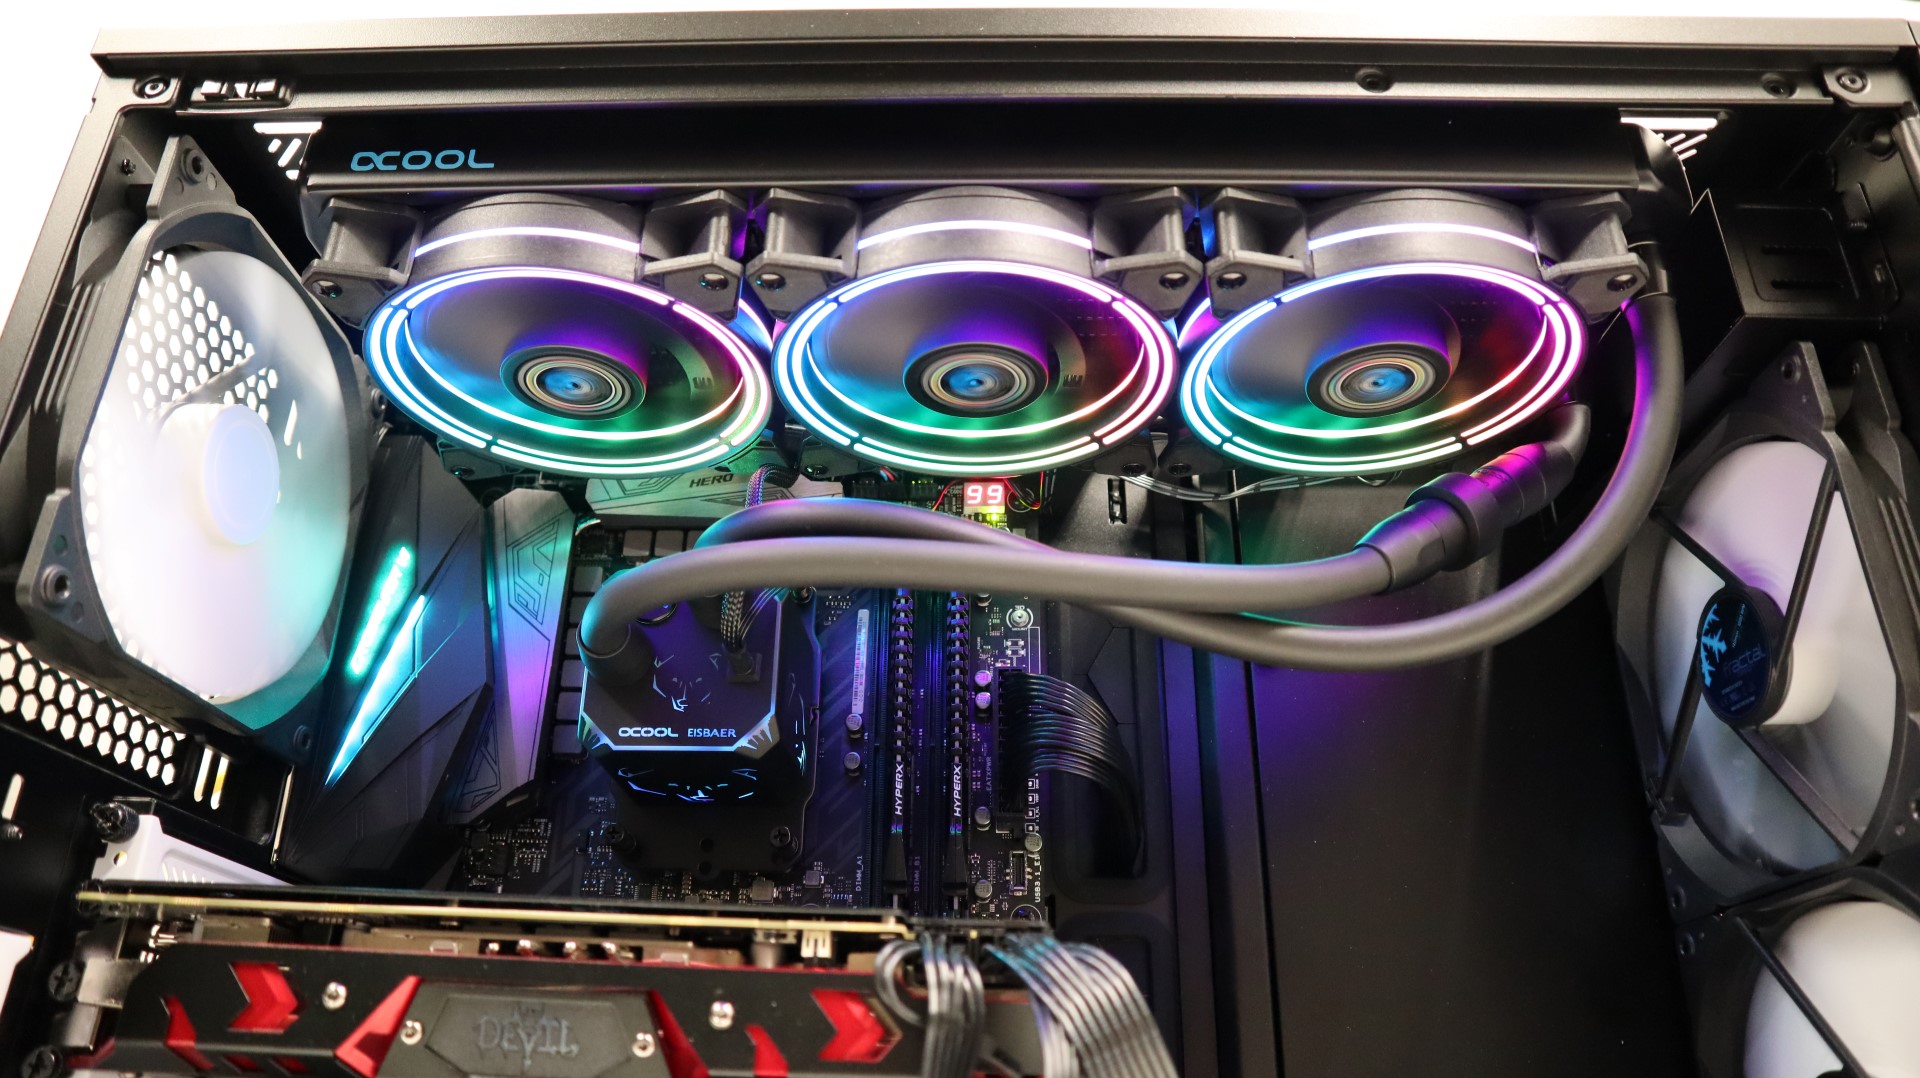
Looking at the main compartment we have a very clean build minus the cable mess from our cables at the bottom of our motherboard.
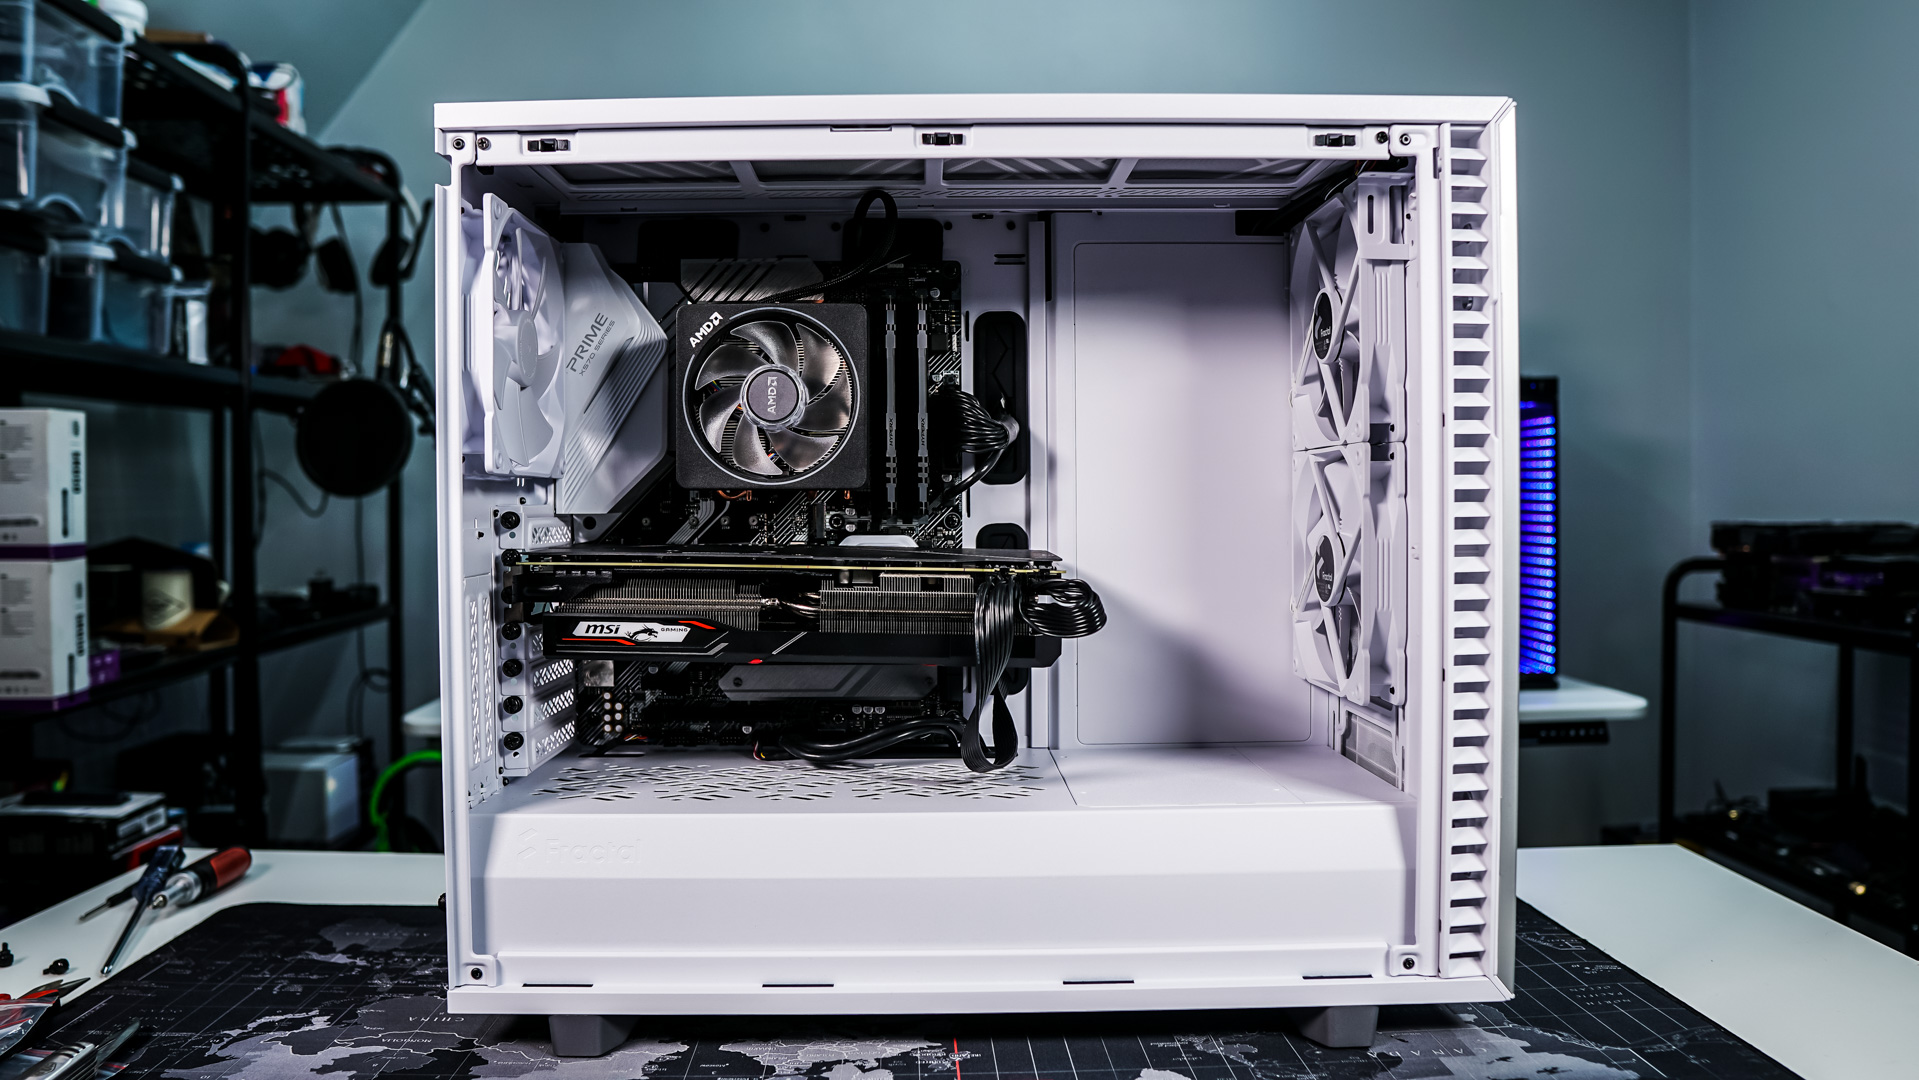
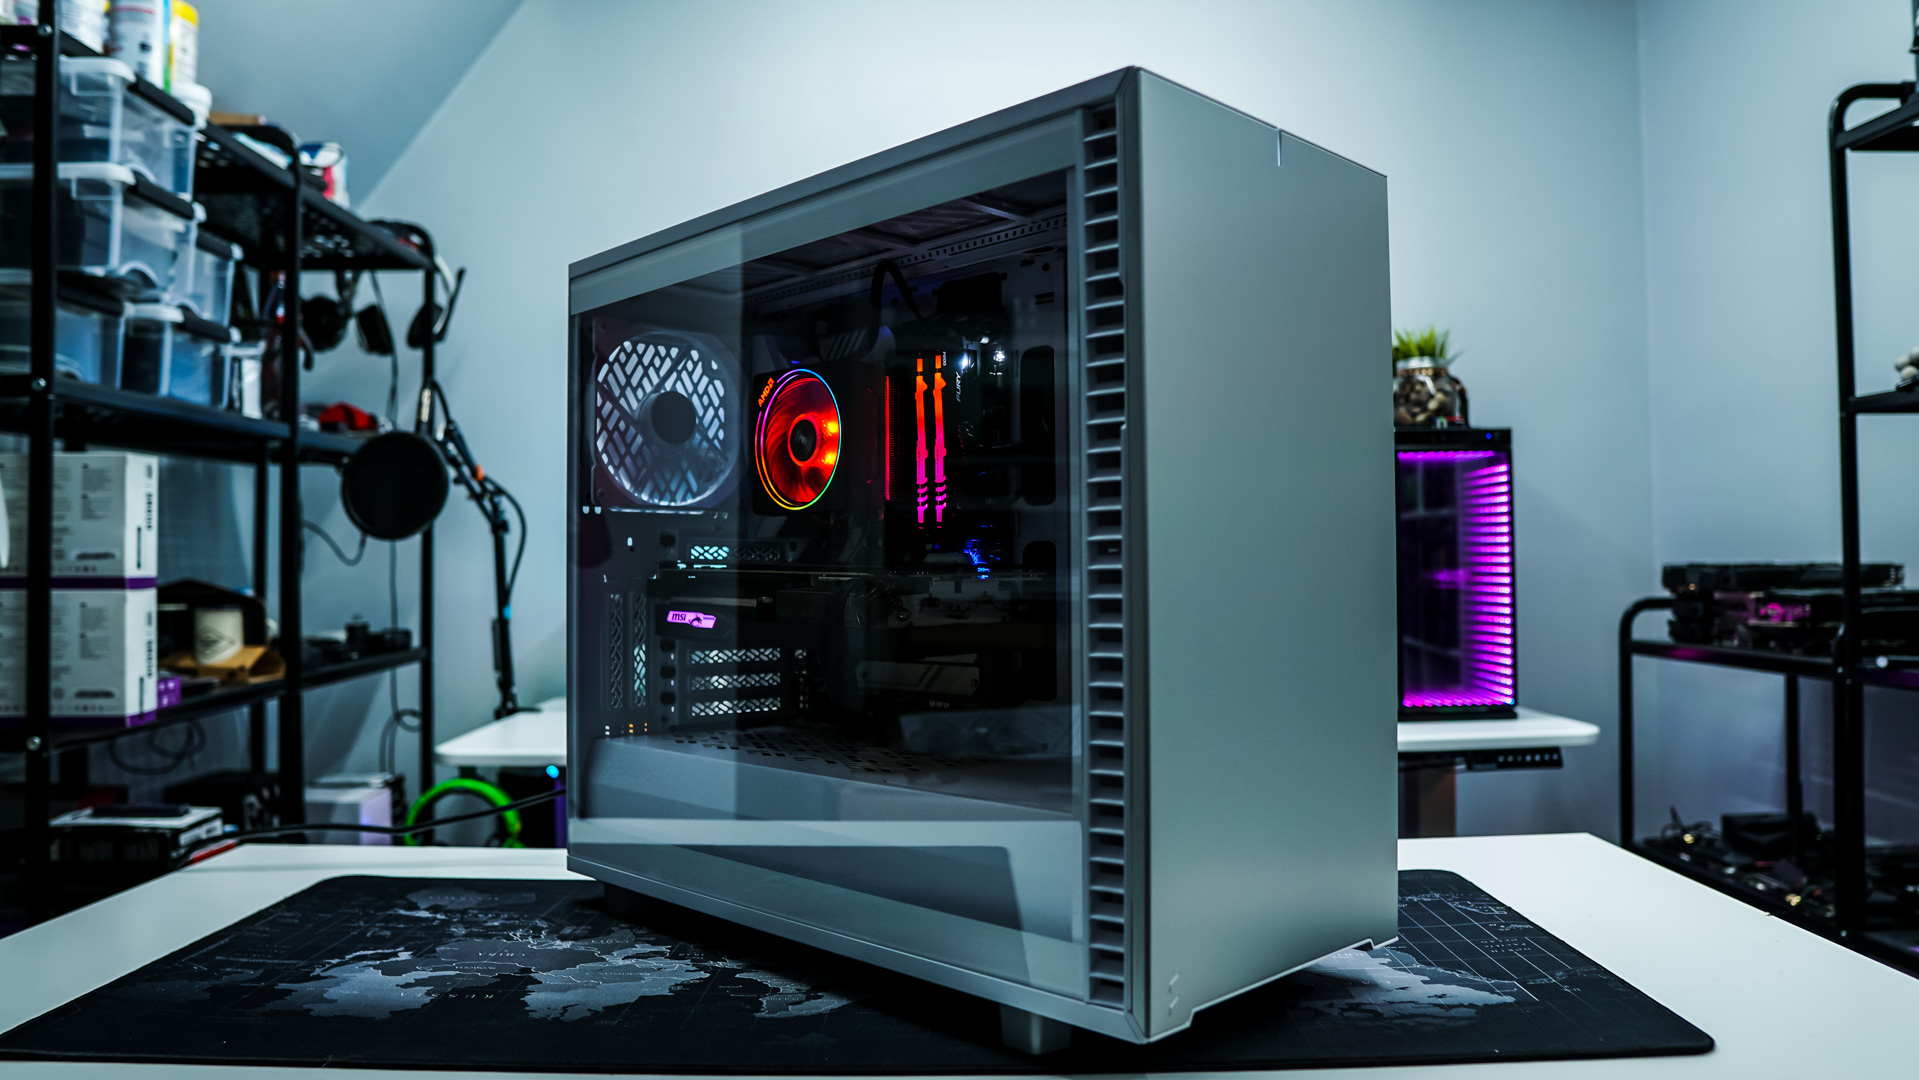
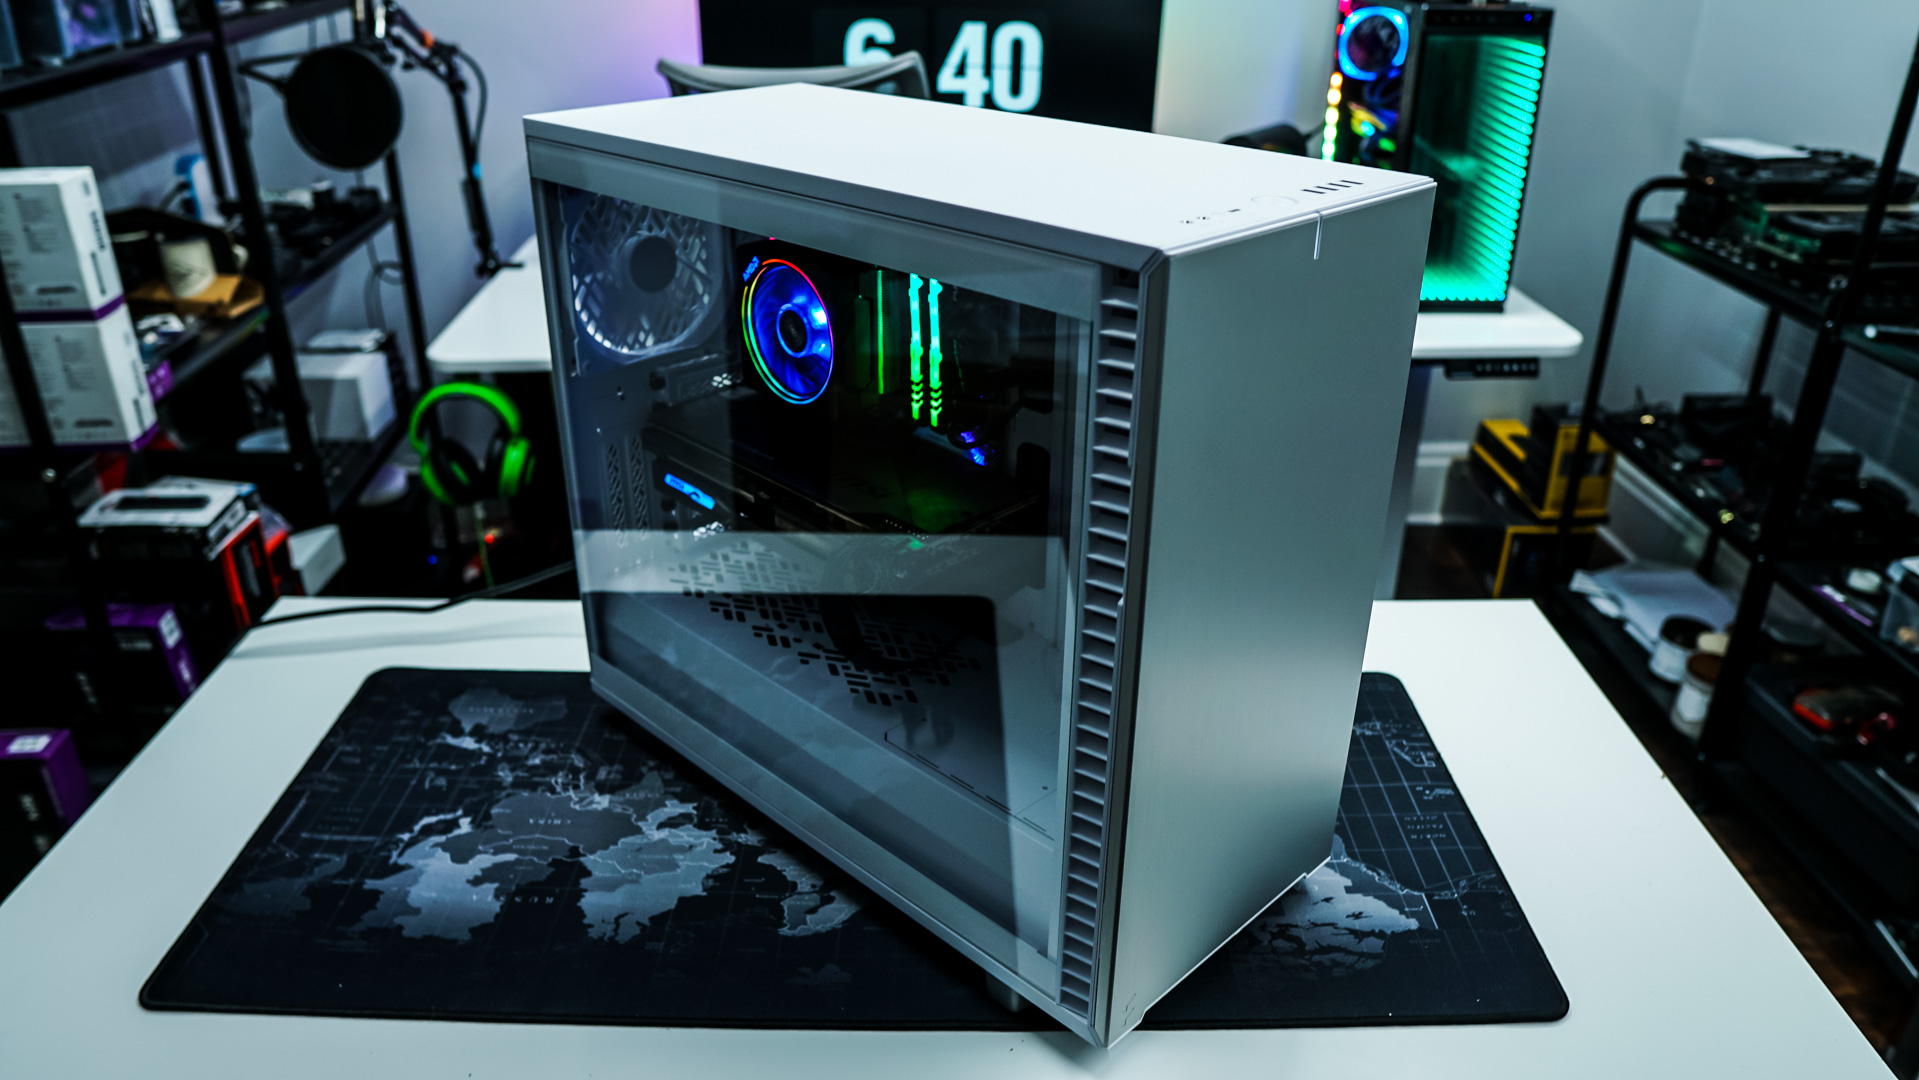
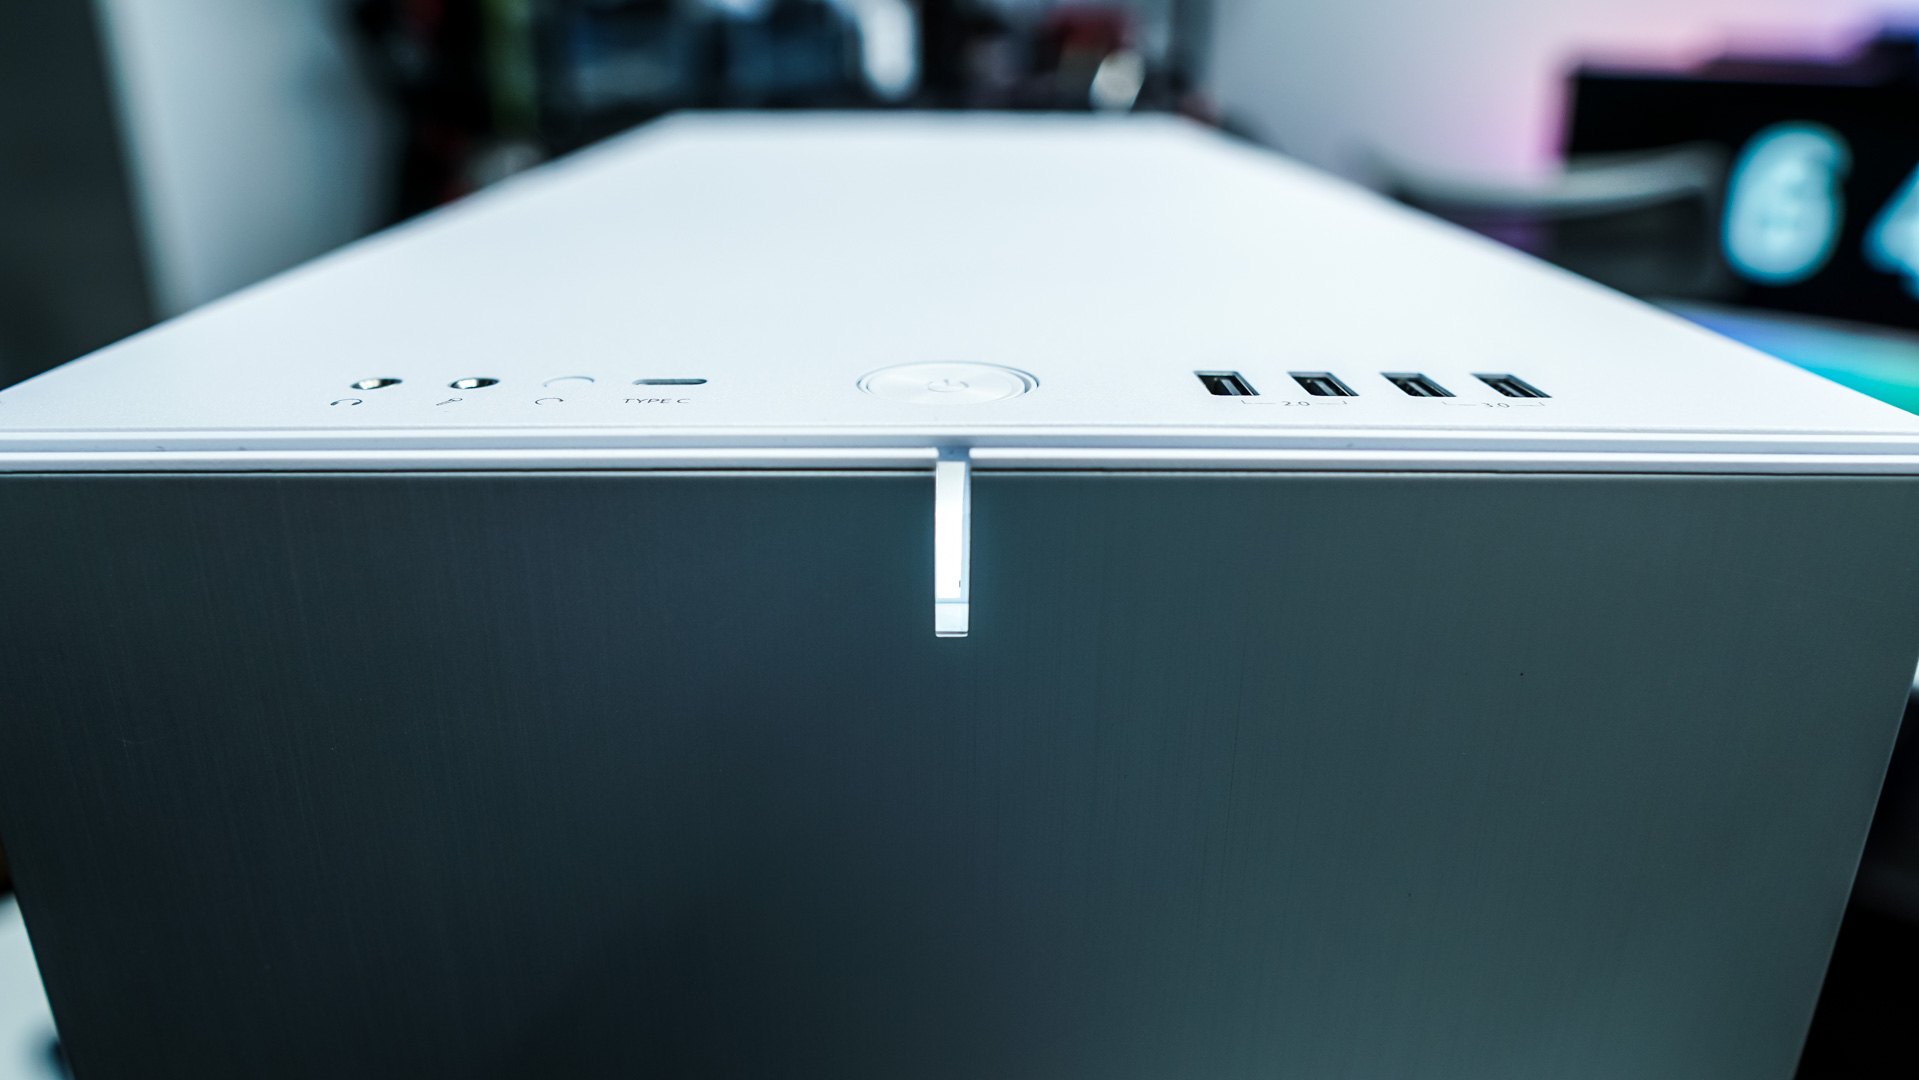
Closing everything up and powering our system on the side panel window provides great views of our hardware inside. If you have RGB hardware it will easily be visible. Also there is a small LED on the front of the case that will light up white when you have your system powered on.