Installation
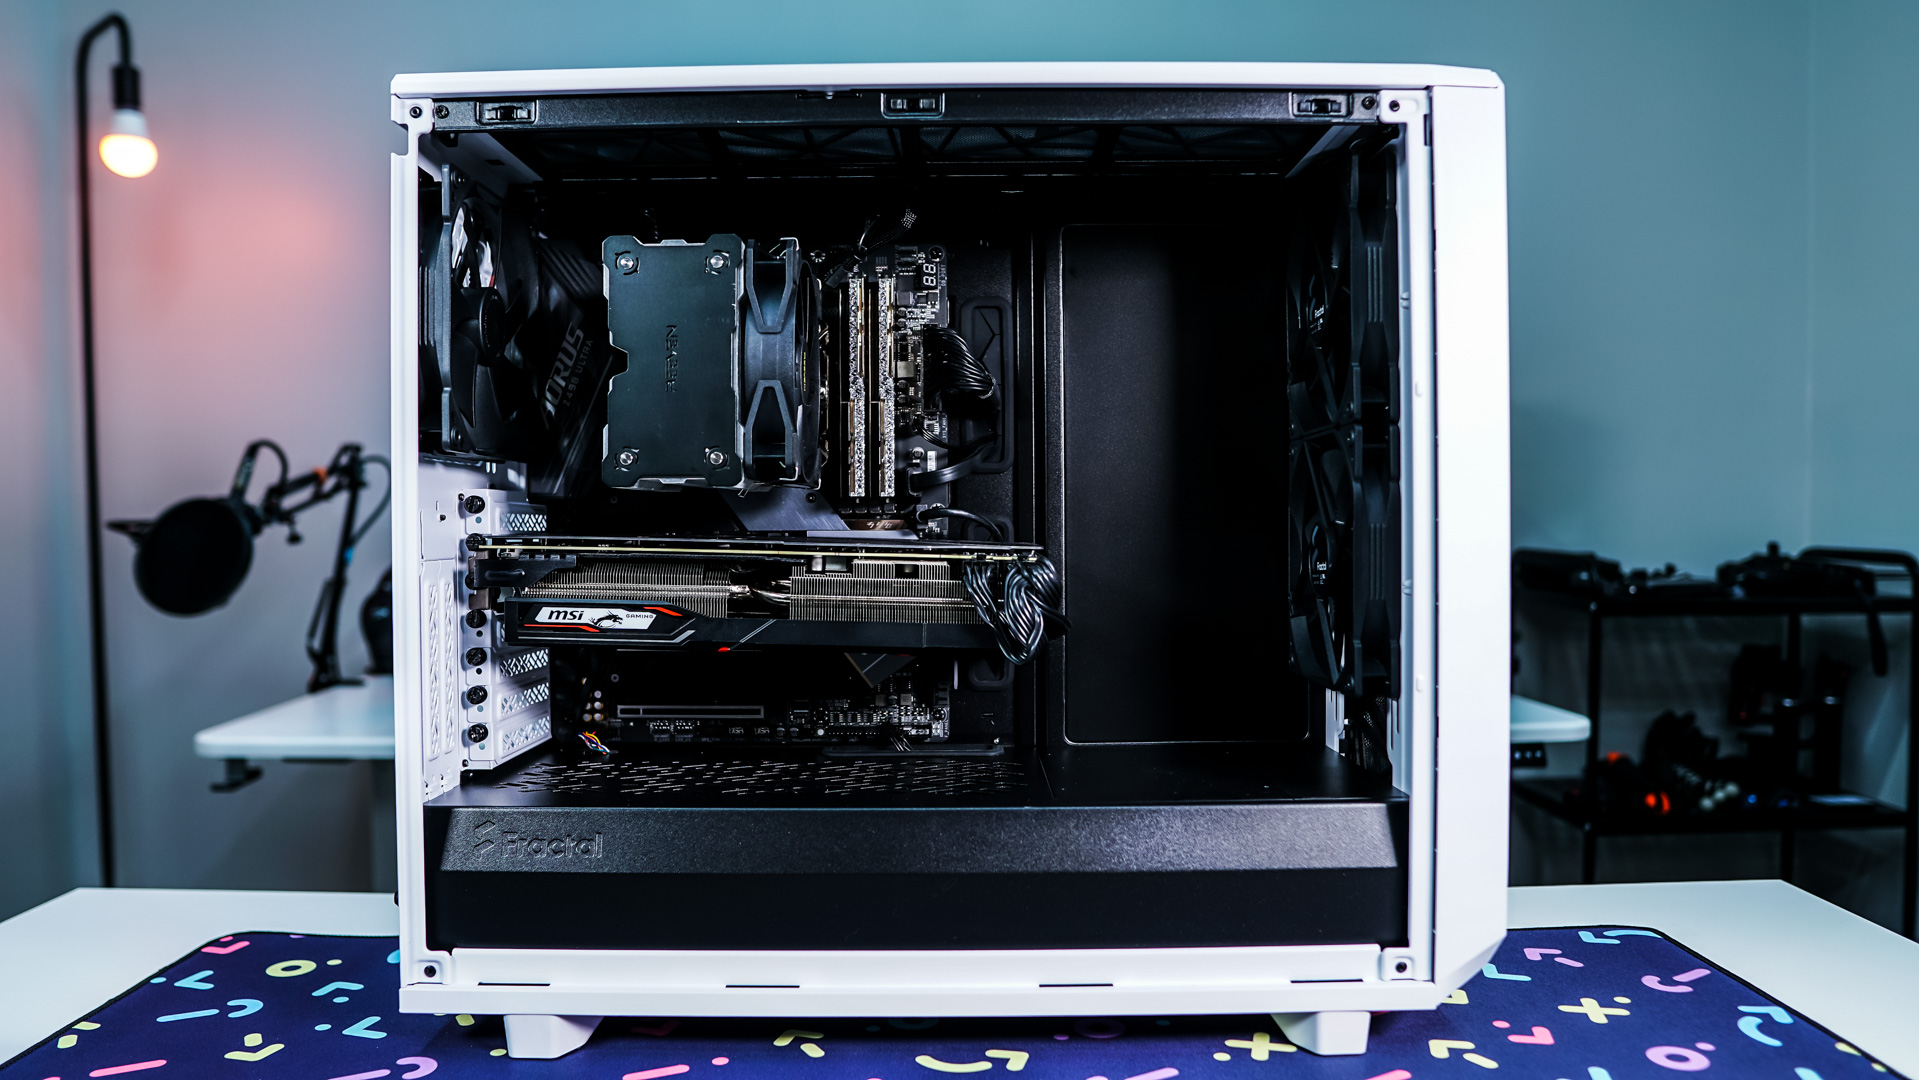
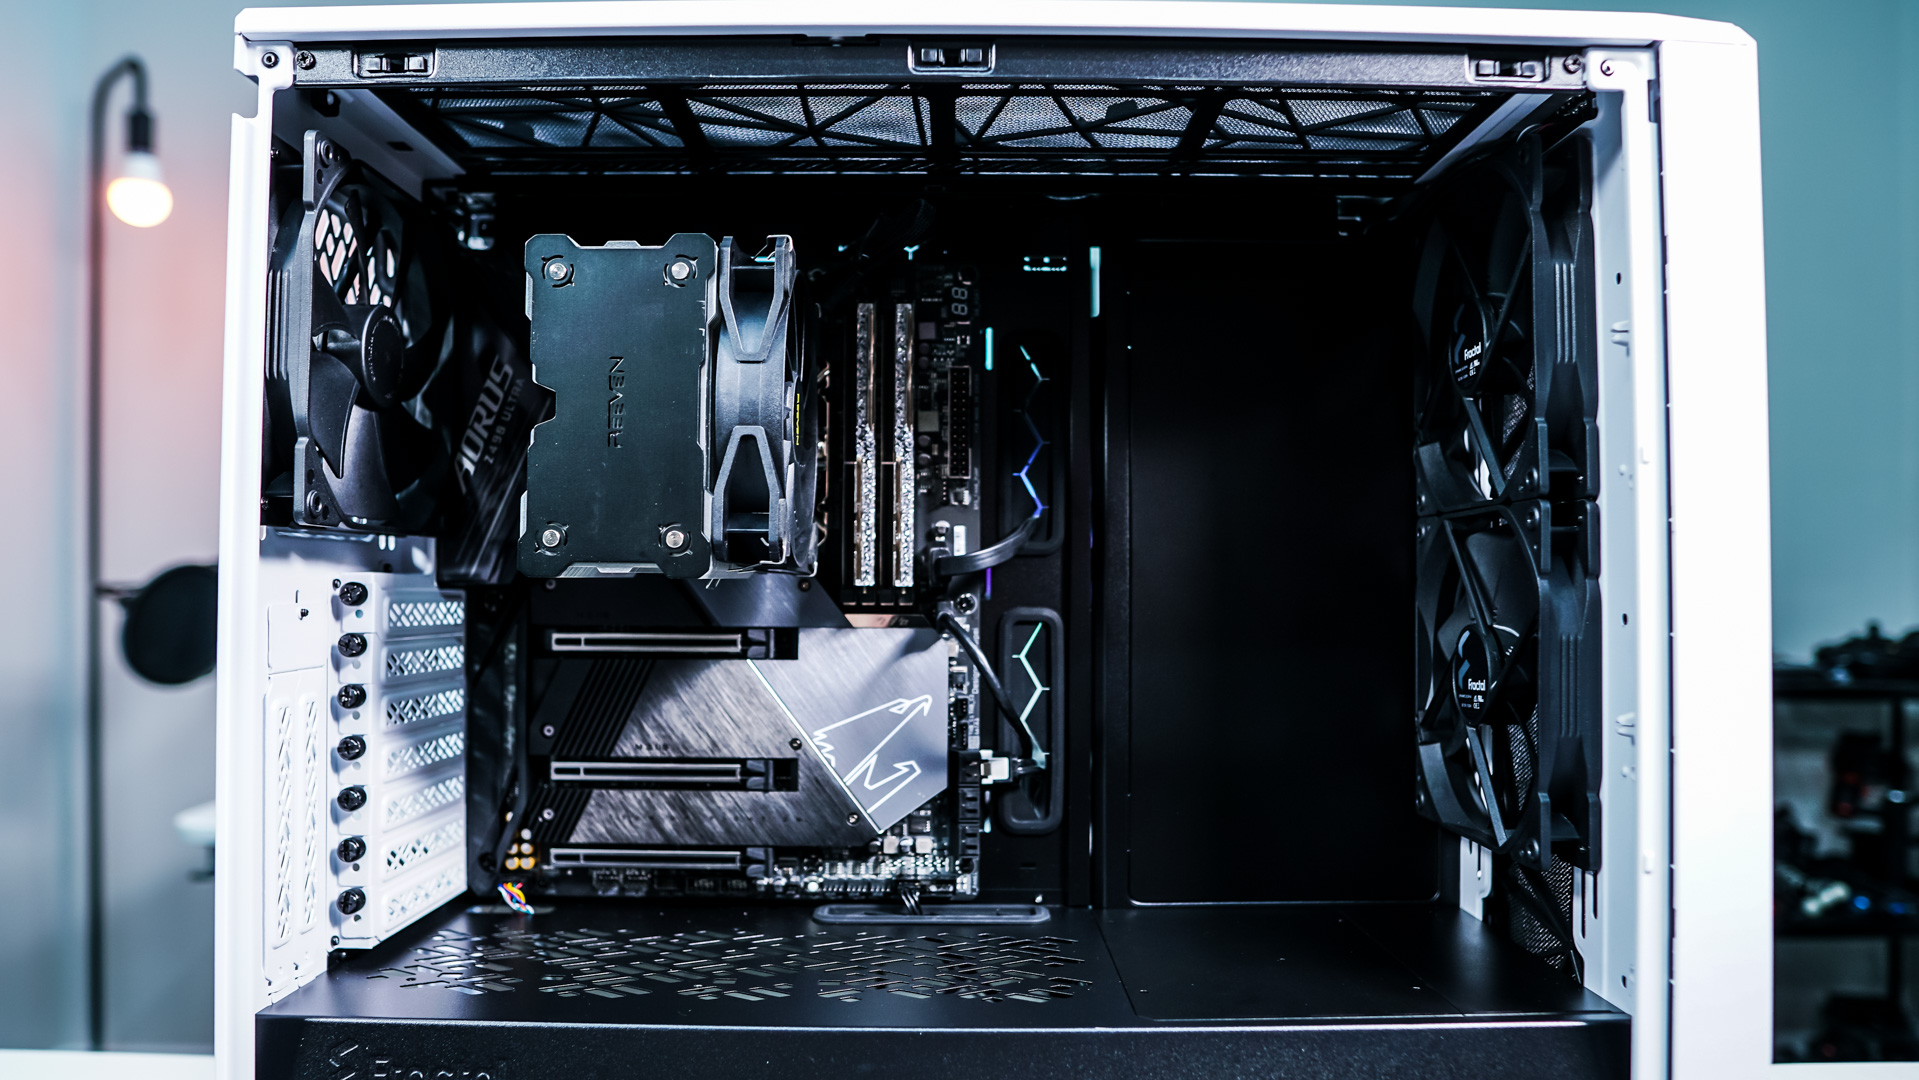
When it comes to installation things are pretty straight-forward. The first thing that we are installing in our motherboard. The standoffs are already pre-installed in the case so all you have to do is place and secure your motherboard with screws.
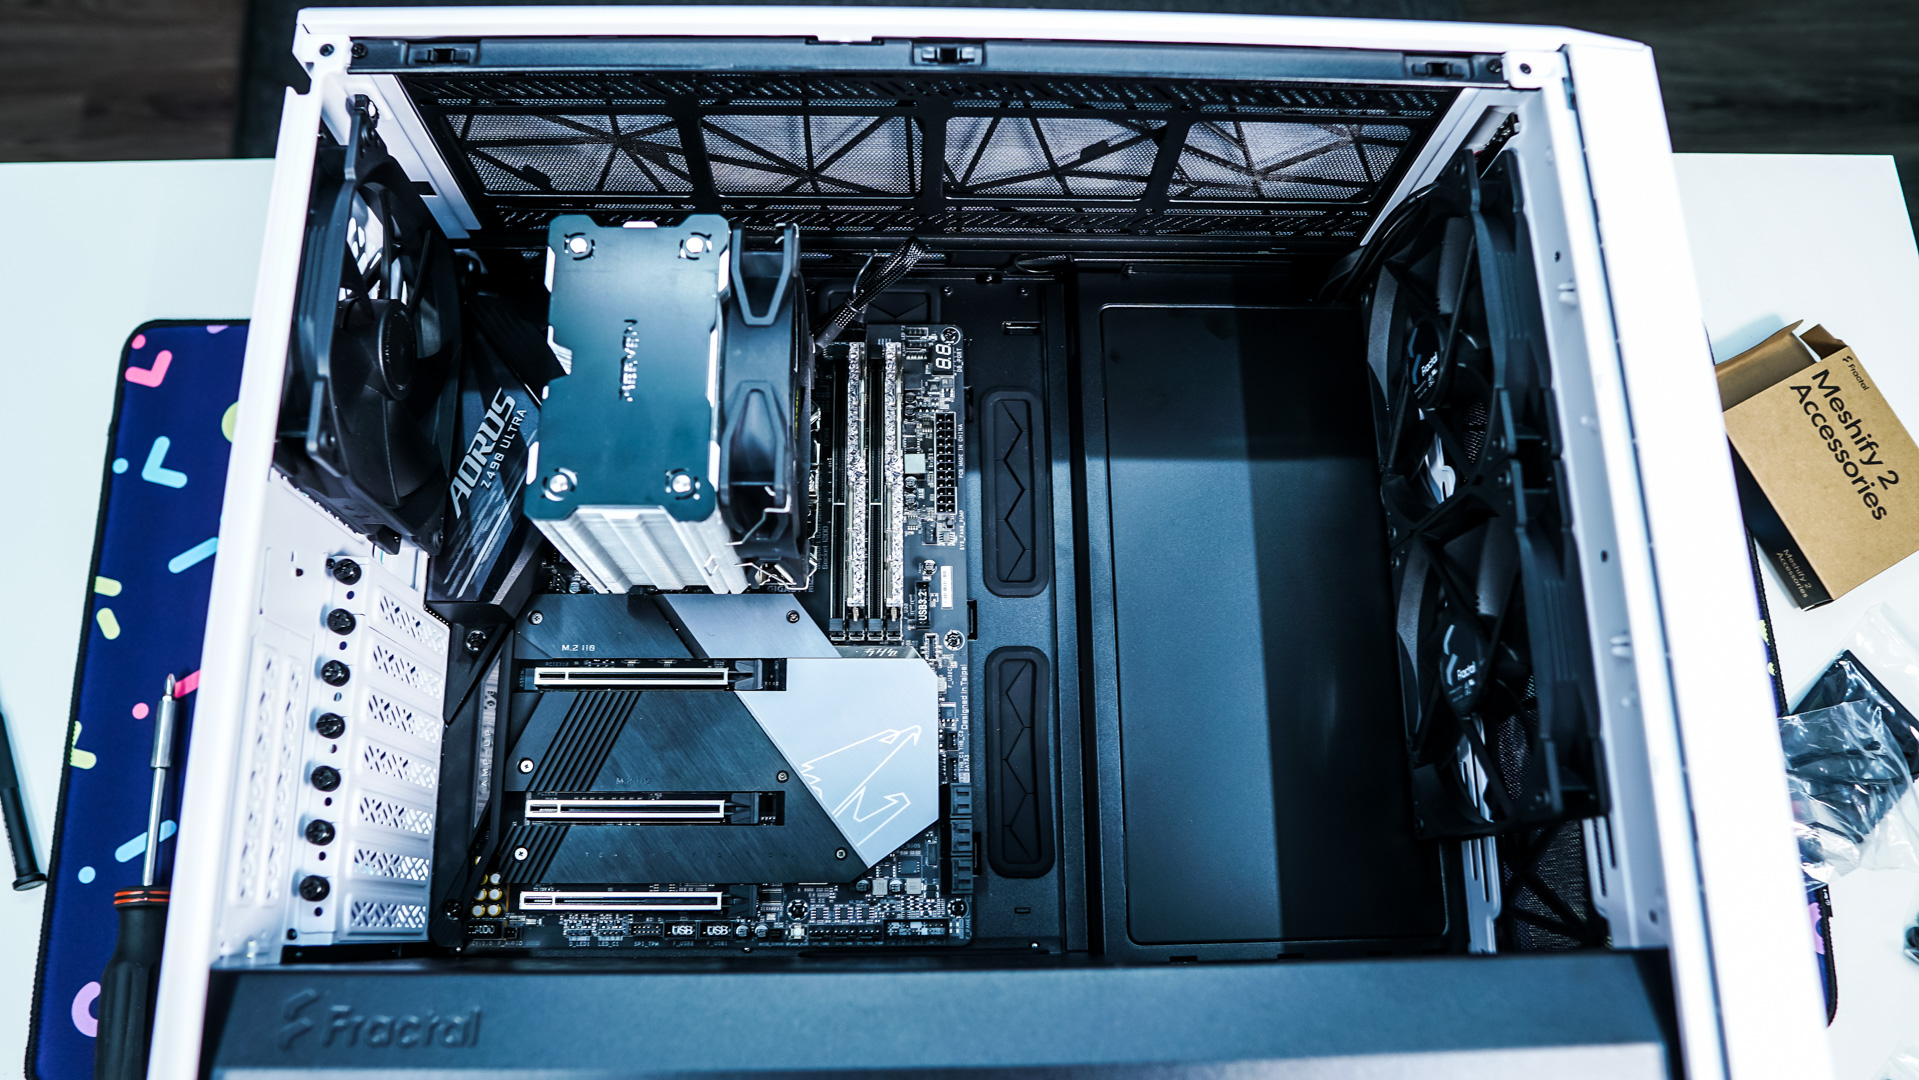
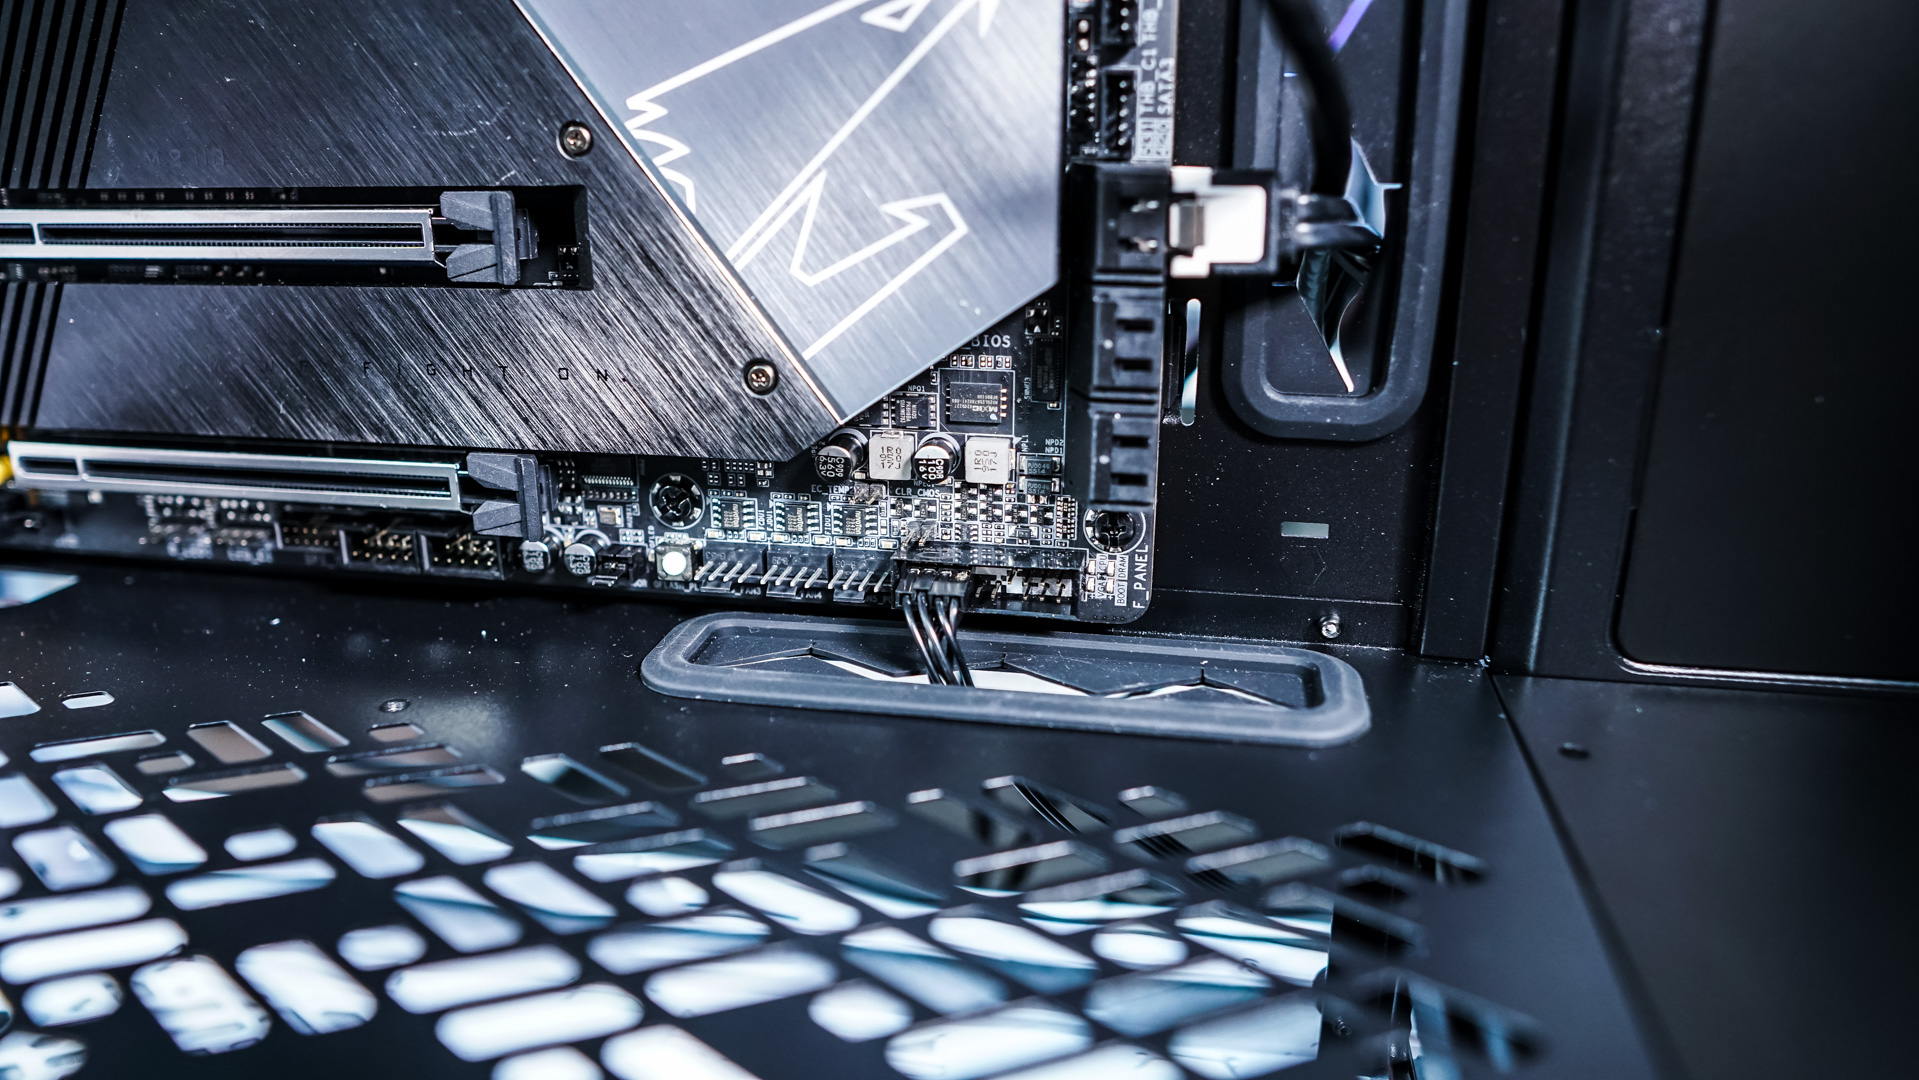
Before you install anything else you might want to start running some of the cables from the case to your motherboard. These are far easier to connect when you have less hardware installed in your case.
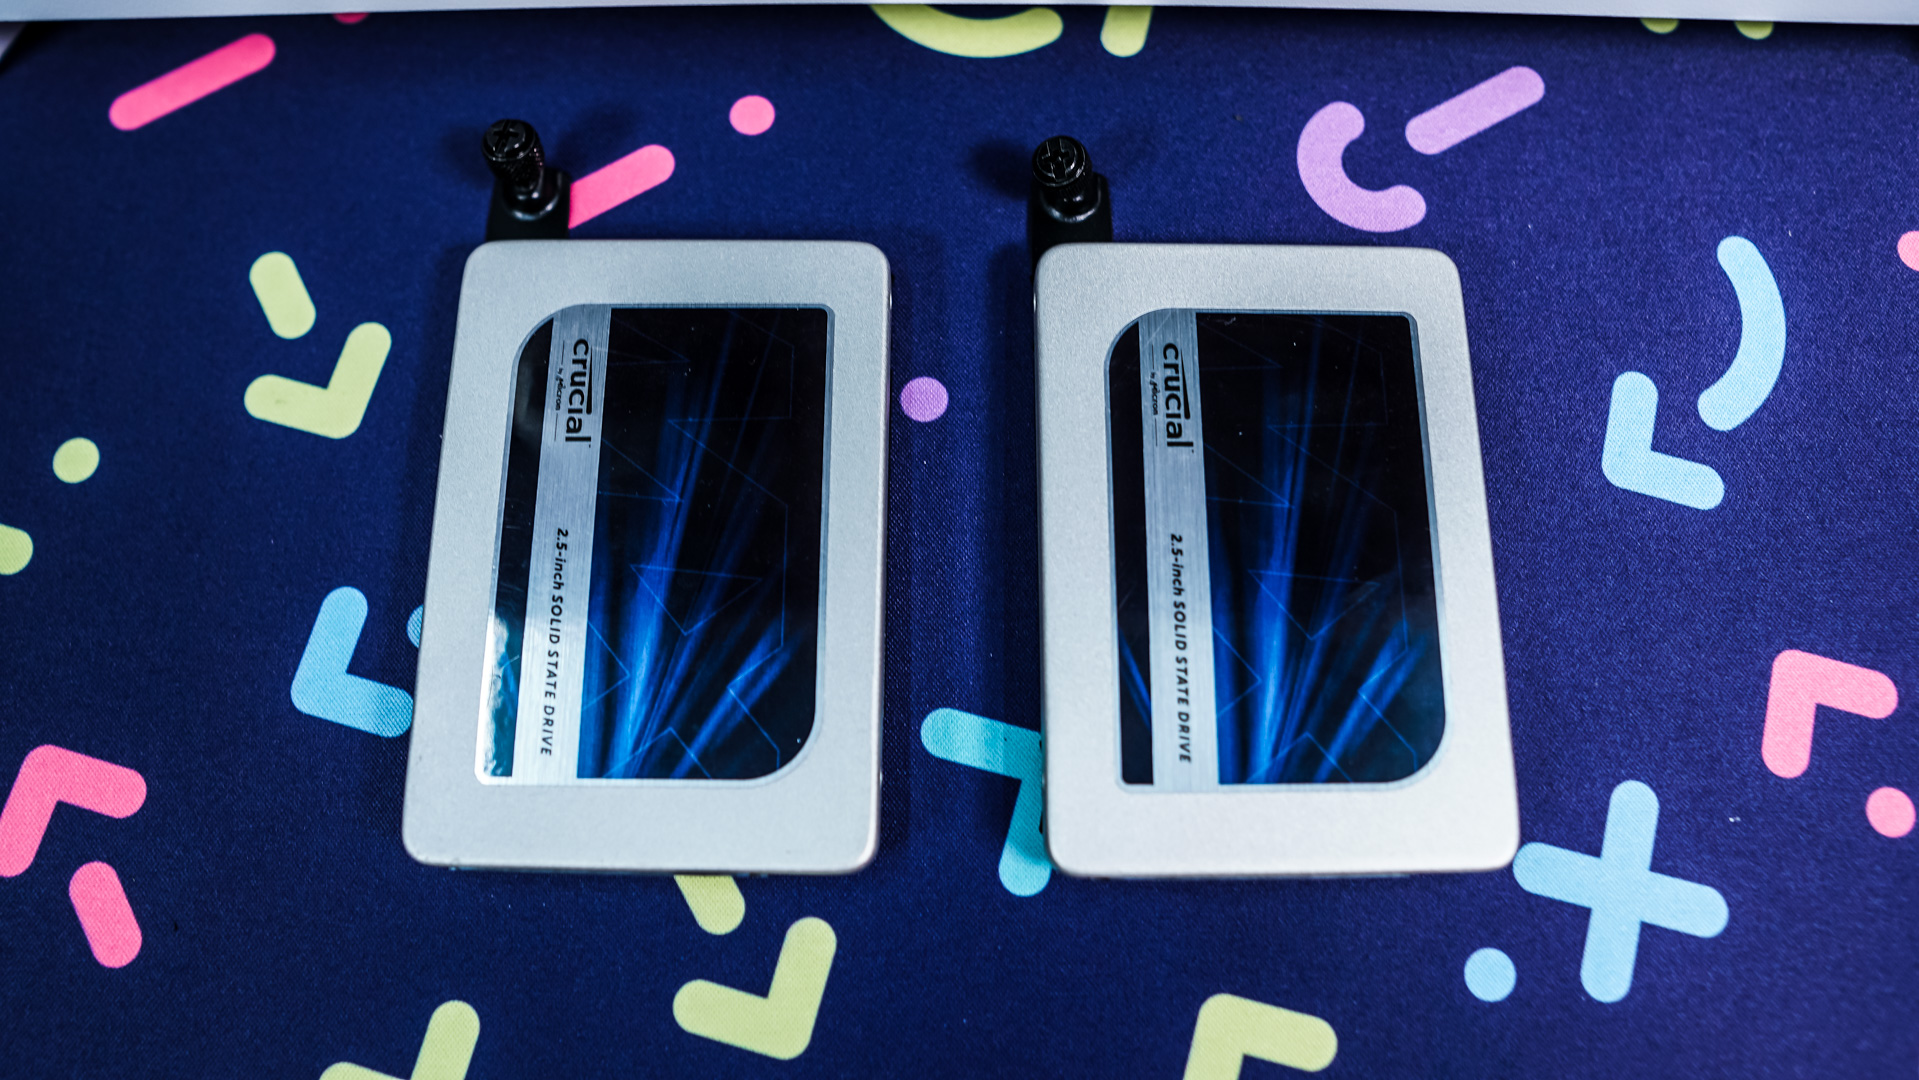
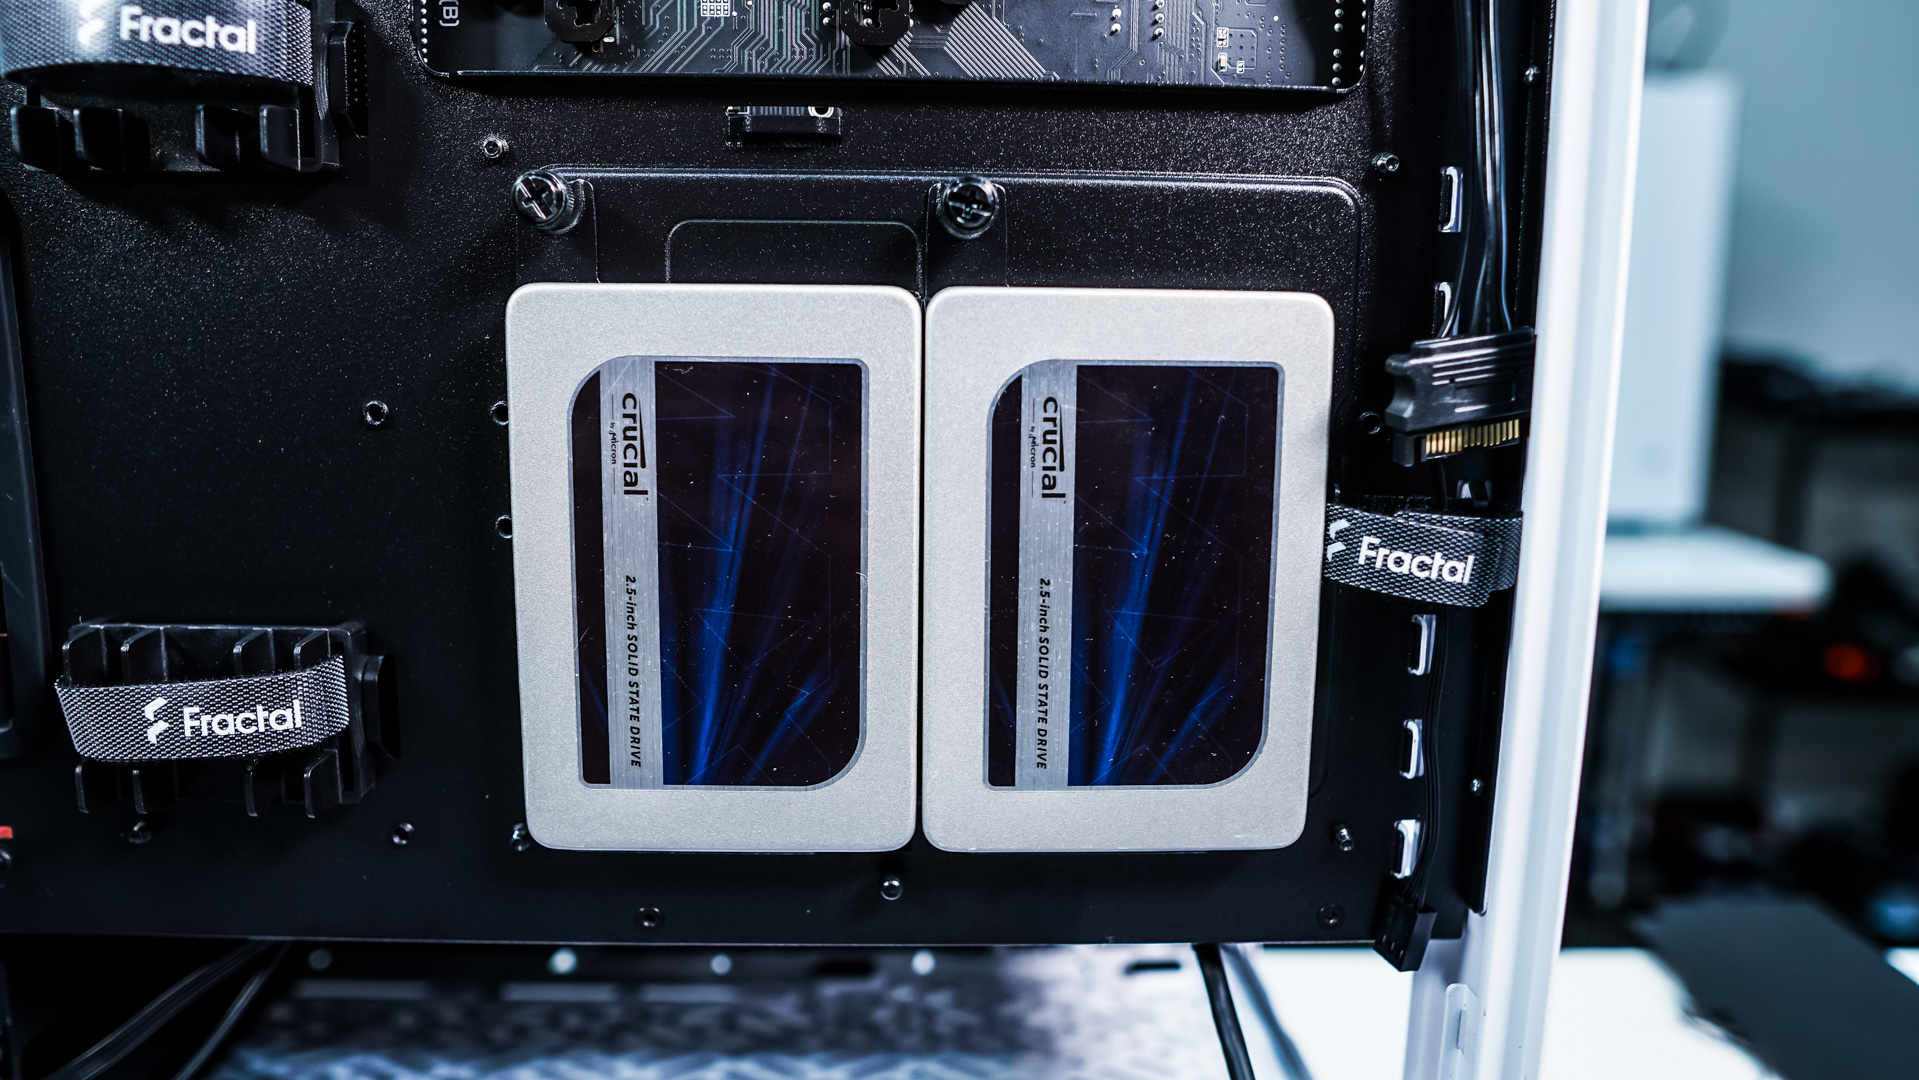
We will be installing two solid state drives in this build so we are going to use the two removable mounts. Since these come out from the case we can easily install our drives and then reinstall the mounts.
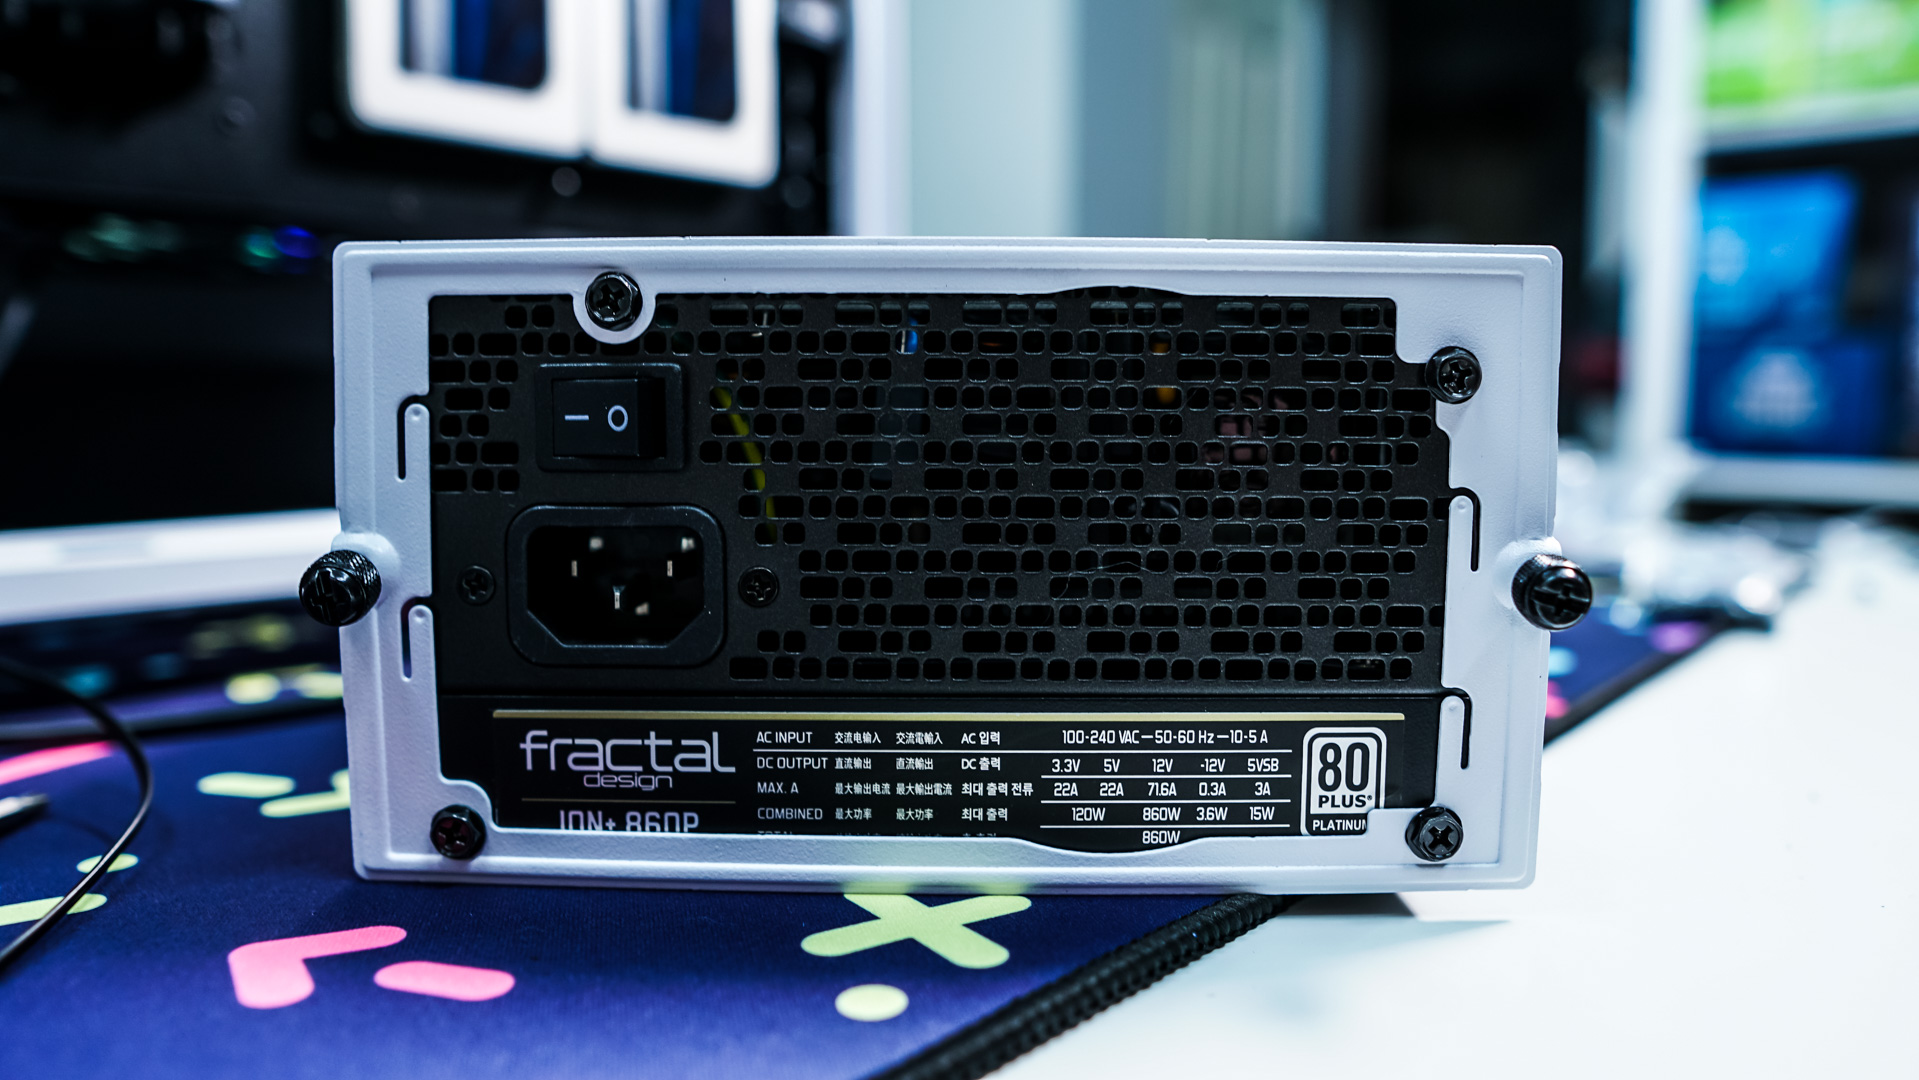
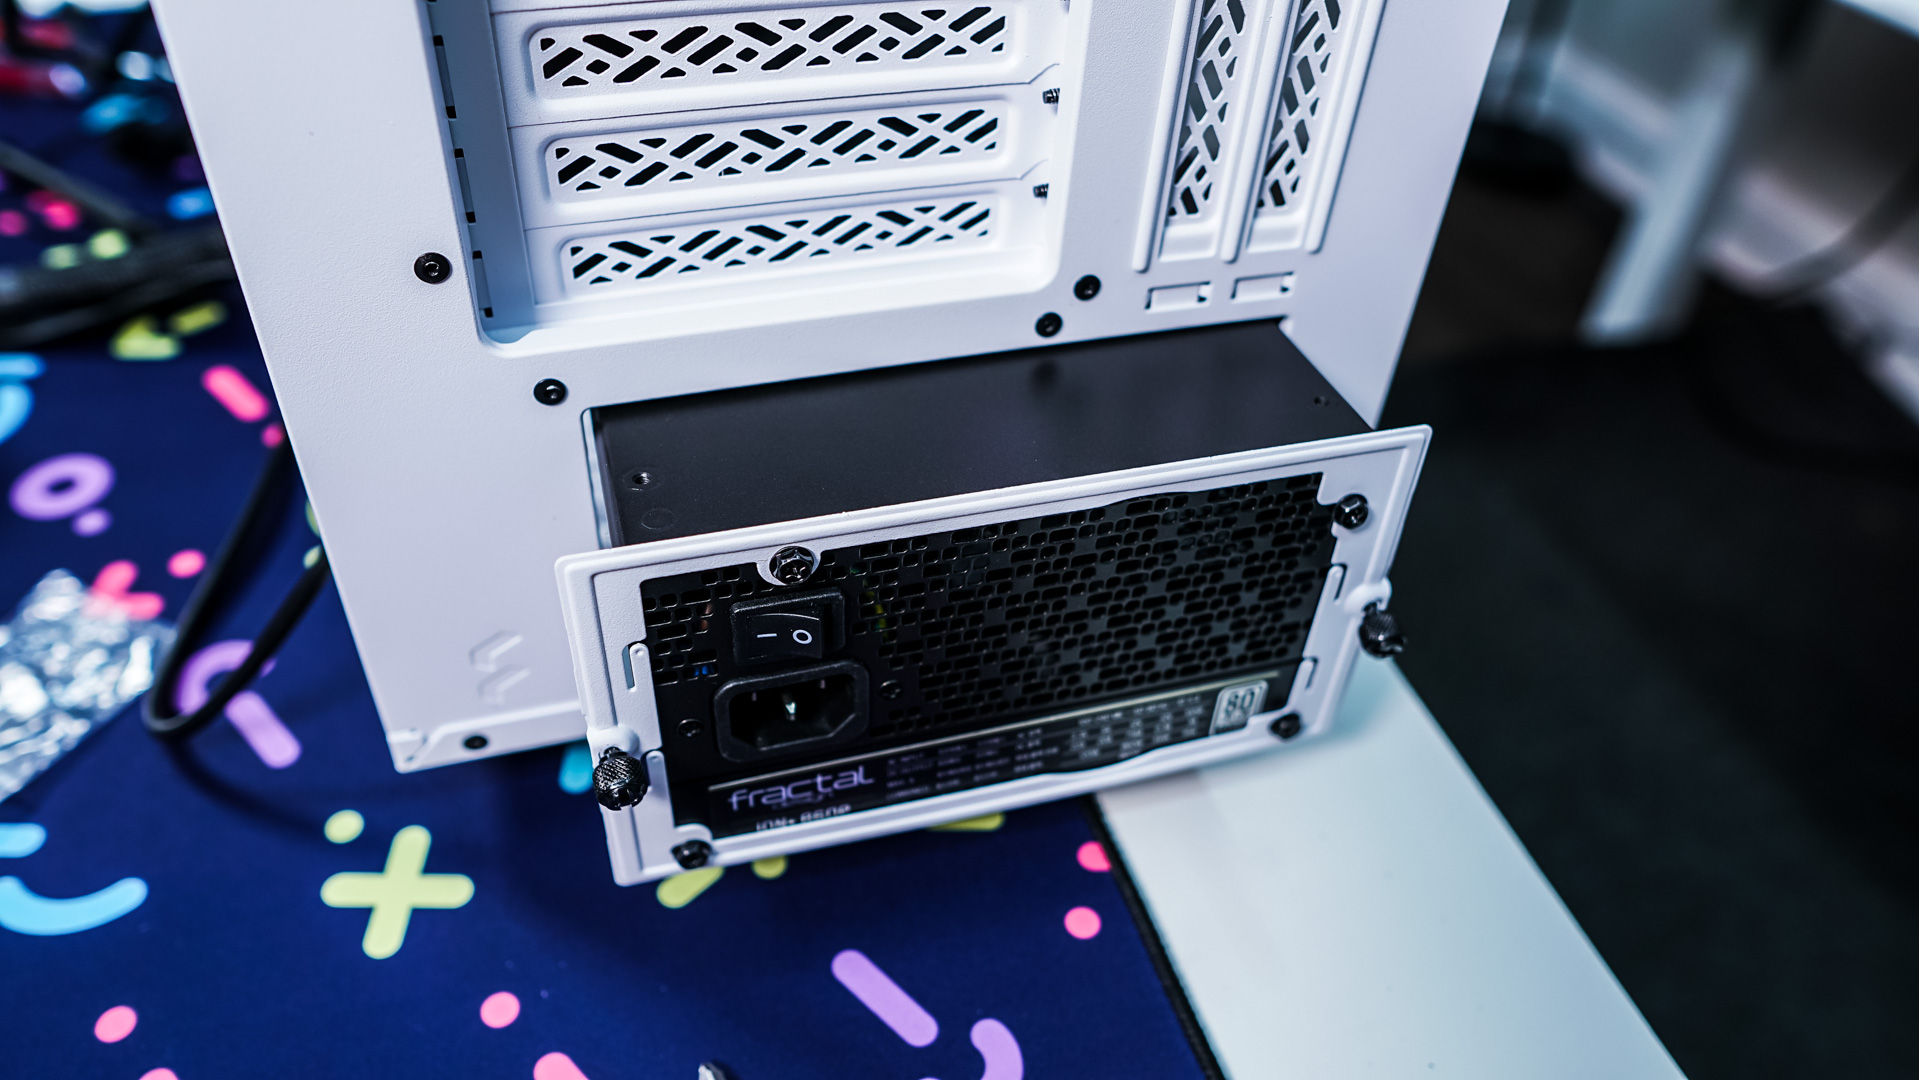
The next thing to install is our power supply. You remove the power supply bracket and install it on your power supply. You then carefully slide your power supply in from the back of the case.
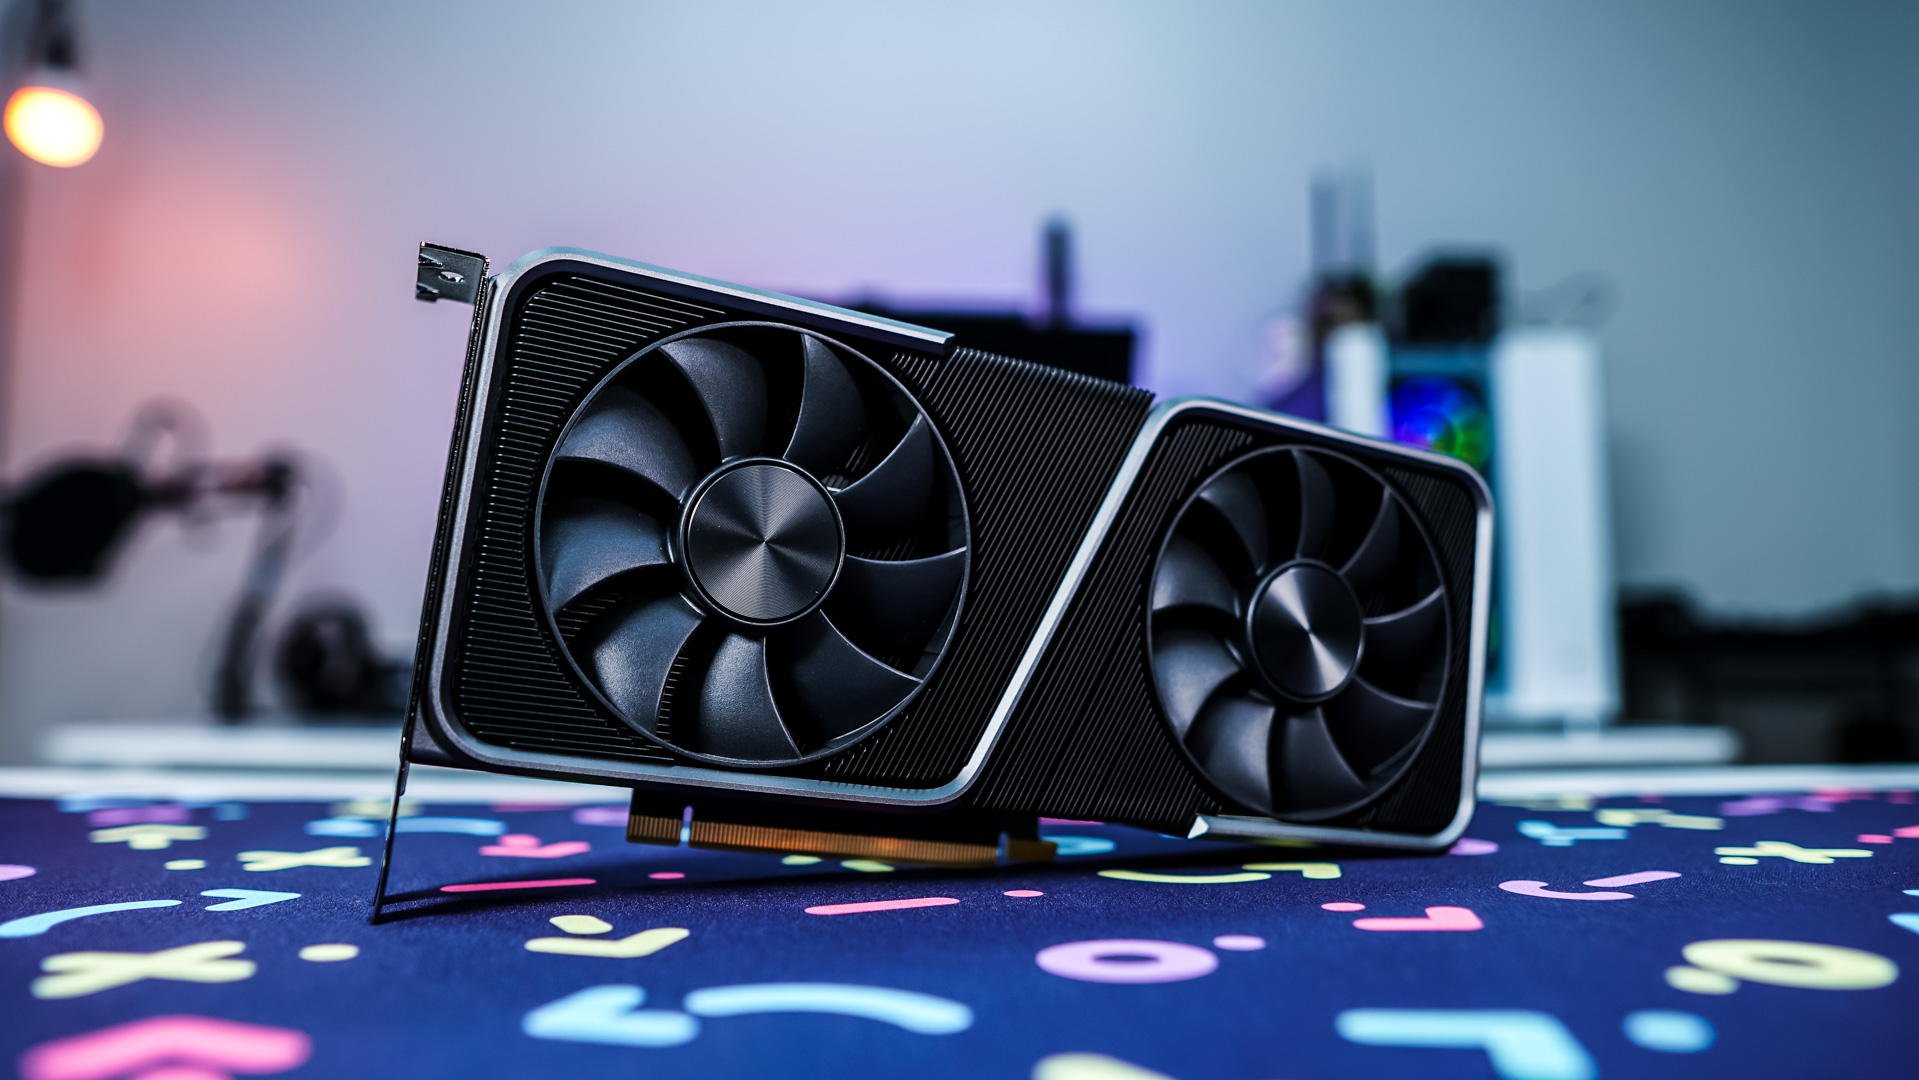
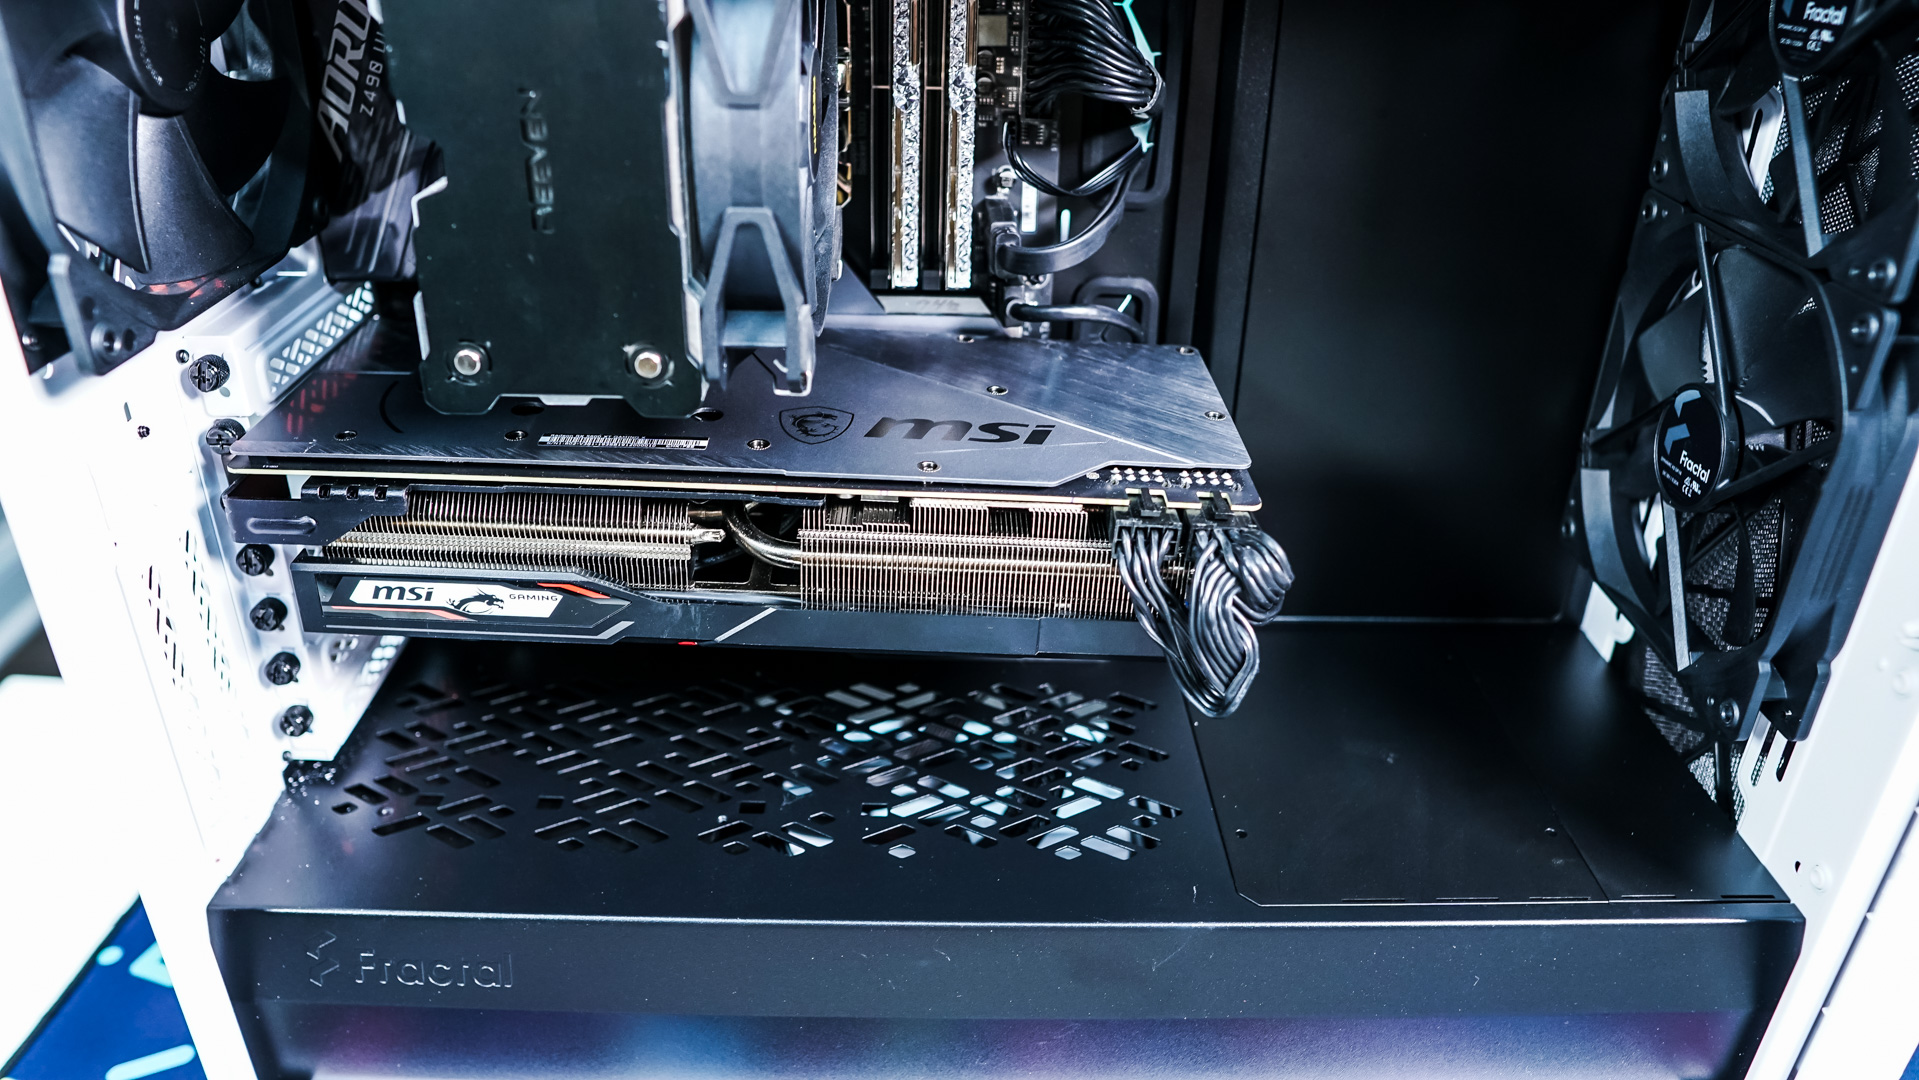
The last thing to install is our graphics card, which goes in no problem and we have more than enough room the spare.
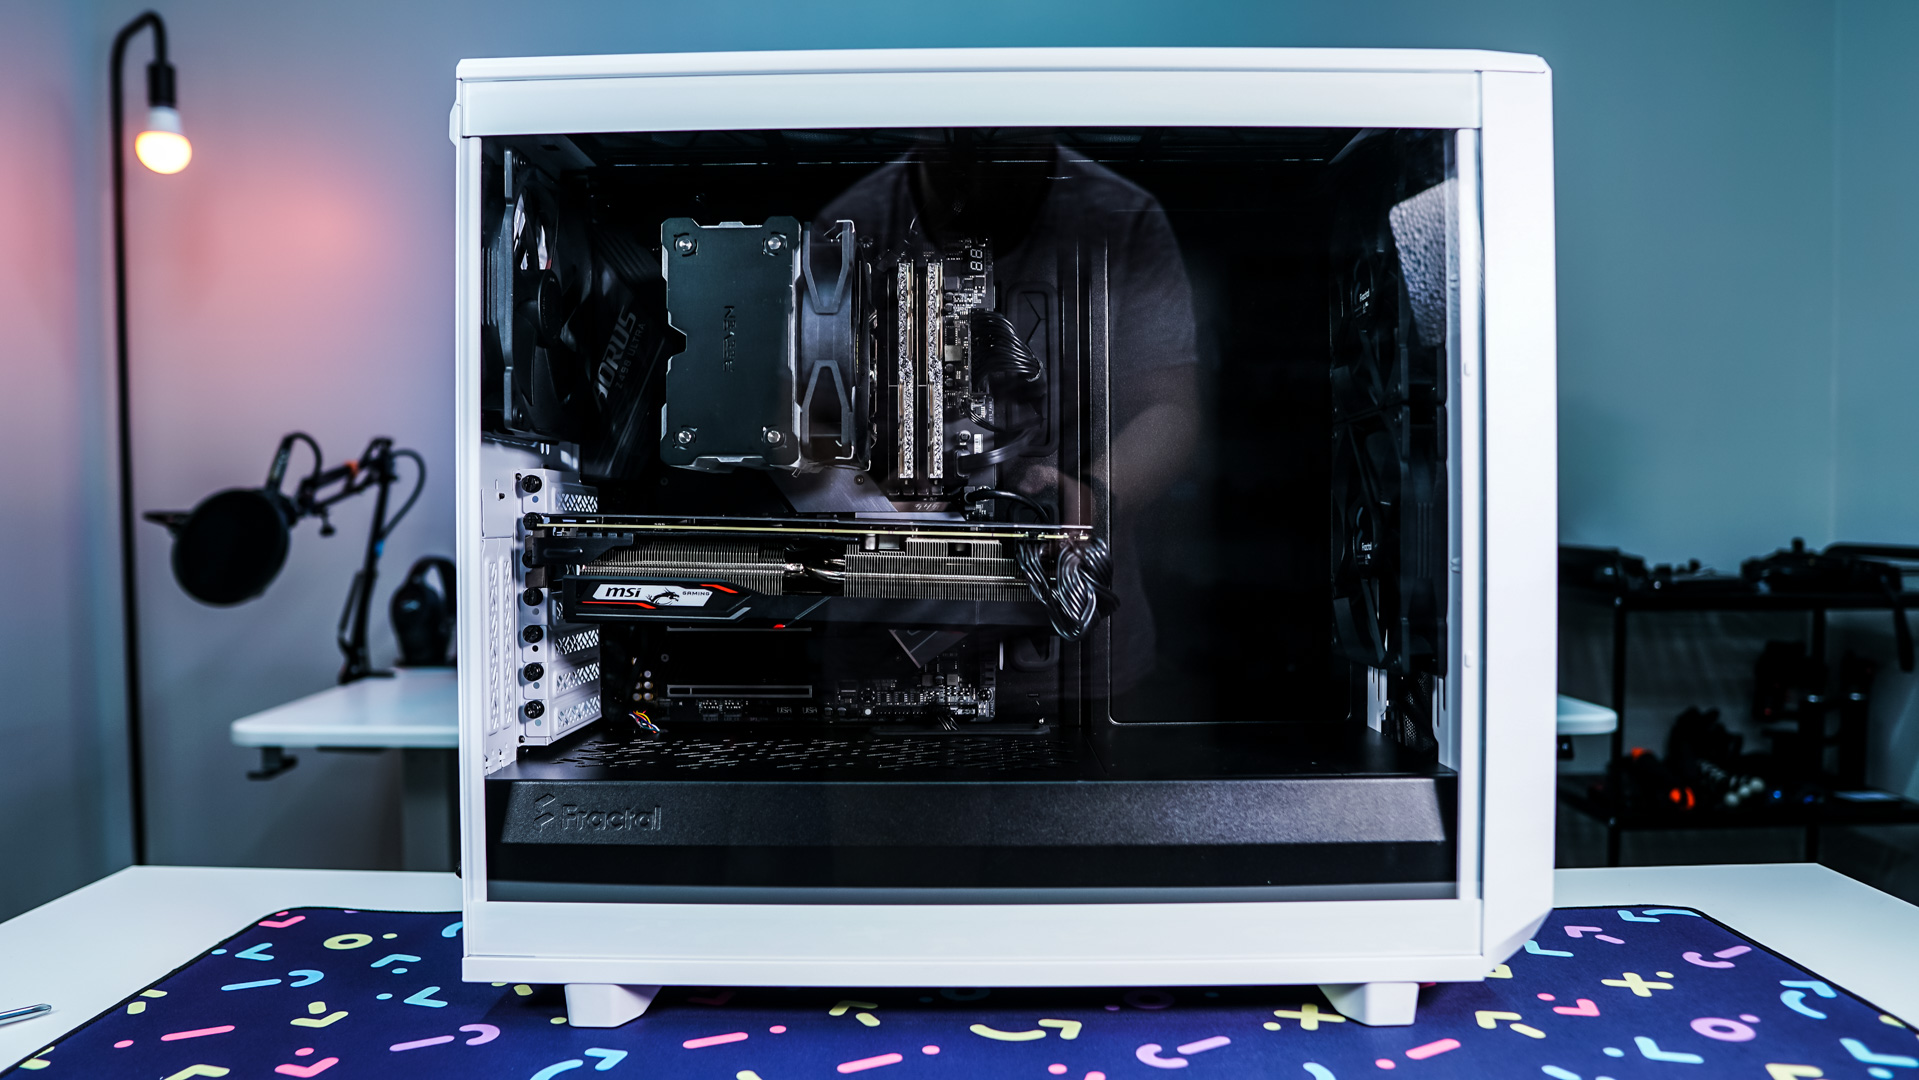
With everything installed it is time to clean up our cables and connect everything. The cable routing channels and velcro straps definitely help out with that. The power supply cable shield also does a great job covering the bottom part of the case where you likely have a bunch of cables.
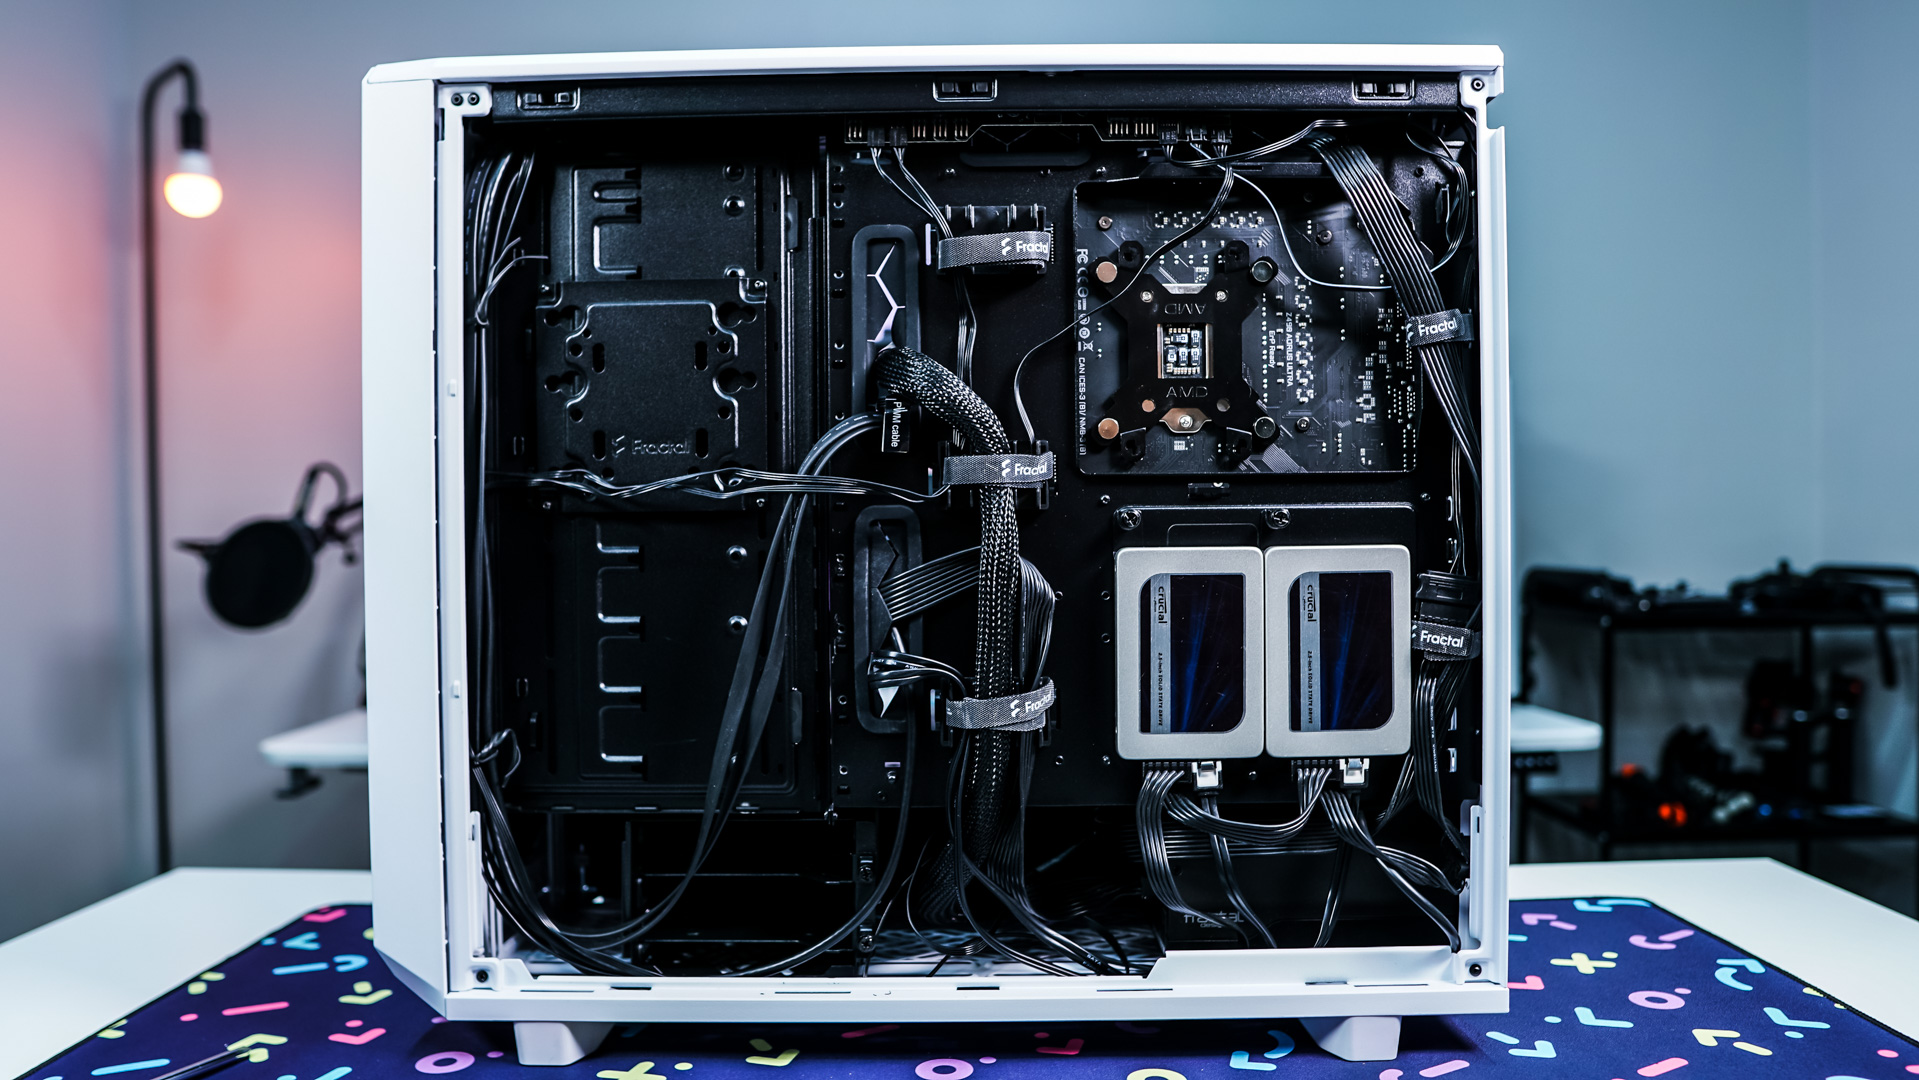
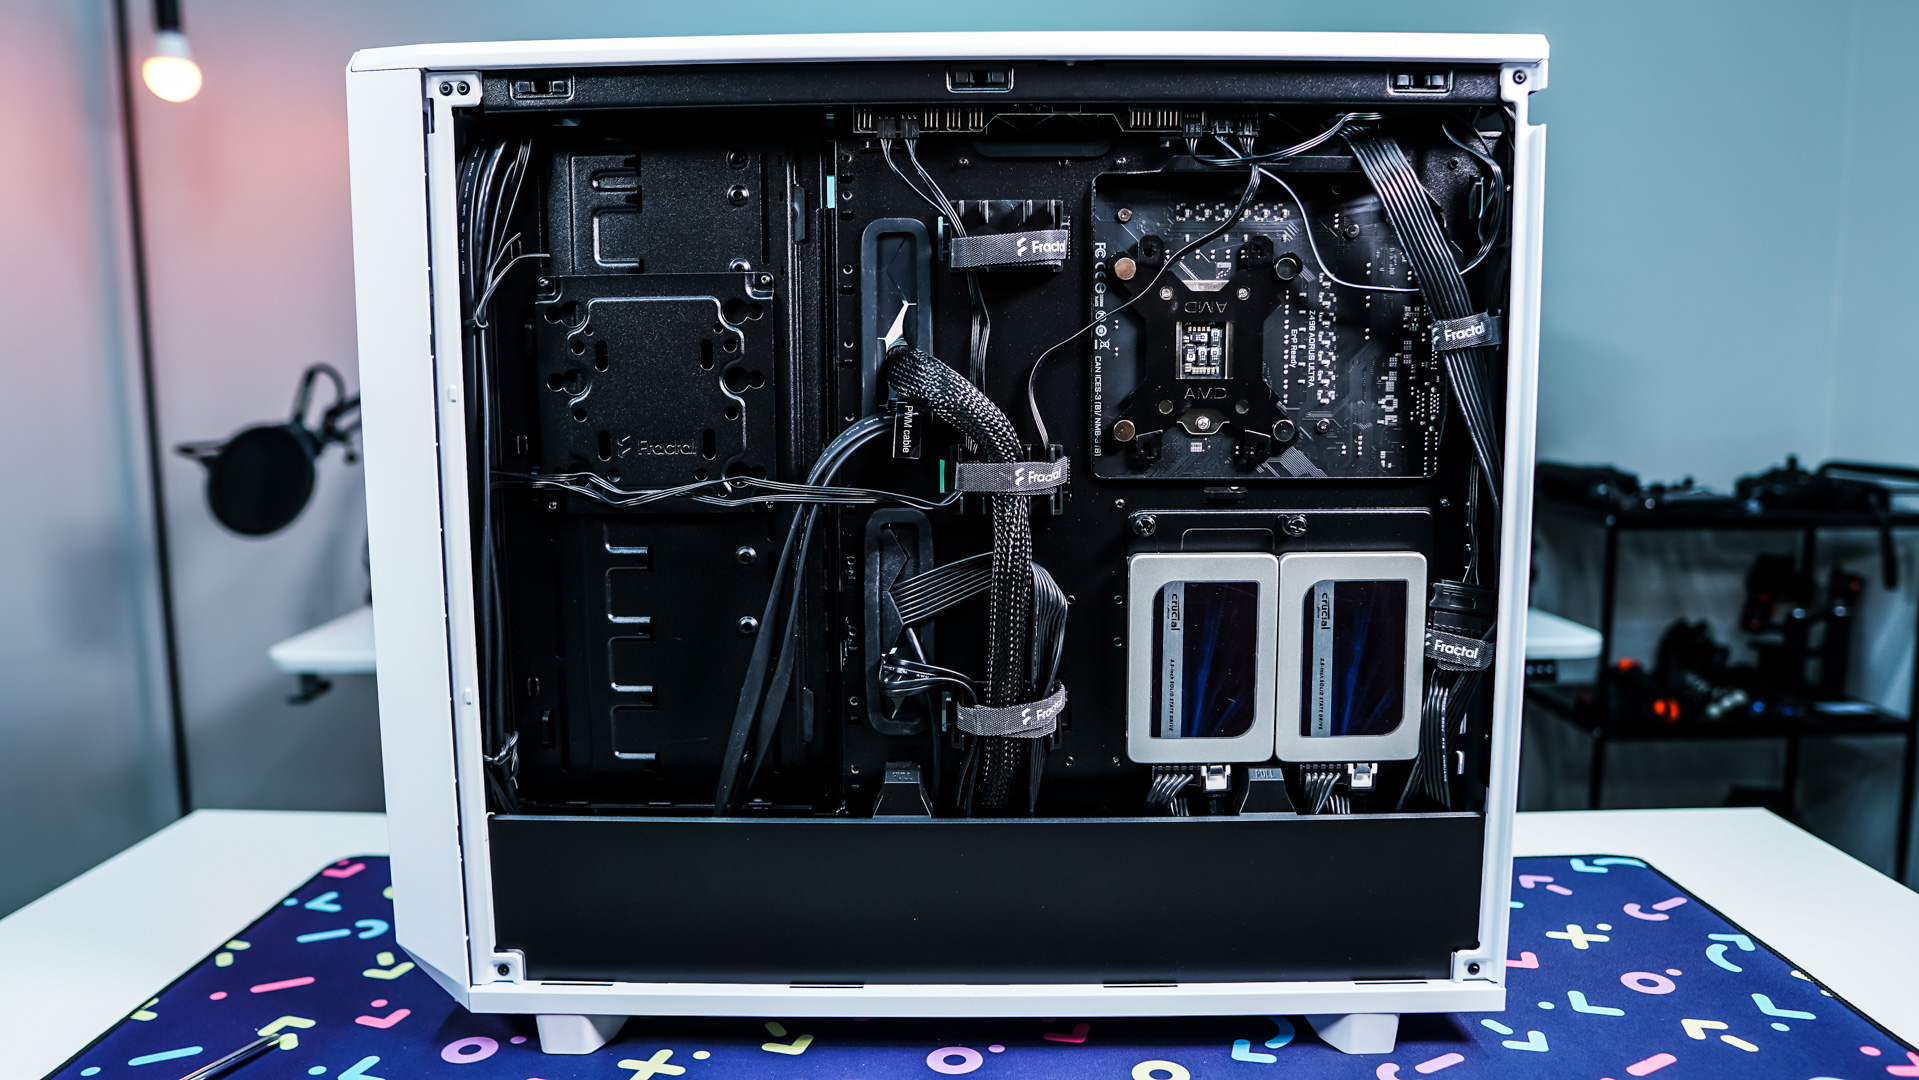
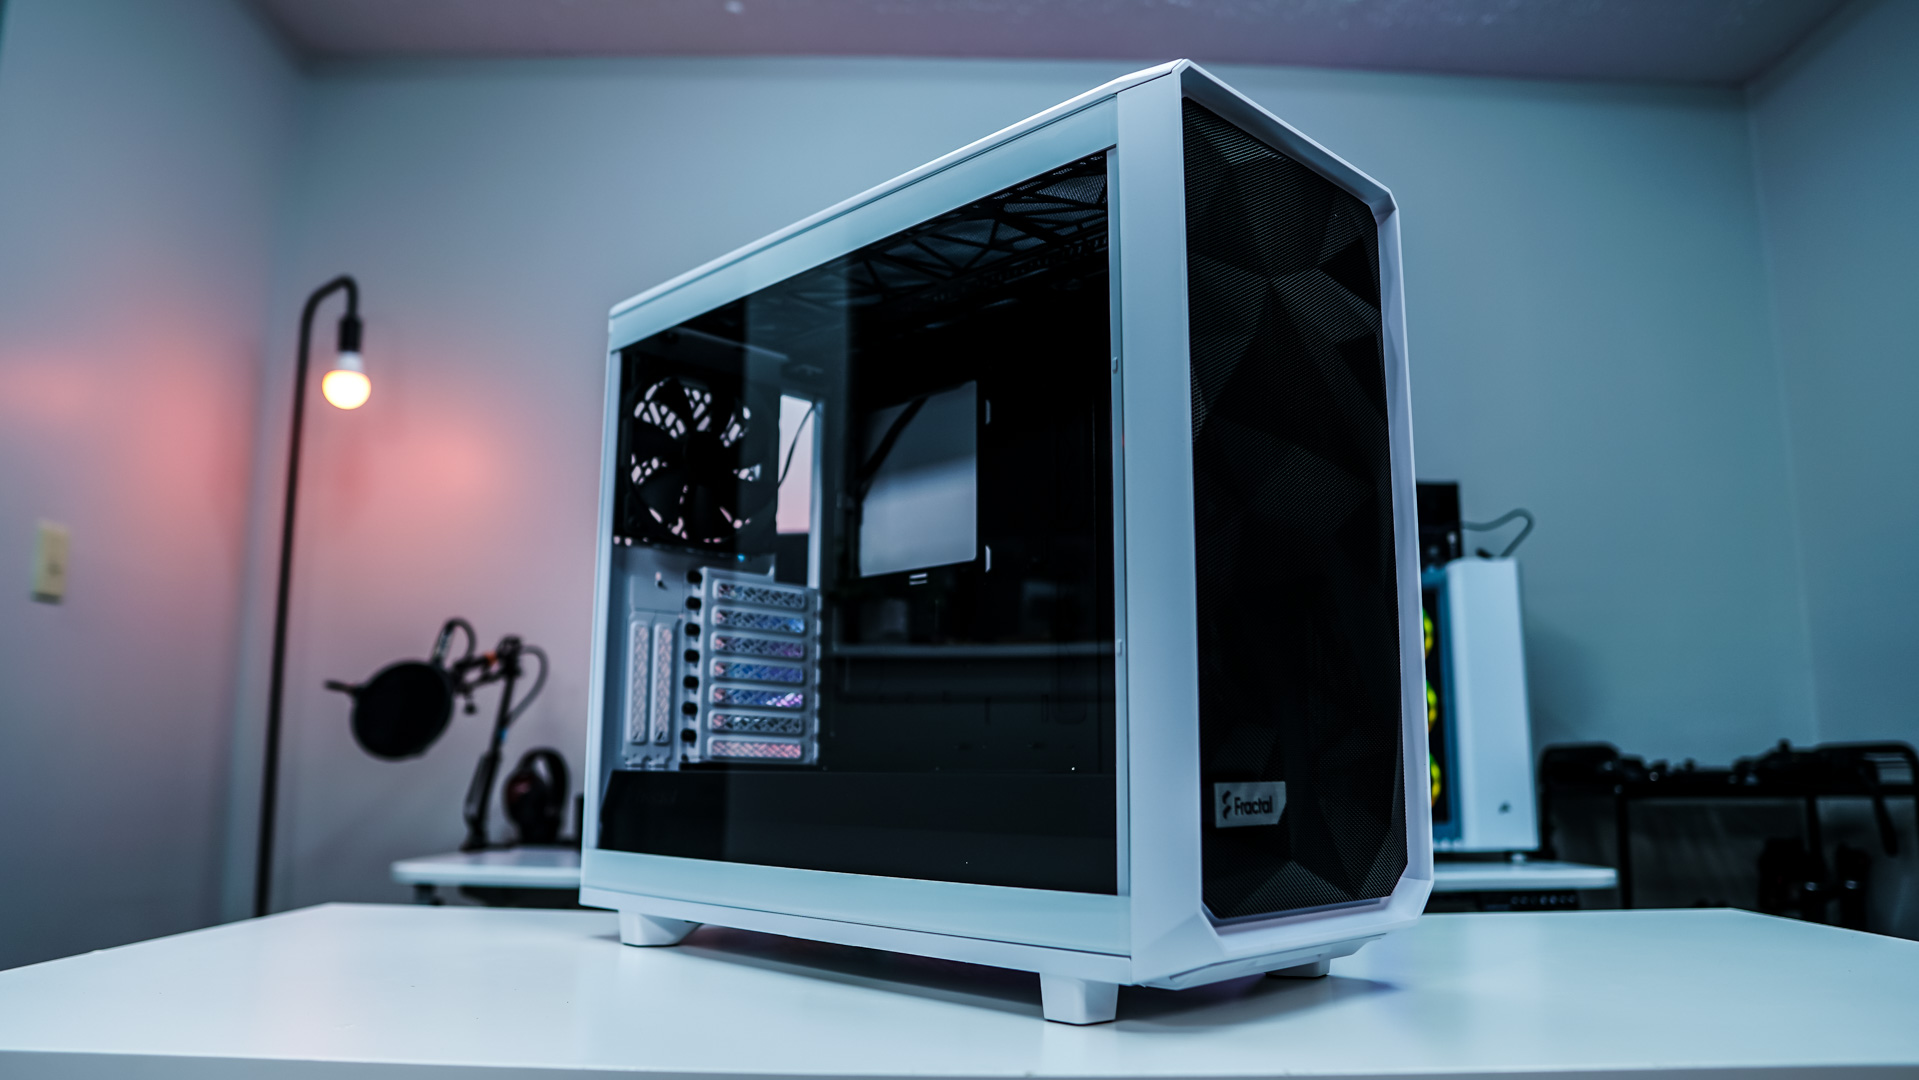
When it is all said and done we have a very clean build, although if you are not making use of the storage layout much of the front of the case is sort of dead space. Maybe down the line we could see a Meshify 2 Compact like the Define 7 Compact?