Installation
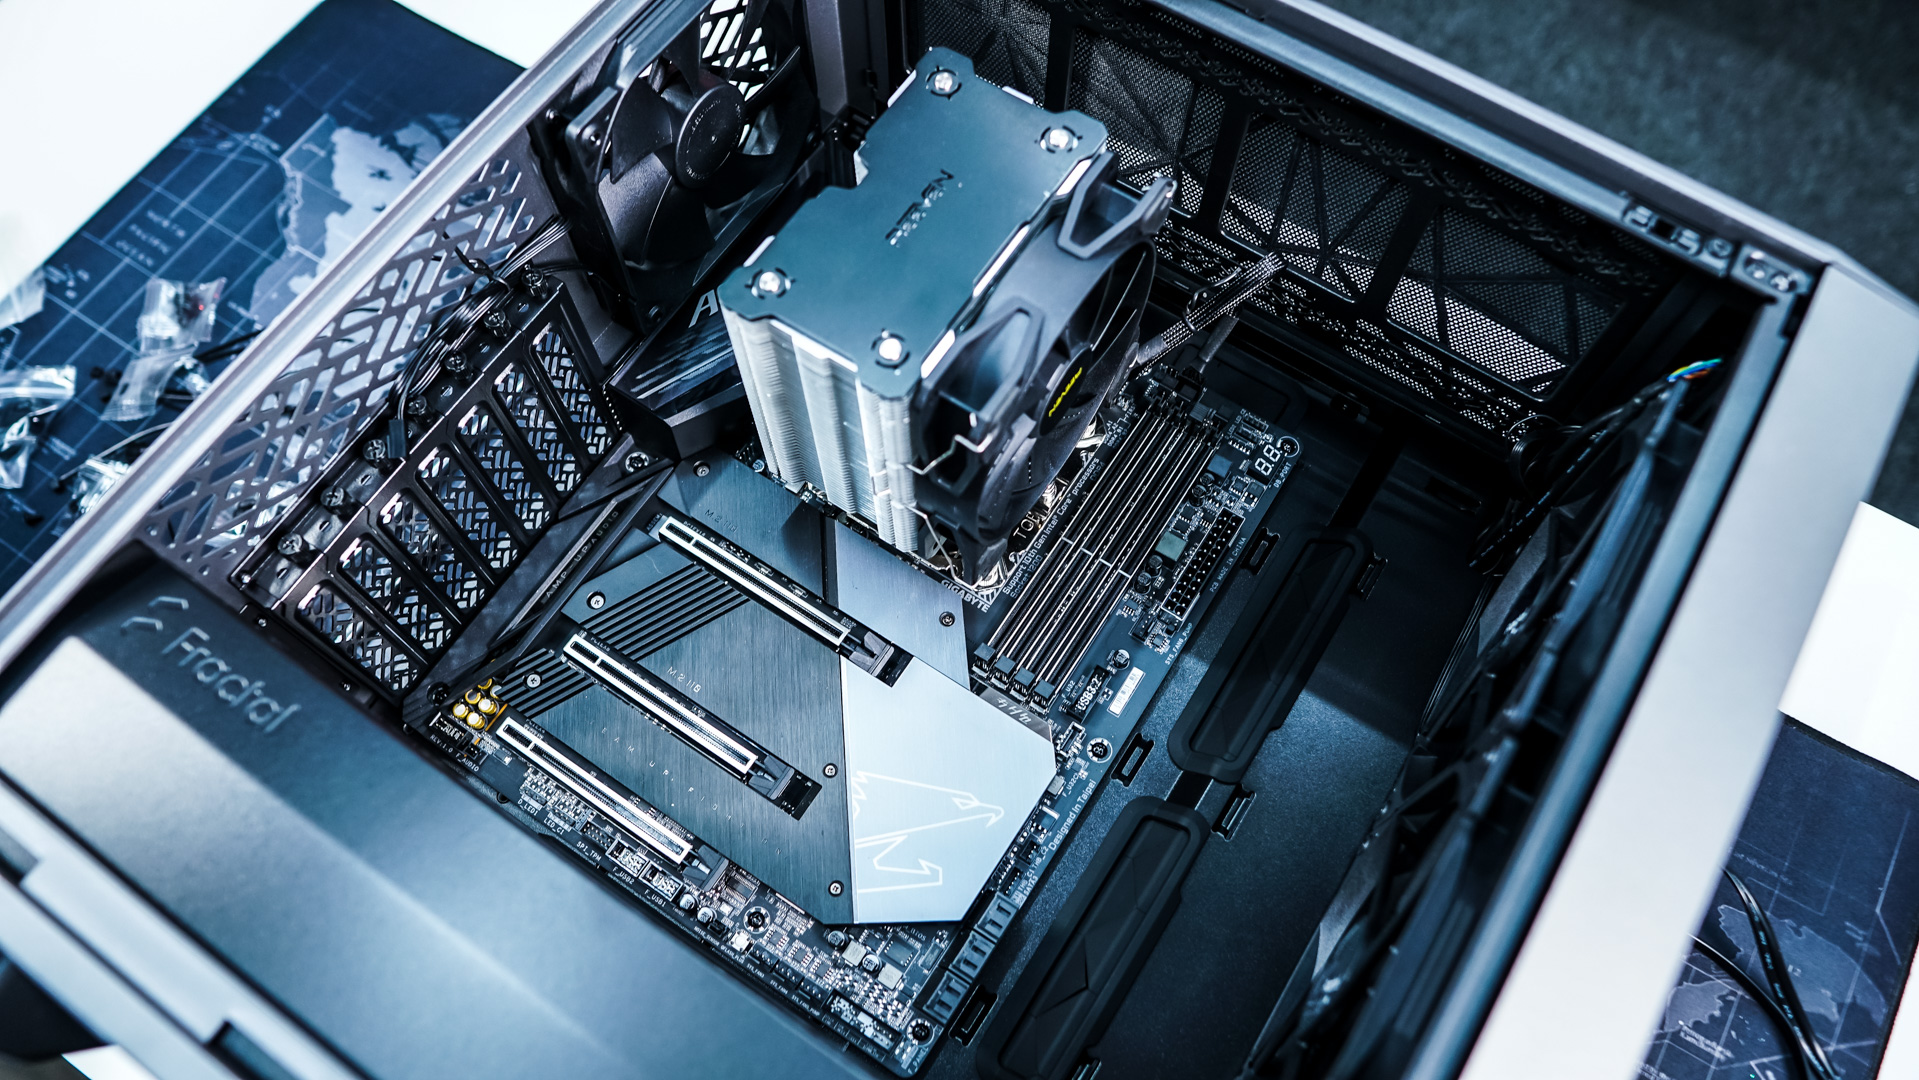
Like most Fractal Design cases installing your hardware inside the Meshify 2 Compact is pretty straight-forward. We are going to start with our motherboard, which goes in nicely and there is more than enough room. Fractal has pre-installed the standoffs in the case so all you have to do is secure your motherboard with screws.
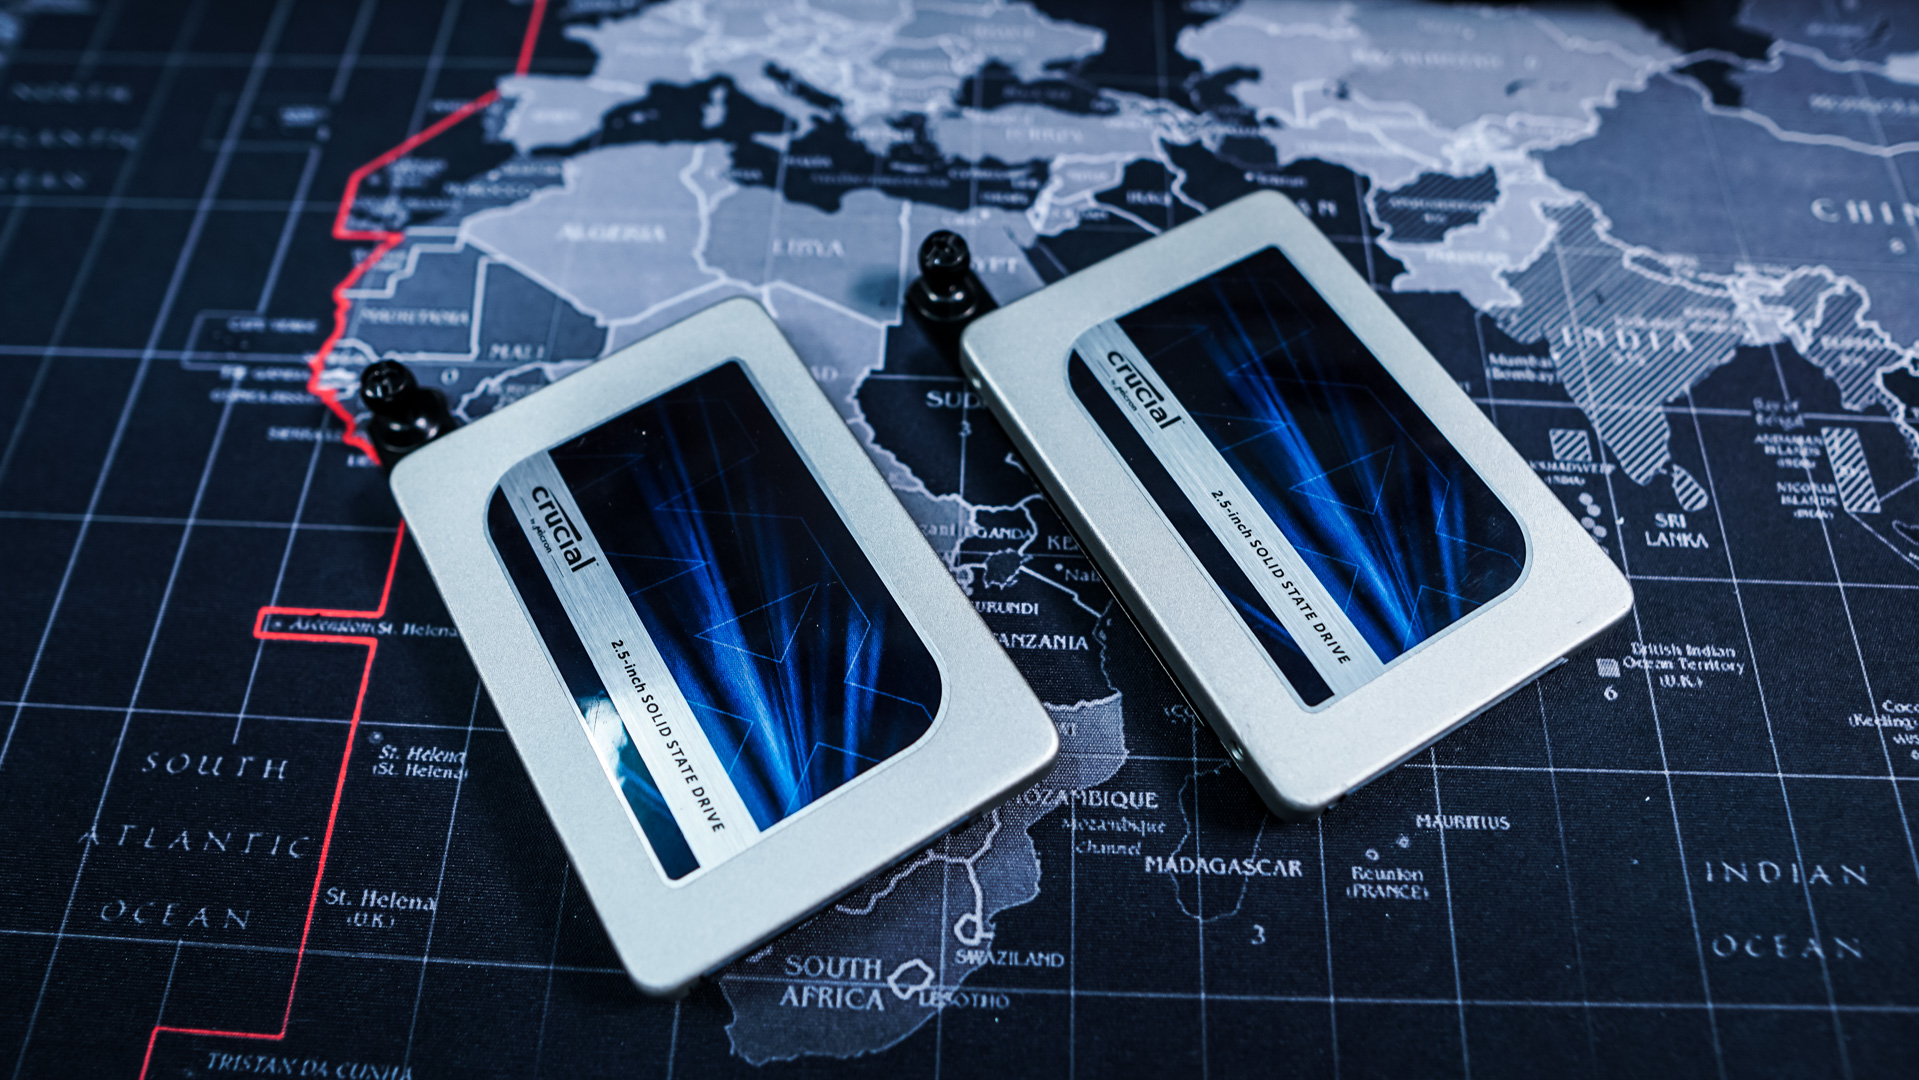
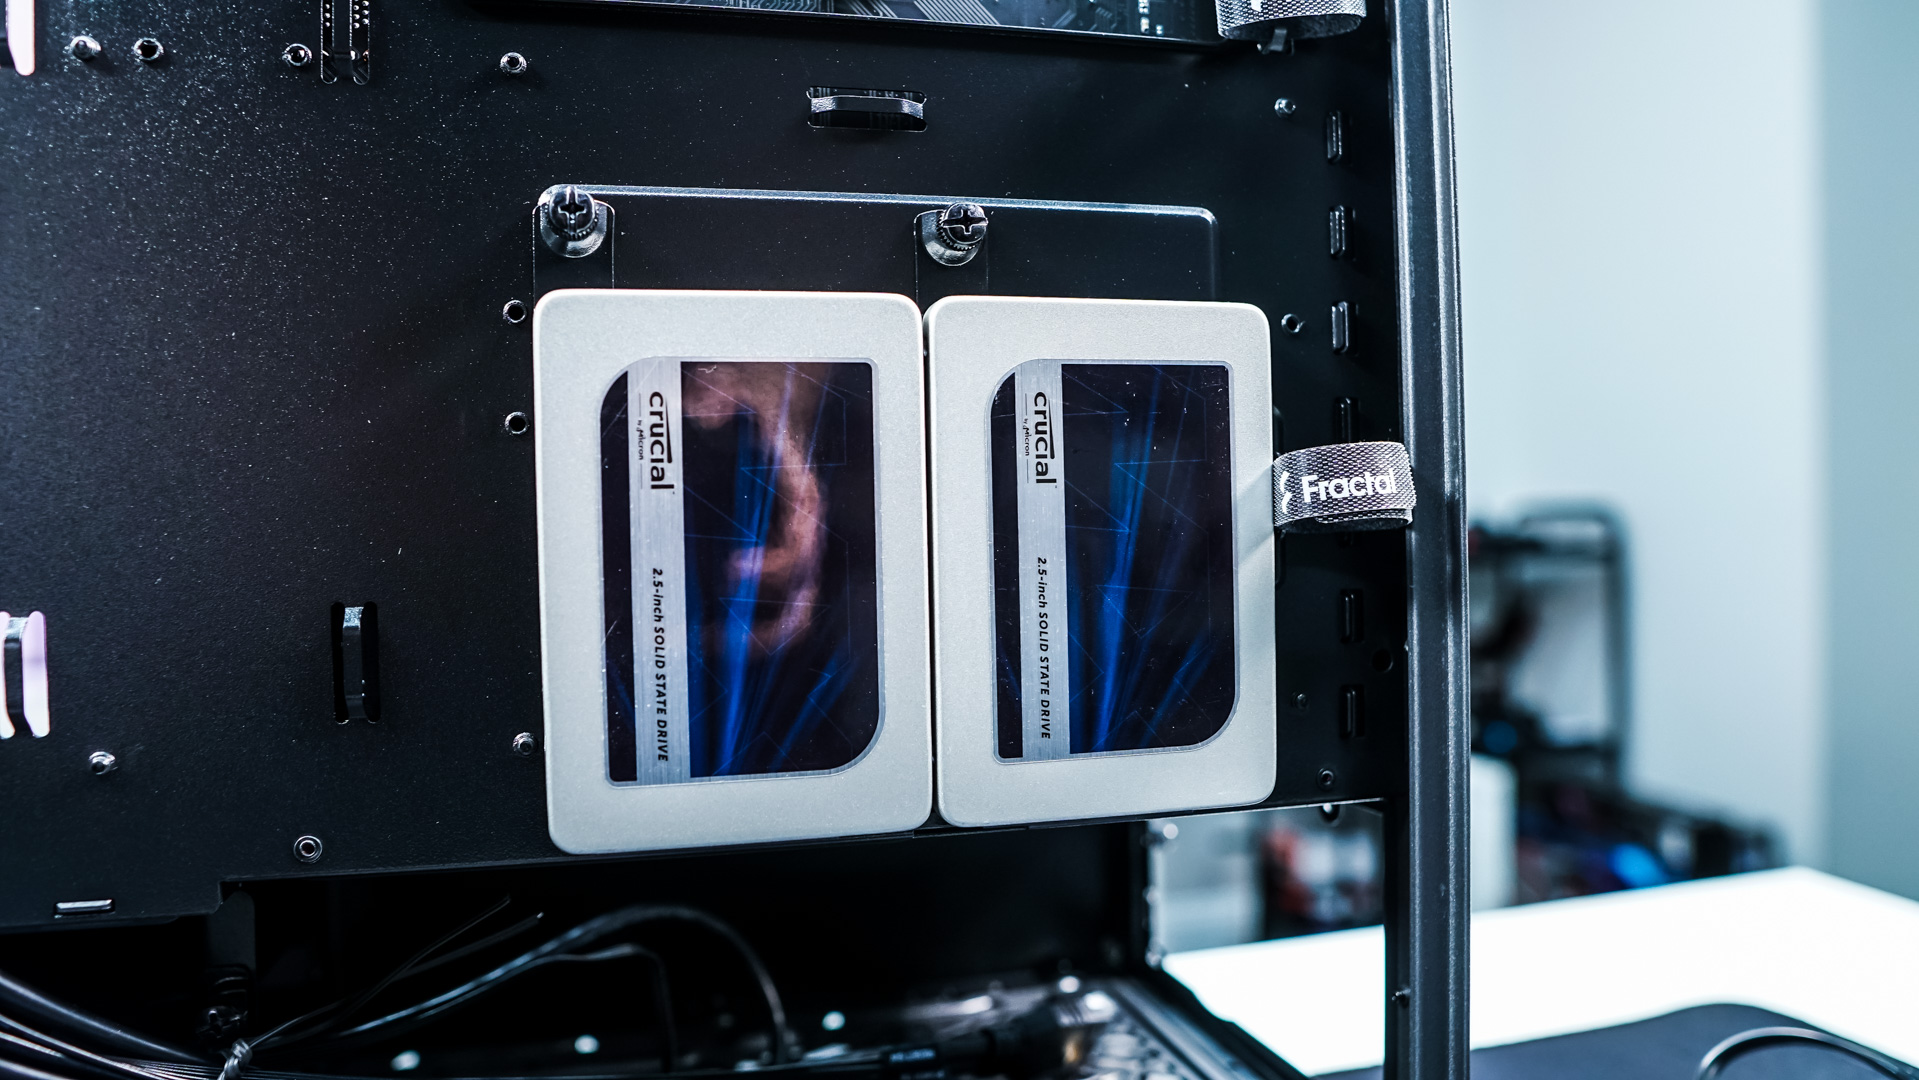
Next is our hard drives. We will be installing them on the removable trays on the backside of the motherboard tray. So simply remove them, install your drives, then re-install them.
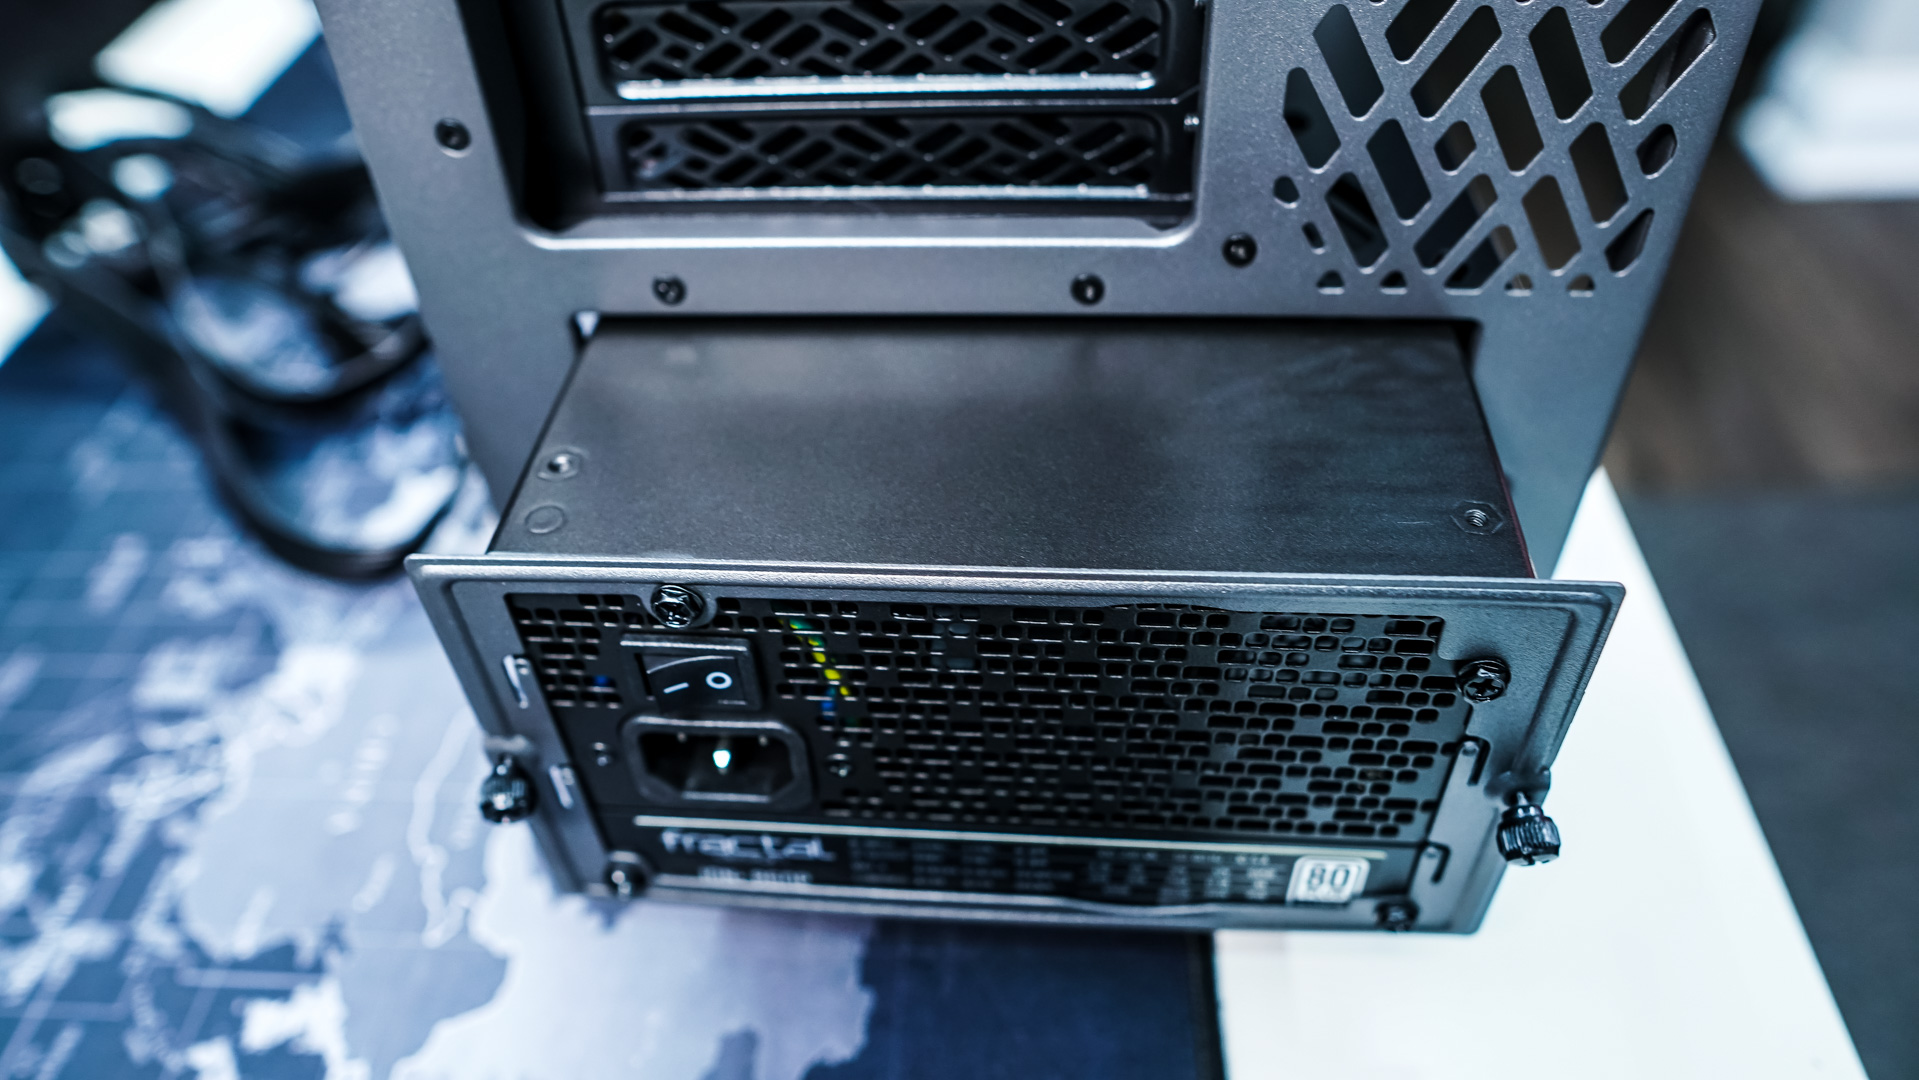
Your power supply slides in from the back of the case. First remove the power supply bracket from the back of the case and then attach it to your power supply. Then go ahead and slide your power supply in to the back of the case, securing it with the two thumbscrews on the bracket.


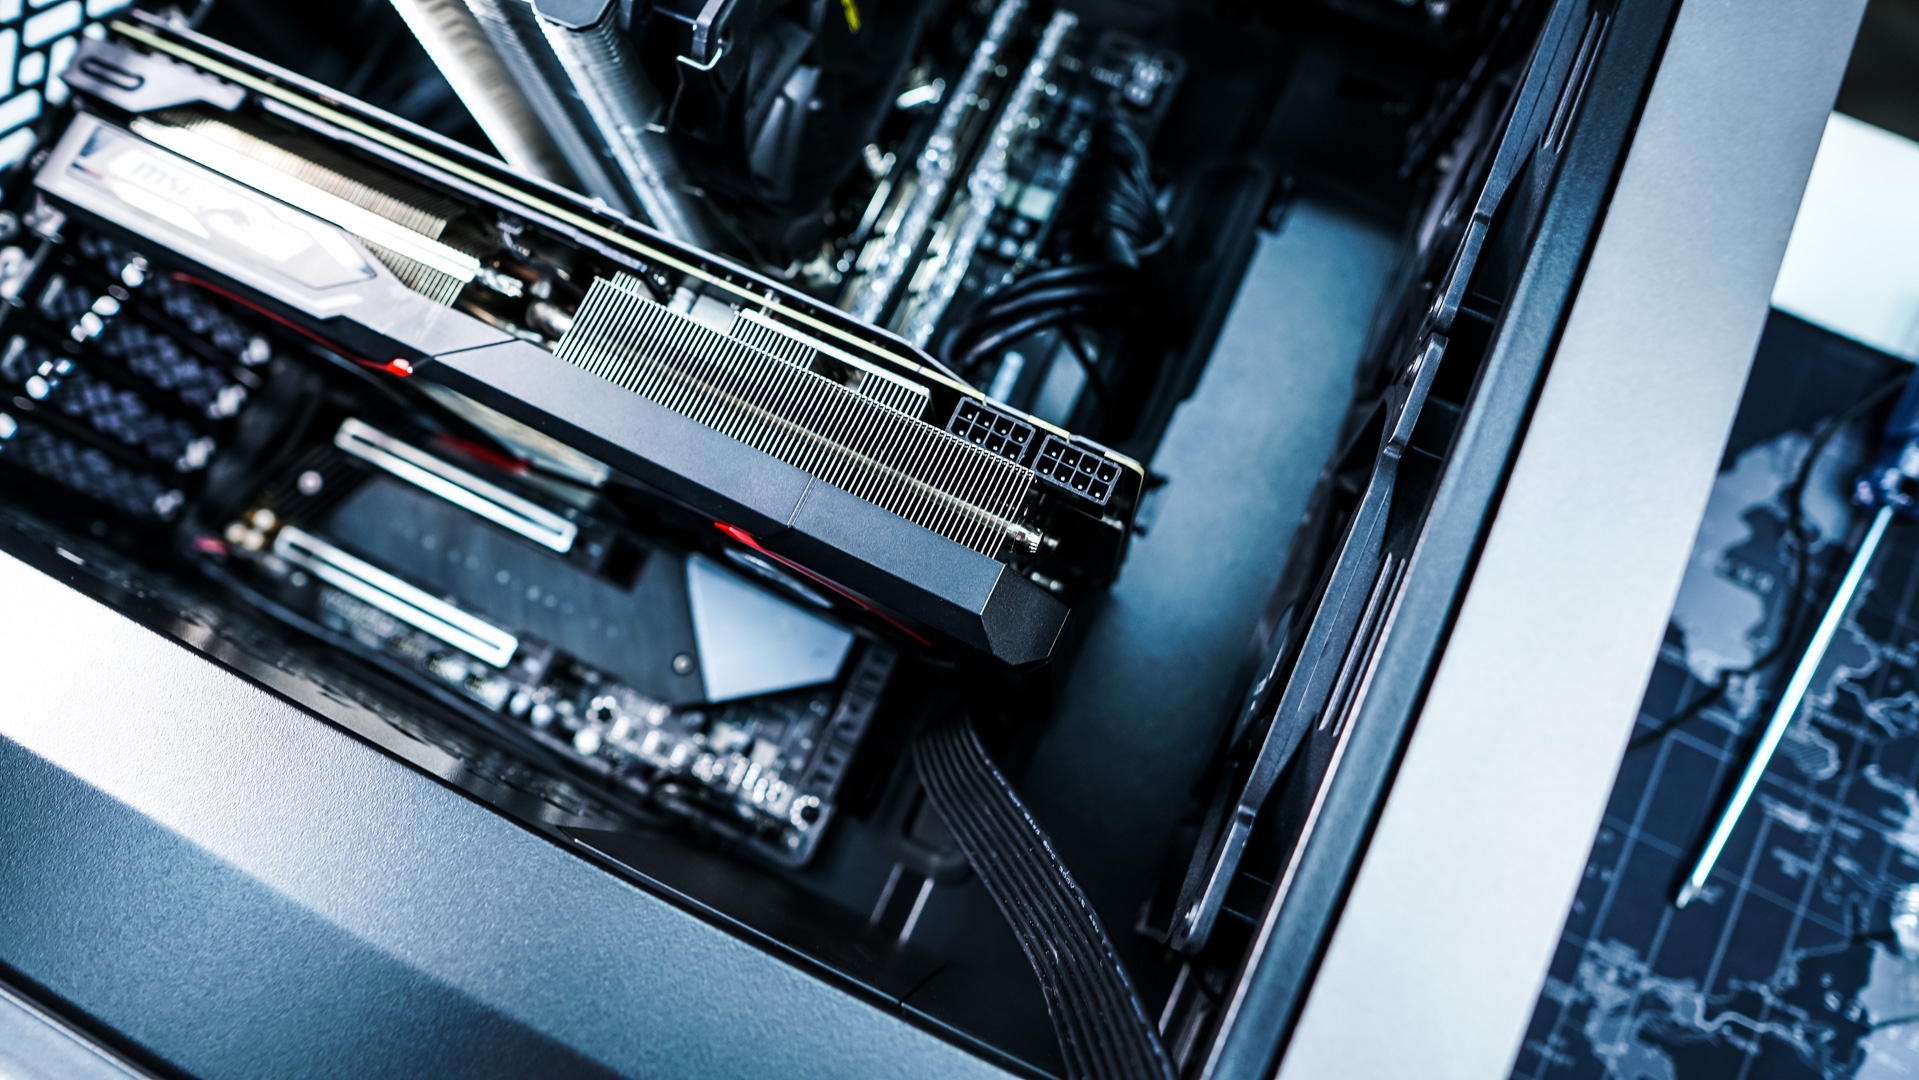
Our final piece of hardware is our graphics card. For those wondering this case supports graphics cards up to 341 mm and if you remove the front fan 360 mm.

Now it is time to connect all of our cables and organize everything. The cable guides and velcro straps make it easy to organize your cables and keep everything looking nice. We didn’t even have to use any of the included zip ties.
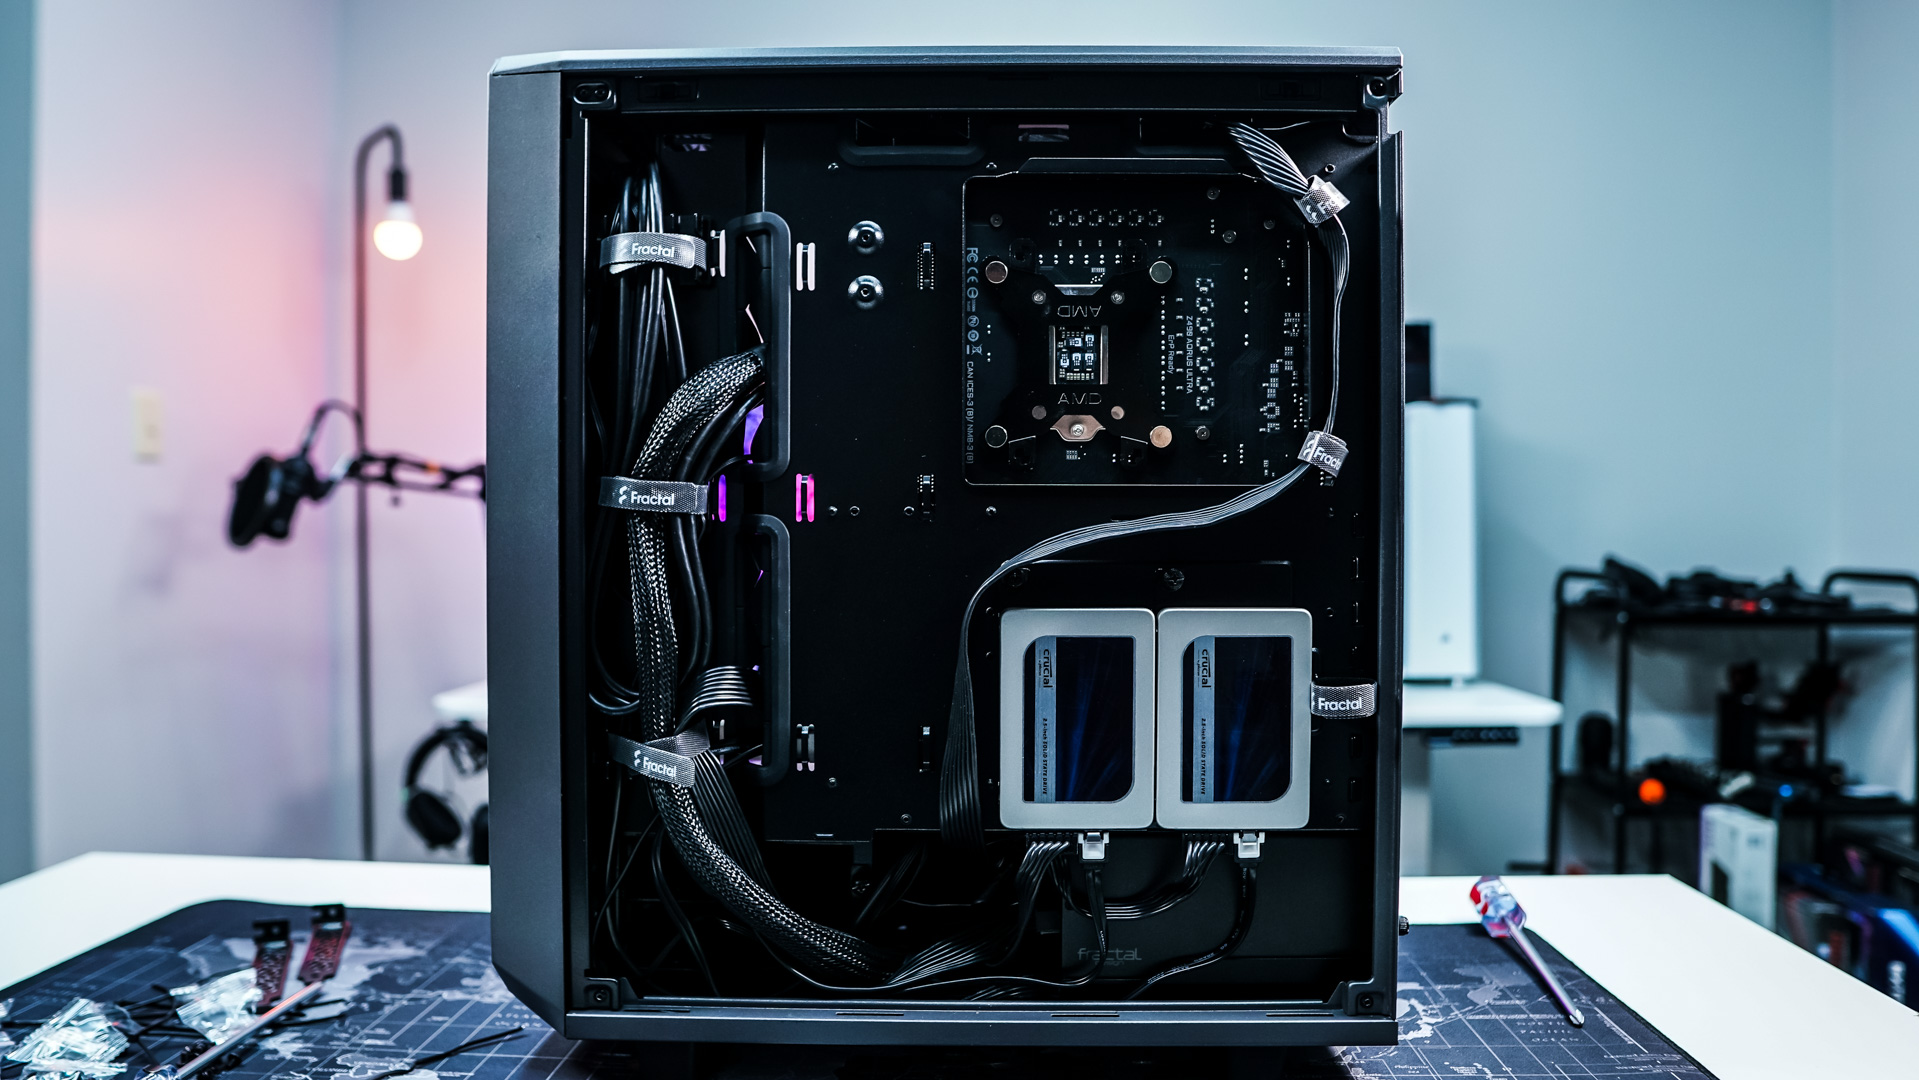
With everything installed we have a very clean build!