
Fractal Design Meshify 3 Ambience Pro RGB Case Overview
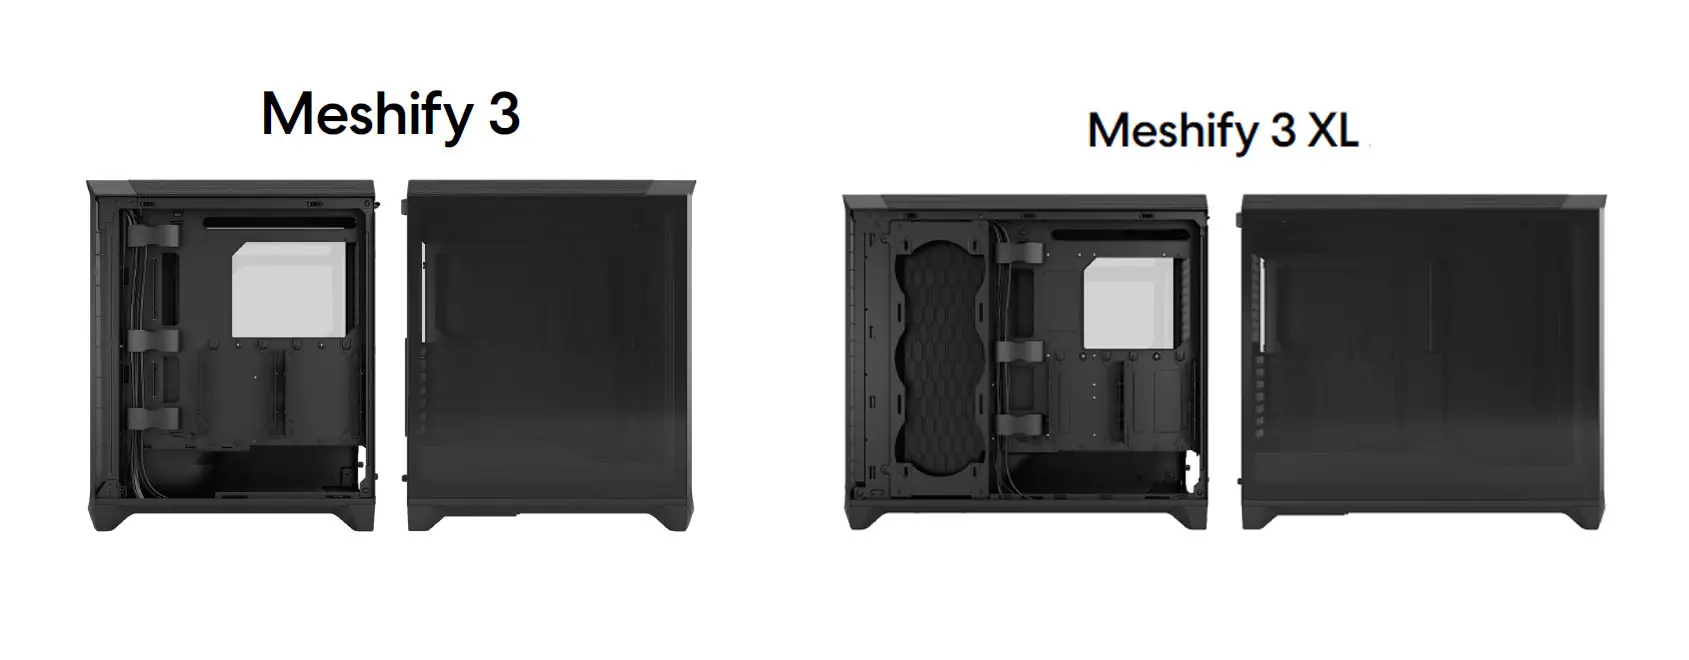
Like most Fractal Design cases these days there are different versions of this case. First off size-wise there is the Meshify 3 and Meshify 3 XL. The XL is of course the larger case. It supports the largest motherboards and SSI-CEB and has side-mount cooling. The case we have here today is just the normal Meshify 3 (size-wise), which I would call a compact mid-tower.
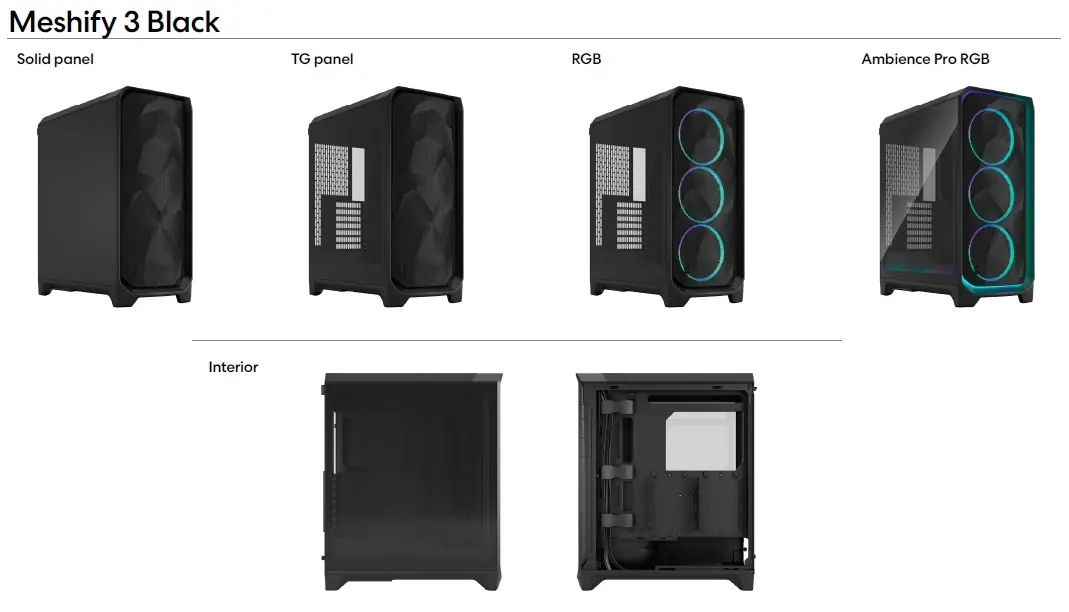
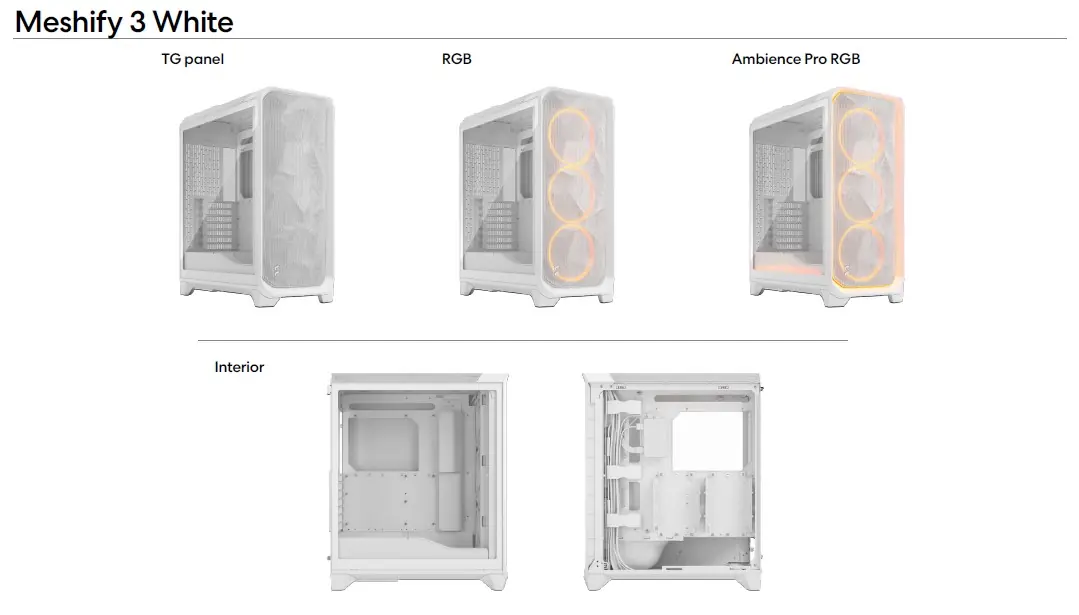
At launch Fractal Design will be offering the Meshify 3 in two different colorways (Black & White) with different side panel and lighting options. Those are detailed below. The big difference between the RGB and Ambience Pro RGB versions of the case is that the Ambience Pro RGB ships with the Adjust Pro Hub as well as the extra RGB strips, while the RGB version only ships with the fans and no Adjust Pro Hub. I did find it interesting that there is no solid panel option for the white version of the case.
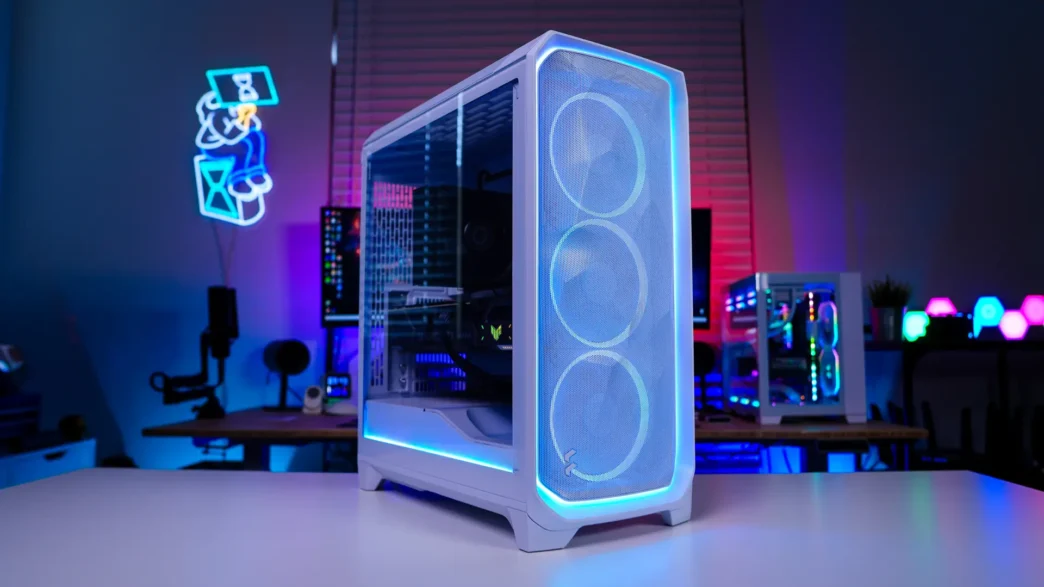
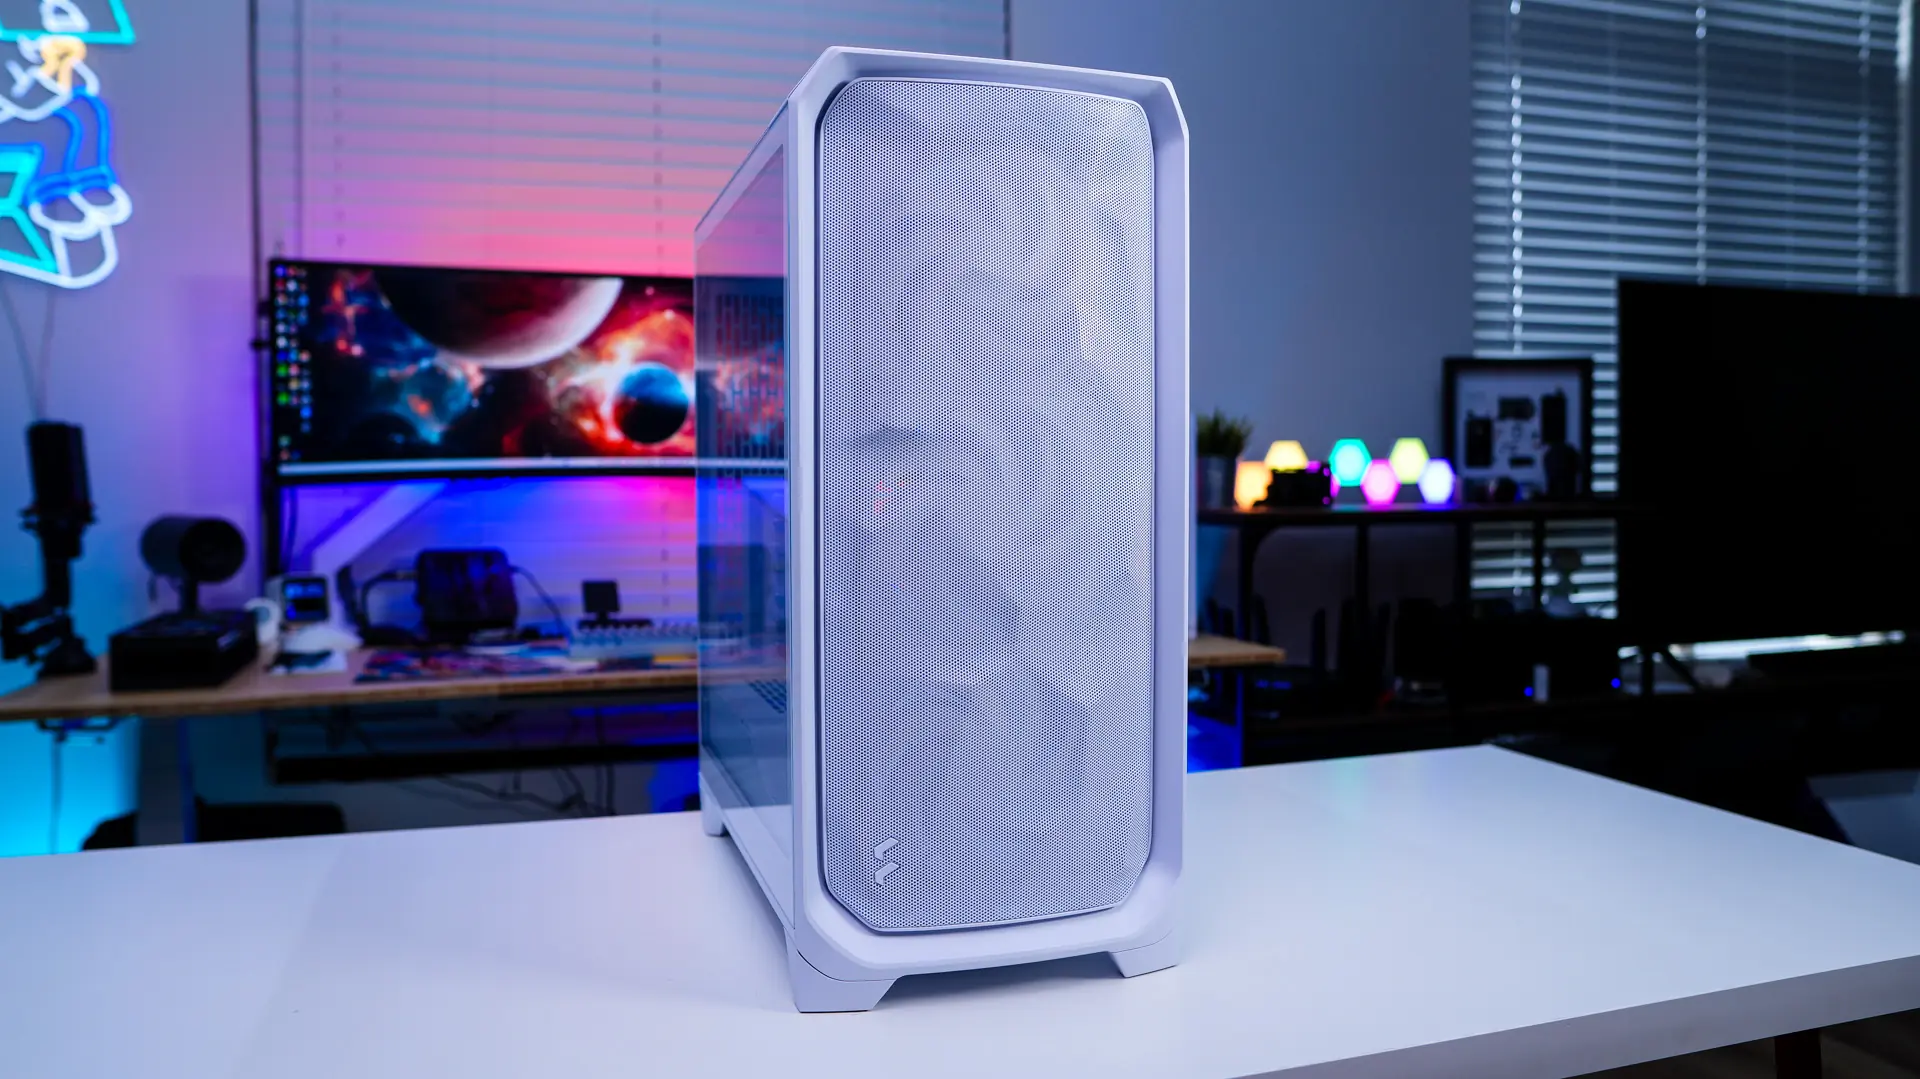
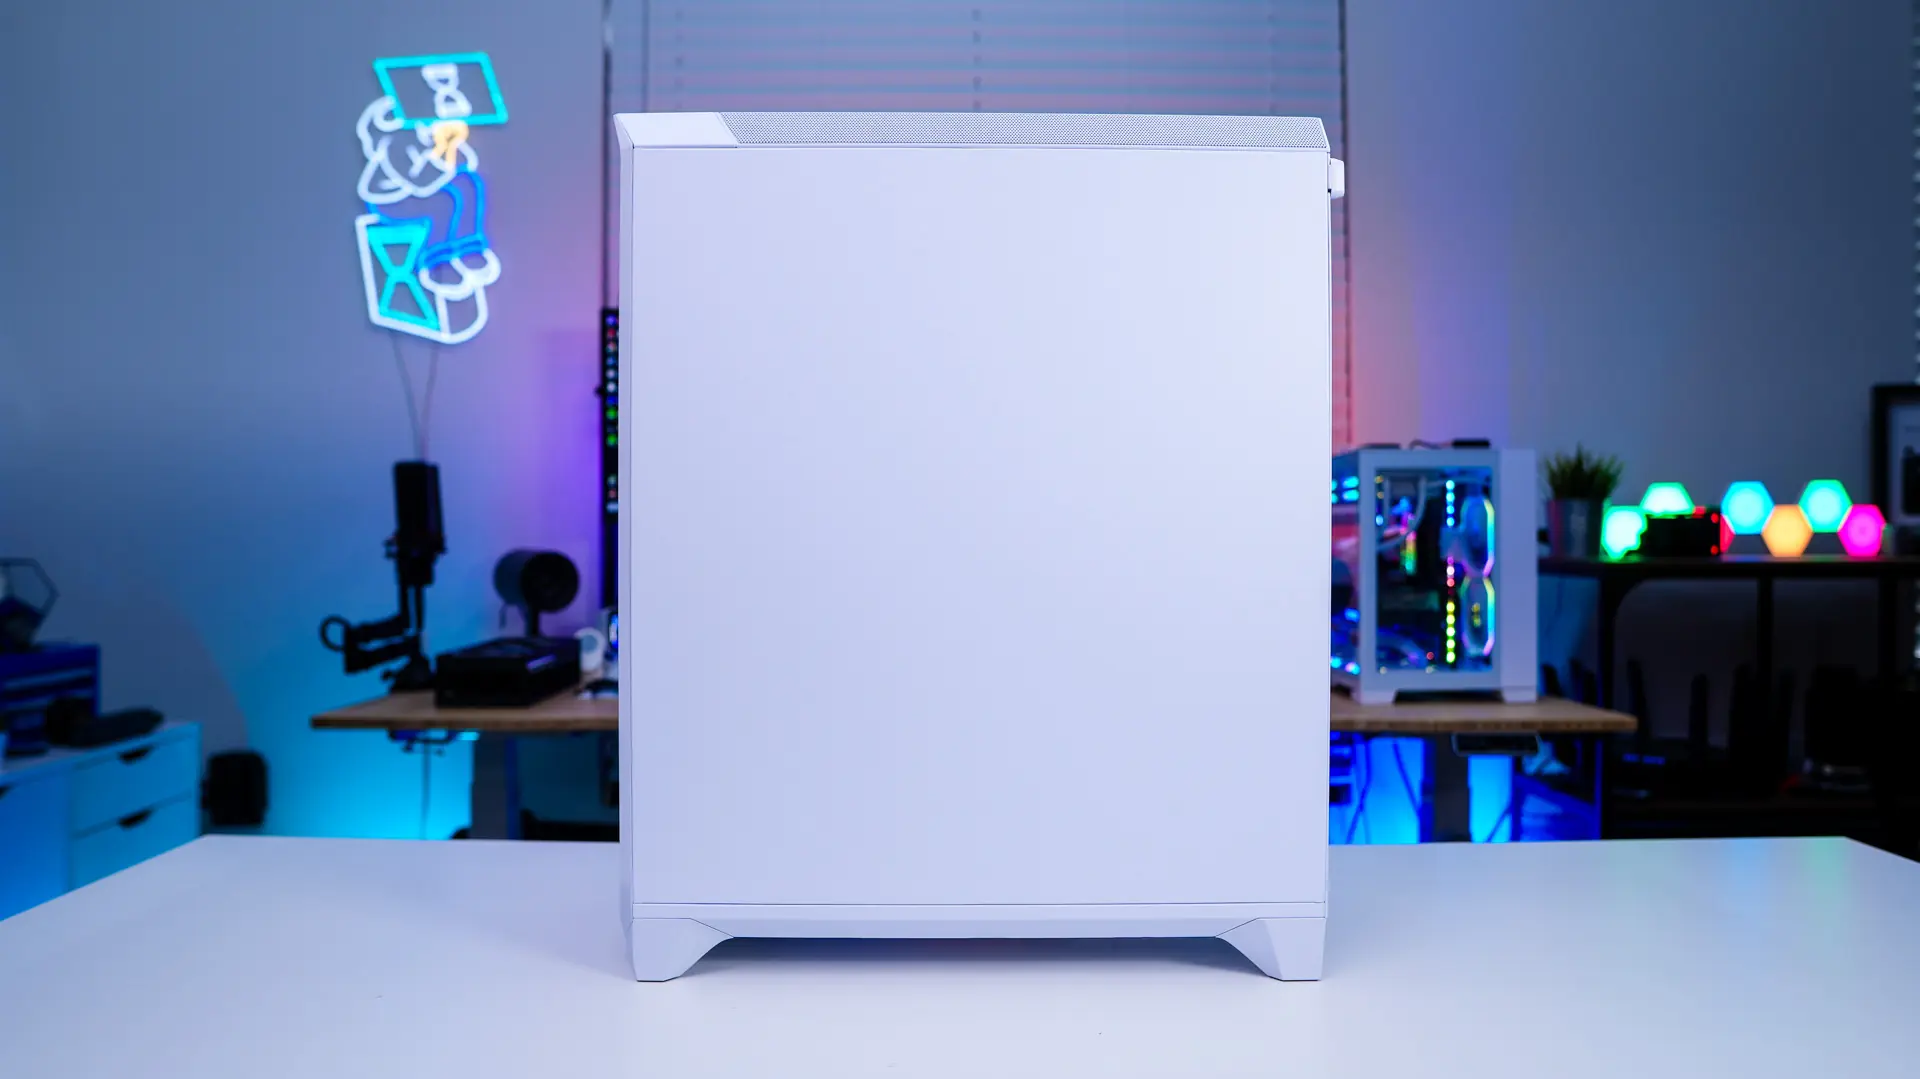
We received the White Ambience Pro RGB version of the case, which does offer RGB fans and accent lighting (more on that in a bit). If you are wondering about size I would call the Meshify 3 a compact mid tower, the official dimensions are 423 x 229 x 507mm.

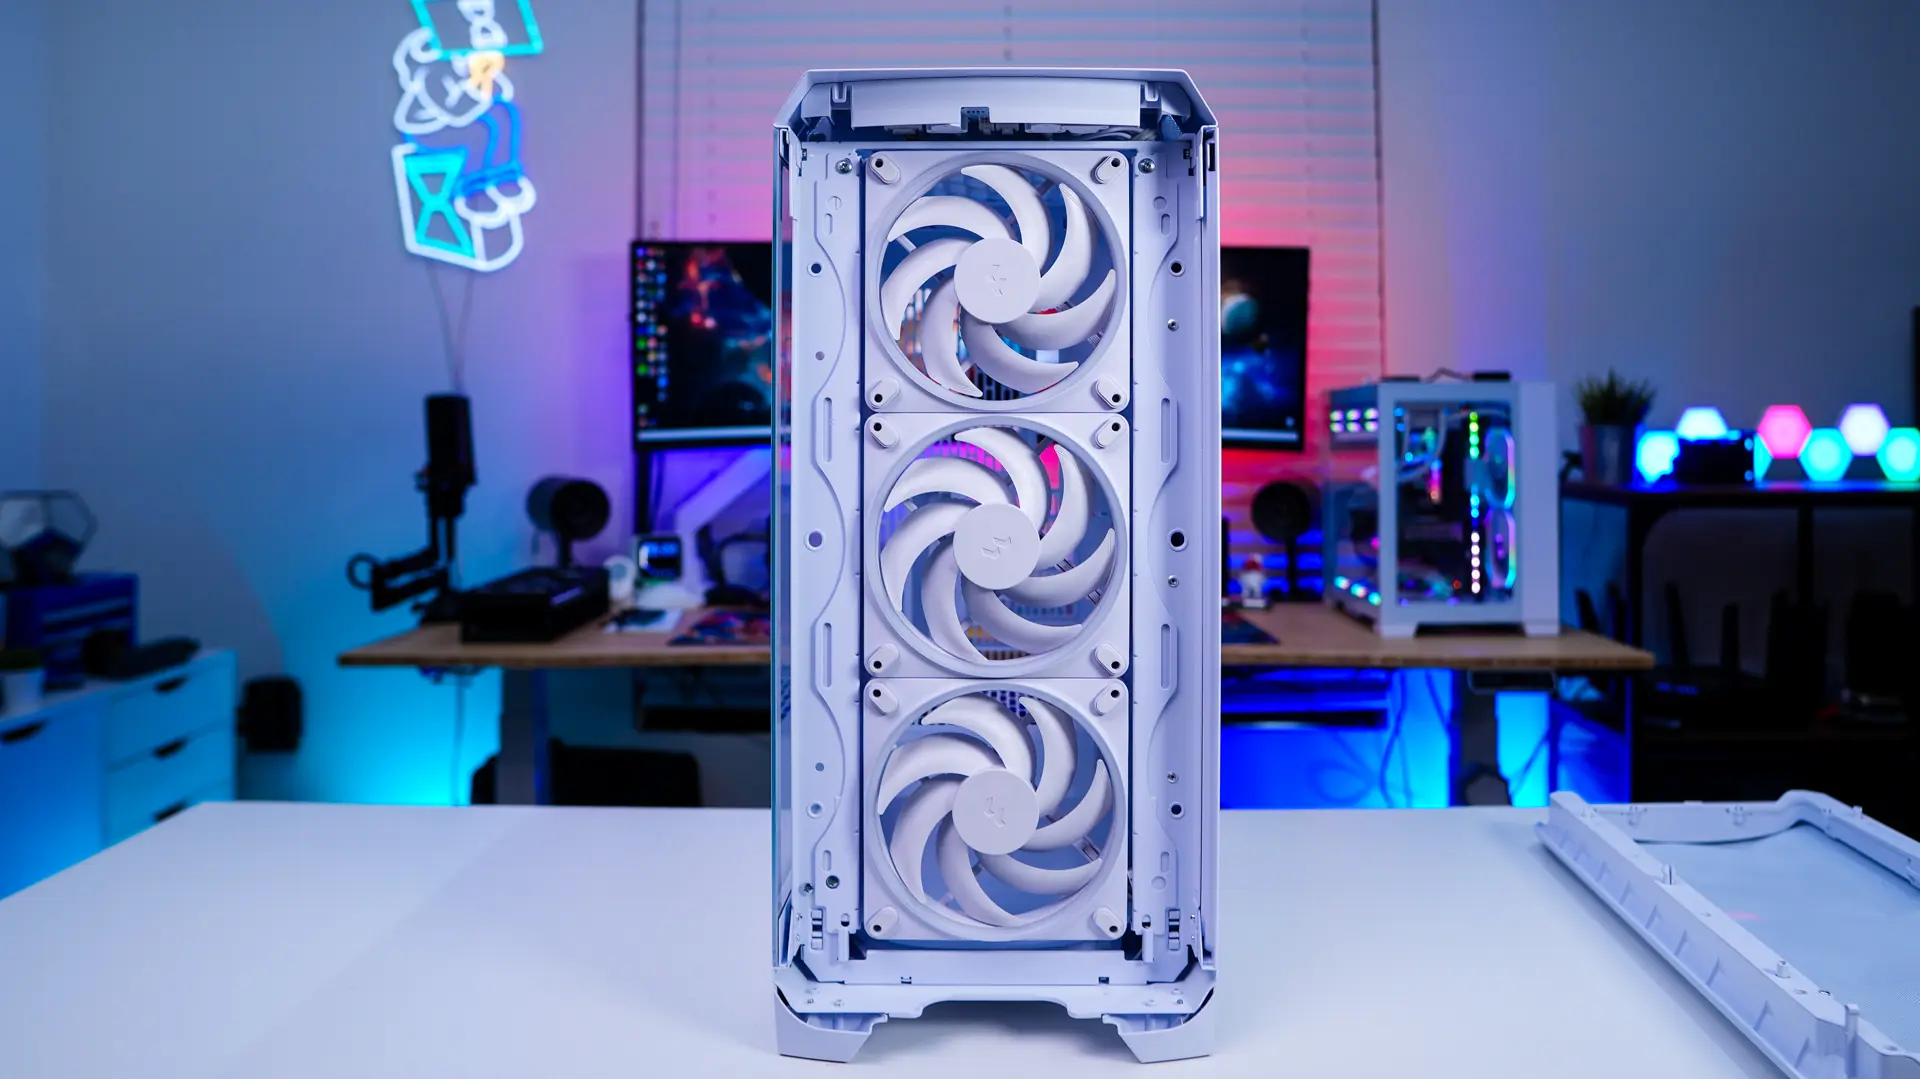
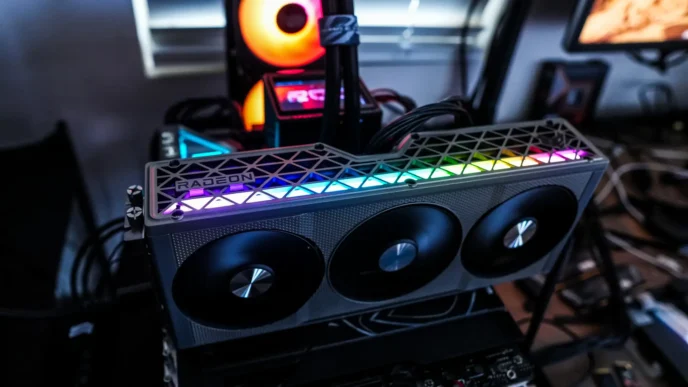
Starting at the front of the case we of course have the iconic mesh which made this case so popular when it first launched. If you are not familiar with the Meshify series Fractal Design didn’t just put a simple mesh front panel on the case, they’ve given it an angular design, which definitely makes it stand out. Towards the bottom of the case is a simple Fractal Design logo.
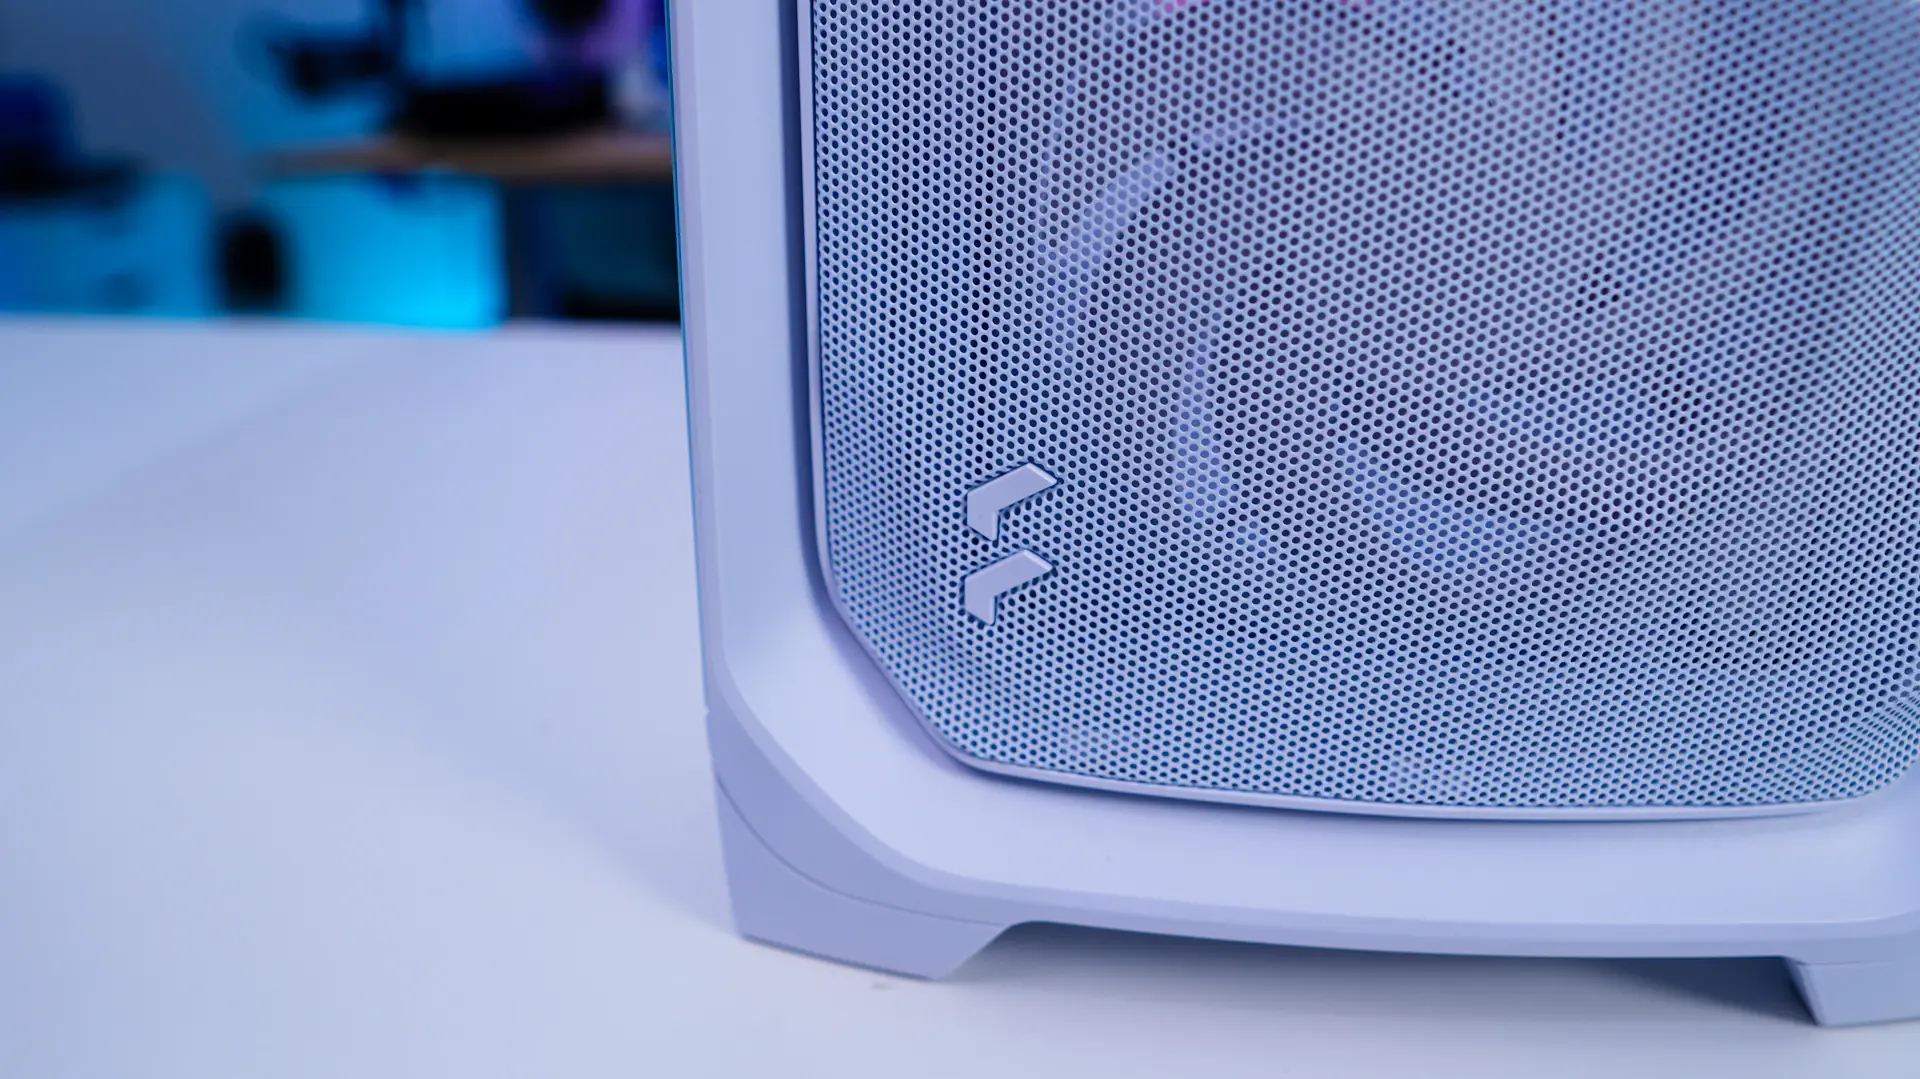
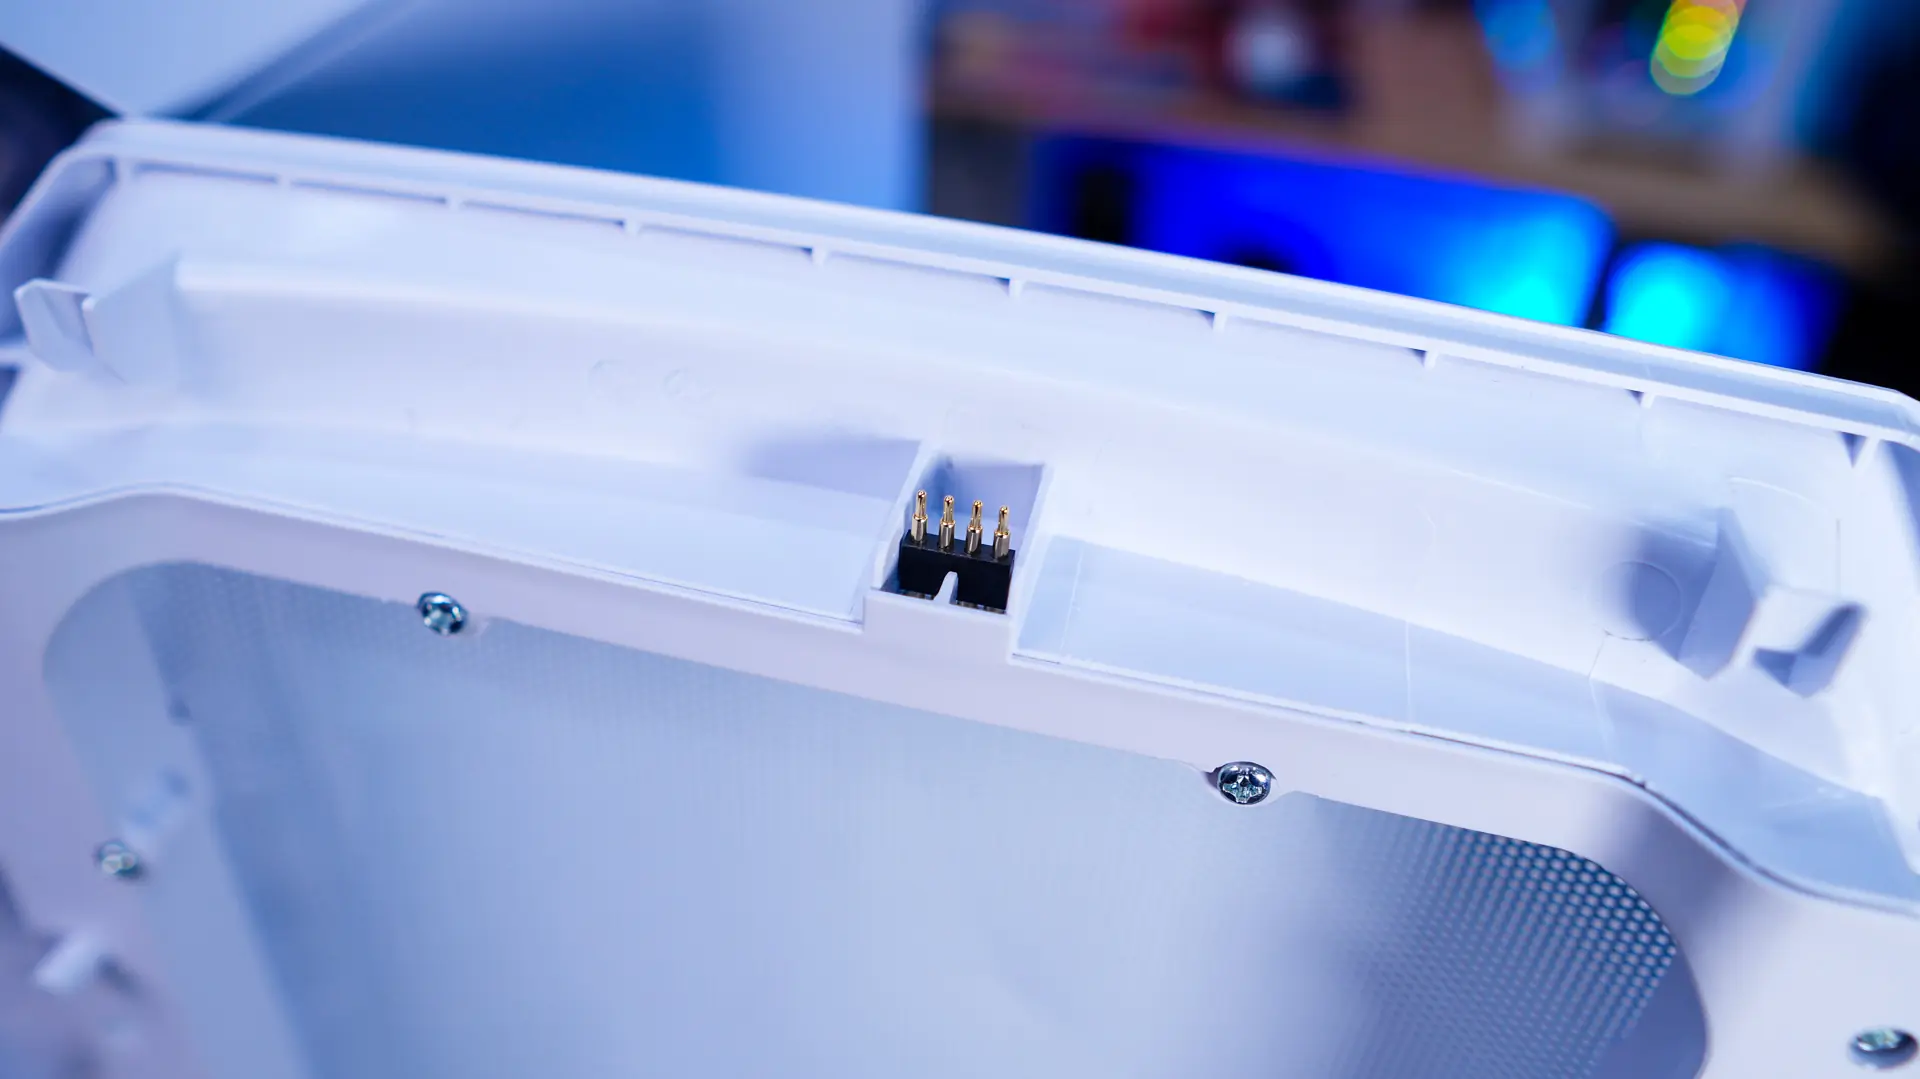
Pulling on the panel from the bottom it easily pops off the front of the case so you can clean it if need be. Fractal is making use of a pogo-style connection for the front accent lighting so you don’t have to worry about any cables or anything when you remove the front panel.
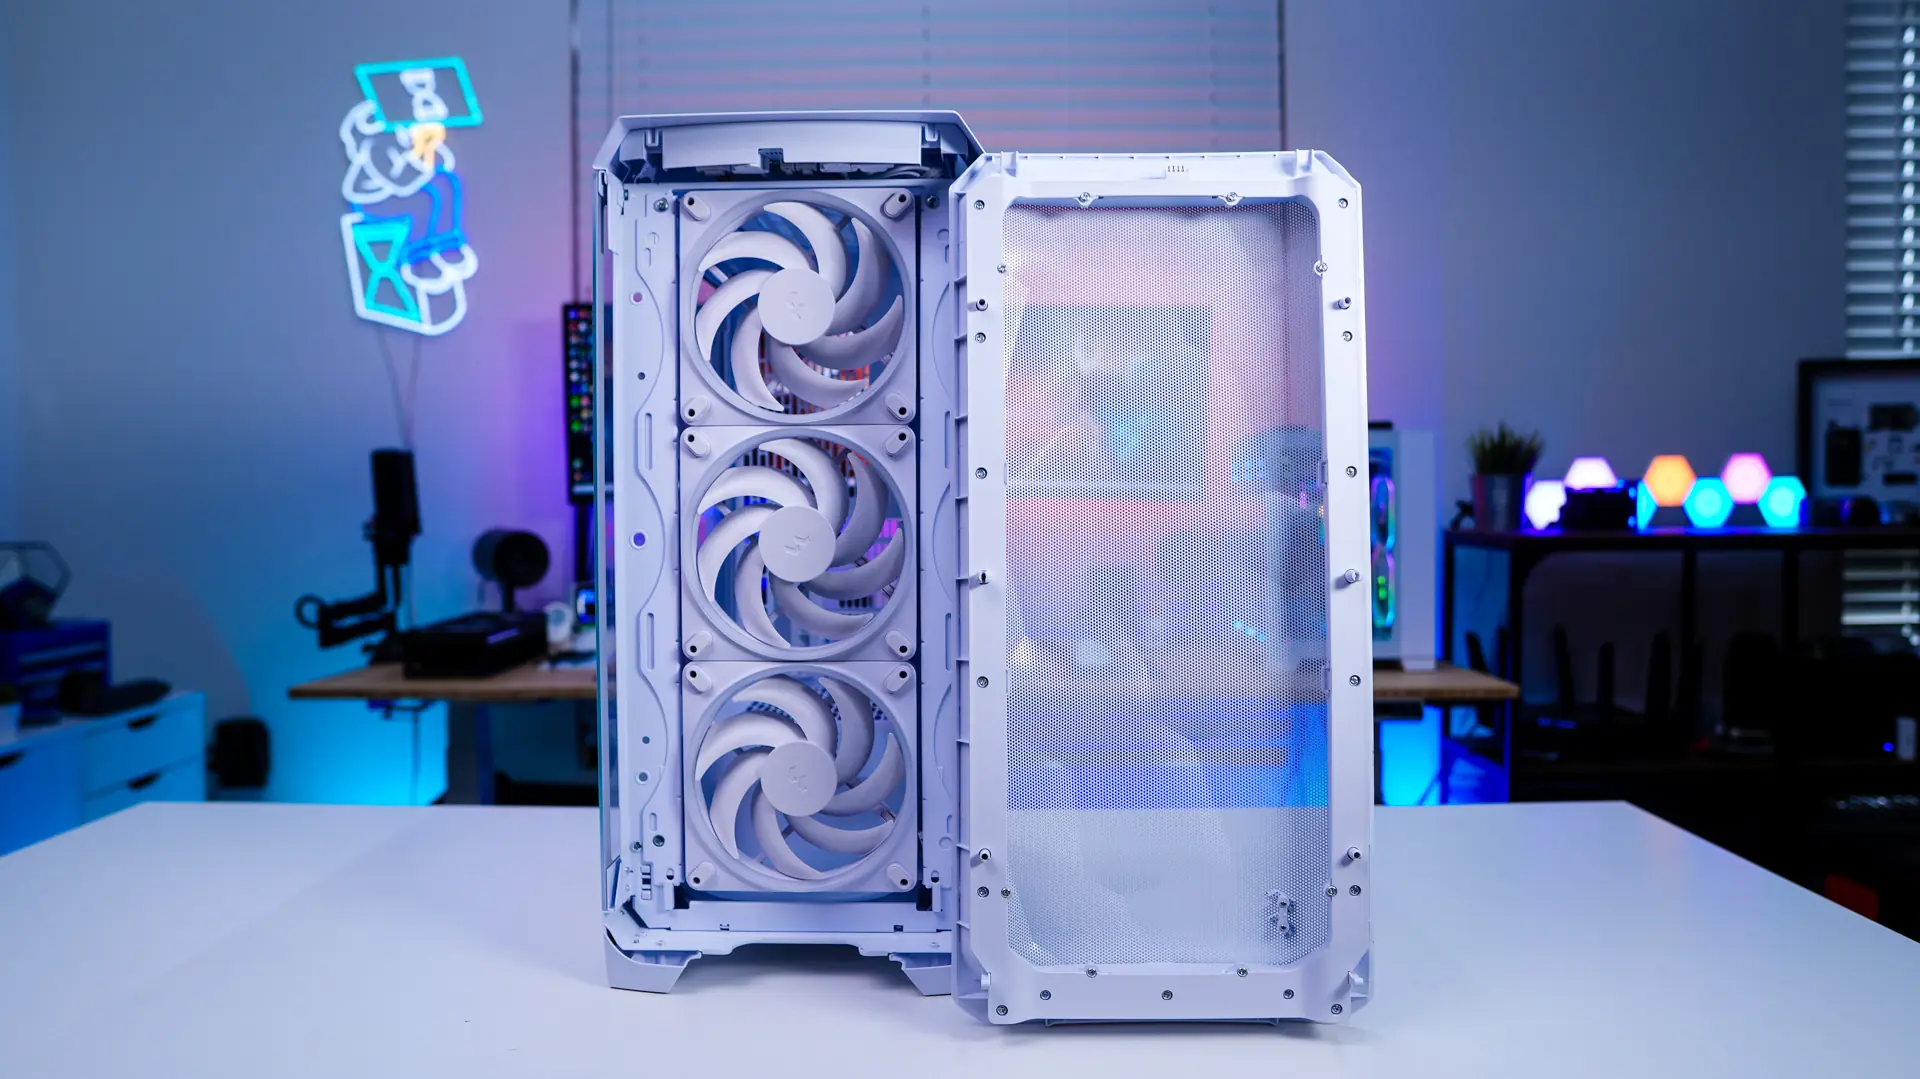
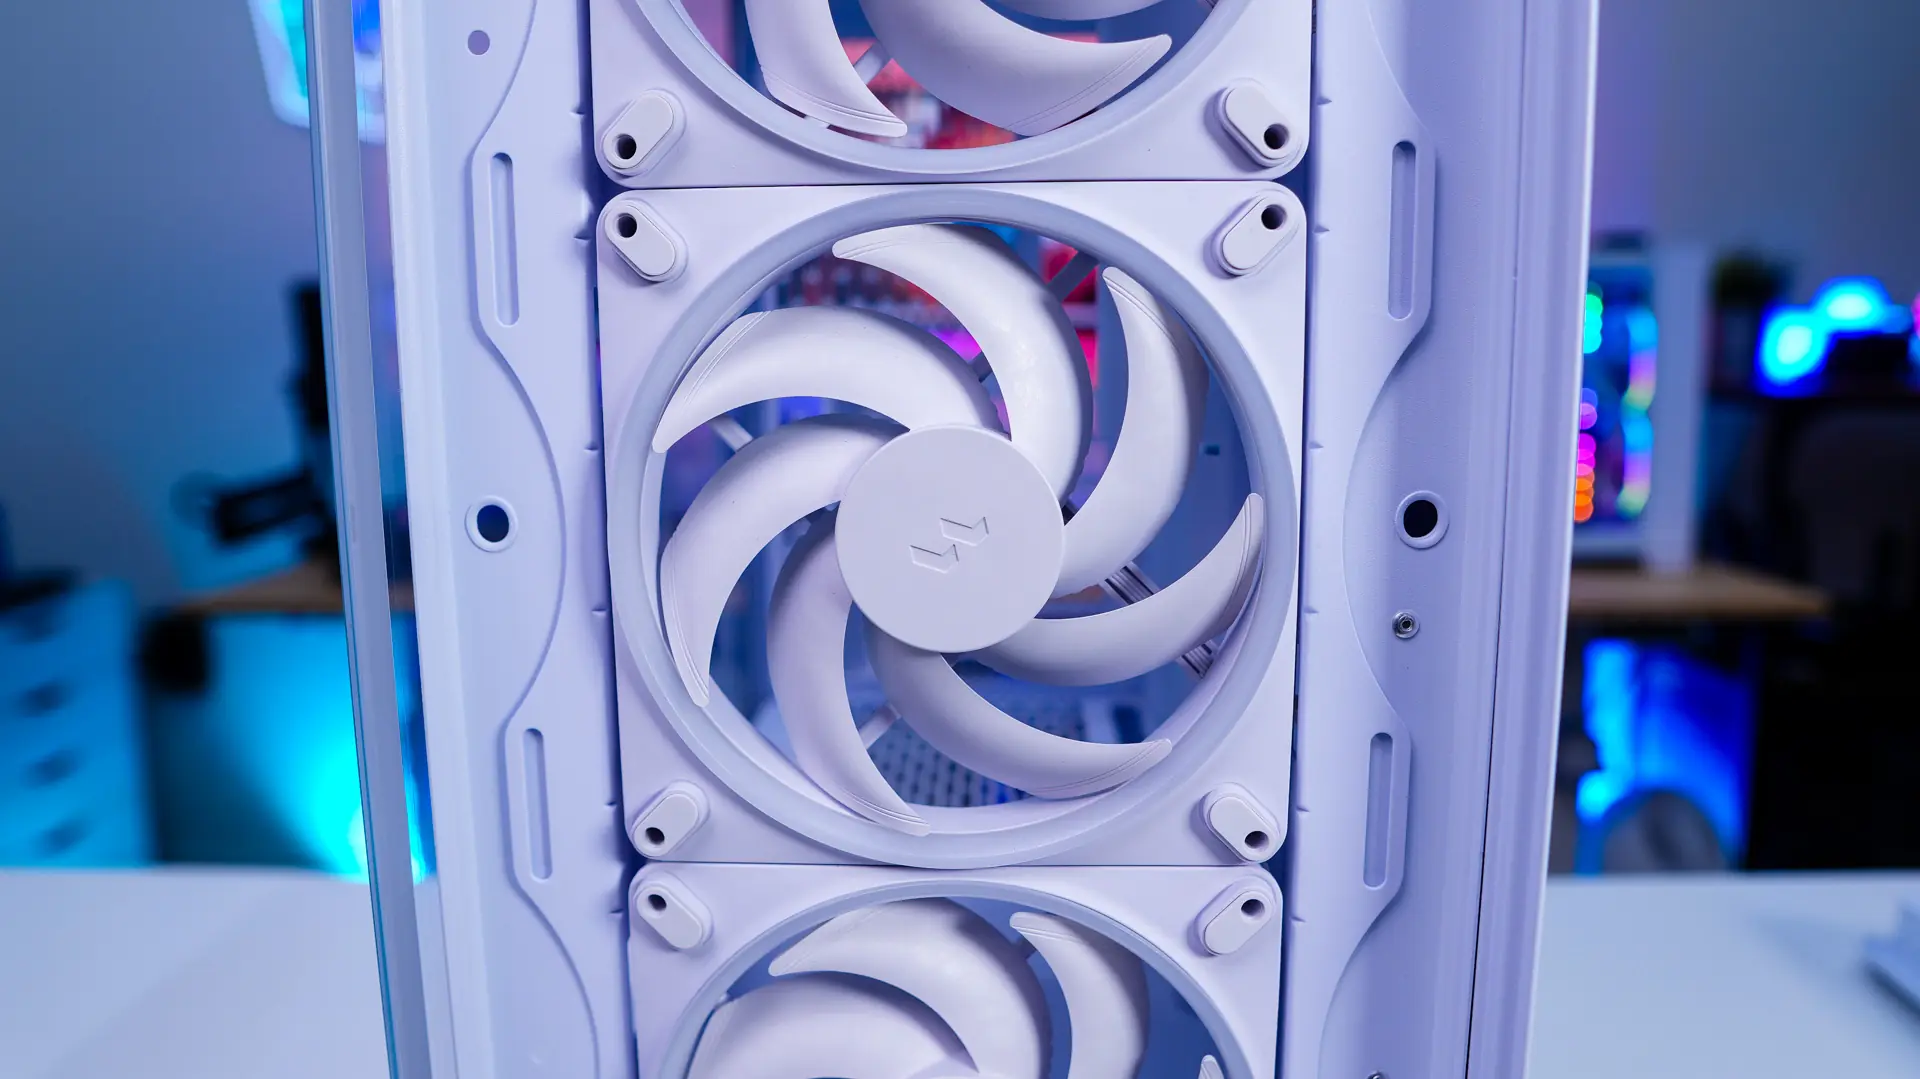
With the front of the case removed we can get a look at the three included 140mm fans. These are Fractal’s new Momentum 14 RGB PWM fans. These feature low-noise LCP blades, a true FBD bearing, and a single USB-C style connector for easy daisy-chaining. These three fans are the only fans that are included in the case. The front of the case also does support three 120mm fans or radiators up to 360mm.
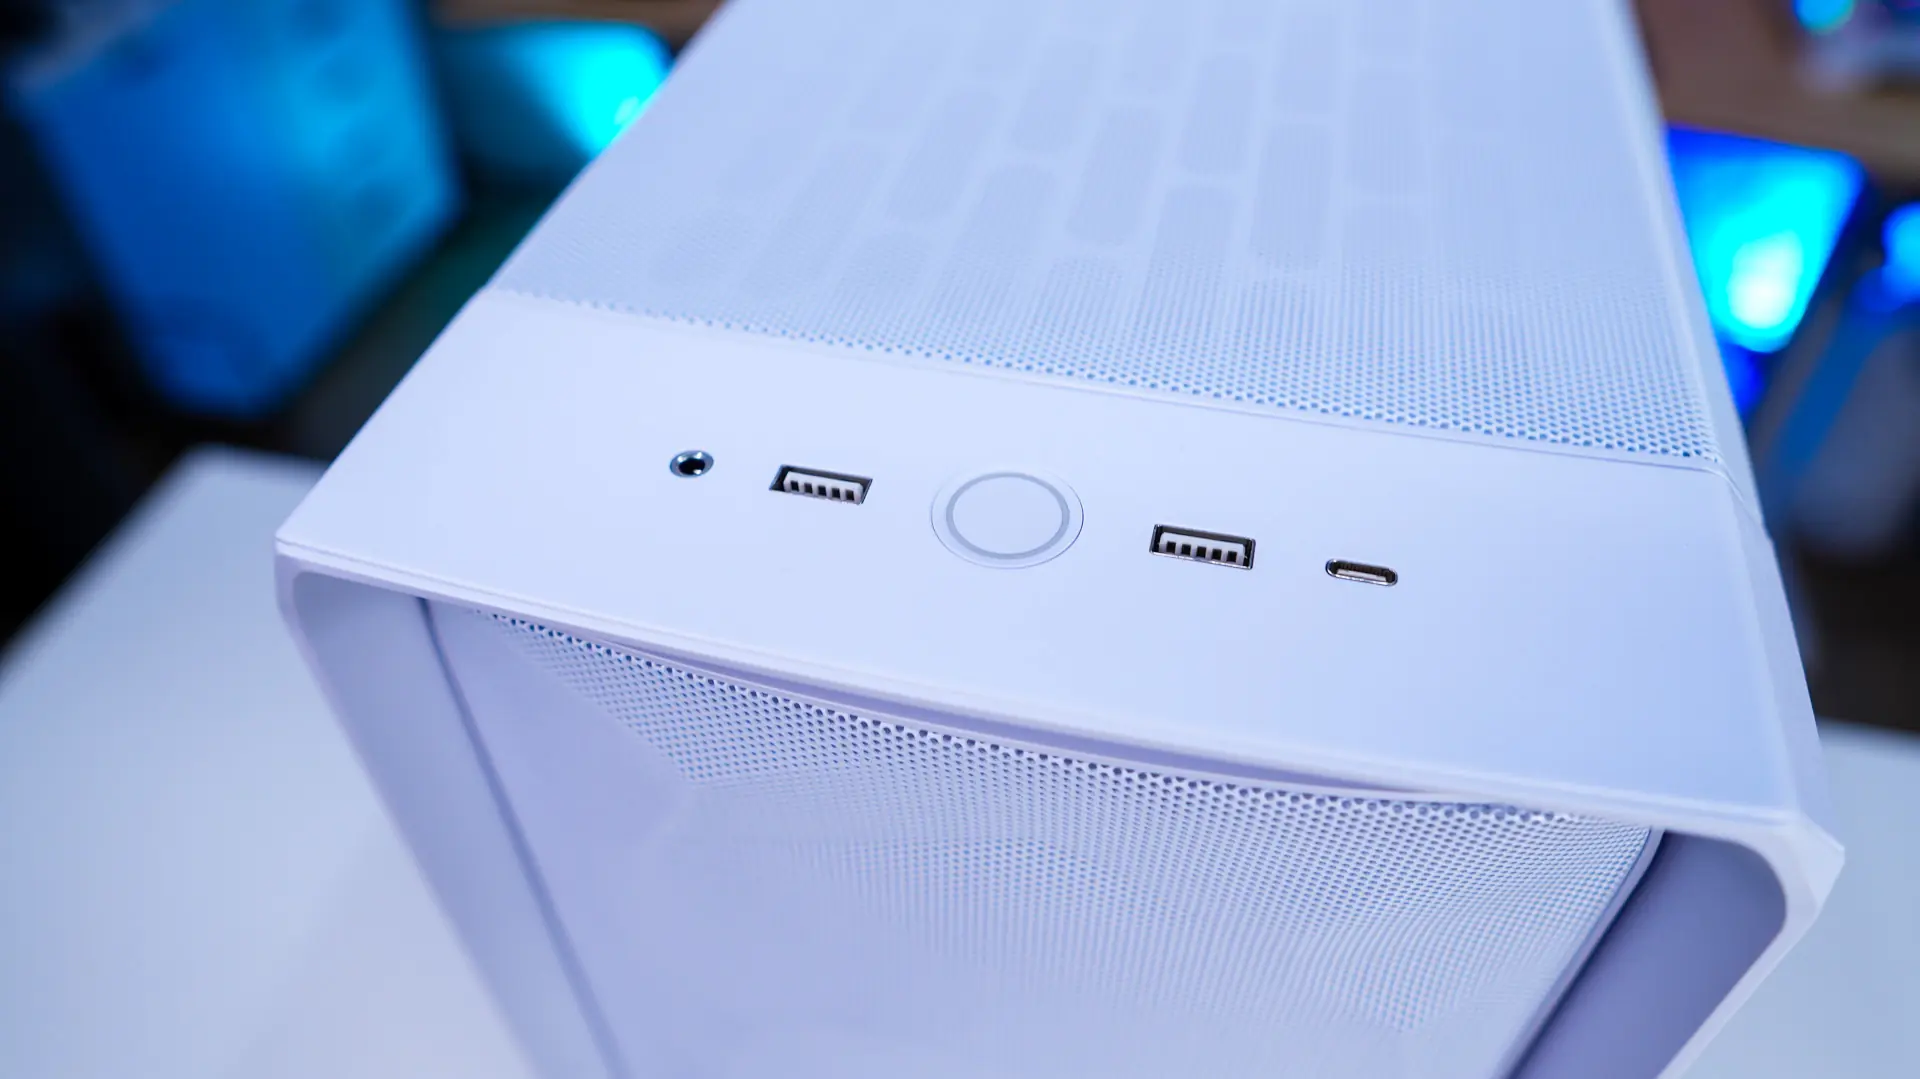
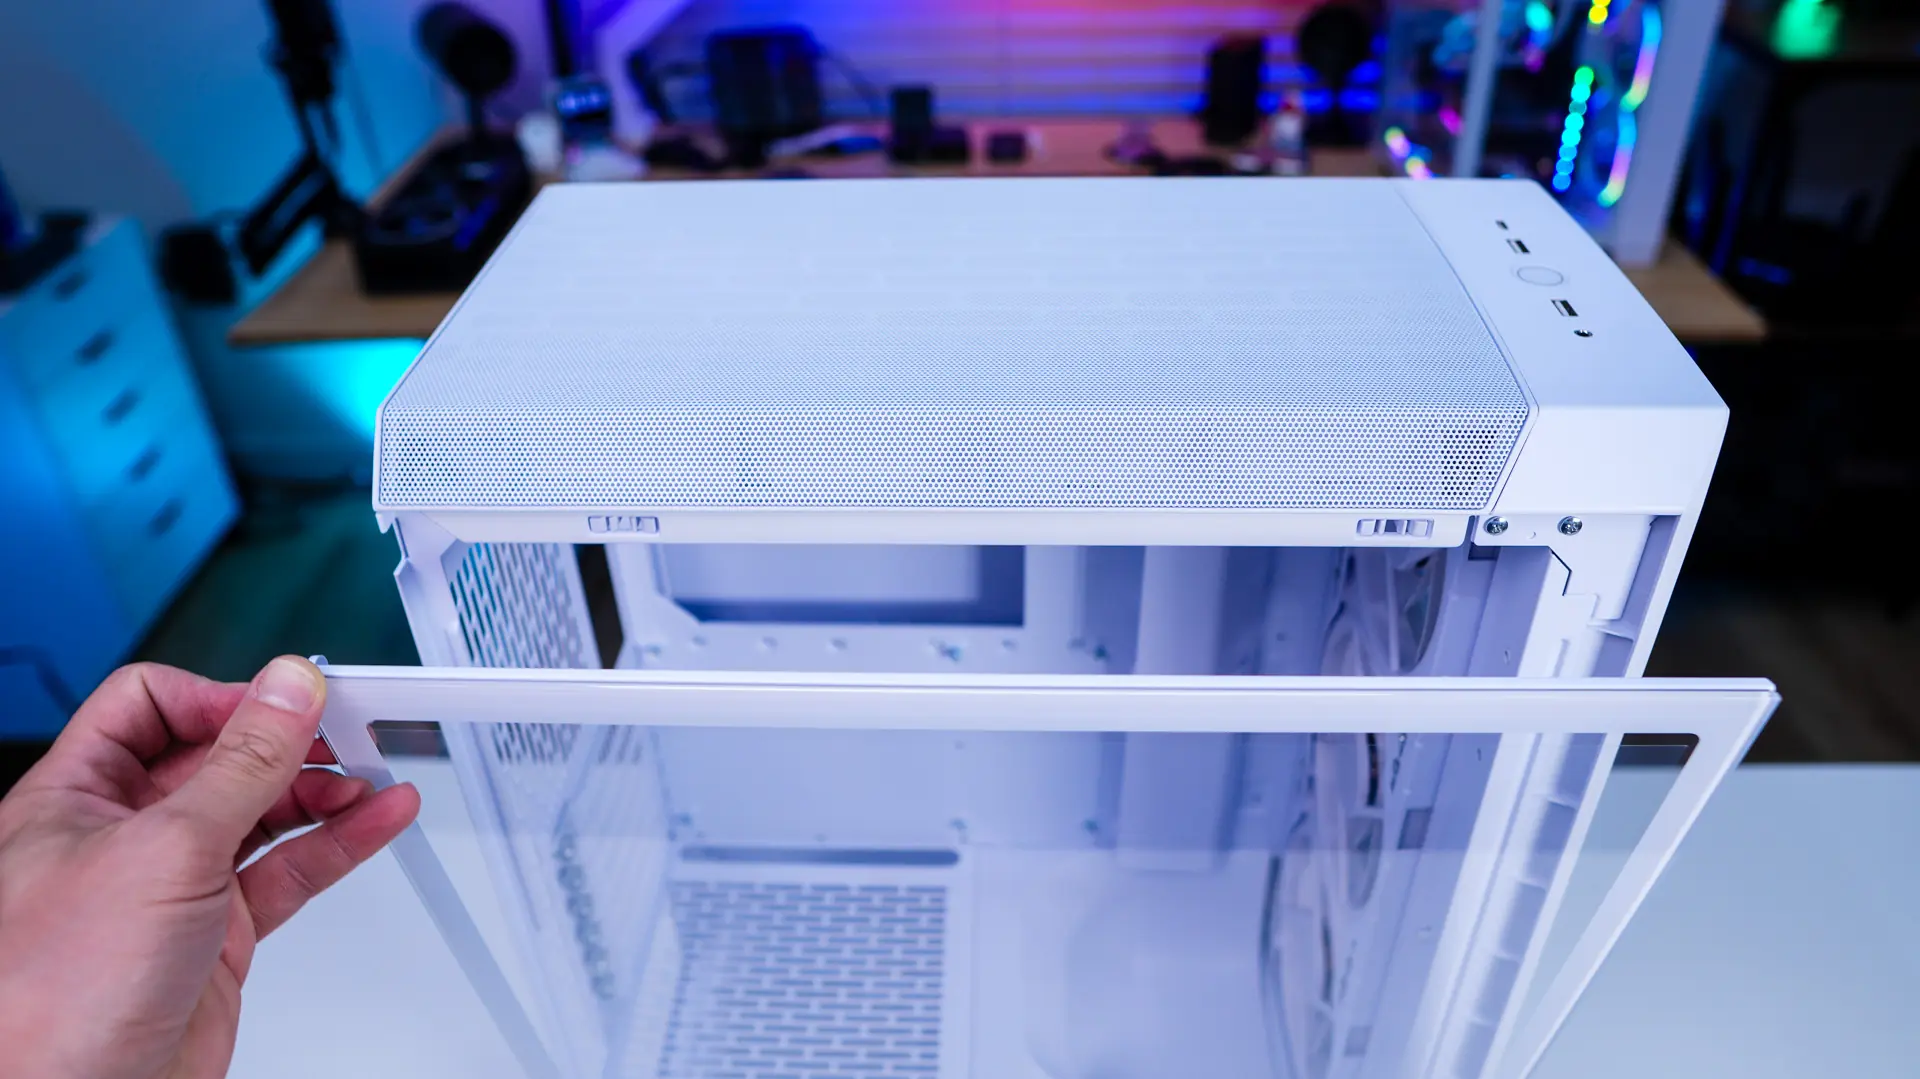
Moving up to the top of the case you will find your I/O which includes a large power button in the center, two USB 3.0 Type-A ports, a USB 3.2 gen 2×2 Type-C port, and a combination headphone / microphone jack.
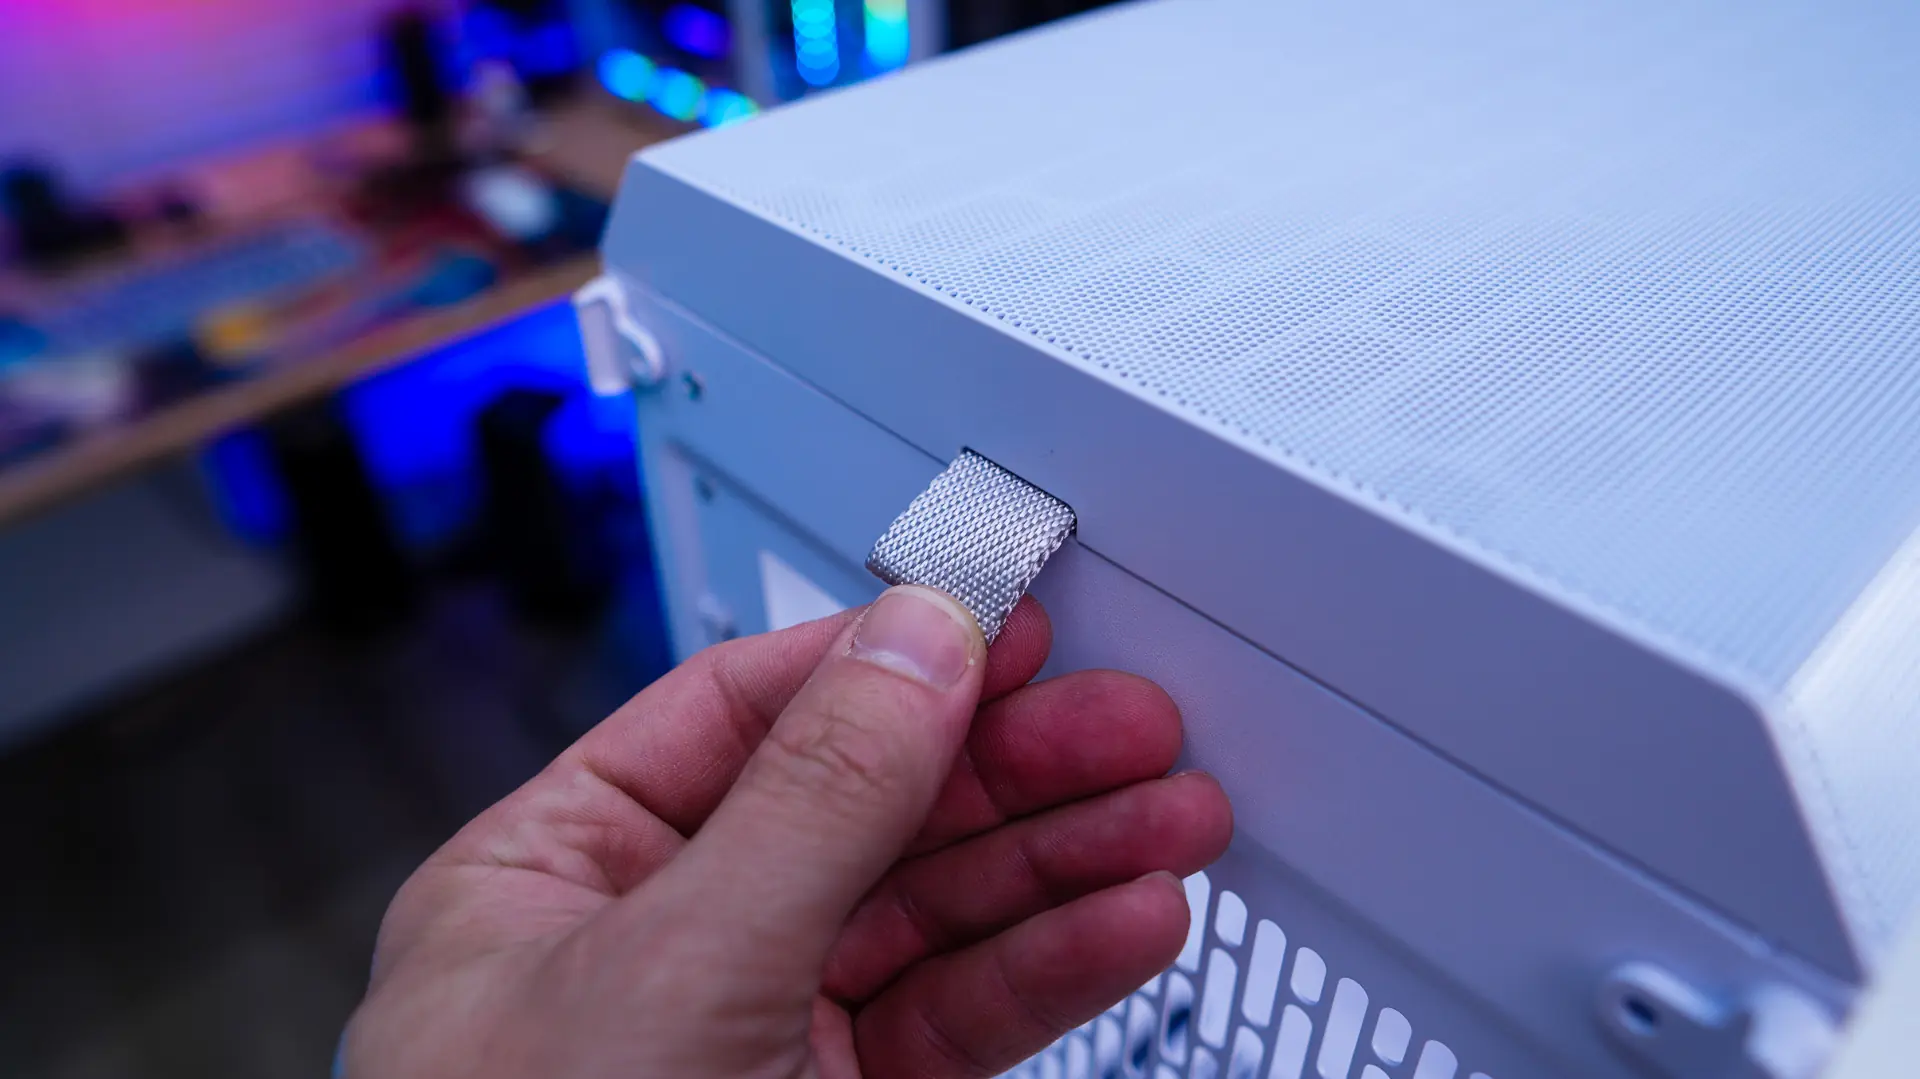
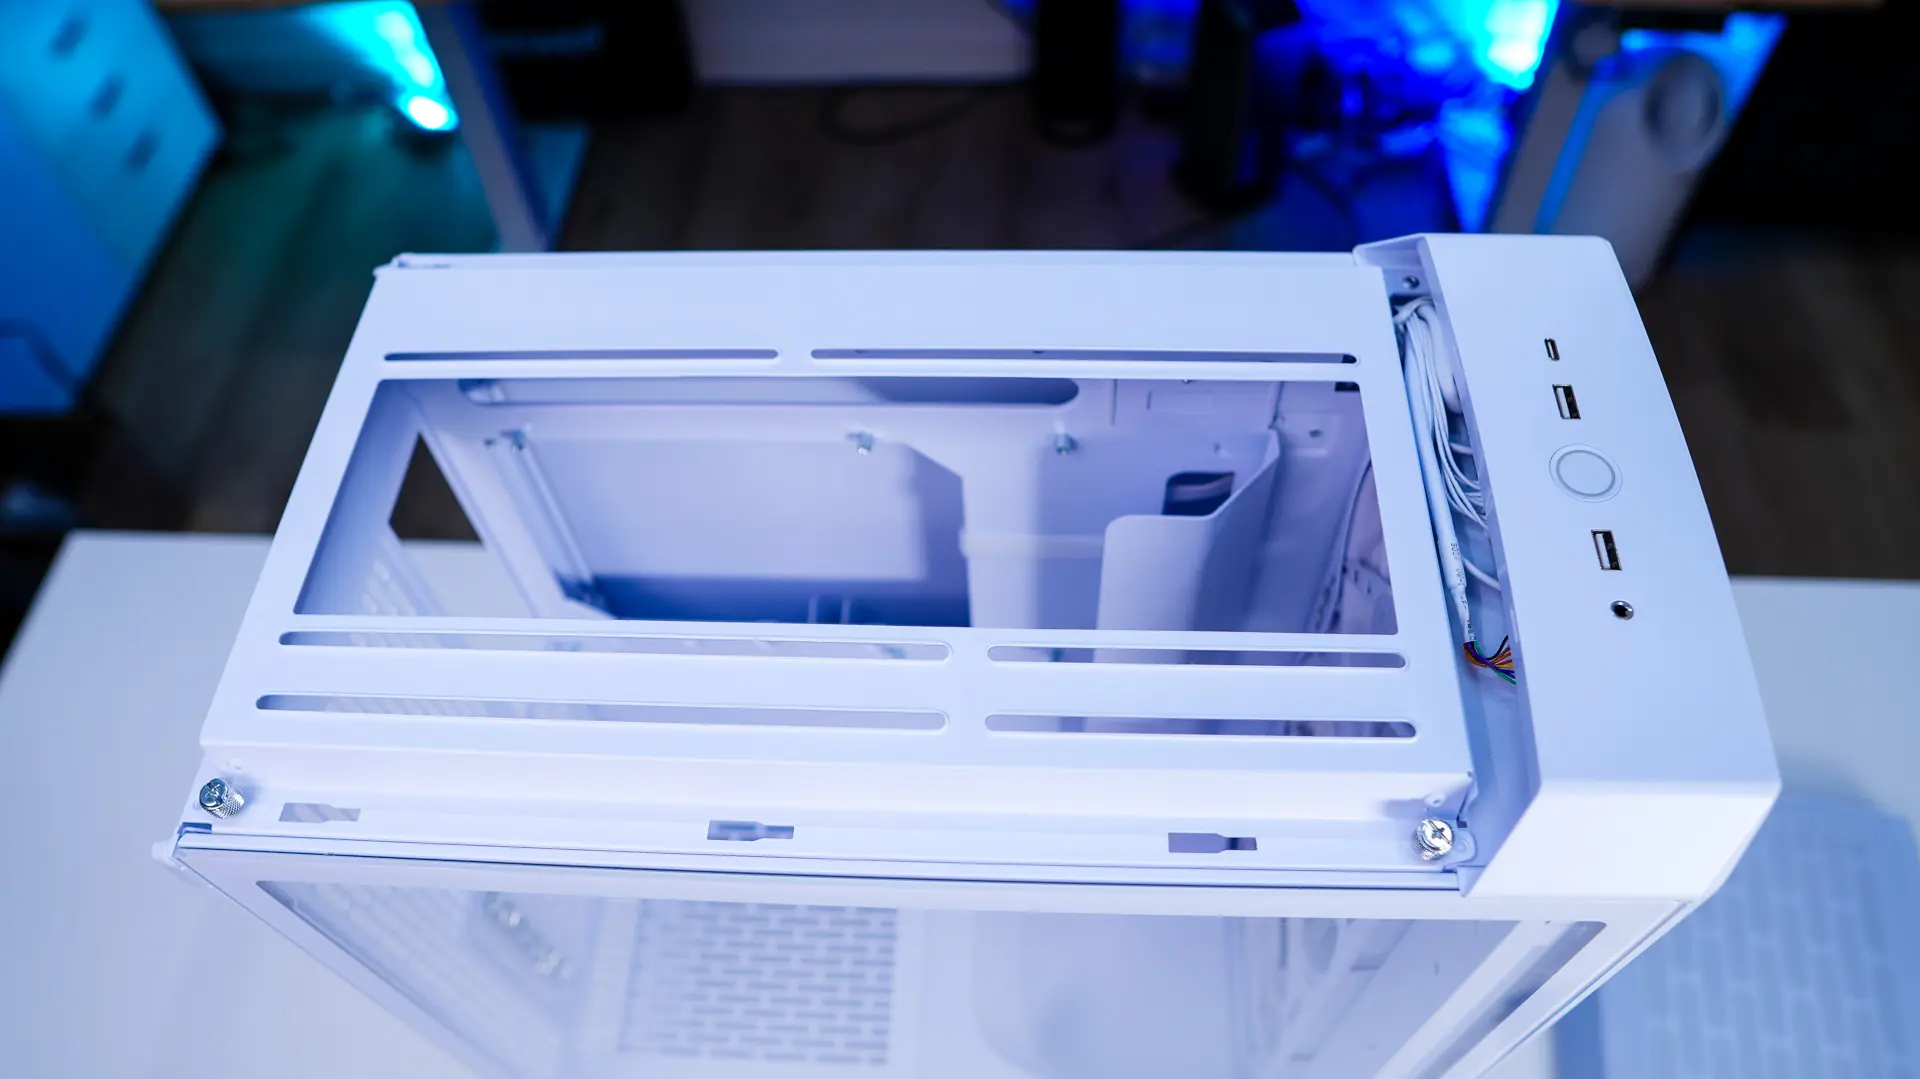
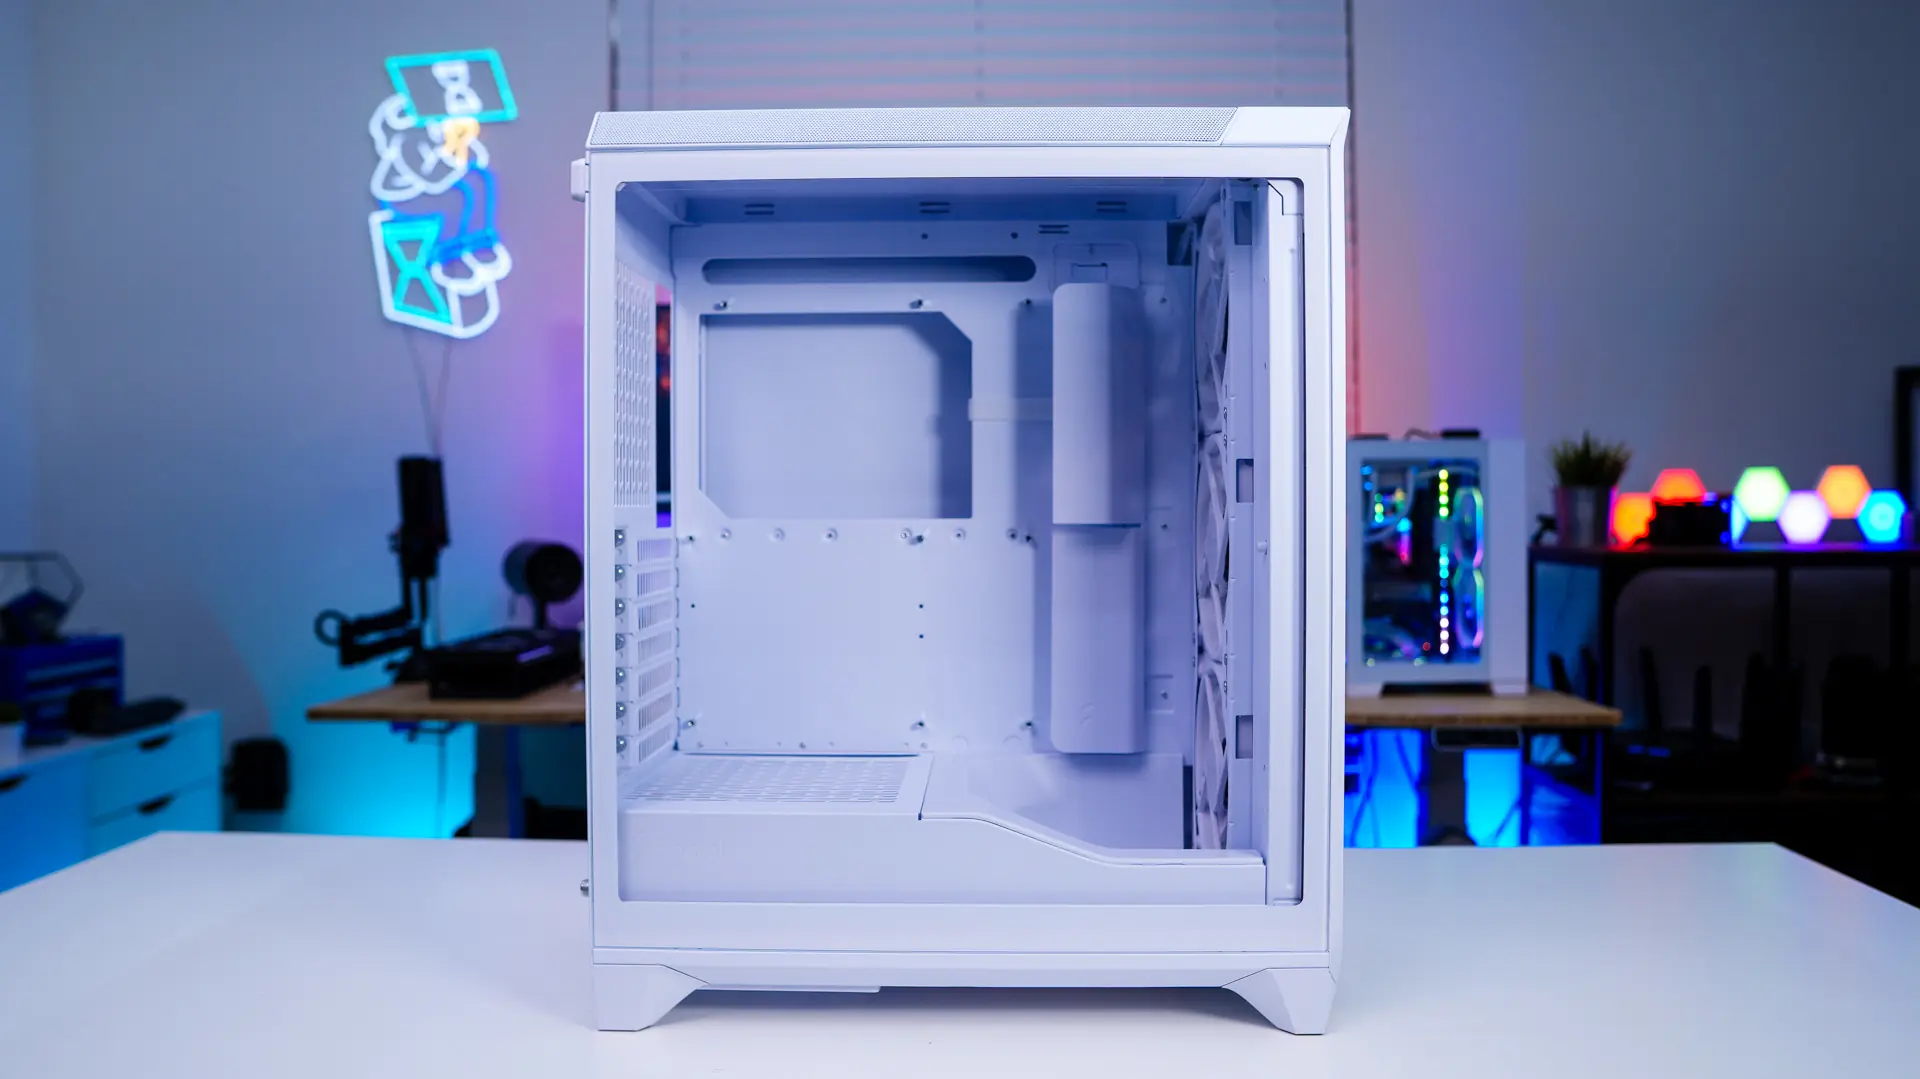
The rest of the top of the case is ventilated. There is a pull-tab at the back of the case that helps you easily remove the top panel. With this panel removed we do find a cooling bracket, which supports two 120/140mm fans as well as radiators up to 280mm. This bracket is fully removable from the case via thumbscrews.

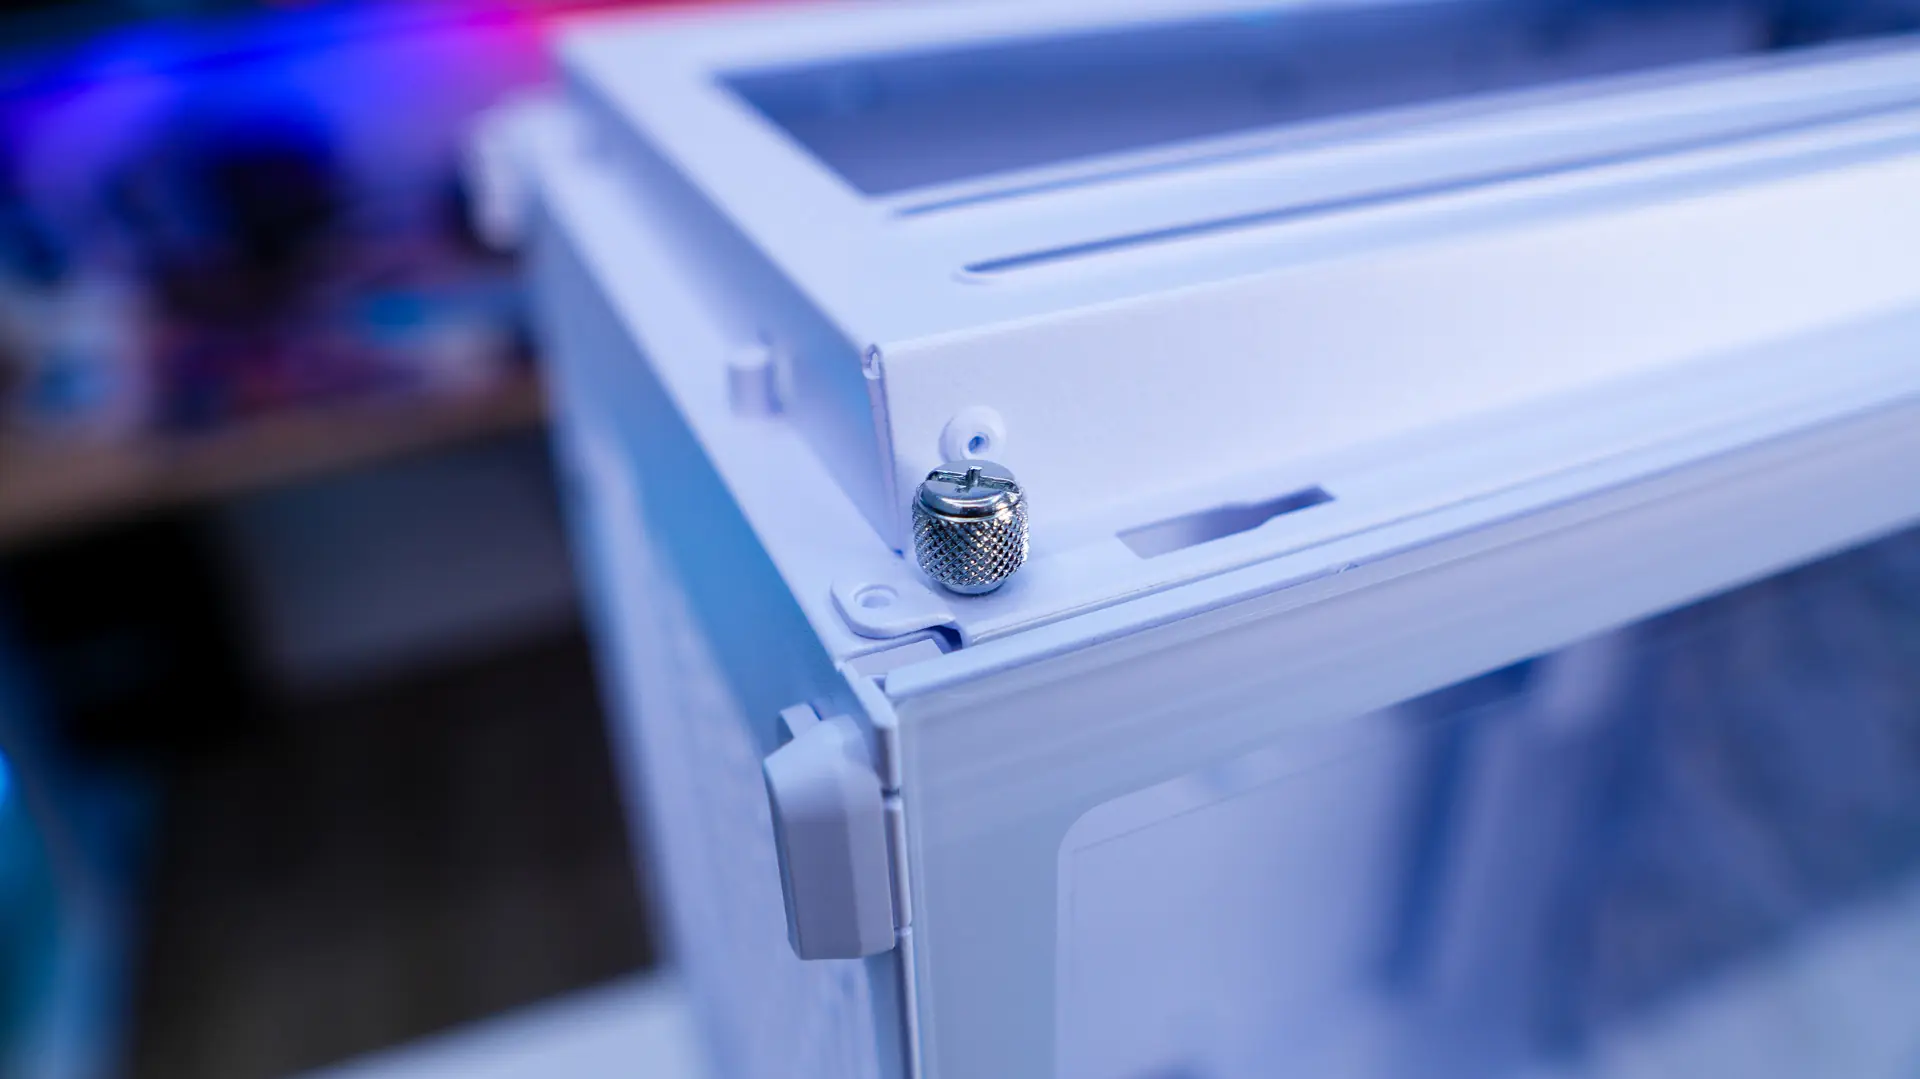
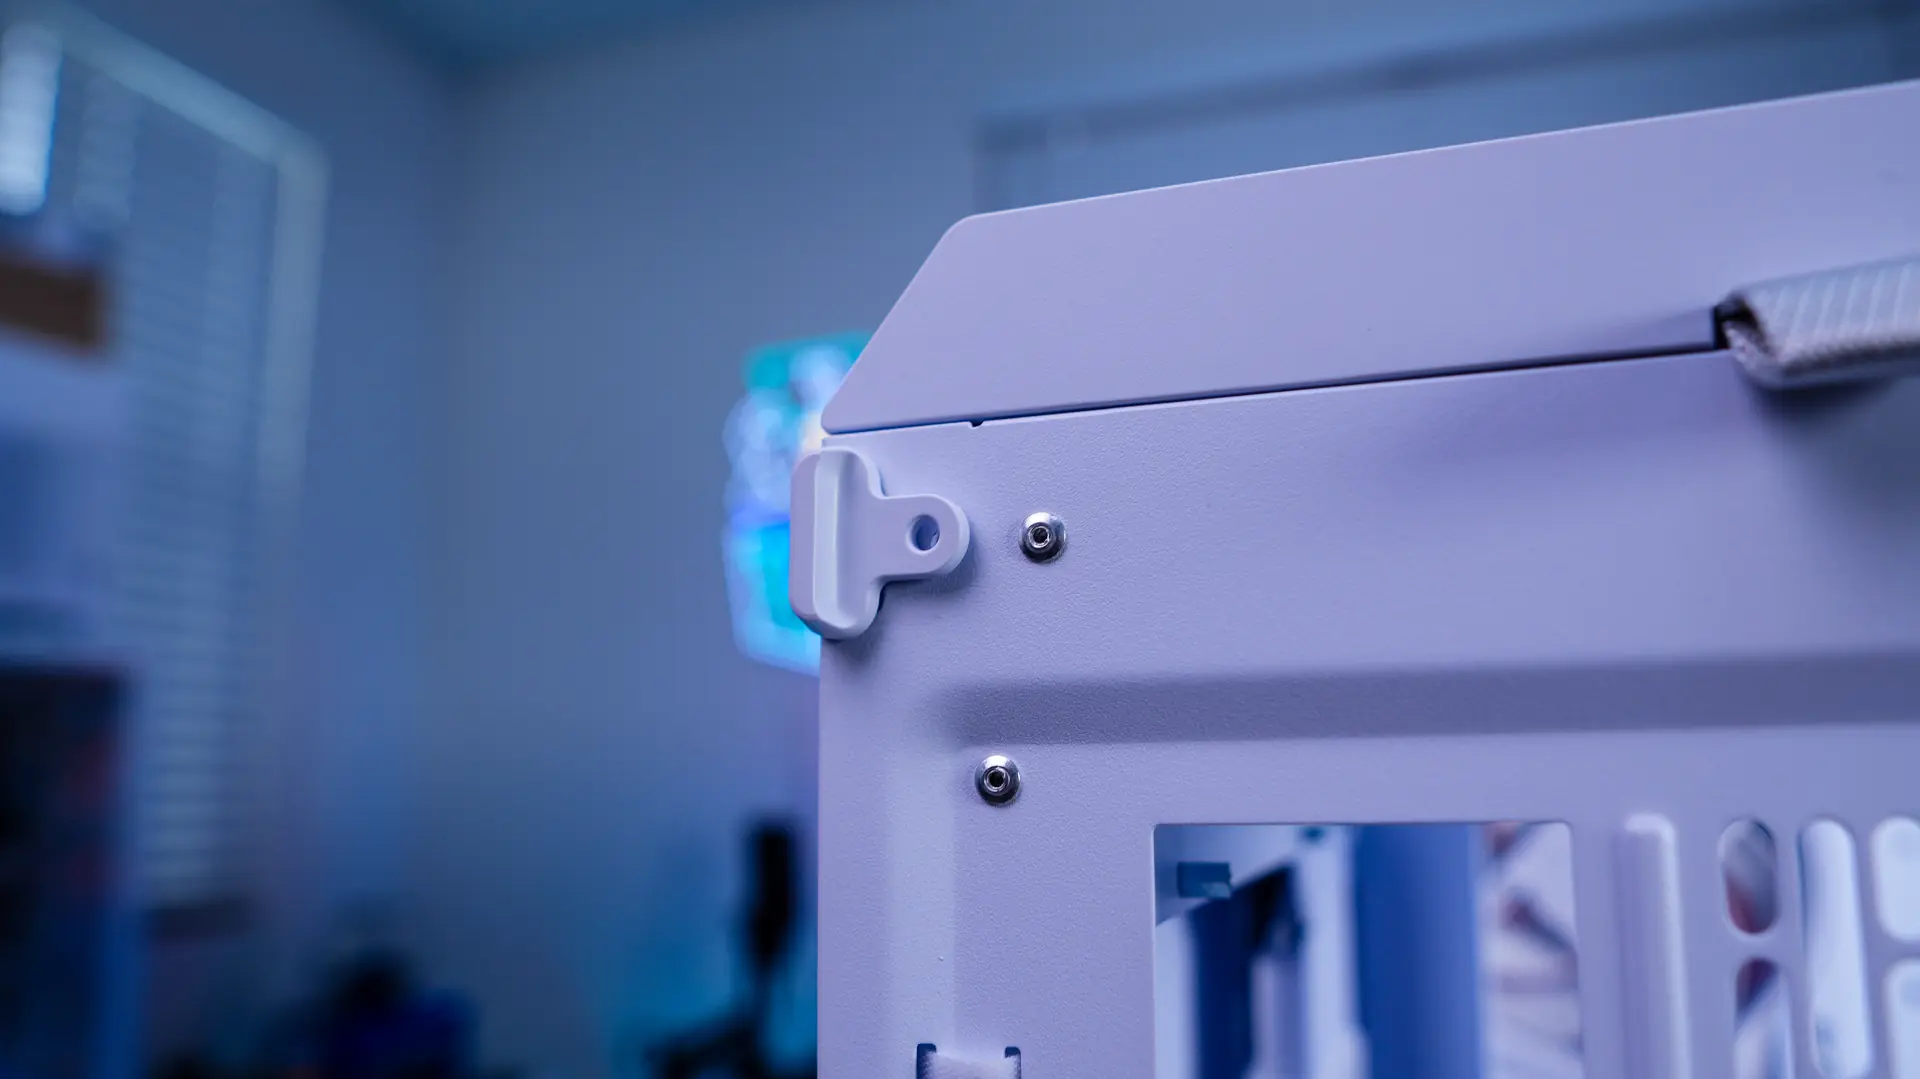
The main side panel of the case is your standard tempered glass panel, which is not tinted. There is a simple tab towards the top of the panel which allows you to easily unlock the panel and remove it from the case. You can actually add a screw to the top tab if you want to lock down the panel. The opposite side panel of the case is just a normal white steel panel, it makes use of the same locking system.
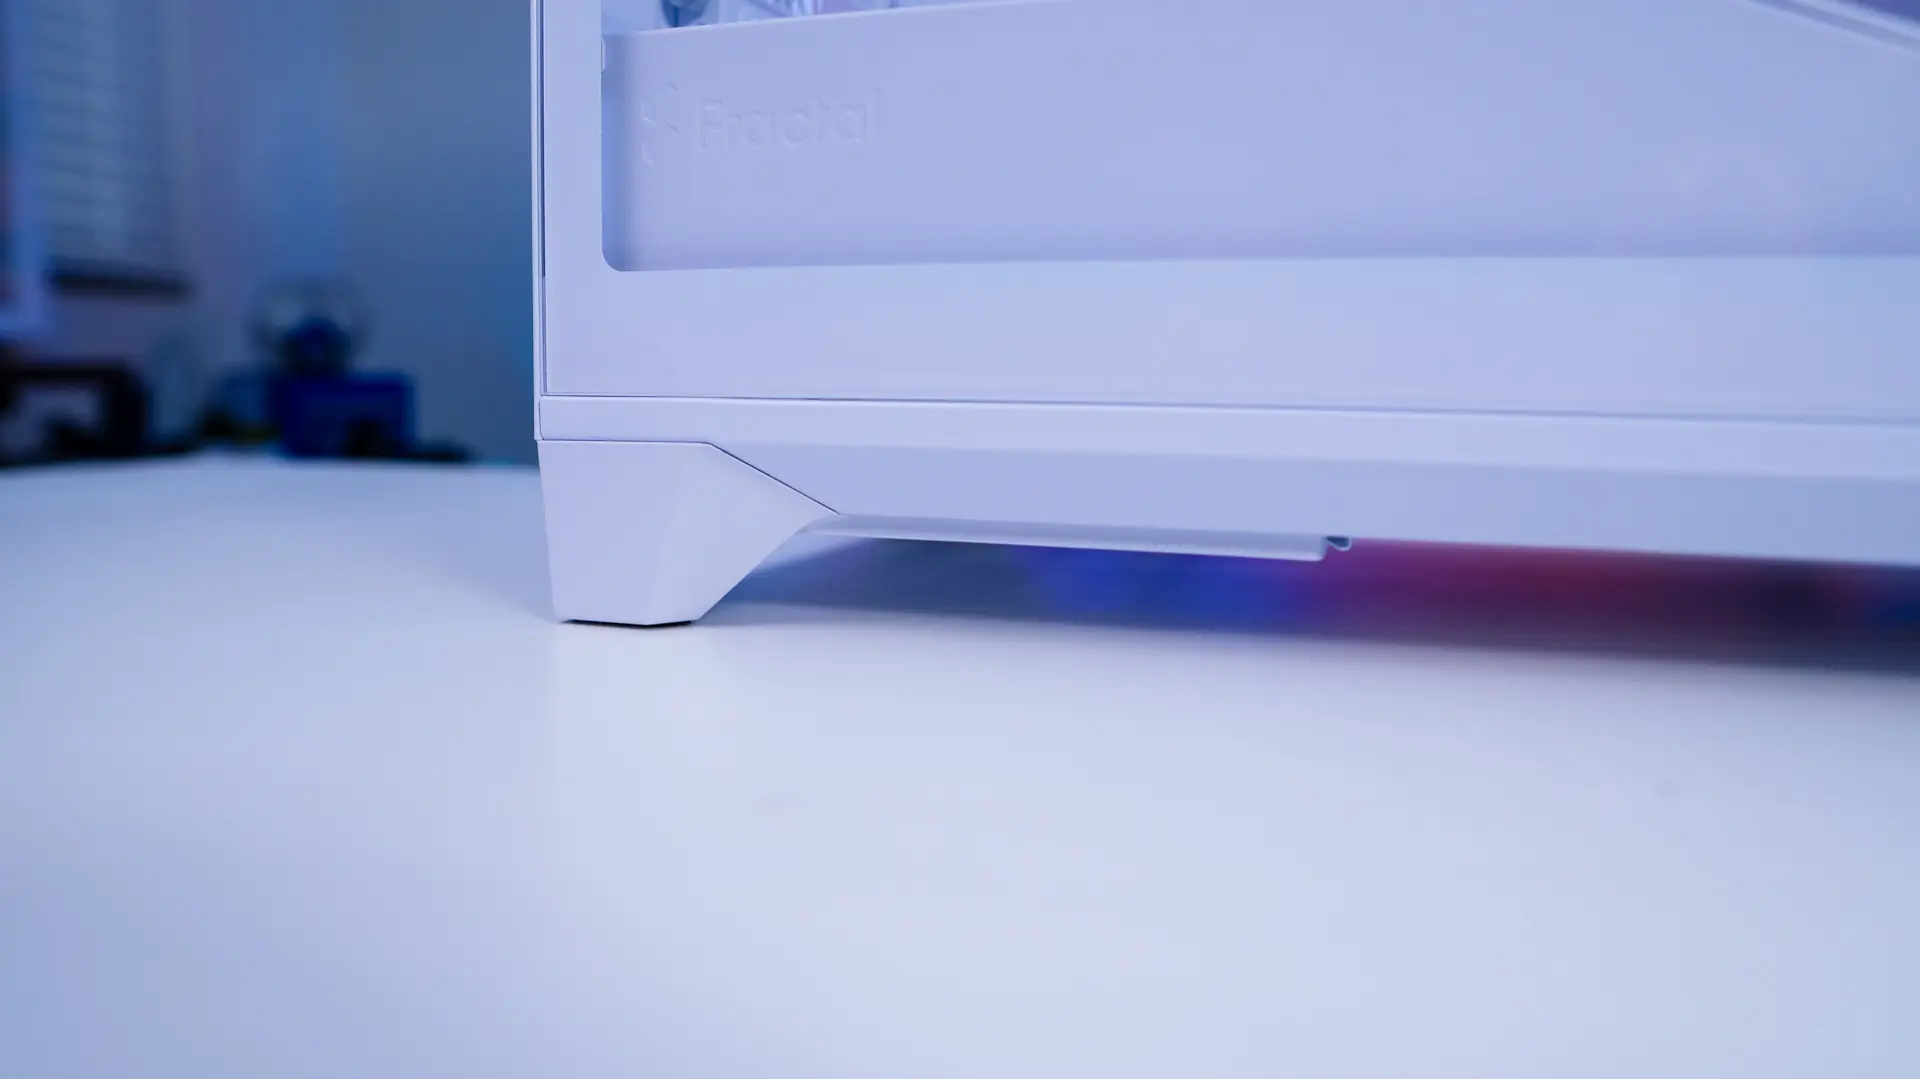
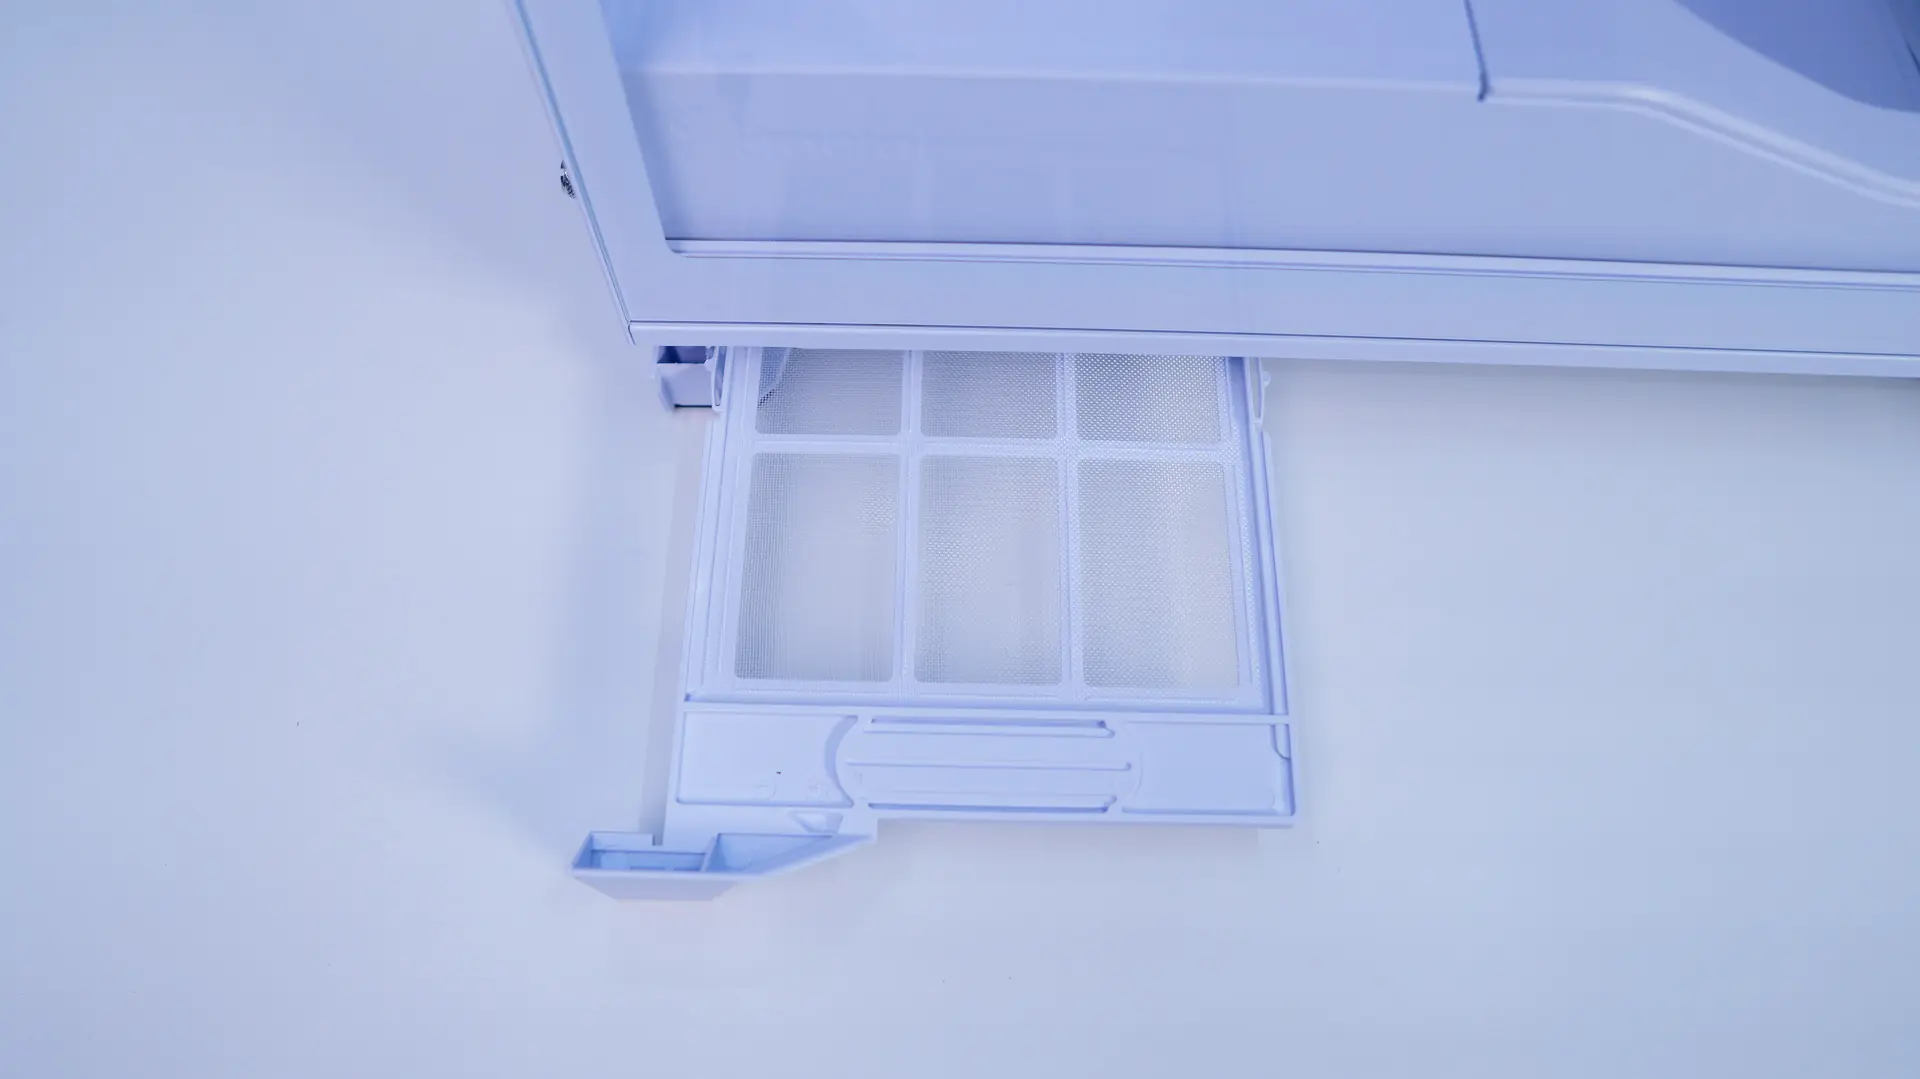
On the main side of the case there is actually a pull-out filter for the power supply. I actually like that it is here rather than the rear of the case as its easier to access.
The back of the case is pretty standard and well ventilated. You have your motherboard mount with your power supply mount below it. If you are wondering you can also mount a 120mm fan back here.


The air holes/slots on the back panel seem quite large compared to most.
Great for airflow but not so good for dust resistance.