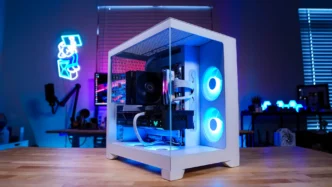
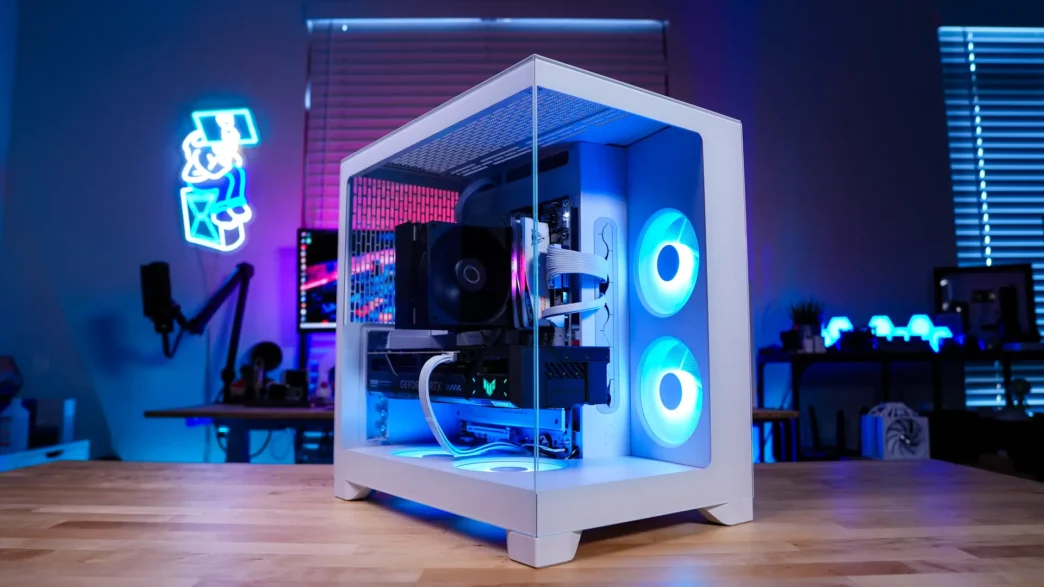
A Look Inside the Fractal Design Pop 2 Vision Case
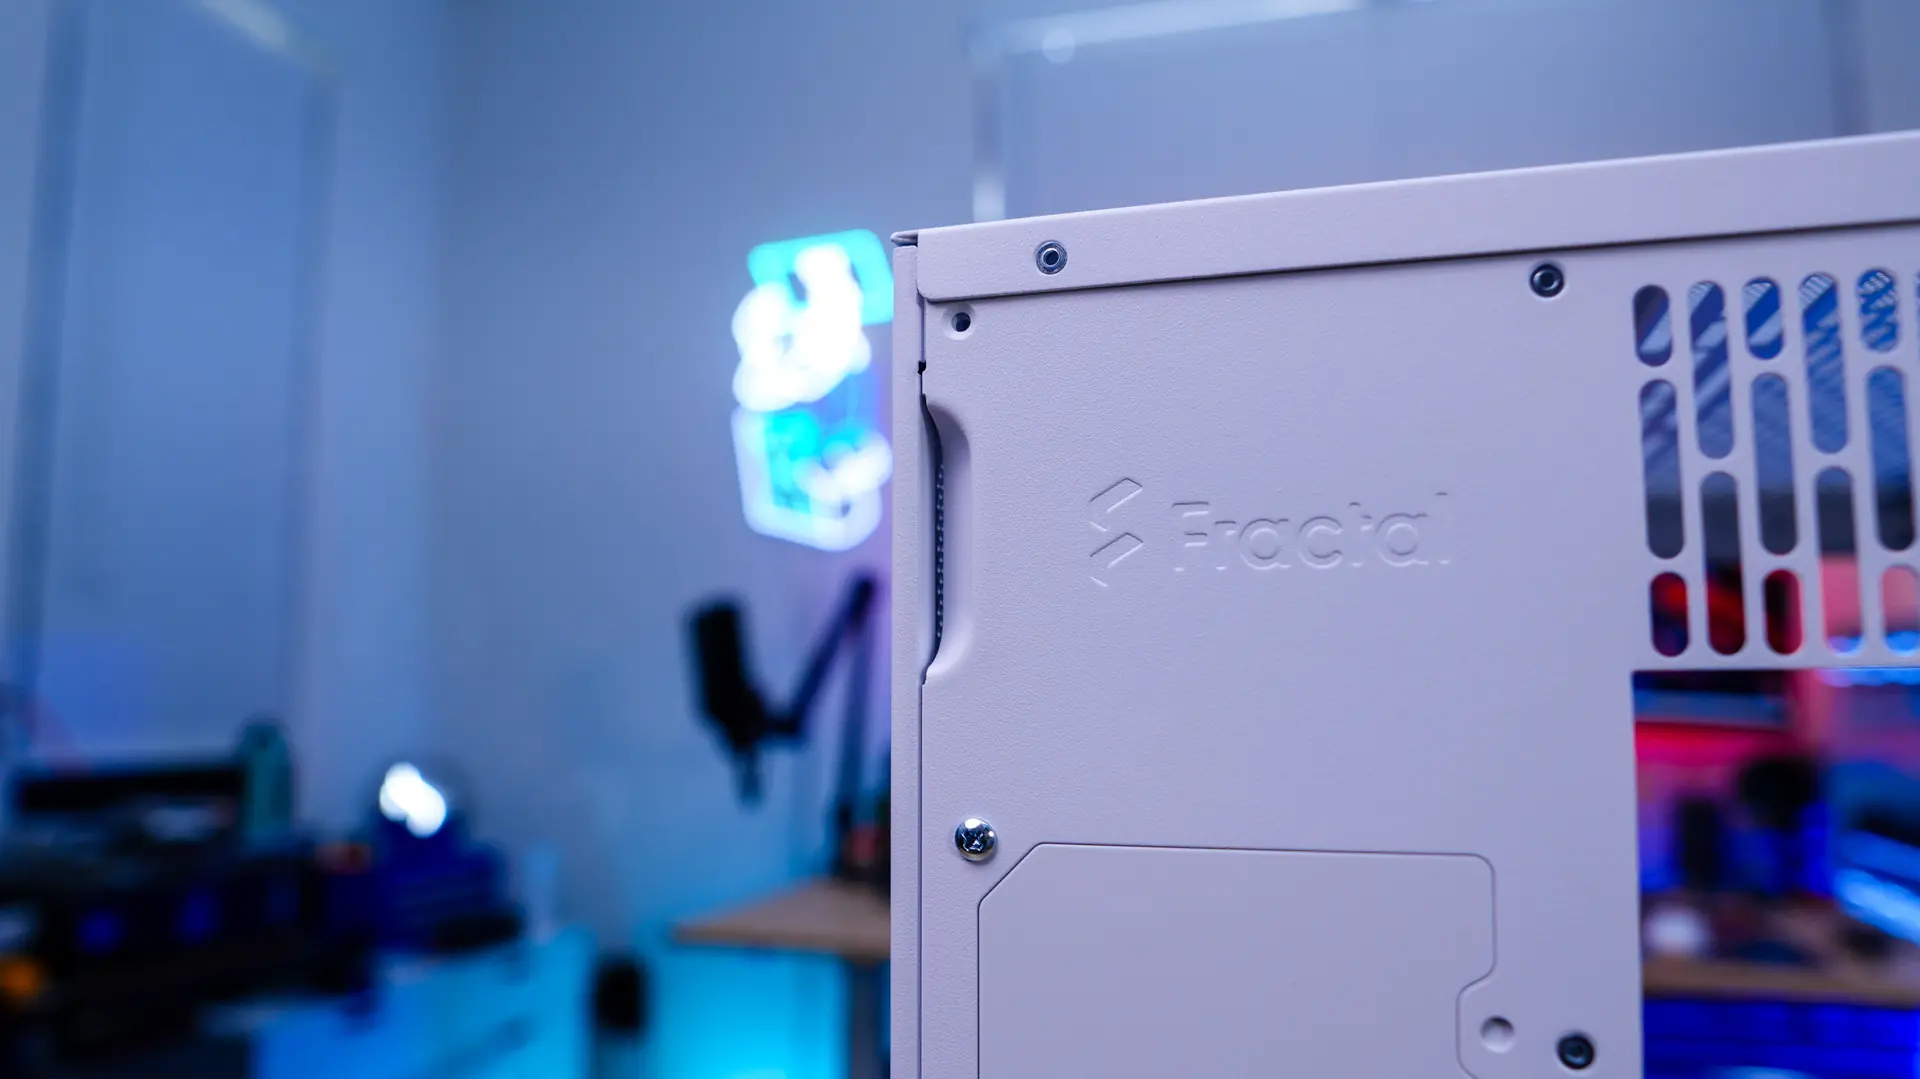
Getting inside the Pop 2 Vision is quite easy, there are indents towards the top of each side on the back of the case. These allow you to simply pop off each panel.
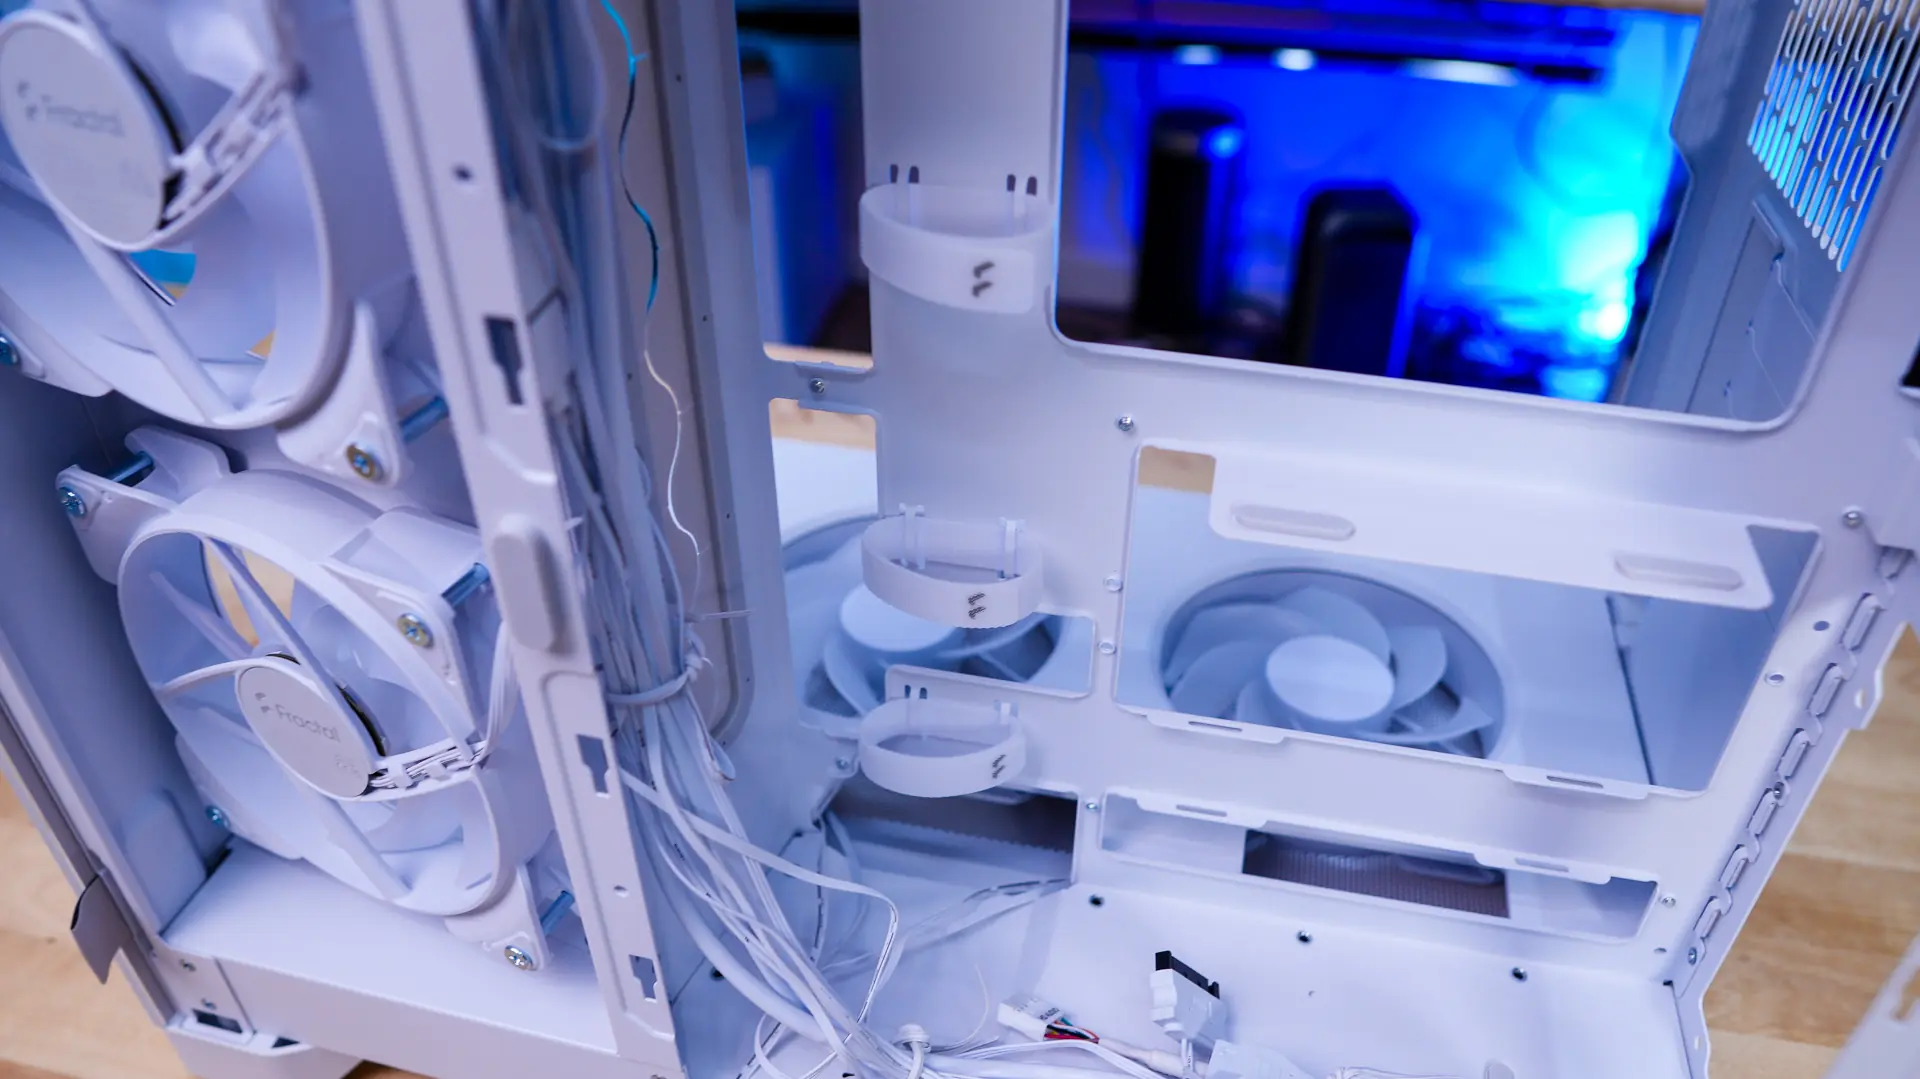
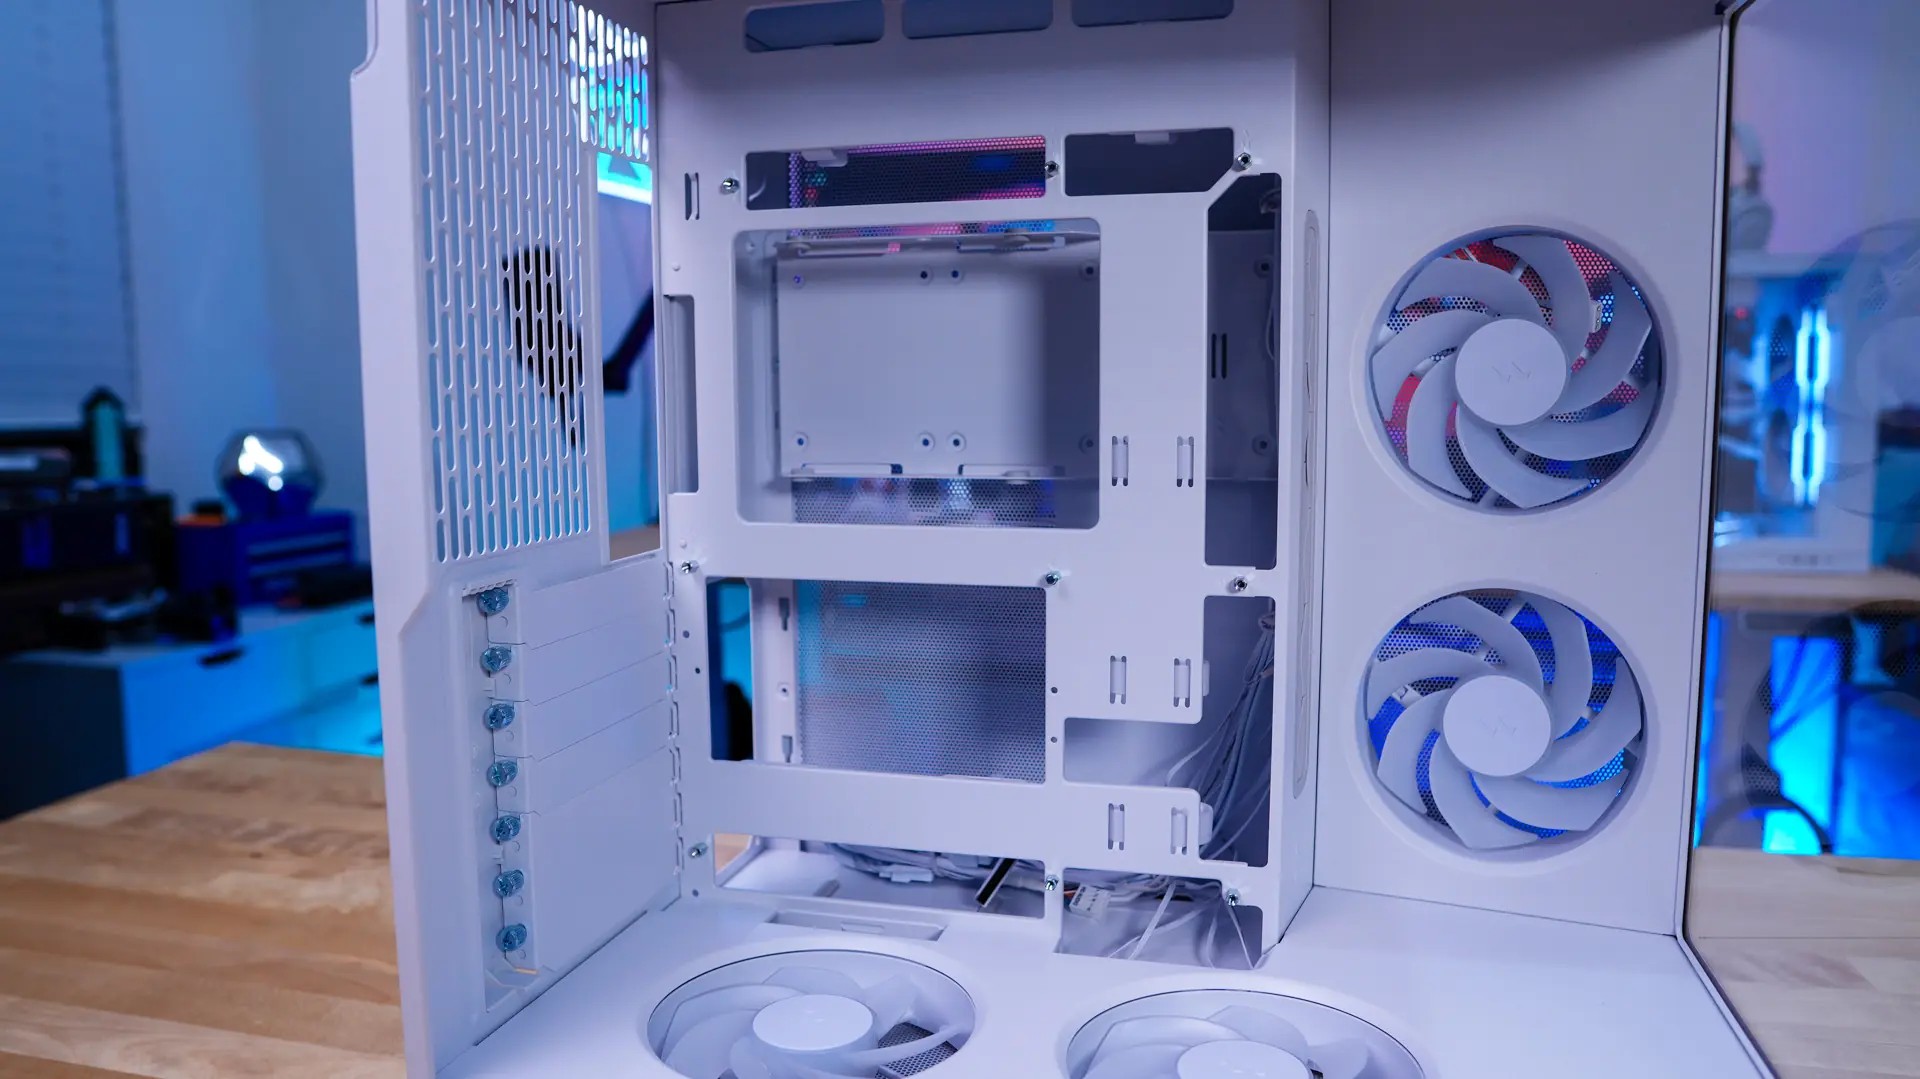
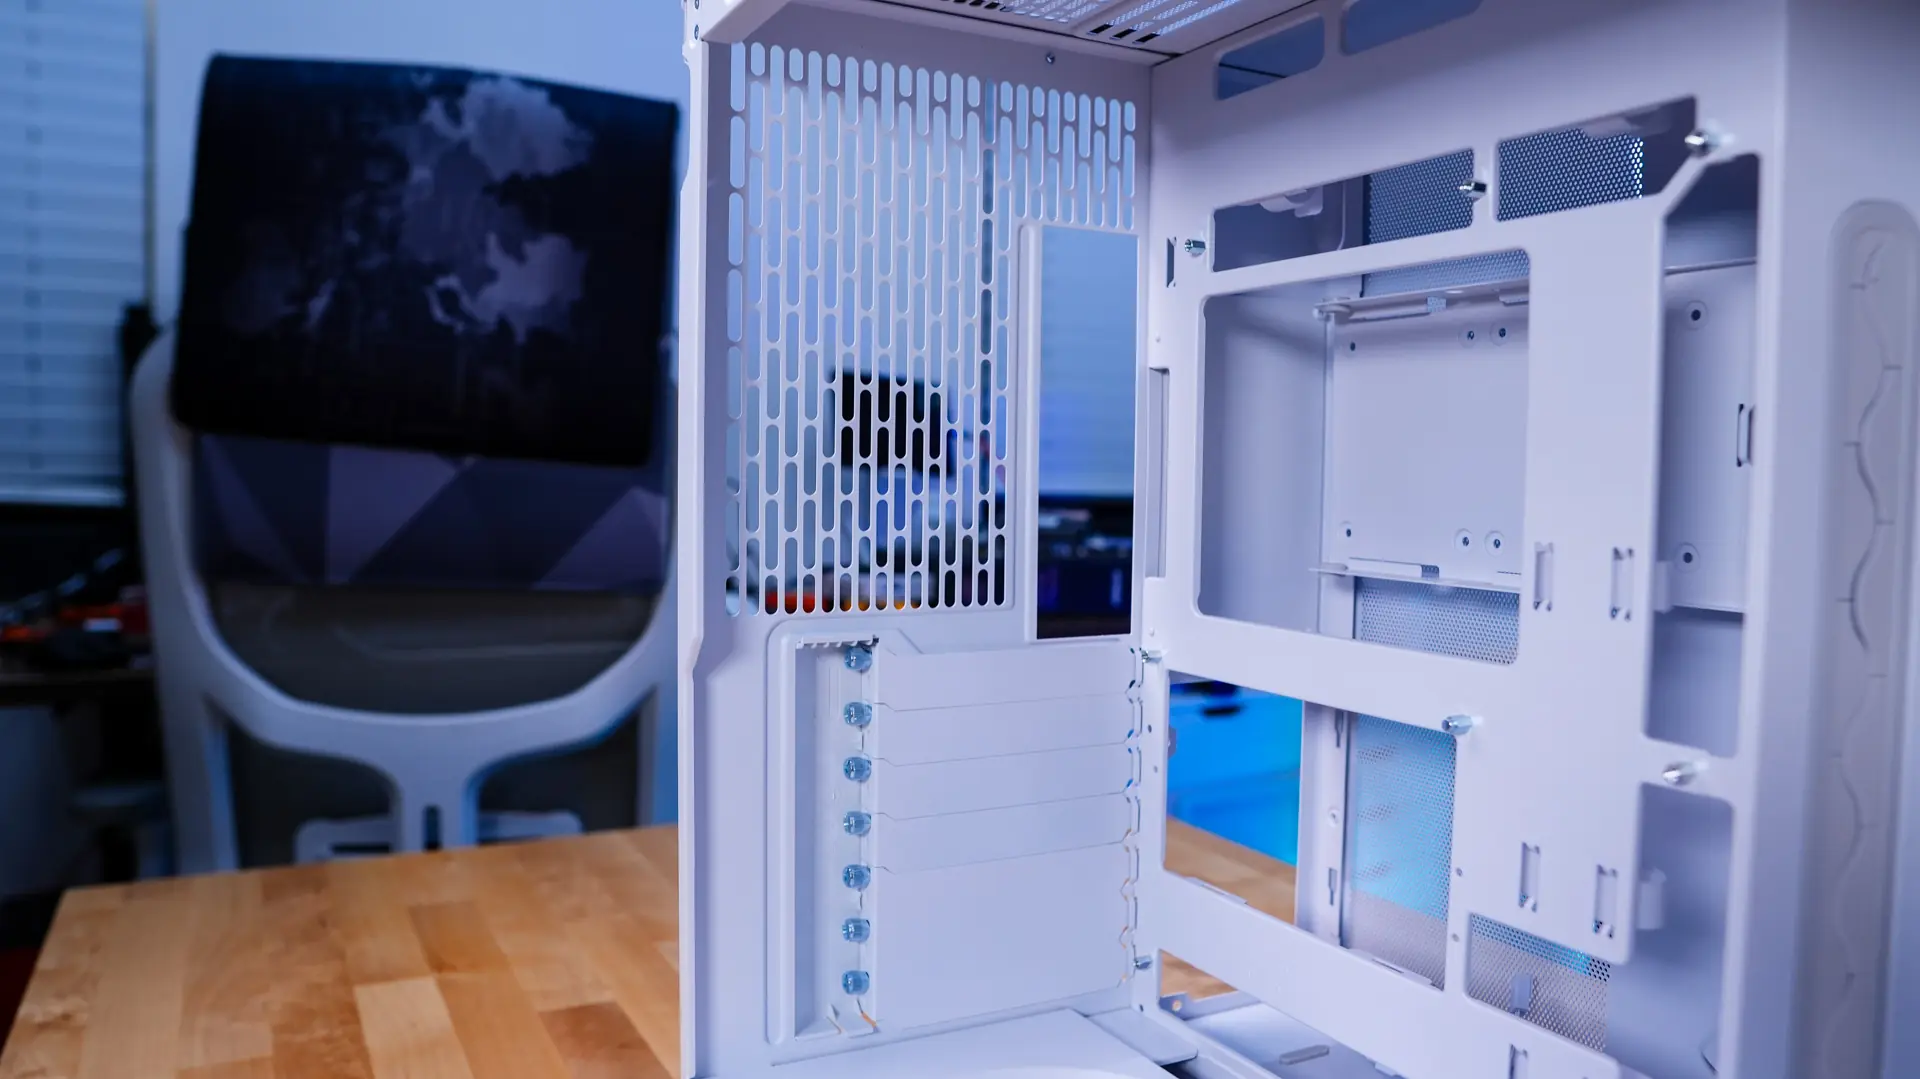
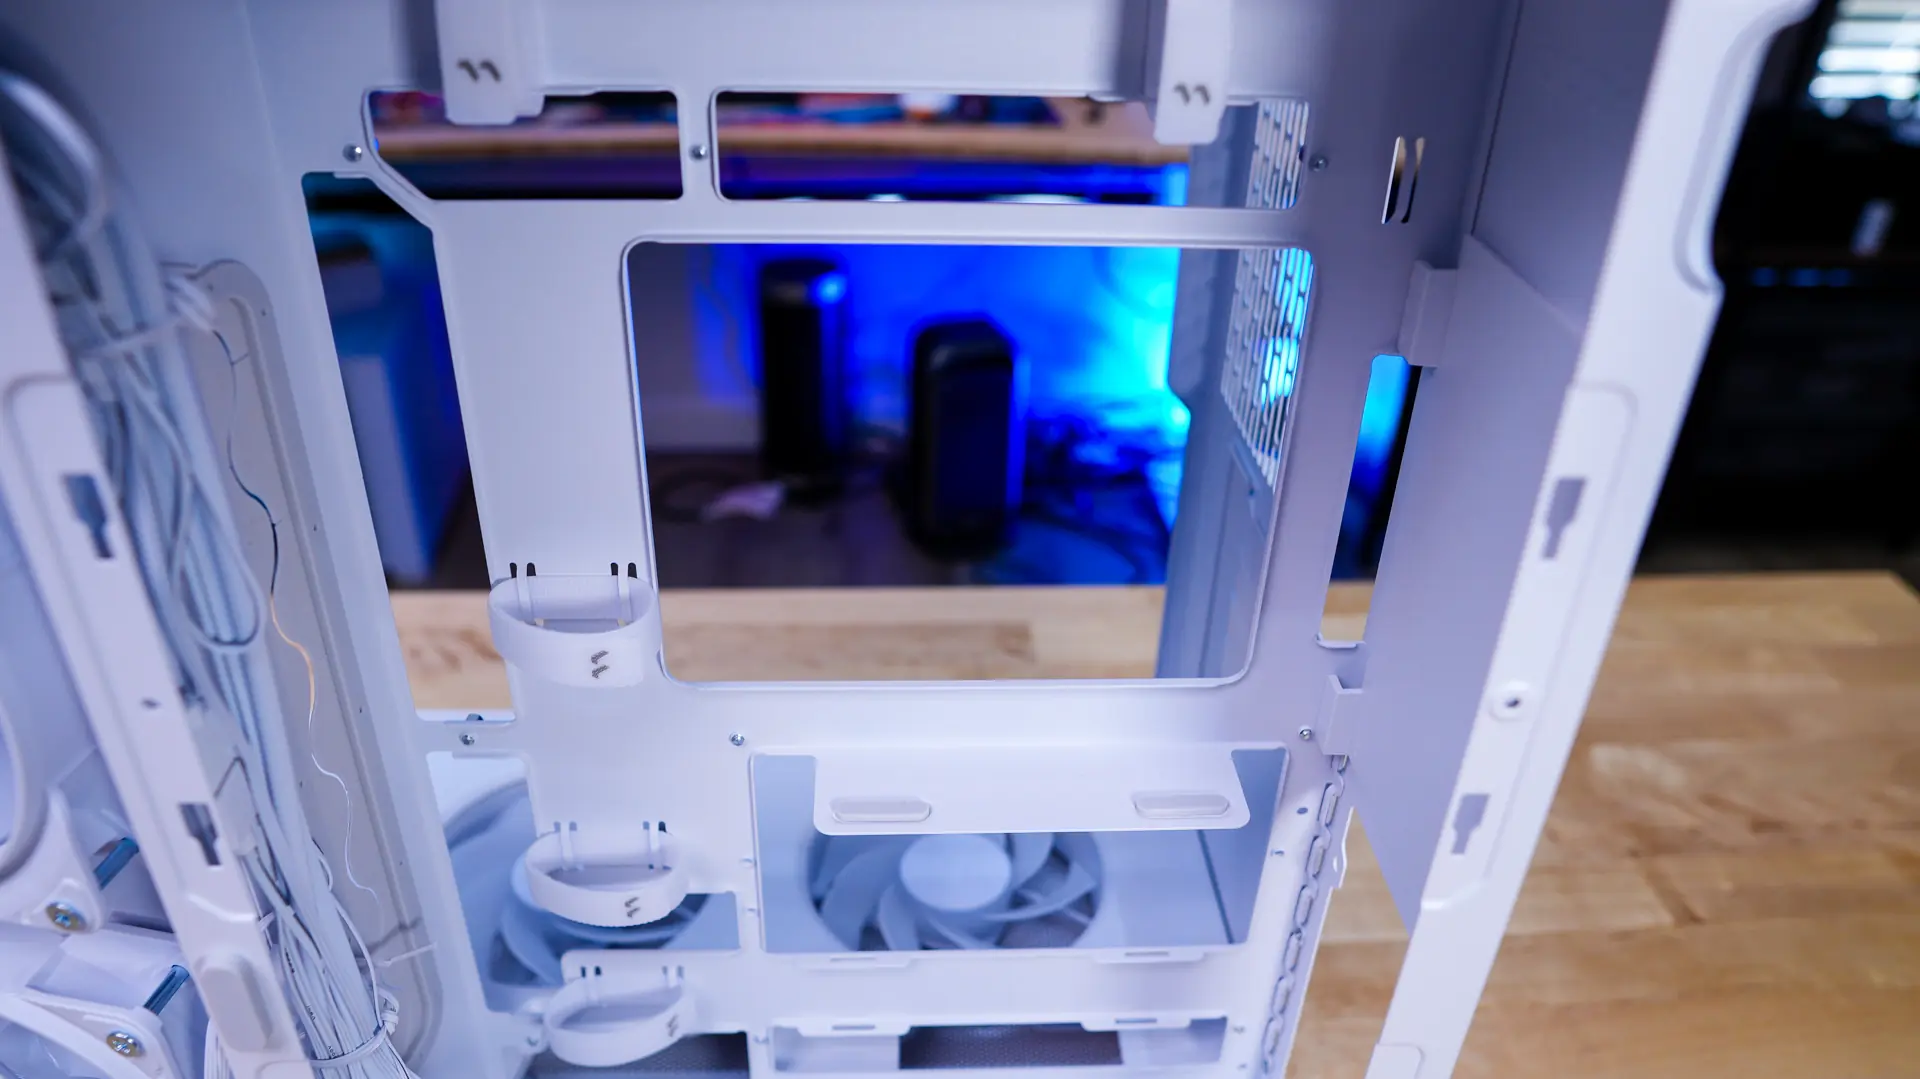
With the main side panel removed we can get a better look inside the Pop 2 Vision. When it comes to motherboard support we have support here for mini-ITX, Micro ATX, and ATX motherboards as well as back-connect motherboards. There are plenty of holes cut in the motherboard tray for routing cables as well as to give support for back-connect motherboards. It is also worth noting the space above the motherboard mount, this is to make sure if you install an all-in-one liquid CPU cooler here there will be no clearance issues. If you are wondering about graphics card support, this case will support graphics cards as long as 412mm.
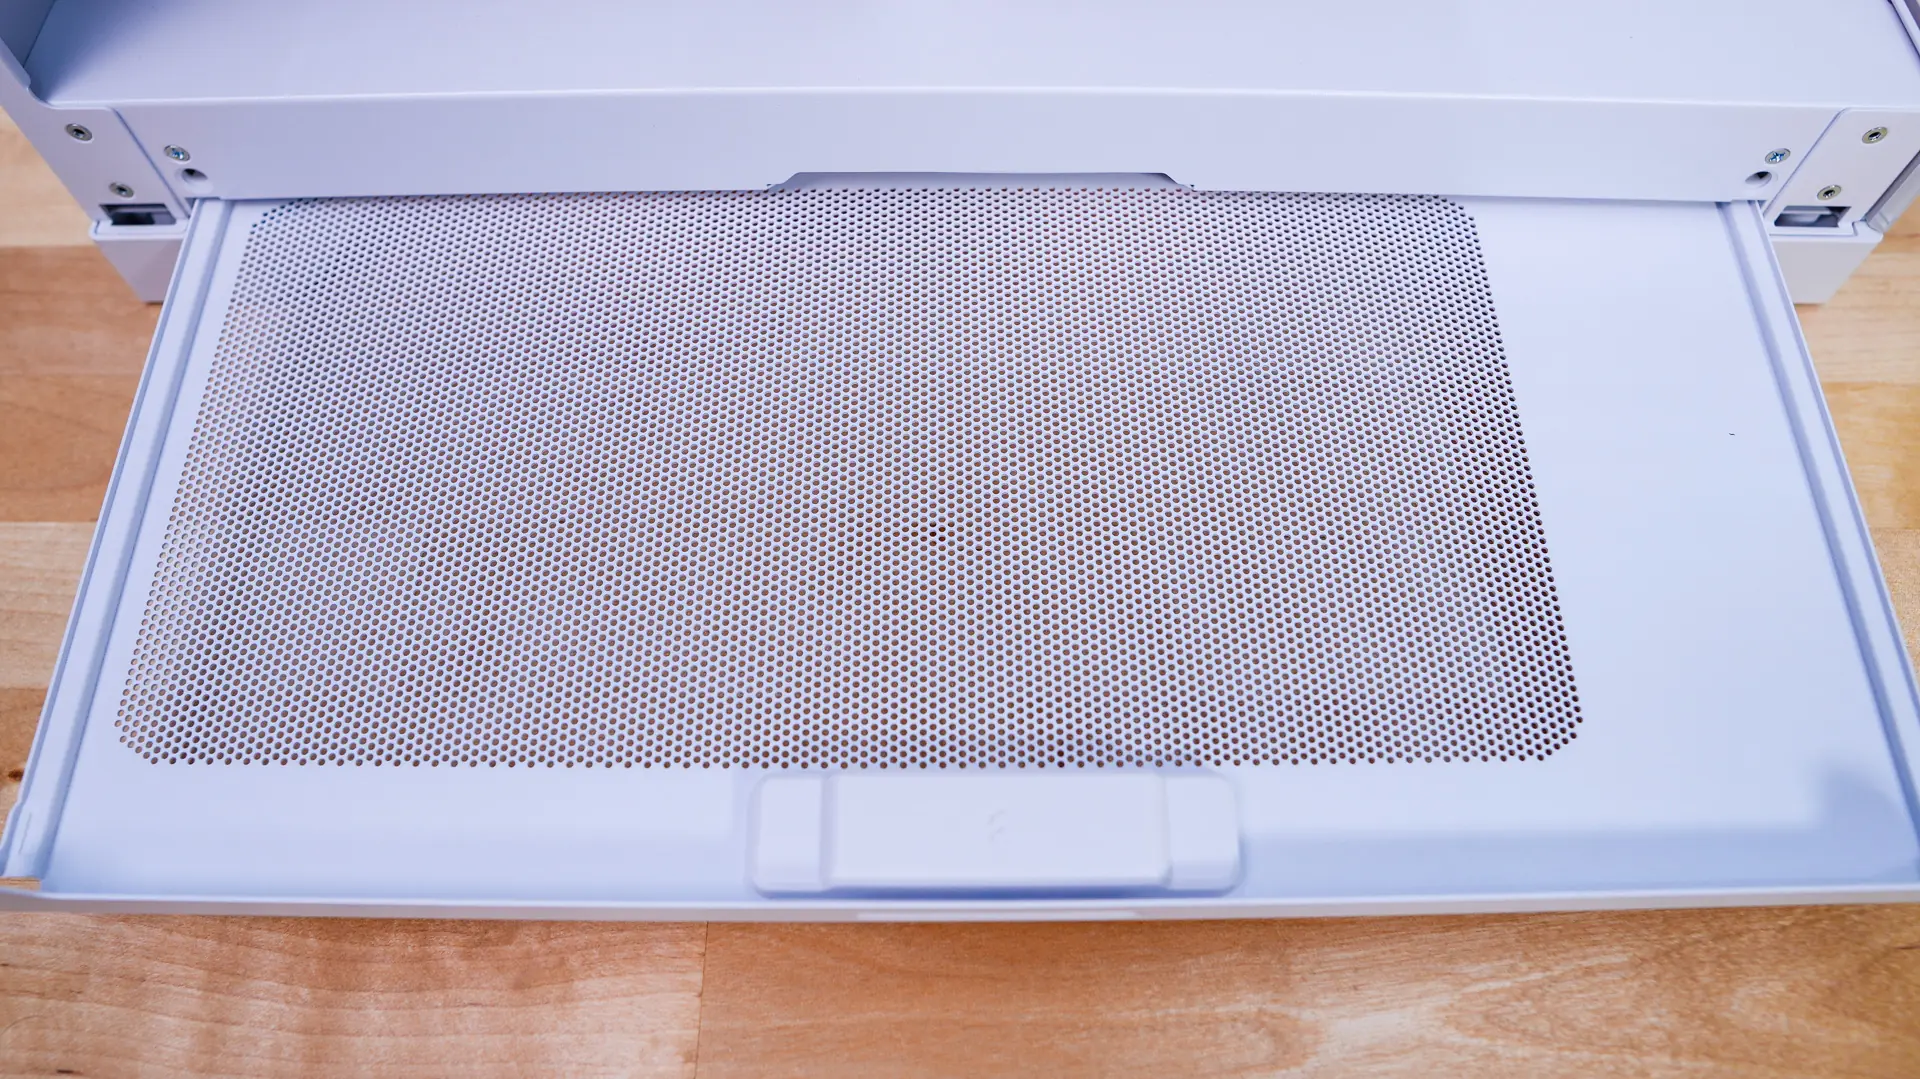
With the side panel removed we can spot a pull-out metal filter that extends the entire length of the case.
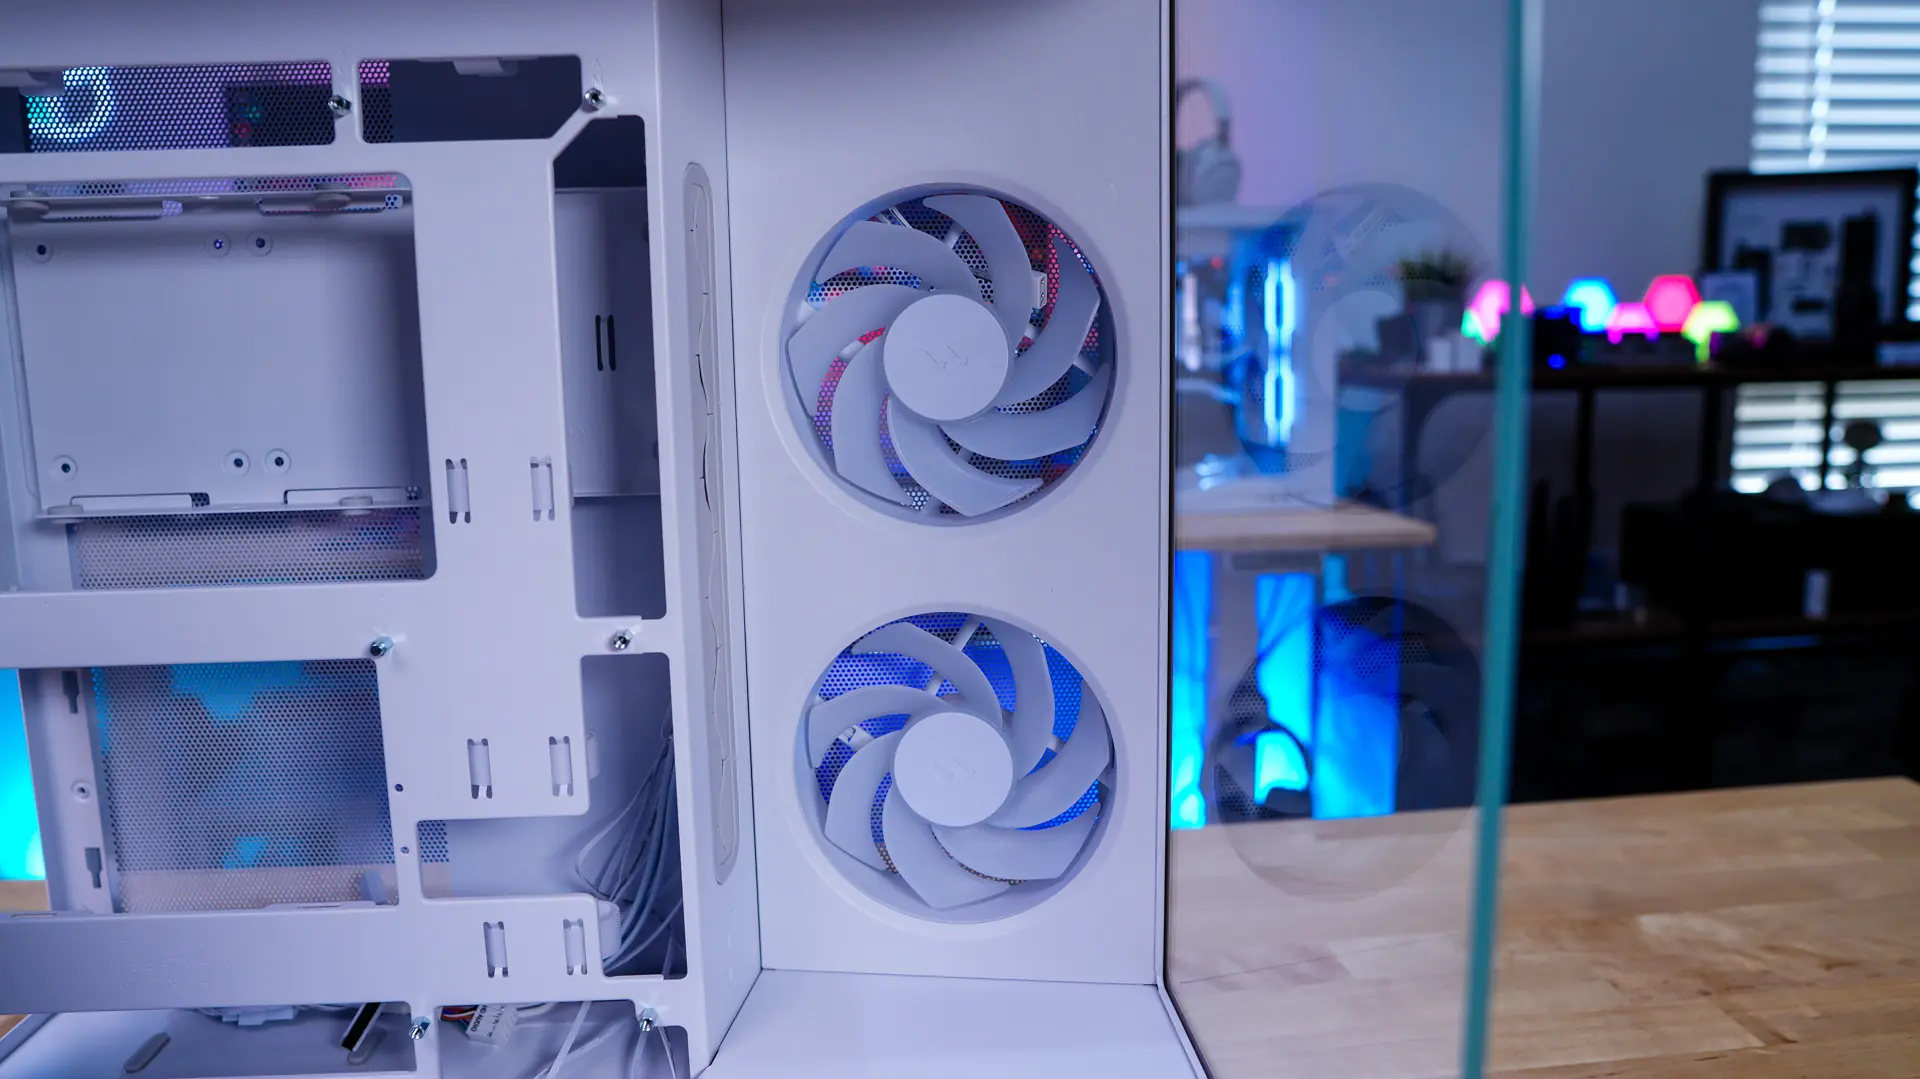
Towards the front of the case we find our first two included fans, which are Fractal Design’s Aspect 12X Reverse RGB fans. These are recessed into a cover panel, which really makes the implementation clean. On the bottom of the case you’ll find two more Aspect 12X Reverse RGB fans. The bottom also features a cover panel with the fans recessed into it. Again, this gives the case such a clean look!

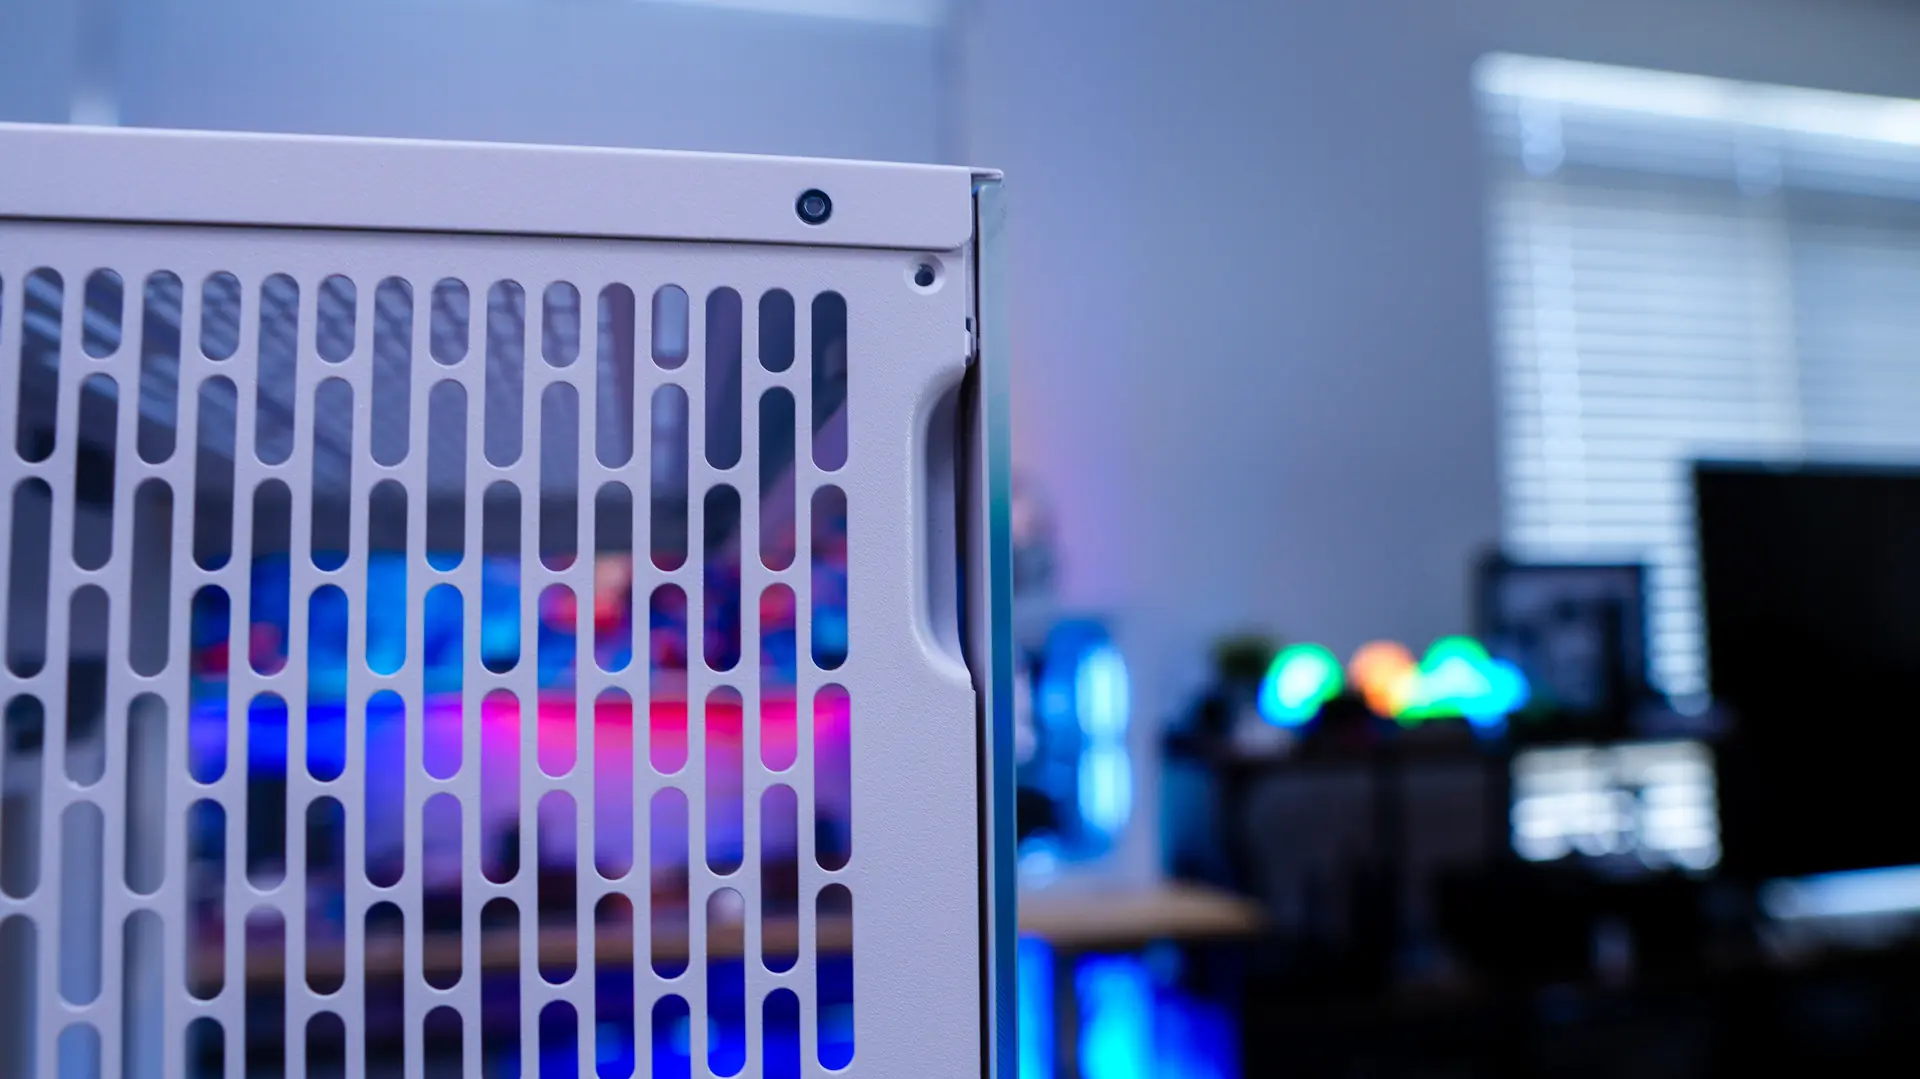
Looking towards the back of the case we can see the ventilation and our slot covers, which do feature thumbscrews.
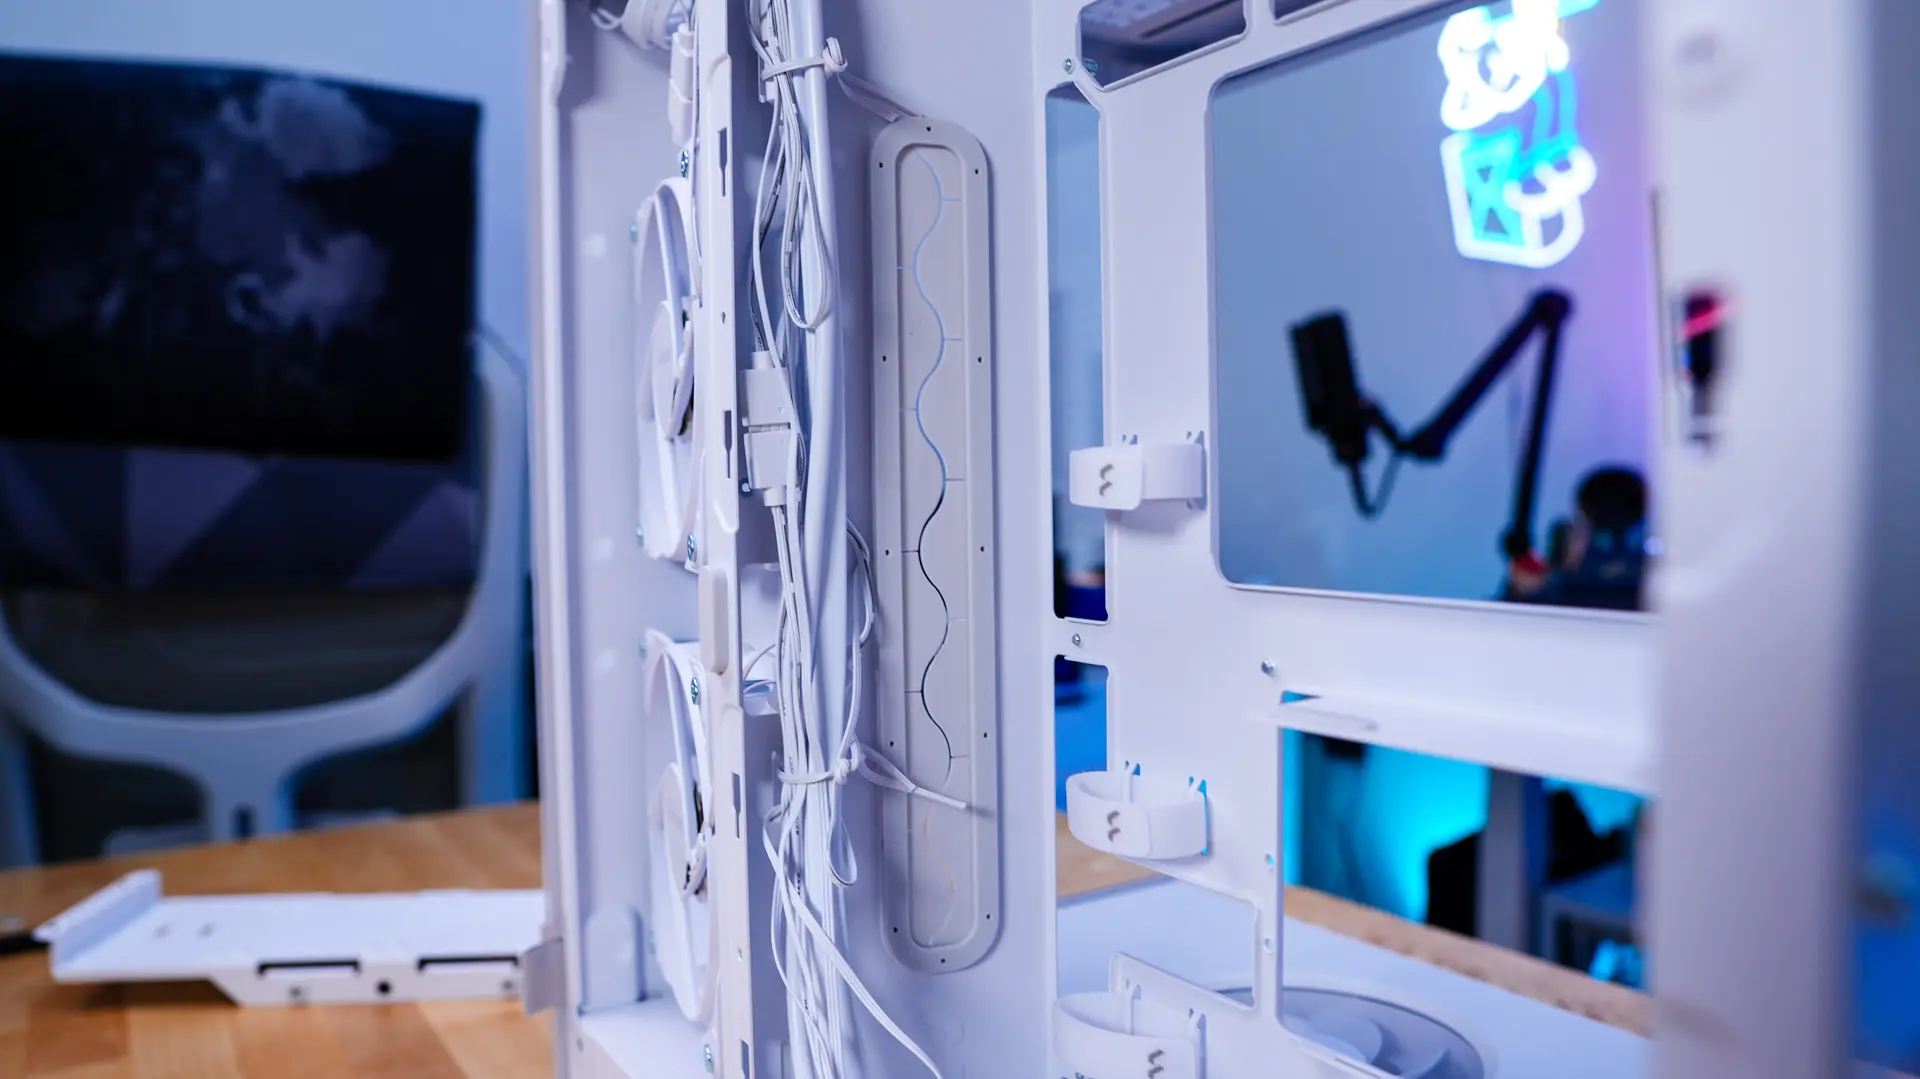
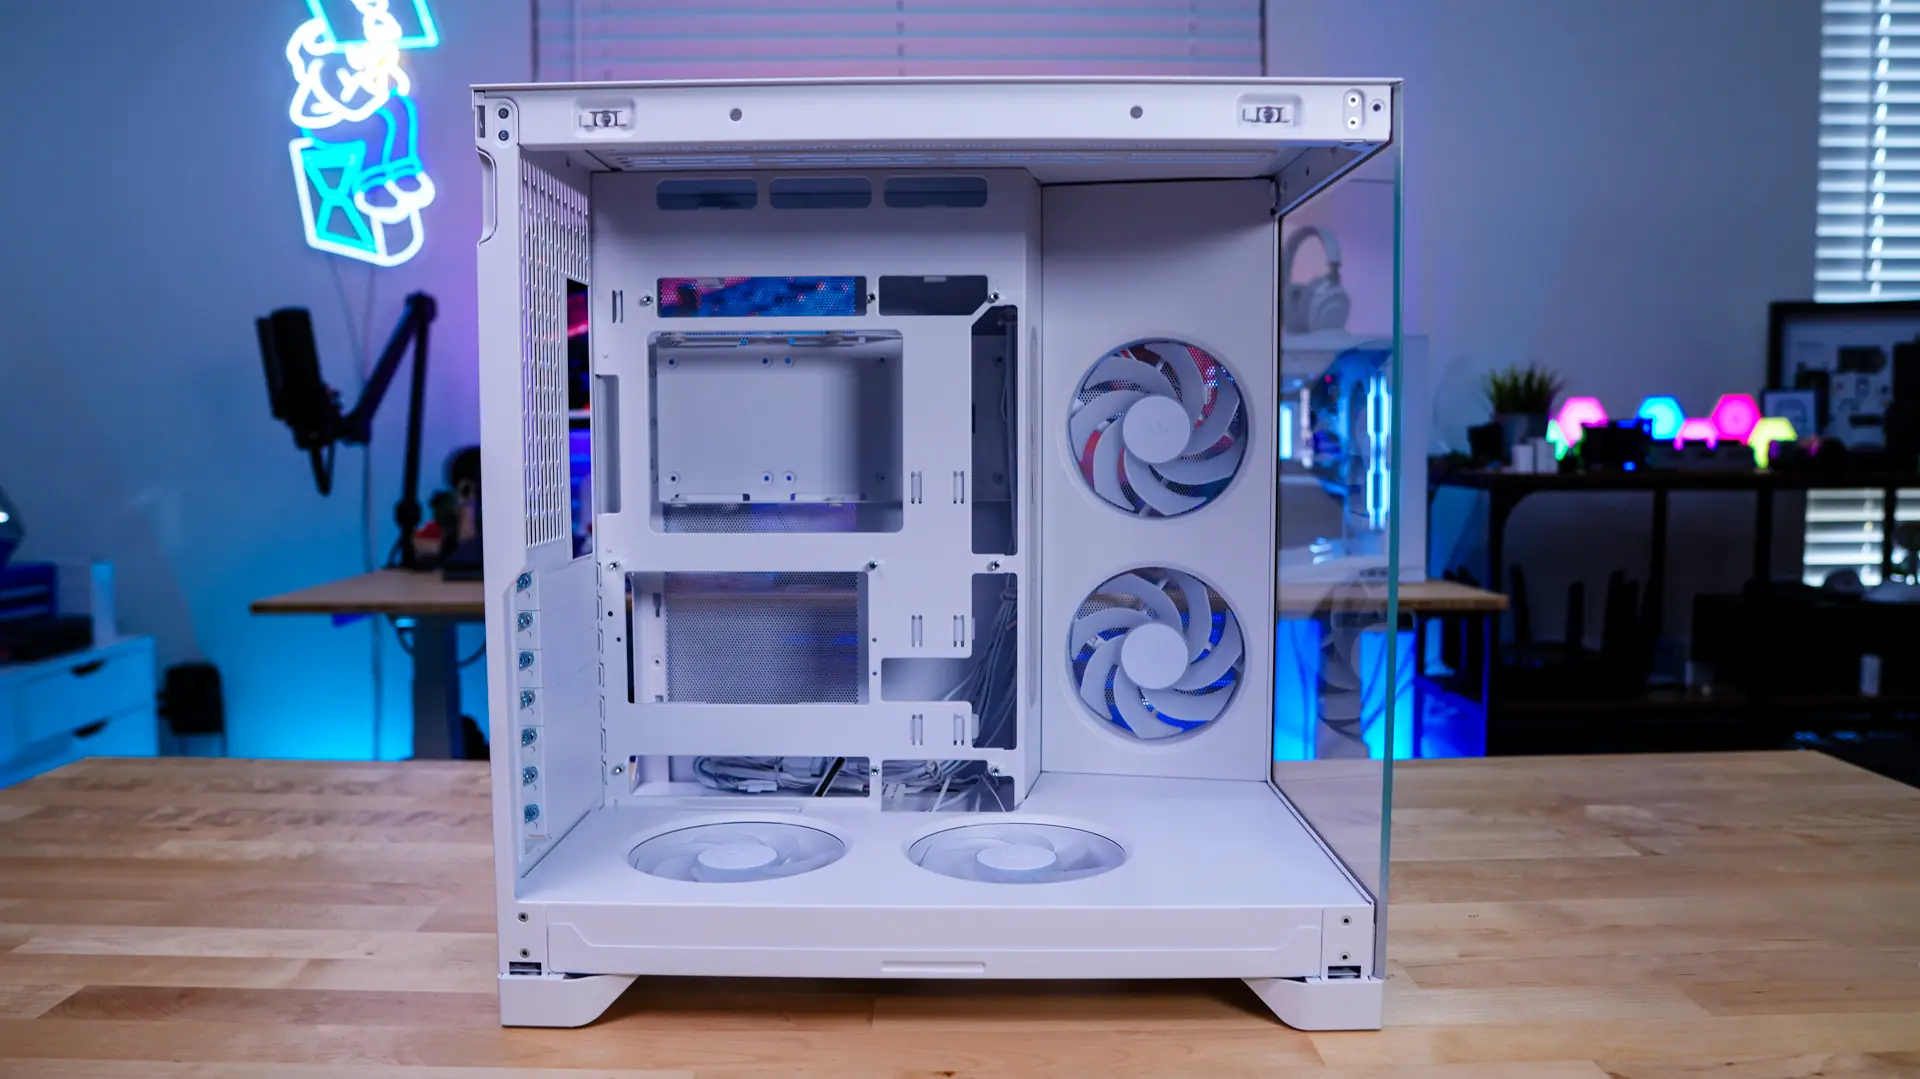
Removing the opposite side panel we can get a look at the rest of the case. On the backside of the case is where you are going to mount your storage and power supply.
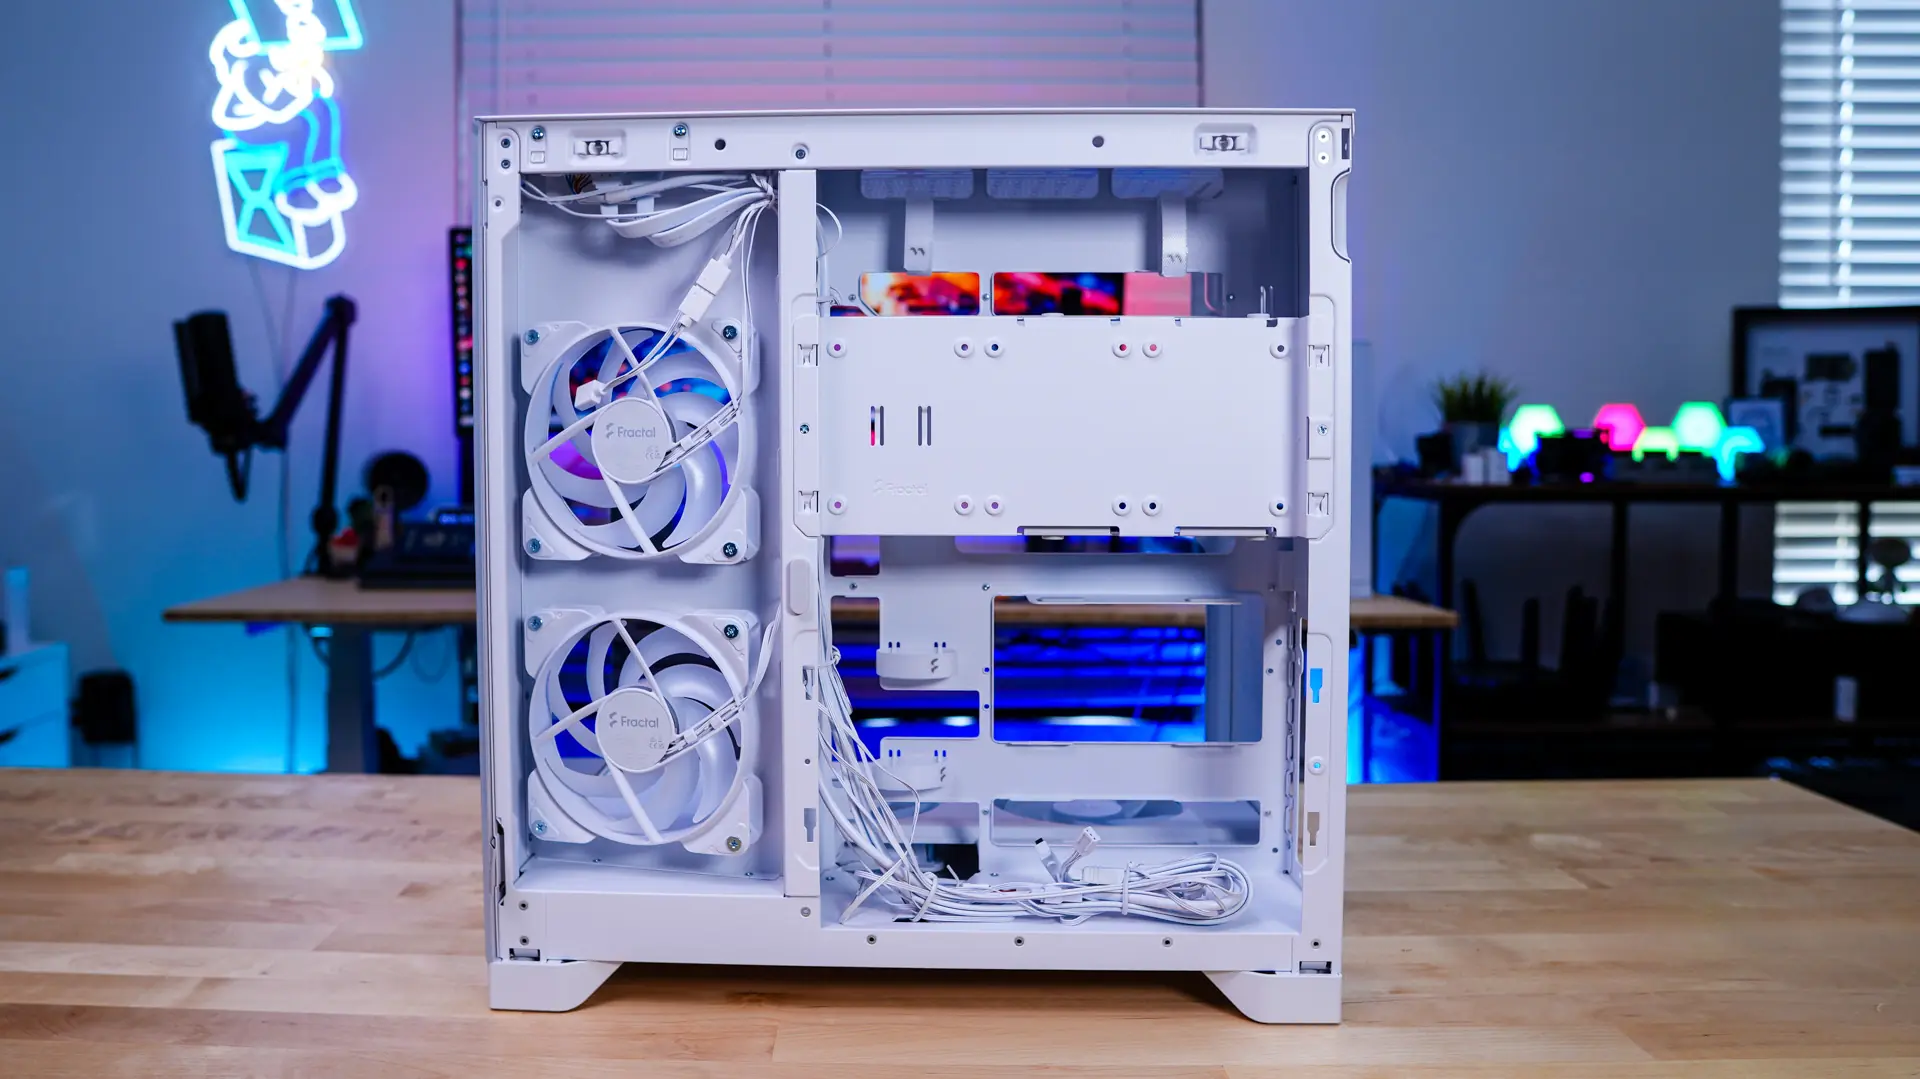
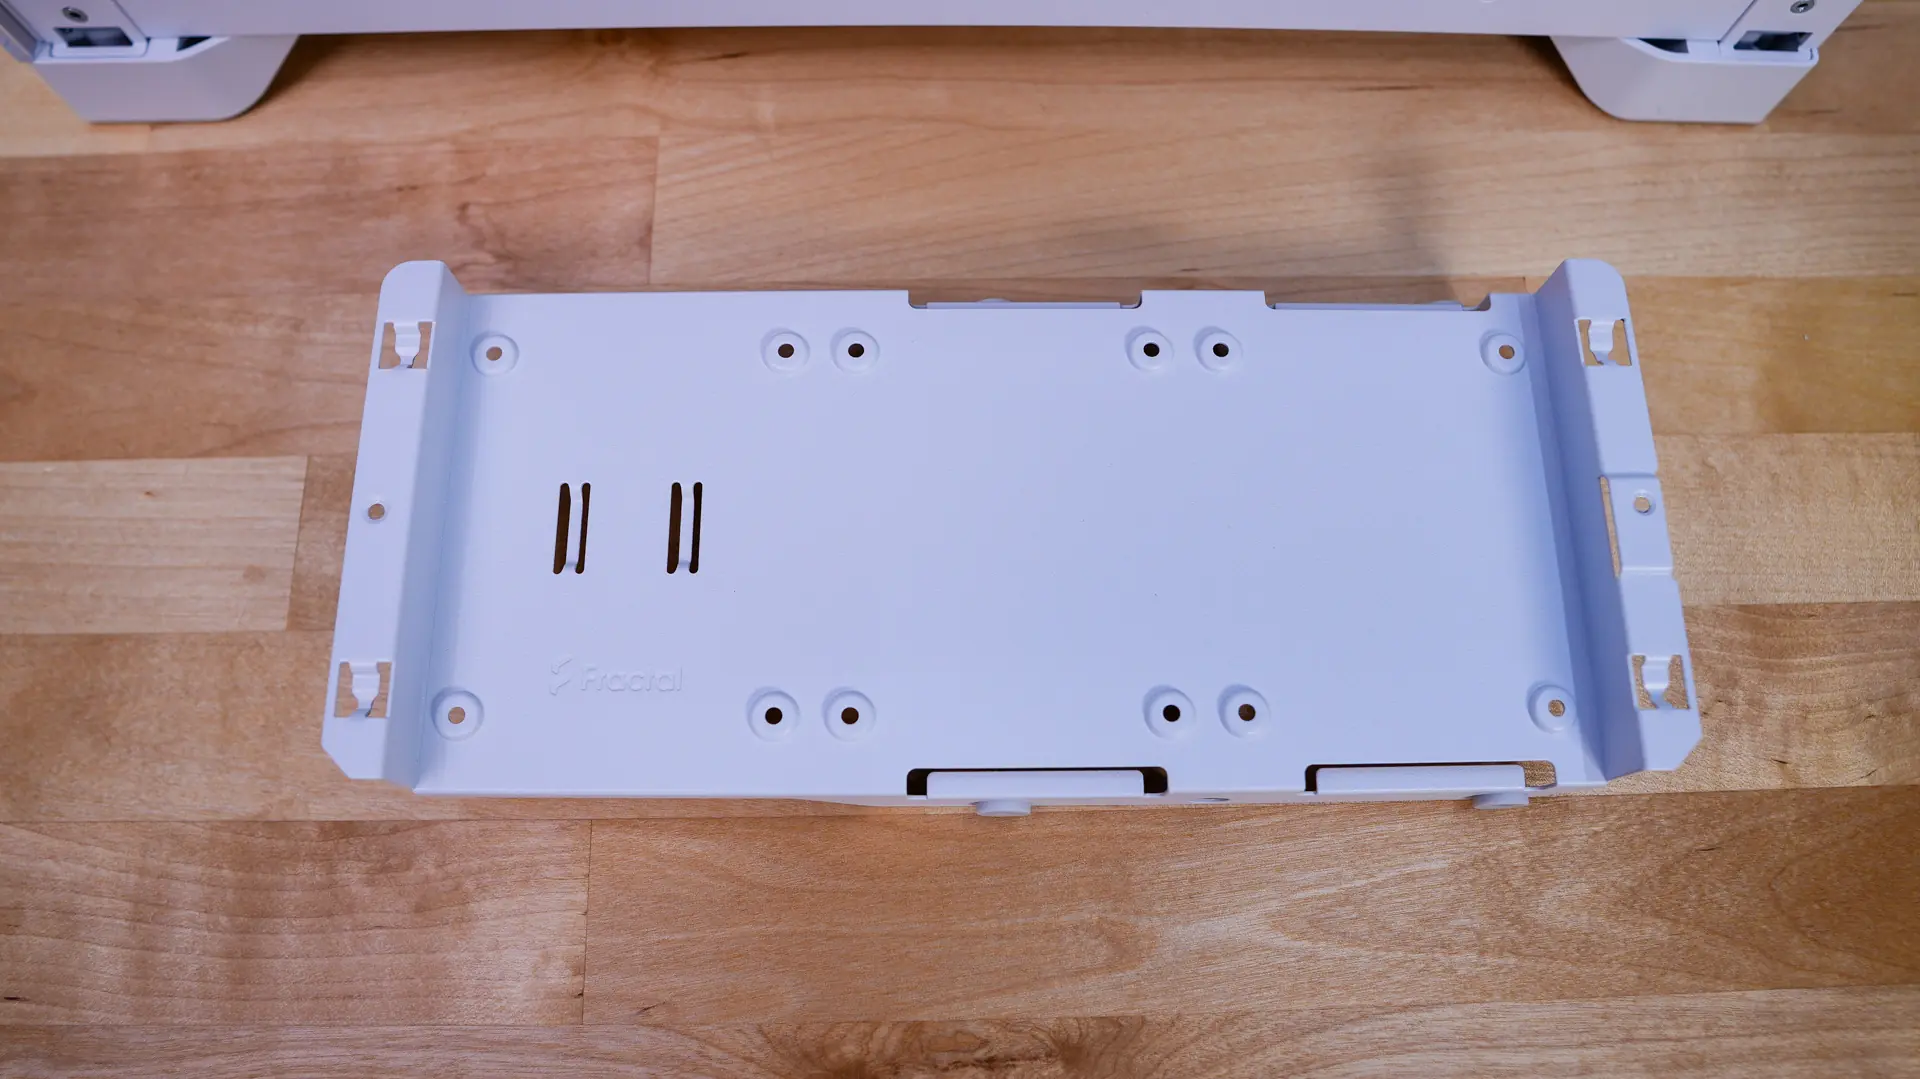
There is a long storage mount installed towards the top of the case. This mount will support three 2.5-inch solid state drives, as well as a single 3.5-inch drive. So out of the box this case supports four hard drives. This bracket can be removed by removing two small screws. It can also be moved down if you planned to install your power supply in the higher position.
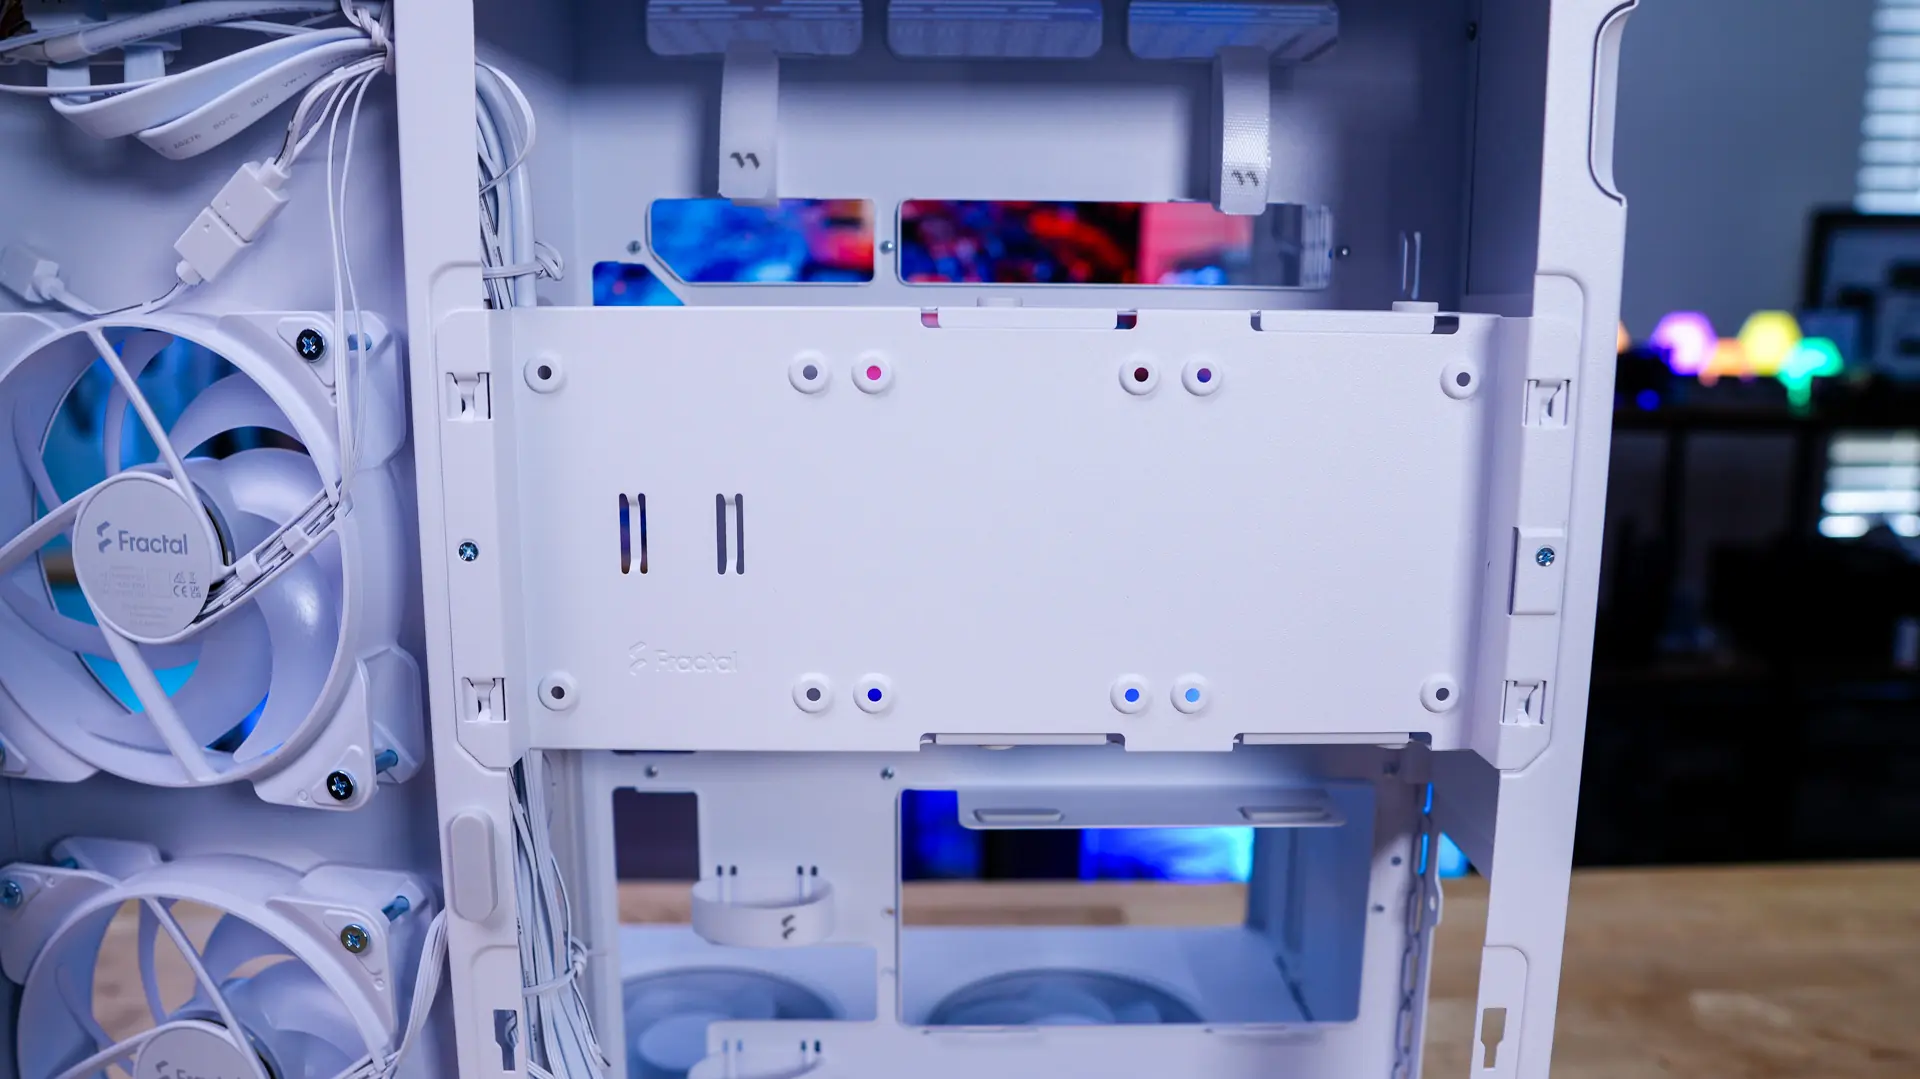
Below the storage bracket is going to be your power supply mount. You do have full ATX power supply support, which is definitely nice for such a compact case. With the storage bracket removed we can see the second power supply mount. You’ll need to use the second mount and move your storage bracket down if you plan to use a back-connect motherboard.
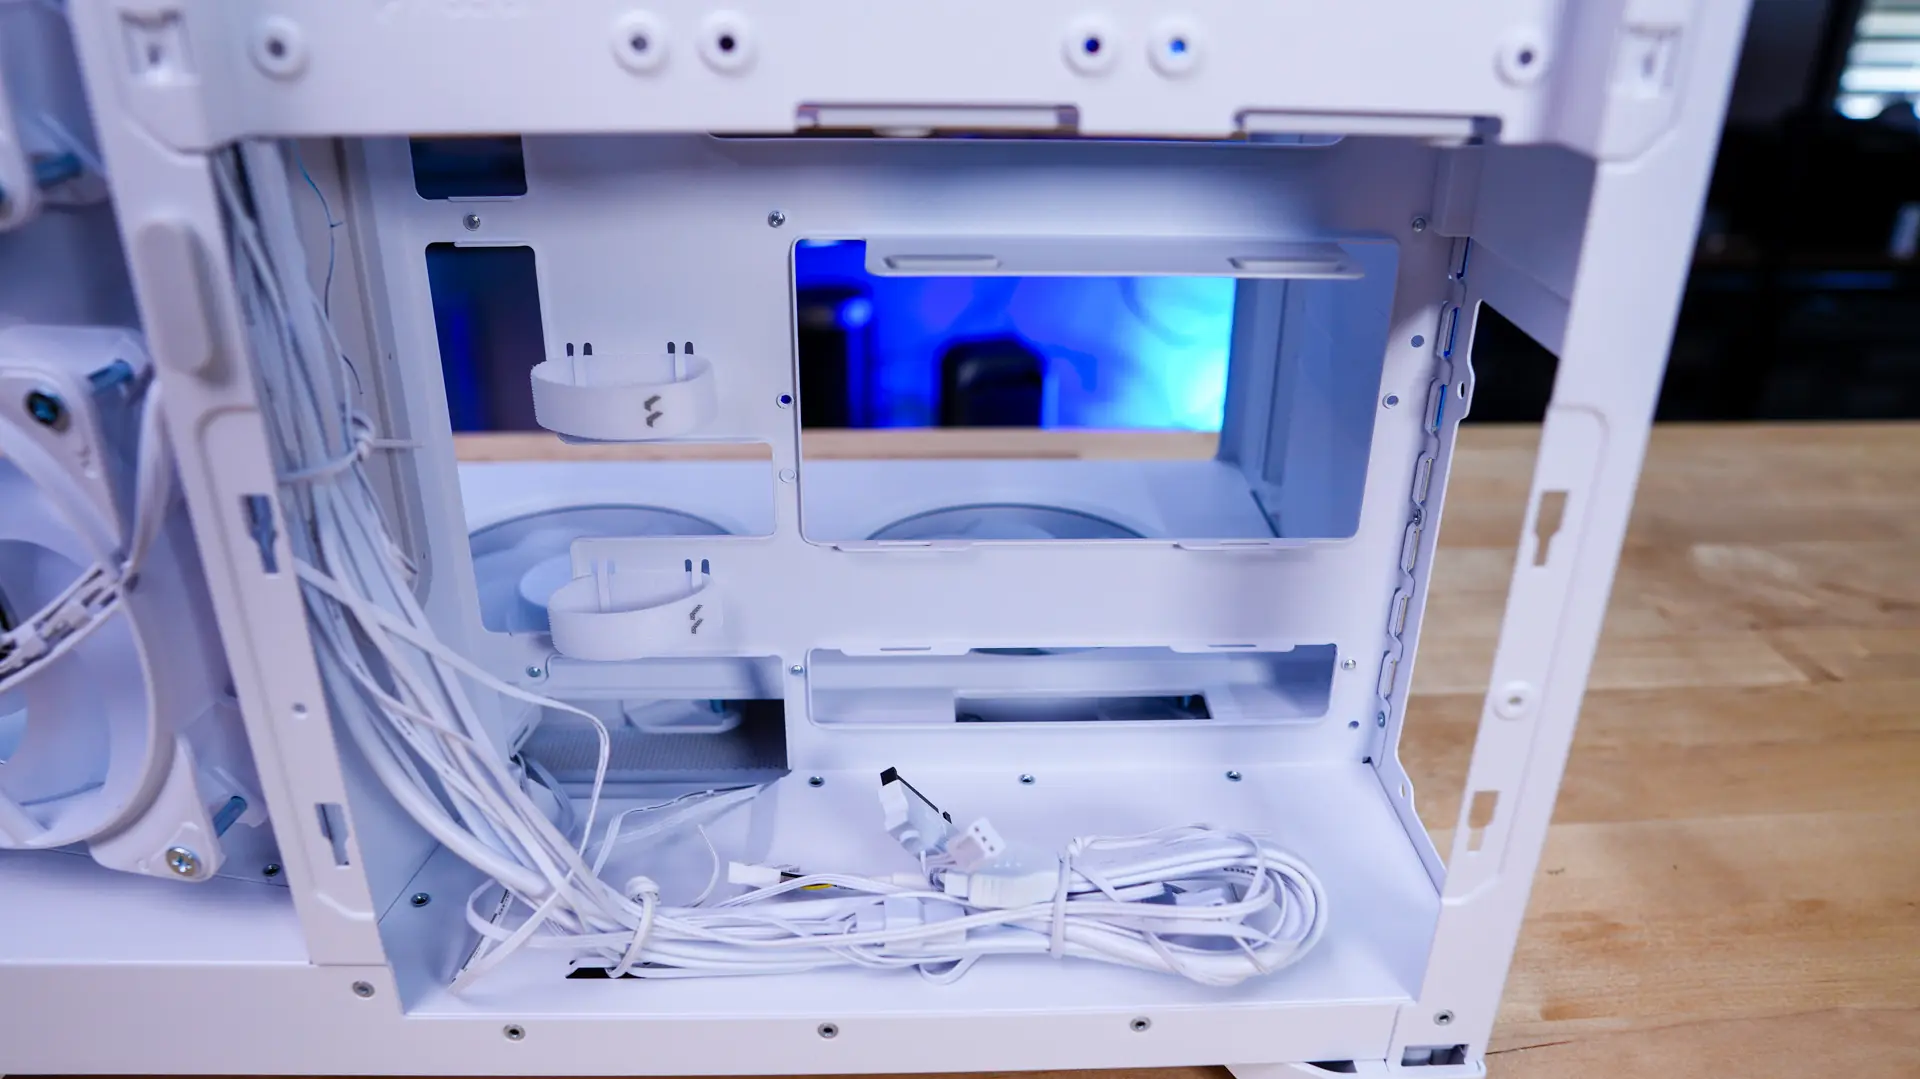
There are also a handful of velcro-ties on the backside of the case as well as a long cable routing hole, which does have a rubber insert so your cables don’t get damaged.