Installation in the Fractal Design Pop 2 Vision Case
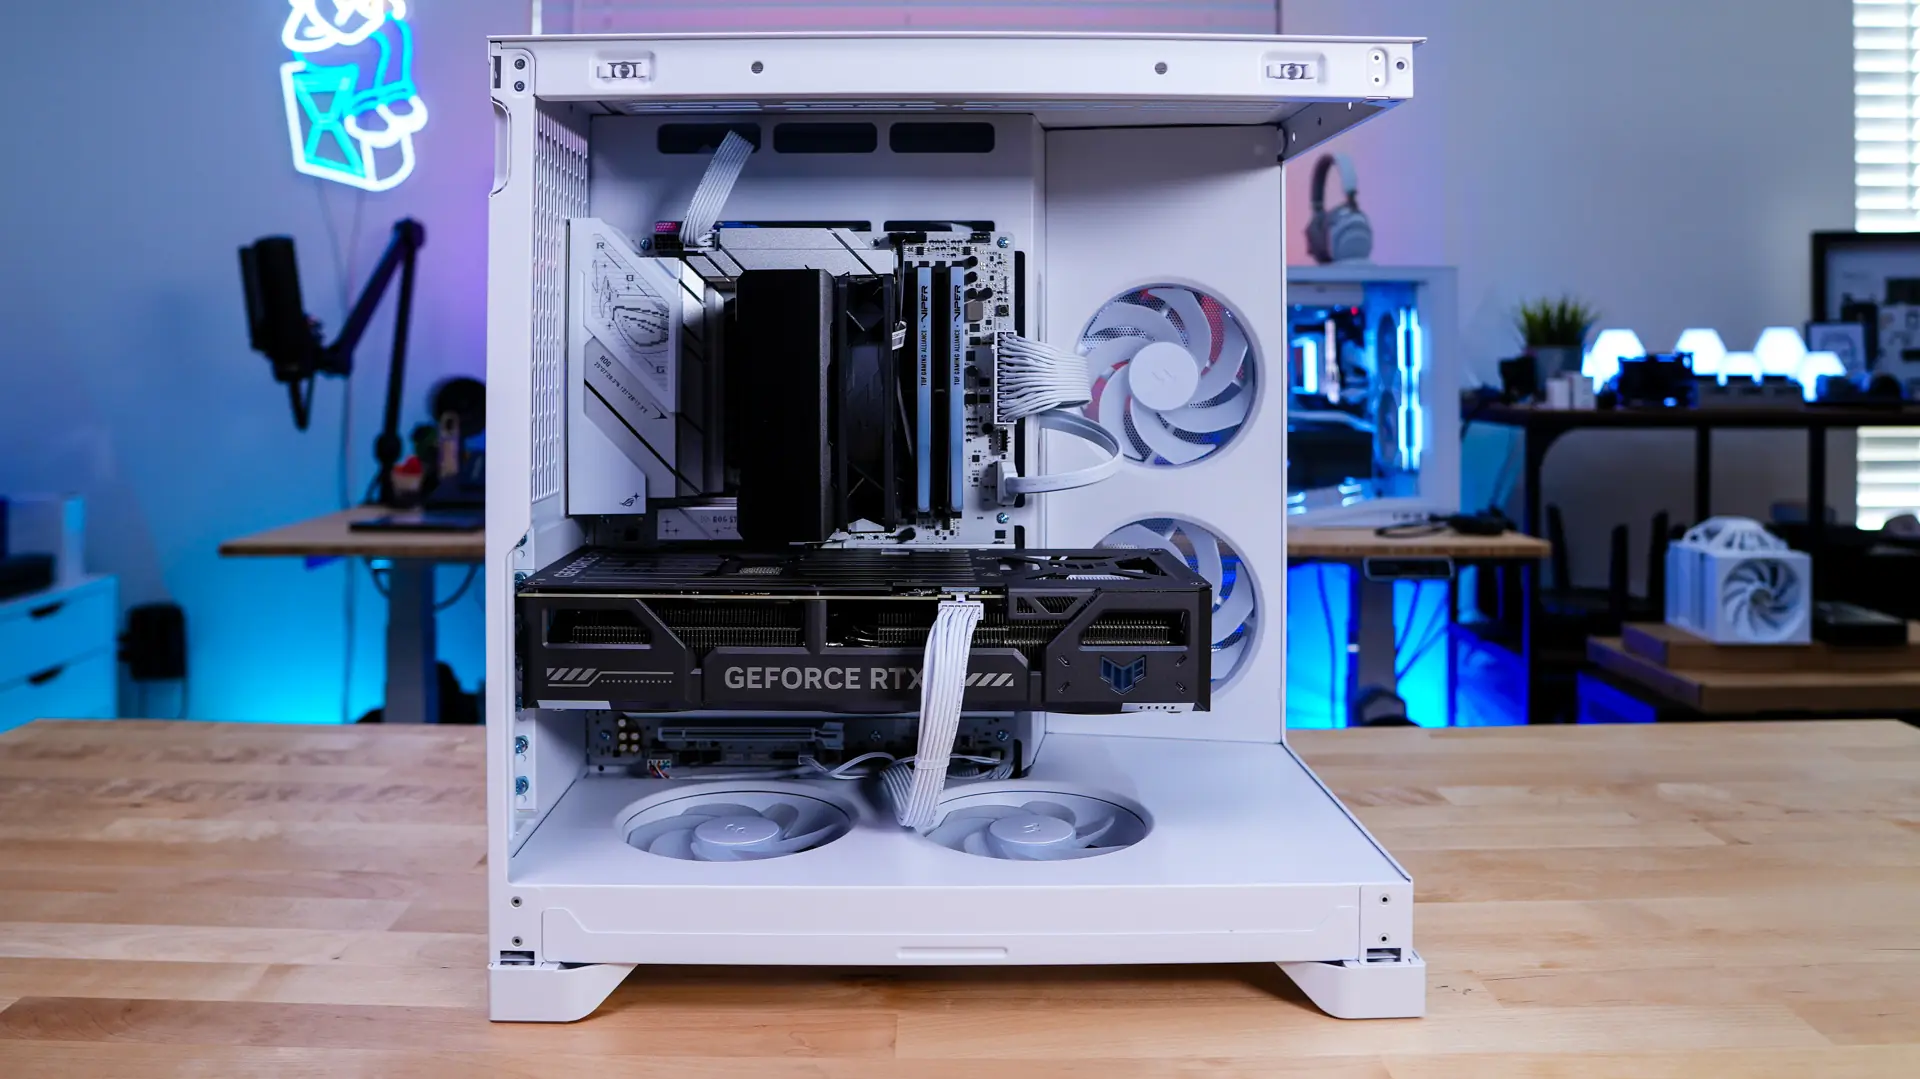
Installation in the Pop 2 Vision is pretty straight-forward. The first thing we are going to install is our motherboard. Since the main side is pretty open and you can remove the front glass panel it is quite easy to install your motherboard. It is worth mentioning that Fractal has pre-installed the standoffs.
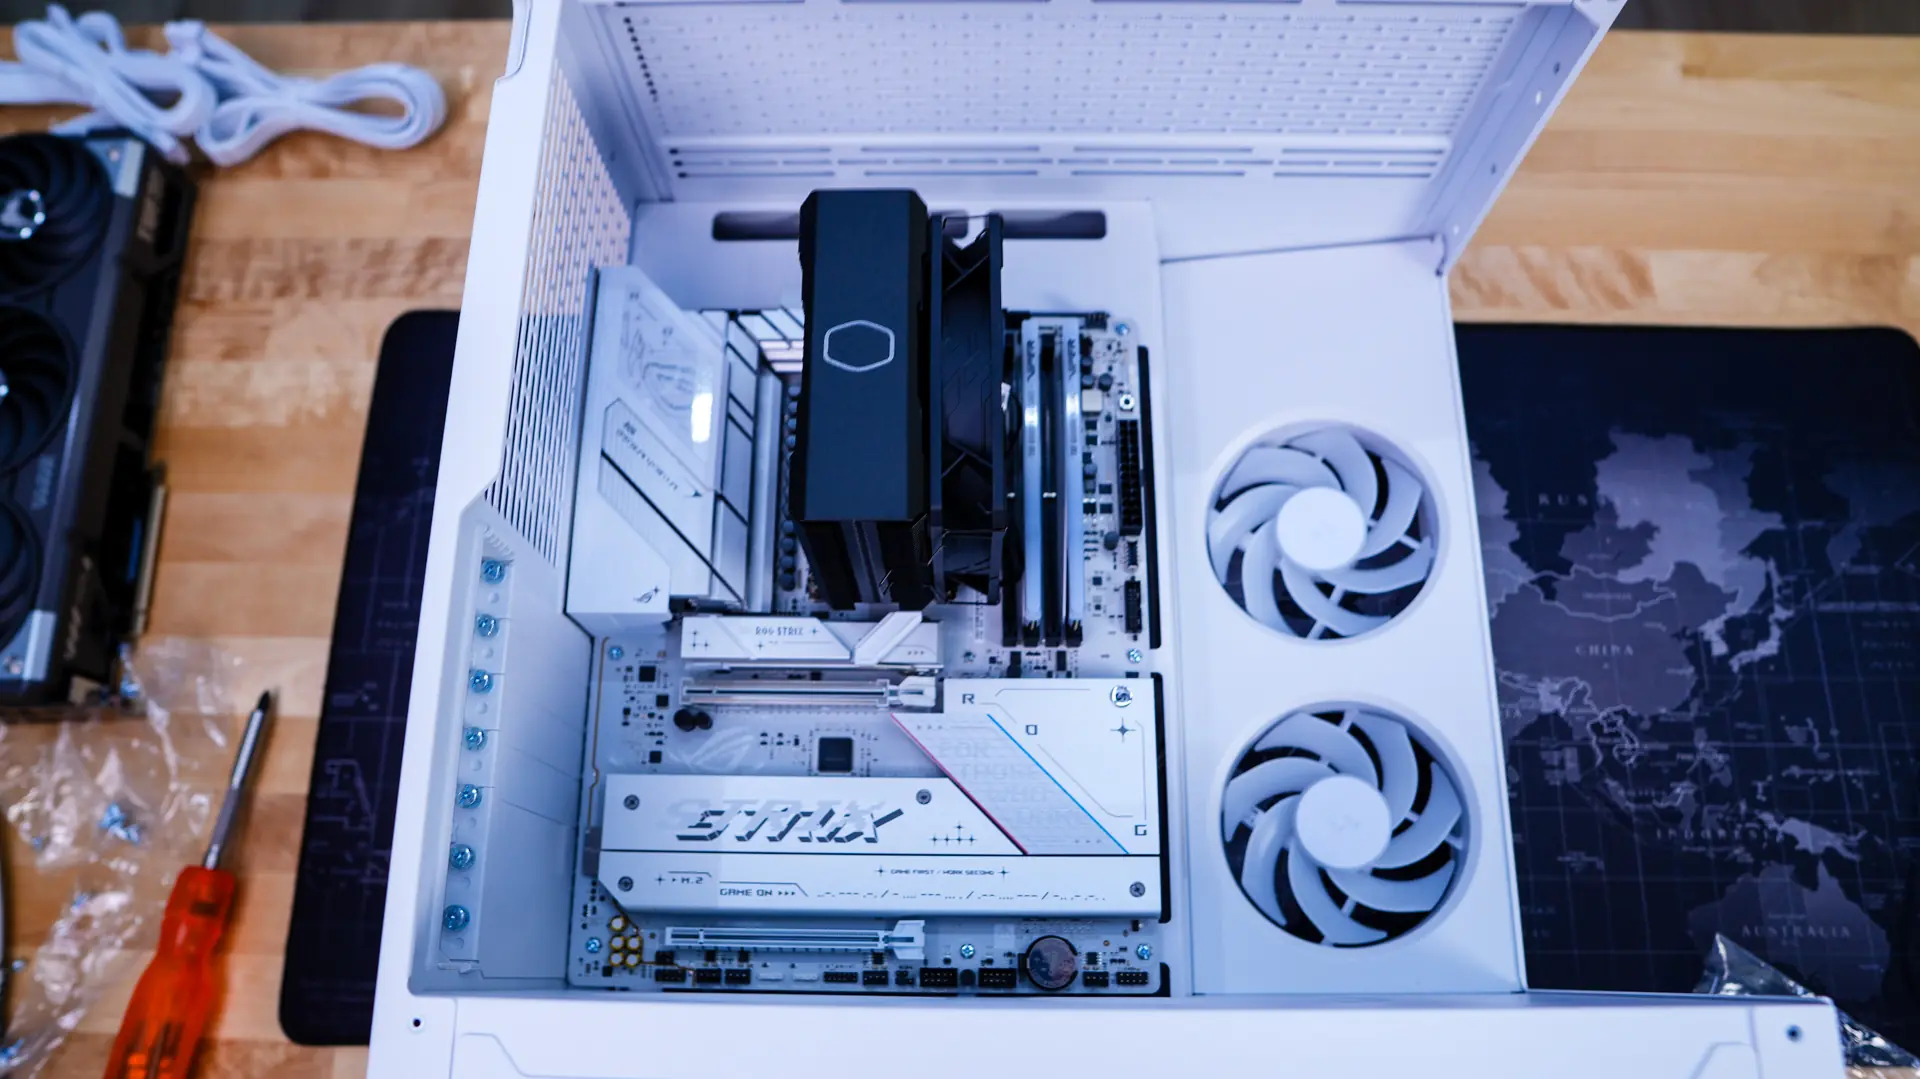
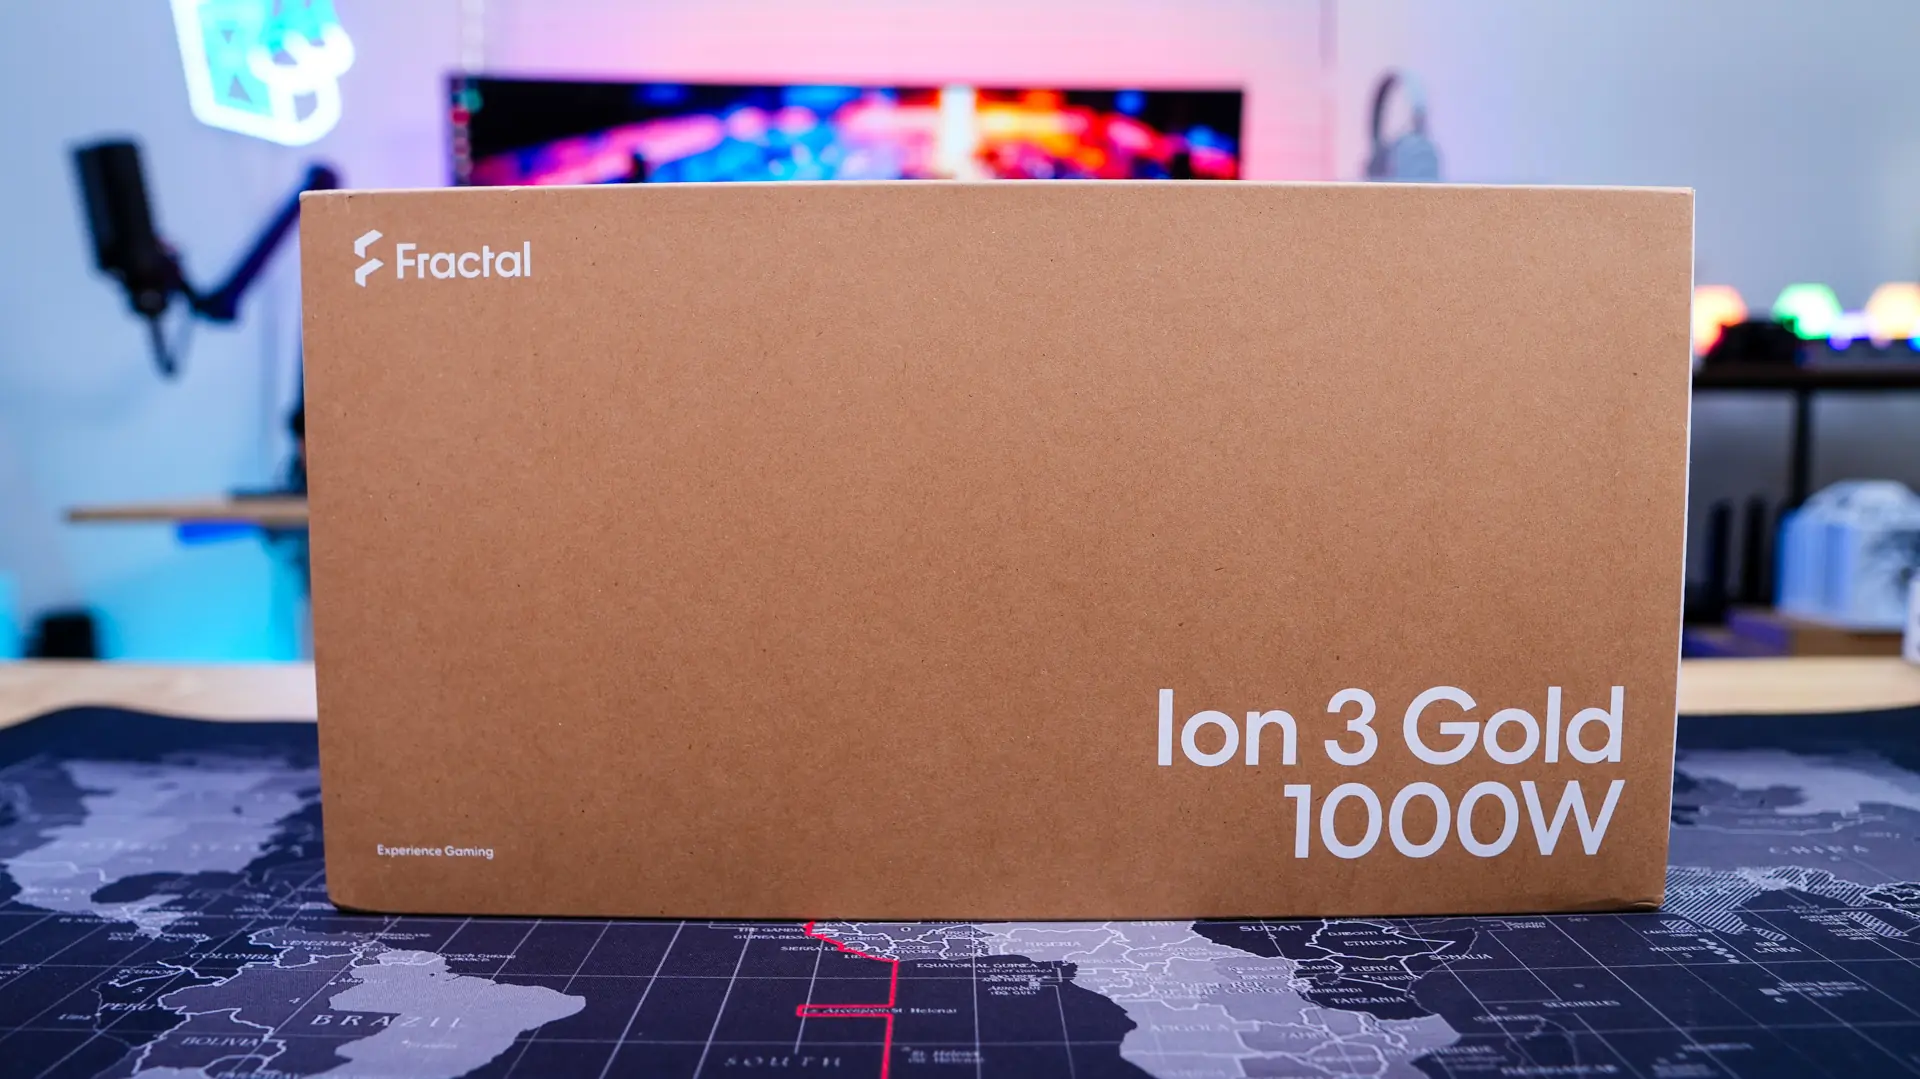
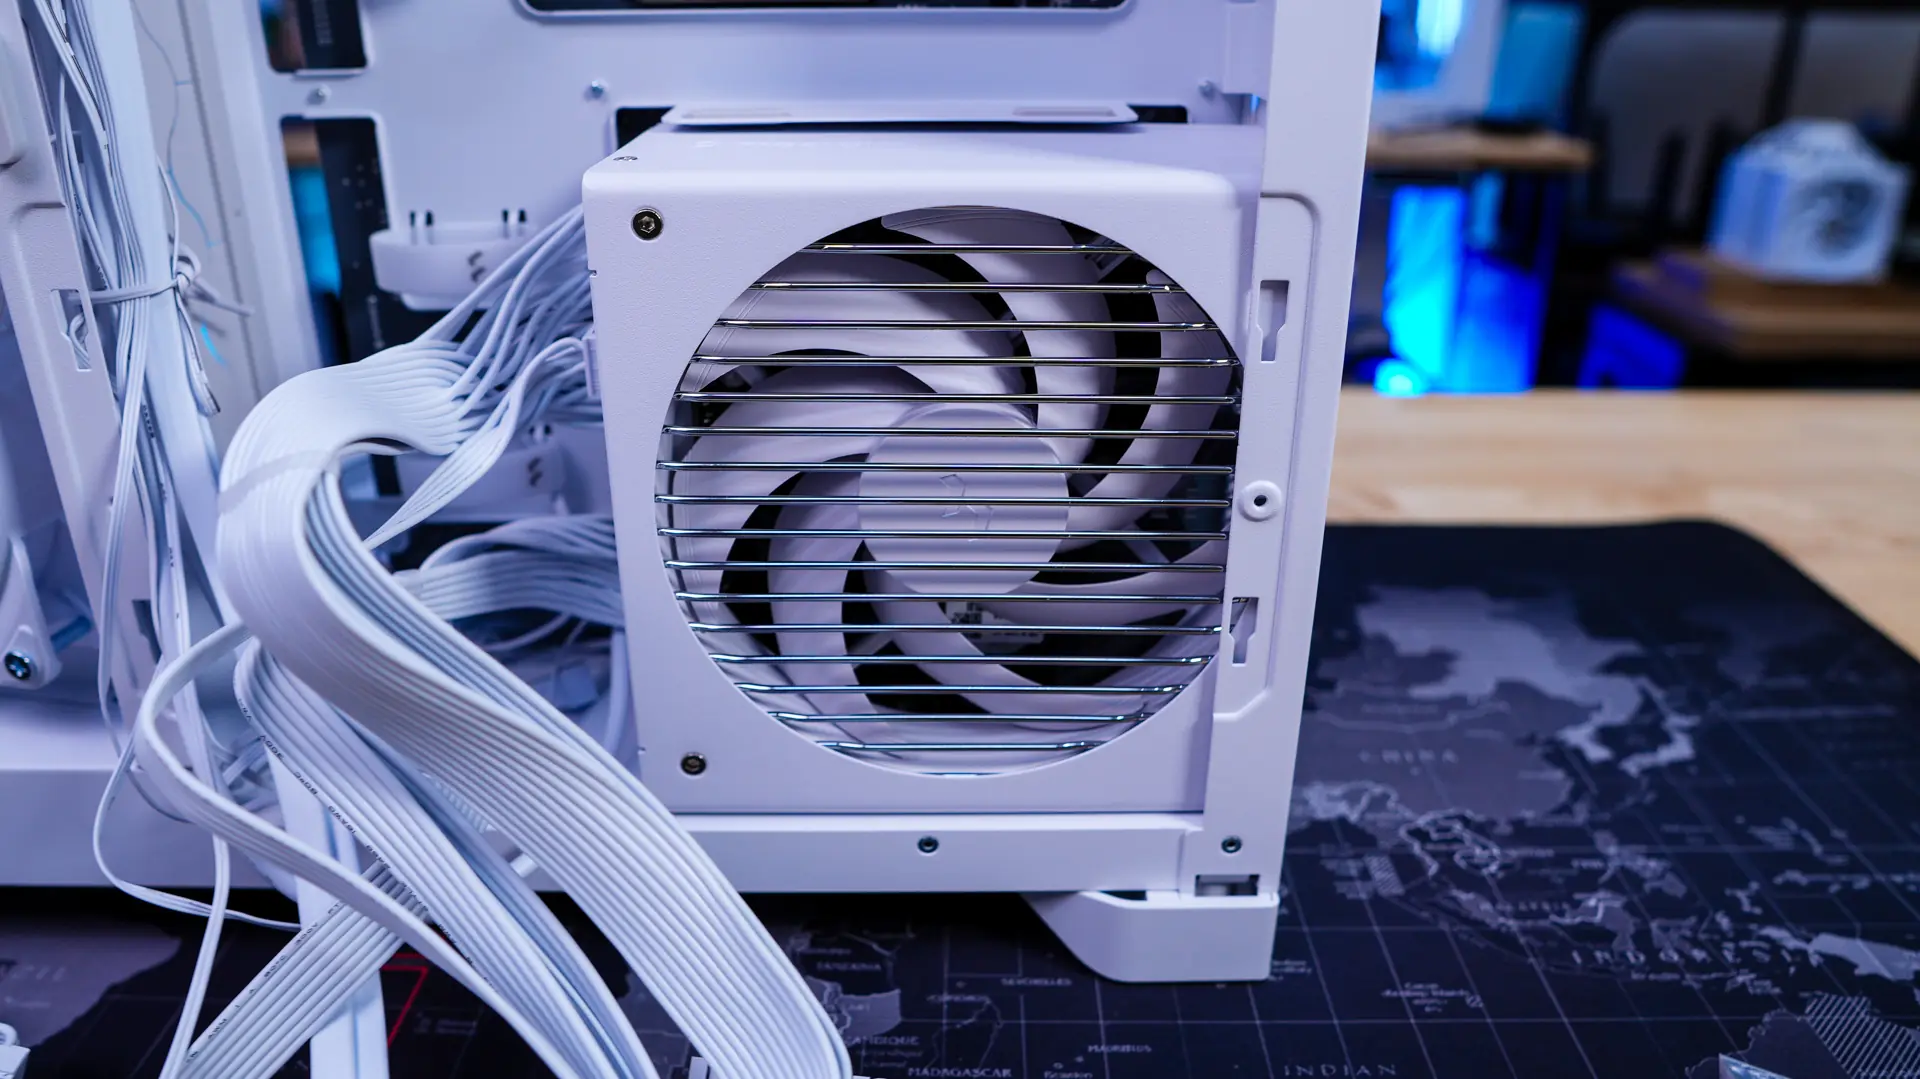
After our motherboard is going to be our power supply and Fractal provided us with their Ion 3 Gold 1000W unit in white, which matches this case perfectly! It slides into the back of the case very easily, be sure to have the fan facing towards you.
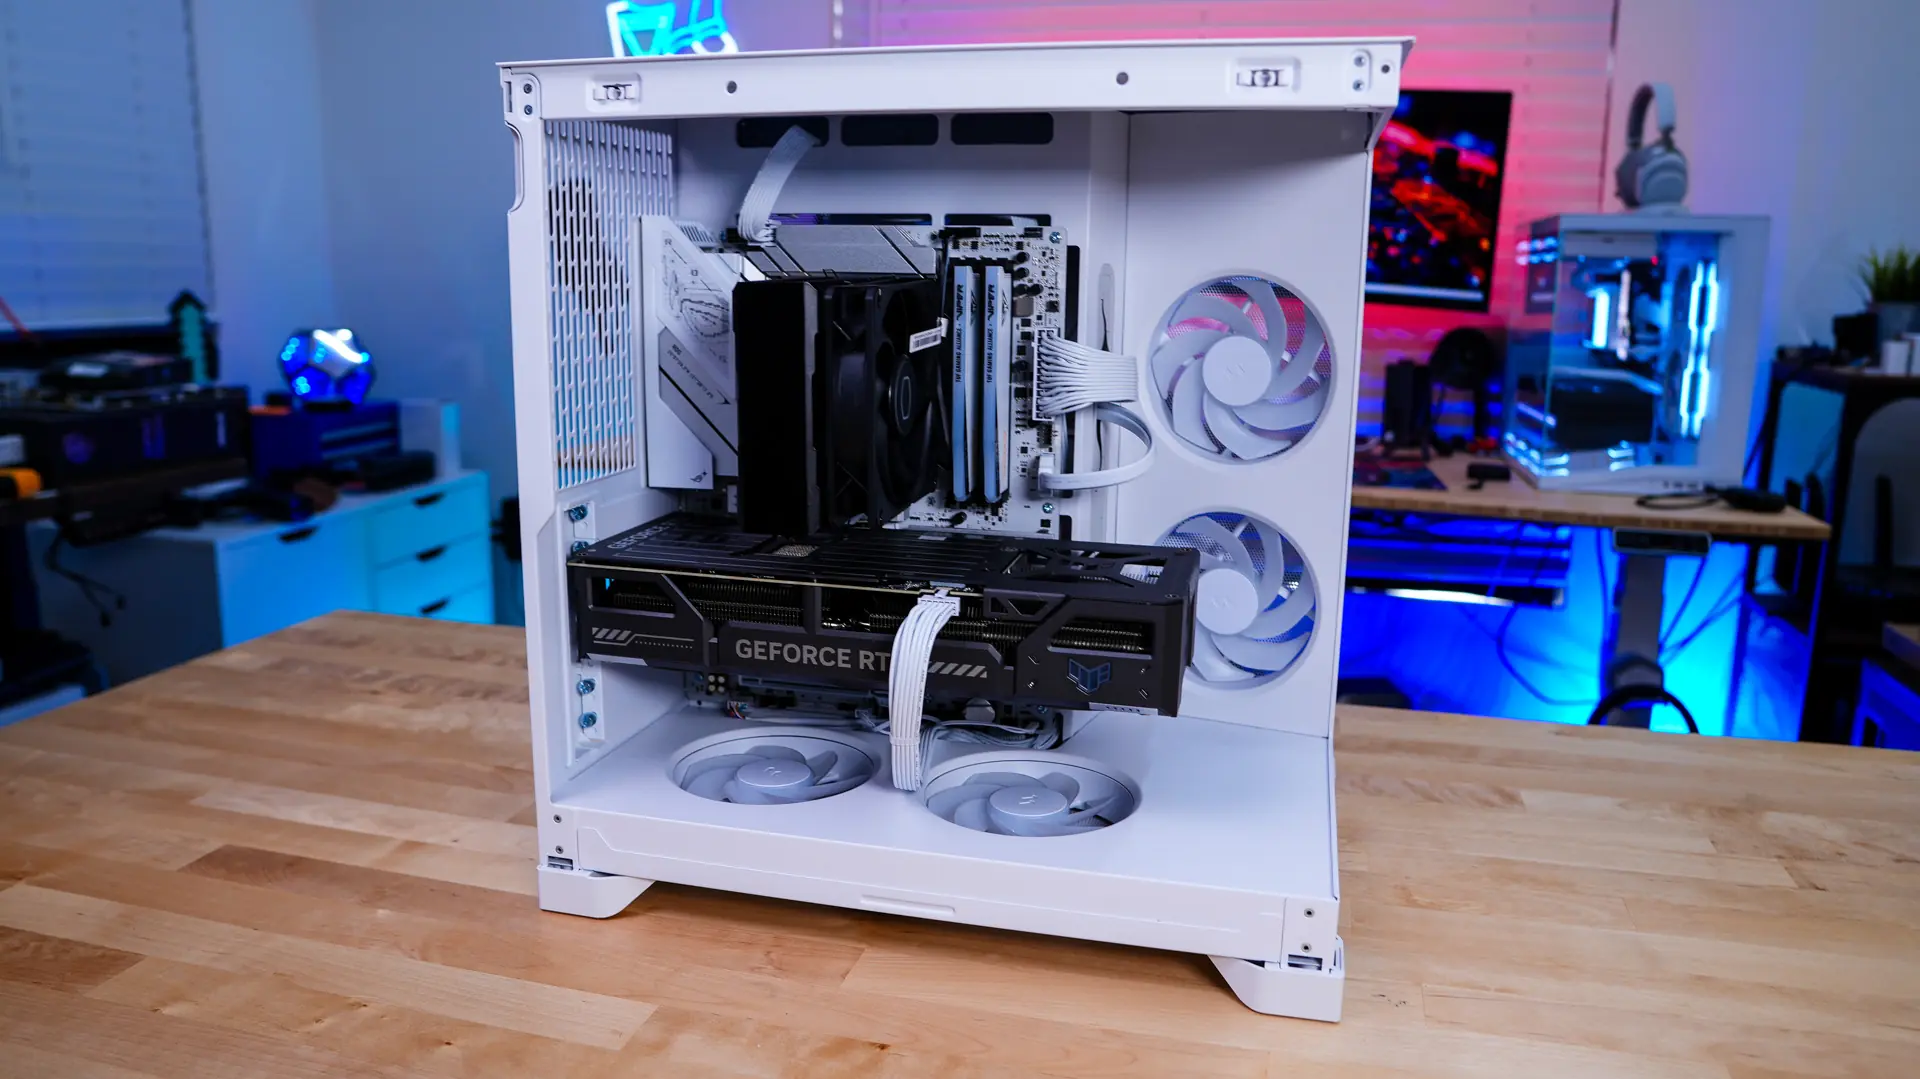
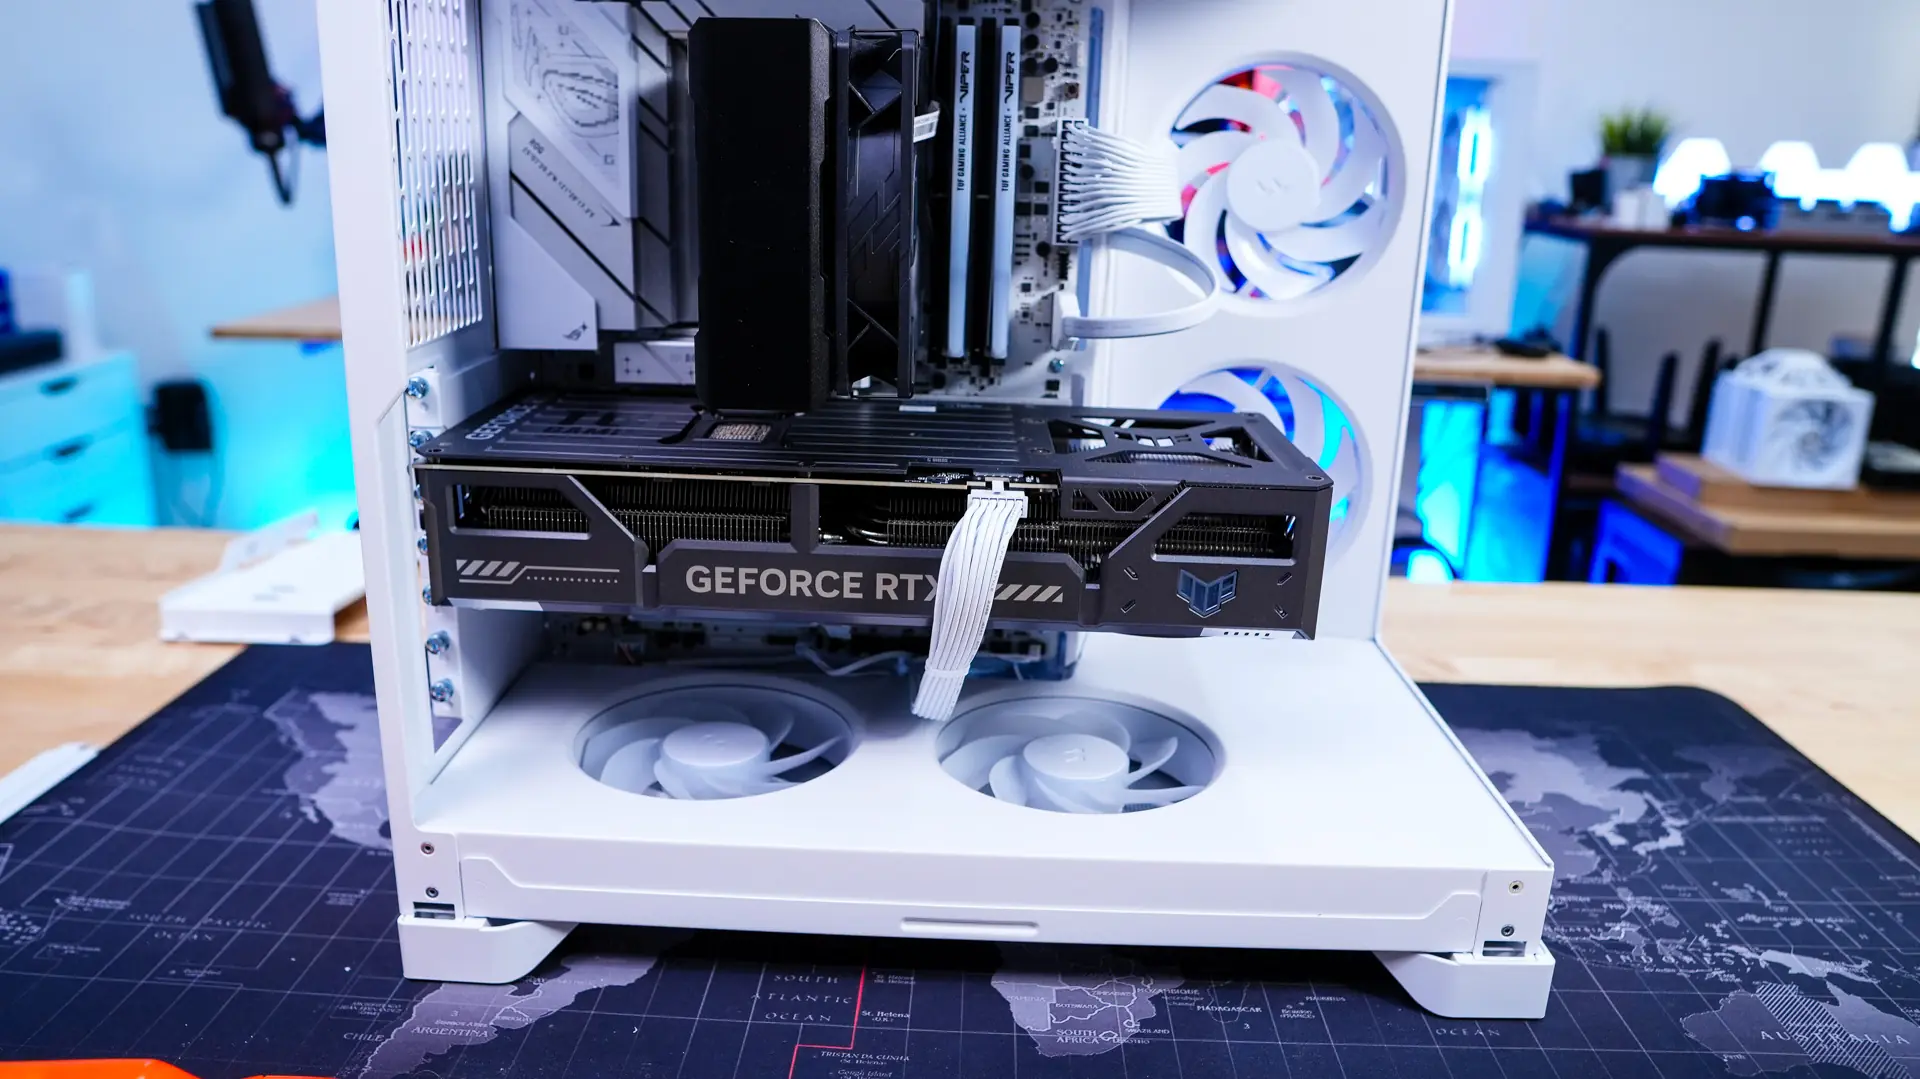
Moving back to the other side of the case we install our graphics card. This case supports graphics cards as long as 410mm so getting ours installed we quite simple.
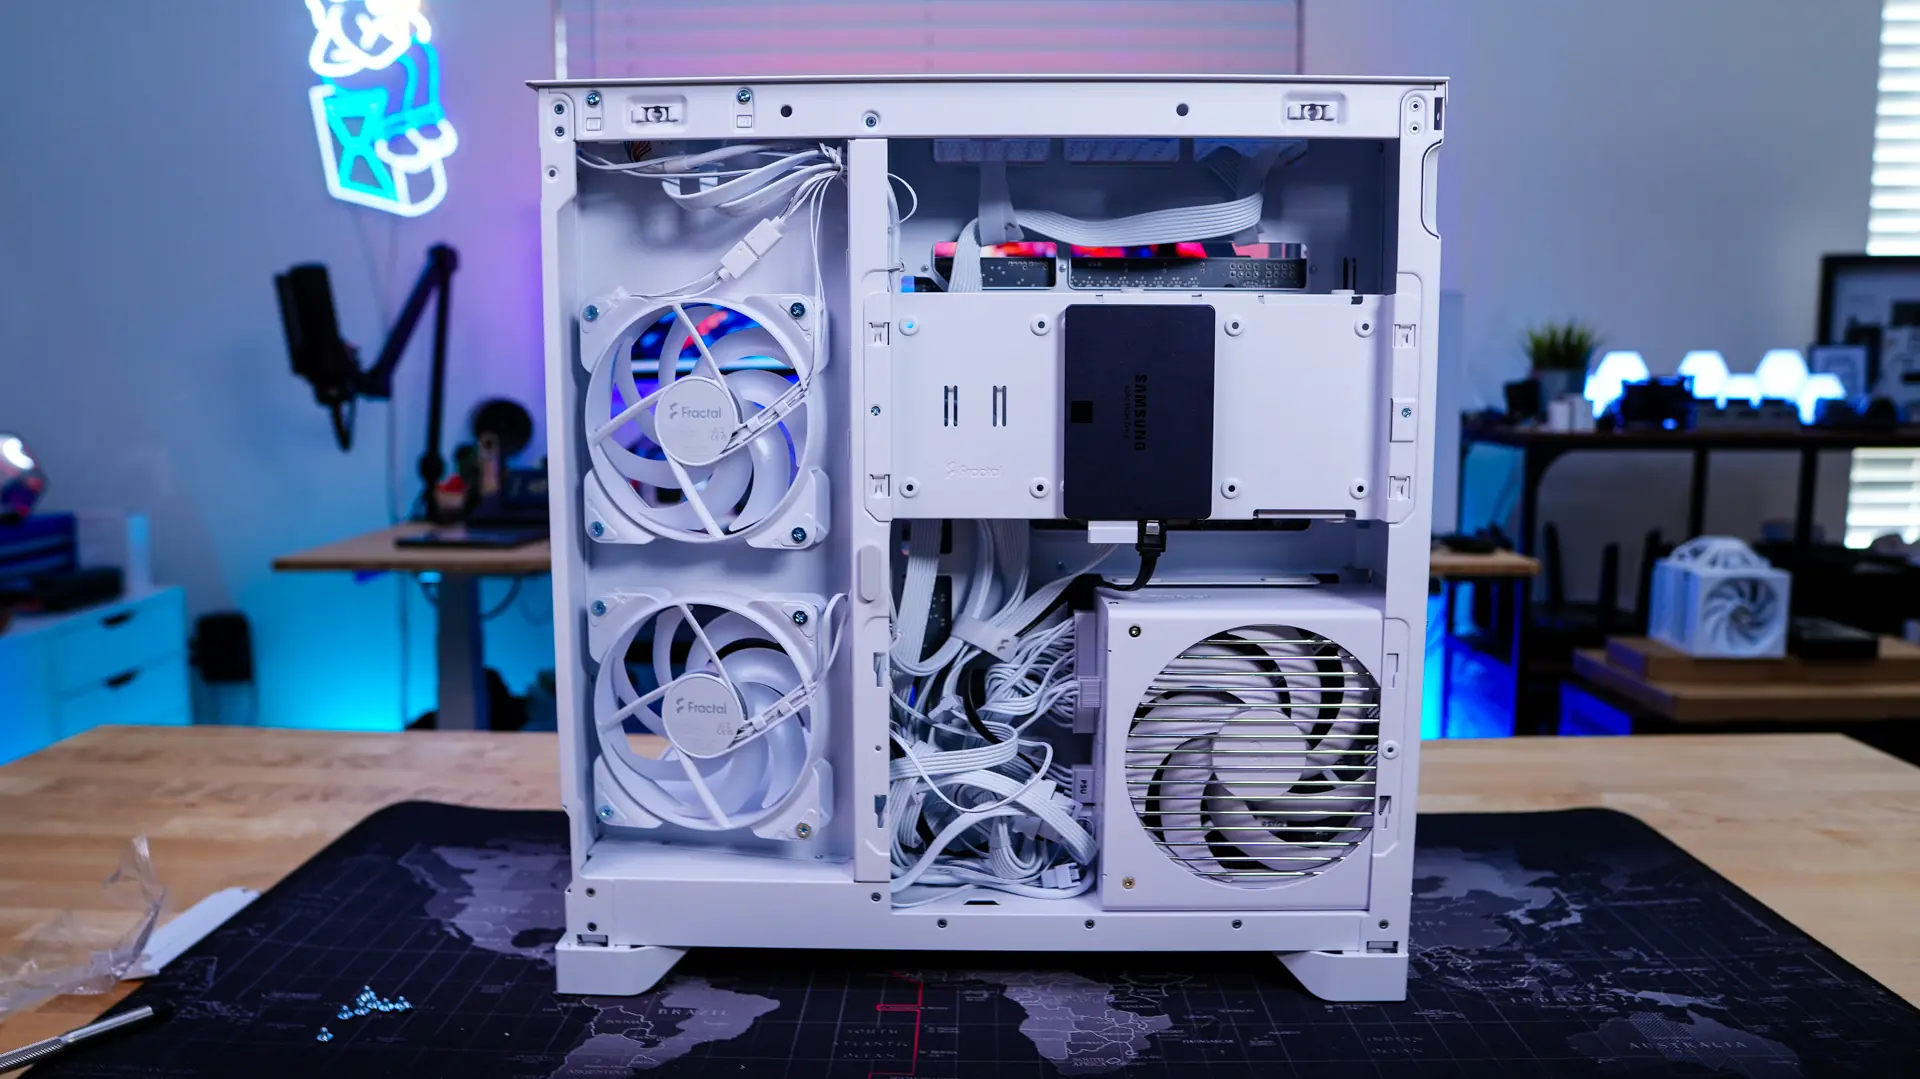
Storage is next. Remove the storage bracket to easily install your drives. Once installed simply re-install the bracket.

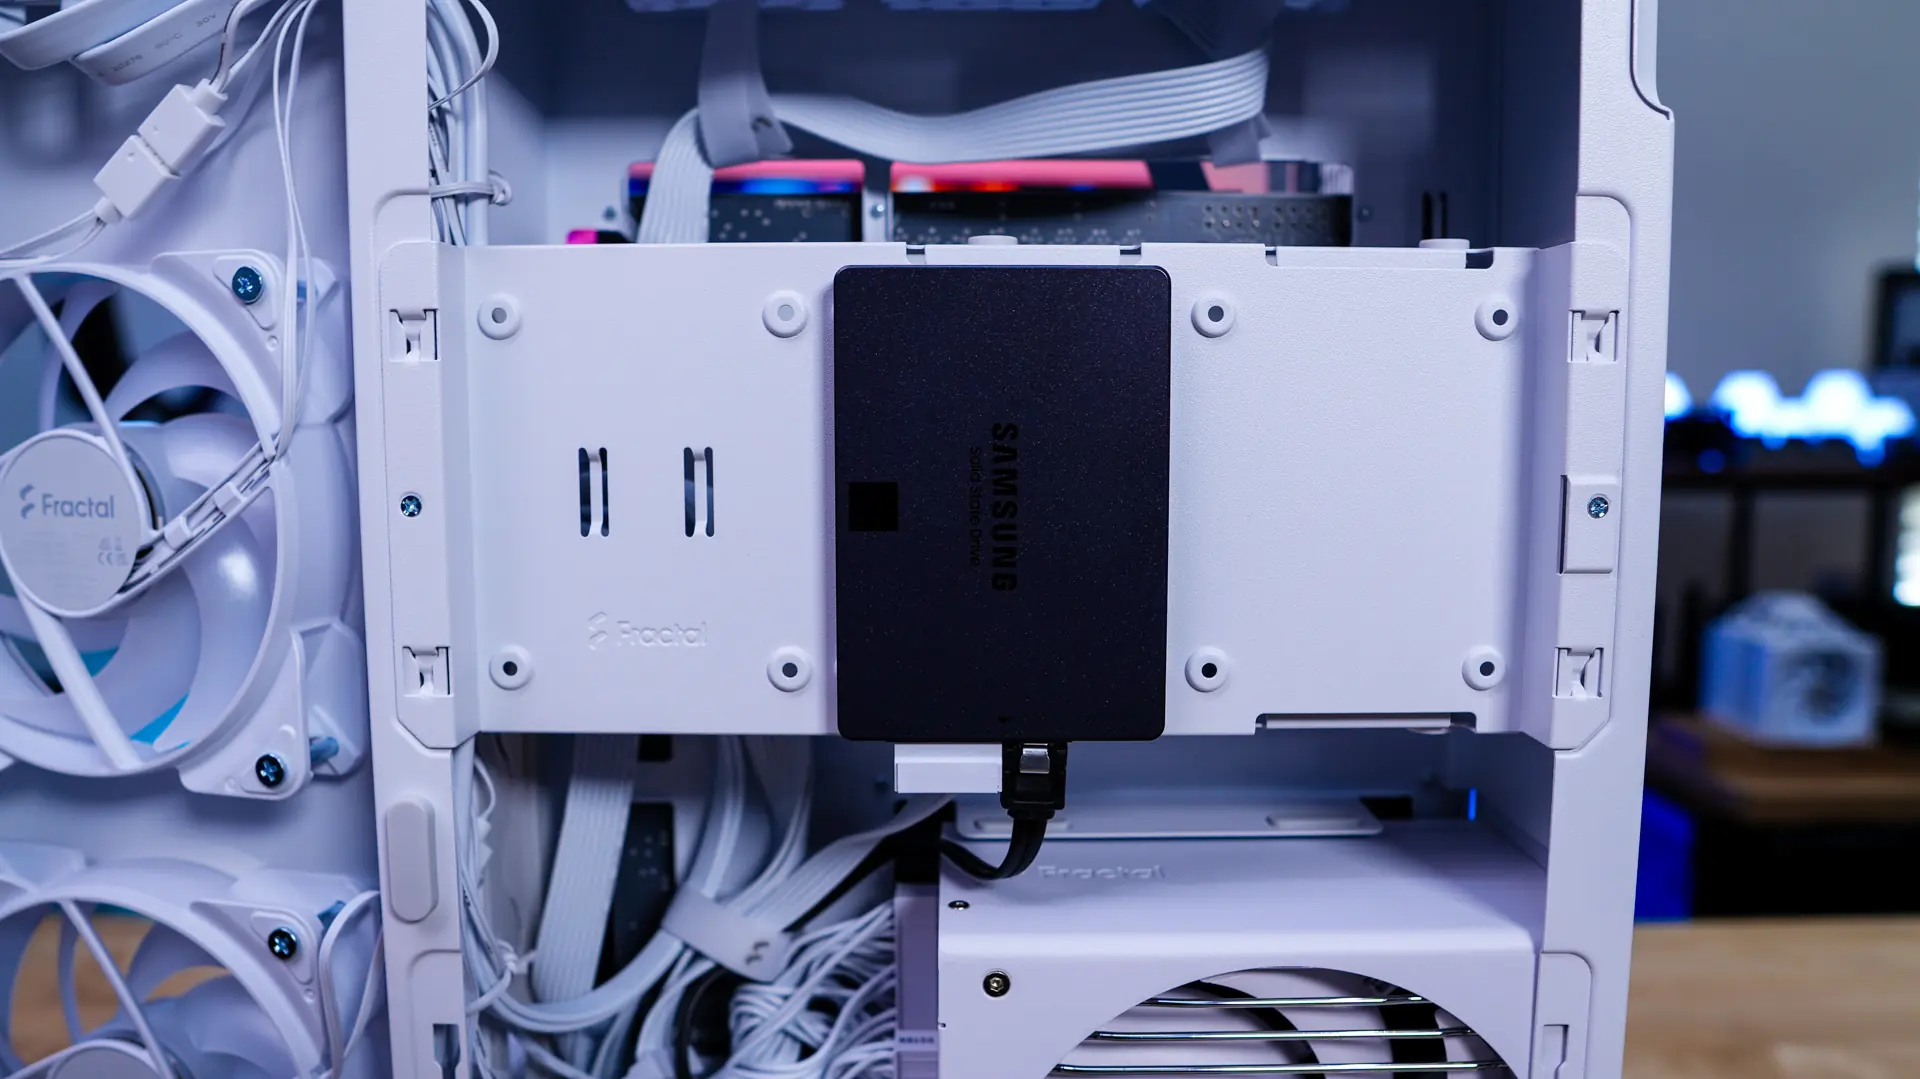
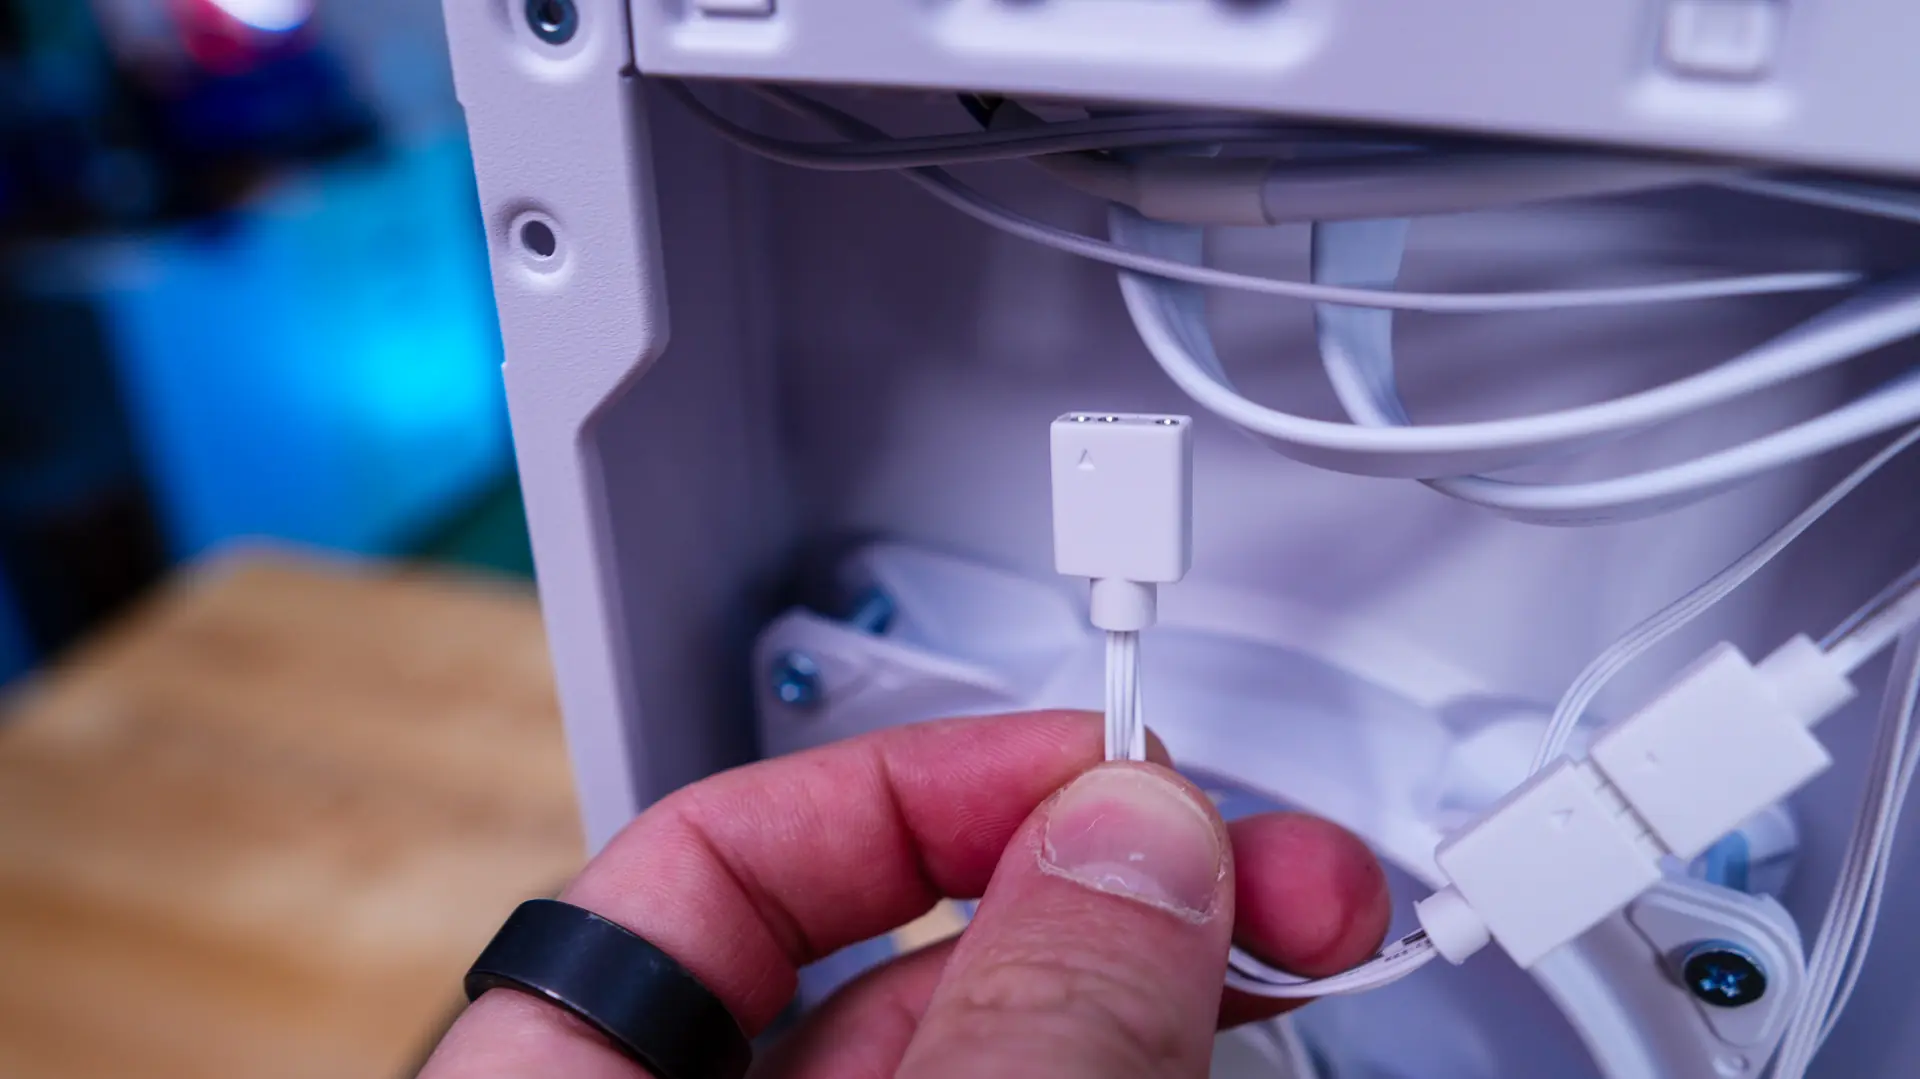
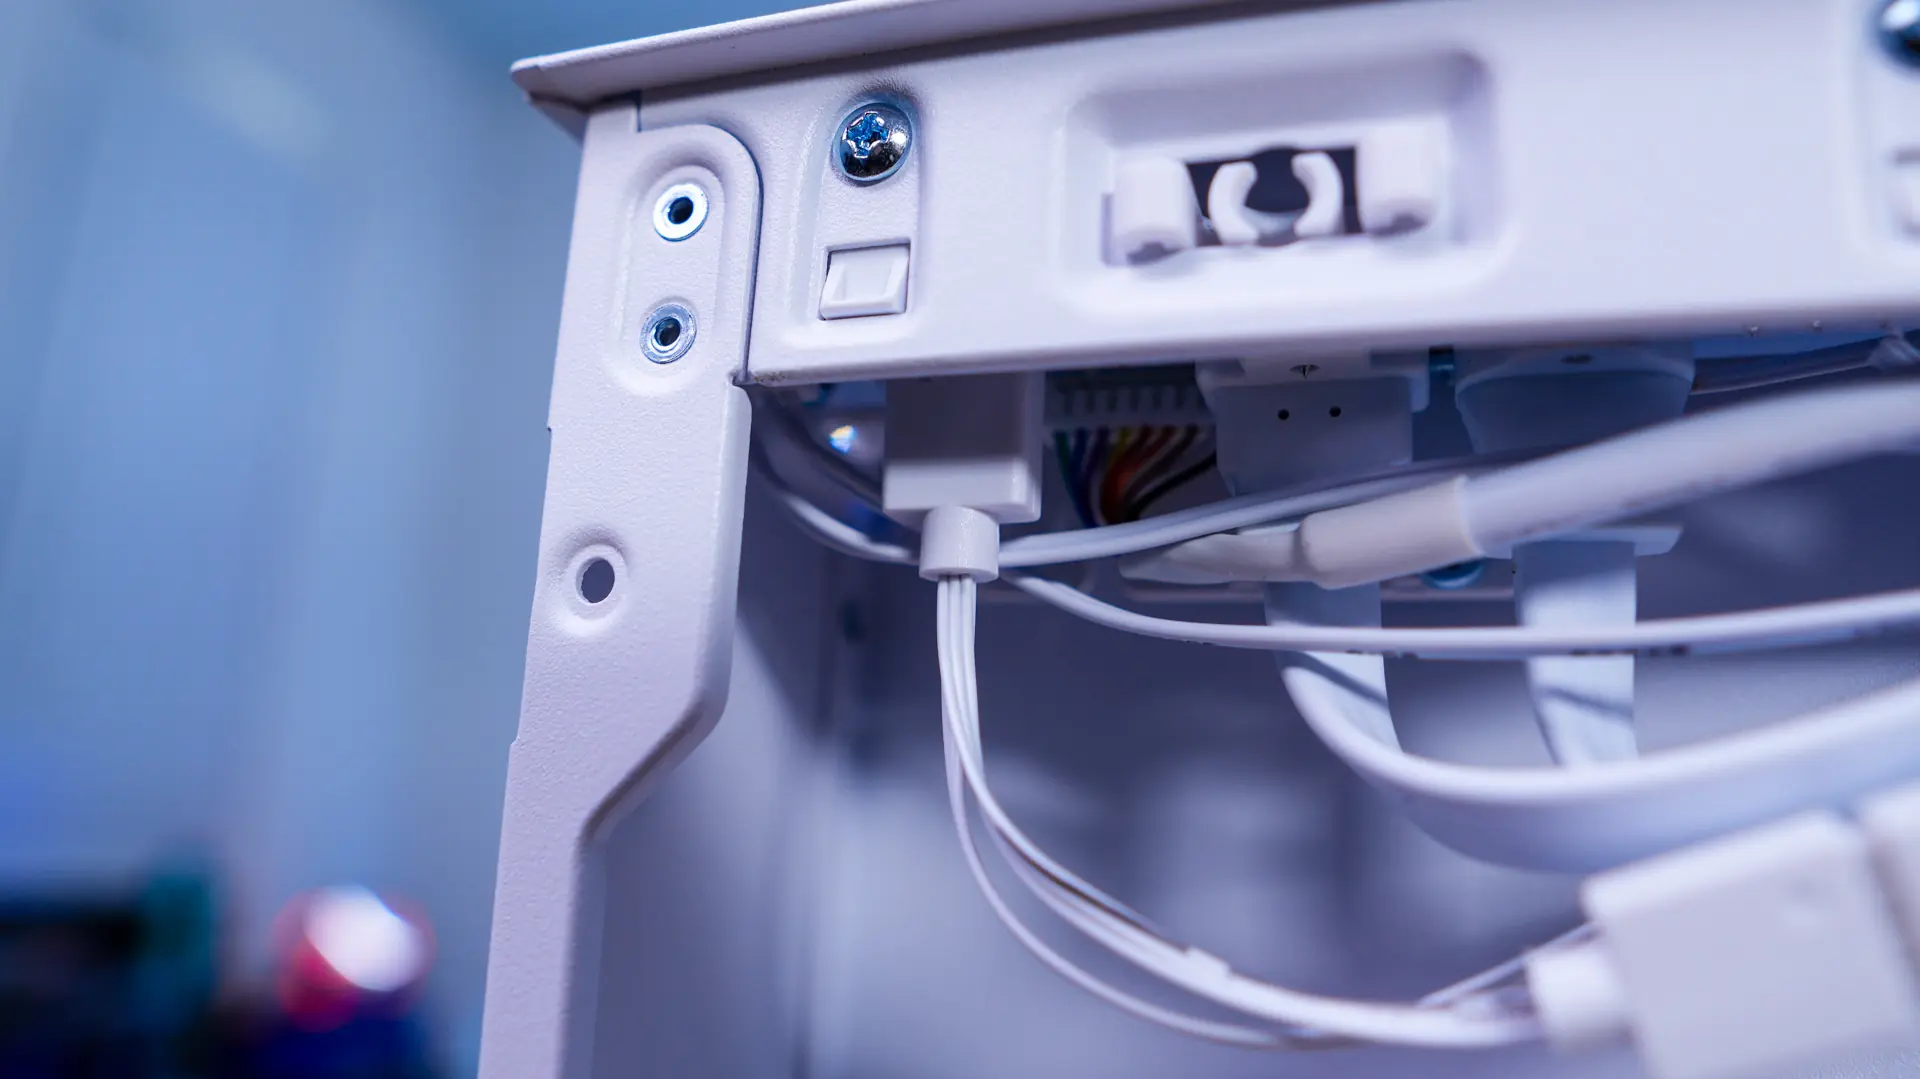
Before you re-install the bracket you are going to want to route all of your cables as the storage bracket will block most of the back of the case. While all four included fans are daisy-chained together you will need to connect them to a fan header on your motherboard. You’ll also need to connect the 3-pin ARGB cable to either the connection on the top of the case (shown below) or to an ARGB header on your motherboard.
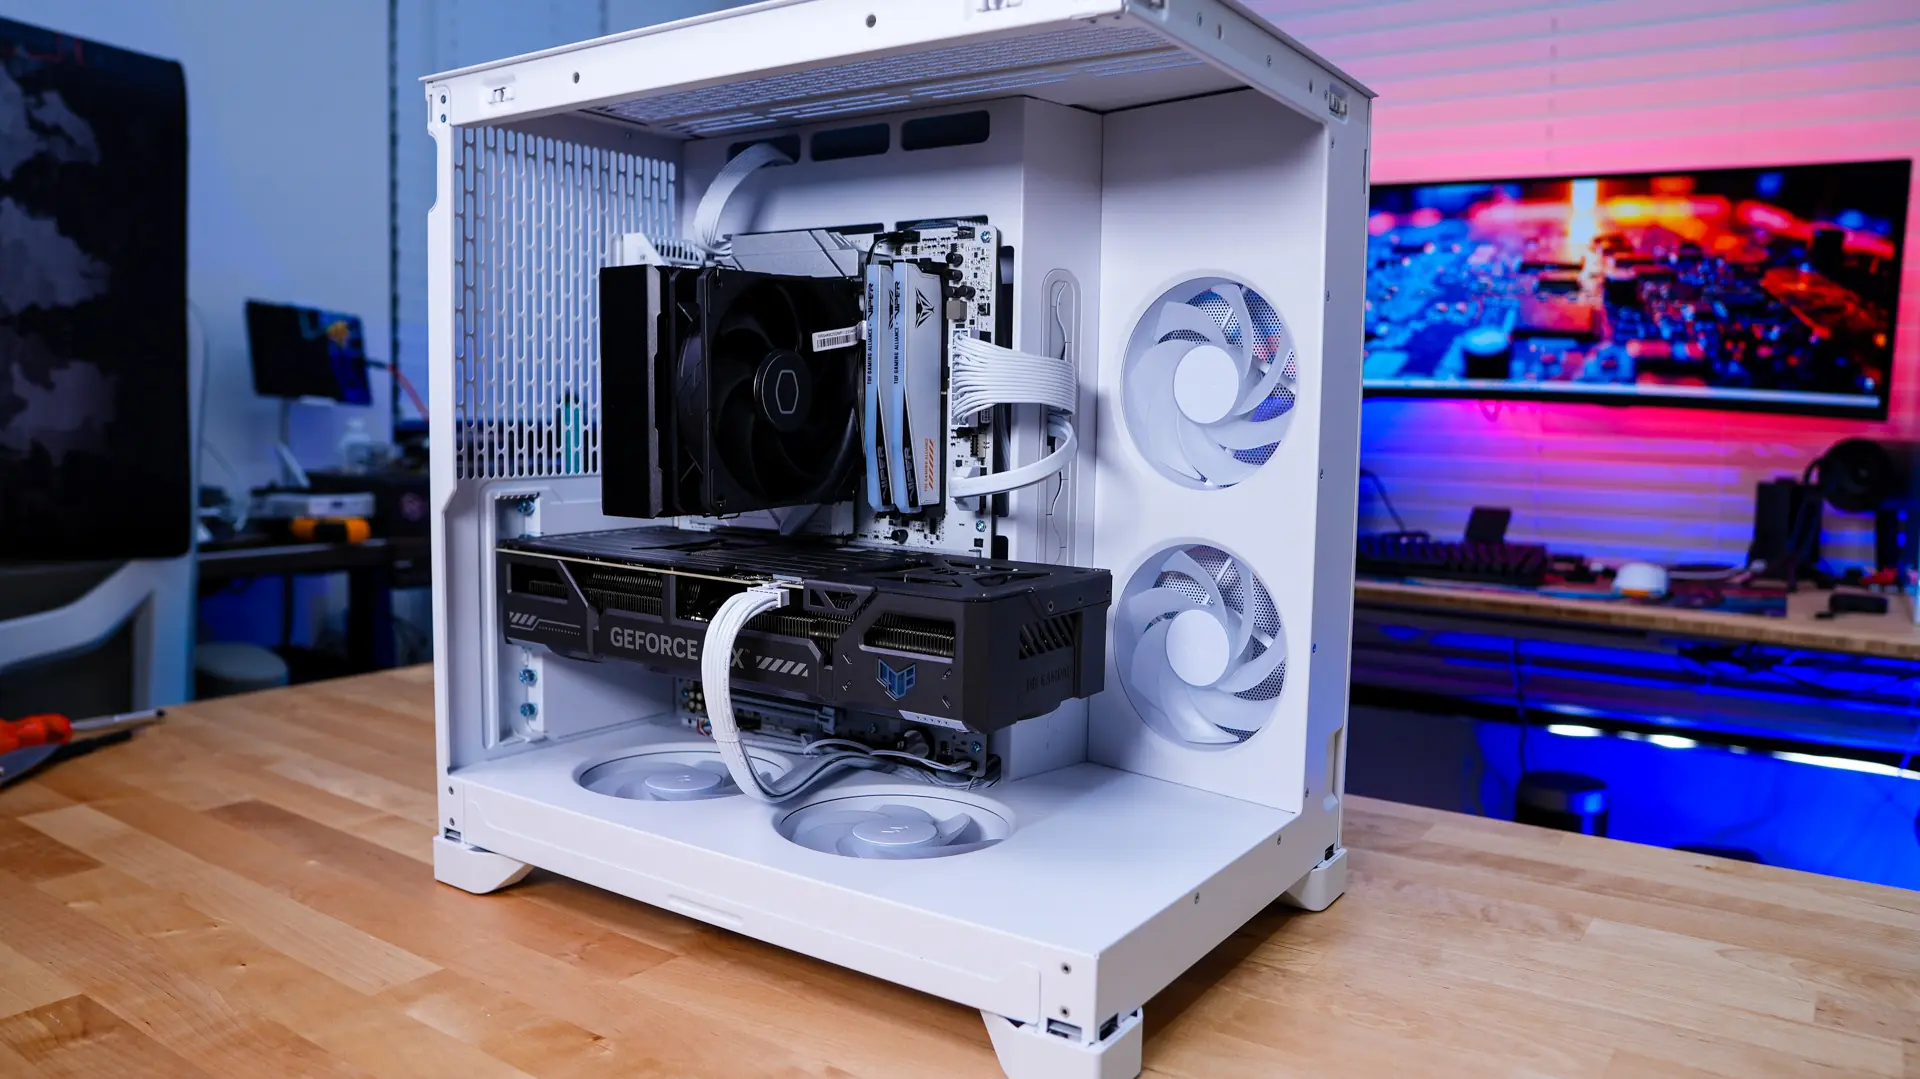
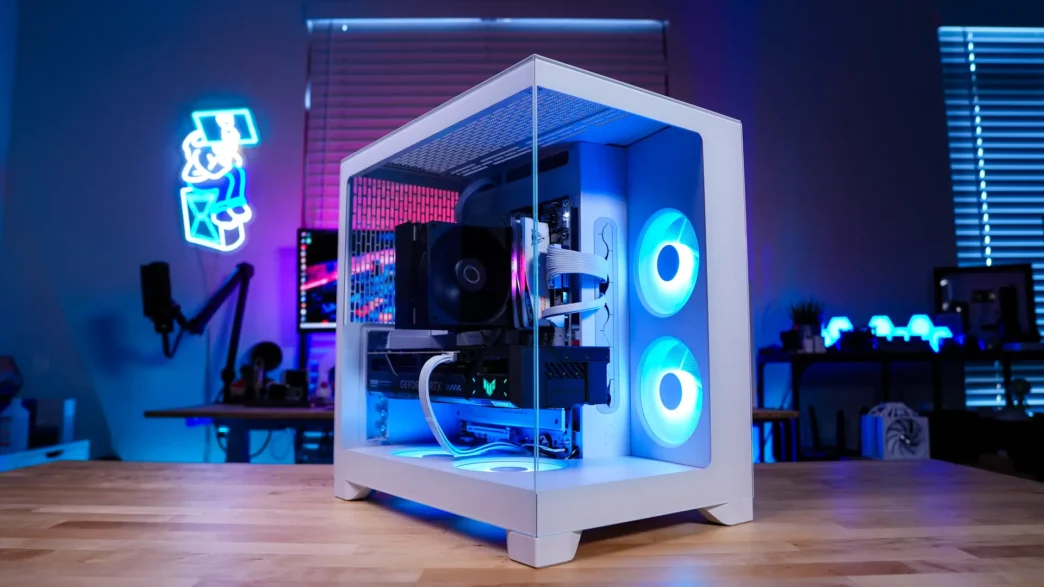
With everything installed we have a very clean build on both sides of the case.