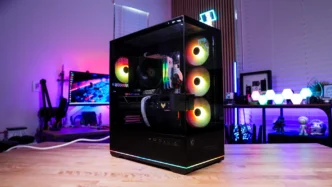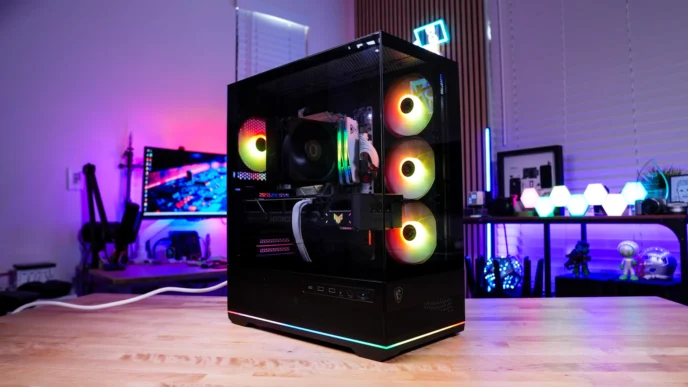
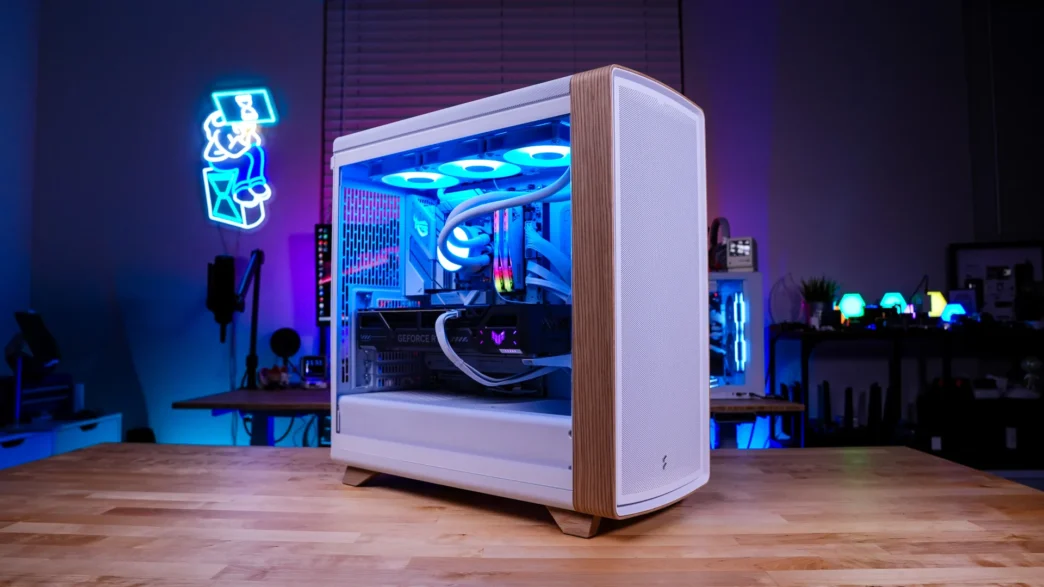
Fractal Design Summit Case Review

Fractal Design Summit Case Fractal Design Summit Case

Is the Fractal Design Summit Case Easy to Build In?

When it comes to building your system inside the Summit things couldn’t be easier. We’ll start with our motherboard, which goes in no problem as we have quite a lot of room to work with.
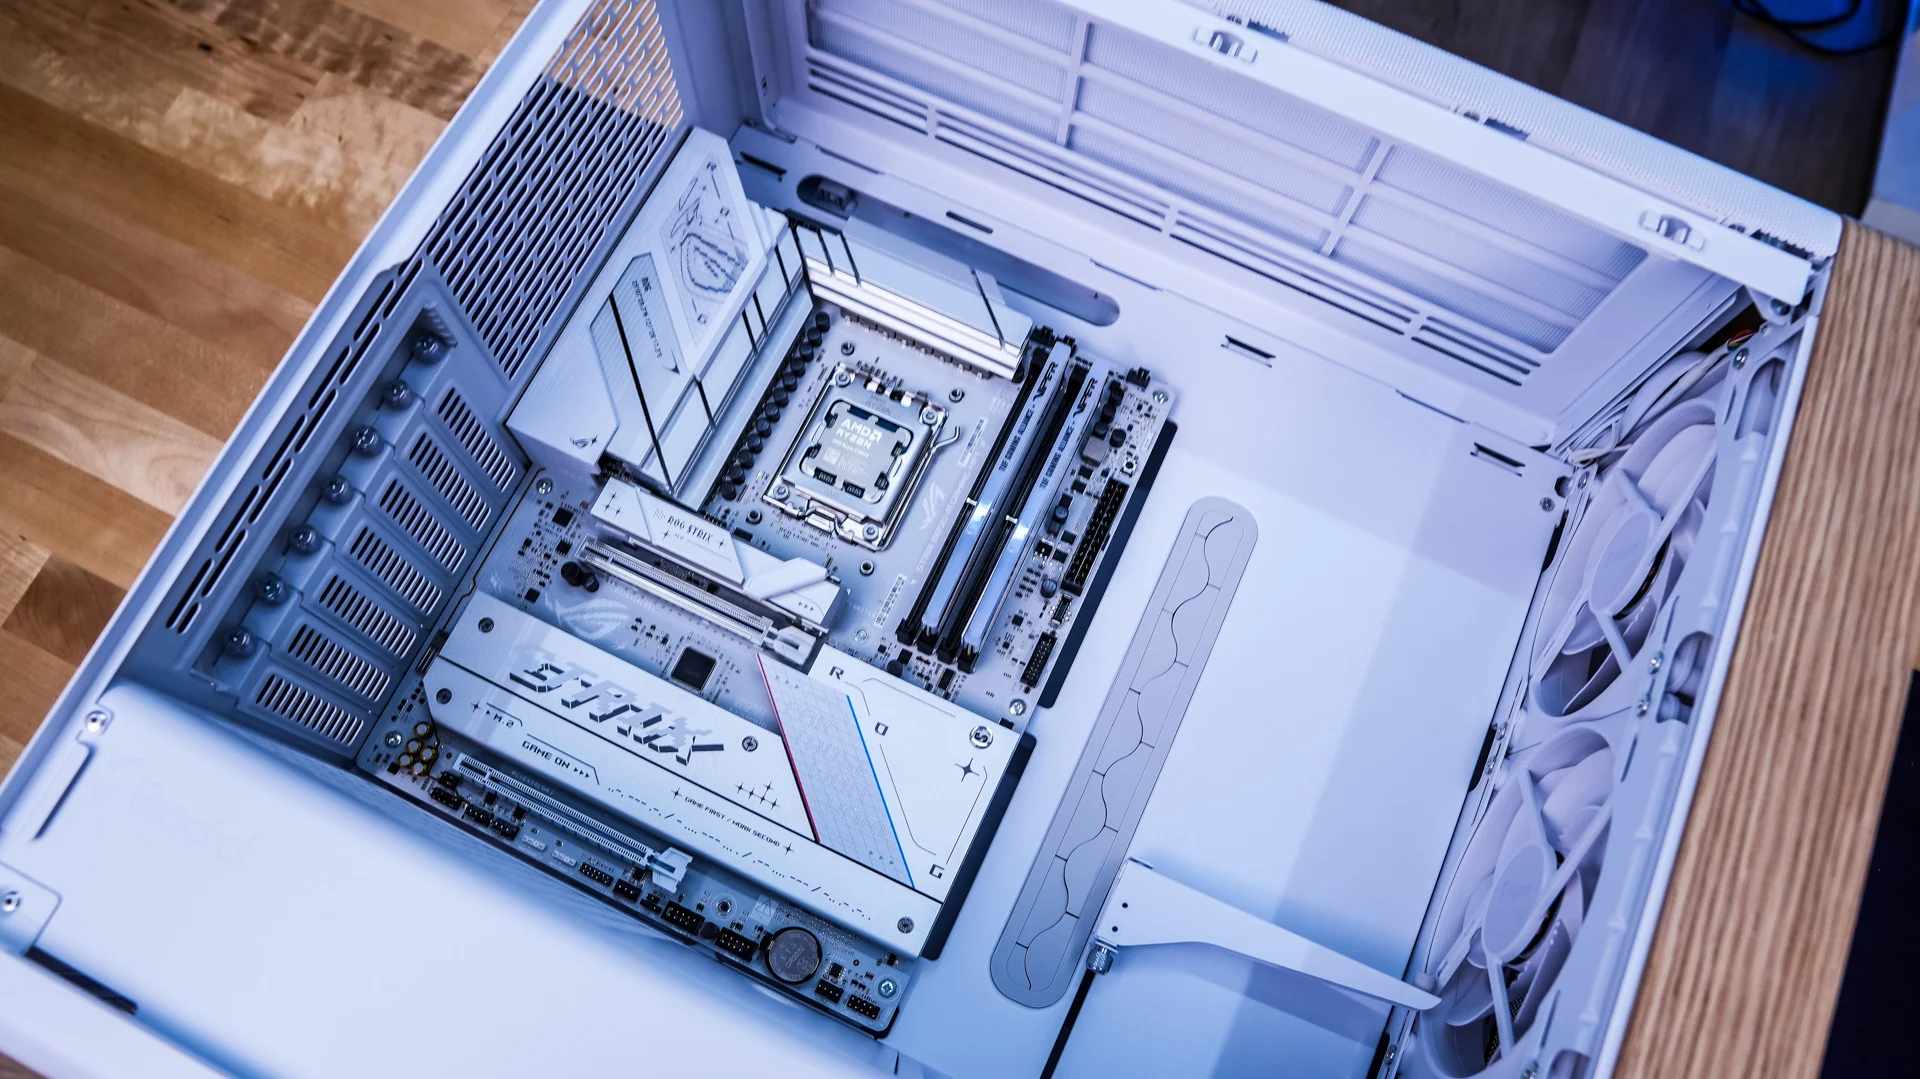
Fractal Design Summit Case

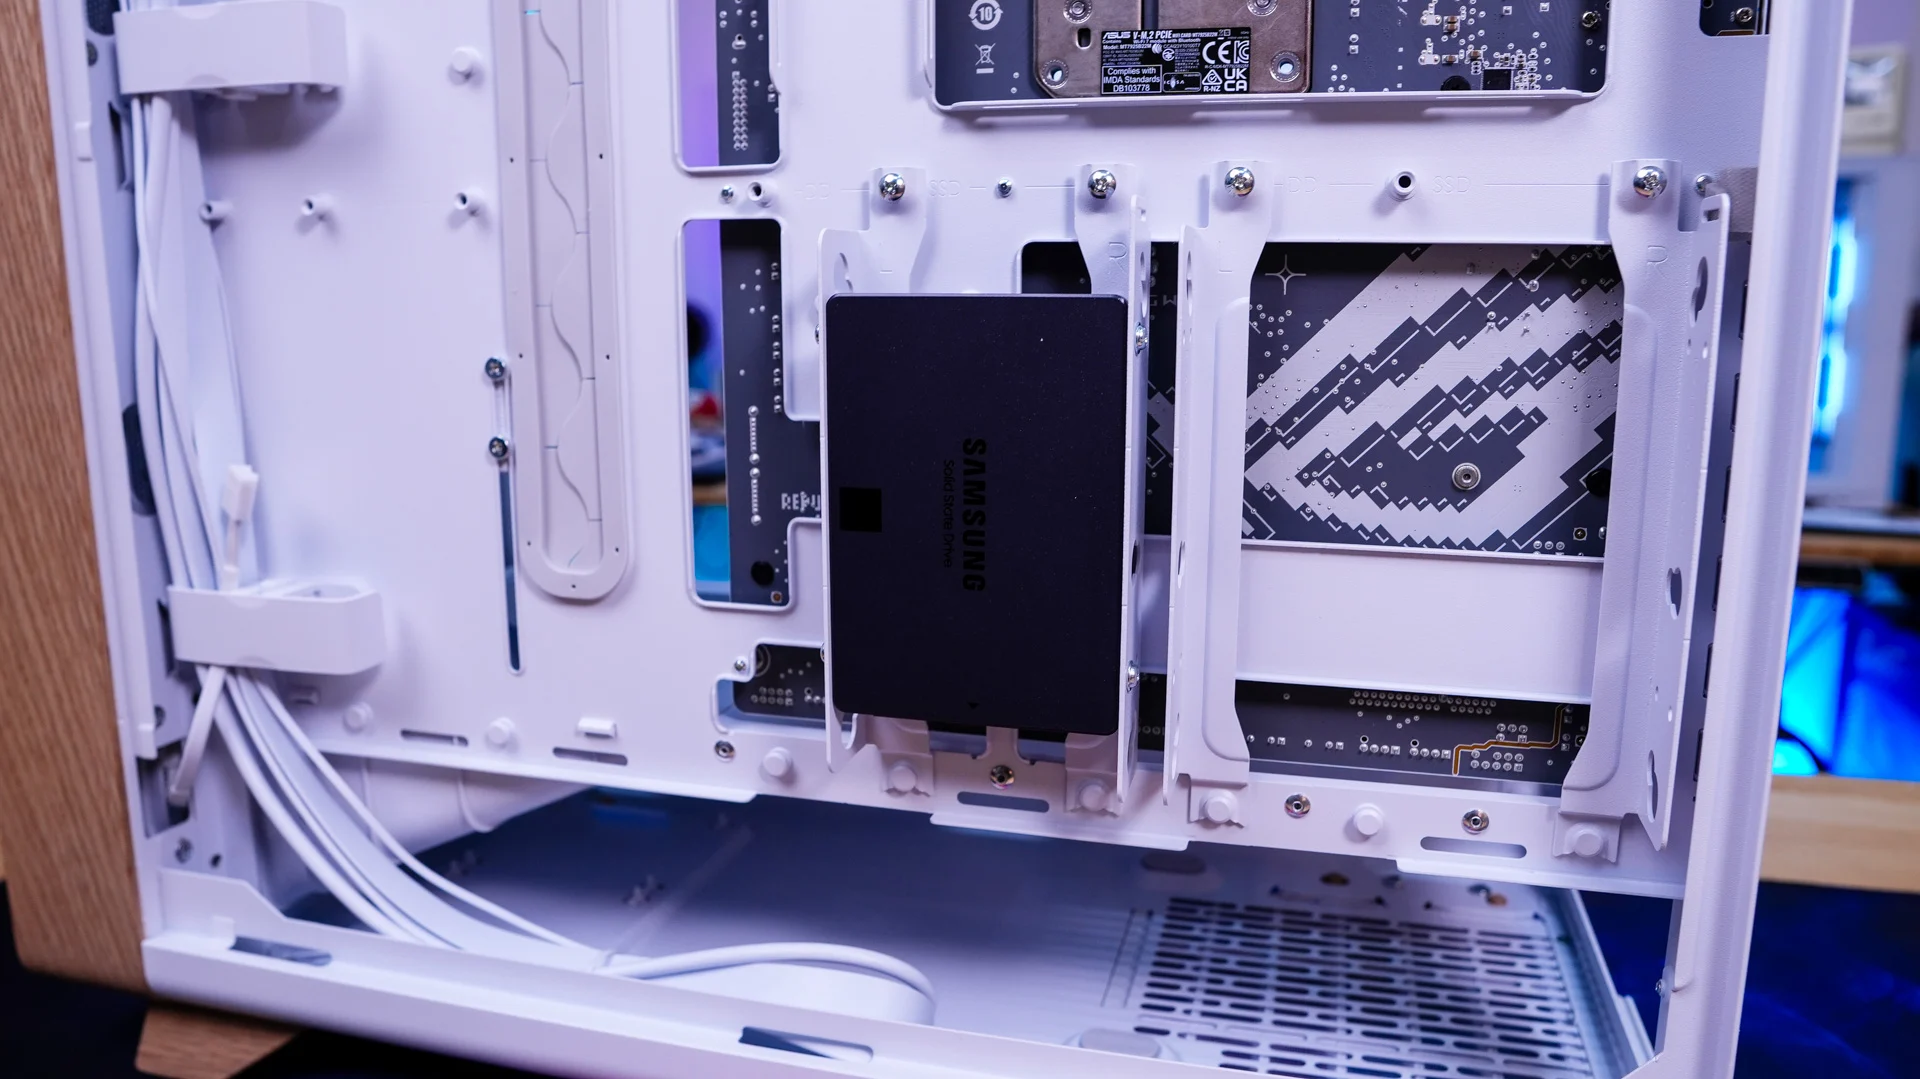
After our motherboard we installed our solid state drive. All you have to do is remove the brackets with a single screw and screw in your SSD to the bracket. Once installed you simply reinstall the bracket. With our SSD installed you can see how Fractal has designed these brackets to support either SSDs or full-size hard drives.
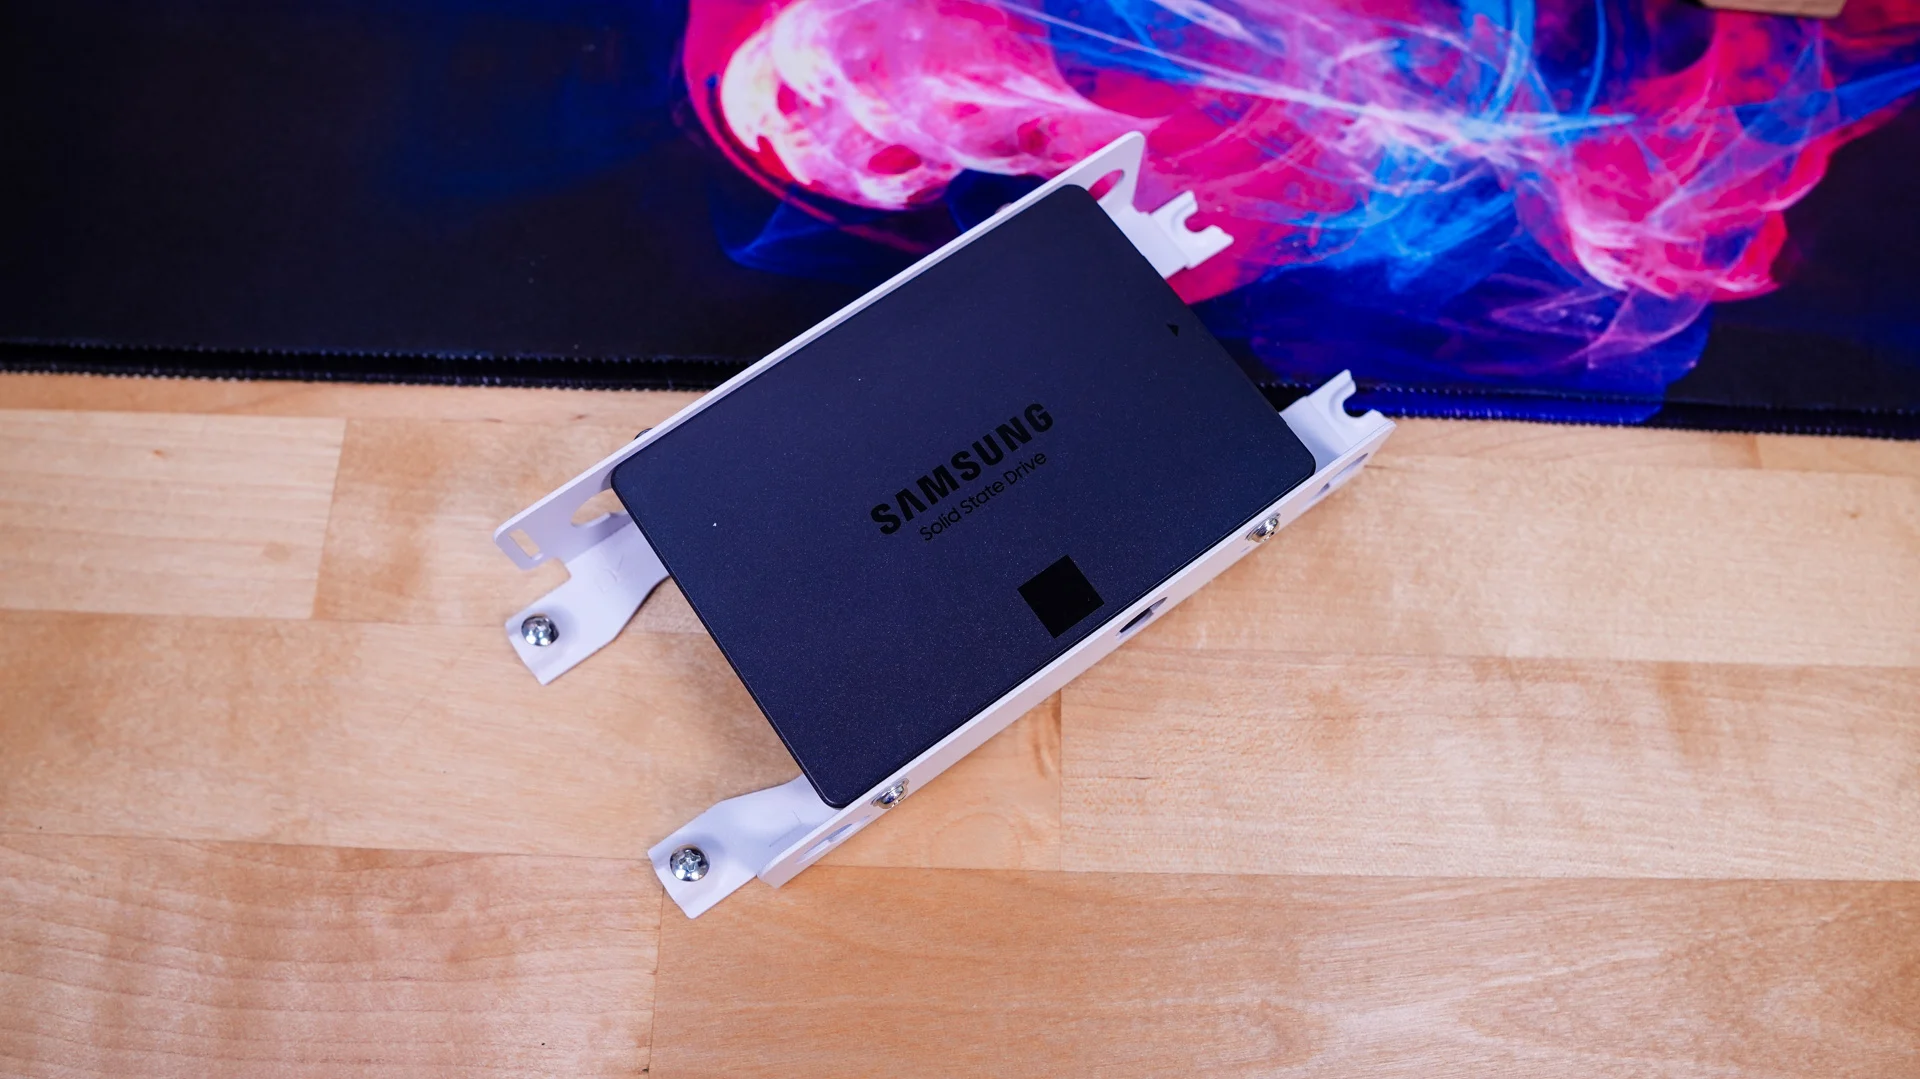
Fractal Design Summit Case Fractal Design Summit Case
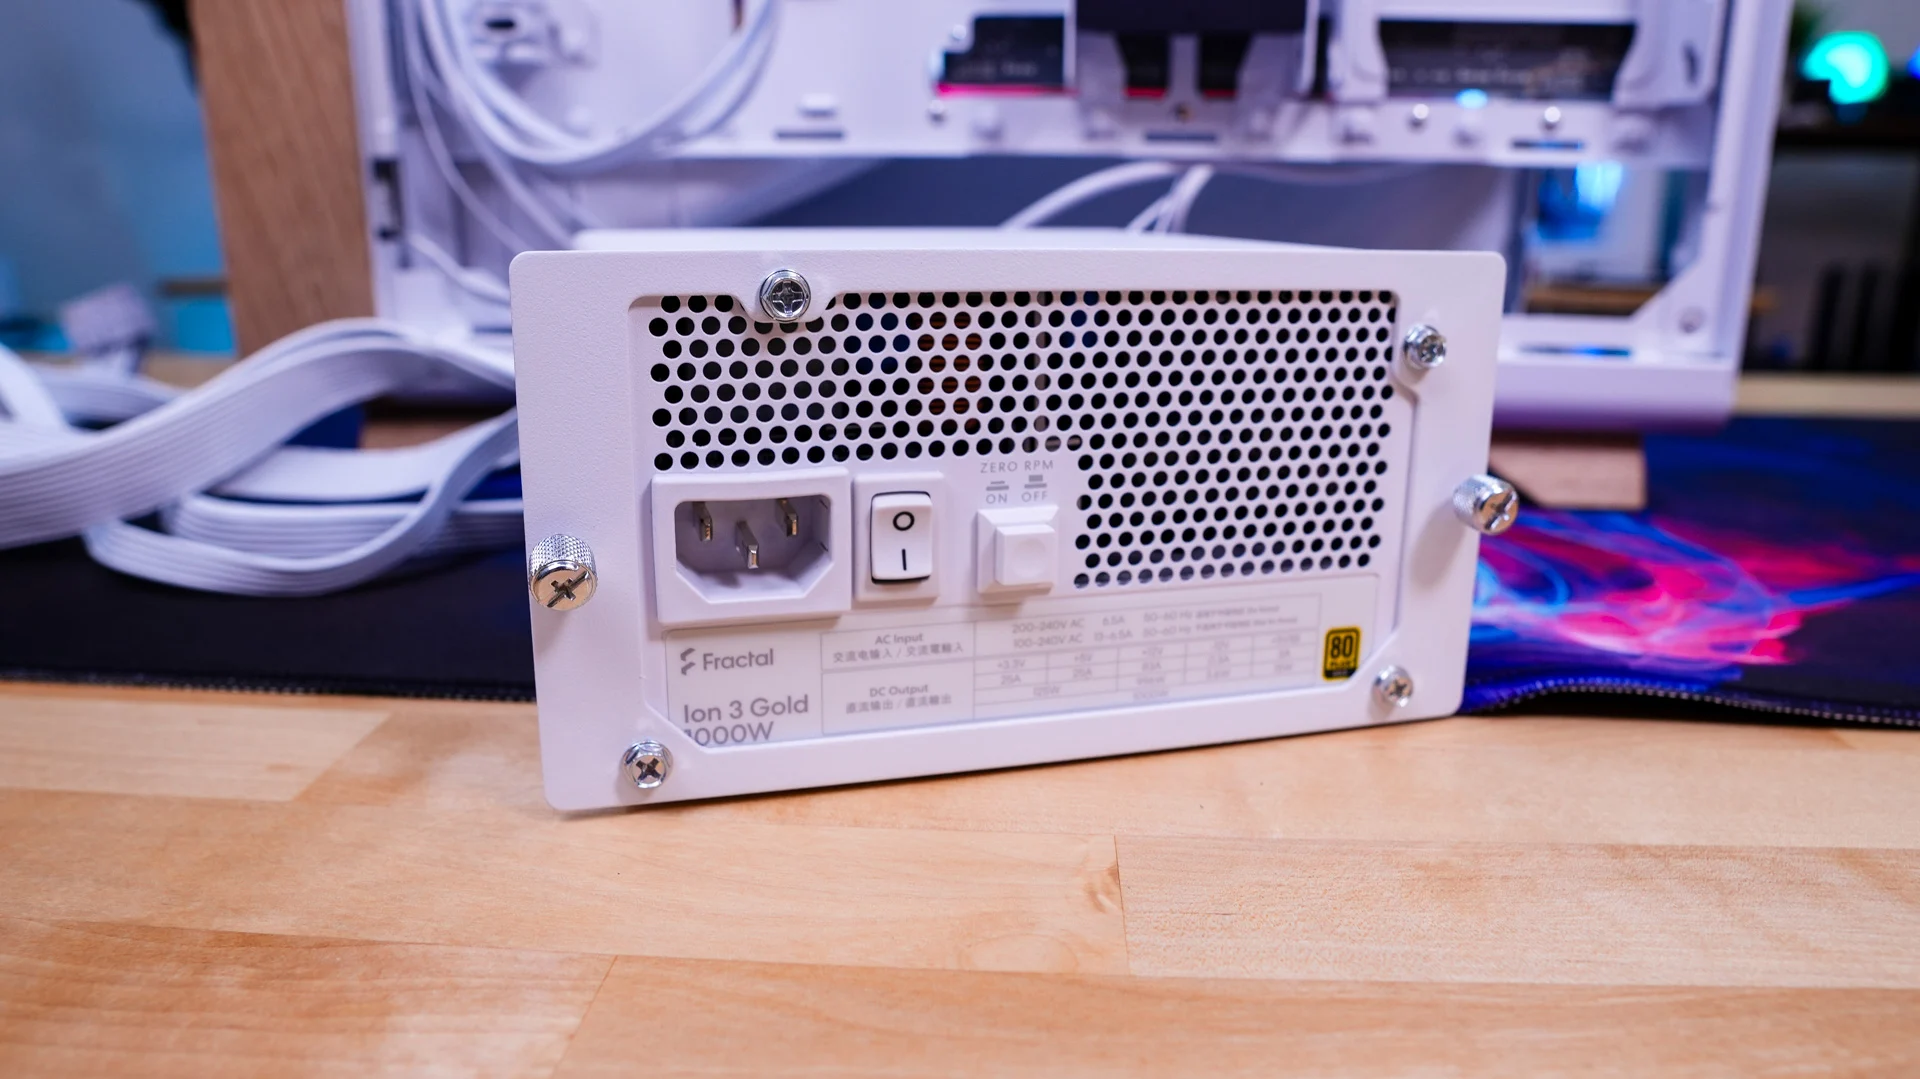
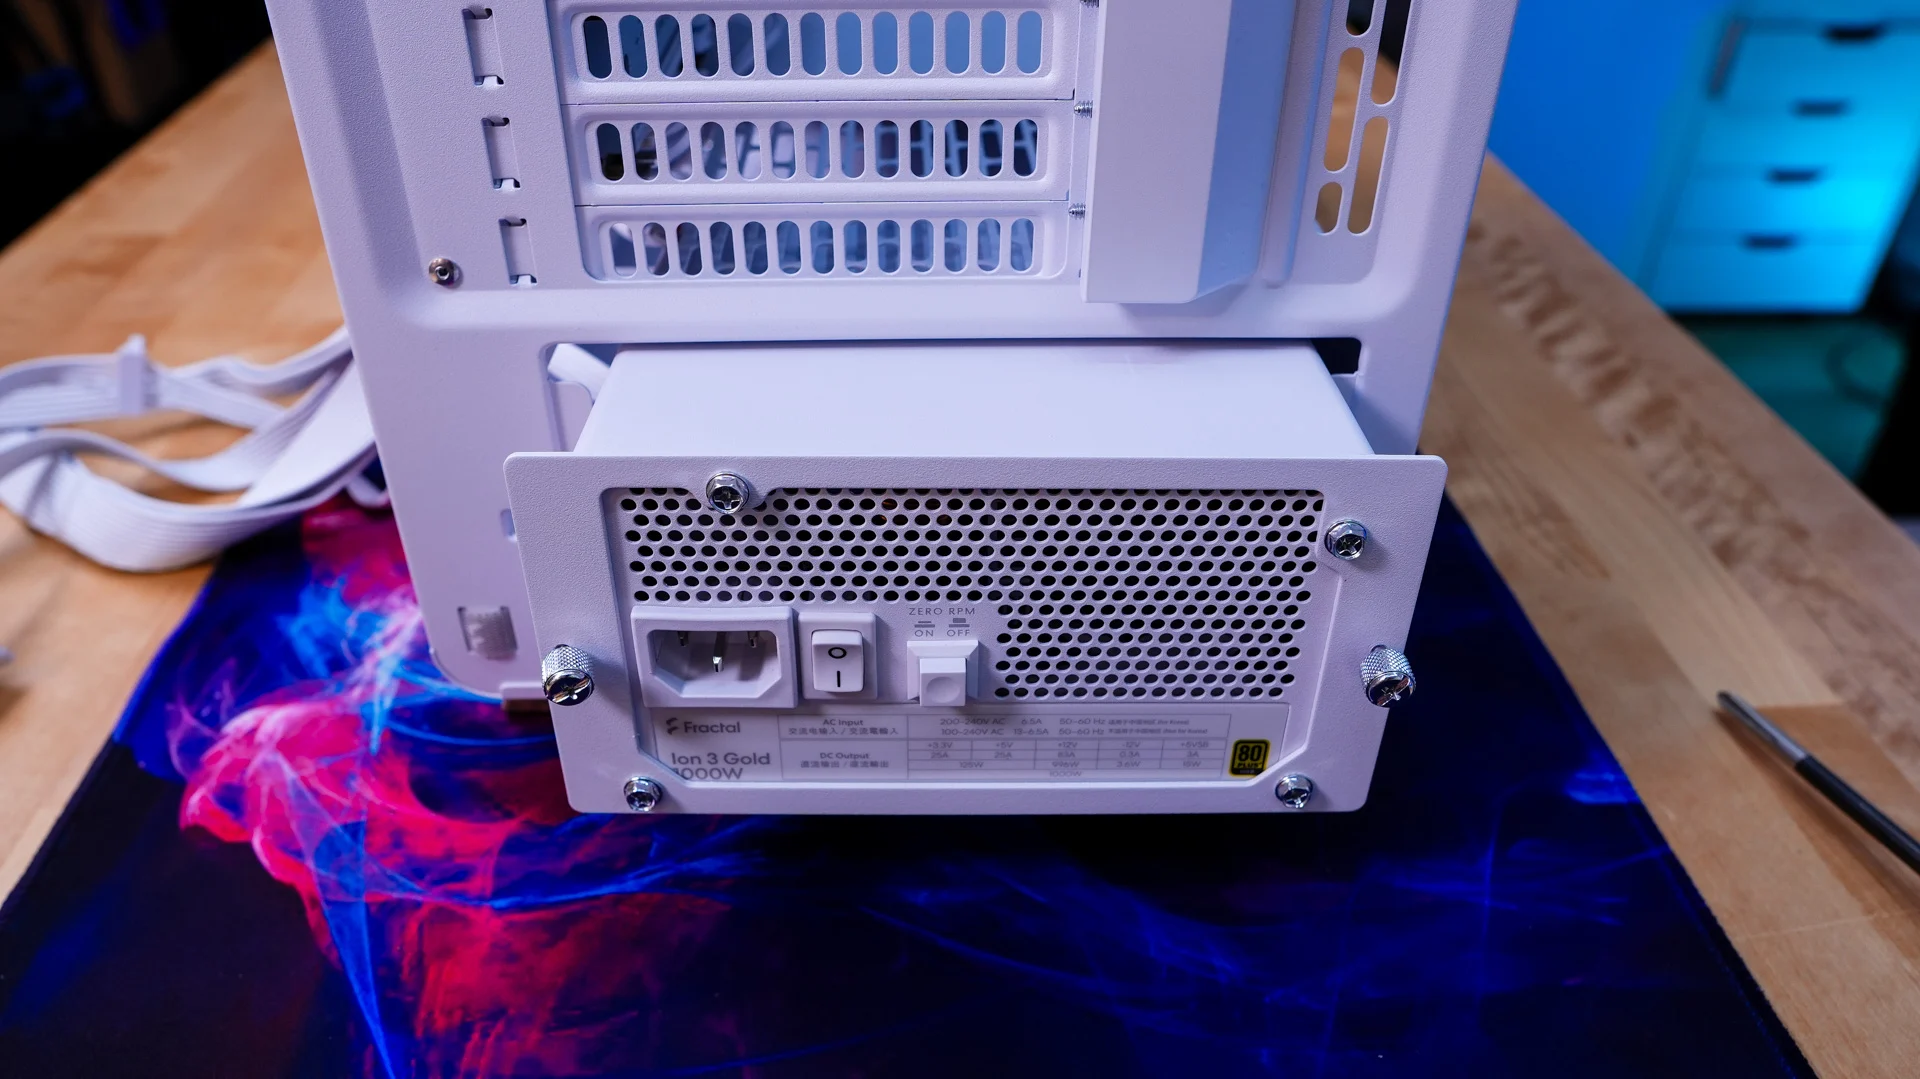
When you install your power supply you’ll need to remove the power supply bracket from the back of the case via its thumbscrews and attach it to your power supply. From there simply slide your power supply into the back of the case securing it with those same thumbscrews.

Fractal Design Summit Case Fractal Design Summit Case
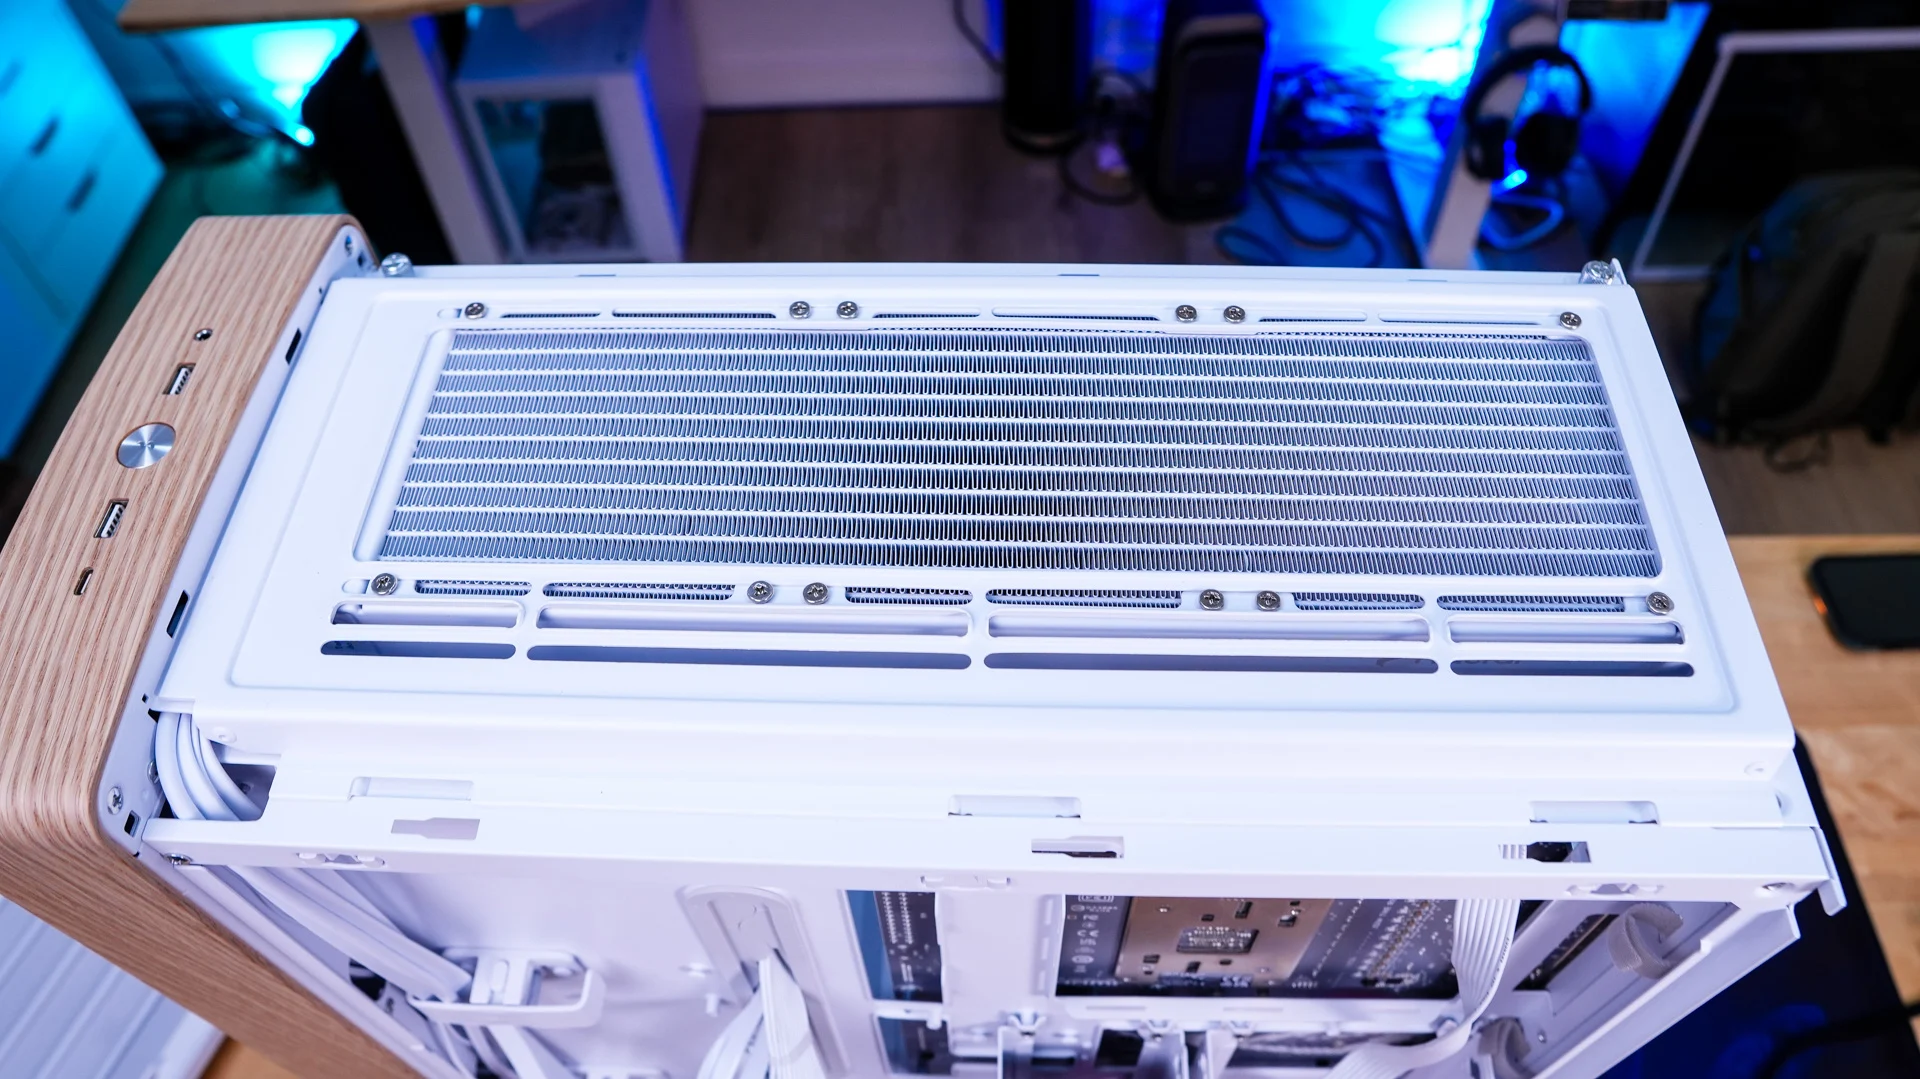
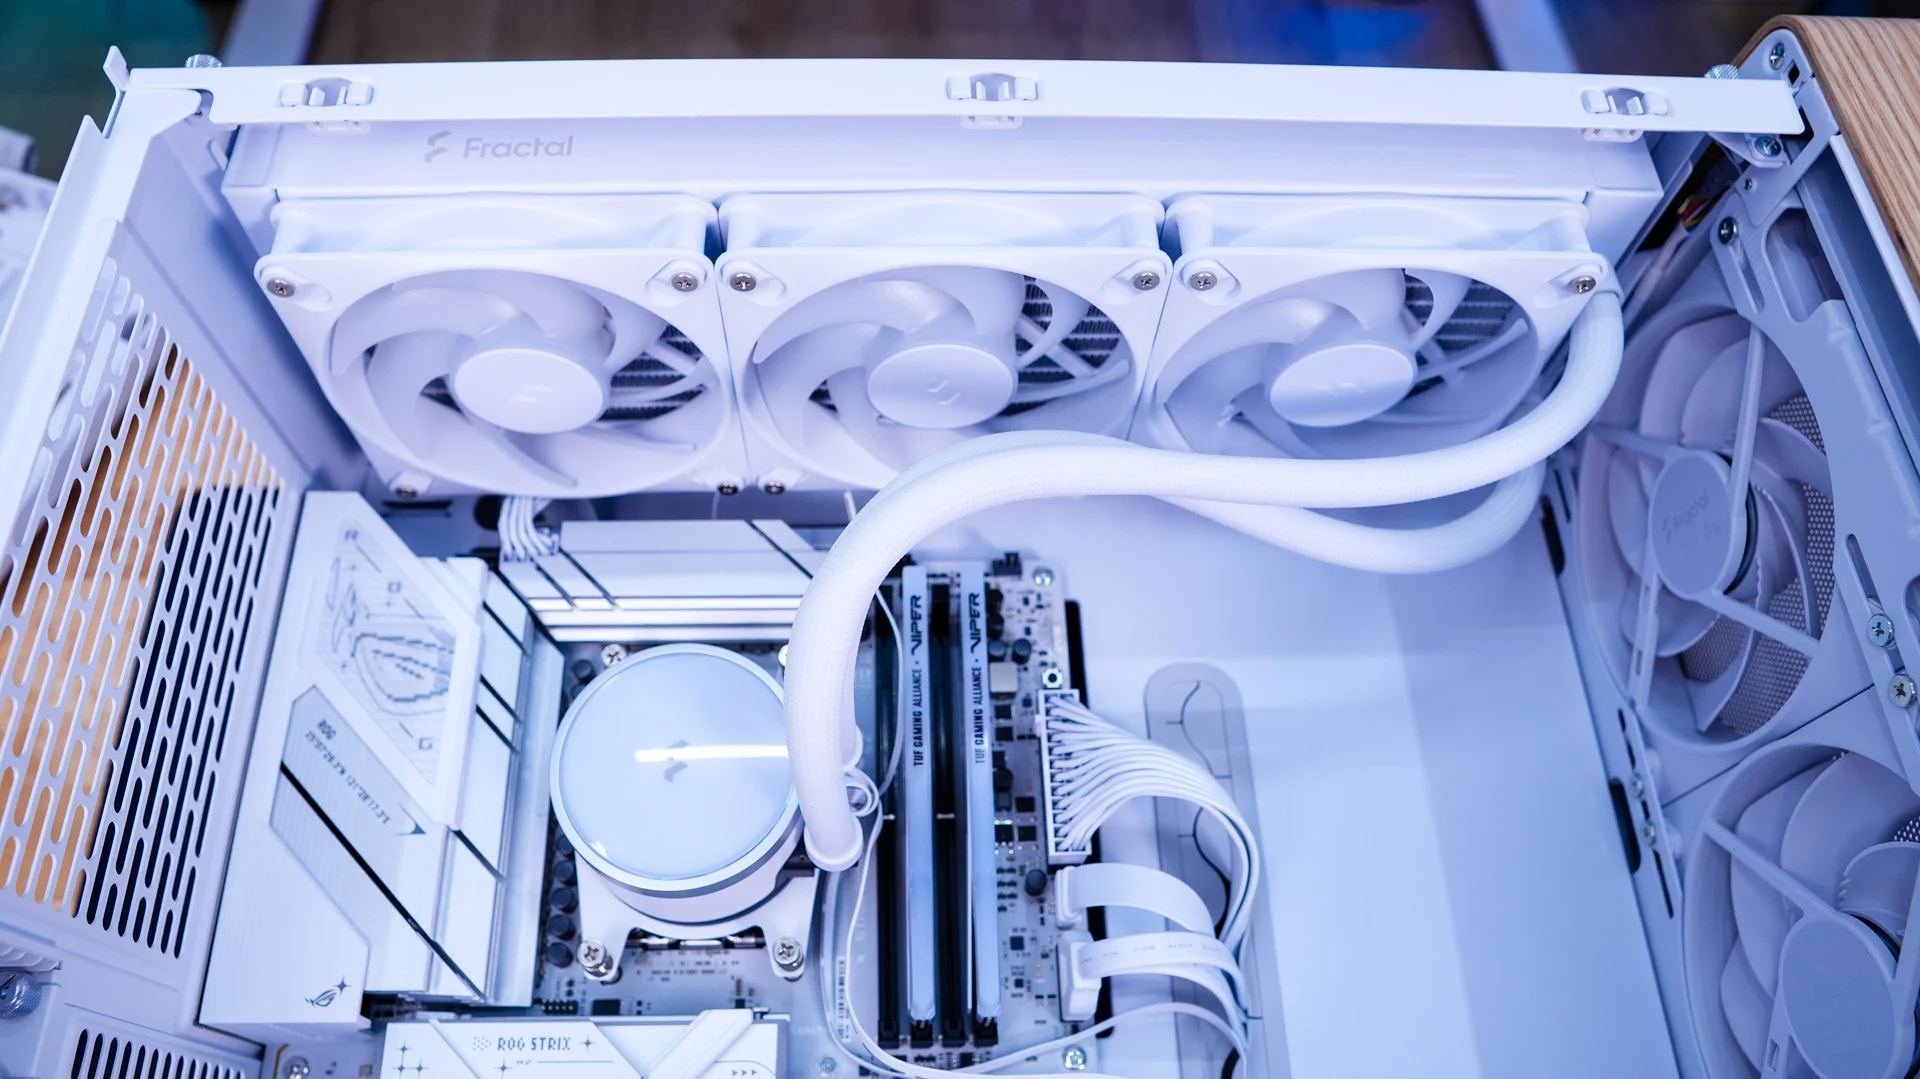
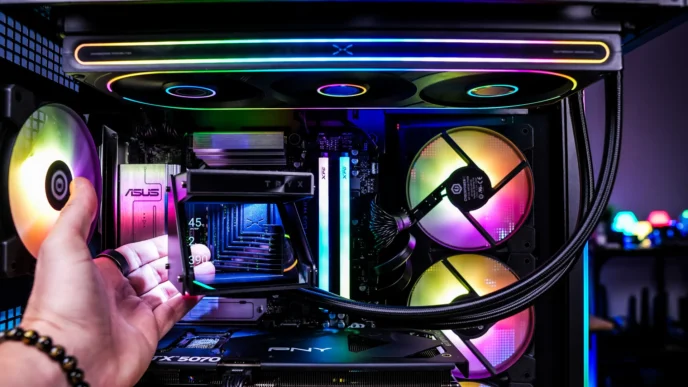
Fractal Design was nice enough to provide us with their brand new Radius 360 RGB liquid CPU cooler for this build so we installed the radiator in the top of the case. Now I could have removed the top cooling bracket, but honestly it was quite easy to install the radiator up there without having to remove the cooling bracket. With the radiator installed I went ahead and installed the CPU block.

Fractal Design Summit Case Fractal Design Summit Case
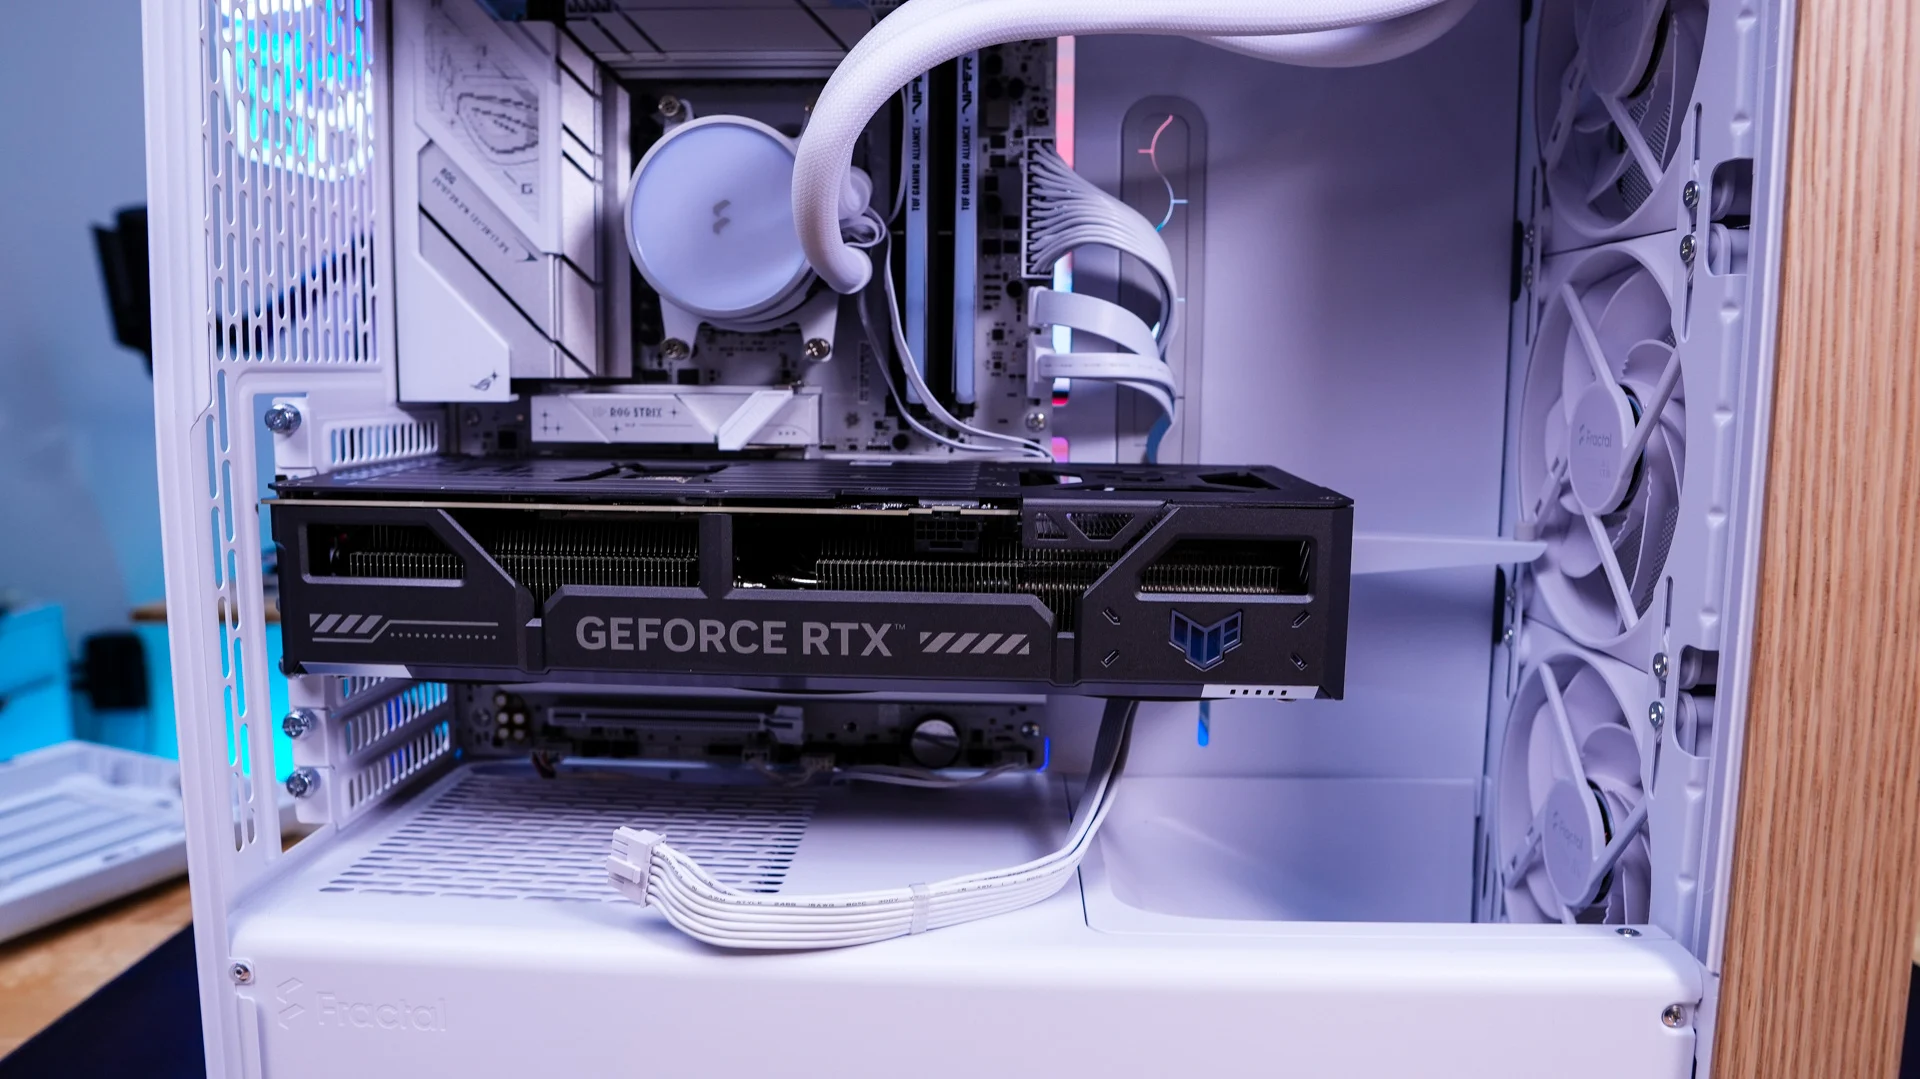
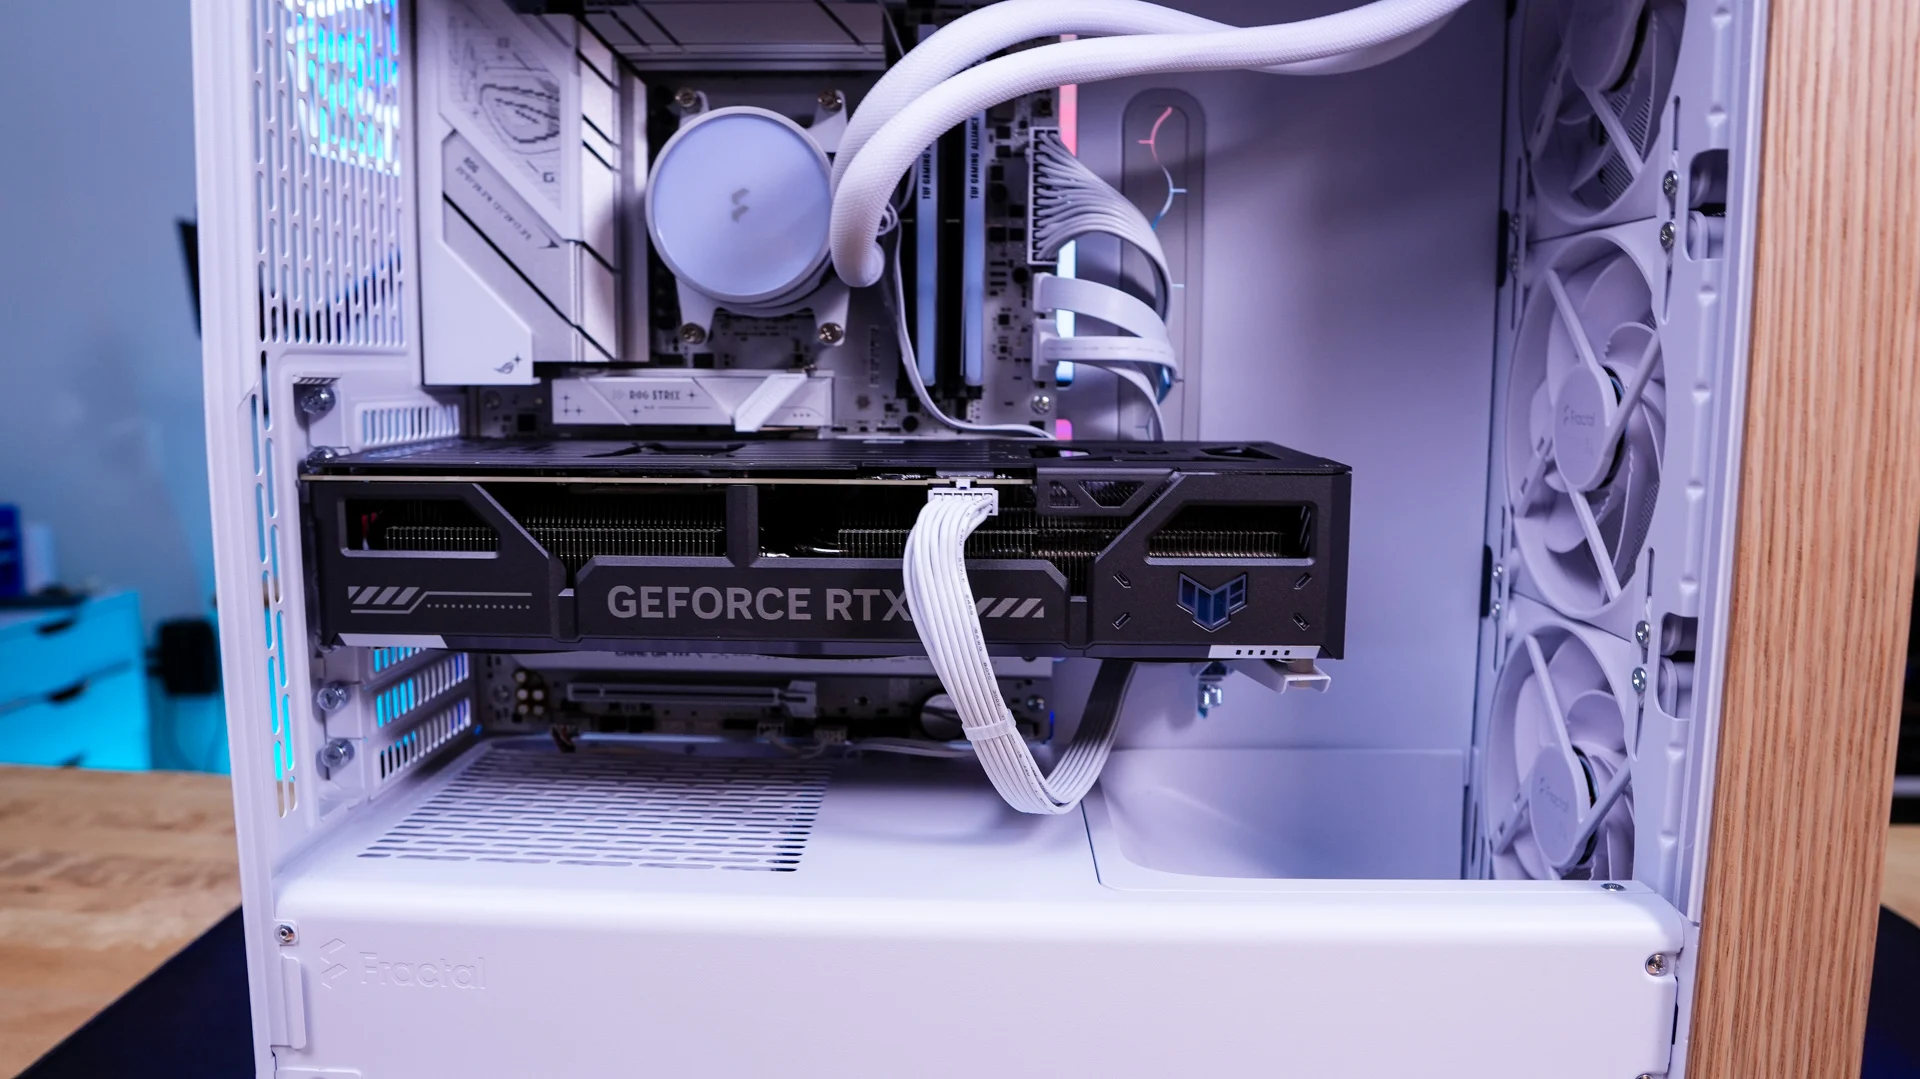
The last piece of hardware to install is our graphics card. It goes in quite effortlessly, just don’t forget to make use of the GPU support bracket!

Fractal Design Summit Case Fractal Design Summit Case
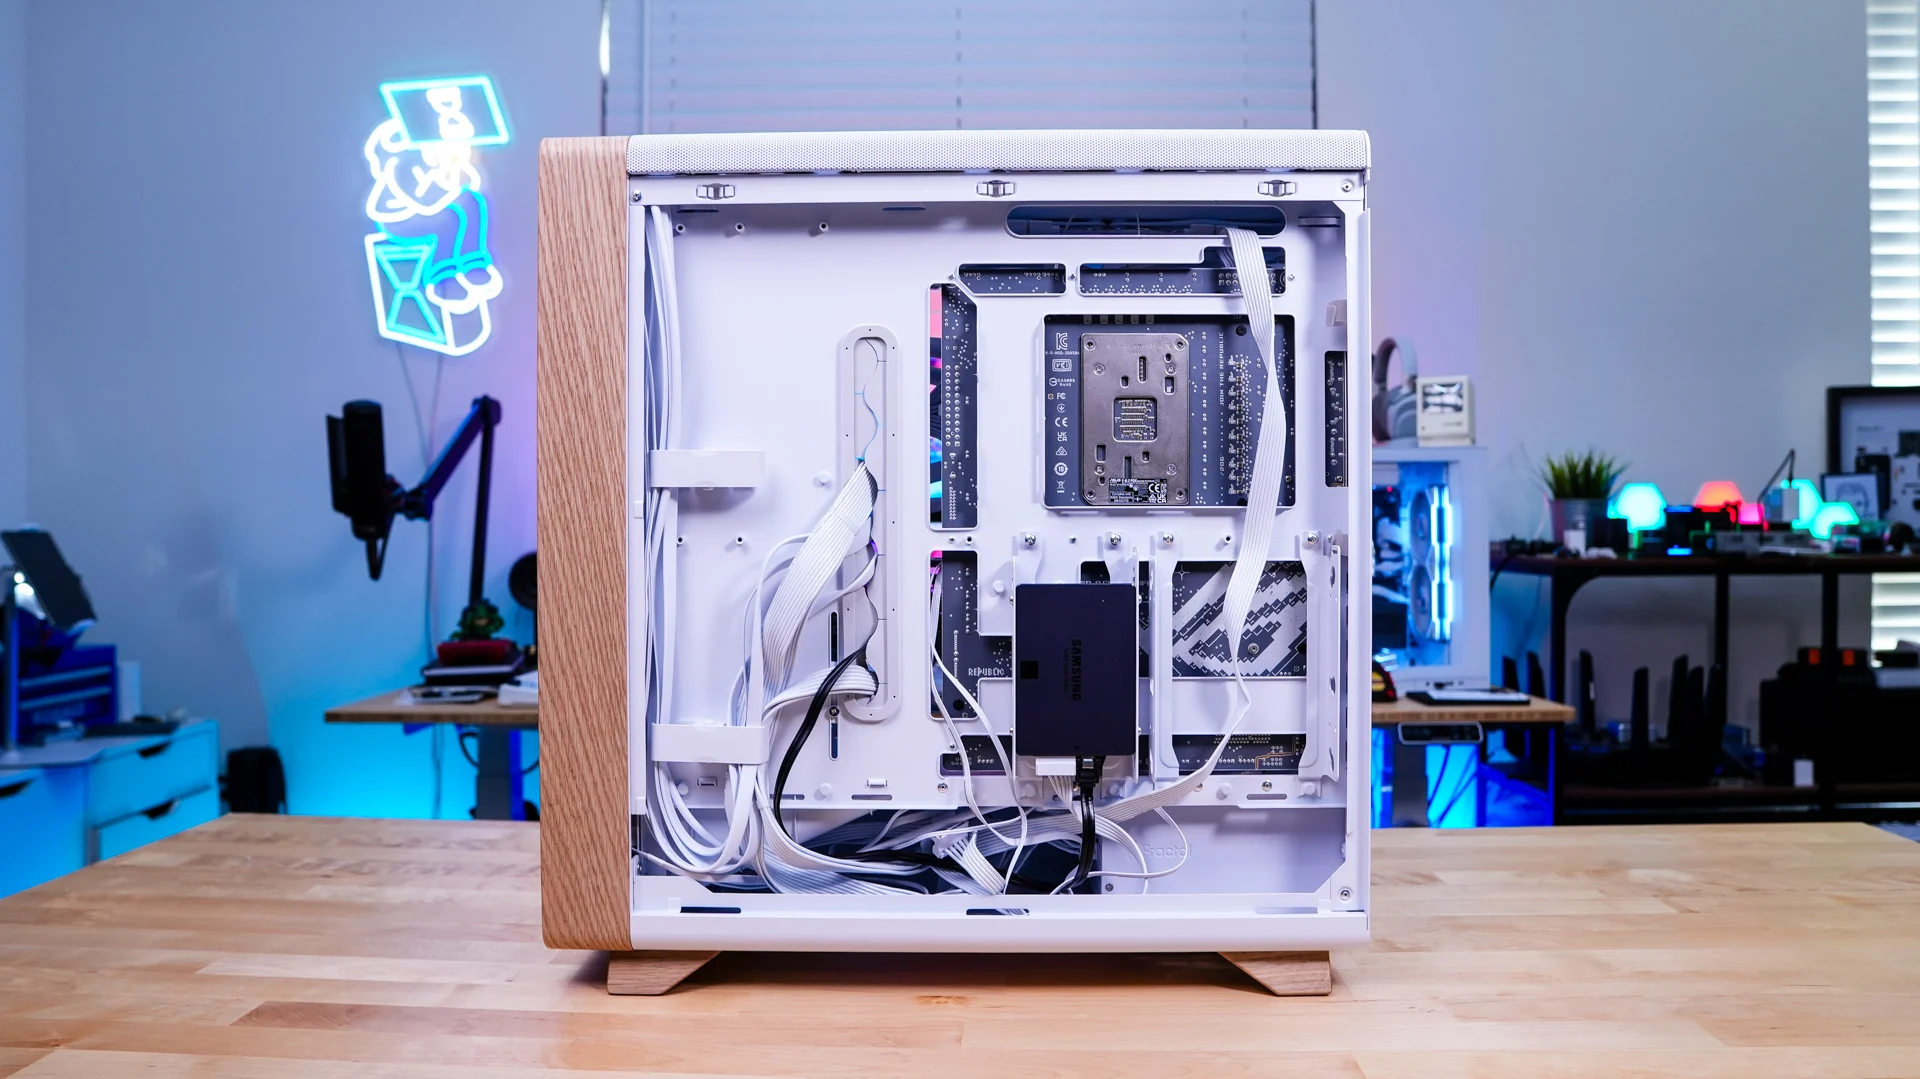
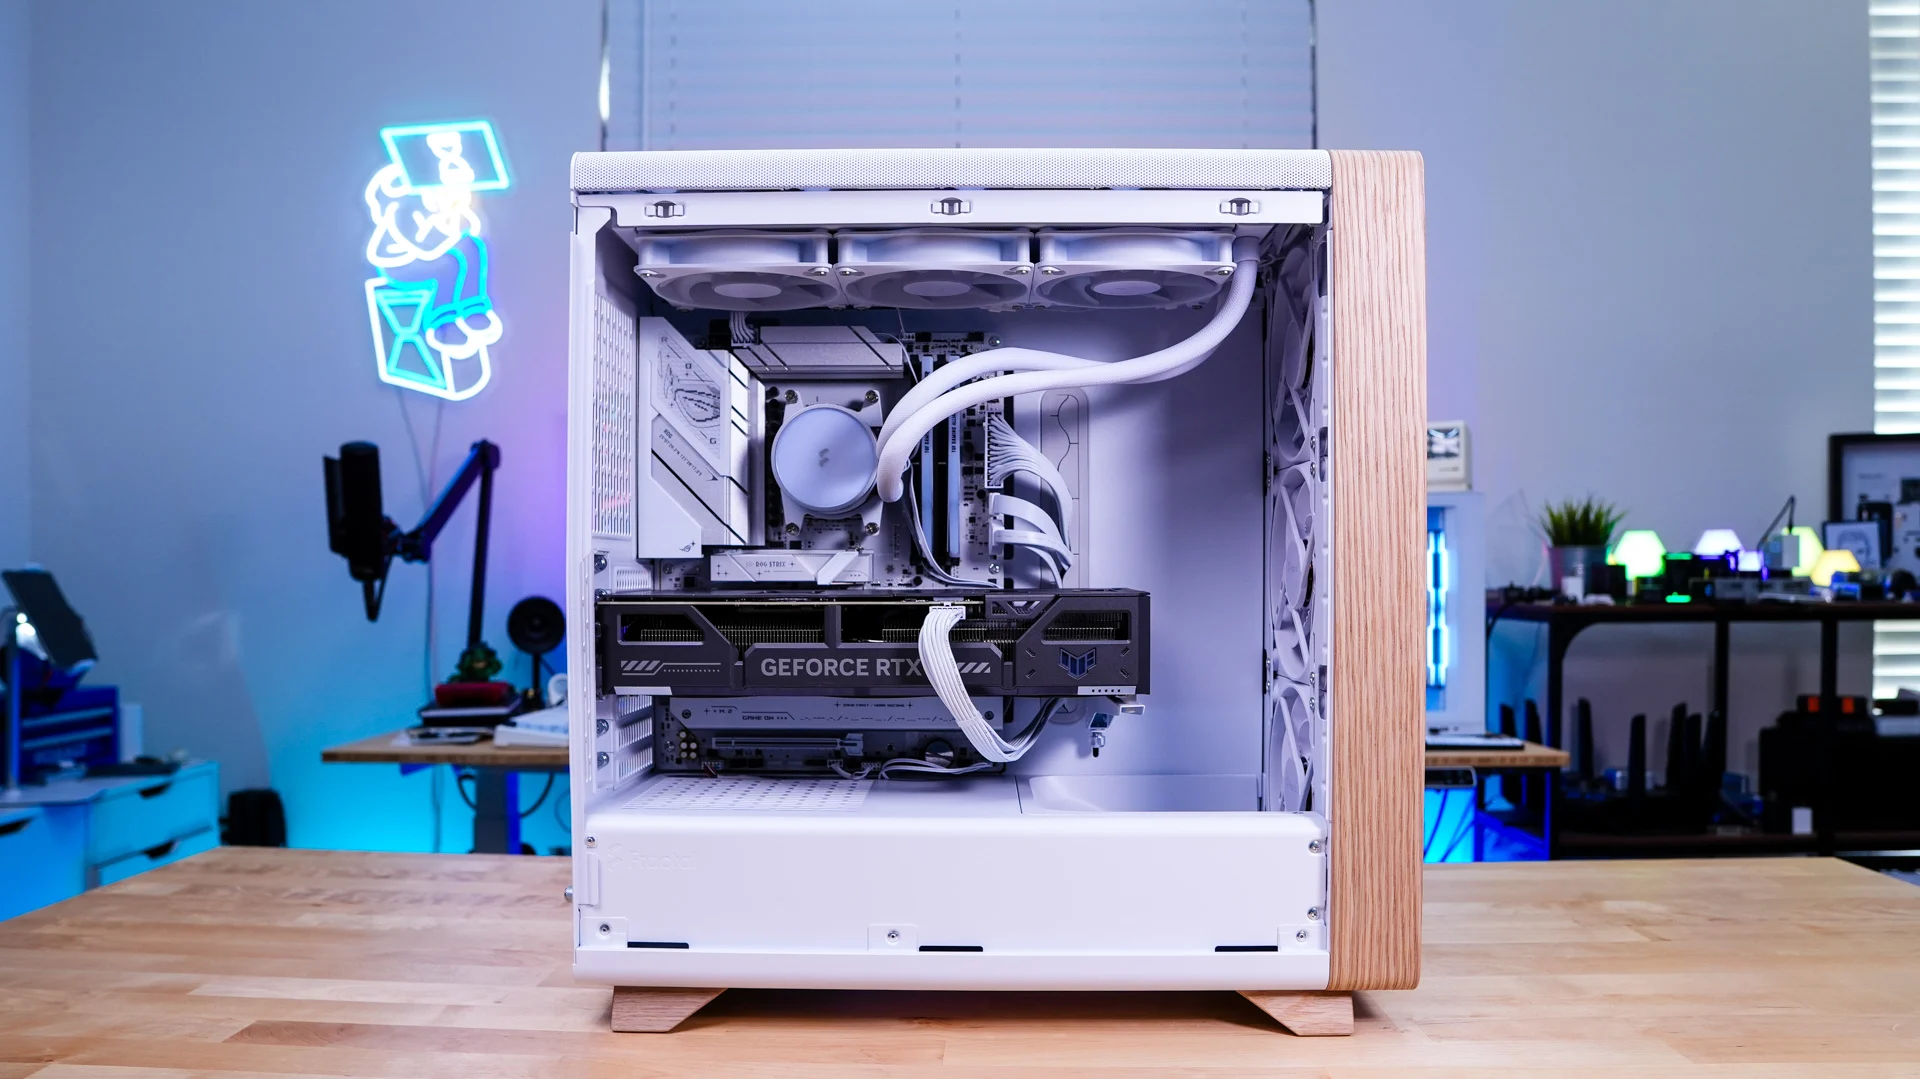
Now we just have to wire everything up. The cable aligners make organizing your cables quite easy and with everything connected we have a very clean build!

Fractal Design Summit Case Fractal Design Summit Case

Add a Comment

Leave a Reply

Your email address will not be published. Required fields are marked *