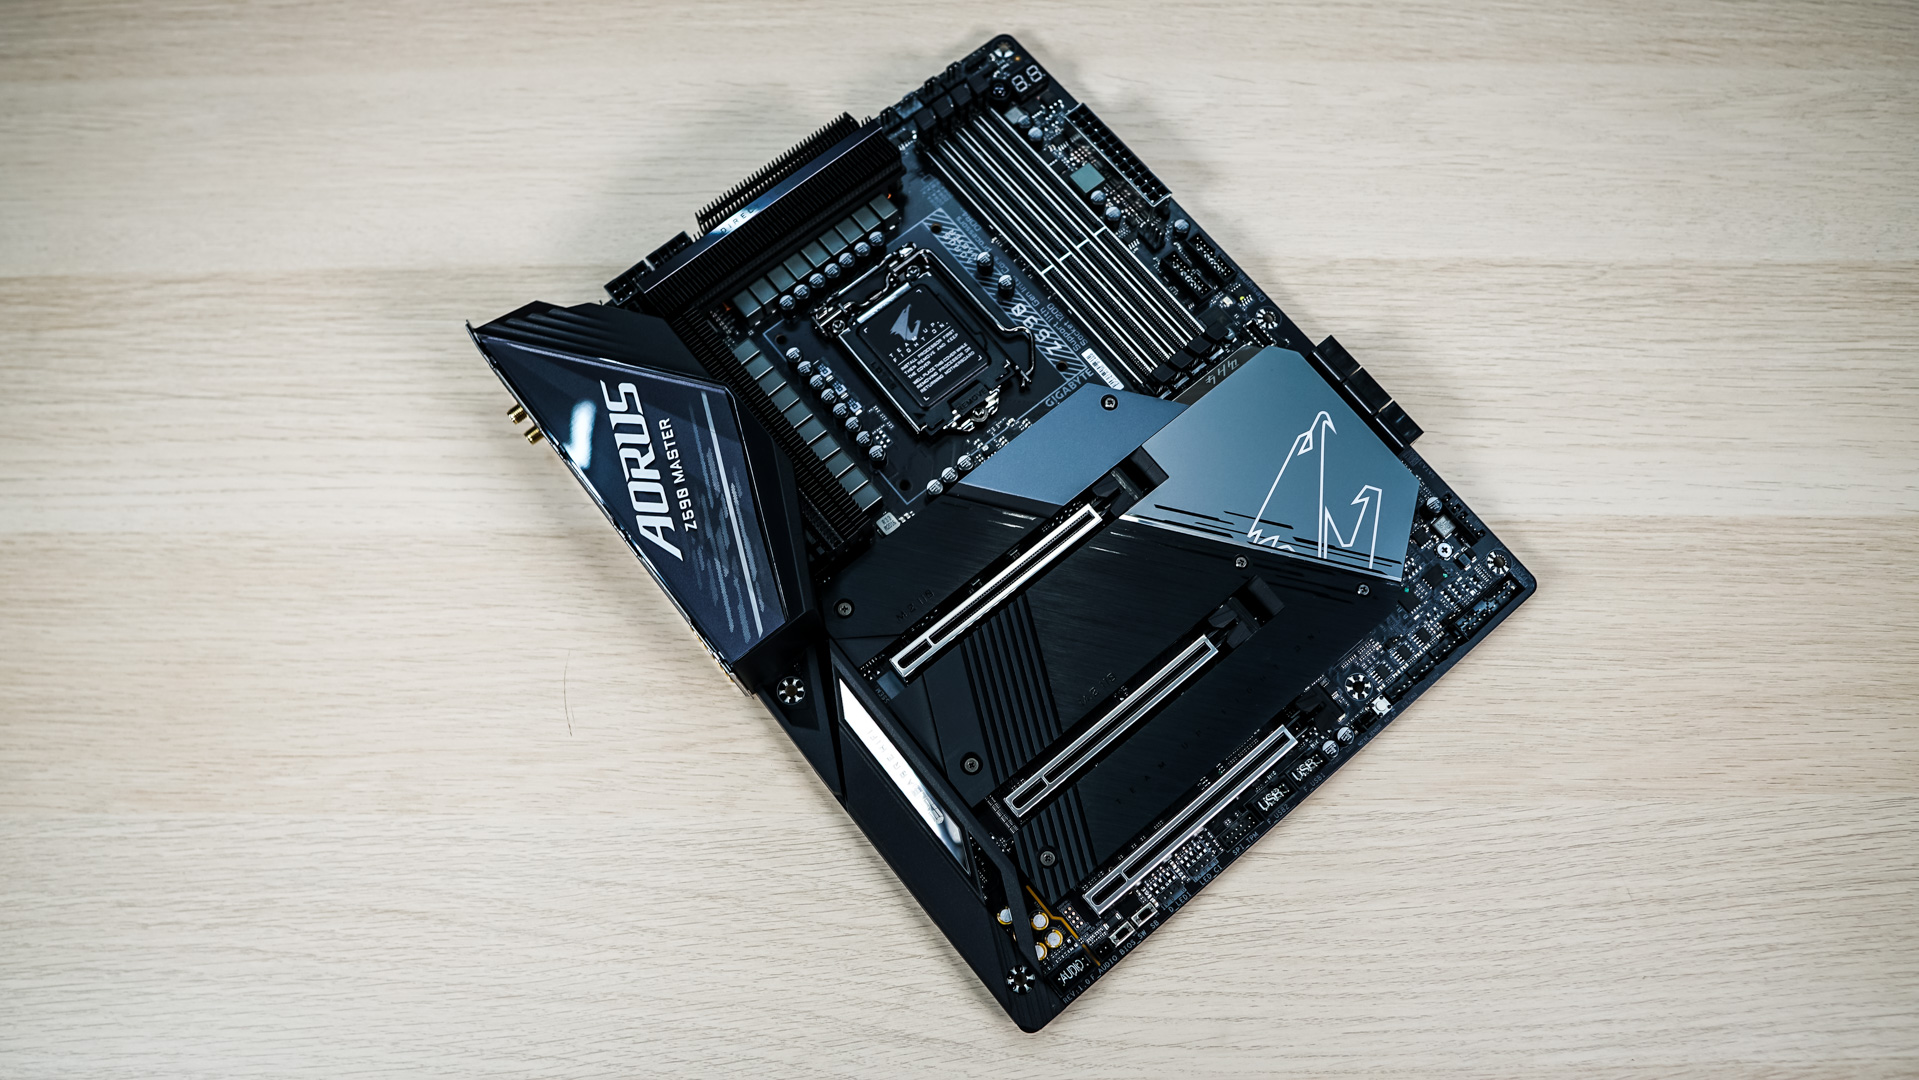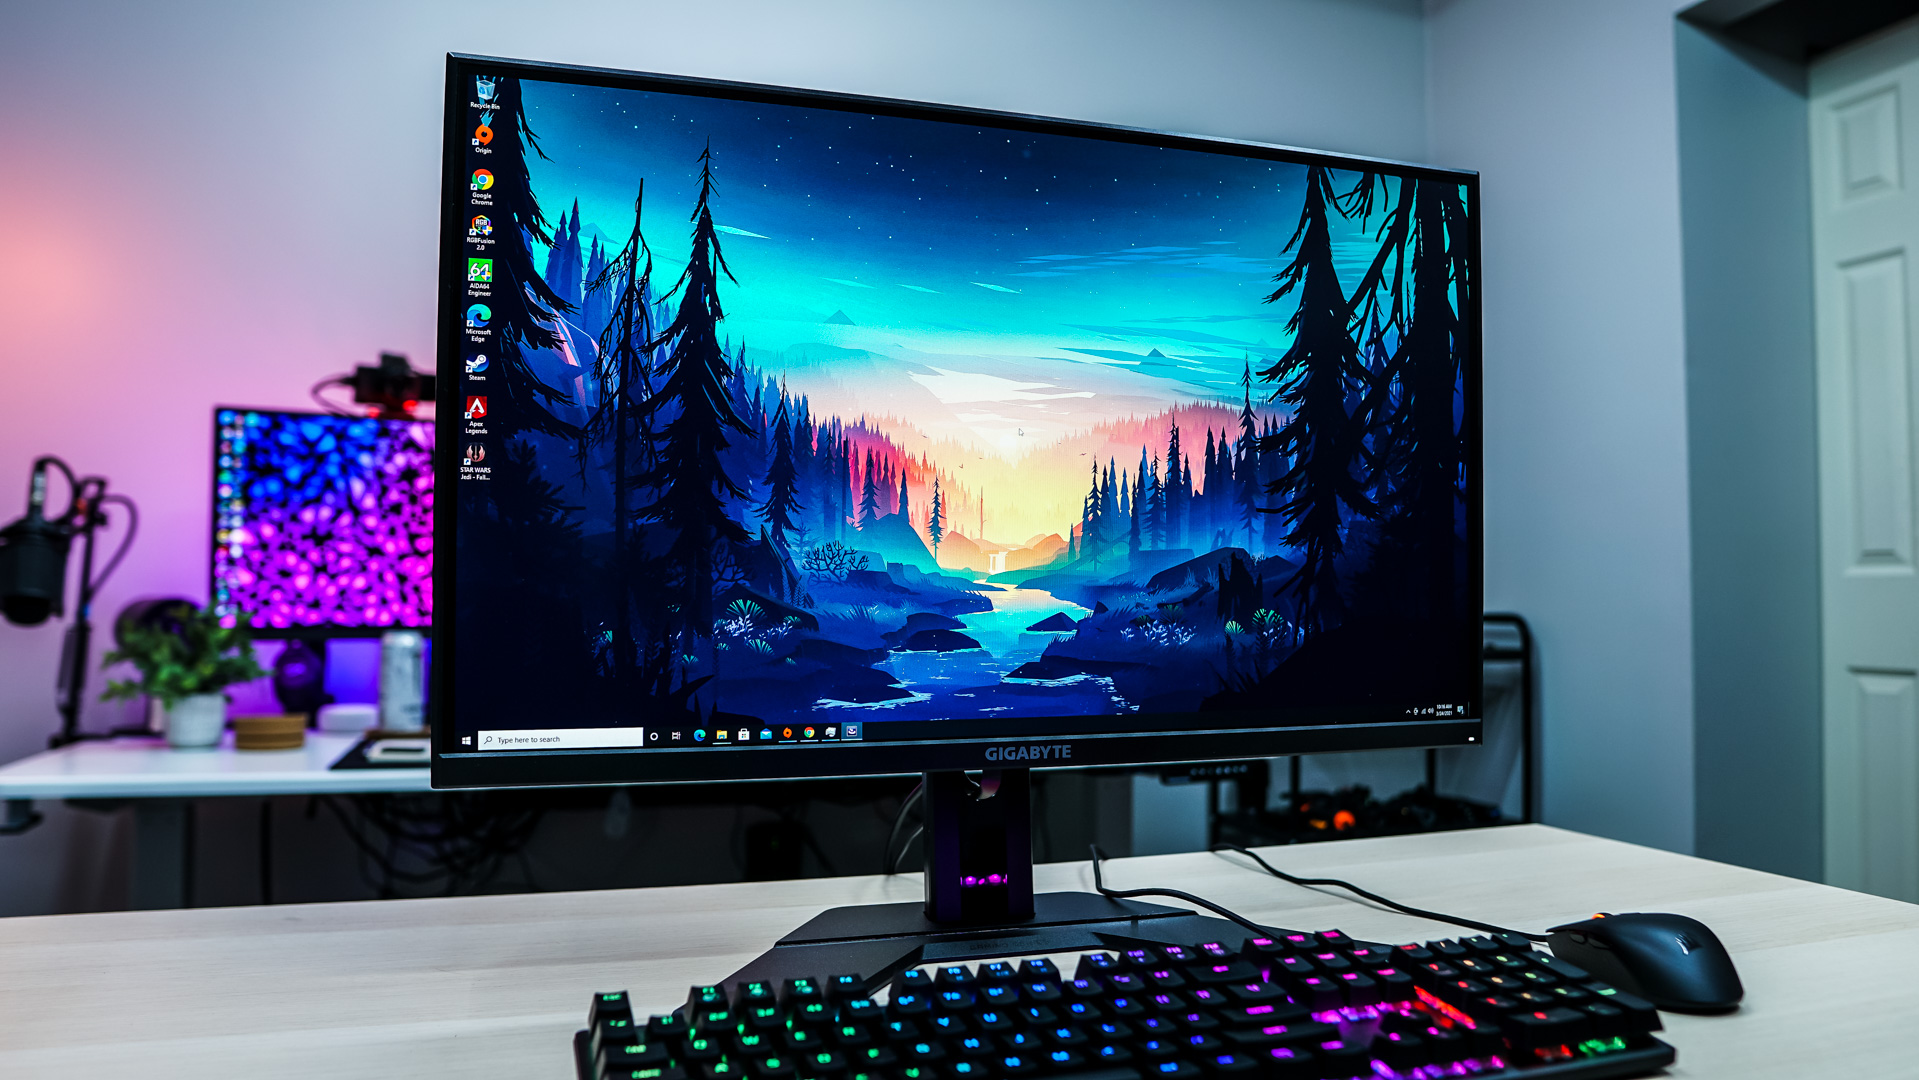
Setup & Software
Getting the G27Q setup is pretty simple. The large hole in the stand makes it easy for you to route your cables. Gigabyte does include a USB cable so make sure you plug it in if you plan on using their OSD software.

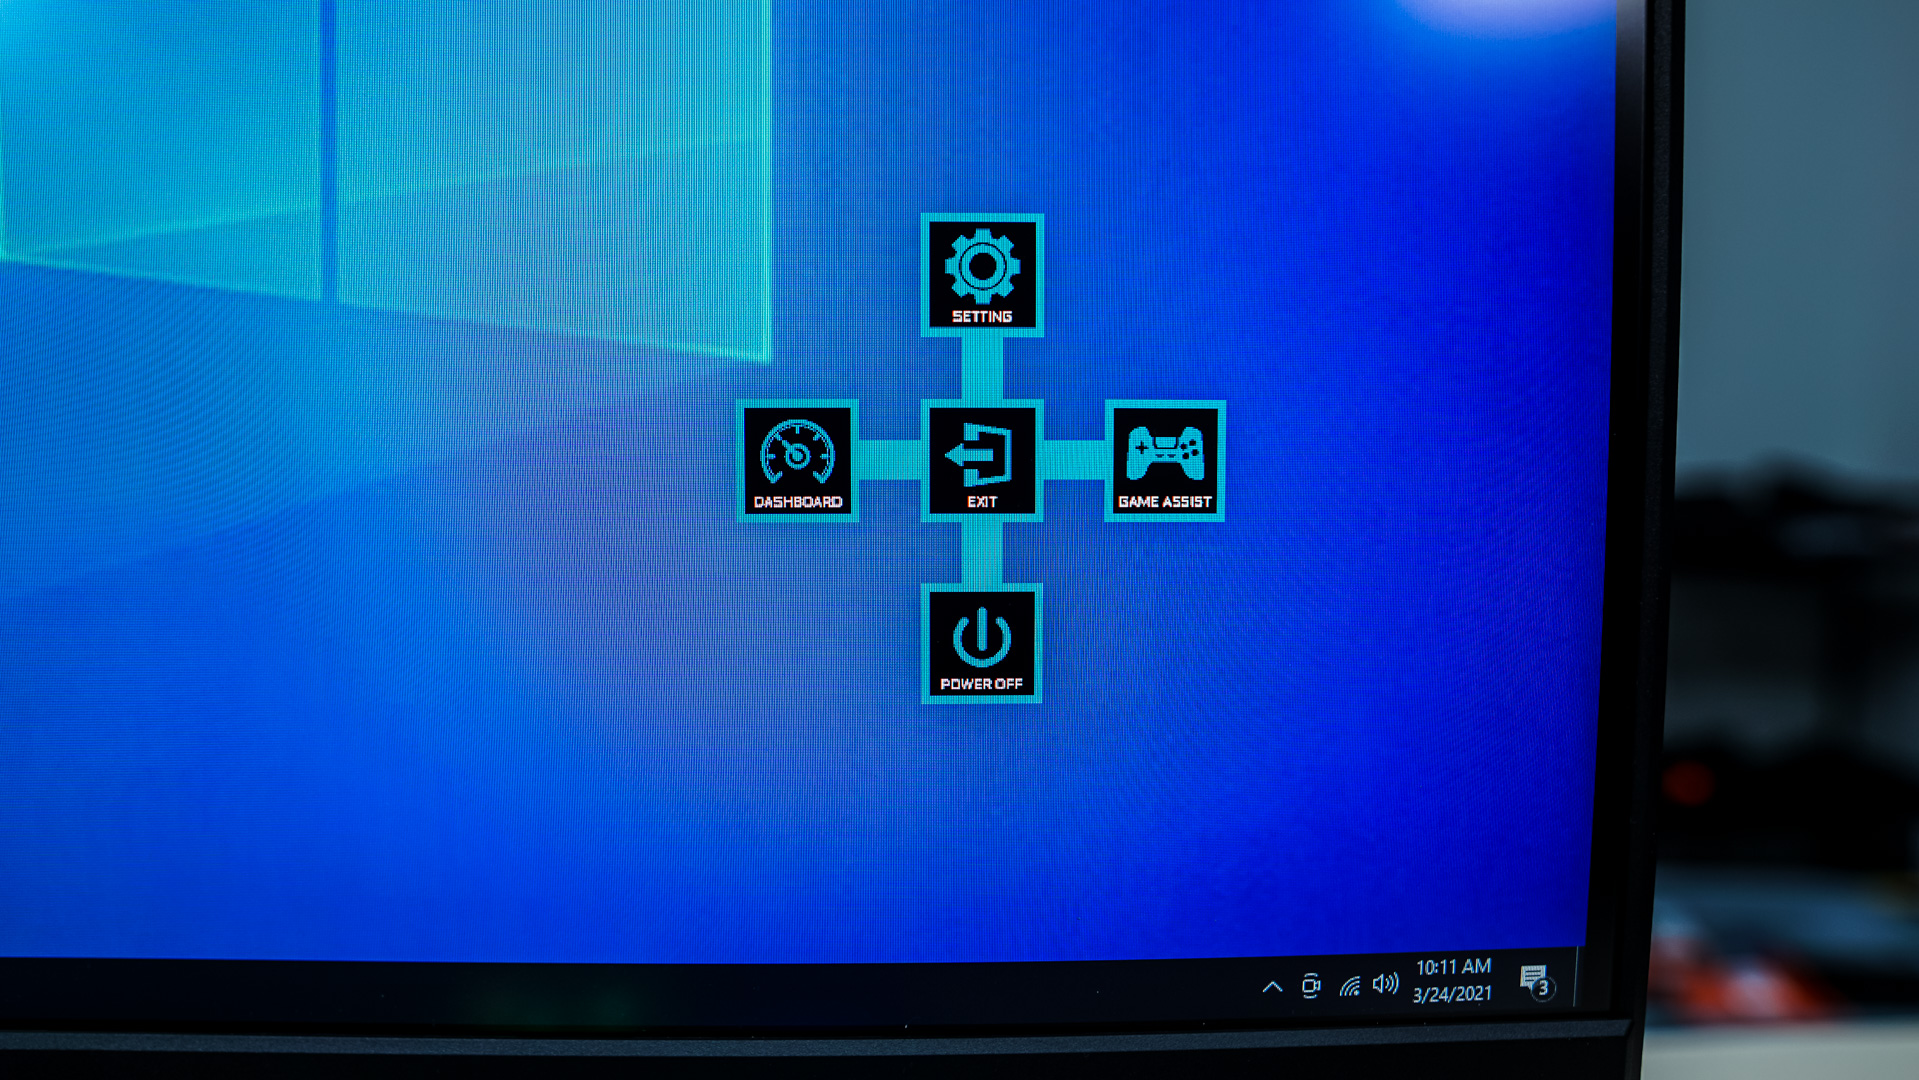
If the monitor does not come on automatically when you power your system on just press in the joystick on the back of the monitor. The joystick will also bring up a menu if you press it in when the monitor is on. This will allow you to change settings on the monitor, but I would highly suggest using Gigabyte’s OSD software instead.
Gigabyte’s OSD software can be downloaded from their website. Once installed when you open it up you’ll be brought into the Display Setting tab. Here you can move between Standard, FPS, RTS/RPG, Movie, Reader, sRGB, and a custom setting. Each one of these settings allows you to adjust the brightness, contrast, sharpness, black equalizer, color vibrance, low blue light, super resolution, gamma, color temperature, and overdrive. You can also turn things on and off like the aim stabilizer, freesync, a crosshair, PIP, gaming timer, and more. It is so great having all of these settings in software rather than fumbling through menus with the joystick on the back of the monitor.

The next tab is Hot Key. Here you can set hot keys for specific monitor functions like timers, refresh rate / fps counters, and even turning a crosshair on and off.

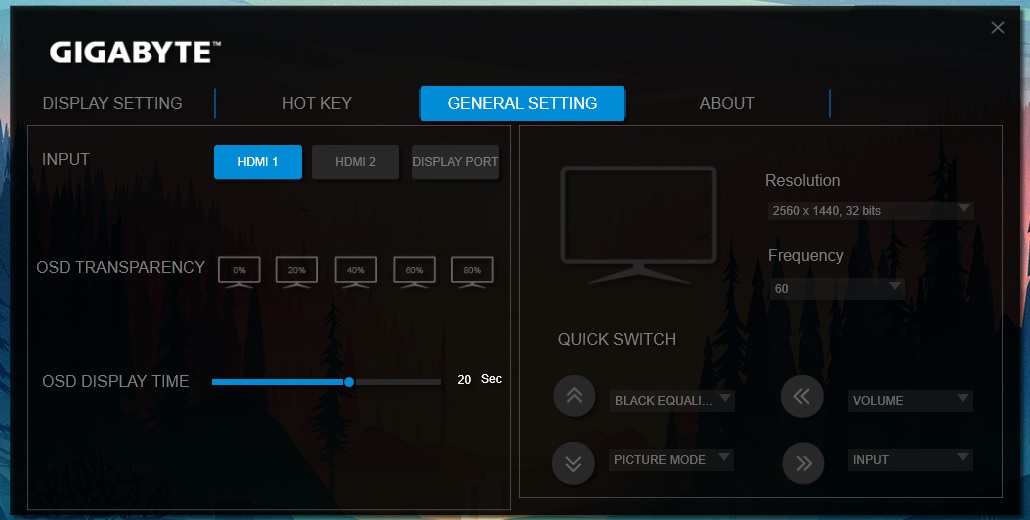
Next we have General Setting. Here we can select our input, OSD transparency, OSD display time, resolution, refresh rate (frequency), and quick switch settings.
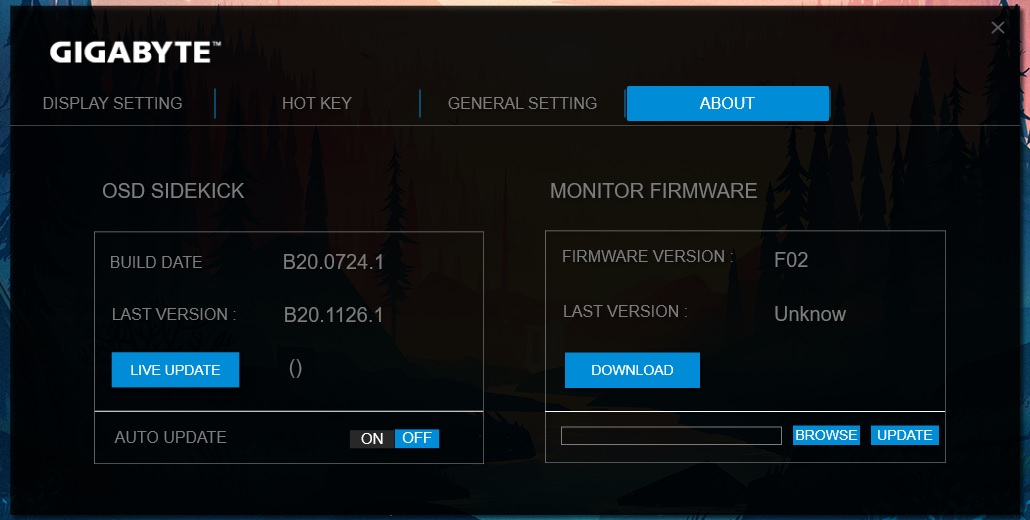
Finally we have the About tab that shows us which version of the software and firmware on the monitor we are running and an easy way to update both.