


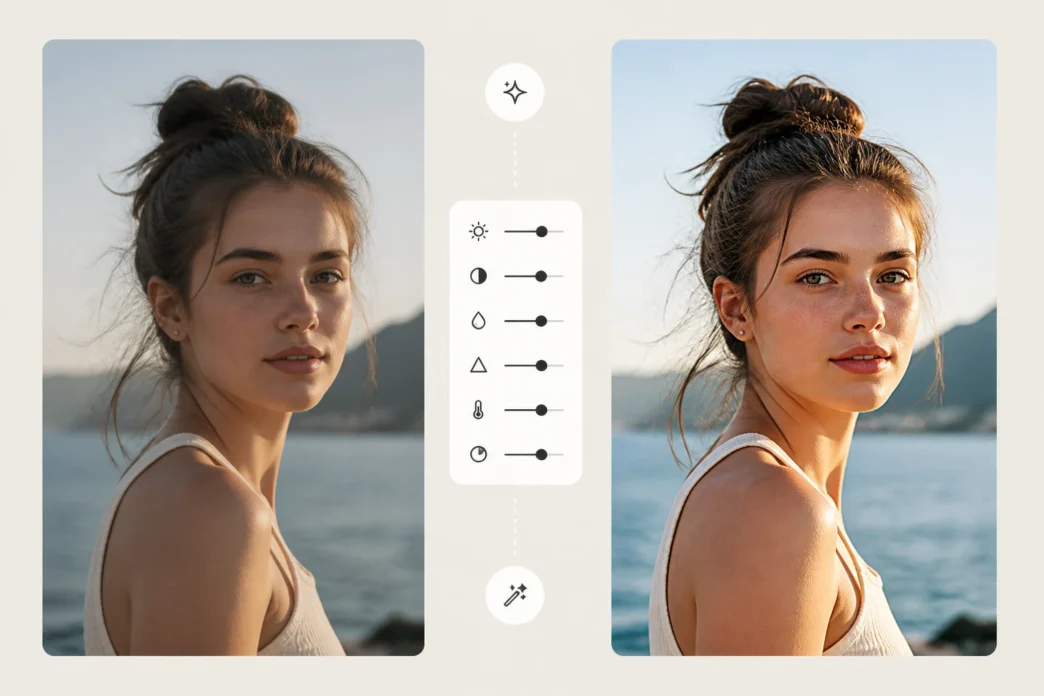
Taking a blurry photo is a common problem for everyone. You might be at a wedding, a birthday party, or on a beautiful hike when you snap a picture that looks perfect on your small camera screen. When you get home and open it on a larger monitor, you realize the details are fuzzy. This usually happens because your hands moved slightly or the camera could not focus fast enough. You do not have to delete these precious memories anymore.
You can now unblur pictures online free using tools that rely on smart technology to fix pixel errors. These platforms look at the blurry parts of your image and try to guess what the sharp version should look like. It is a fast way to clean up your gallery without needing a degree in photography. You just need an internet connection and a few seconds to let the software do the heavy lifting.
Using a dedicated AI Photo Editor gives you even more control over the final look of your image. These editors can handle different types of blur, such as motion blur from a moving car or soft focus from a portrait. Instead of just sharpening the whole image, they target specific areas that need help. This keeps the rest of your photo looking natural and clean.
Step by Step Guide to Fixing Blurry Photos
Follow these steps to turn your fuzzy images into clear masterpieces. Most online tools follow a similar process, so these instructions will work for almost any platform you choose.
Step 1: Choose Your Image Wisely
Not every blurry photo can be saved, so you should start with the best version possible. Look for images where the shapes are still visible. If a photo is just a giant smudge of colors, the software might struggle to find the original details. Pick a file that has a decent resolution. The more information the tool has to work with, the better the final result will be.
Step 2: Upload the File to the Online Tool
Open your chosen website and look for the upload button. You can usually drag and drop your file directly from your computer folder into the browser window. Most tools support common formats like JPEG, PNG, and WebP. Once the file is uploaded, the system will prepare it for processing. This might take a few seconds depending on the size of your image.
Step 3: Select the Enhancement Mode
Many tools offer different settings for different problems. You might see options for sharpening, denoising, or upscaling. If your photo is blurry because of movement, look for a motion blur correction setting. If it is just a bit soft, a general sharpening tool is usually enough. Some platforms do this automatically, while others let you move a slider to decide how much correction you want.
Step 4: Run the AI Processor
Click the button to start the enhancement. The software will analyze the pixels and rebuild the edges of the objects in your photo. It looks for patterns and uses its training to fill in the gaps. This part of the process happens on the server, so it will not slow down your computer. You will usually see a progress bar while the machine works its magic.
Step 5: Preview and Compare
Once the process is finished, most tools show you a before and after view. This is the best time to check if the photo looks natural. Look at the eyes of people in the photo or the text on signs. If the sharpening looks too aggressive, you might want to go back and lower the settings. You want the photo to look clear, not like a cartoon or a plastic painting.
Step 6: Download the Final Result
If you are happy with the look, click the download button. Some sites will let you choose the file format or the quality level. It is usually best to save it as a high quality JPEG or a PNG to keep the new details sharp. Make sure to save it with a new name so you do not overwrite your original file. You might want to keep the original just in case you want to try a different tool later.
Types of Image Blur and How to Spot Them
Understanding why your photo is blurry can help you choose the right fix. Different causes require different solutions.
|
Blur Type |
Common Cause |
Fix Difficulty |
|
Motion Blur |
Camera or subject moved |
Medium |
|
Focus Blur |
Lens focused on the wrong spot |
Hard |
|
Sensor Noise |
Low light and high ISO |
Easy |
|
Lens Smudge |
Fingerprints on the glass |
Easy |
|
Digital Zoom |
Cropping too much |
Medium |
Motion blur looks like streaks. You can see the direction the camera moved because everything in the image leans one way. Focus blur looks like a soft glow where nothing is sharp. Sensor noise looks like colorful dots or grain all over the dark areas of the photo. Identifying these helps you explain to the software what it needs to fix.
Tips and Best Practices for Better Results
To get the best out of your online tools, you should follow a few simple rules. These tips will help you avoid weird artifacts and keep your photos looking professional.
First, always work with the original file. Do not use a photo that you downloaded from a social media chat app. Those apps compress images and remove a lot of the data that the AI needs to fix the blur. If you can, get the file directly from the camera or the phone that took it.
Second, be careful with the sharpening slider. It is tempting to push it all the way to the maximum, but this often creates halos around objects. Halos are bright white lines that appear on the edges of dark shapes. They make the photo look fake. It is better to have a slightly soft photo that looks real than a very sharp photo that looks like a digital mess.
Third, check the lighting before you start. If a photo is very dark, the software might mistake shadows for blur. You might want to brighten the photo slightly in a basic editor before you try to unblur it. This gives the AI a clearer view of the edges it needs to sharpen.
Fourth, consider the background. Sometimes a blurry background is a good thing. It is called bokeh, and it makes portraits look better. If you use a tool that sharpens the whole image, you might lose that nice soft background. Look for tools that let you select only the subject of the photo to be fixed.
Common Mistakes to Avoid
Many people get frustrated with AI tools because they expect them to work like they do in movies. In real life, there are limits to what technology can do.
One big mistake is trying to fix a photo that is too small. If your image is only 200 pixels wide, there is not enough data for the tool to understand what it is looking at. The result will likely be a blocky or distorted image. Try to use photos that are at least 1000 pixels on one side for the best results.
Another mistake is ignoring the noise. Sometimes a photo is blurry and grainy at the same time. If you only fix the blur, the grain will become even more obvious. You should look for a tool that offers noise reduction alongside the sharpening feature. This creates a much smoother and more pleasant image.
Do not expect the tool to recreate a face that is completely hidden. If a person is facing away or their face is a total smear, the AI might try to draw a face that does not look like them. This can lead to creepy or unnatural results. AI is great at enhancing what is already there, but it is not a mind reader.
Finally, do not forget to check the edges of your photo. Sometimes the center looks great, but the corners get distorted during the process. This happens because the AI struggles with the lens distortion that occurs at the edges of a frame. Always zoom in and look around the whole image before you decide the job is done.
Conclusion
Fixing blurry photos used to be impossible for regular people. You needed expensive software and hours of training to fix even a simple mistake. Now, anyone can use online tools to save their favorite moments. By following a simple step by step process, you can remove motion blur and fix focus issues in just a few clicks.
Remember to start with the best file you have and avoid over processing your images. Use the right settings for the specific type of blur you are facing. If you stay patient and pay attention to the details, you will be able to rescue almost any photo. Your digital gallery will look better than ever, and you will never have to worry about a shaky hand ruining a great memory again. Keep practicing with different settings to see what works best for your specific camera and style. Clear, sharp photos are now just a few seconds away.