Setup & Software
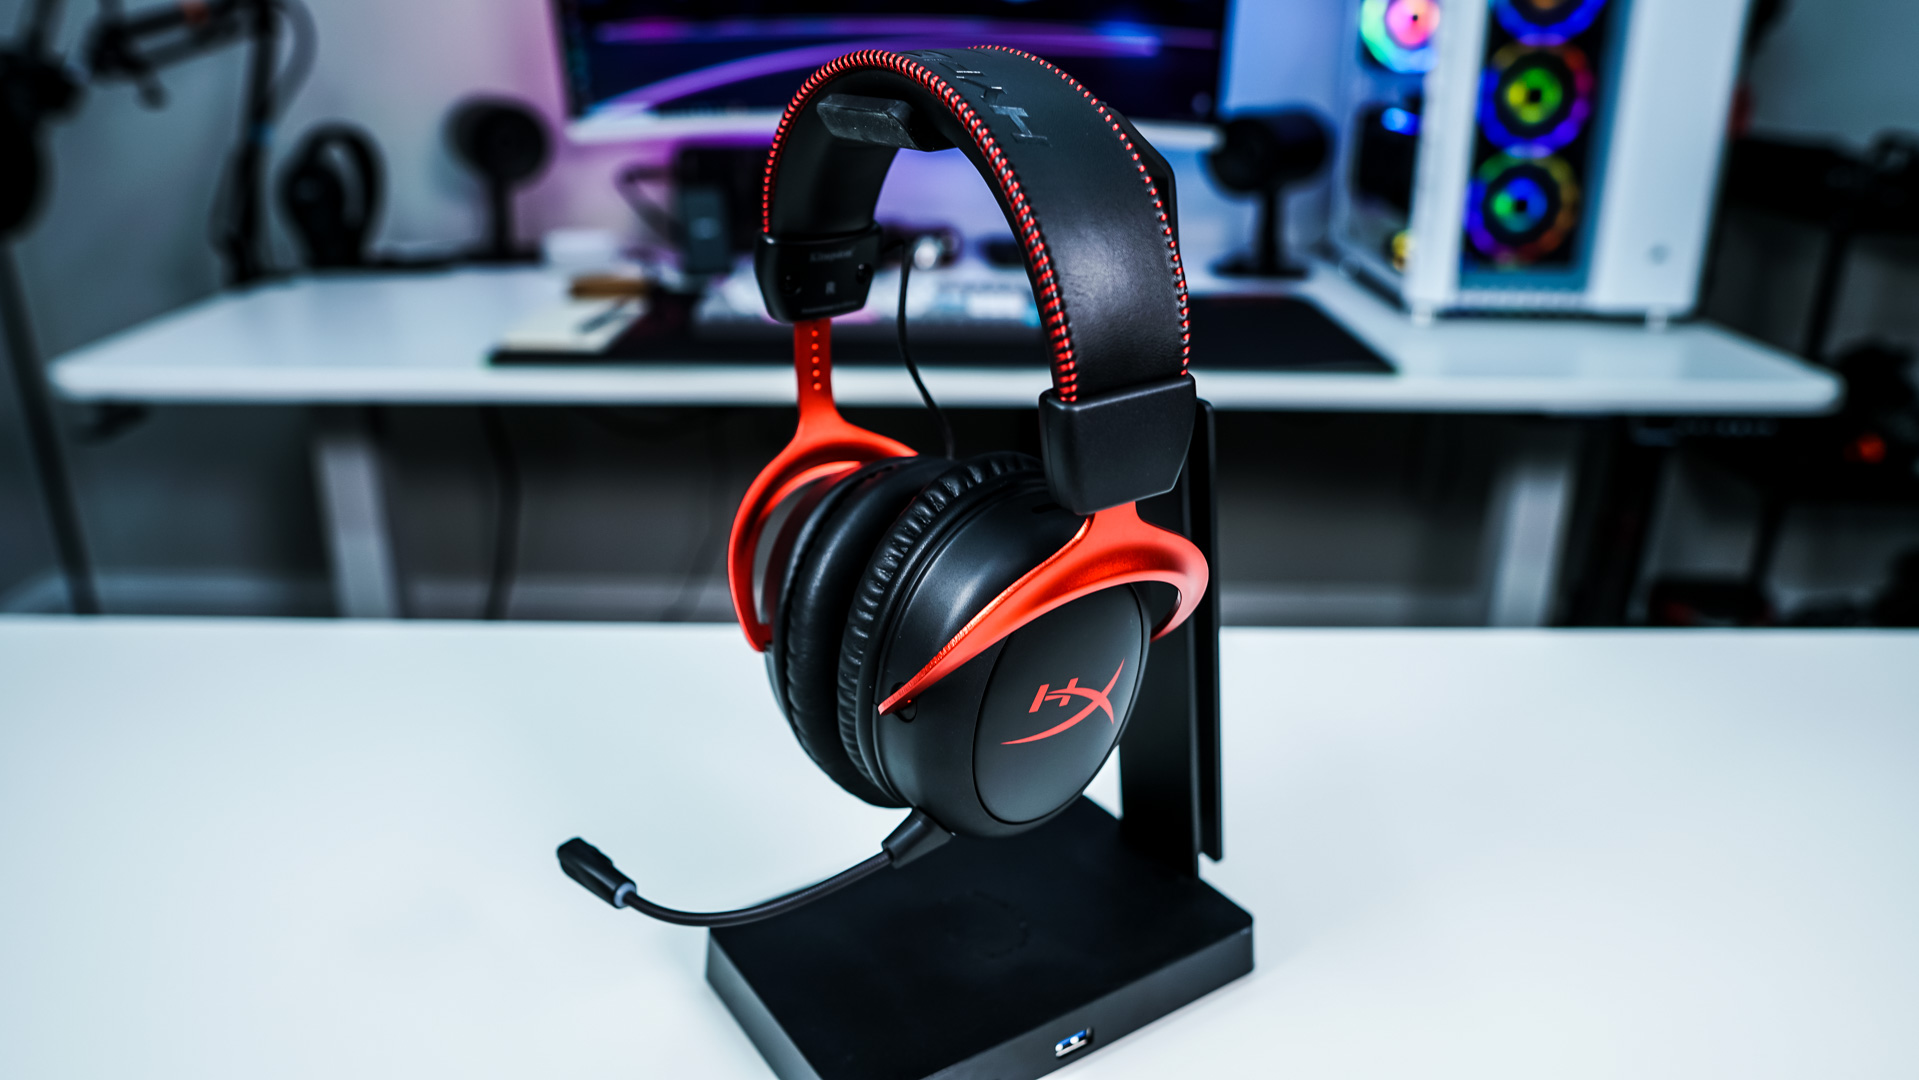
The first thing you are going to want to do to get the HyperX Cloud II Wireless setup is charge the headphones. Using the included cable plug the headphones into an empty USB port on your computer or even a USB charger. The indication LED on the earcup will turn green to let you know the headphones are charging.

Once charged go ahead and take the USB receiver and plug it into an open USB port on your computer. It will automatically be recognized and Windows will install a playback device (HyperX Cloud II Wireless) and an Input / Recording device (HyperX Cloud II Wireless). Now just turn the headset on by pressing the power button on the earcup and and you are good to go.
Now you don’t need any software for the headset to work, but you can install HyperX’s NGENUITY software if you want. This will allow you to adjust the headset volume and microphone volume on your computer. You can also toggle 7.1 on and off as well as turn microphone monitoring on or off. One thing that would have been nice to see was the auto-optimize feature that we saw on the HyperX Cloud Flight S where it would load optimized surround sound settings when you play. certain games.

I have to say for a headset the NGENUITY software is pretty limited. There are no EQ settings, specific settings for games, or even when to turn the headset off after no activity.