
HYTE Powered USB Hub Overview
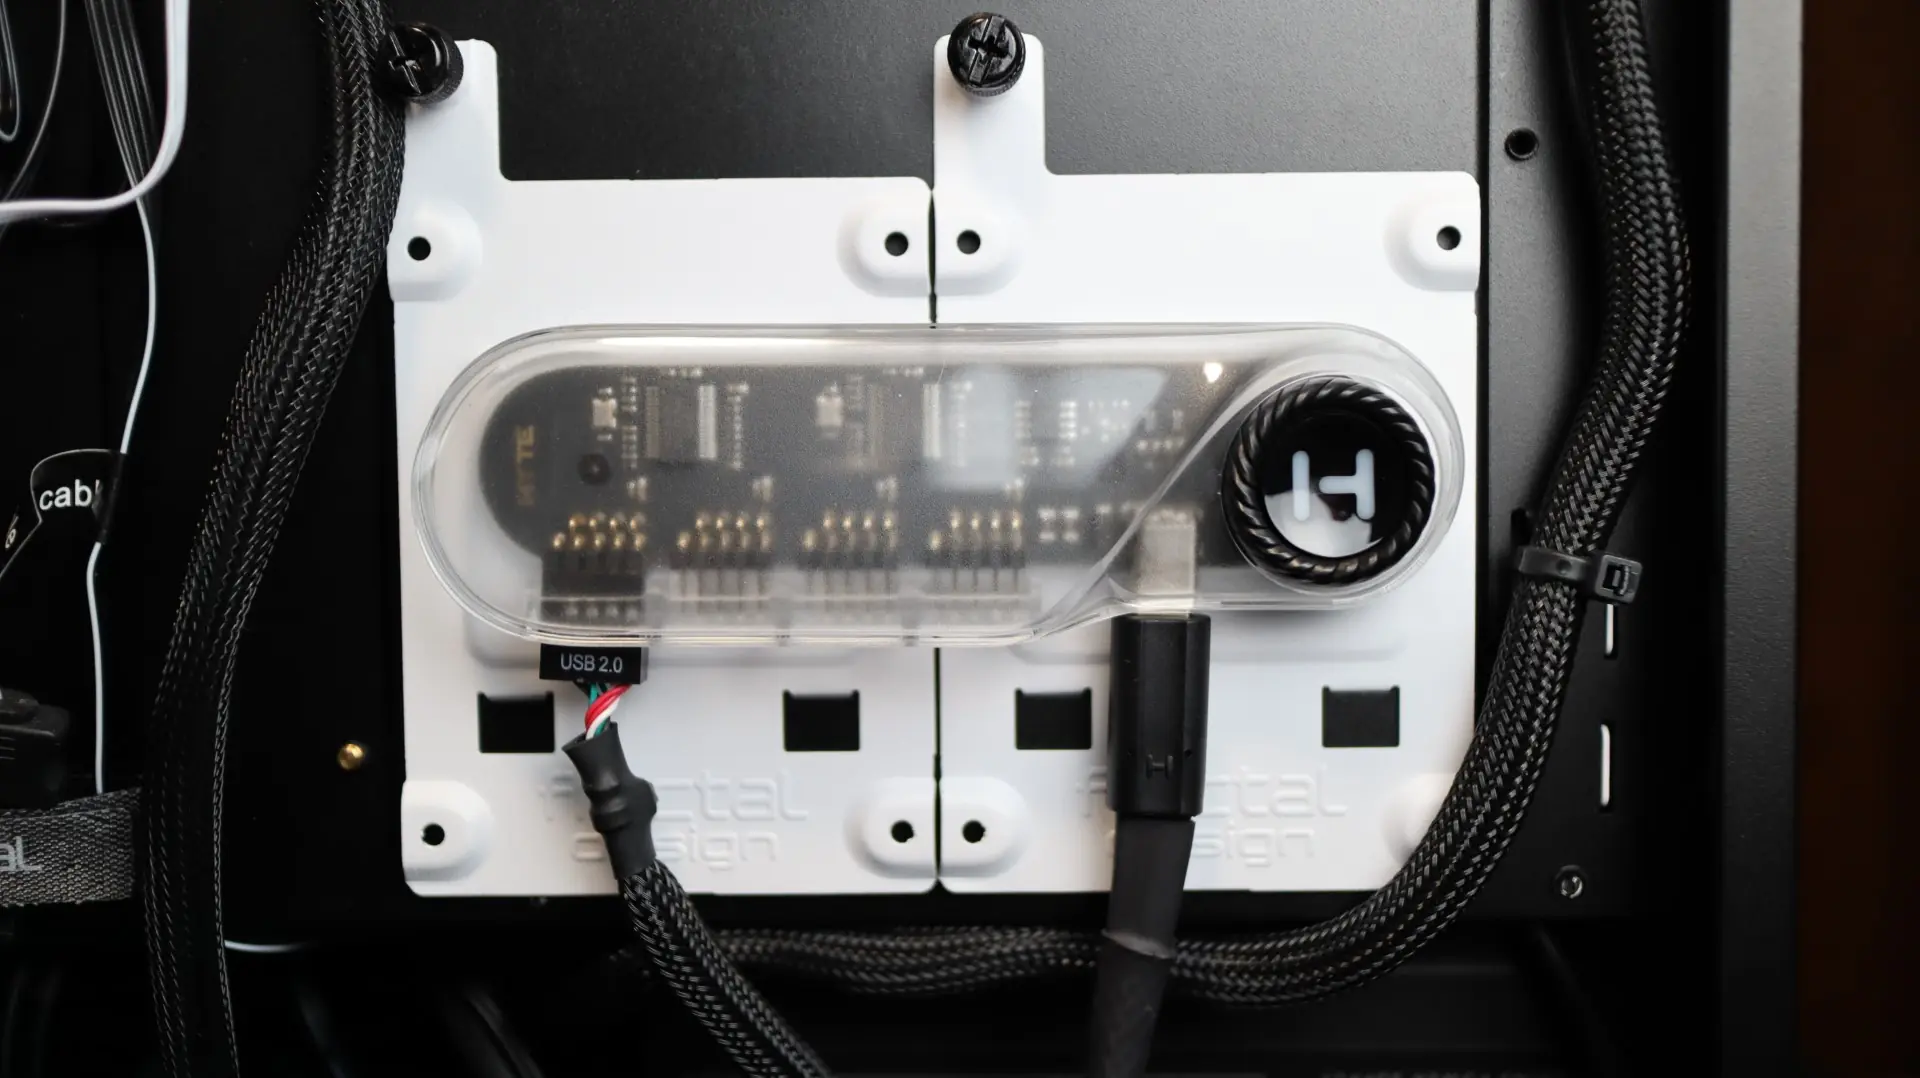
At first look, it may not be obvious that this is an internal USB hub. The design language is straight out of HYTE’s playbook, so it definitely has their unique twist to the look, without losing any functionality. The first thing you might notice is the frosted plastic body that gives a hint of a look at the internal components. Each side of the hub is rounded, and you won’t really find any hard corners anywhere on this product.
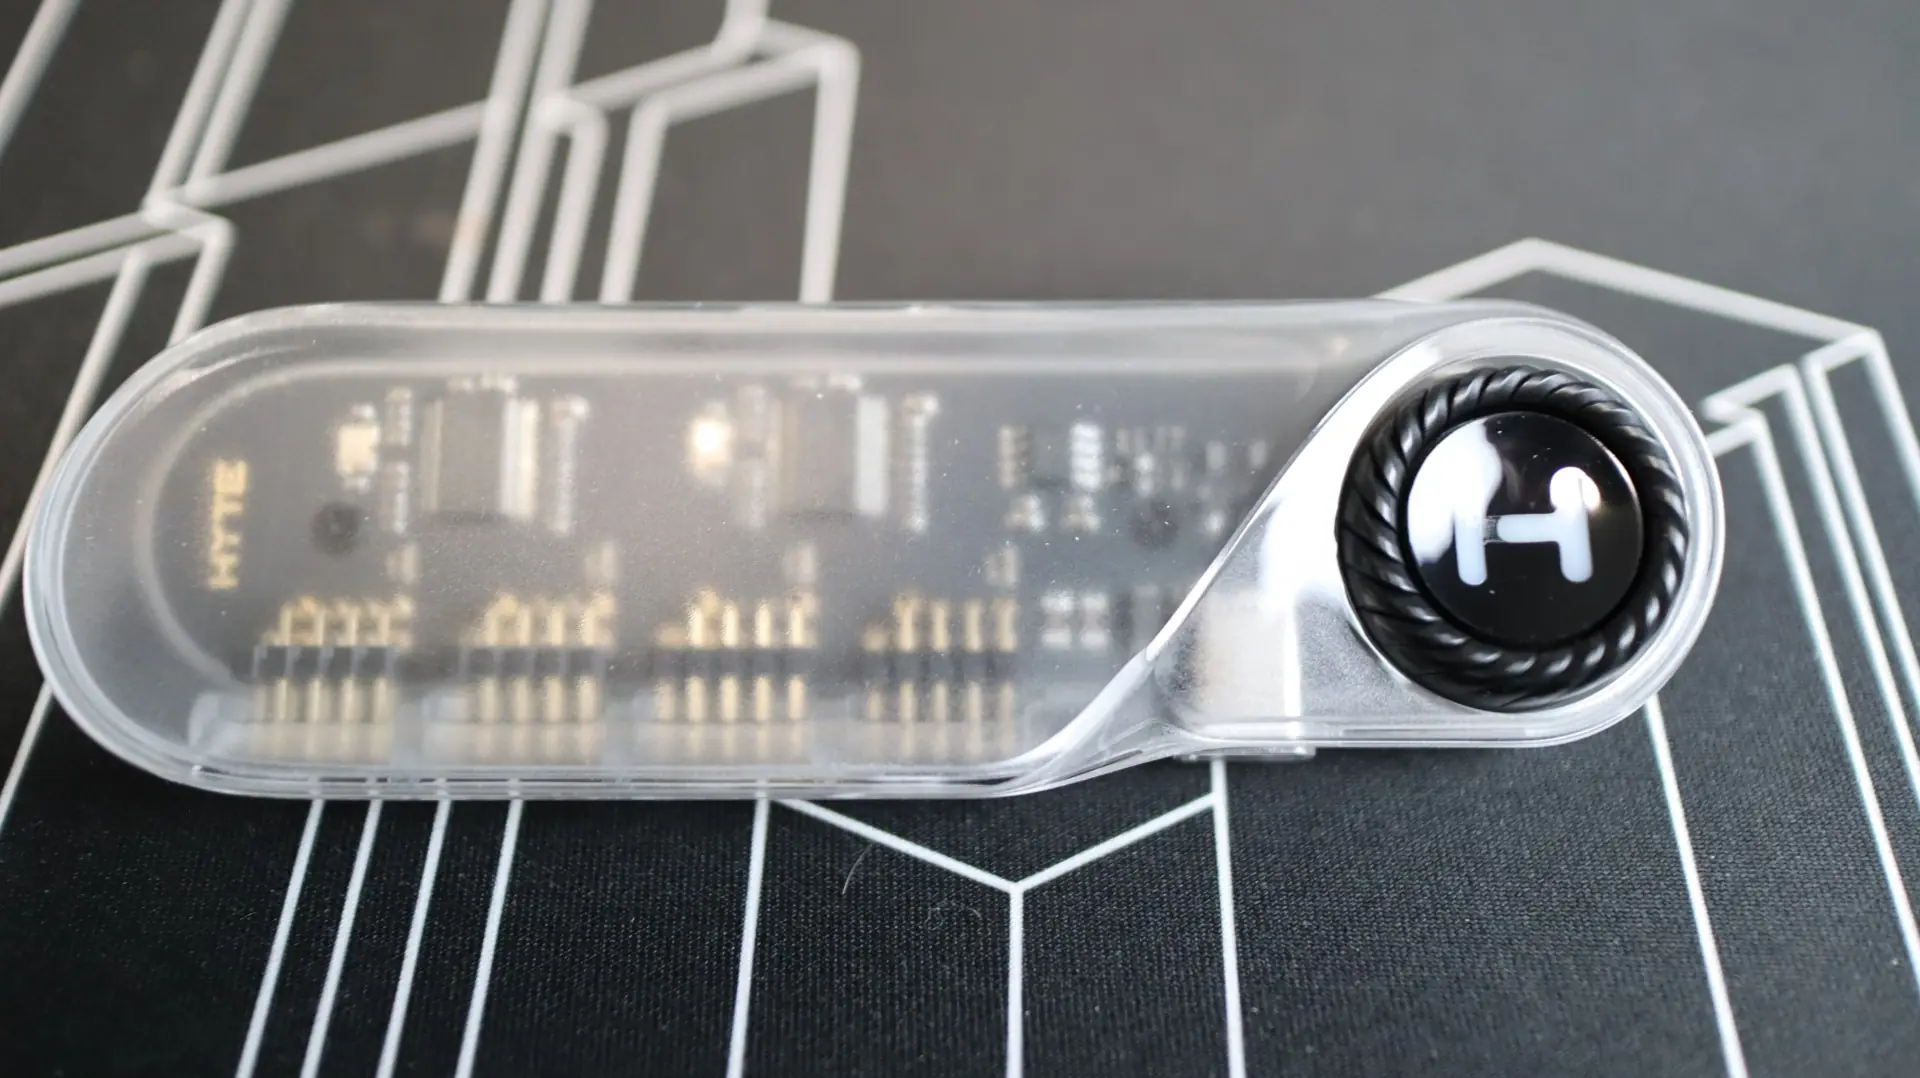
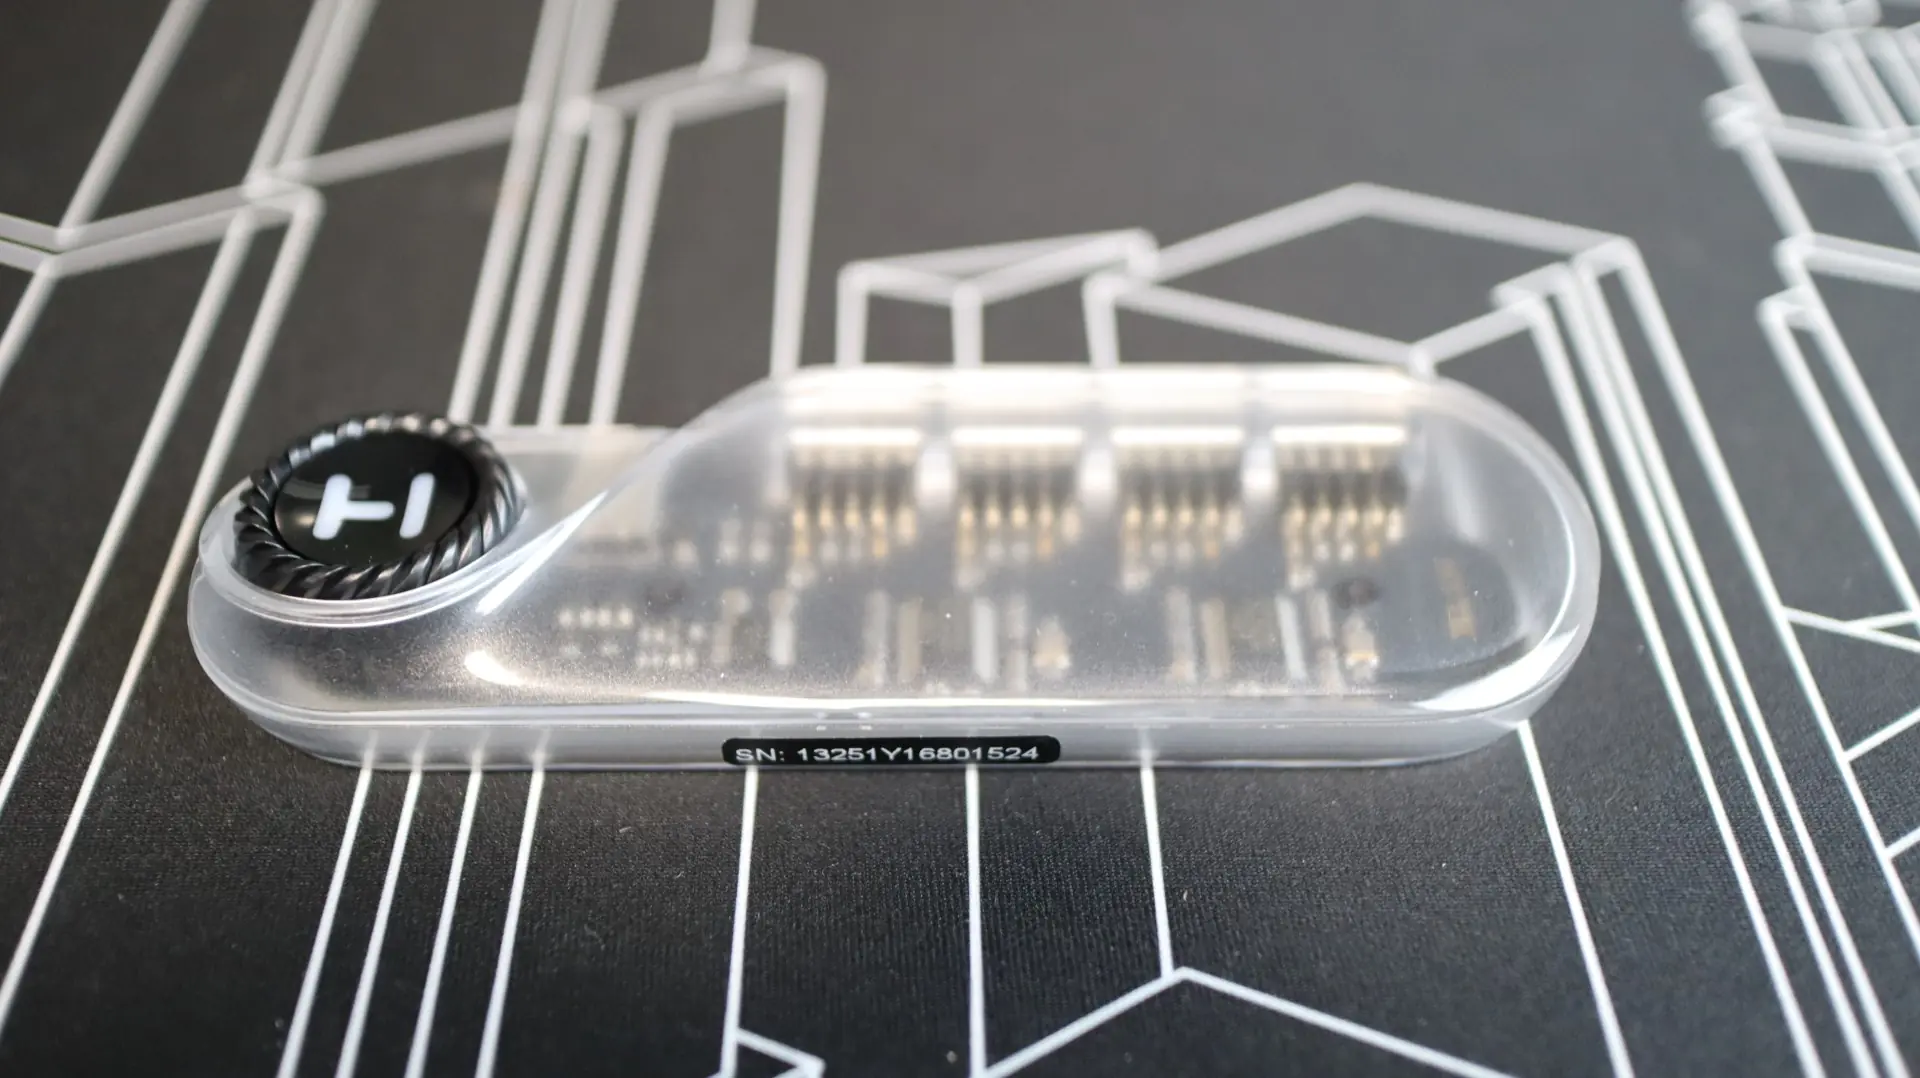
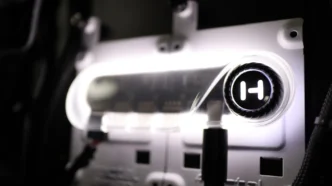
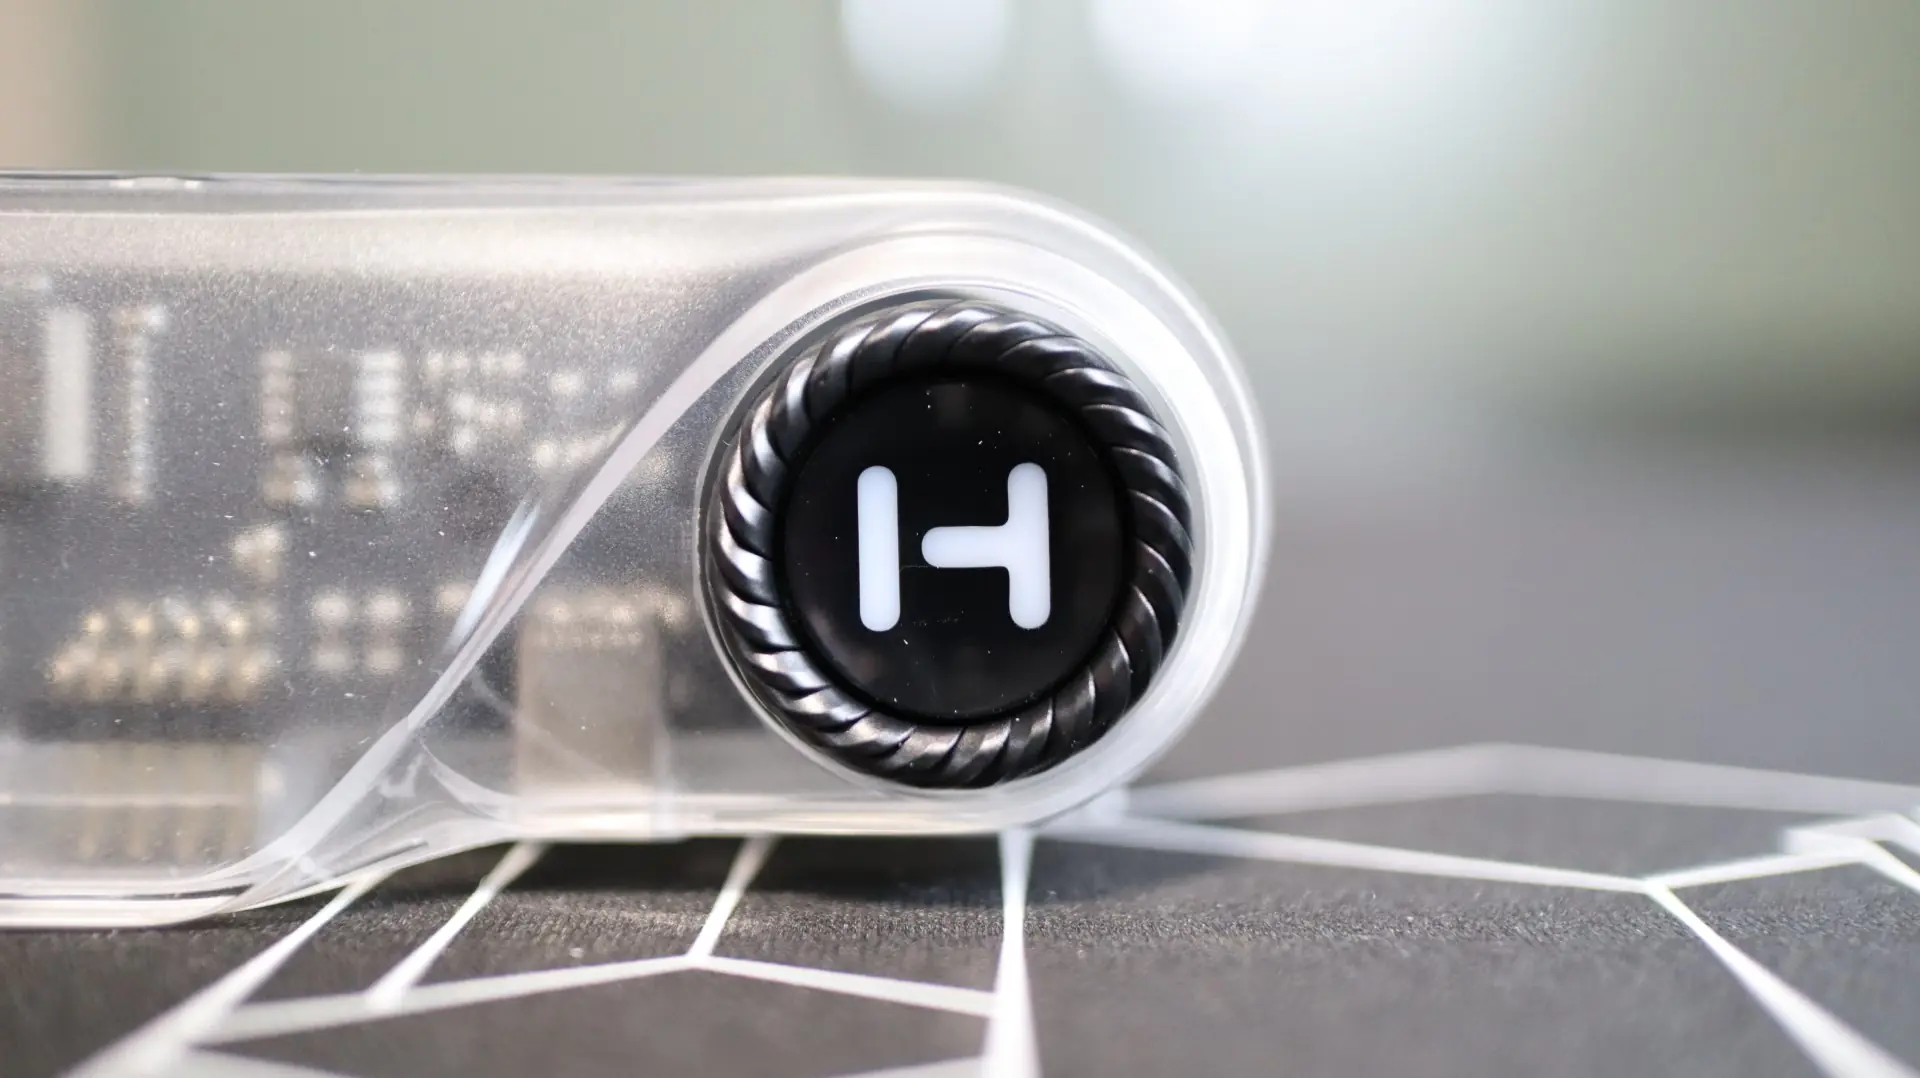
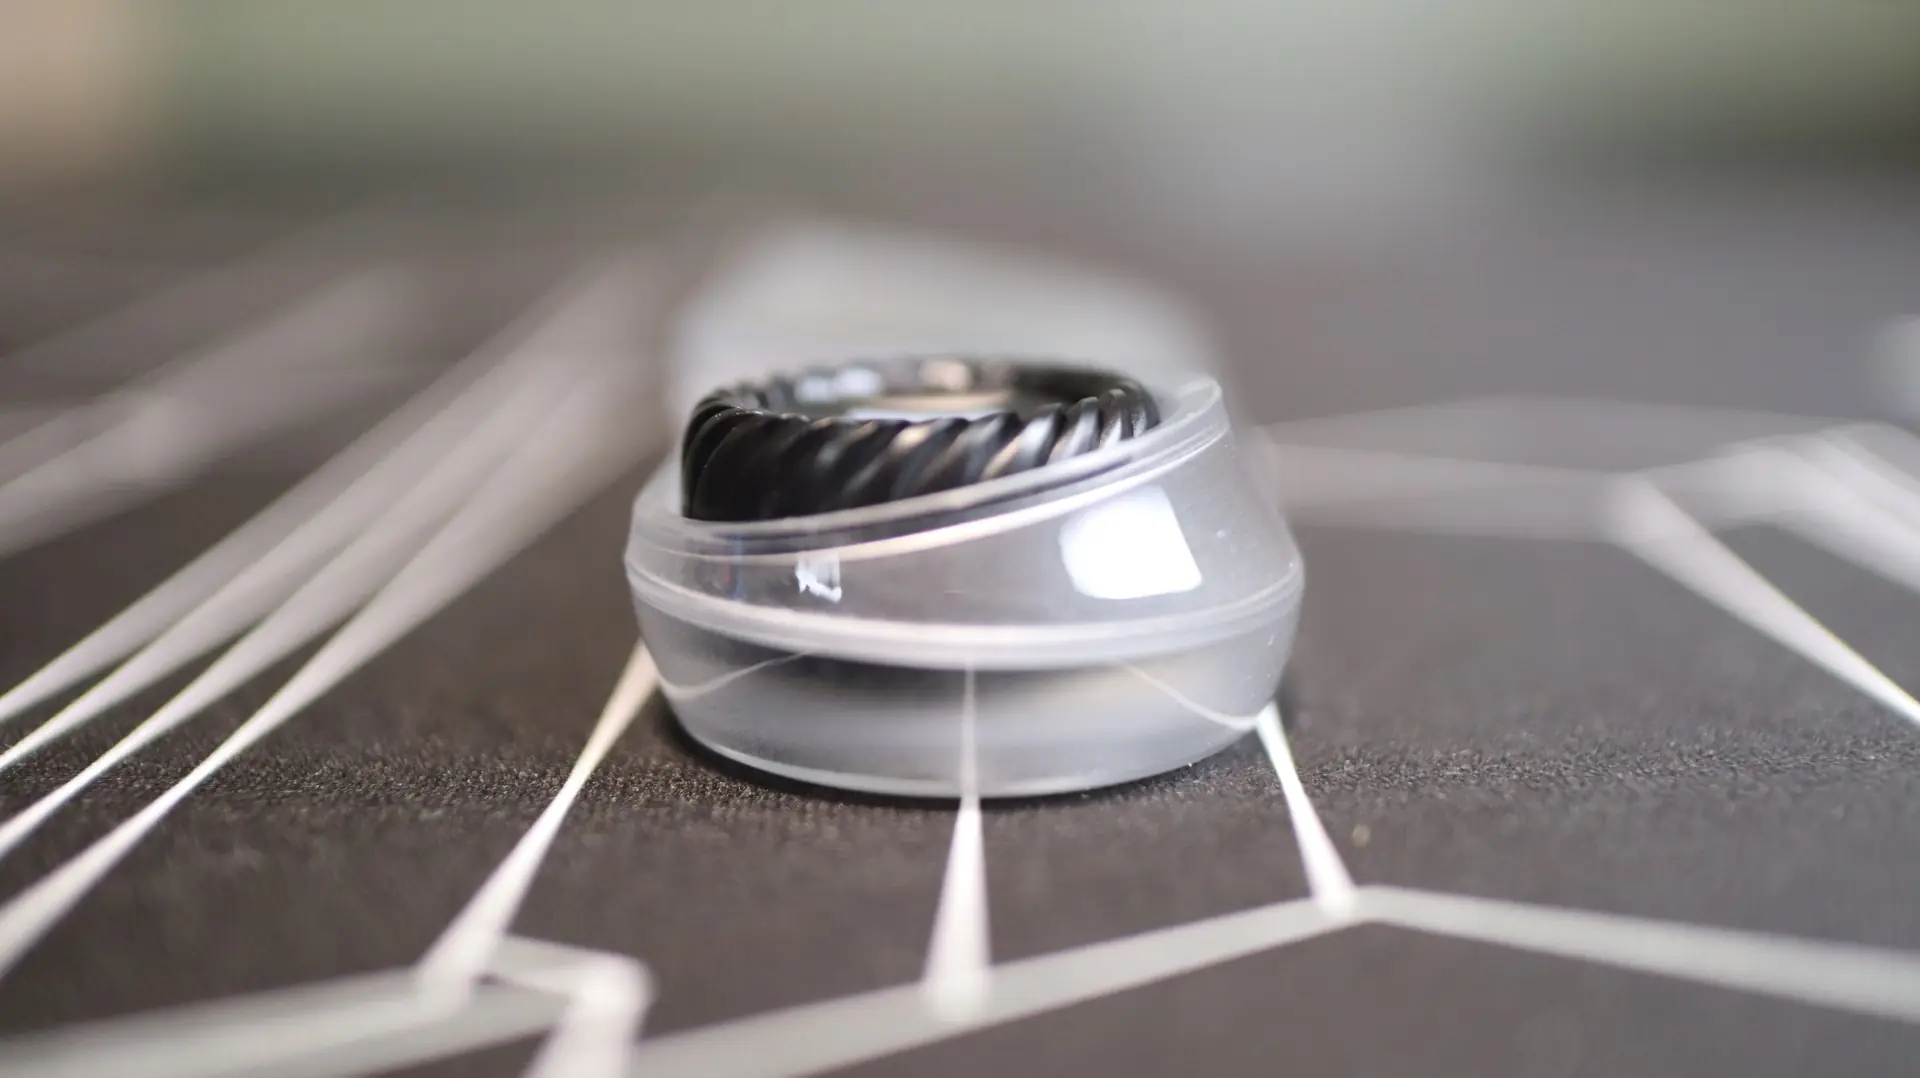
The right side of the hub features a round dial with the a prominent “H” in the center. This dial acts as a physical On/Off dial should you have the need to power the hub on and off during operation. Since this is an internal hub with internal connectors, I don’t really know when you might use this feature, but it is there if you need it.
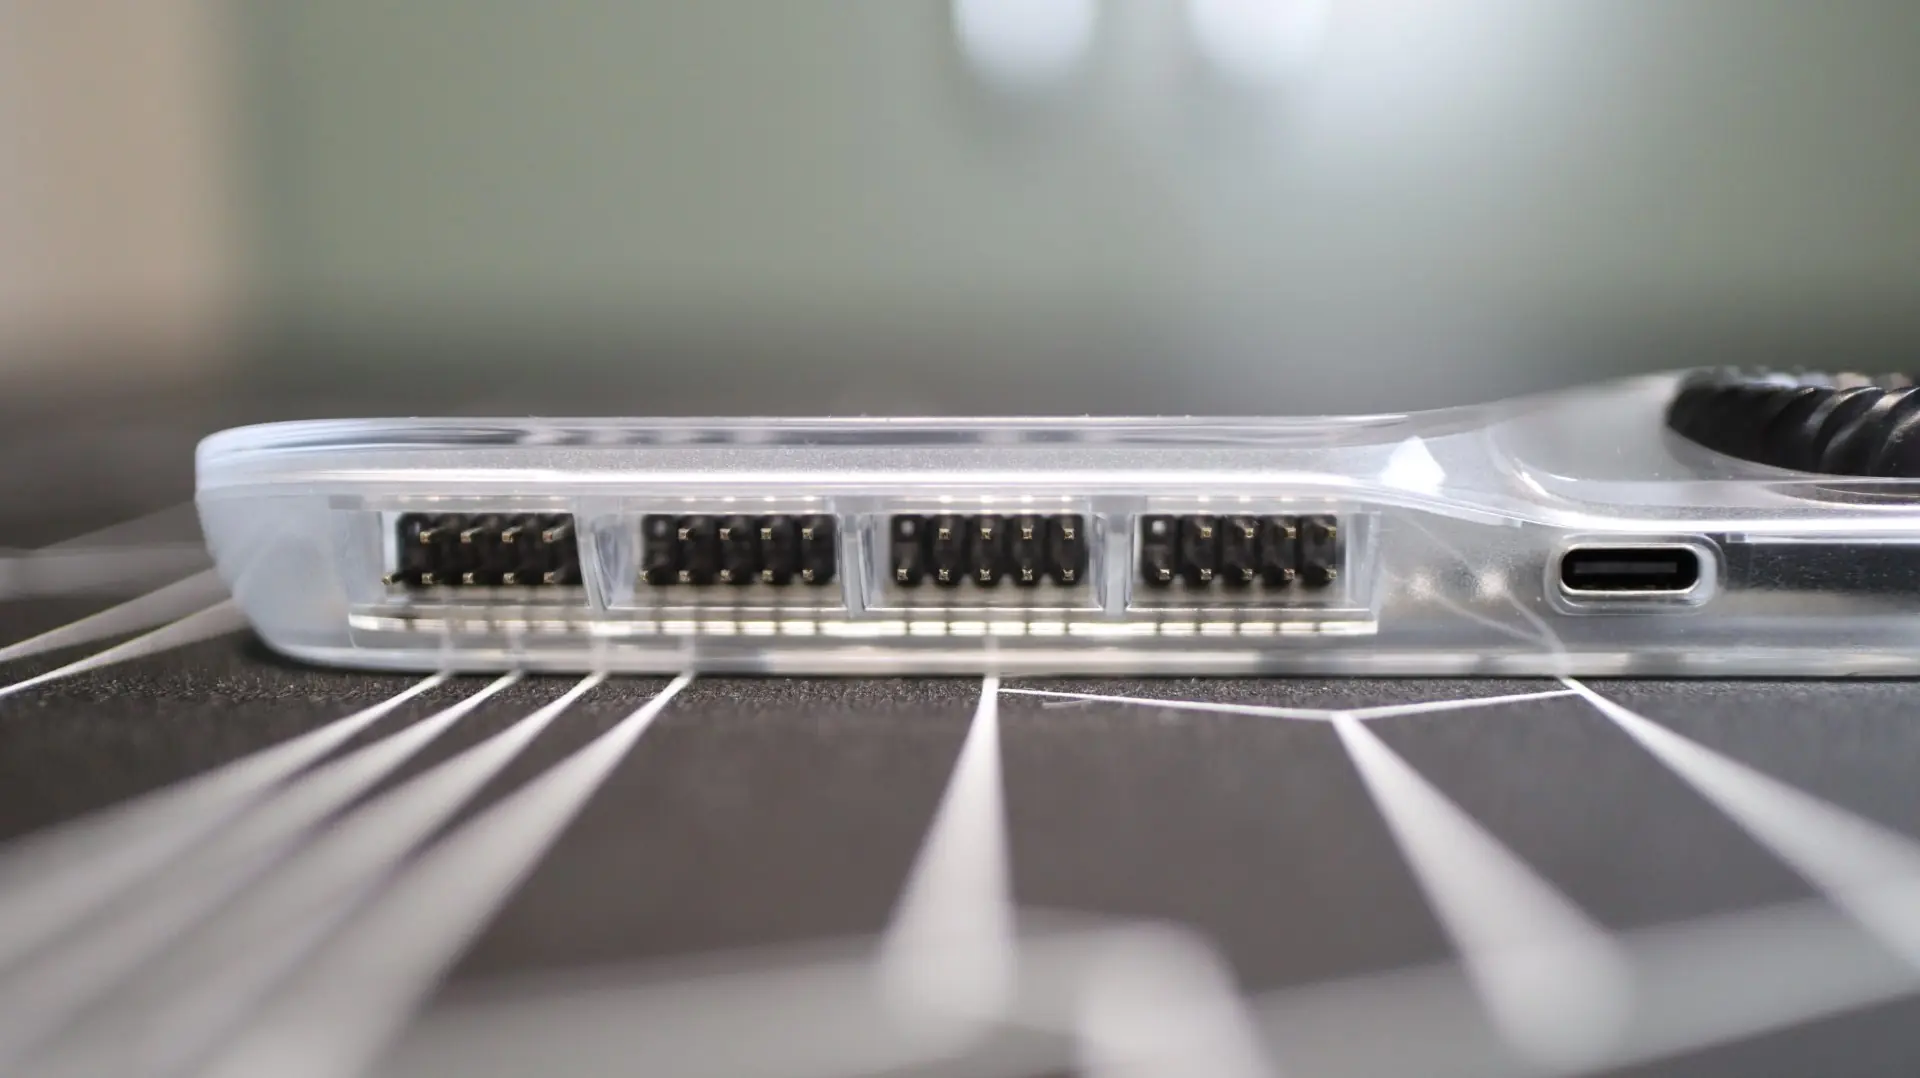
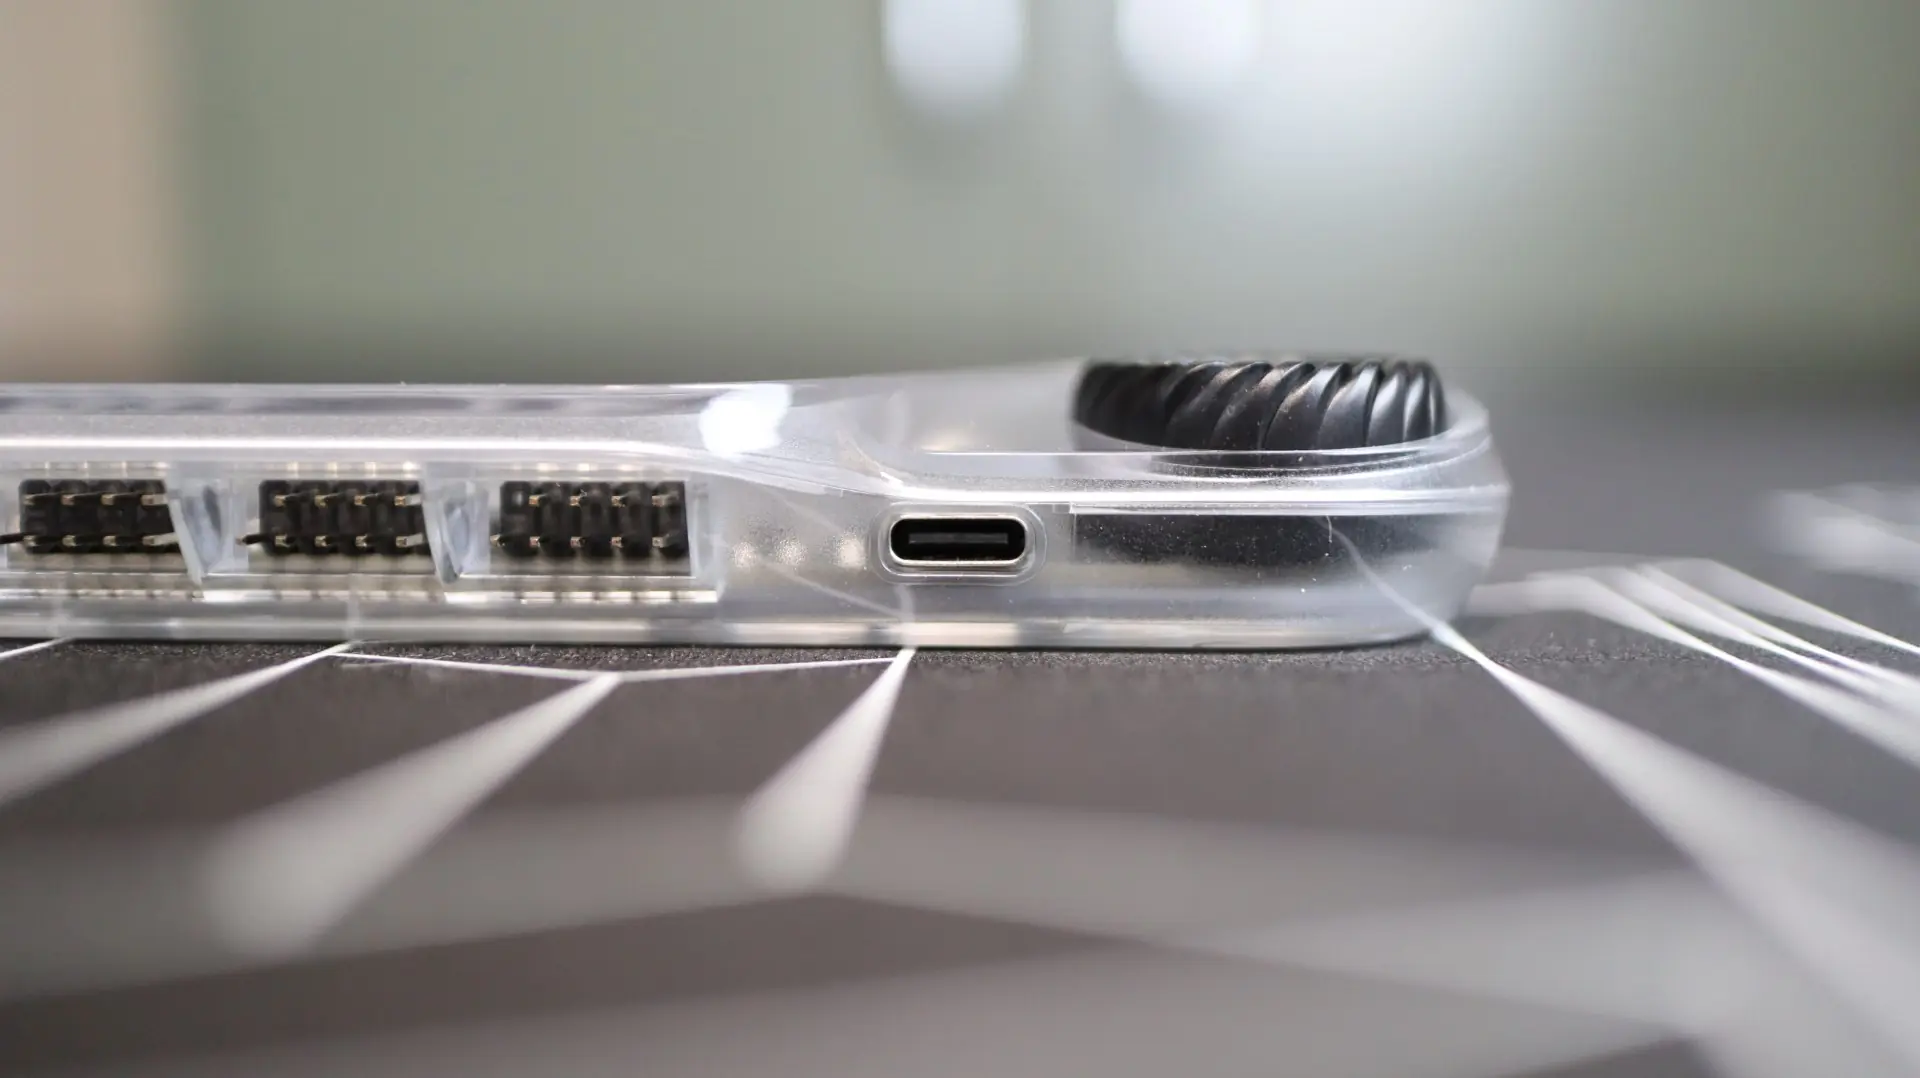
Along the front edge of the hub are four USB 2.0 ports, each providing a 9-pin male connection, and just to the right is the single USB Type-C connection used by the aforementioned included cable for power and data connectivity to the hub itself.
From the sides you can see the angular and rounded shapes that HYTE used for the hub, which I think looks pretty cool.
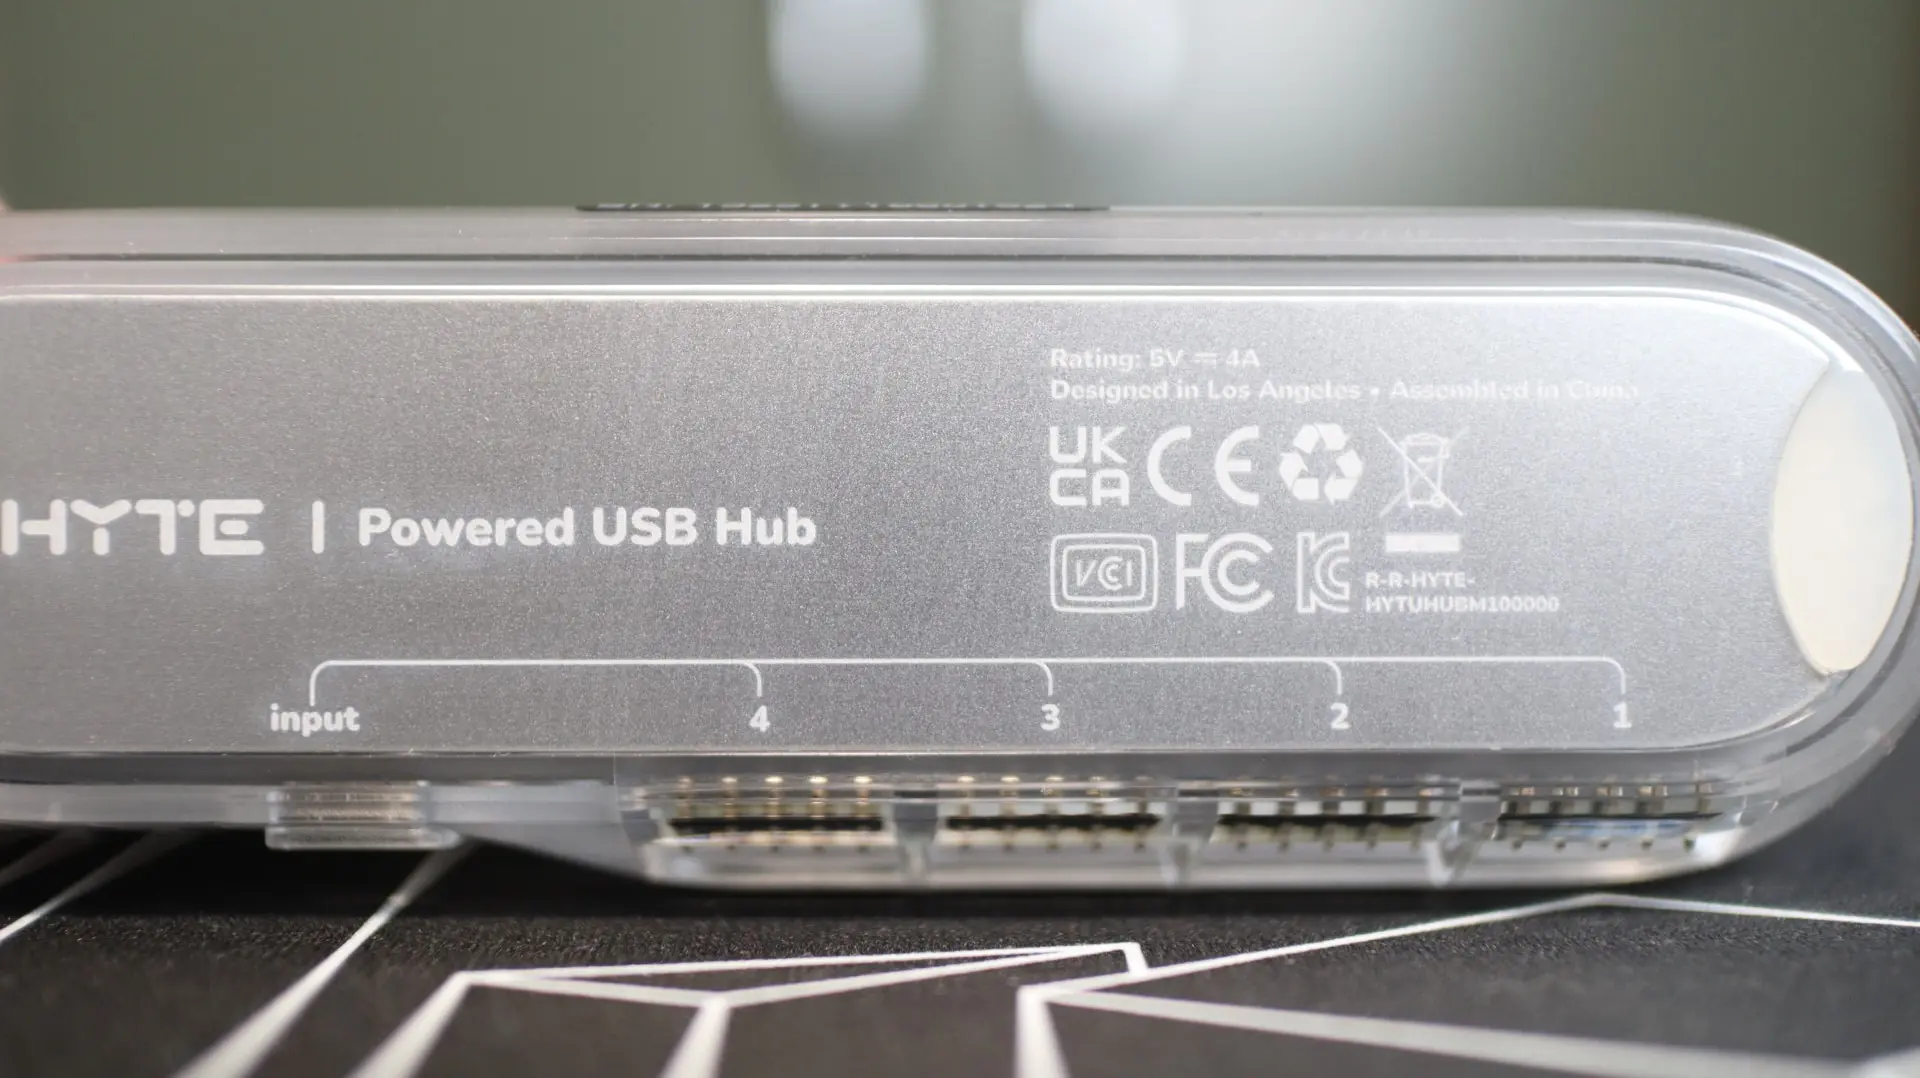
The bottom side of the hub provides labels for each of the four USB 2.0 outputs, as well as the USB Type-C input. There are also small rubber feet on each end of the hub that help add a bit of grip along with the internal magnets, especially when mounted on a vertical surface.
Installation
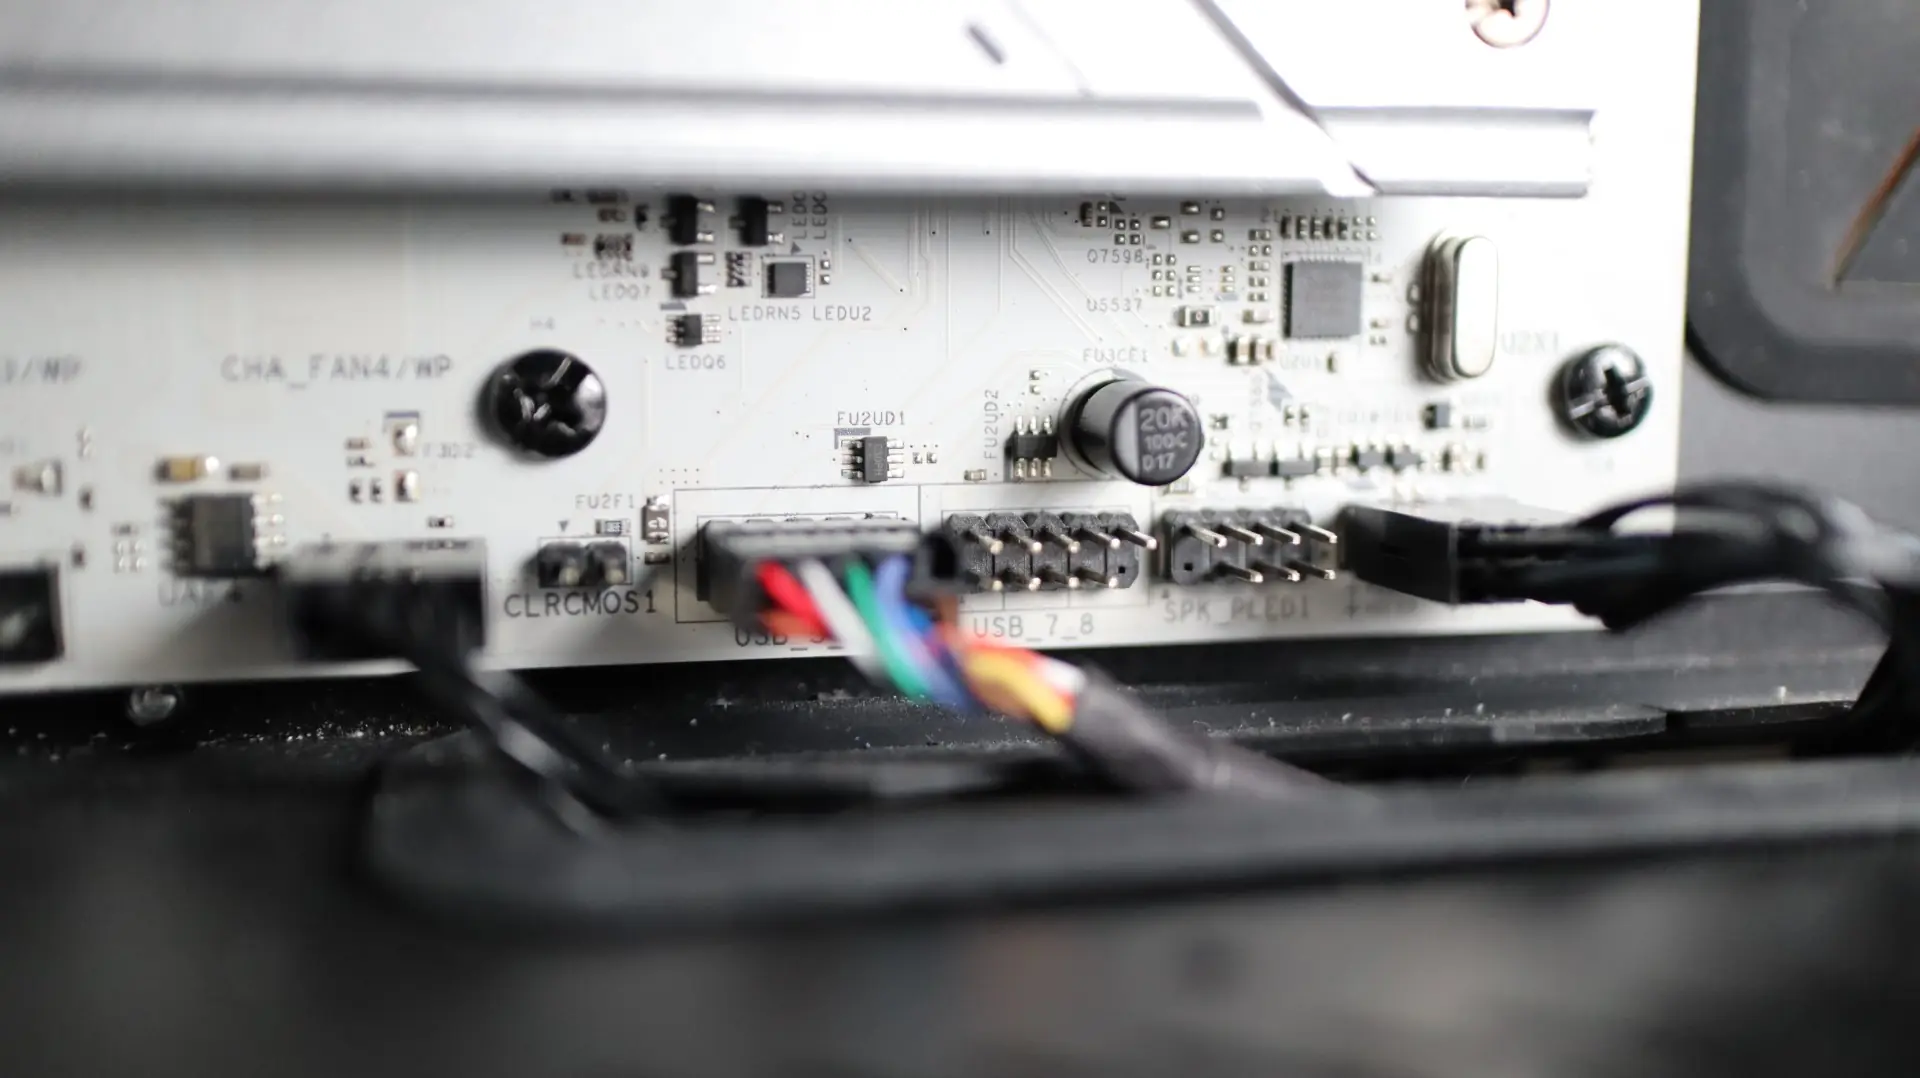
Installing the HYTE Powered USB Hub is really simple. First you must find an available USB 2.0 header on your motherboard. you may have one or more depending on your model, but most modern boards still provide at least one. With that port identified, you will need to connect the included cable’s USB 2.0 plug into the motherboard port, and then connect the SATA power connector to an available source from your power supply.
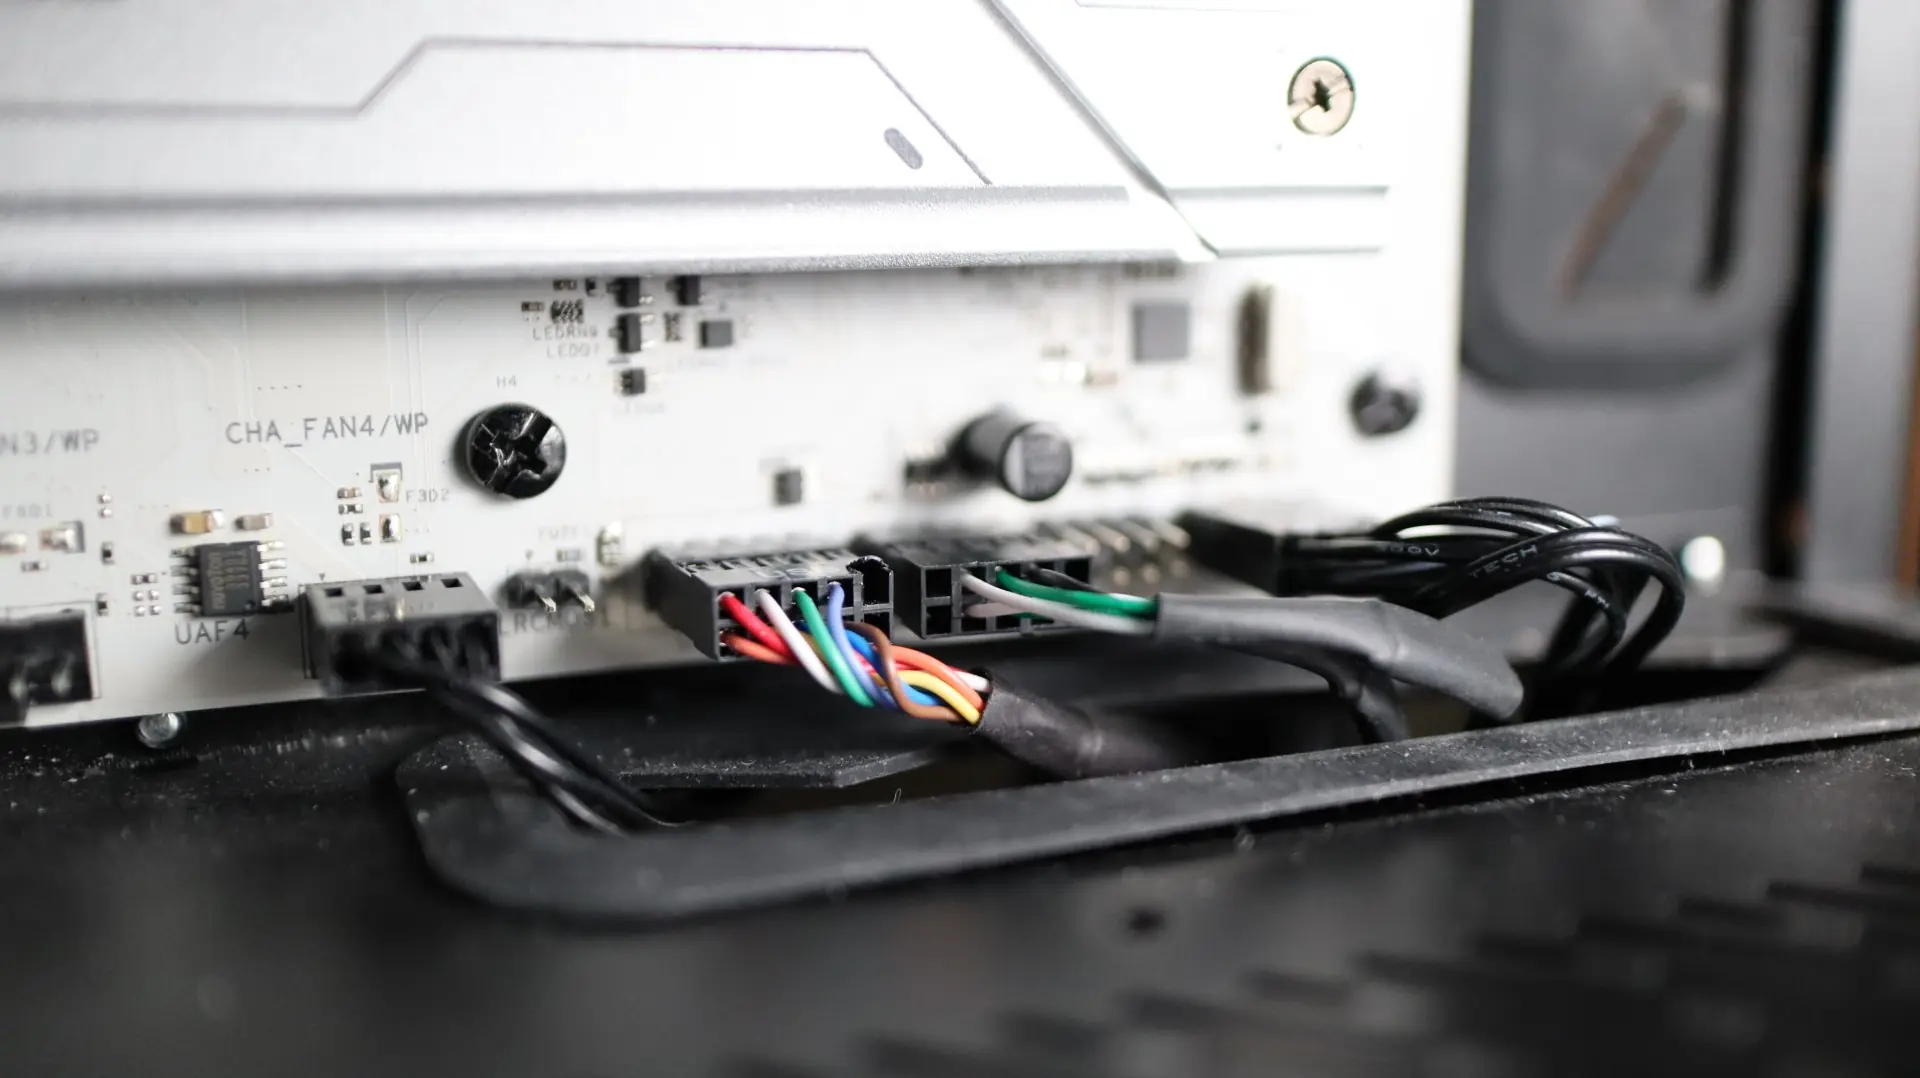
With those connections made, you can then connect the other end of the supplied cable into the Hub’s USB Type-C input port.

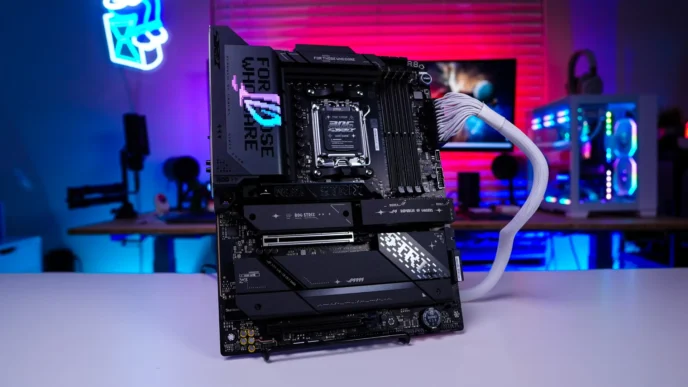
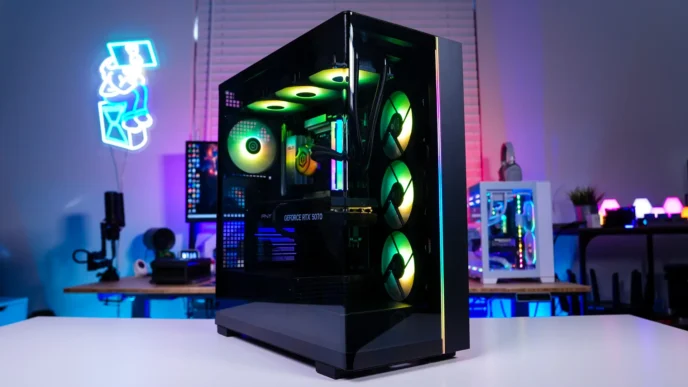
Now that the hub is connected to your system, you can then connect up to four additional USB 2.0 devices to the available ports. Besides the obvious option of a case’s front USB 2.0 ports, the next most common type of device that still uses a USB 2.0 connection is an all-in-one cooler’s pump housing. This is typically used to control an LCD screen or RGB lighting via software.
Attaching the hub to your case is as easy as finding a flat enough area and letting the internal magnets do their work. Depending on your case’s side panel clearances, if you can’t utilize the back of the motherboard tray area, another option is the side of your power supply. And if you are using a case that doesn’t interact with magnets, you can simply attach the adhesive hook and loop strips to the hub and your case and achieve the same results.