Storage datAshur SD Overview
When you first get your hands on the DatAshur SD packaging, you will notice that it has anti-tampering tape. Just cut the tape with your favourite tool, and you’ll be presented with the DatAshur SD flash drive.
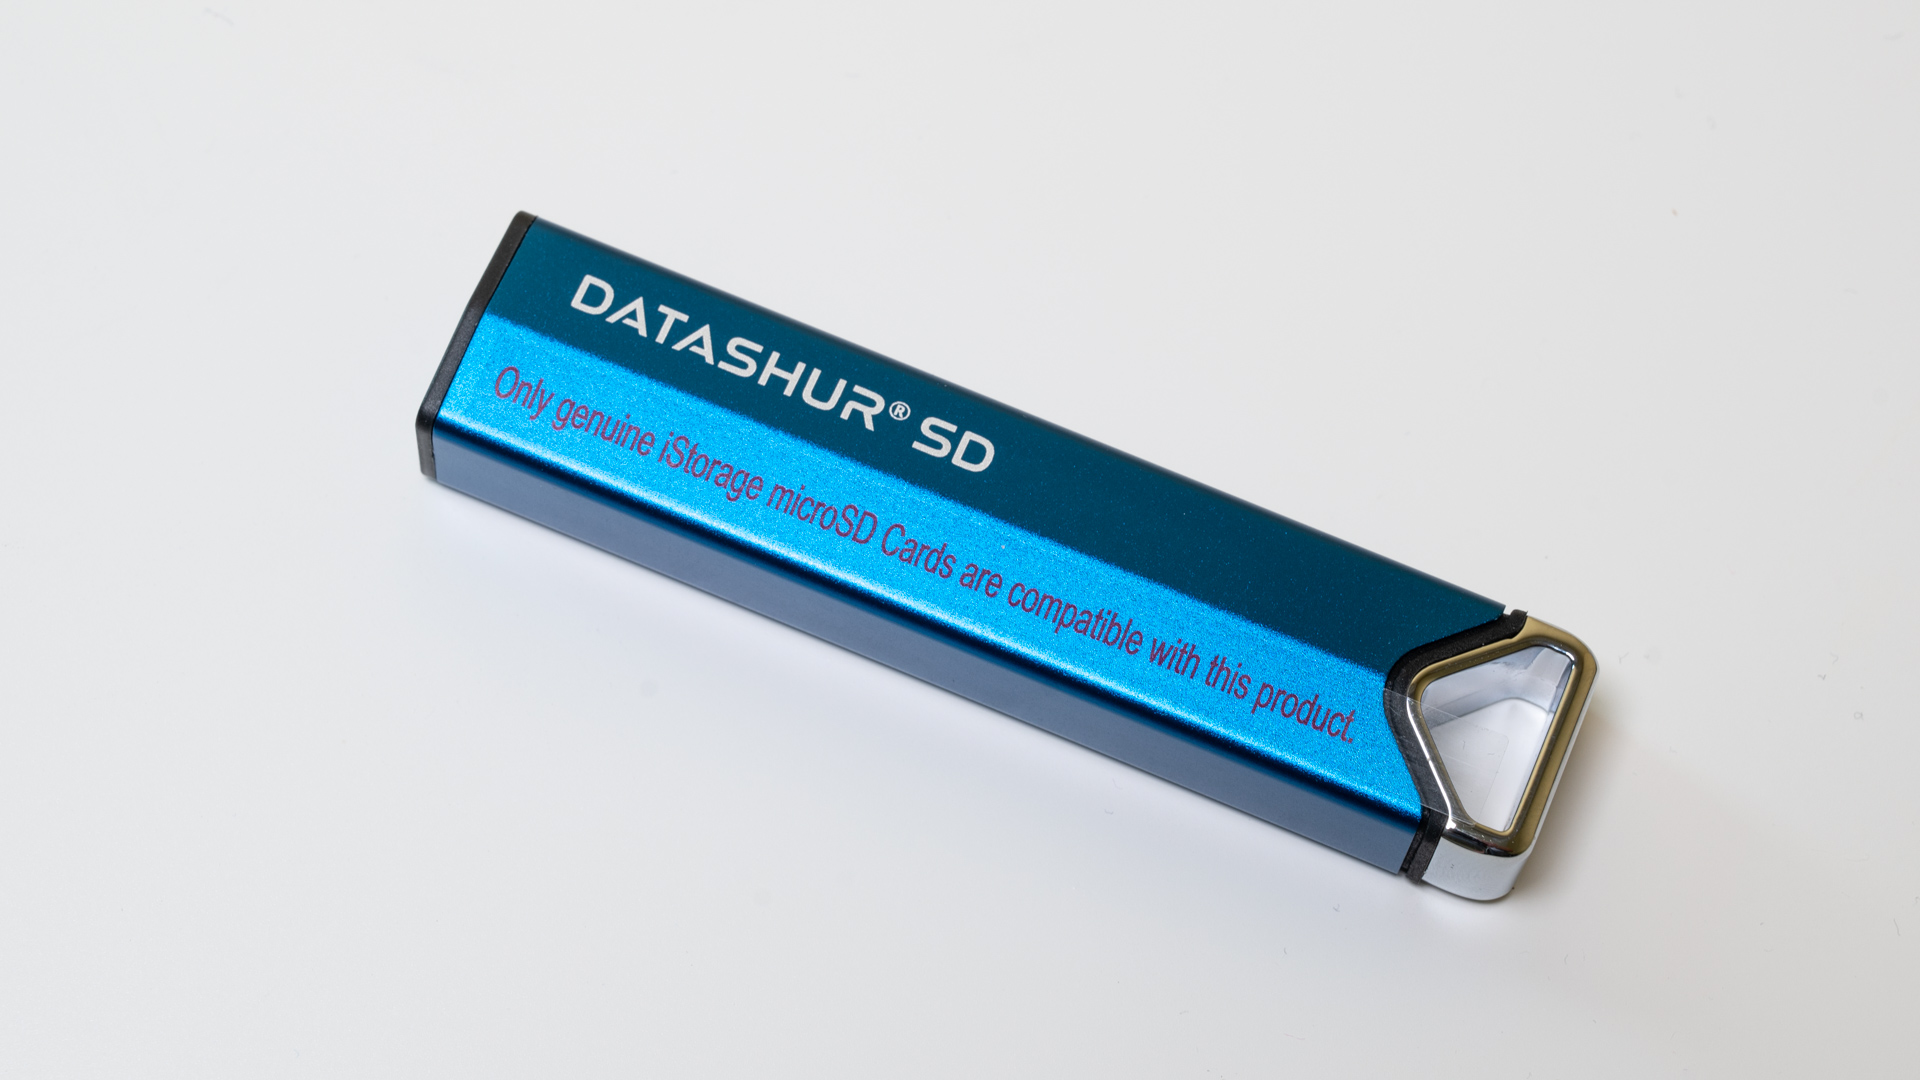
The datAshur SD comes with an external aluminum case that you can easily slide off to access the flash drive itself.
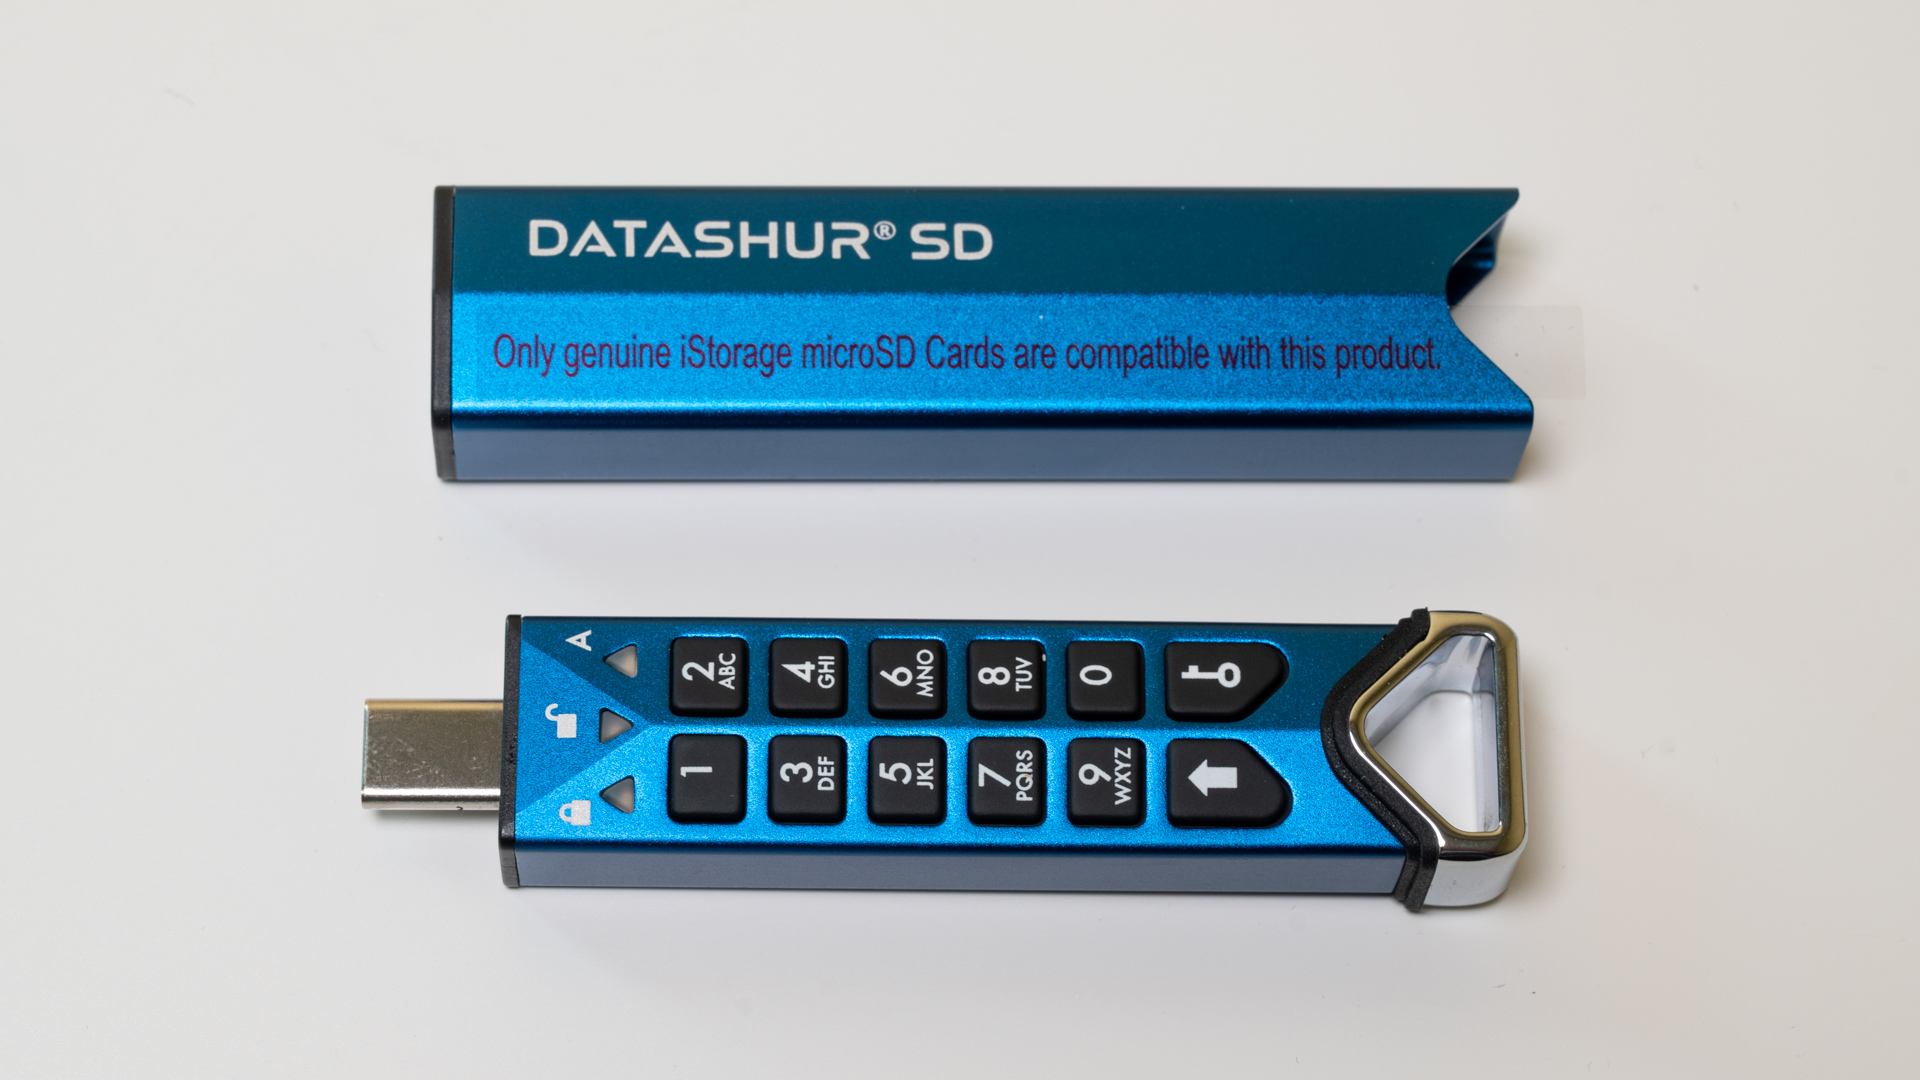
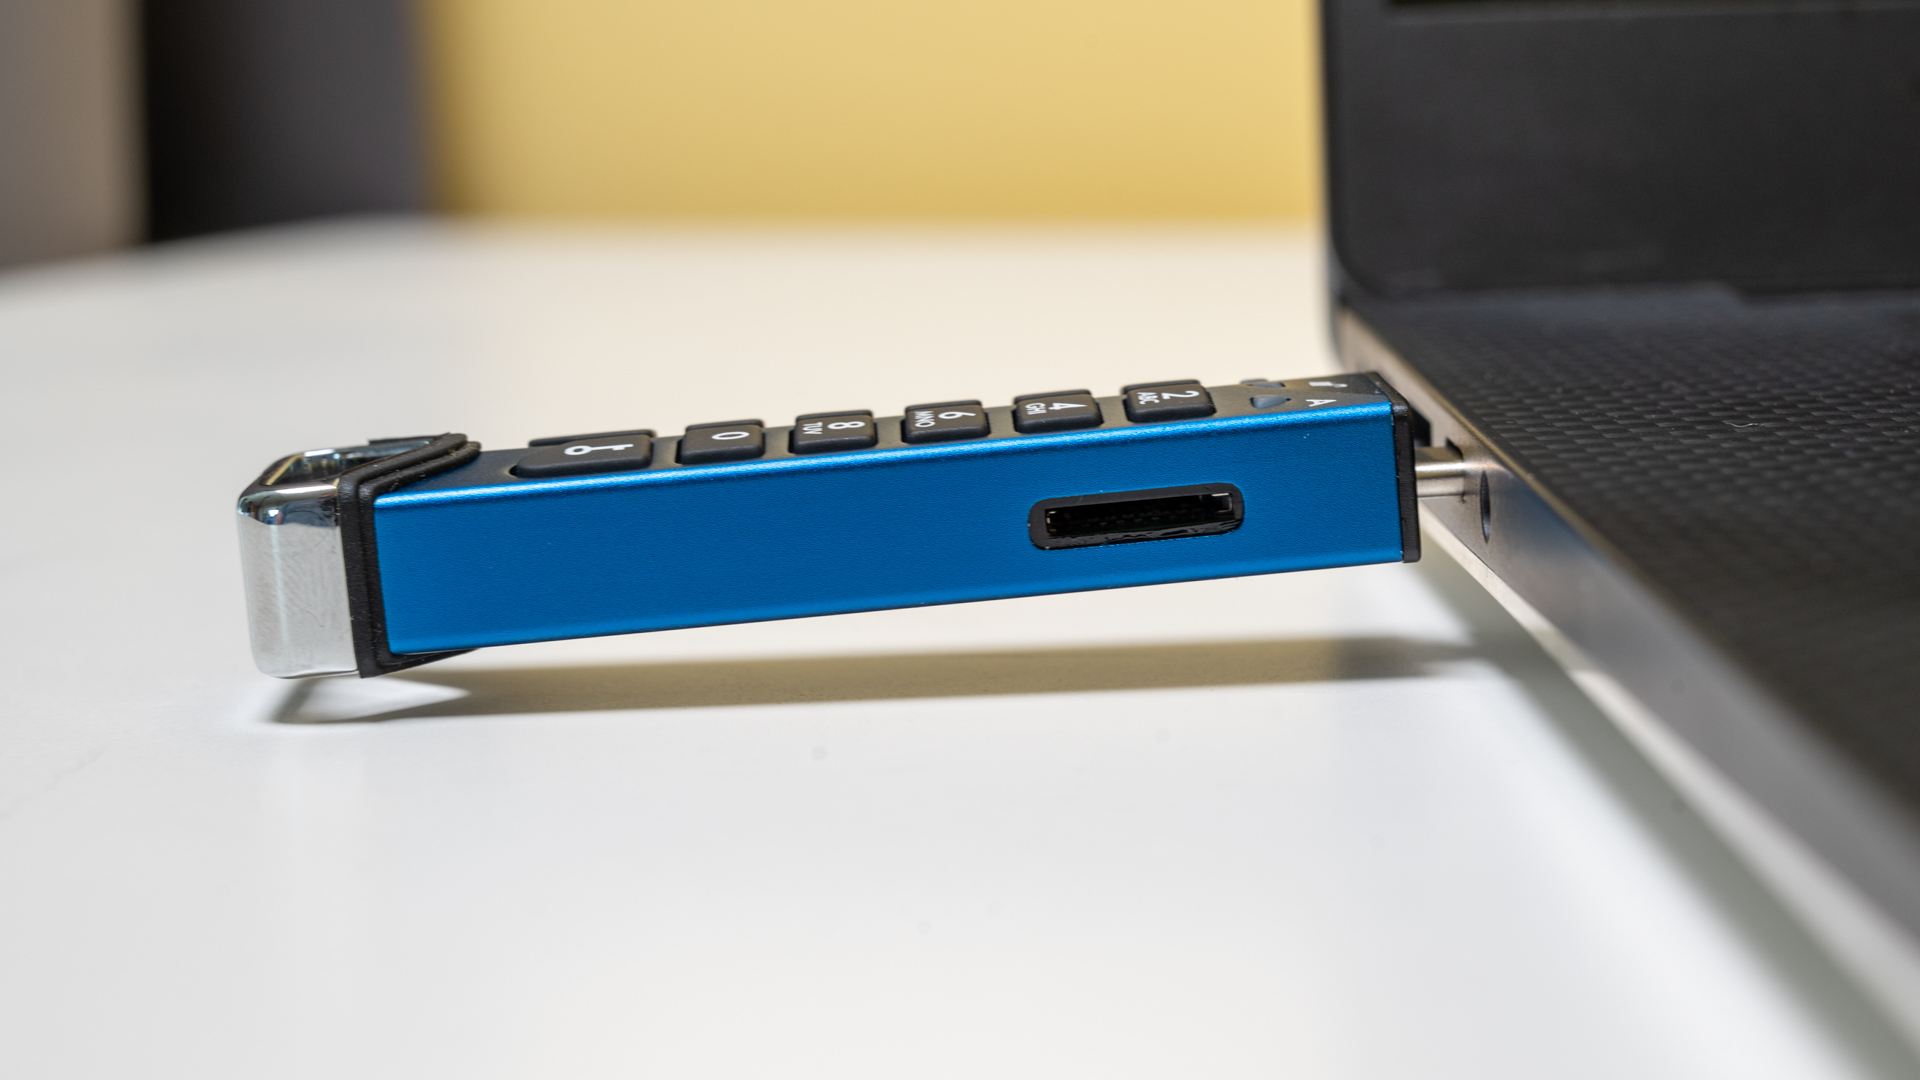
Once the cover is off, you can easily see the keypad with its buttons. At the top are three status LEDs; Locked, Unlocked, and Admin. We can get into those more a bit later. The USB Type-C port is also present, and there is a rubber gasket around the end to help keep liquids out when the cover is in place.
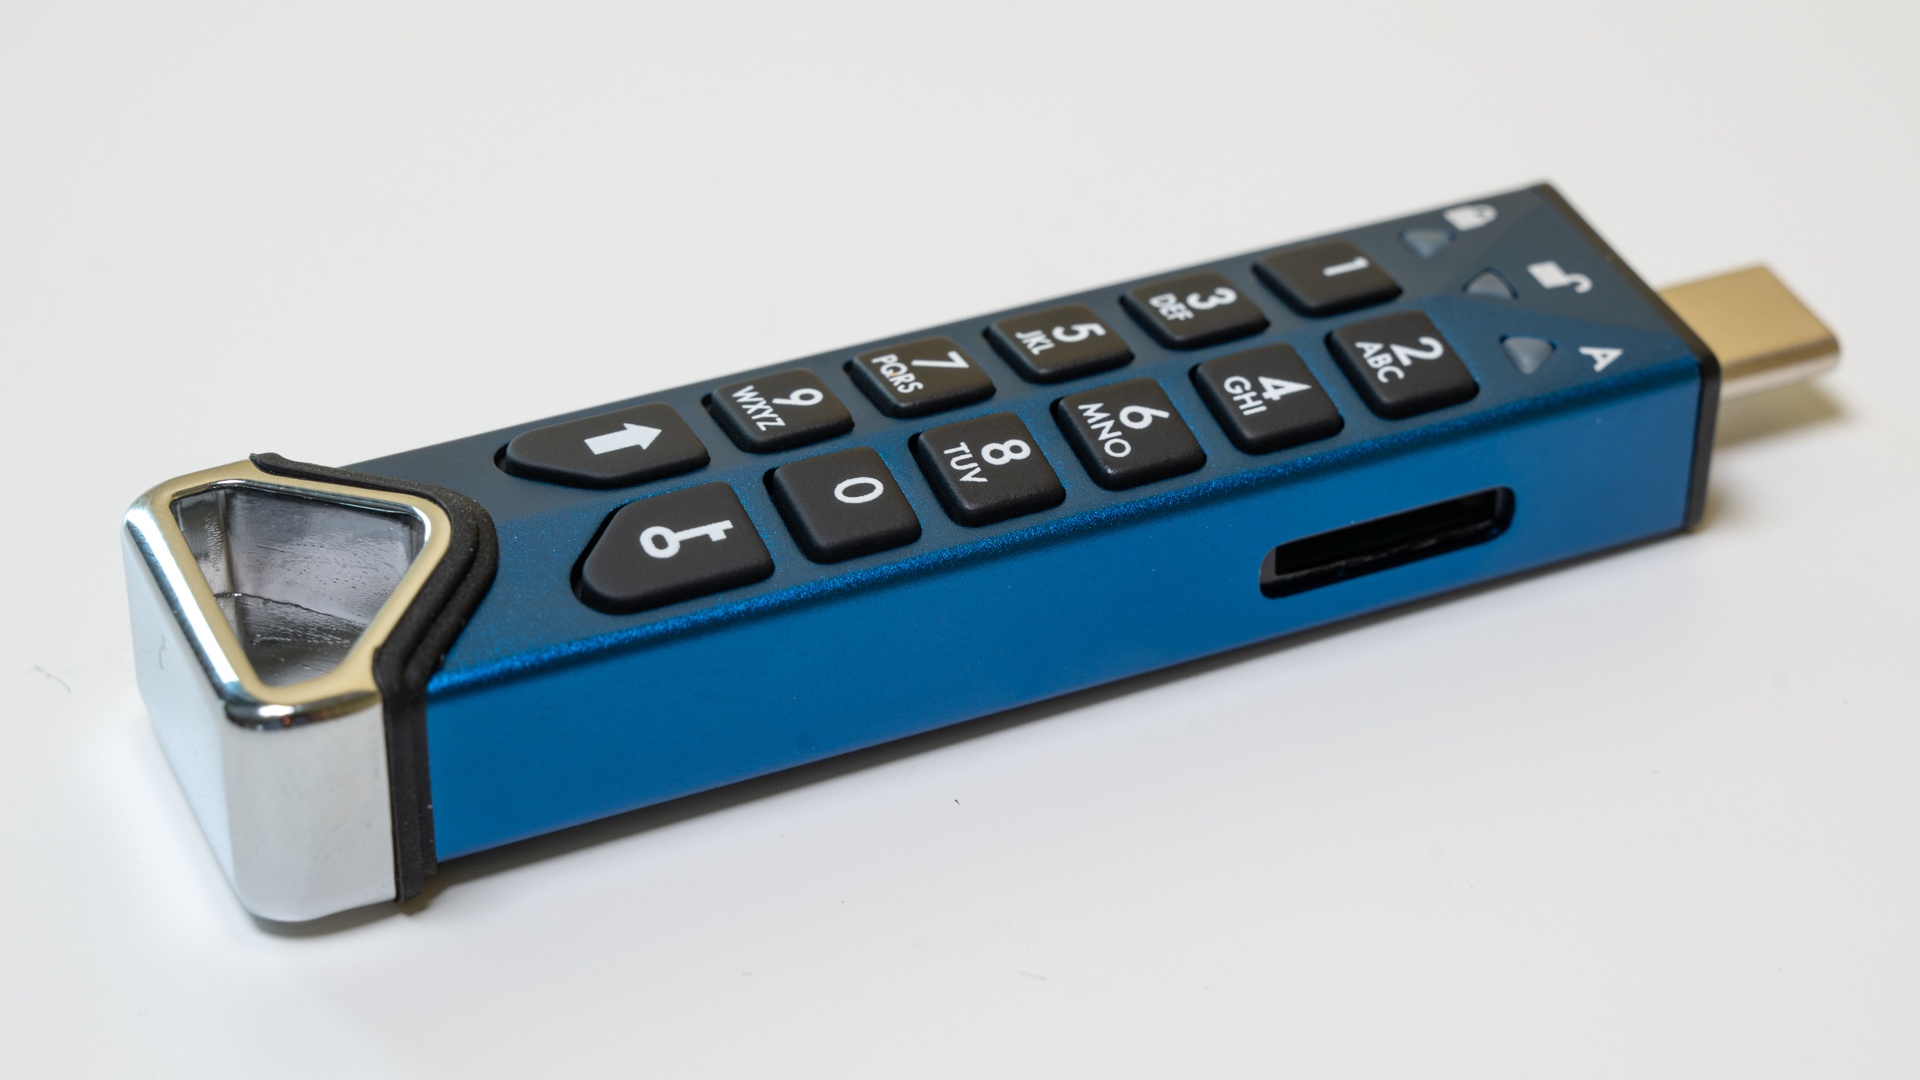
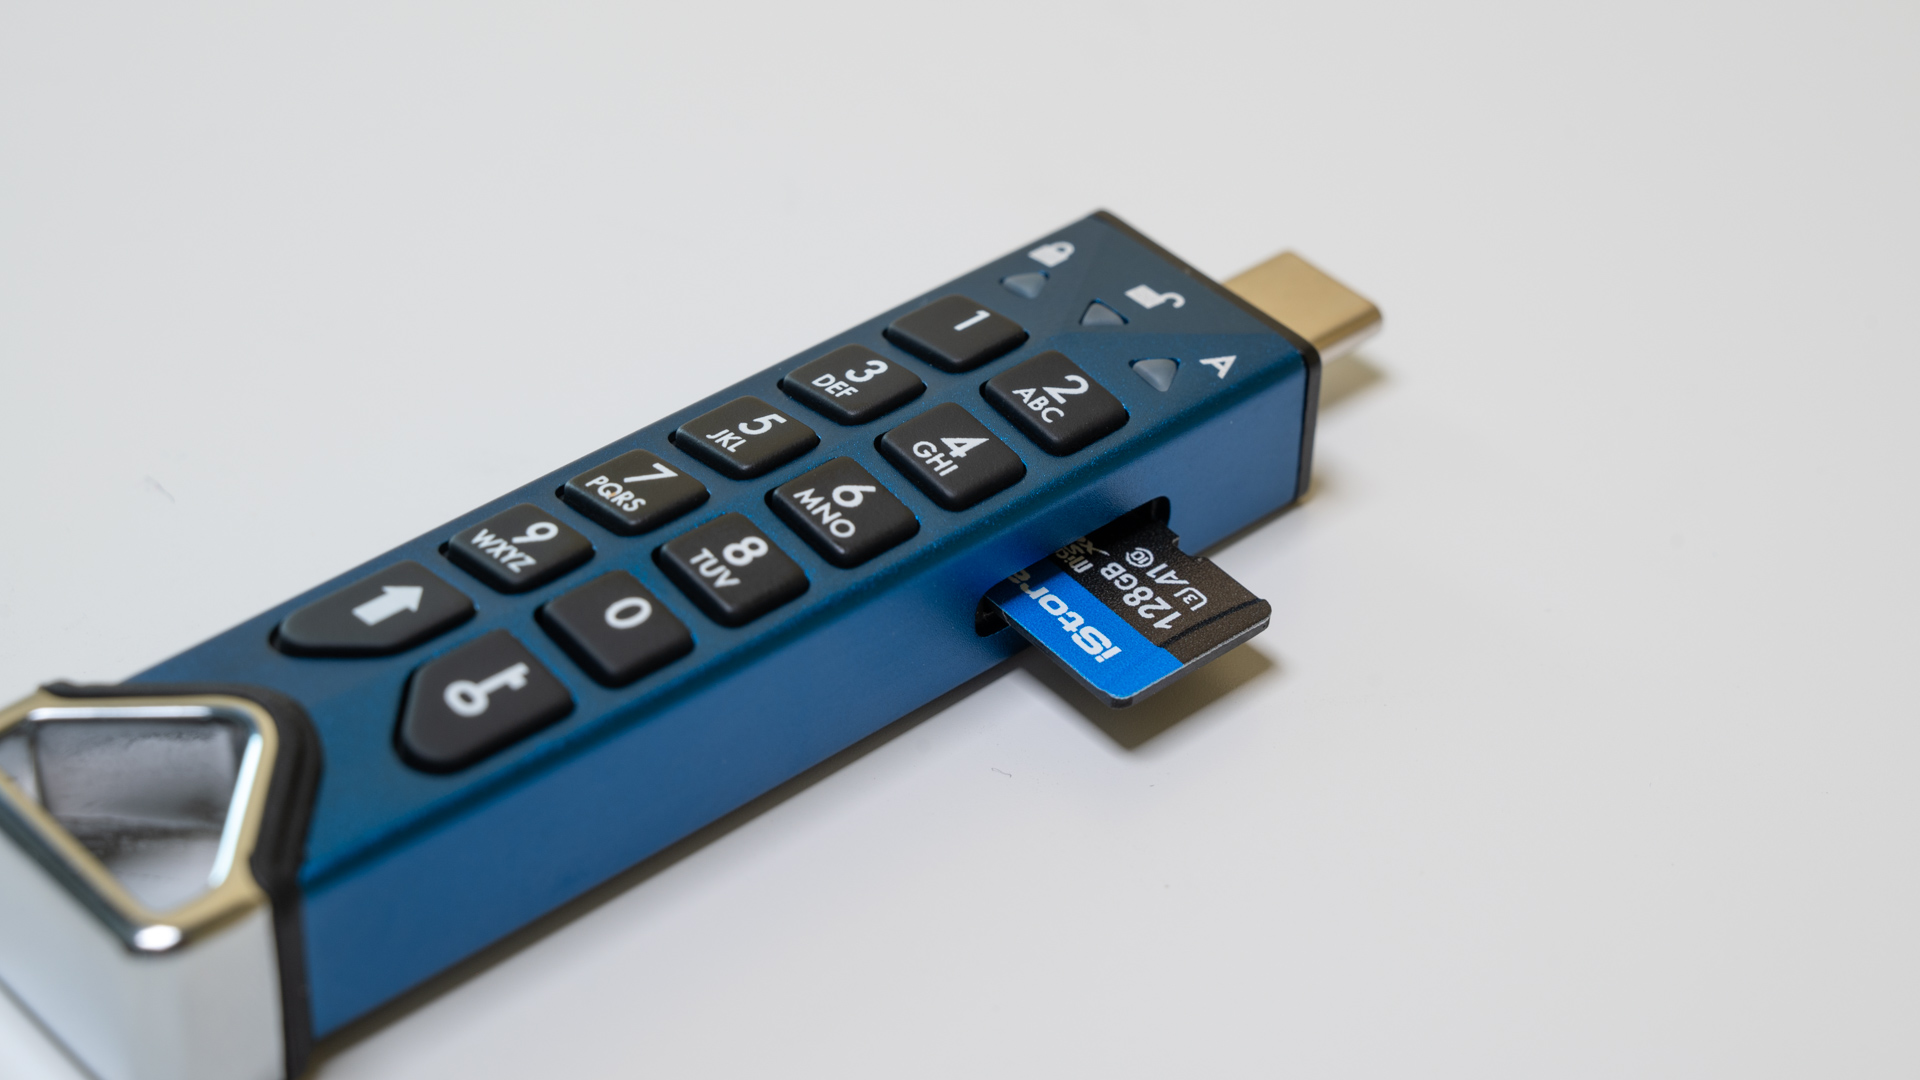
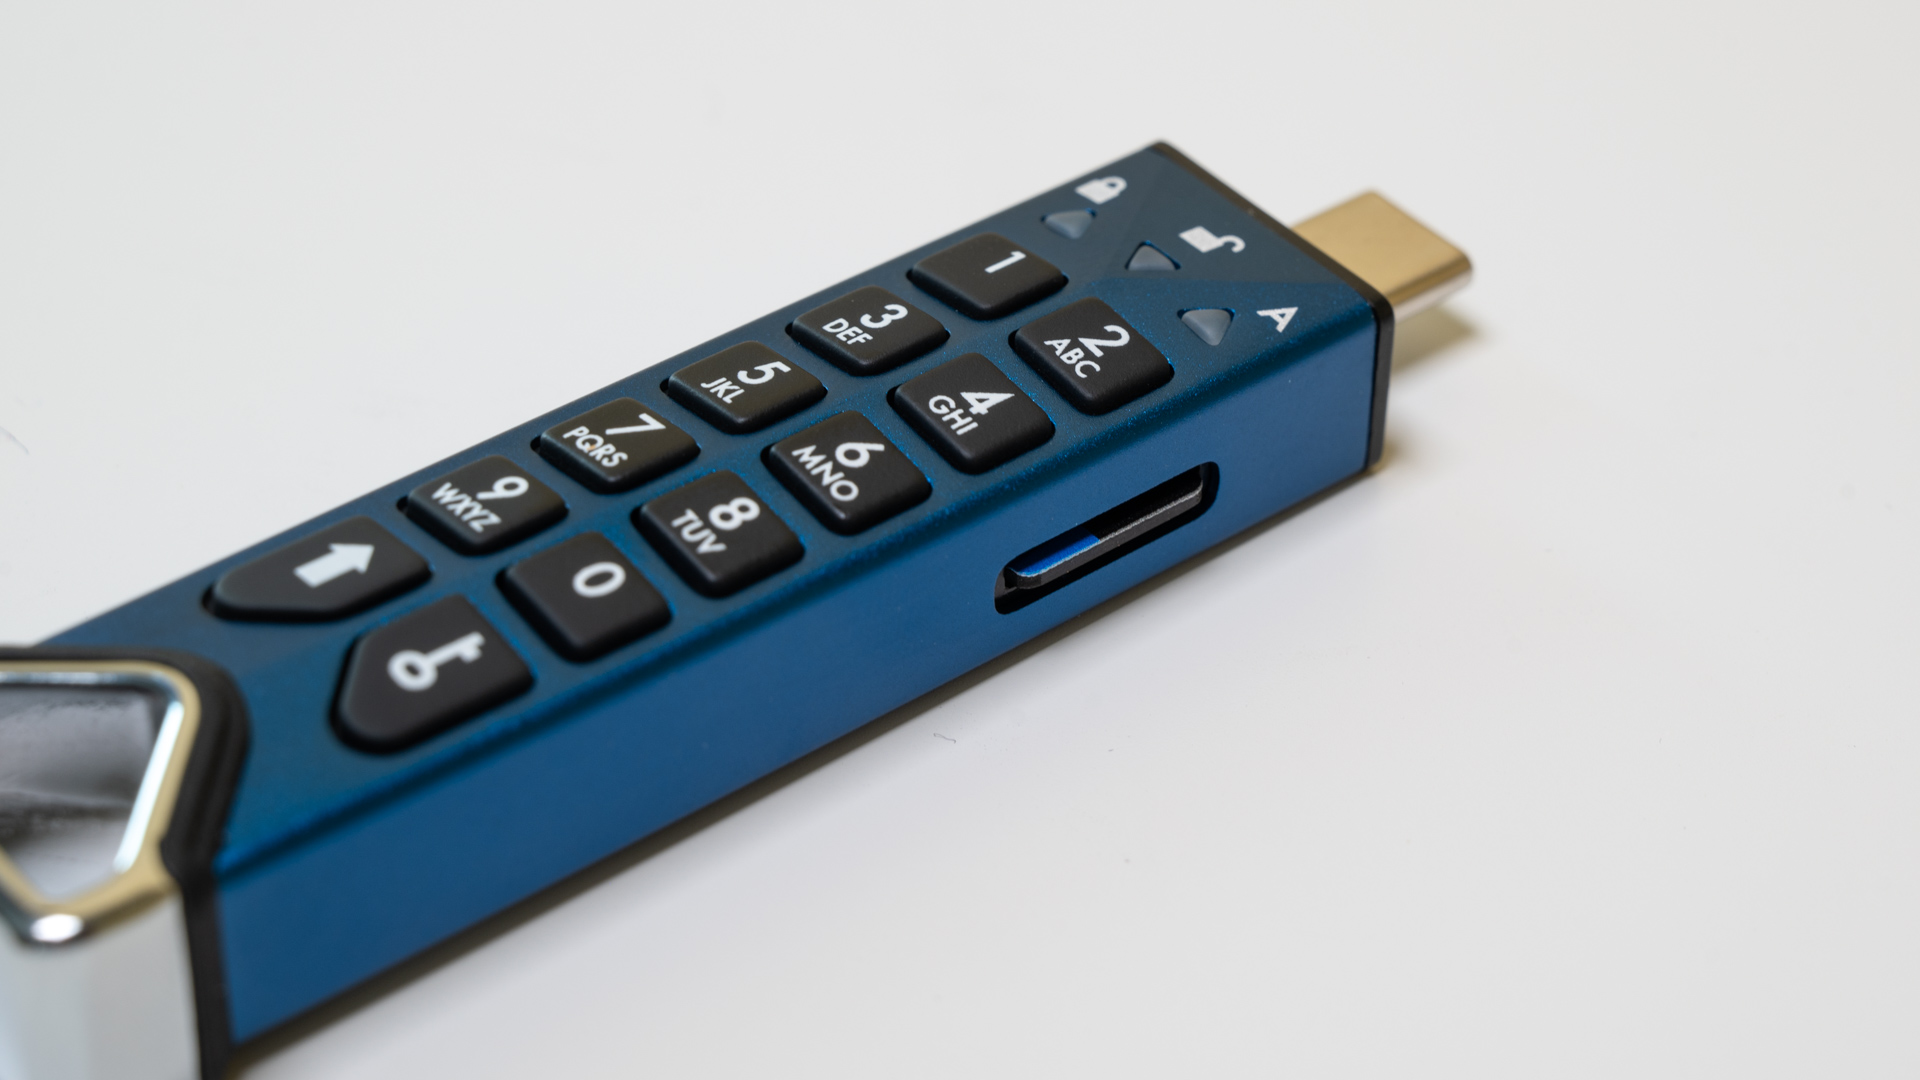
On the side of the flash drive is the microSD card slot. Placing a microSD card into the slot is easy, just slide it in and press it until you hear it click into place. When the card is in properly, it will be flush with the edge of the flash drive.
Setup
It pays to read the quick start guide properly when setting up the datAshur SD for the first time. It took me a little be to finally realize that I could not use consecutive numbers for a PIN. I would also recommend keeping the Manual locally somewhere if you need to reference it. If you don’t use the flash drive often, it can be easy to forget how to unlock it to access the files. All the initial setup can be done without connecting it to a USB port, though the datAshur SD may require a quick 20-minute charge if its internal battery has been drained.
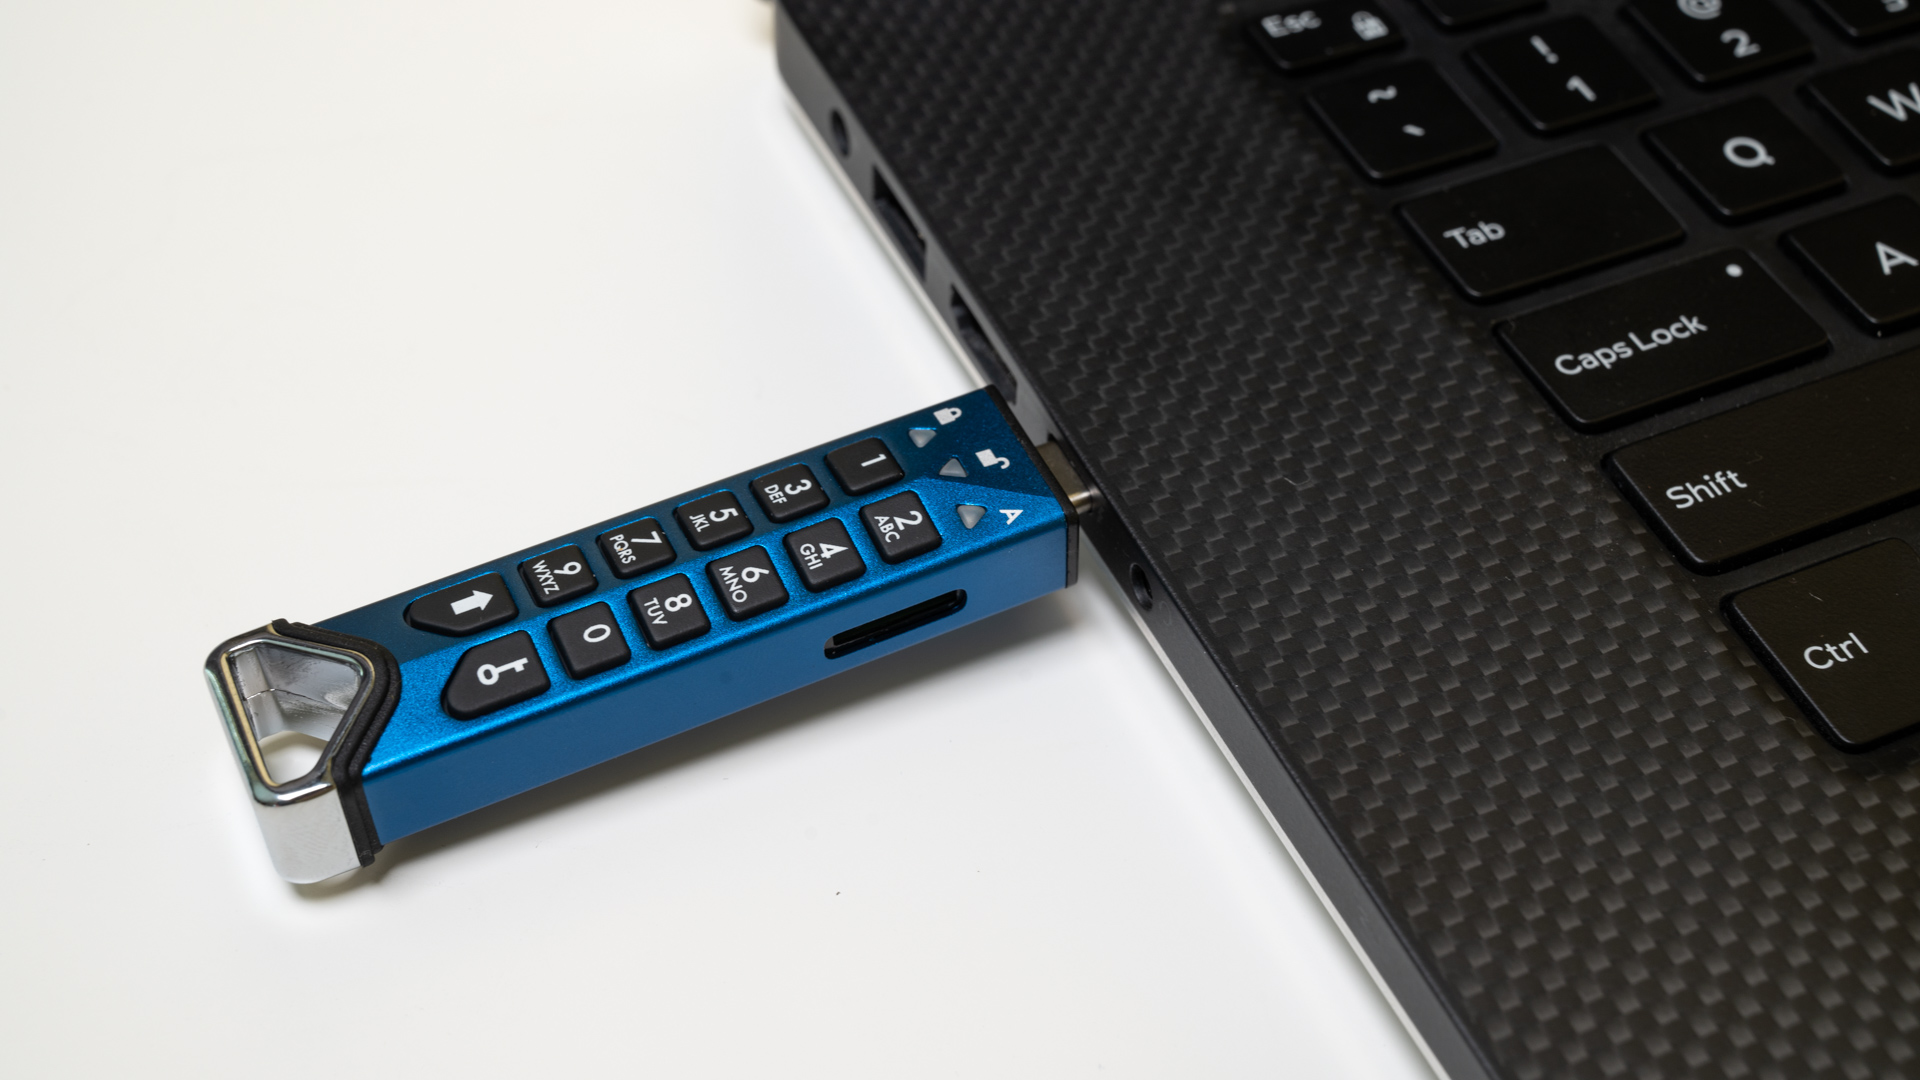
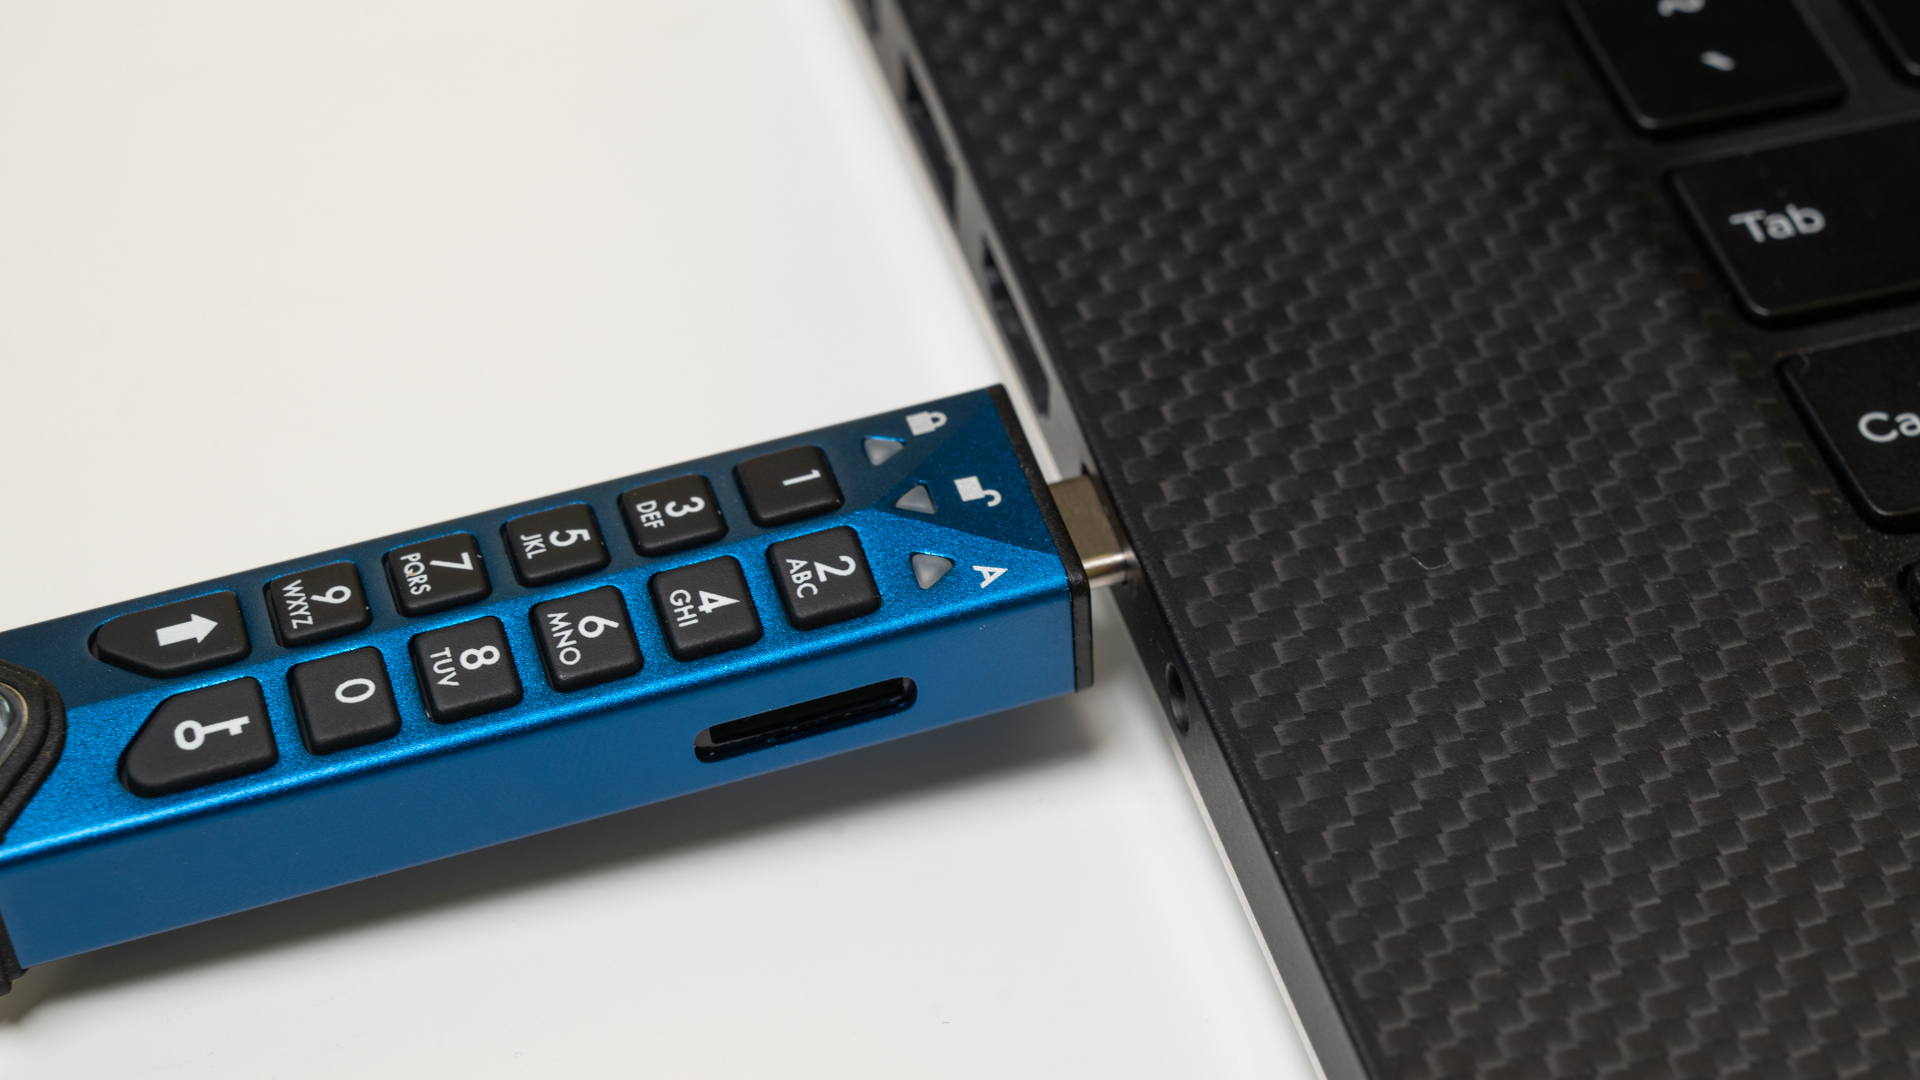
Once you have done the initial Admin PIN setup, find an available USB Type-C port and your computer of choice and plug it in. If you do not have an available USB Type-C port, you can use the included USB Type-C to Type-A adapter. Looking at the image above, you will notice that the datAshur does not sit fully flush with my Dell XPS. Because it does not sit flush, there is some strain on the USB port itself.
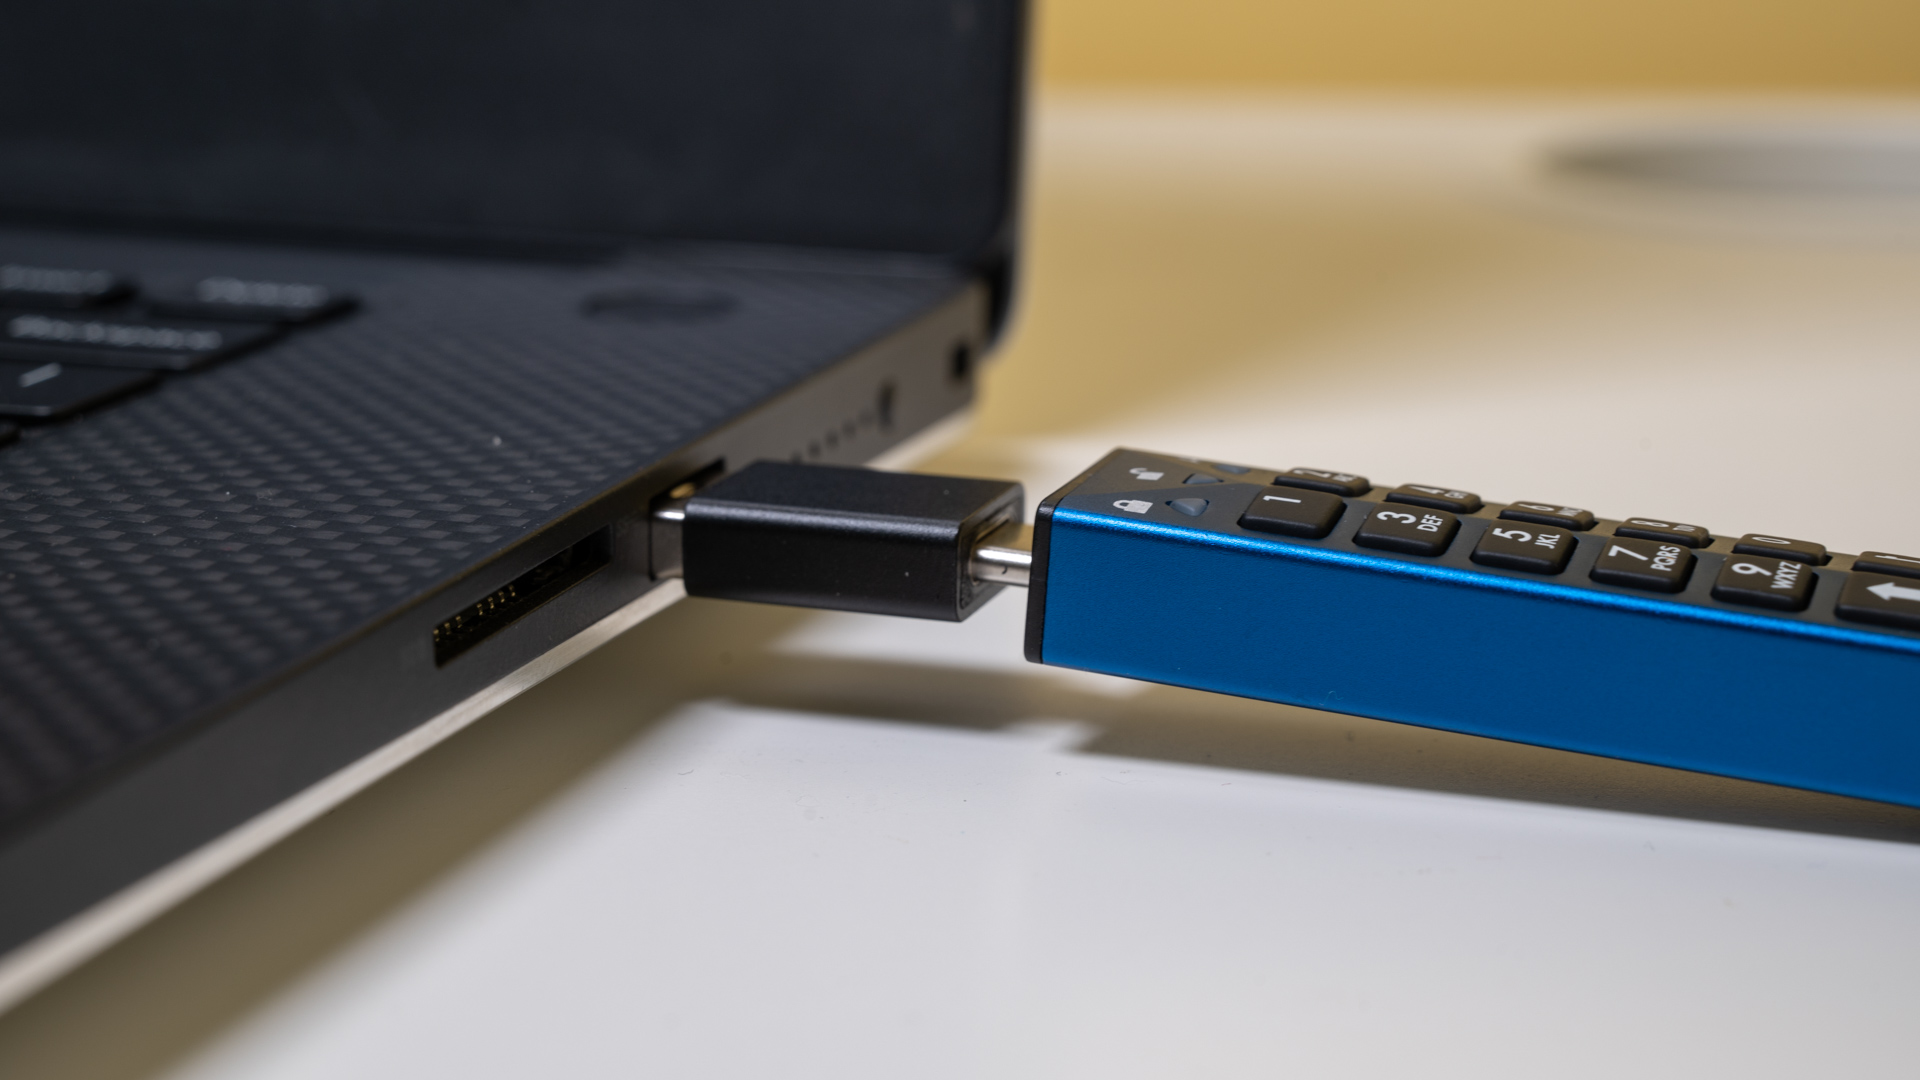
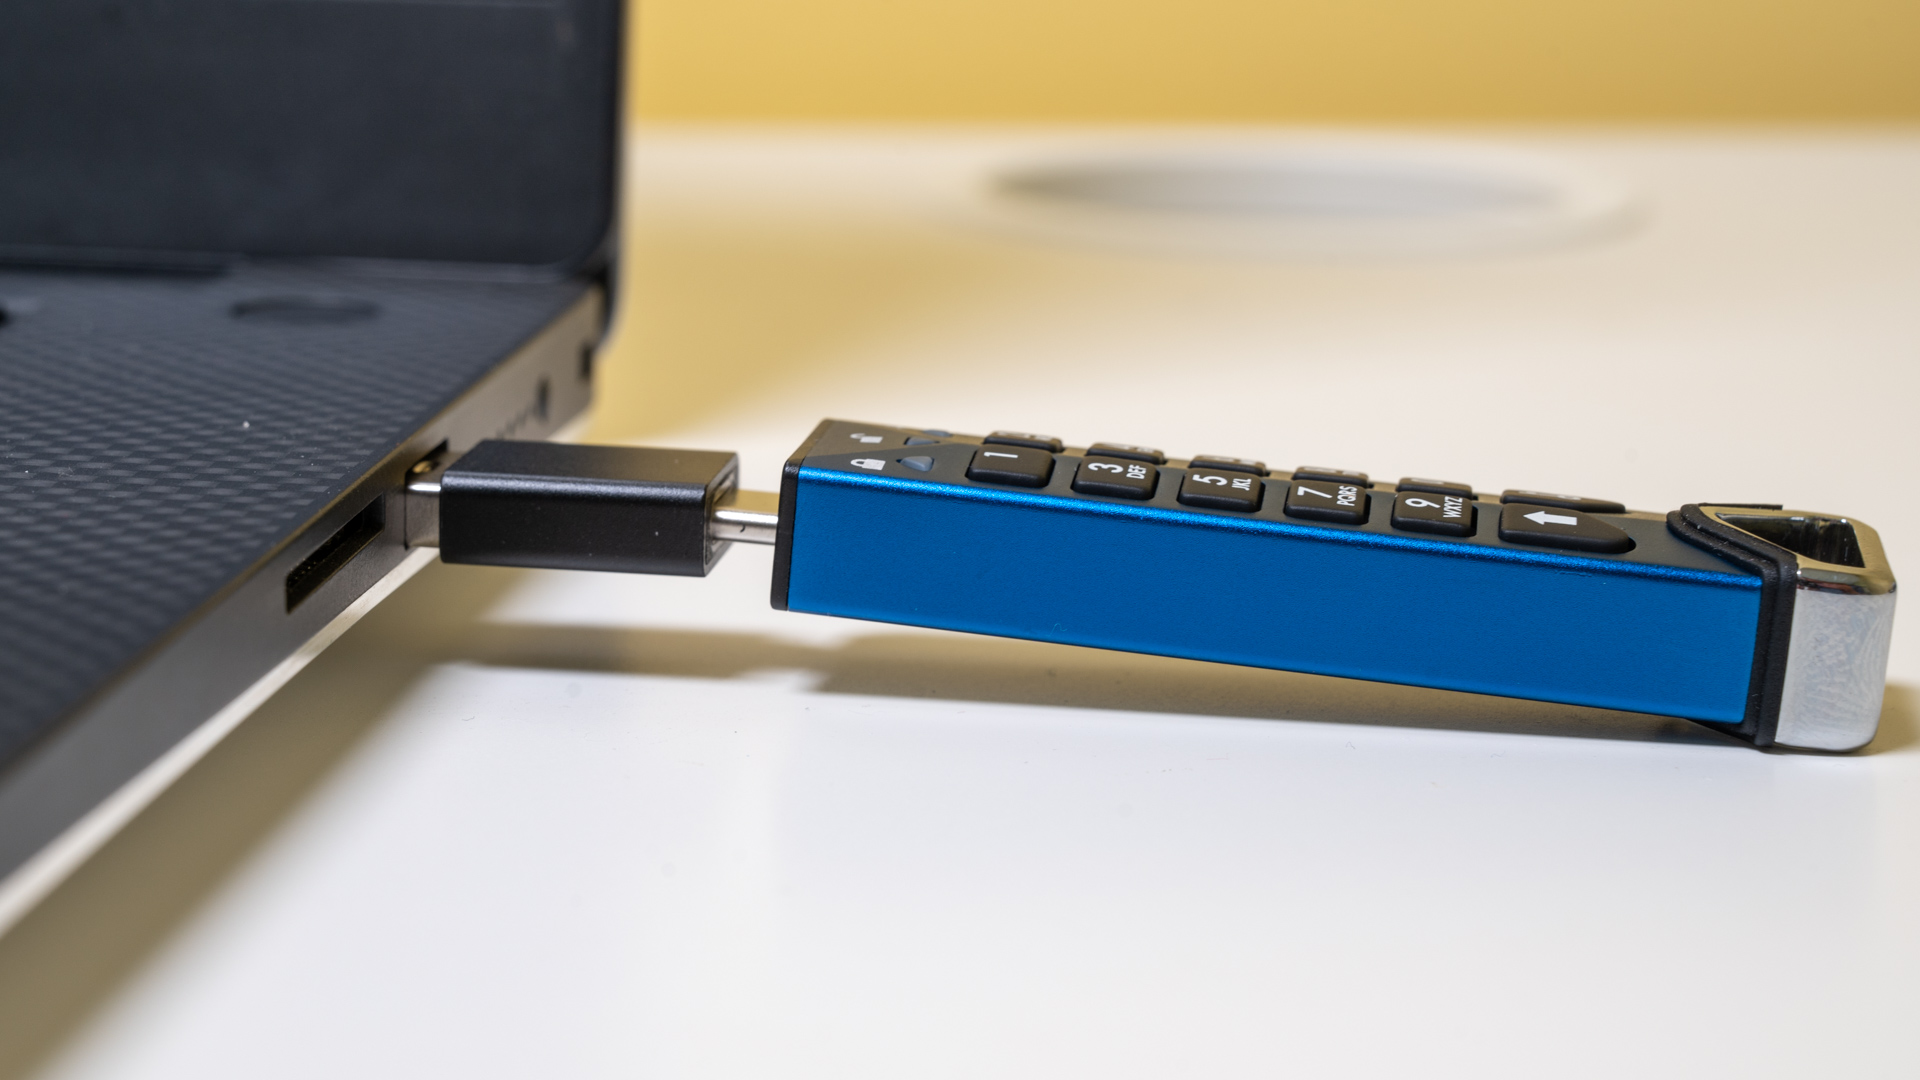
The USB Type-C to Type-A adapter did not correct the issue either, though it does allow the back of the datAshur SD to rest on the surface. This design issue does not seem to affect the performance of the flash drive, but it could be potentially an issue if the strain wears away the connector. It would be a shame to see it snap off over time.
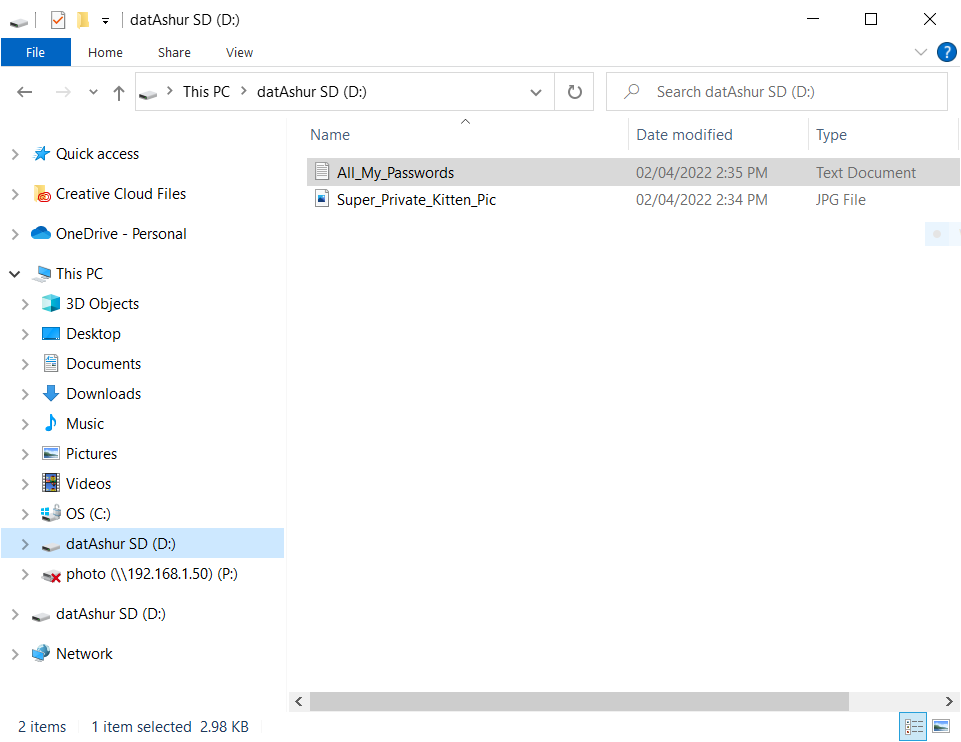
When you follow along with the initial setup of the datAshur SD, you get to choose an 8-64 digit Admin PIN. This Admin PIN can be used to access the internal configuration options of the datAshur SD itself or unlock and access the flash drive. Once the Admin PIN is created, and the datAshur SD is unlocked, you can format the drive for use. You are all set!
Please refer to the full manual for further configurations such as User PIN, read-only, self-destruct mode, etc.