Installation and Testing Procedures
Installing any type of memory is pretty easy. Just find the open memory slots in your system and insert the memory and lock it into place.
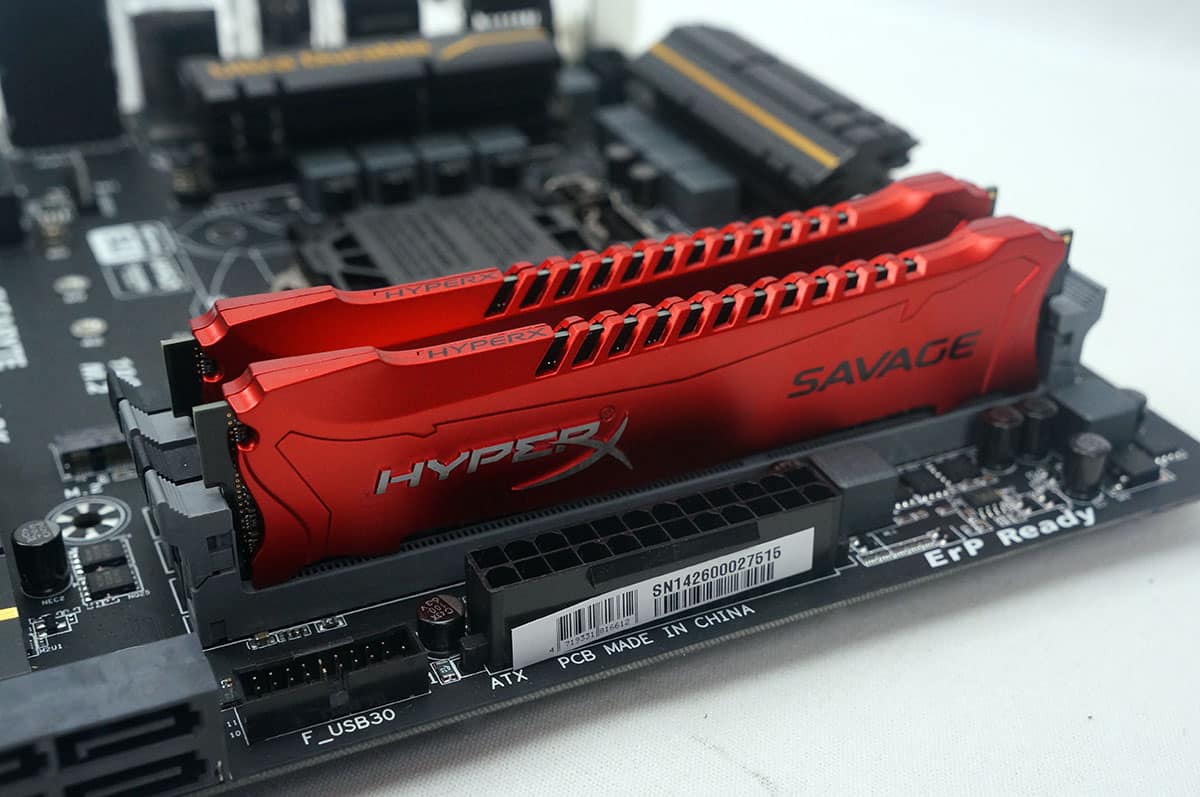
This kit looks great installed on the Gigabyte Z97X-UD3H-BK.
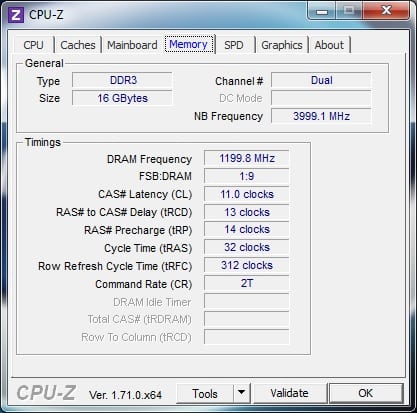
To get the memory set to the right timings all you need to do is go into the BIOS and enable the XMP profile and you are good to go. Opening up CPU-Z we can see all of the information on the memory.
Here is our test setup.
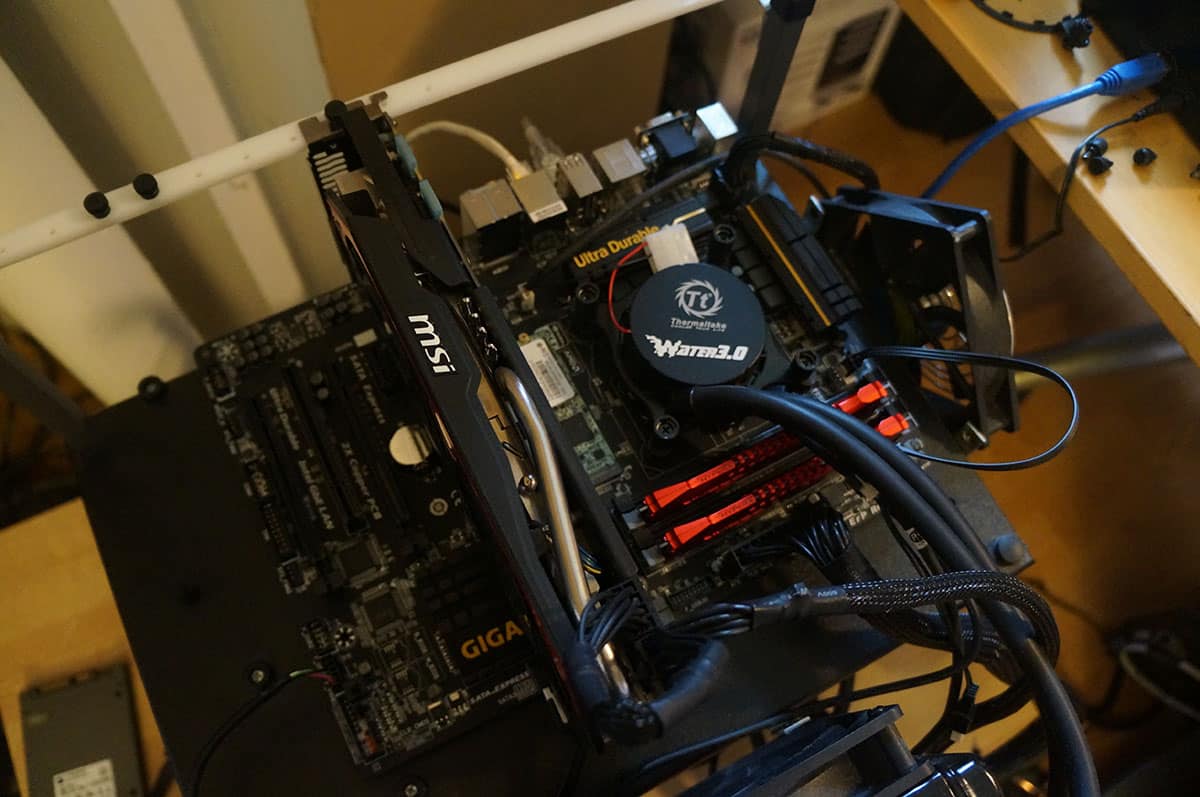
Processor: Intel Core i7-4790K
Video Card: MSI GTX 770 Gaming
Motherboard: Gigabyte Z97X-UD3H-BK
Memory: 16GB Kingston HyperX Savage
Storage: 120GB Kingston HyperX 3K
Power: Corsair AX860i
Cooling: Thermaltake Water 3.0 Extreme
Case: HighSpeed PC Top Deck Tech Station
For testing we will run the memory at its two XMP profile settings which are DDR3-2400 CL11-13-14 @1.65V and DDR3-2133 CL11-13-13 @1.6V. Below is a list of benchmarking software that we use.
– SiSoftware Sandra Memory Bandwidth Benchmark
– SiSoftware Sandra Cache & Memory Latency Benchmark
– SiSoftware Cache Bandwidth Benchmark
– AIDA64 Cache & Memory Benchmark
– Cinebench R15 Multi-threaded test
– 3DMark Fire Strike Physics test
Now let’s get to testing!