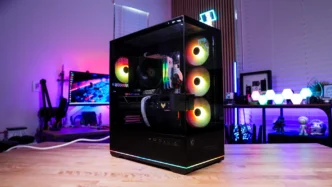
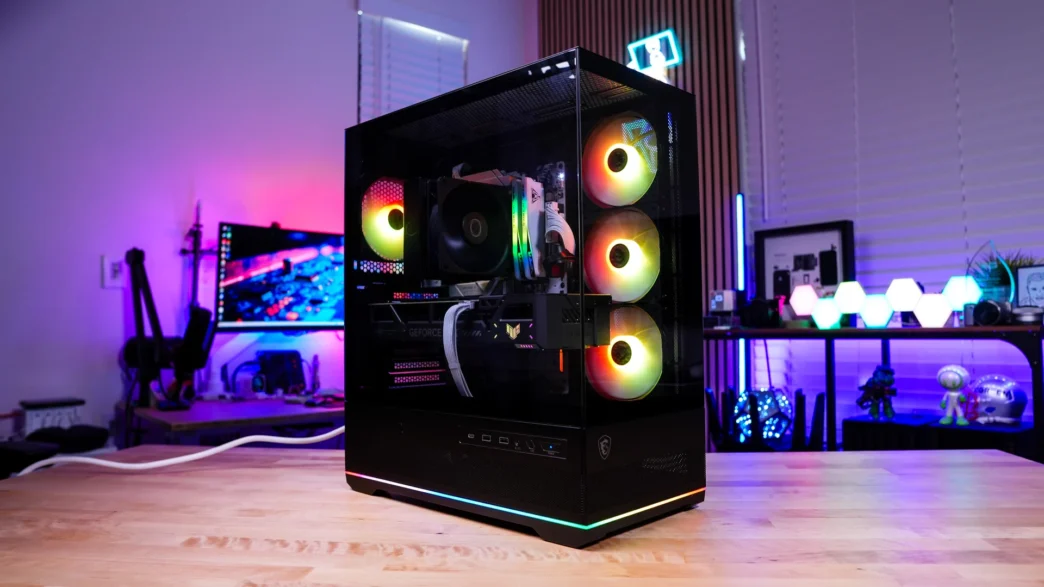
MSI MAG PANO 110R PZ Case Review

MSI MAG PANO 110R PZ Case MSI MAG PANO 110R PZ Case

Is the MSI MAG PANO 110R PZ Case Easy to Build In?

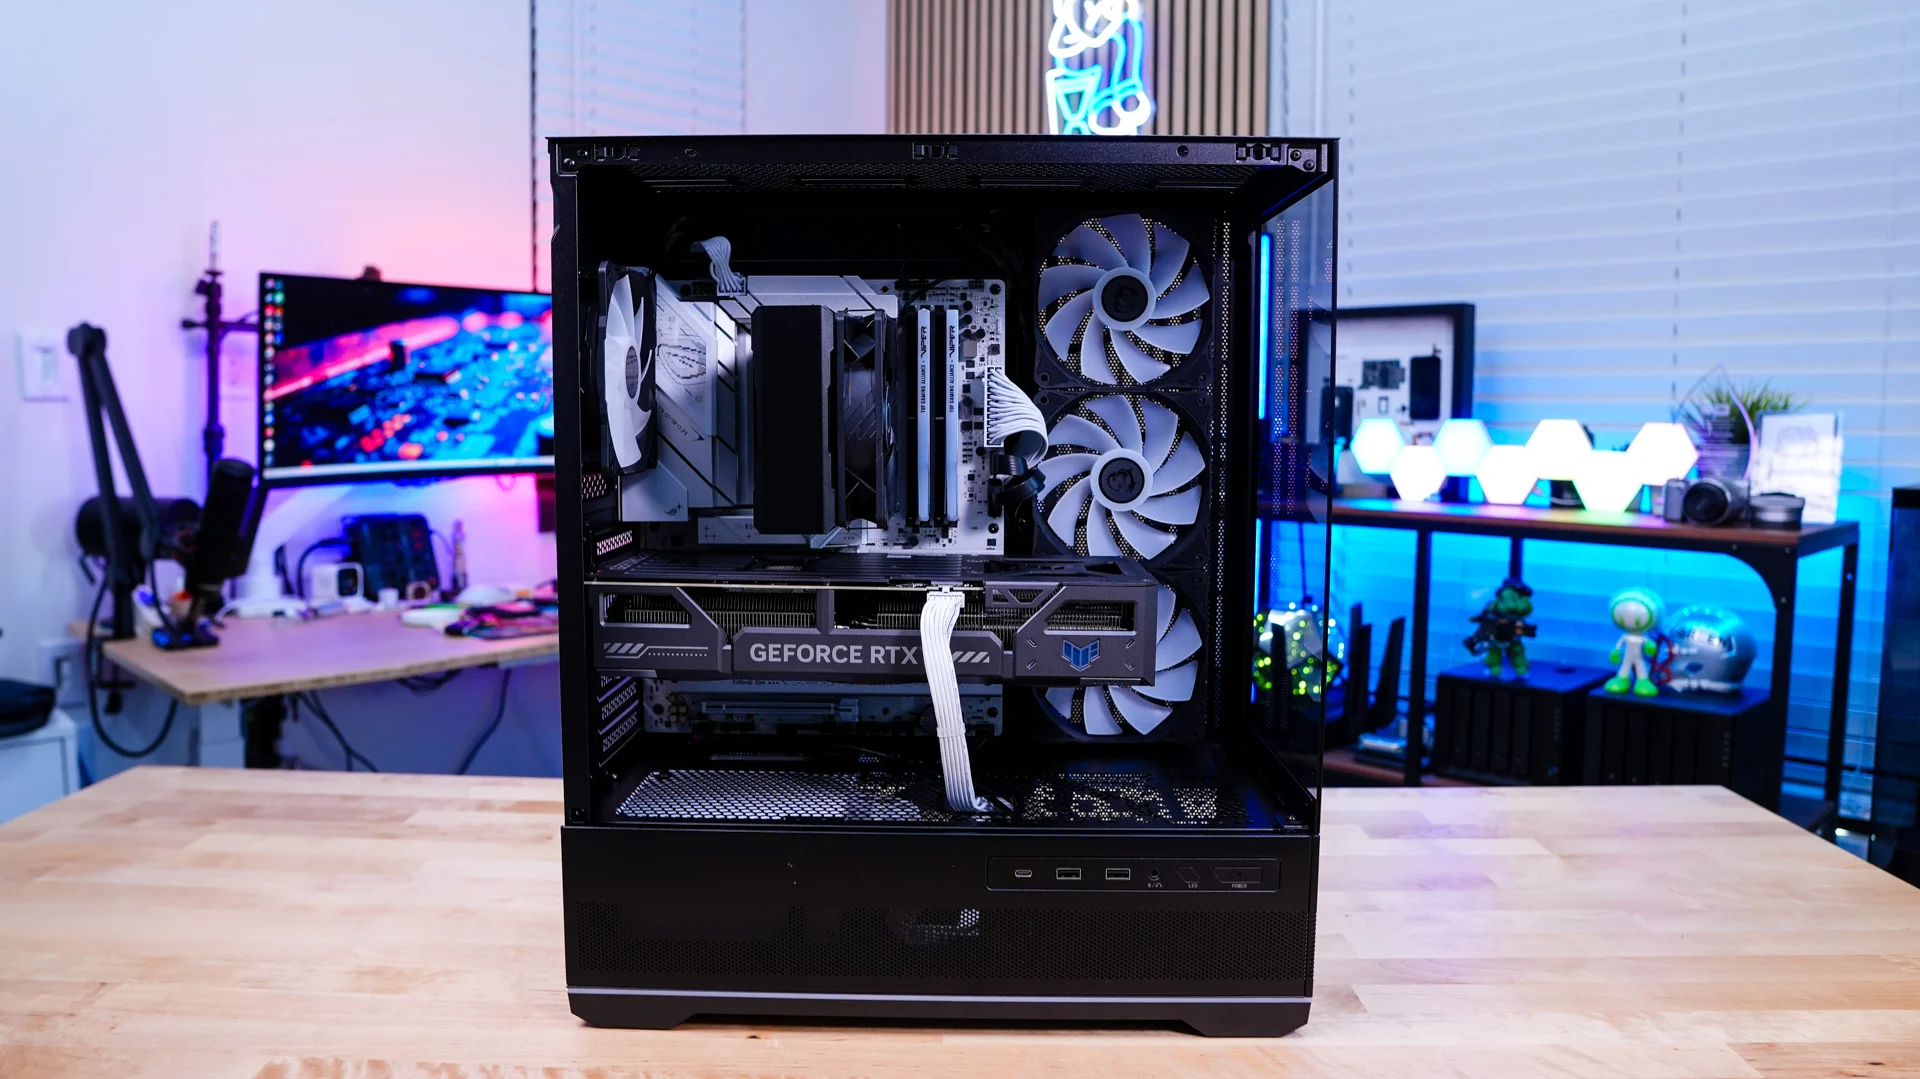
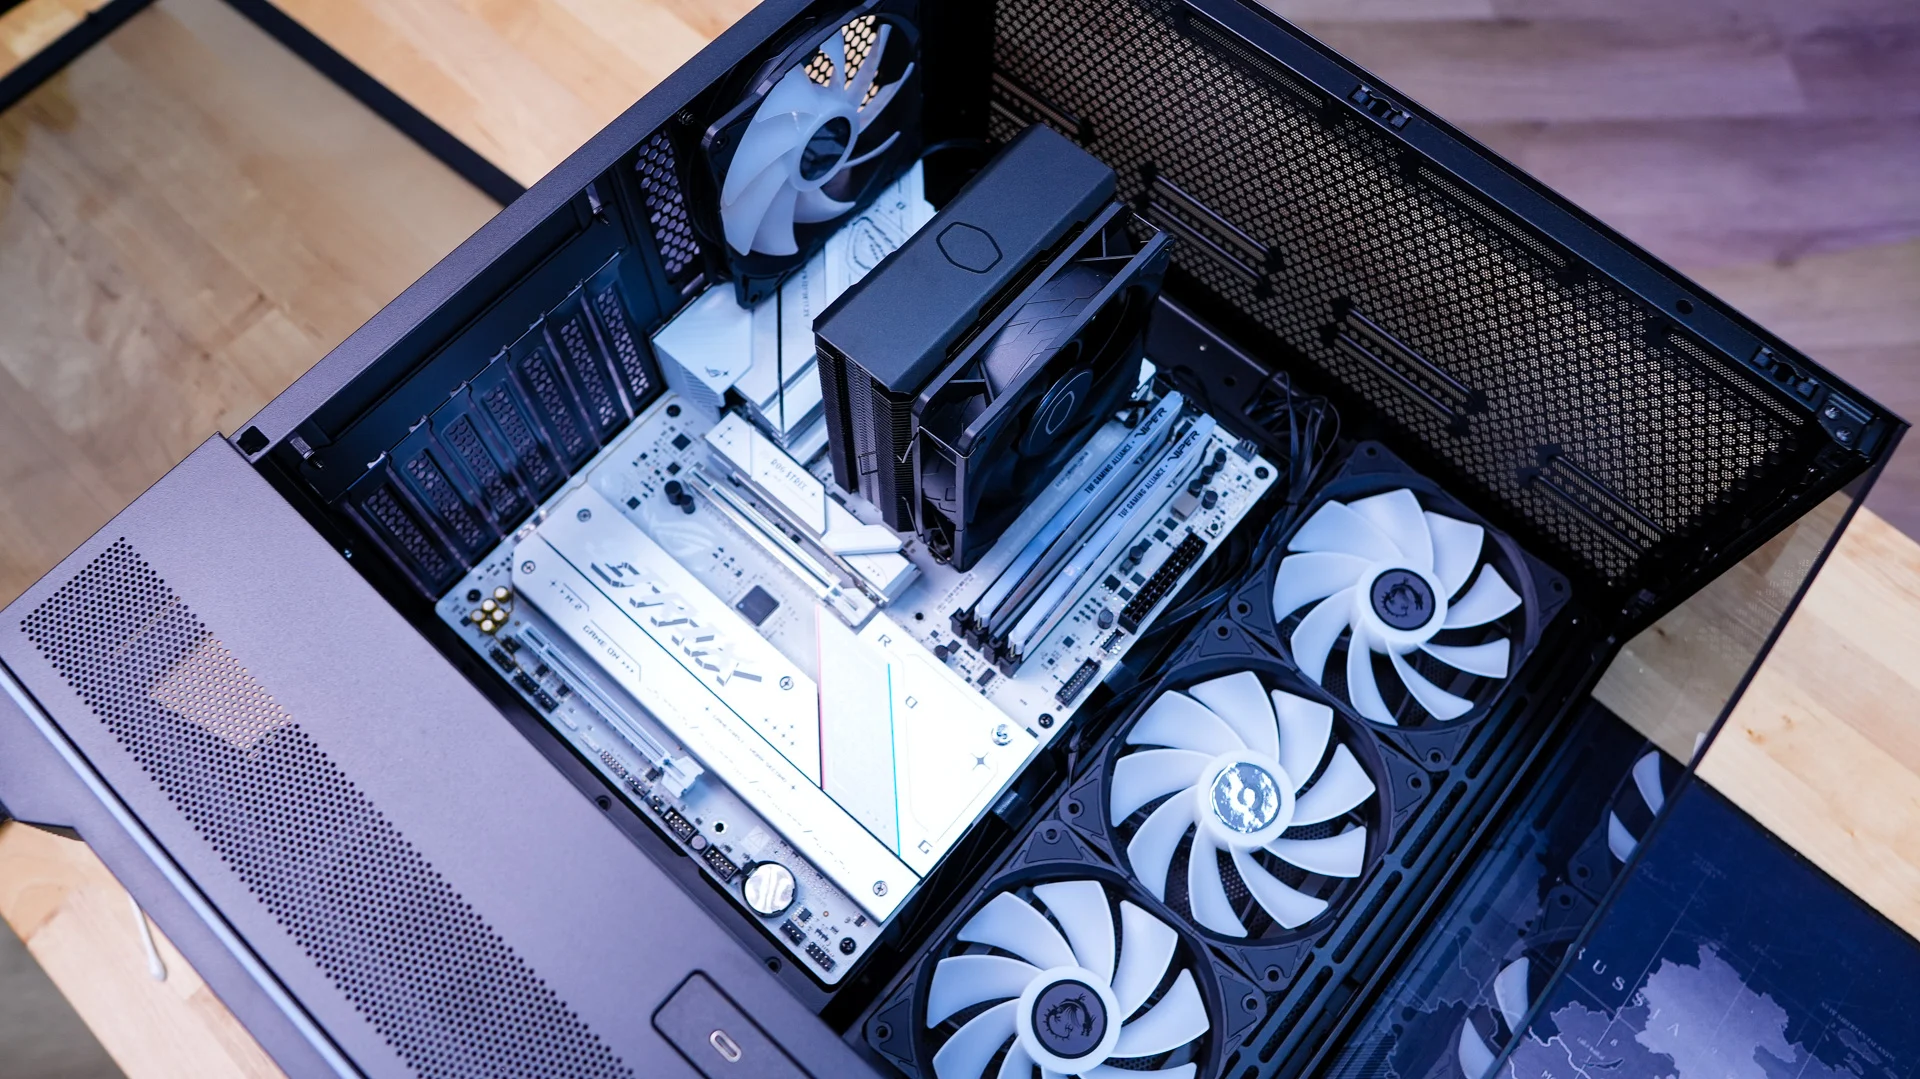
Installation inside the MAG PANO 110R PZ should be quite easy. The first thing we are going to do is install our motherboard, which goes in no problem.
MSI MAG PANO 110R PZ Case

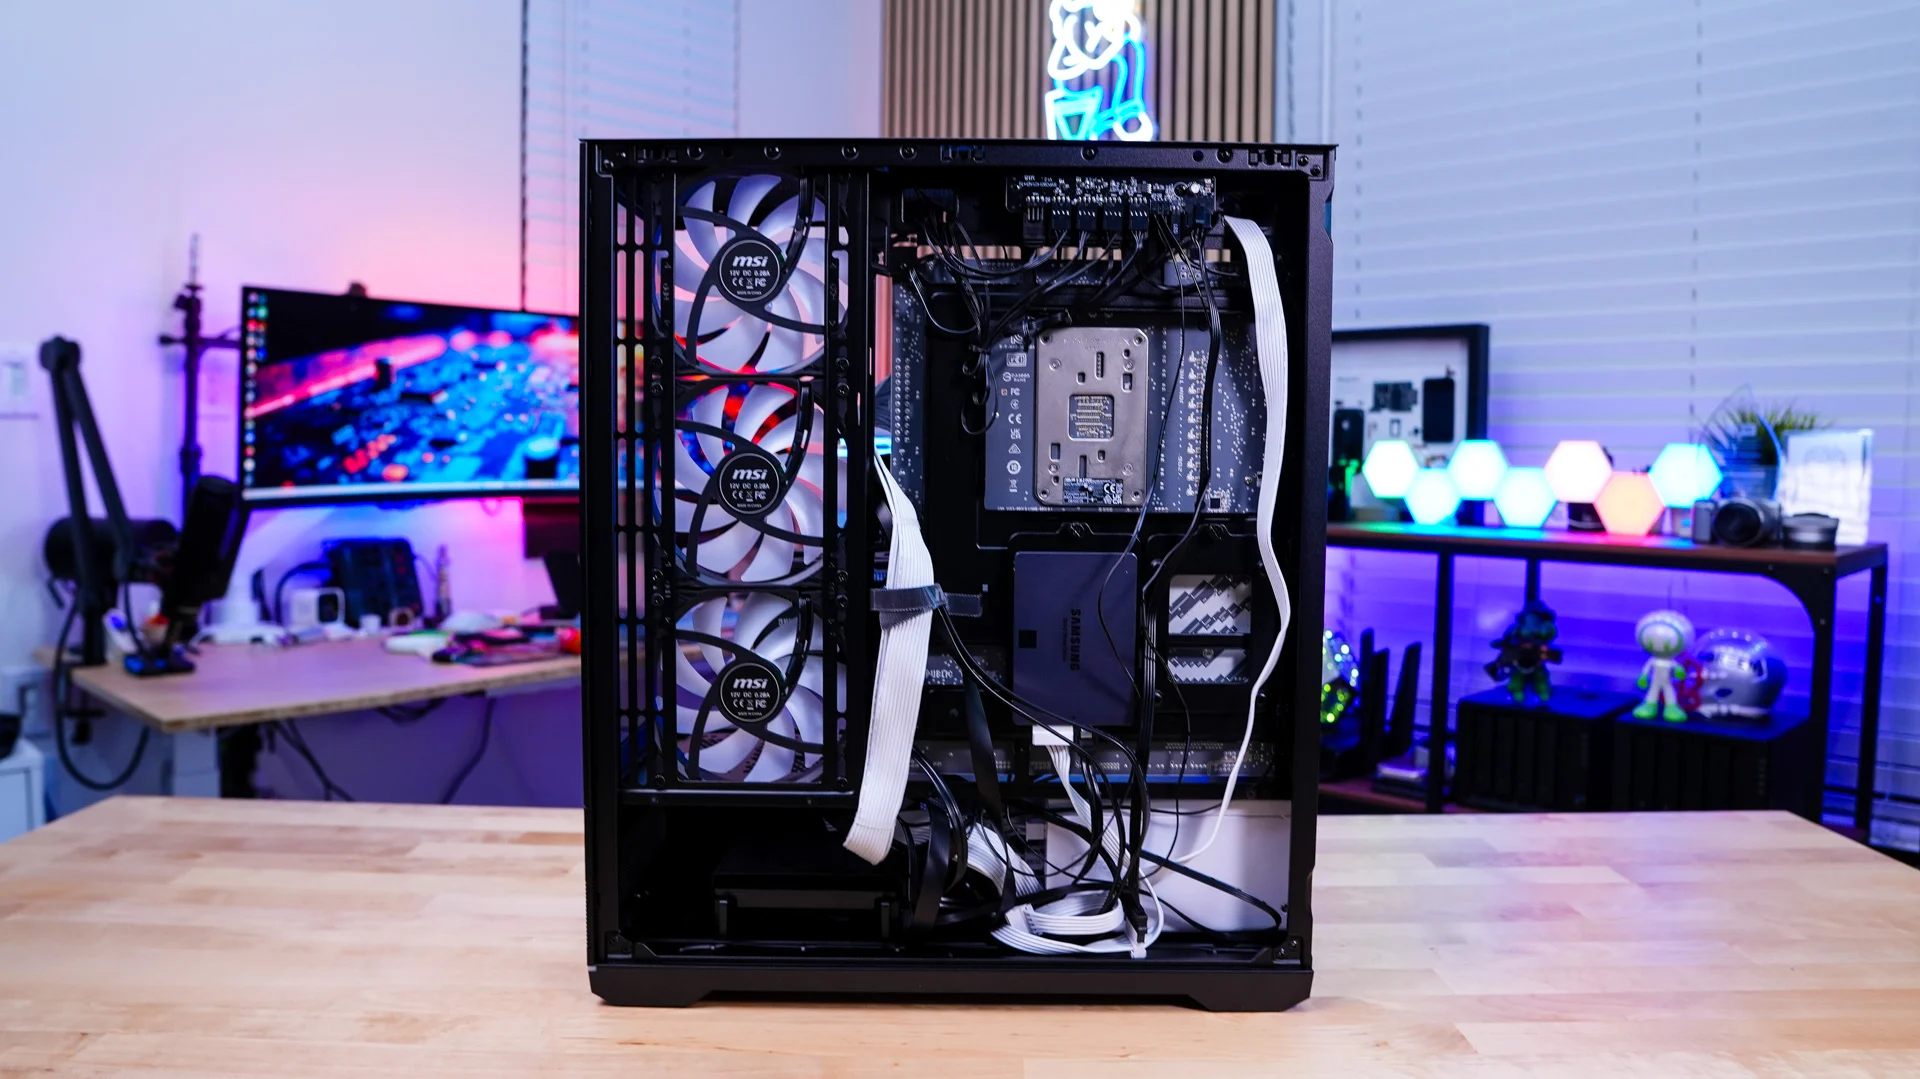
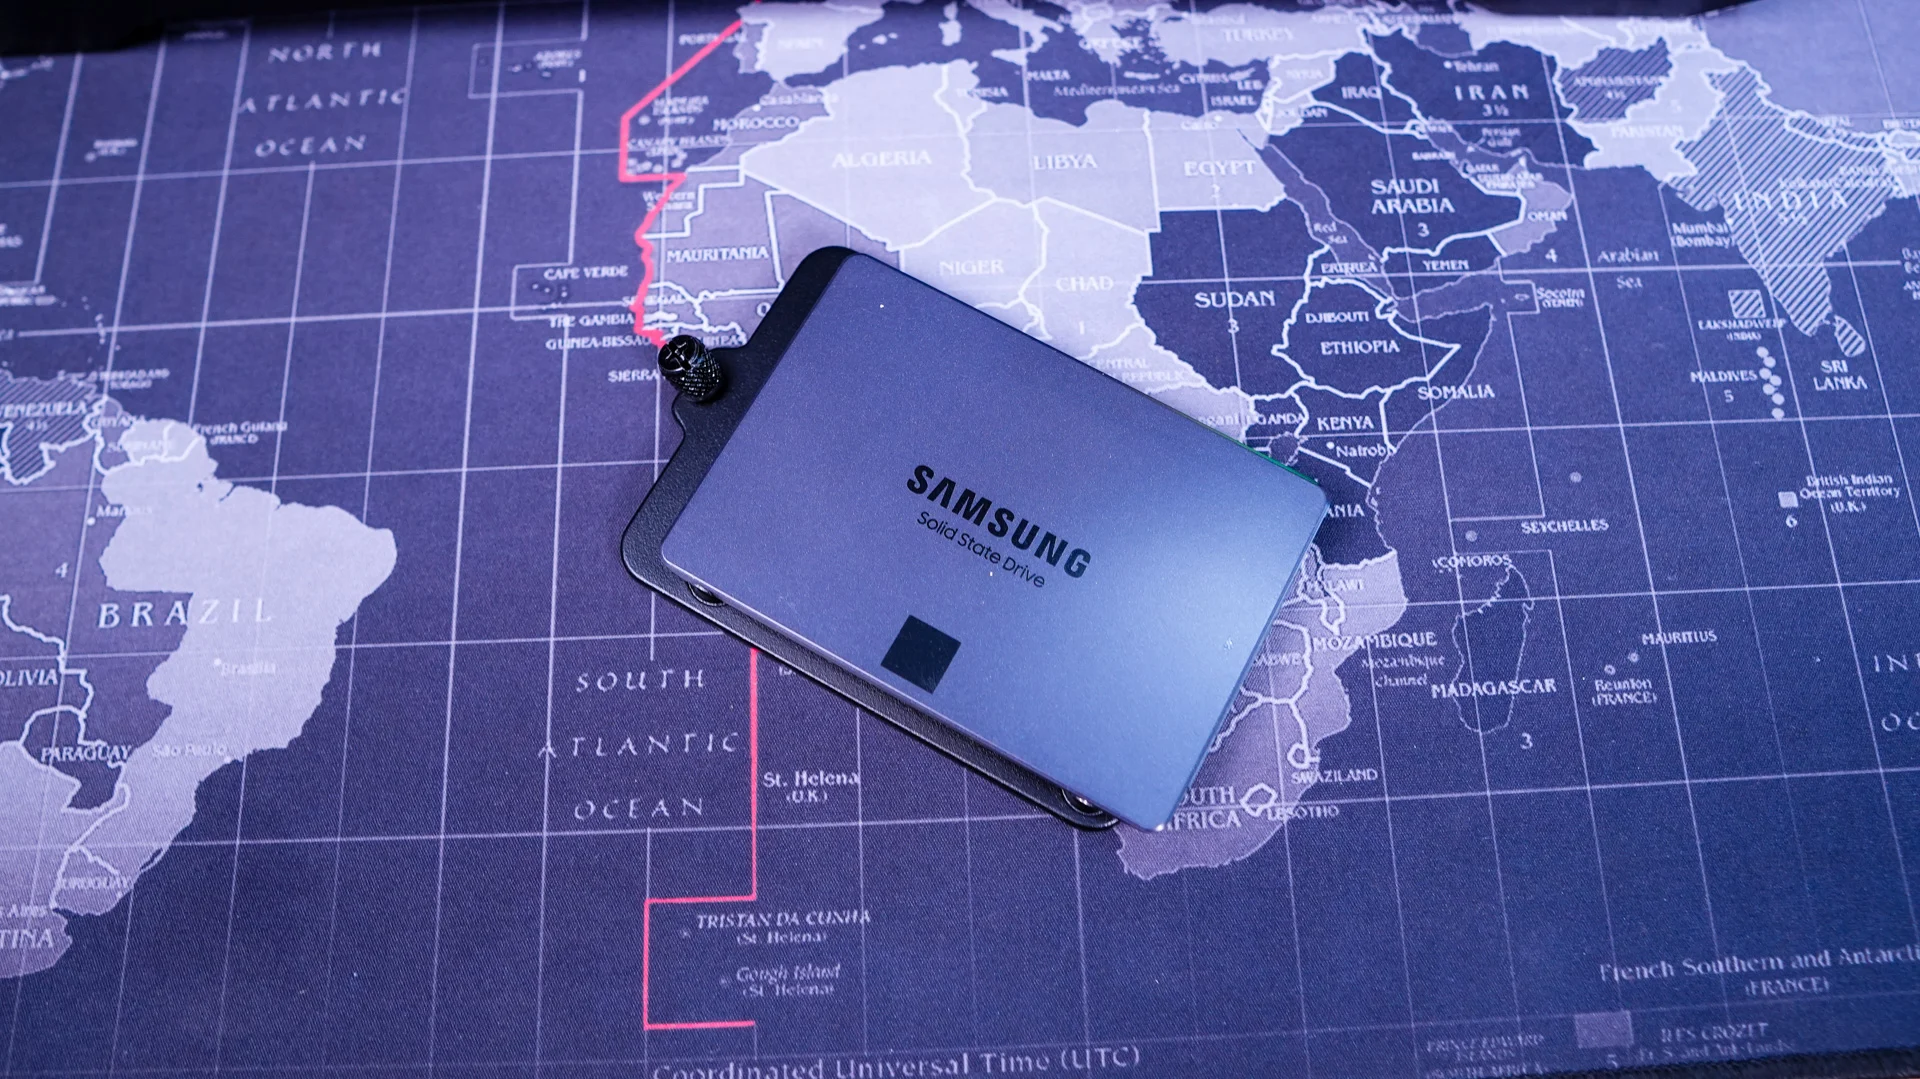
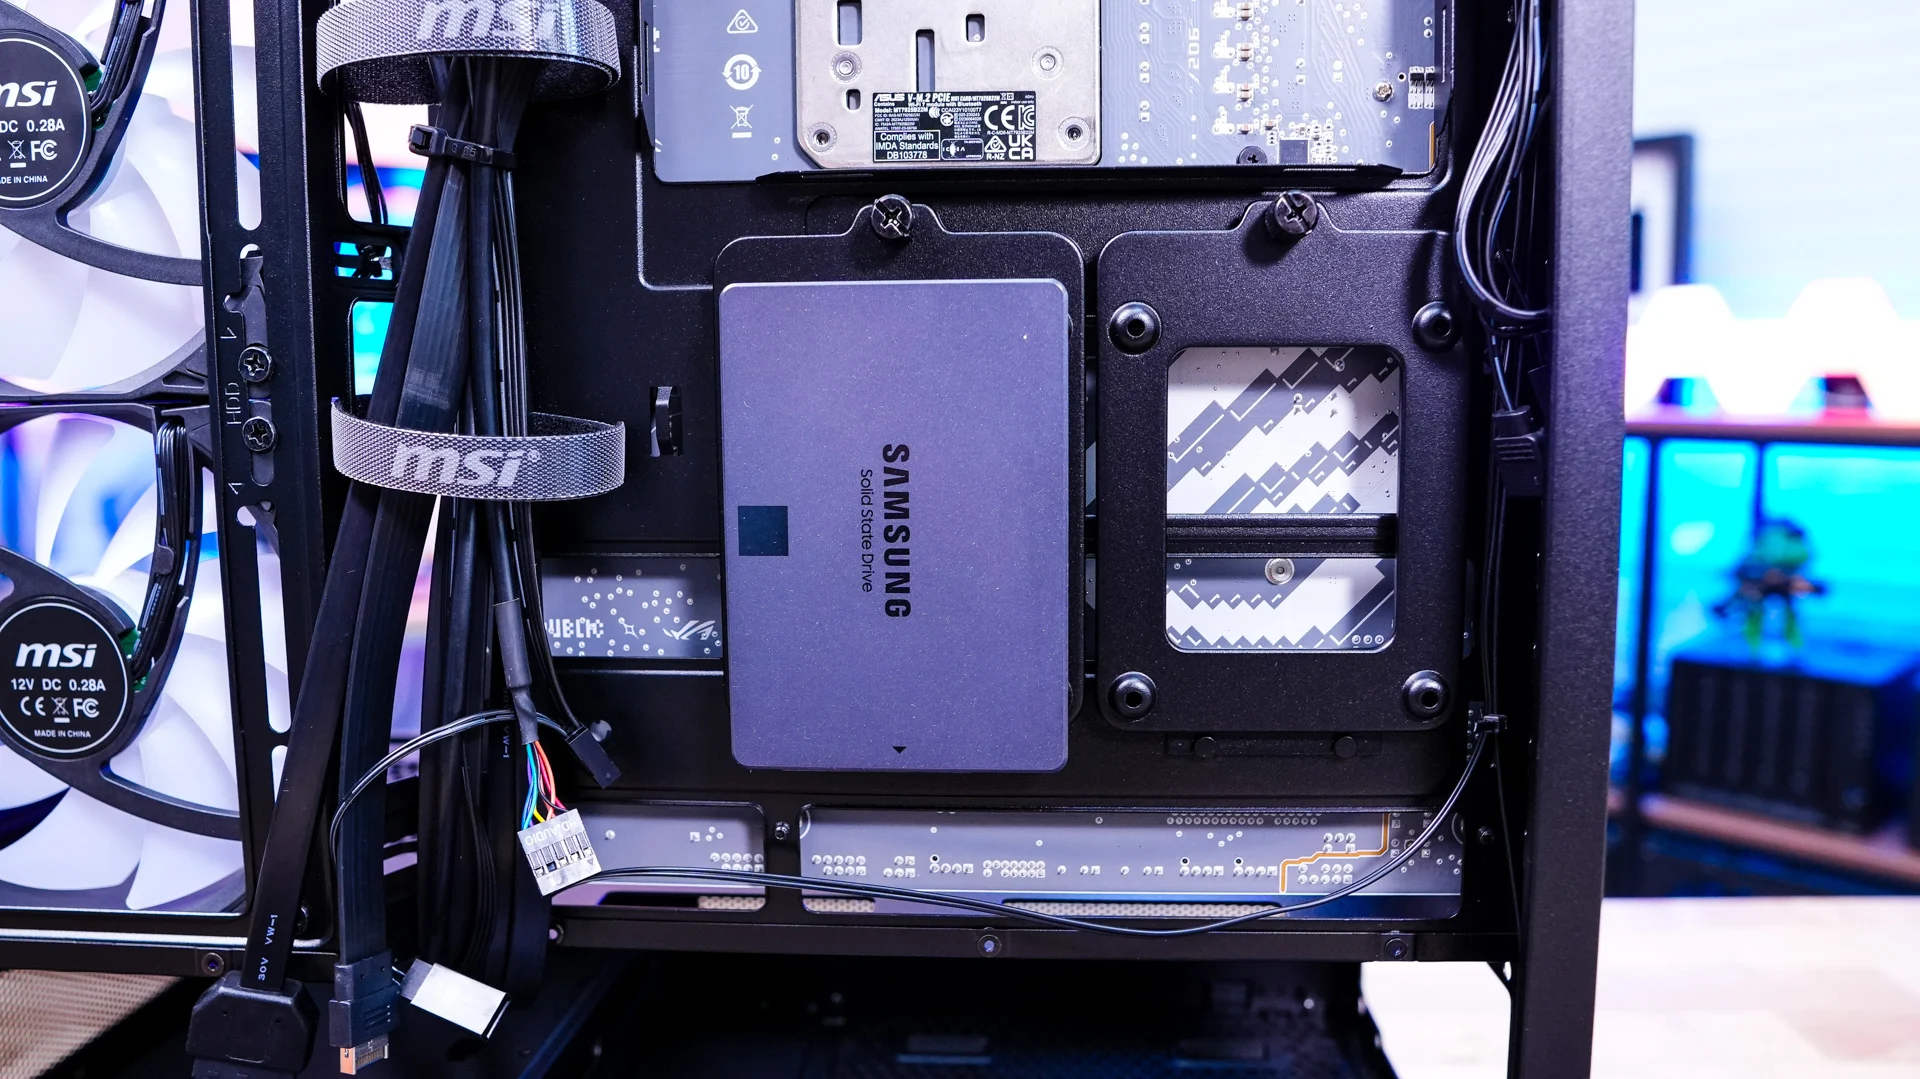
After that is our 2.5-inch solid state drive. I decided to install it on one of the removable brackets on the back of the motherboard tray. So that is as simple as removing the bracket, installing our drive, and then reinstalling the bracket.
MSI MAG PANO 110R PZ Case MSI MAG PANO 110R PZ Case
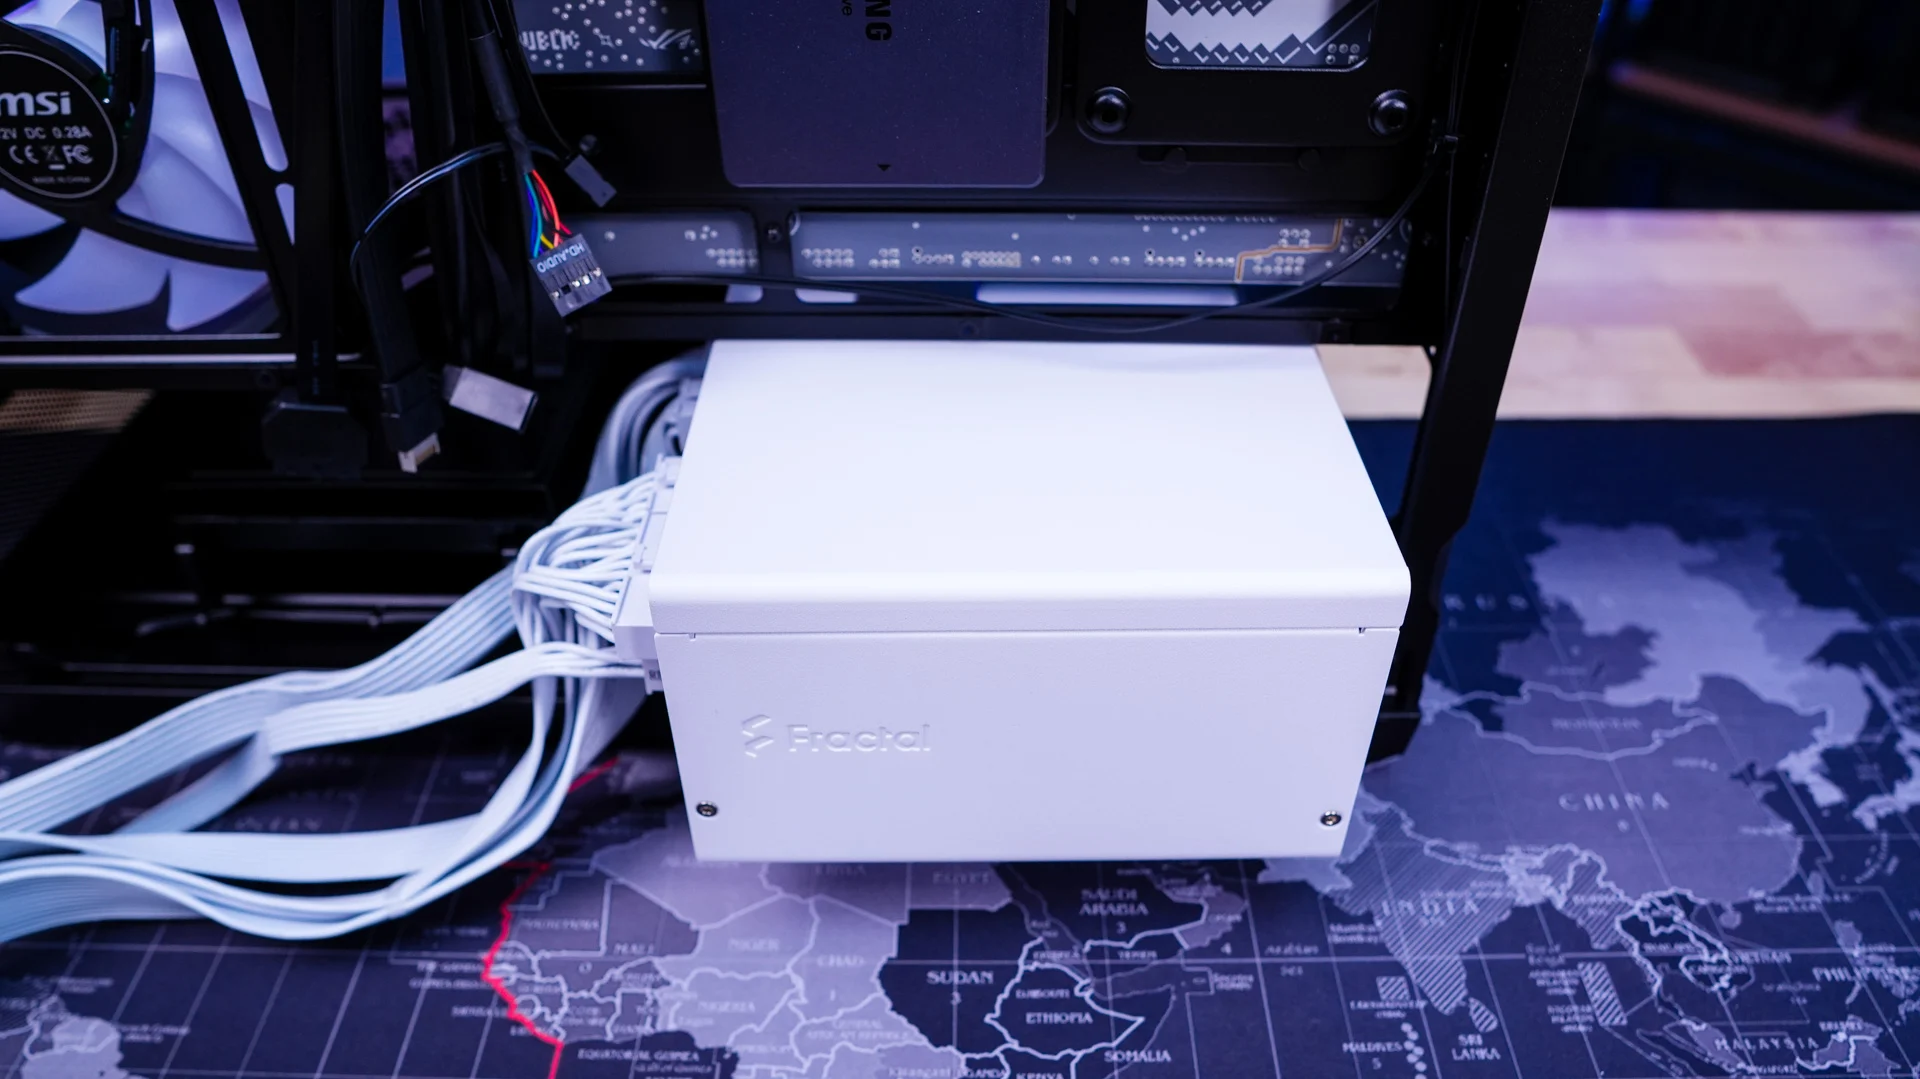
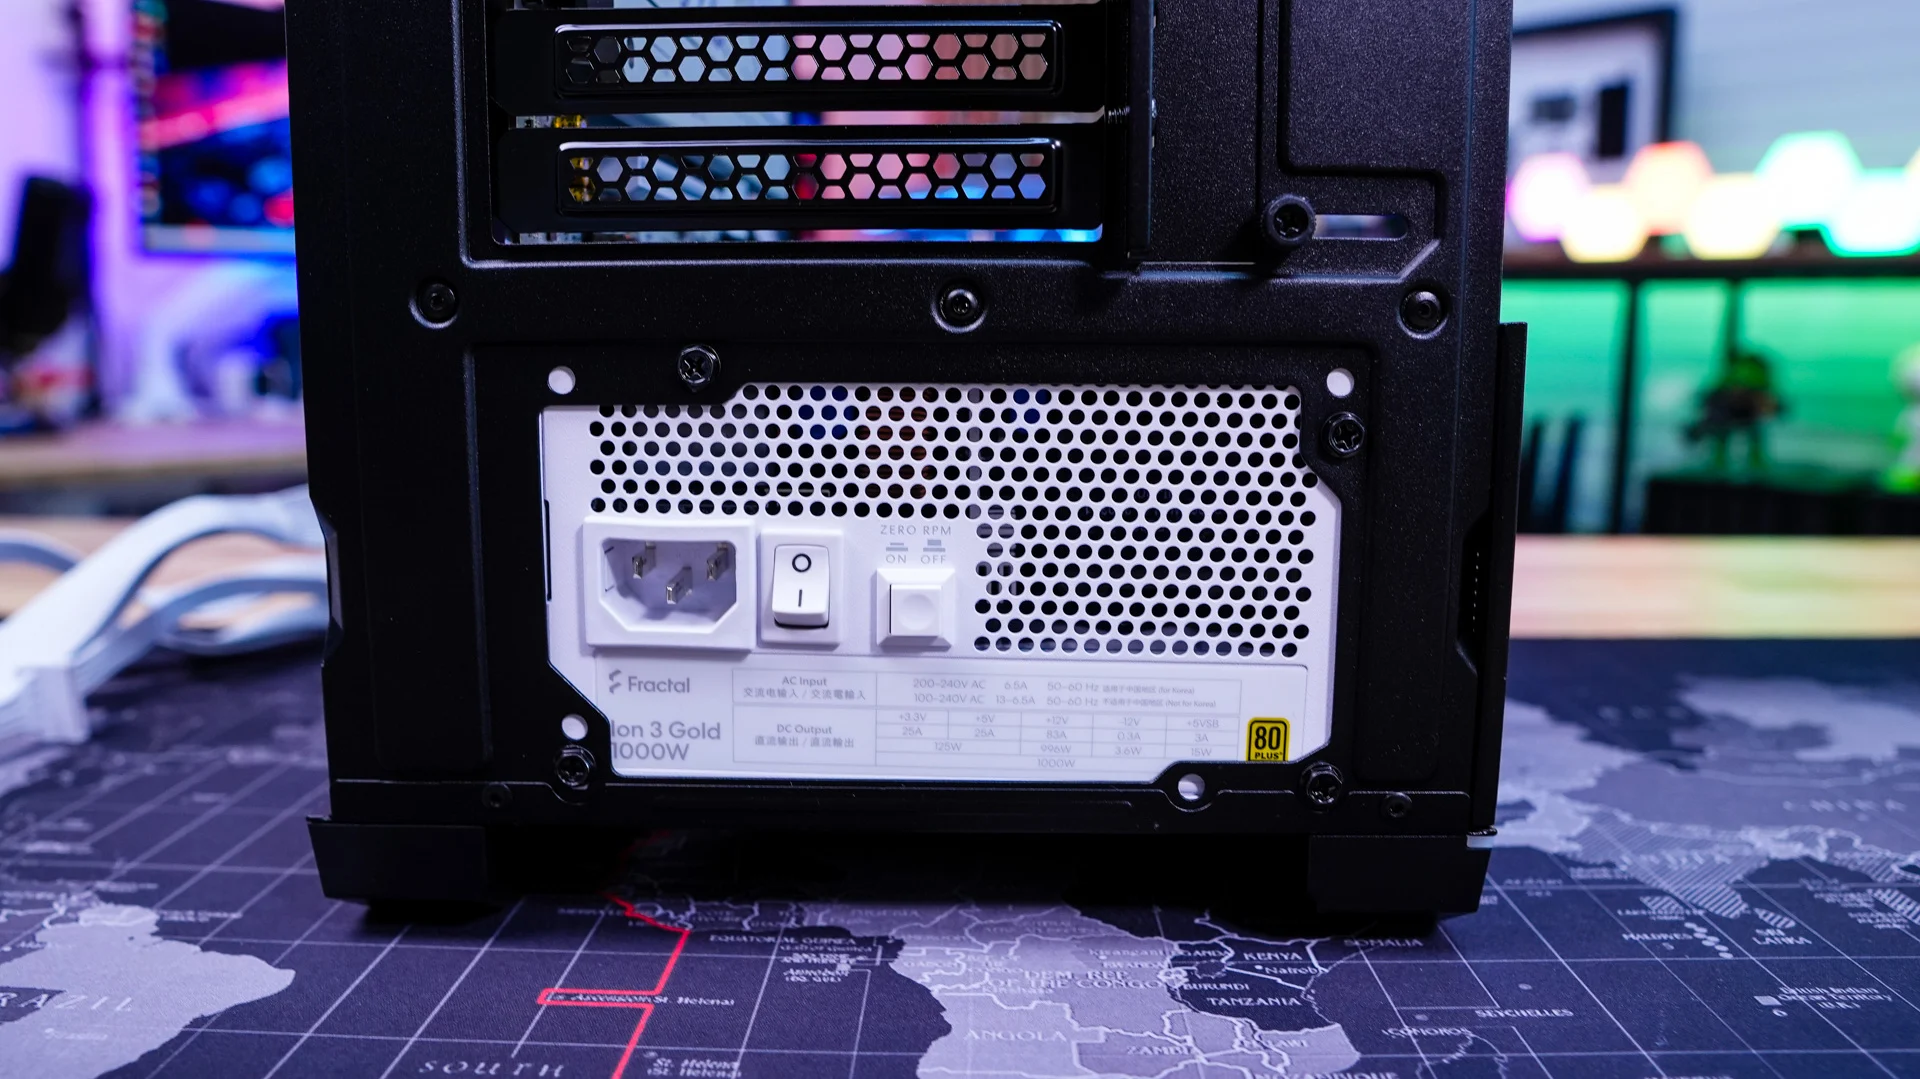
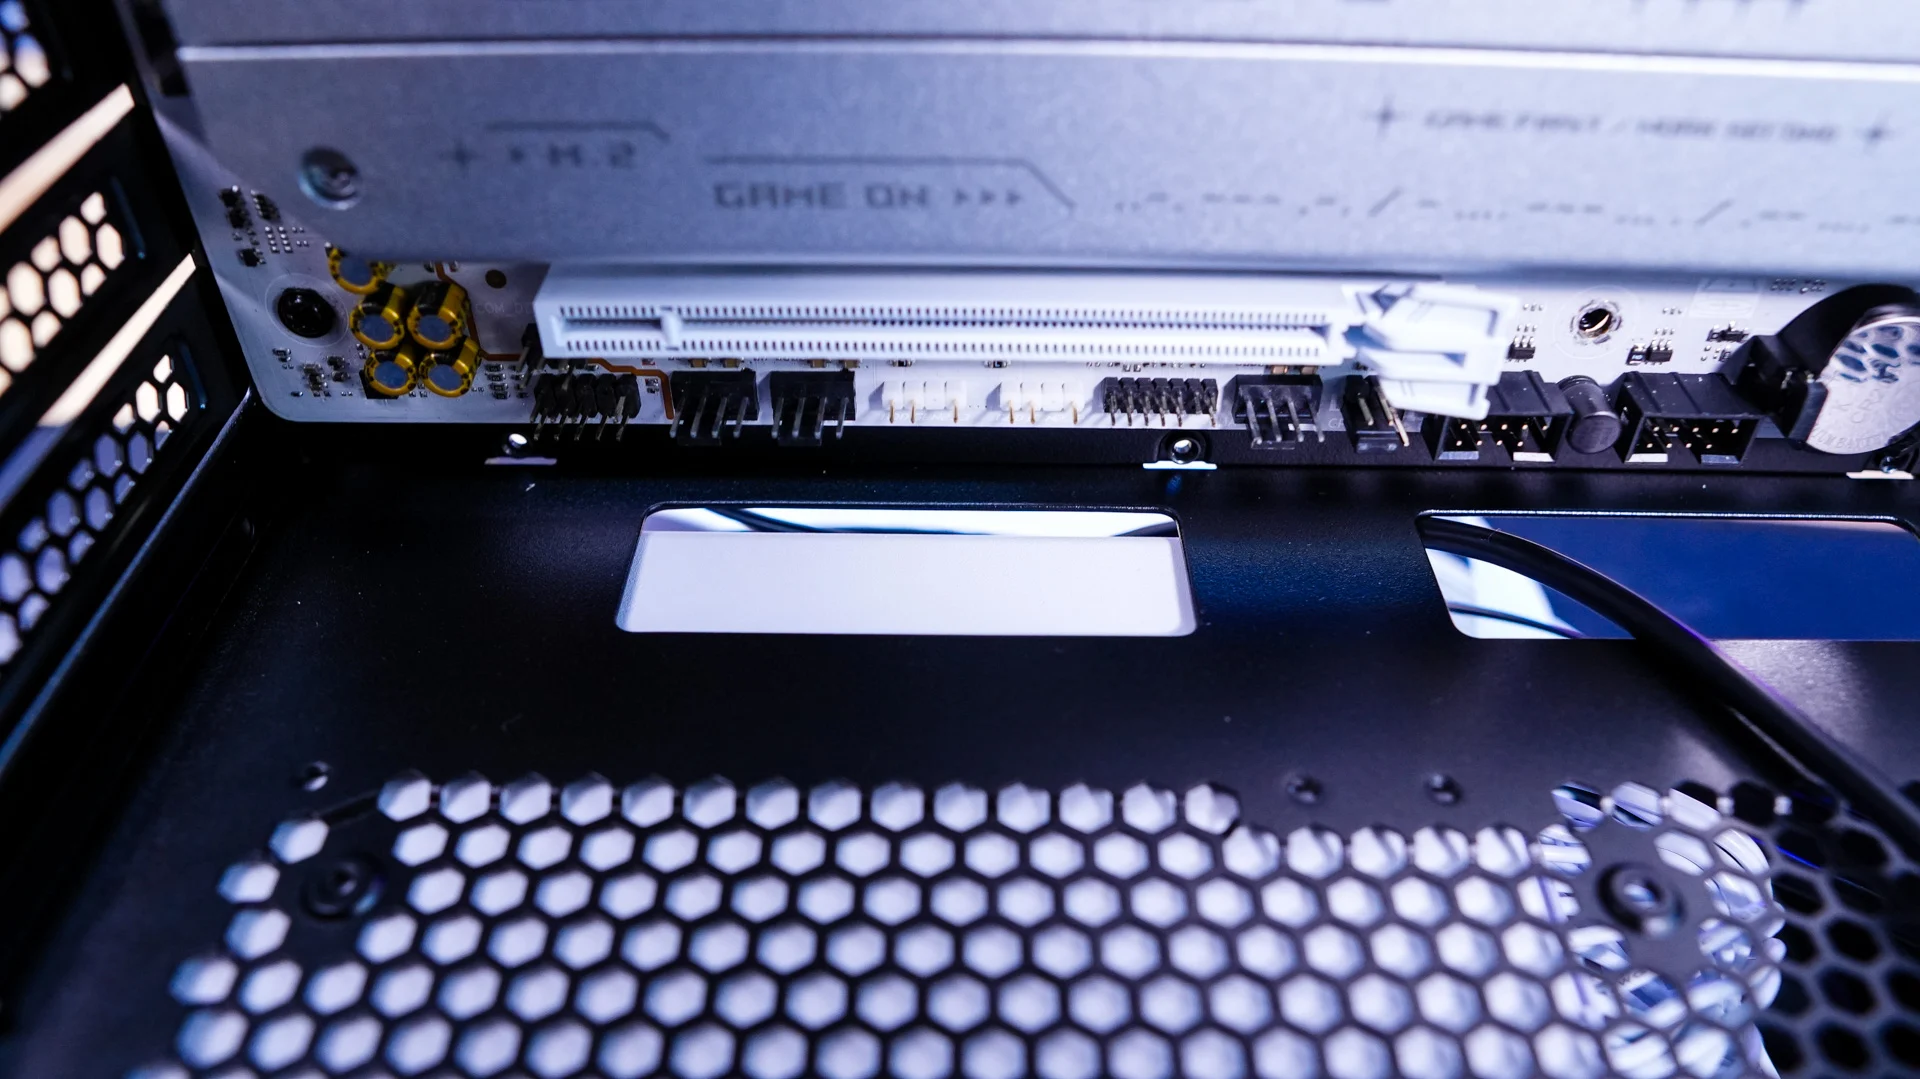
Your power supply will slide in from the backside of the case and you’ll secure it with the included screws. It is worth noting that once you install your power supply it essentially blocks the cable routing hole on the power supply cover. So either route your cables before you install your power supply or you’ll have to use the second cable routing hole.

MSI MAG PANO 110R PZ Case MSI MAG PANO 110R PZ Case MSI MAG PANO 110R PZ Case
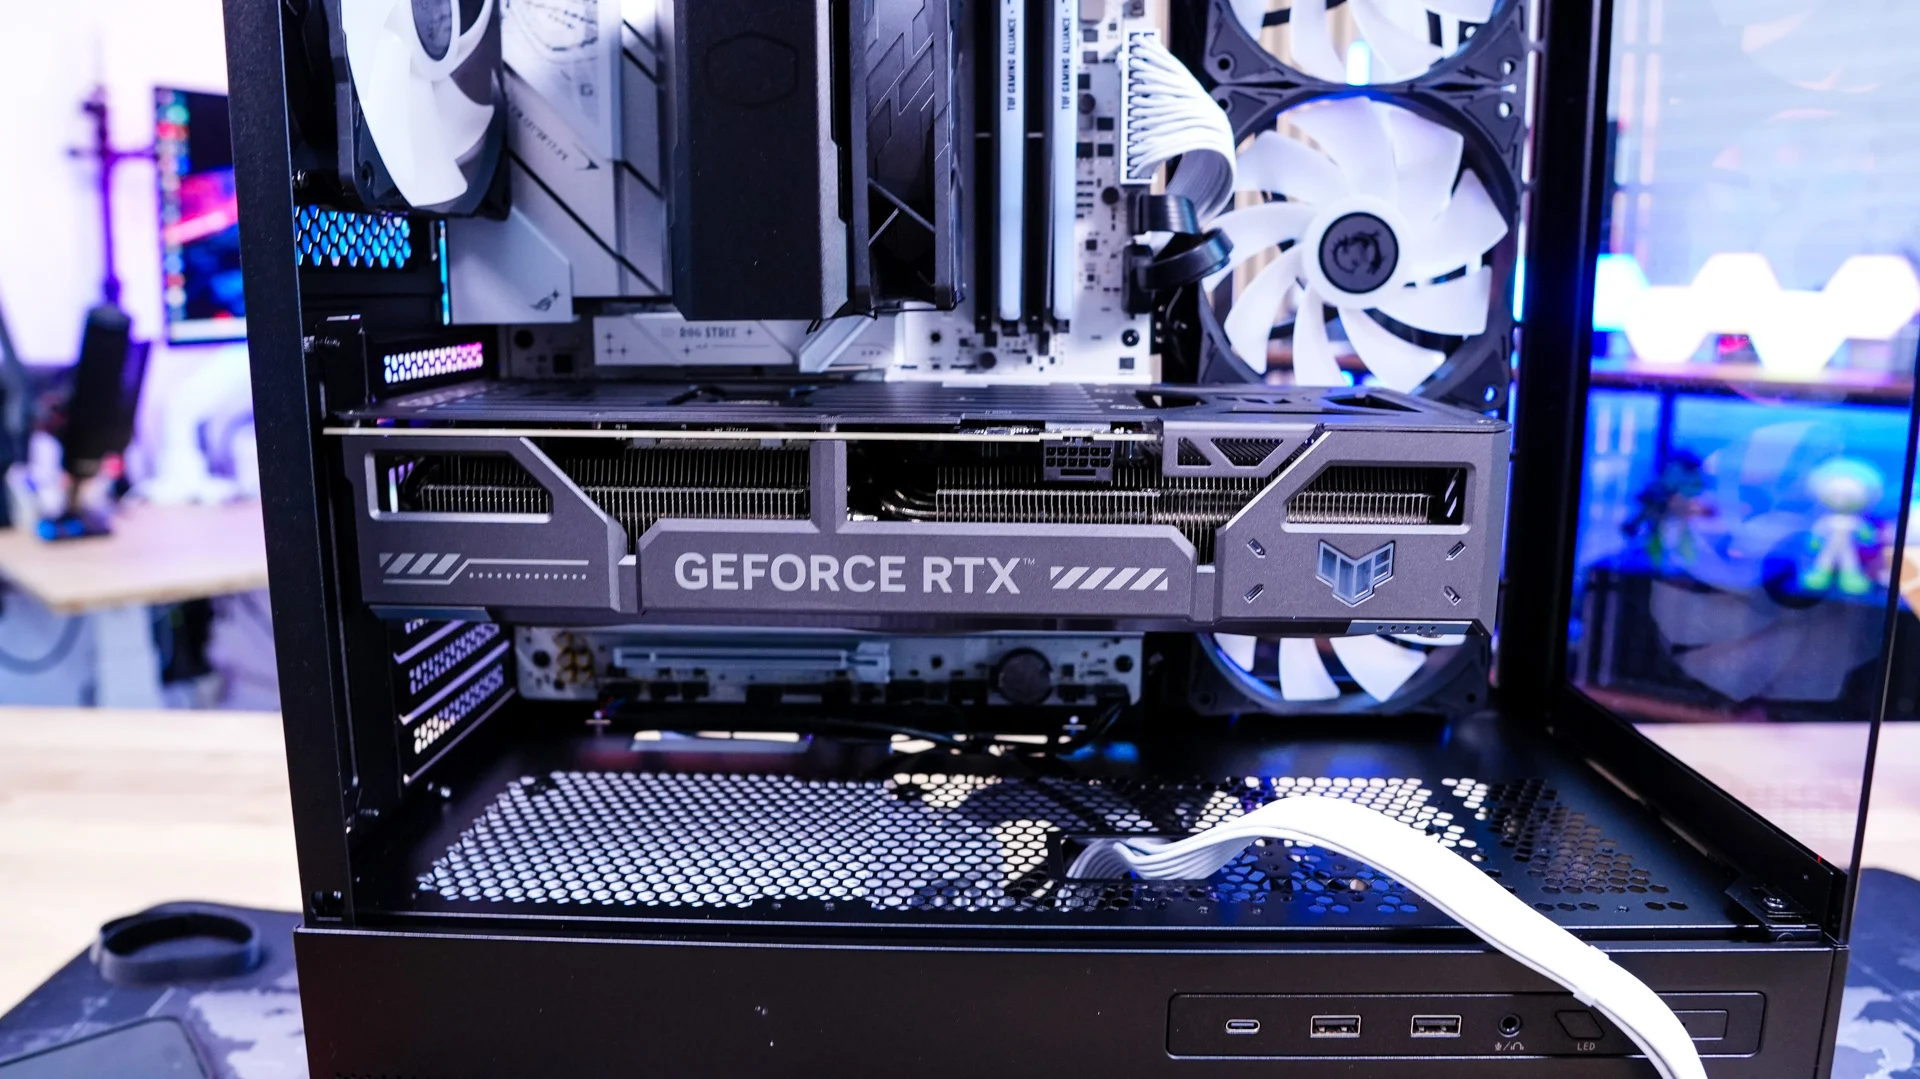
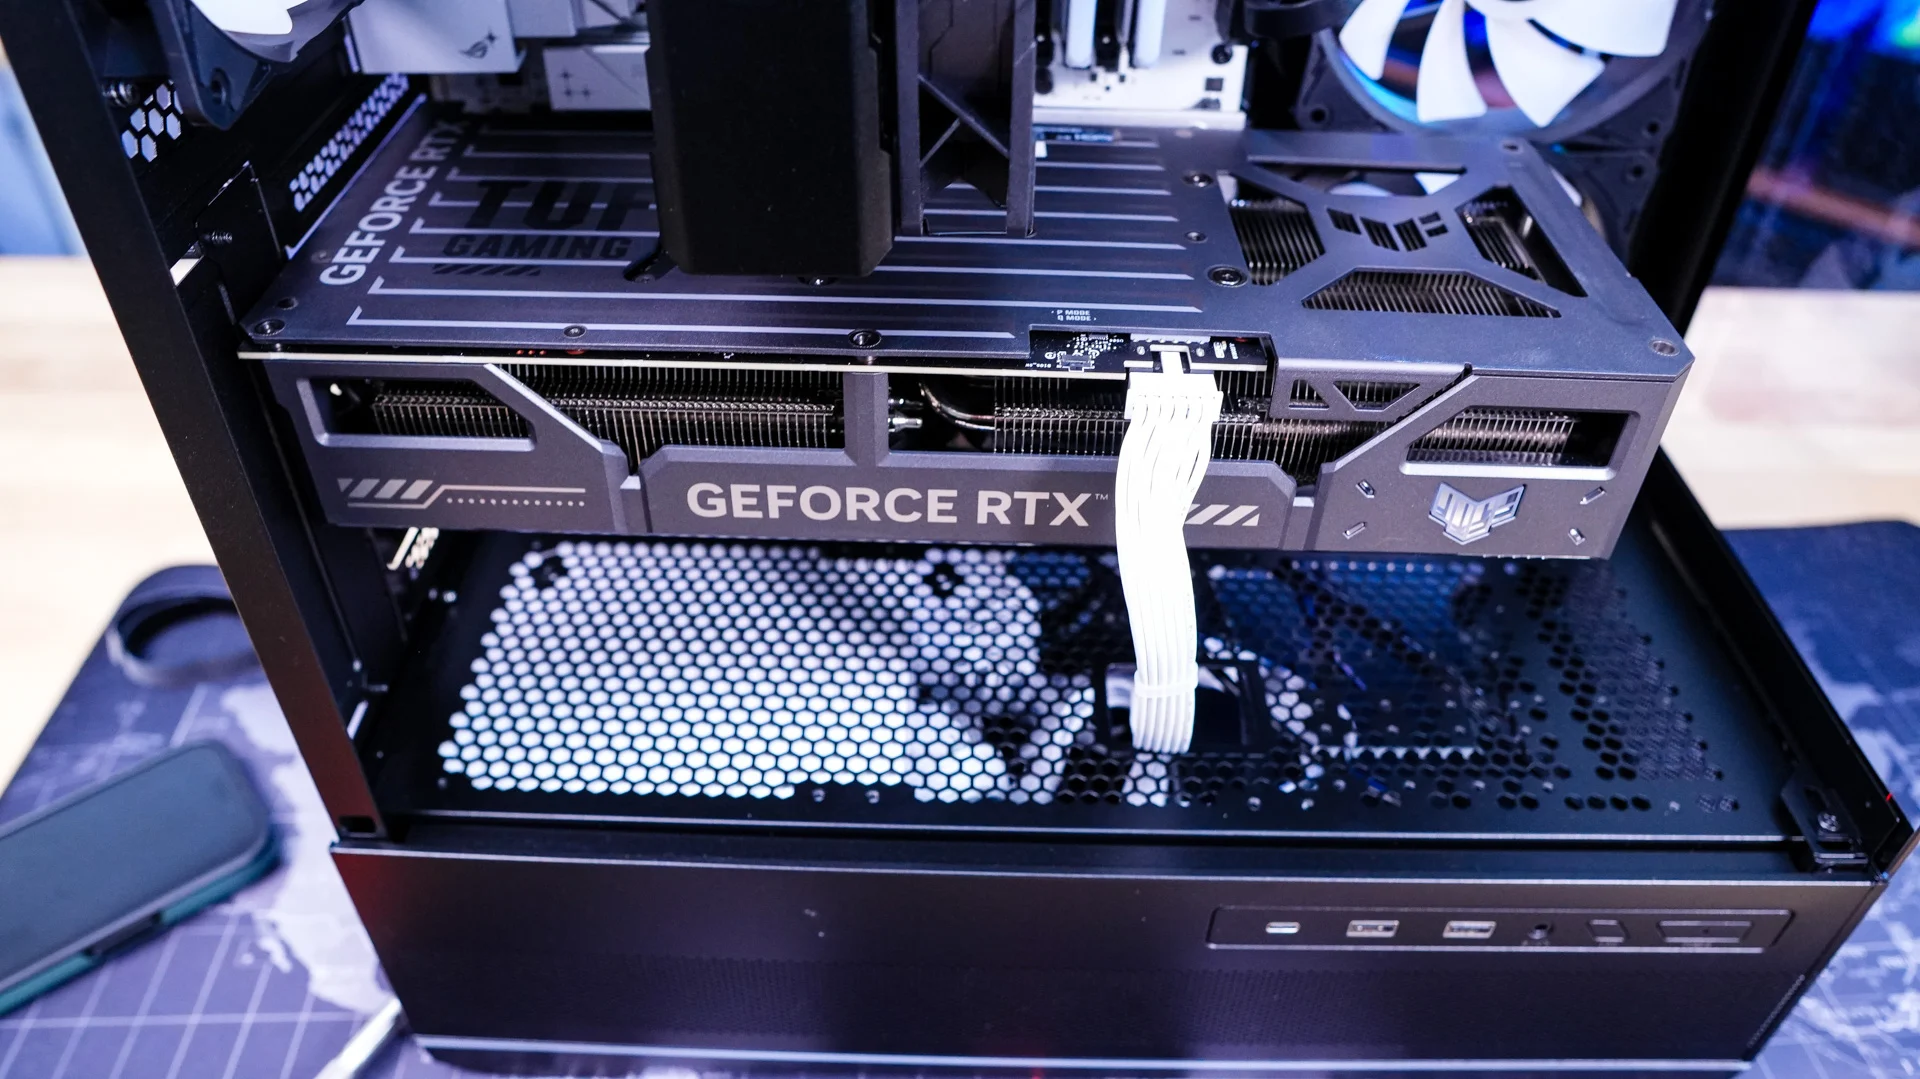
The last thing to install is our graphics card. It goes in no problem as this case will support graphics cards as long as 400mm. Using the cable routing hole in the power supply cover we are easily able to route our 12V-2×6 connector to our graphics card.

MSI MAG PANO 110R PZ Case MSI MAG PANO 110R PZ Case
Now we just have to route the rest of our cables and connect everything. Even though this is a smaller case it was quite easy to route our cables and hide most of them in the bottom compartment of the case.

MSI MAG PANO 110R PZ Case MSI MAG PANO 110R PZ Case

Add a Comment

Leave a Reply

Your email address will not be published. Required fields are marked *