A Look Inside
Getting inside the MEG Trident X2 Gaming PC is actually quite easy. All you have to do is remove three screws on the side panel with the ventilation on it. Once removed we can see how MSI has configured the inside of the system.
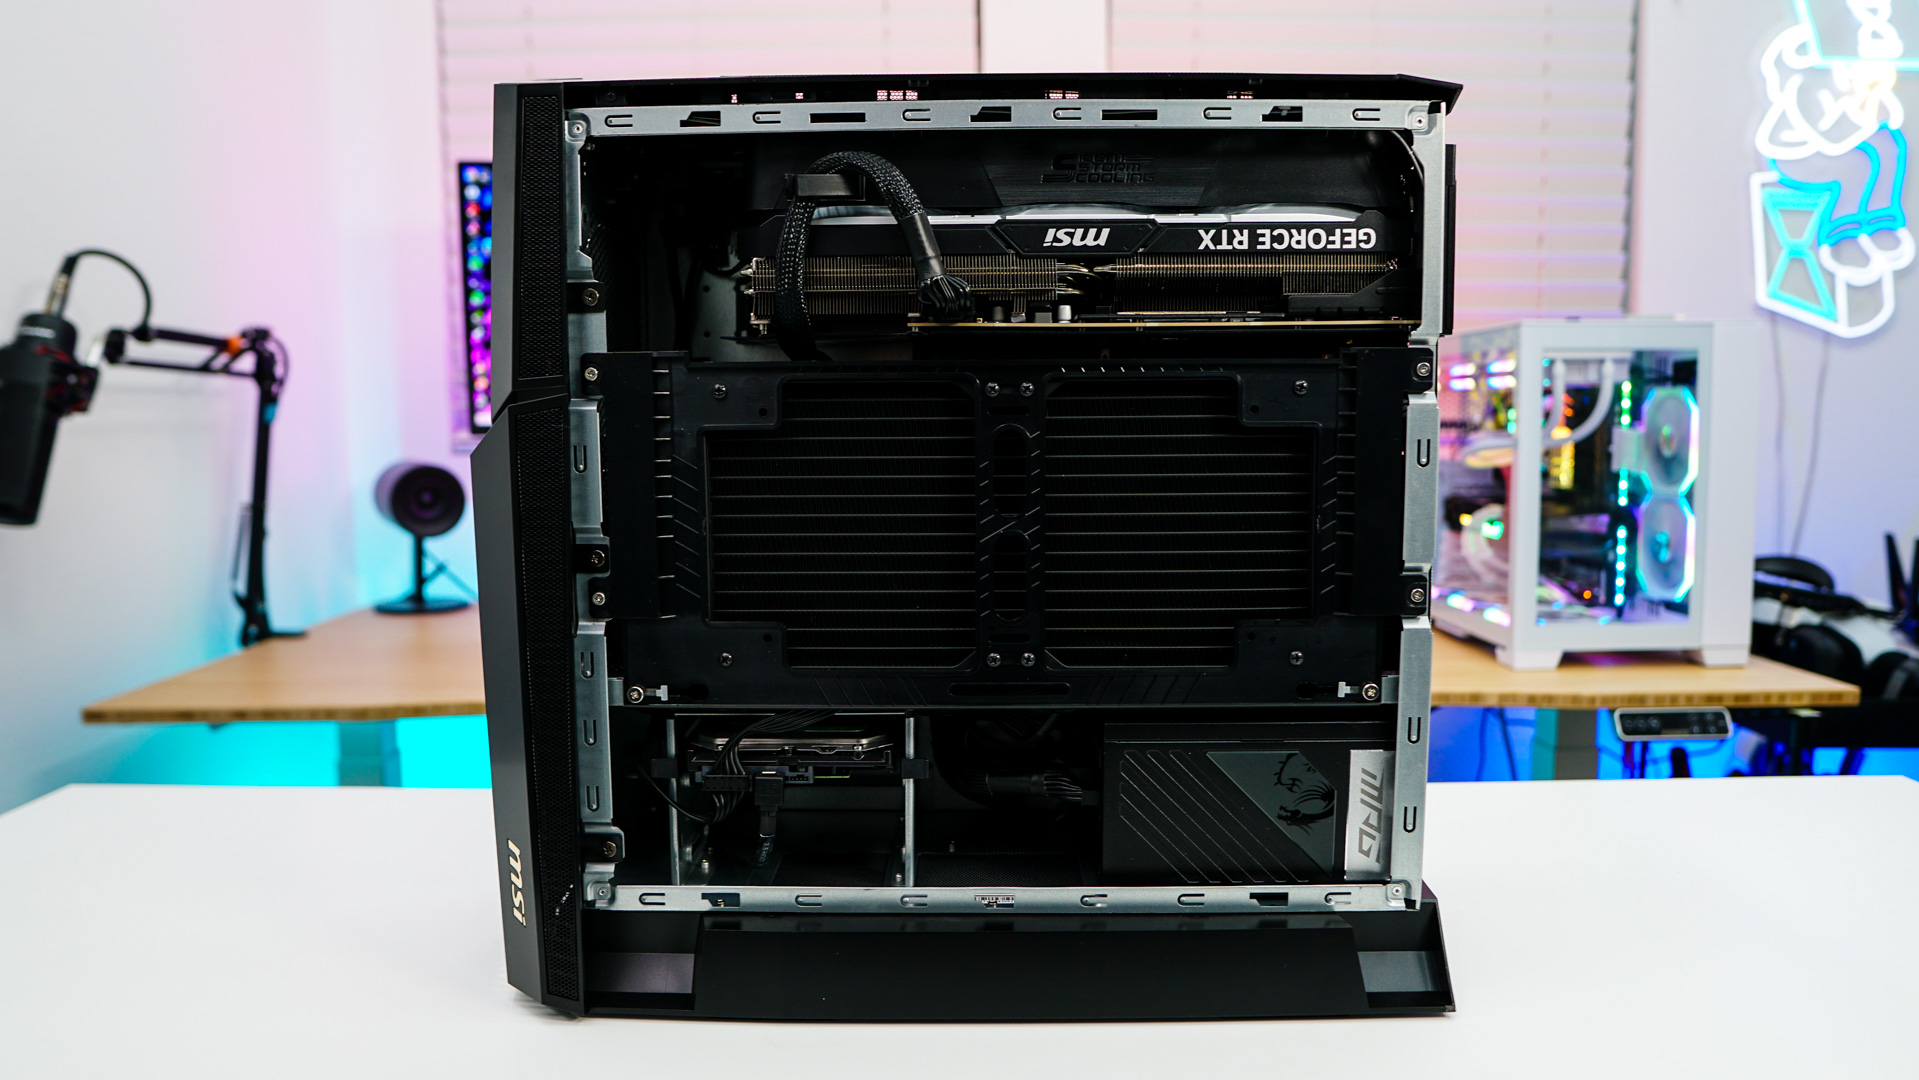
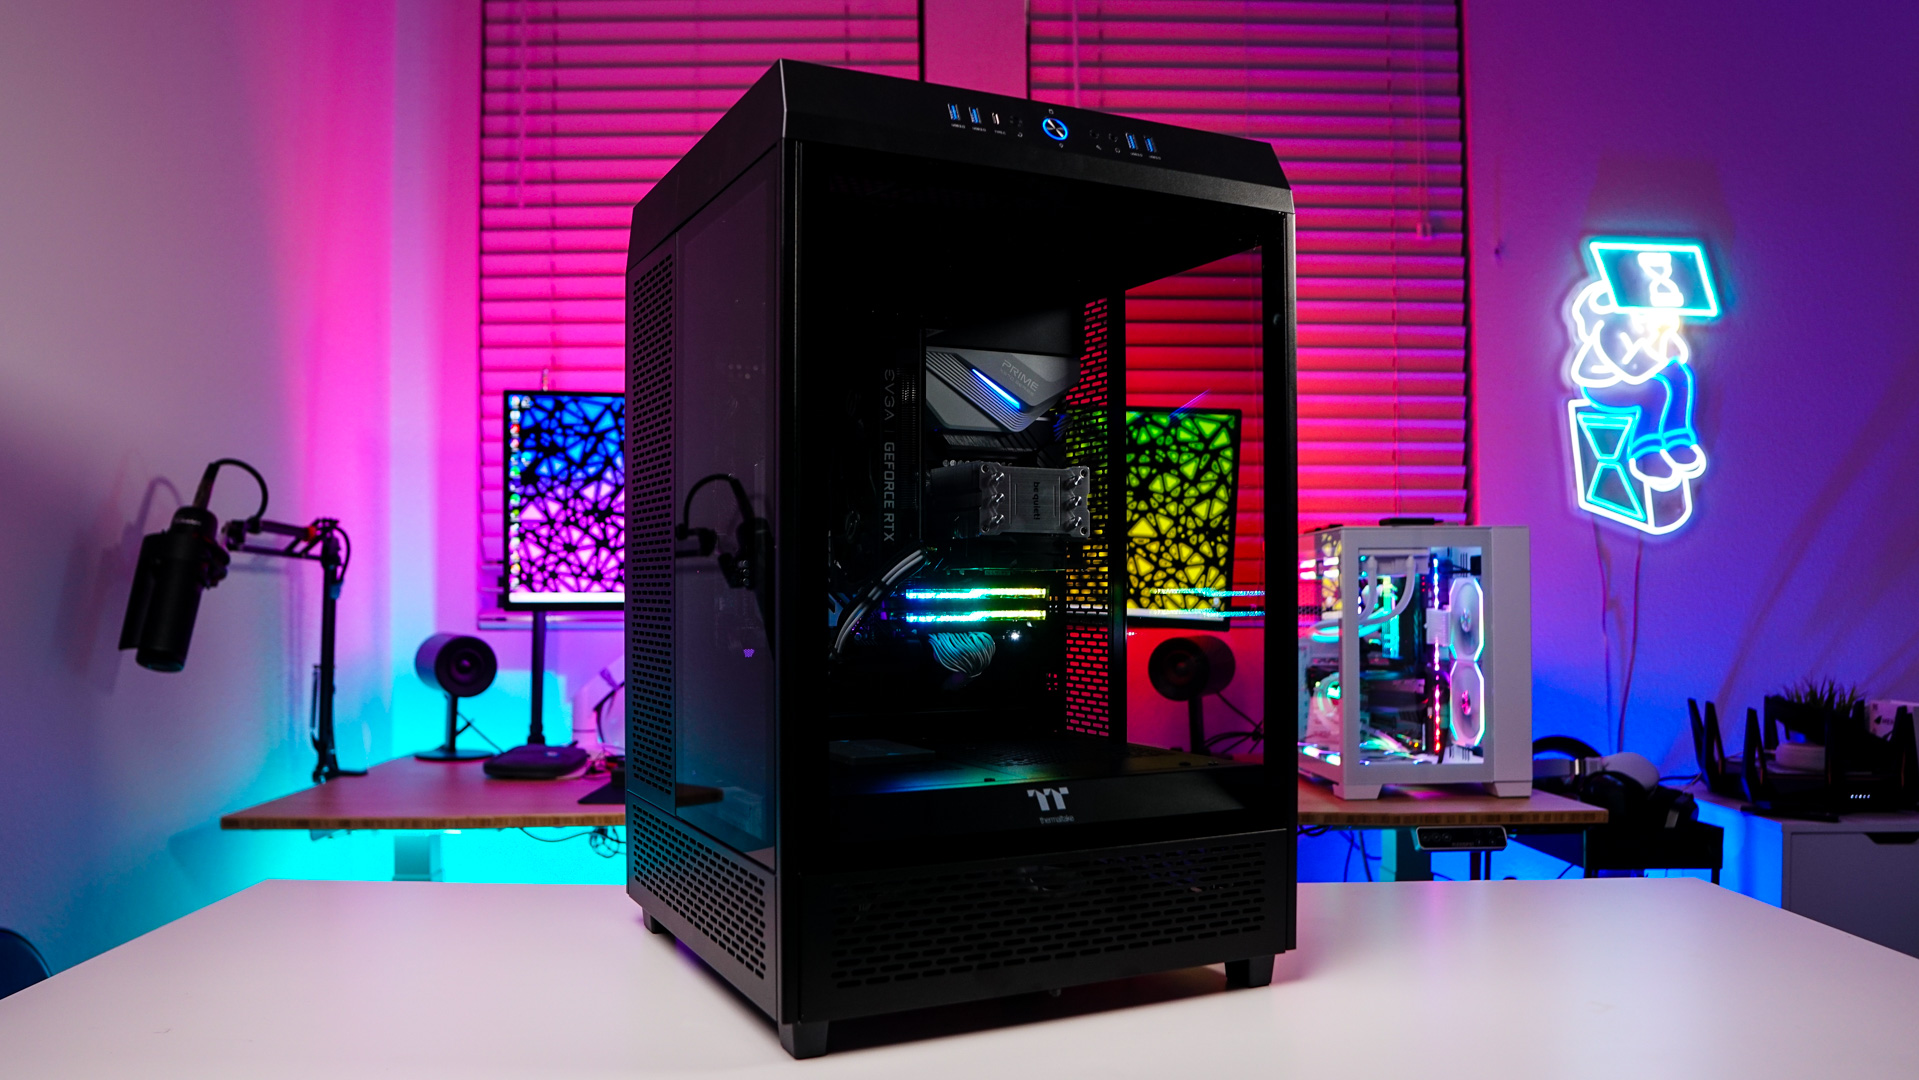
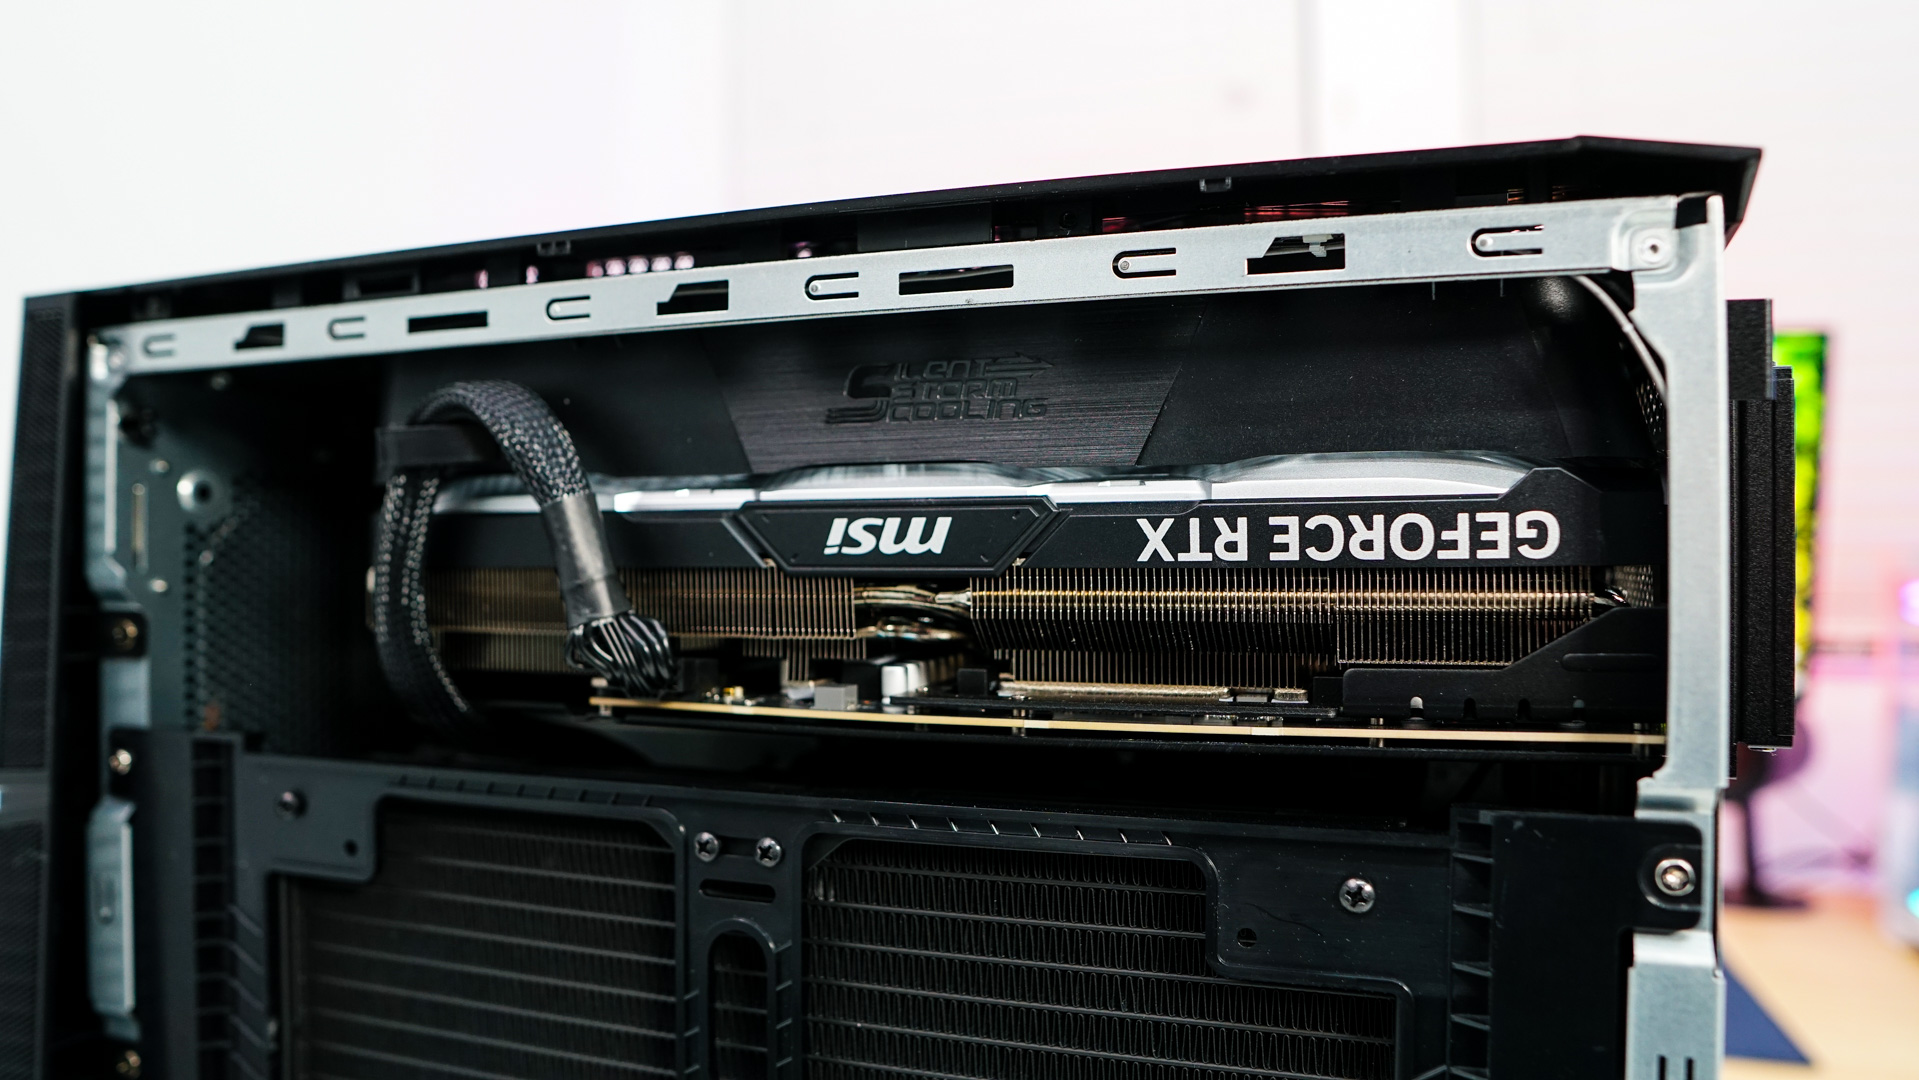
At the top of the system we can see our graphics card, which is MSI’s GeForce RTX 4090 Ventus 3X. You will notice what looks like an air duct over the fans. MSI calls this their Silent Storm Cooling, which prevents hot air from flowing back to the graphics card and of course allows fresh air from the top ventilation to get right to the card.
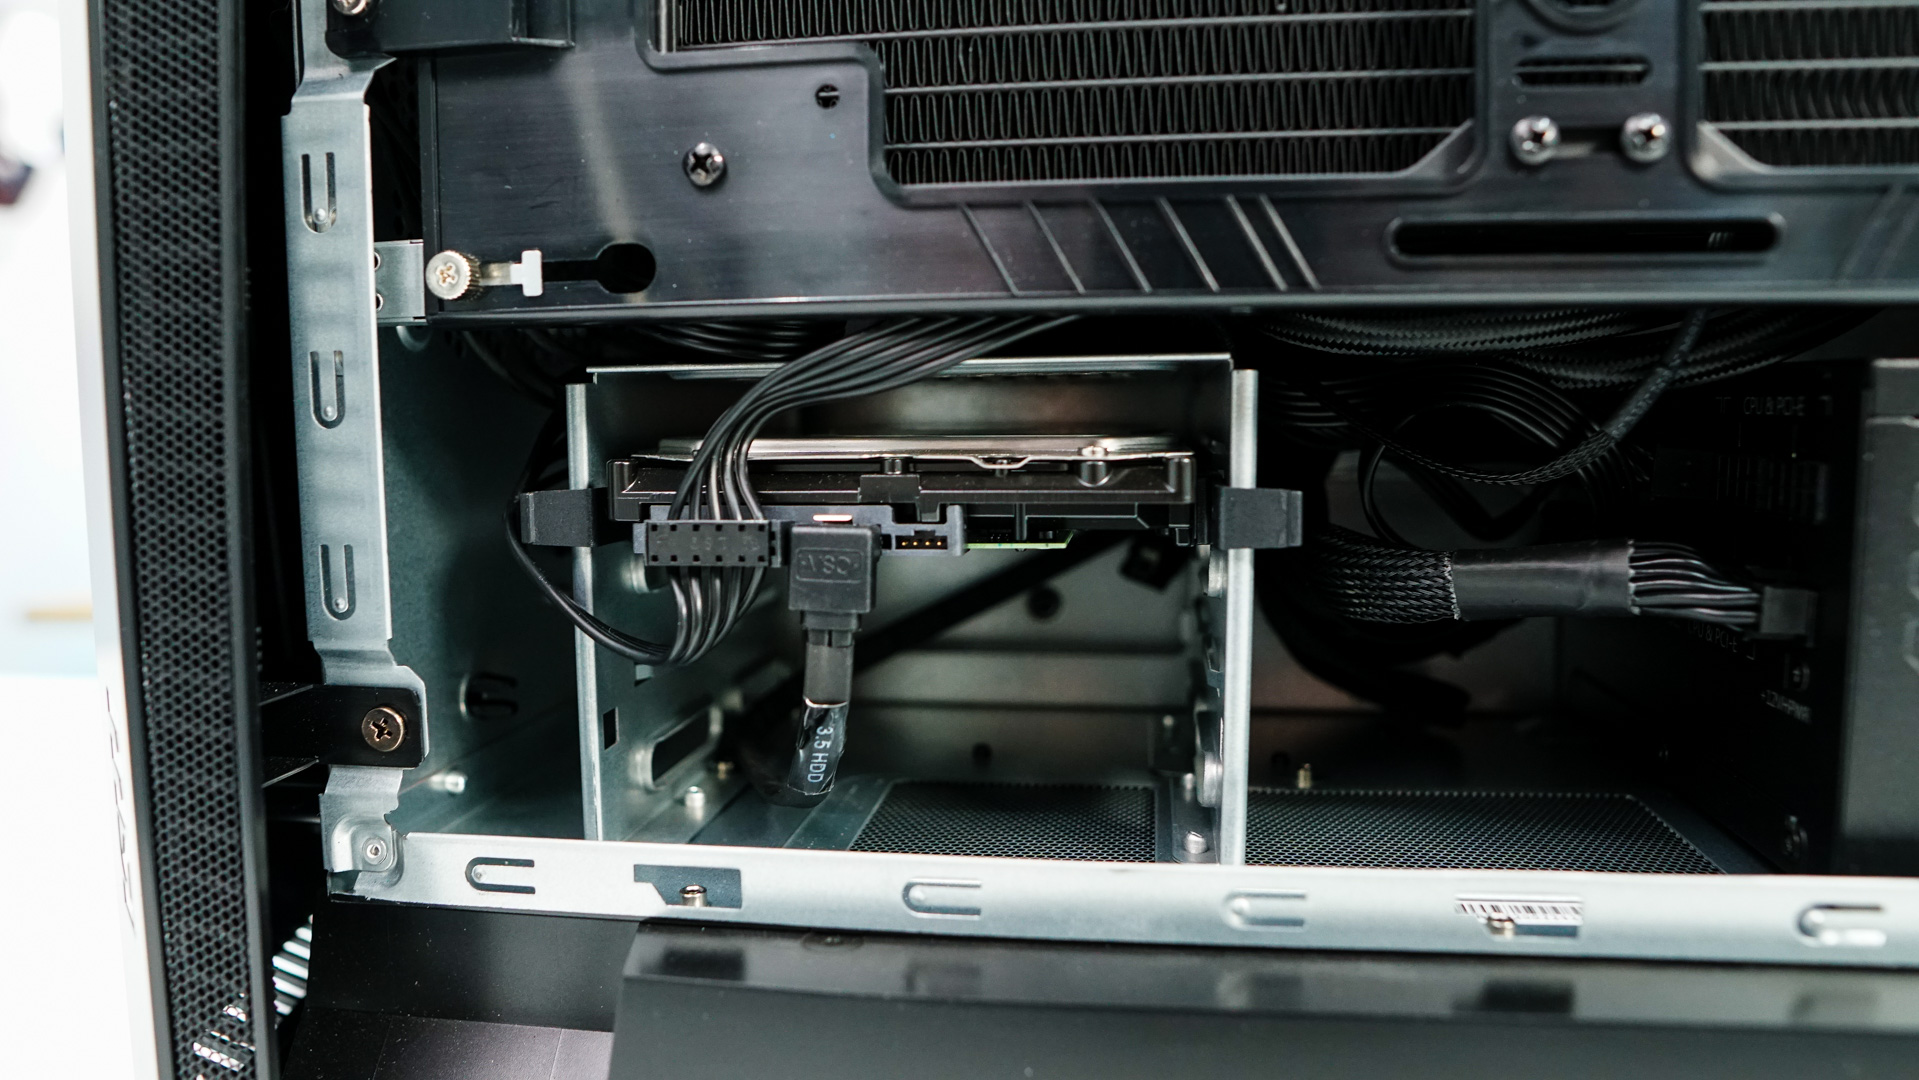
At the bottom of the system is one of our hard drives (the other is an M.2). This drive is the Seagate Barracuda 2TB. It is in a hard drive cage and since MSI does provide an extra set of rails you could add another hard drive if you wanted. The bottom of the case also houses the power supply, which is a 1000W ATX 3.0 unit. It also has its own independent air chamber, so that heat does not get trapped.
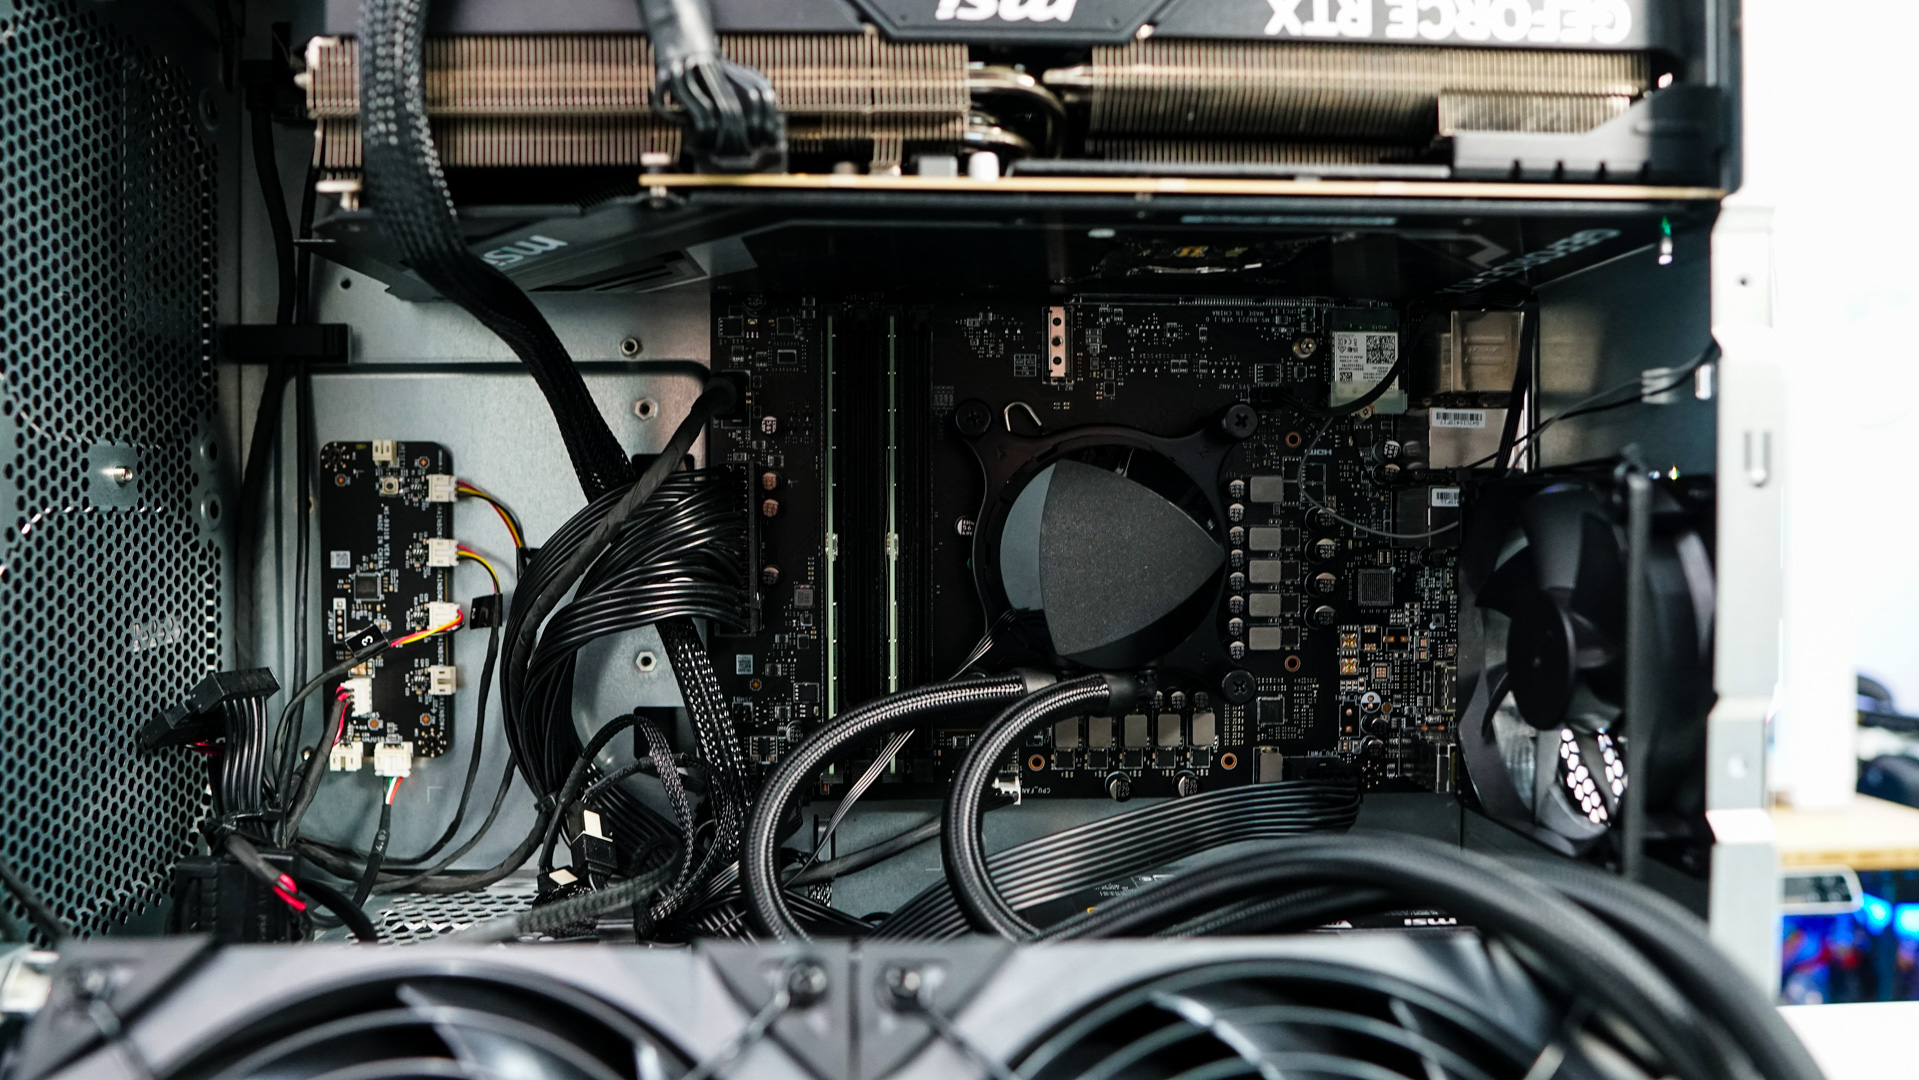
The main radiator section of the included 280mm all-in-one liquid CPU cooling system sits flush against the side panel. Removing four screws you can rotate and tilt the radiator down. This will give you access to the rest of your internal components, but also makes it pretty easy to clean the fans and radiator if need be.

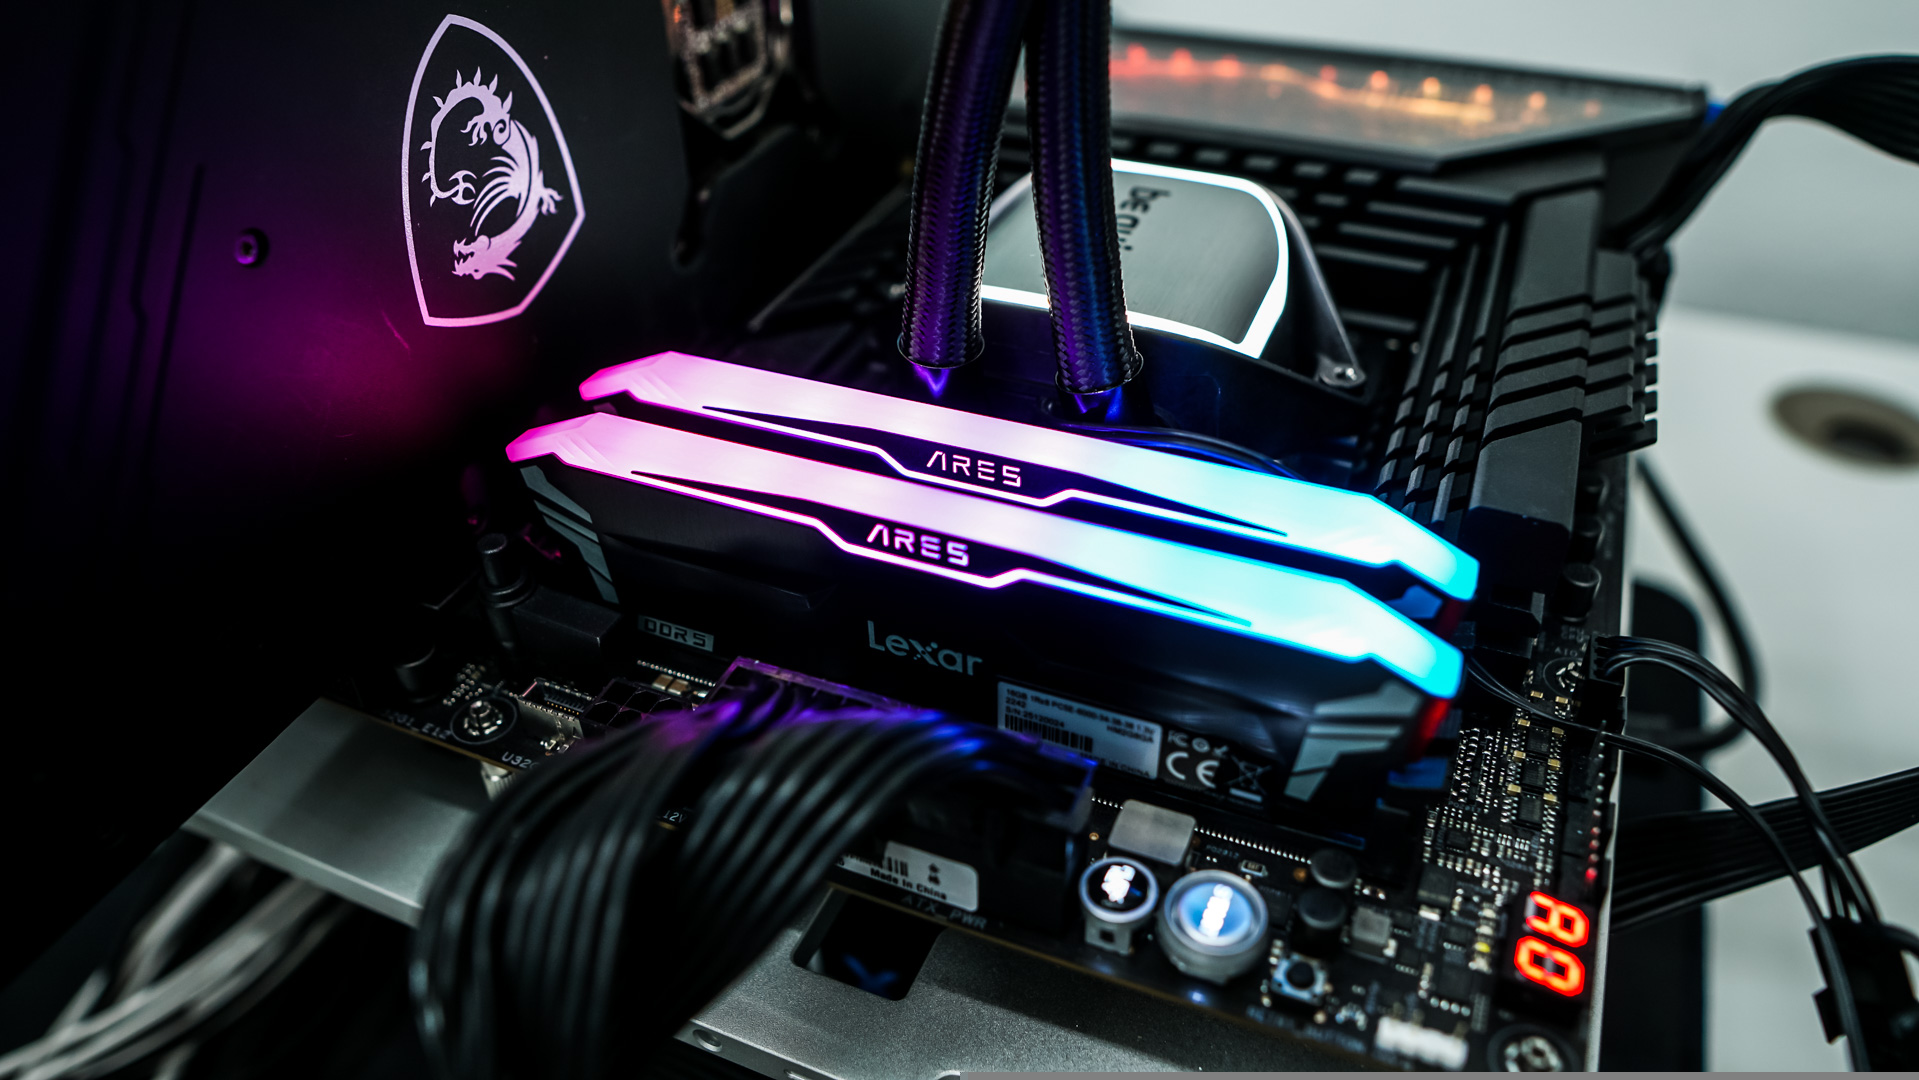
Looking at the rest of the components we have our motherboard, which does appear to be micro-ATX. The motherboard is Intel Z790-based so we do get newer features like PCI-Express 5.0 and DDR5 support. The DDR5 slots can be accessed here if you ever wanted to upgrade or add more memory. An open M.2 slot is also visible so you can add more storage.