Installation
Noctua is still using their SecuFirm2 mounting system which is one of the best out there when you are dealing with large coolers.
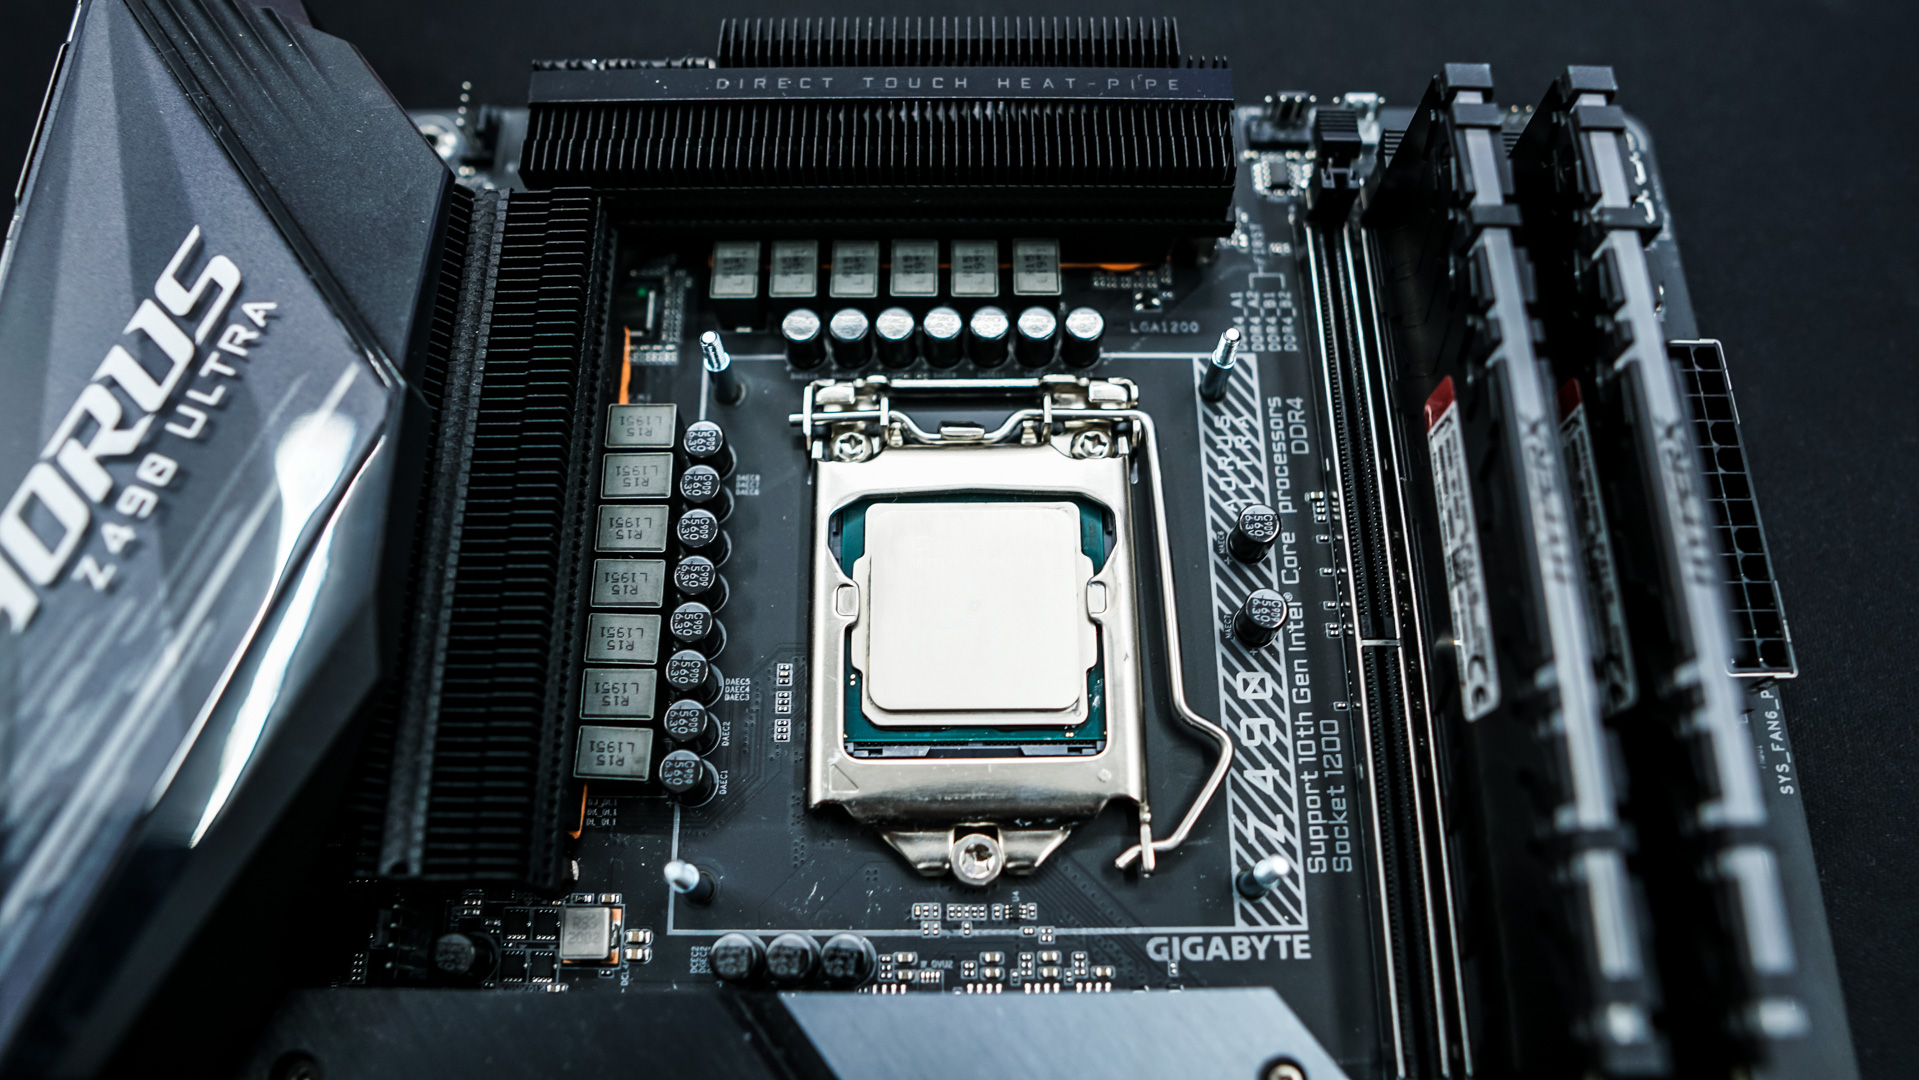
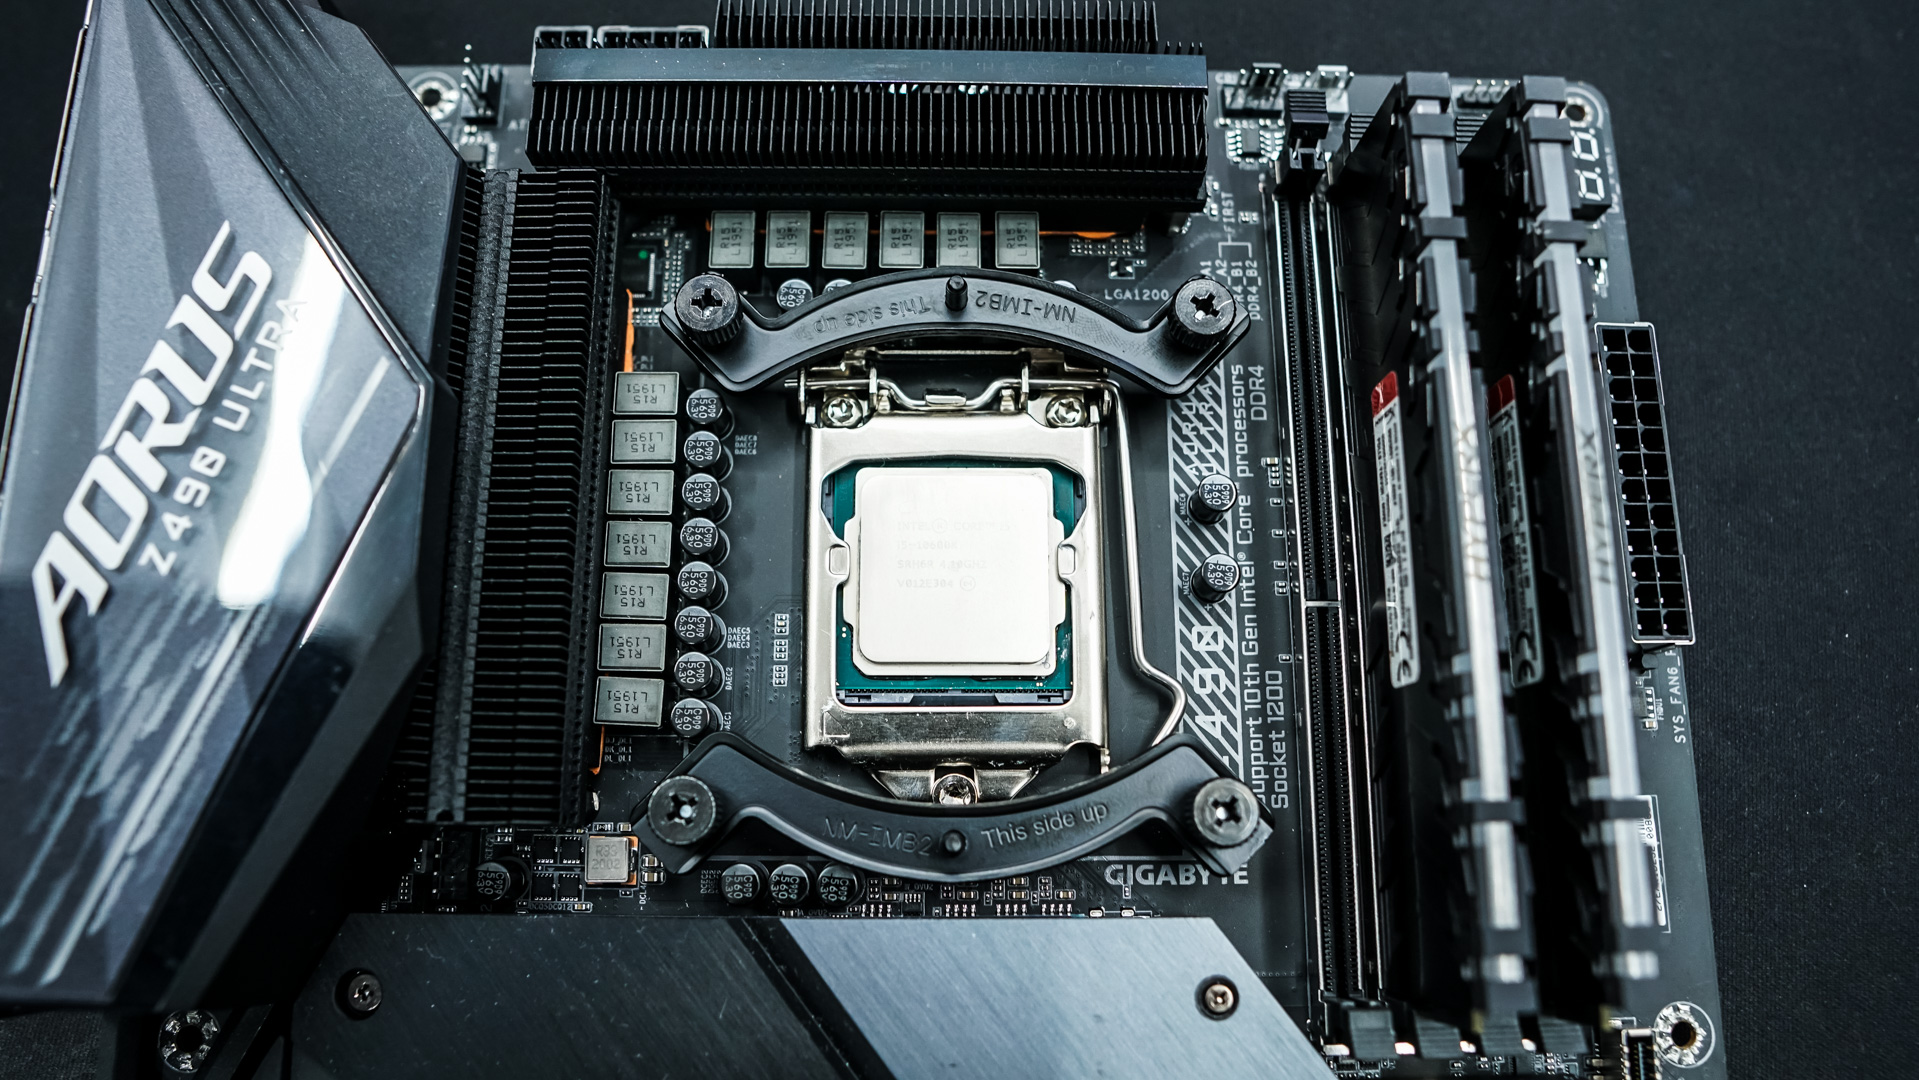
We will be doing our installation on an Intel Z490 system so this installation would be pretty much the same for Intel LGA 1200, 1150, 1151, and 1155 sockets.
The first thing you want to do is take the backplate and place it through the back of your motherboard.
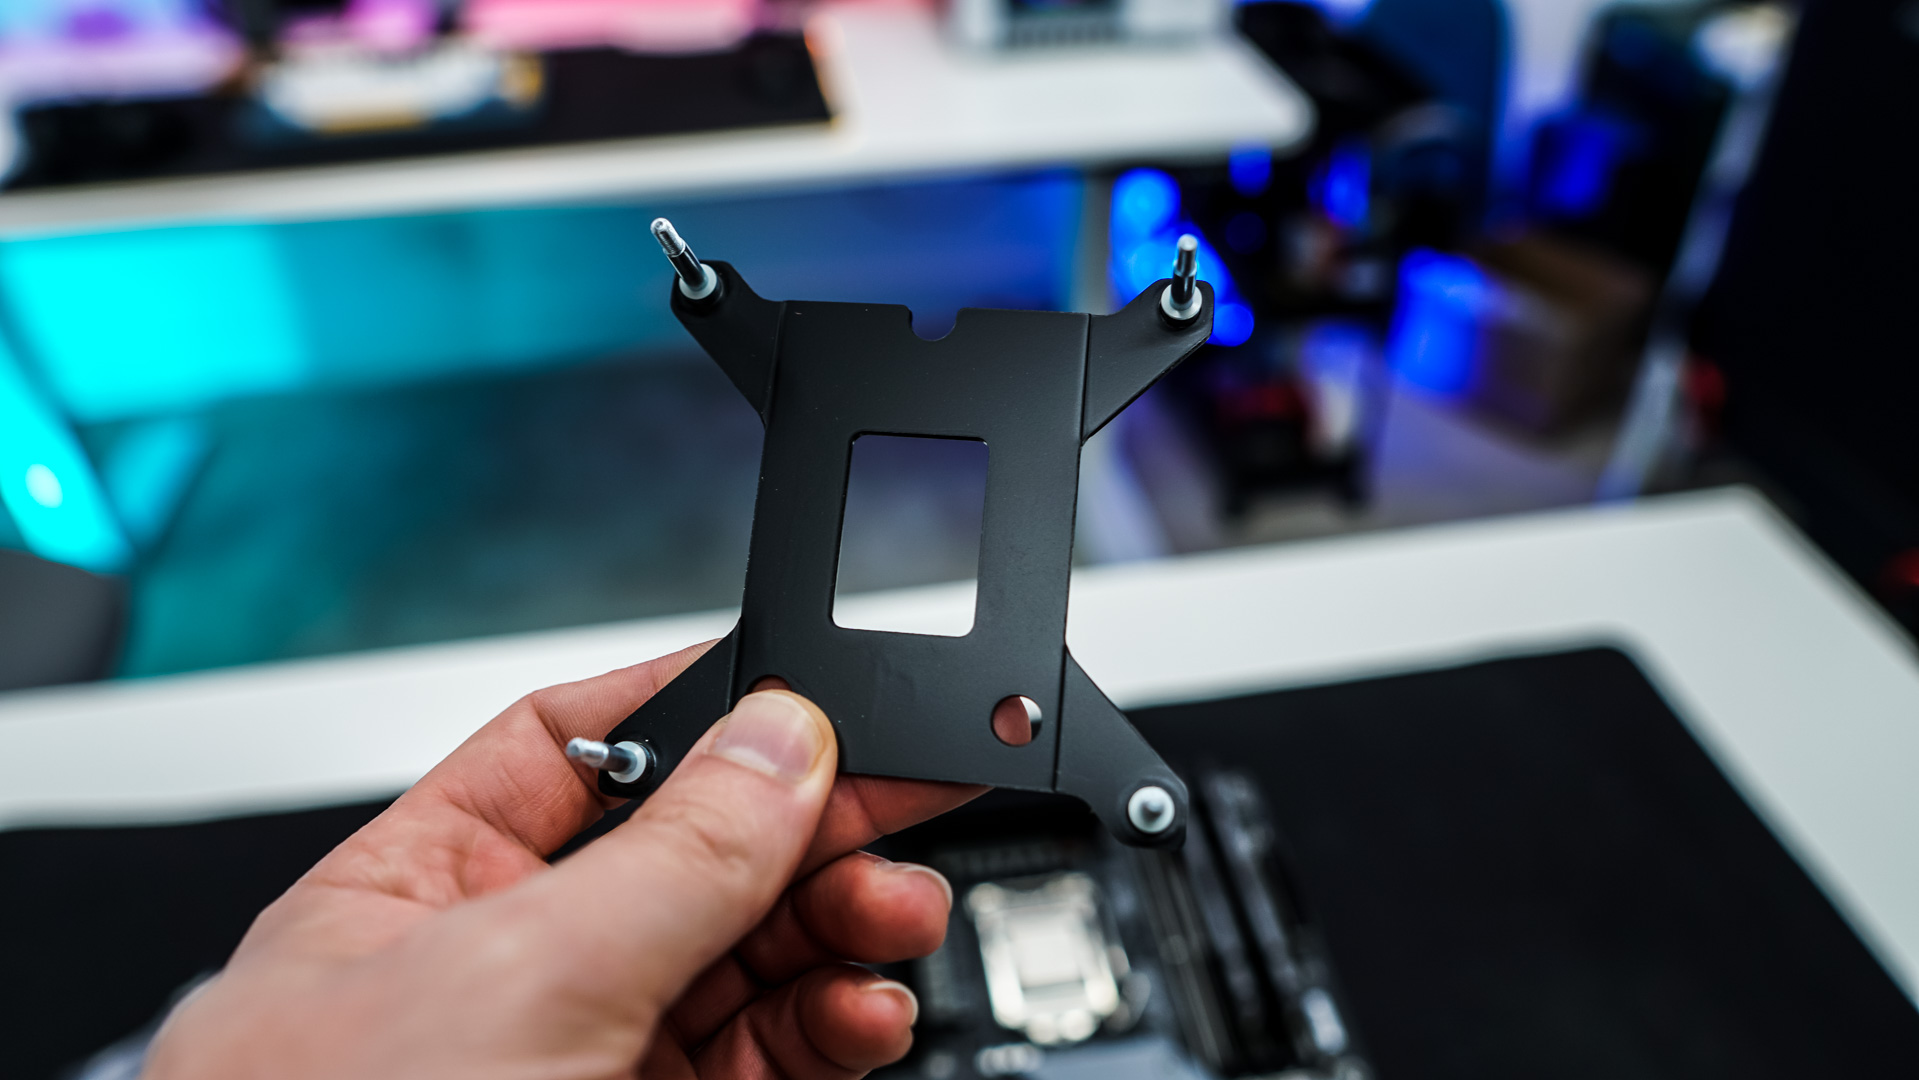
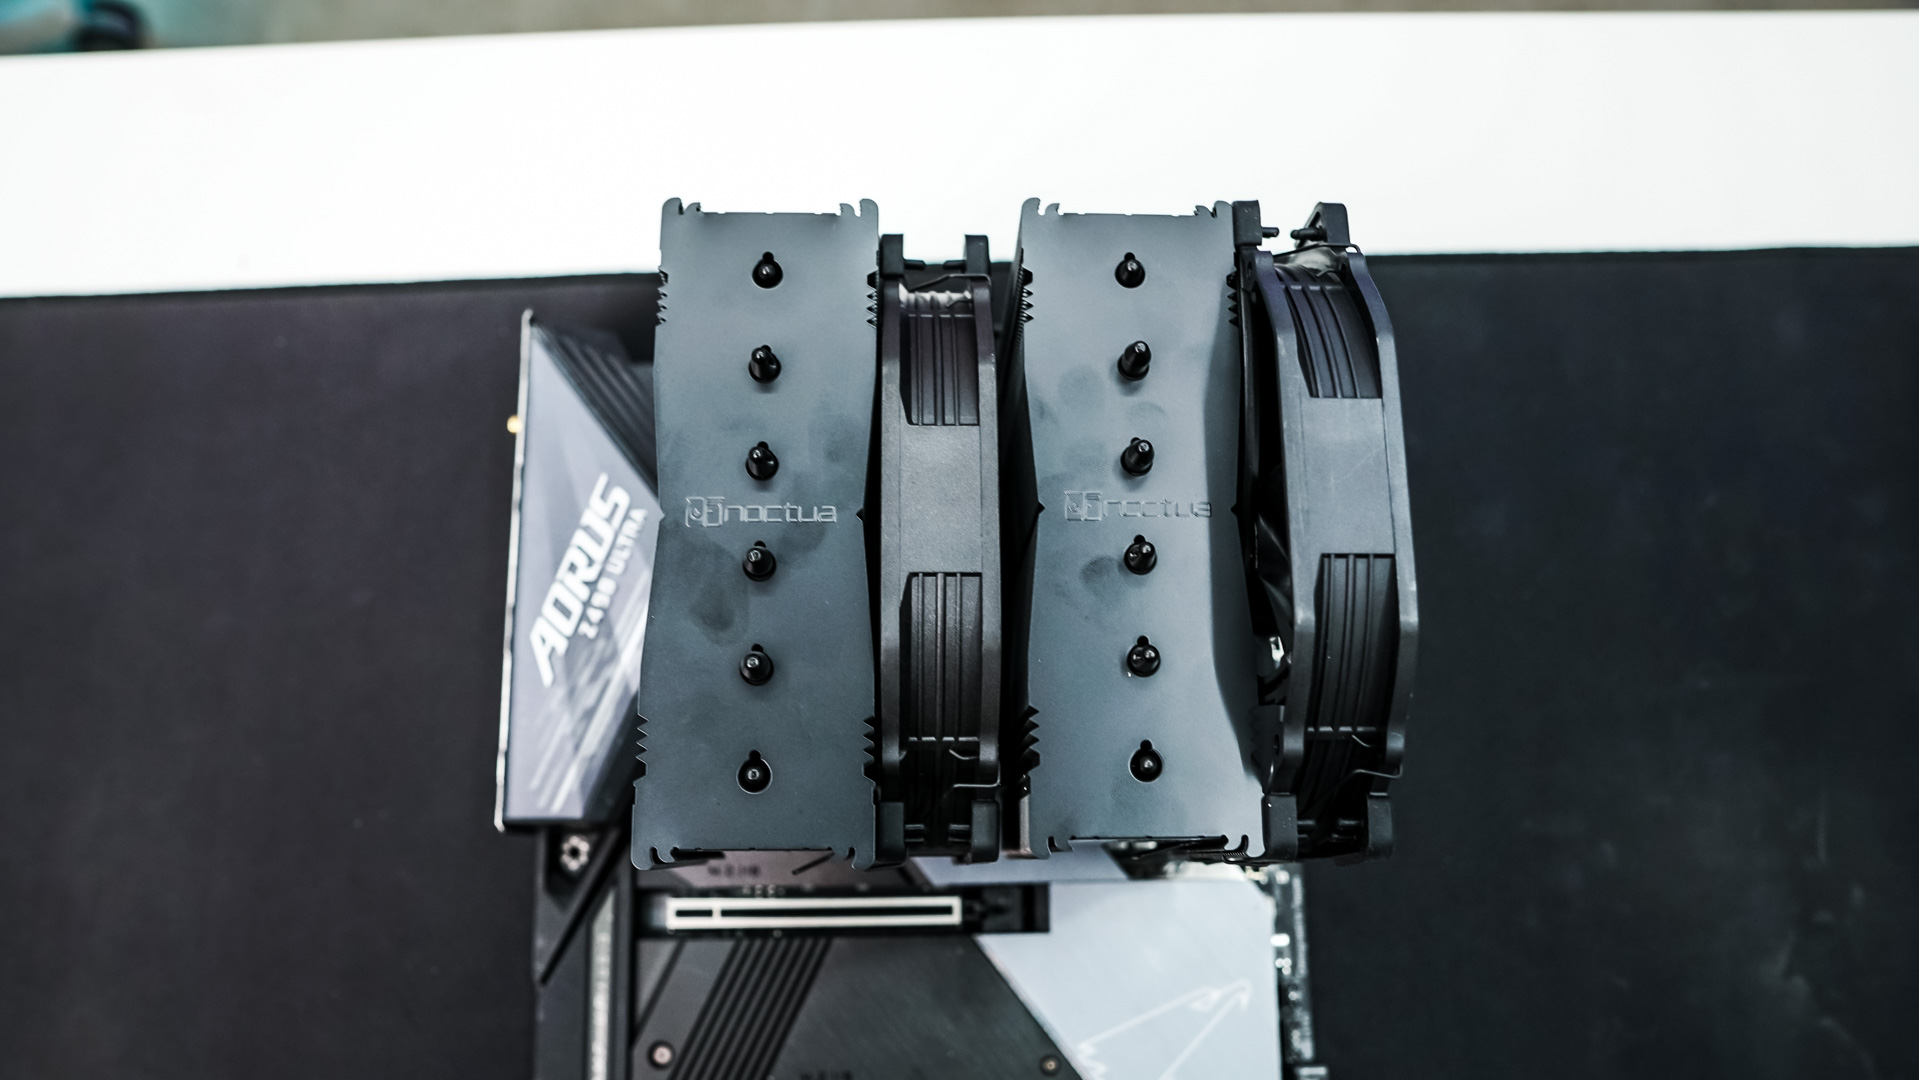
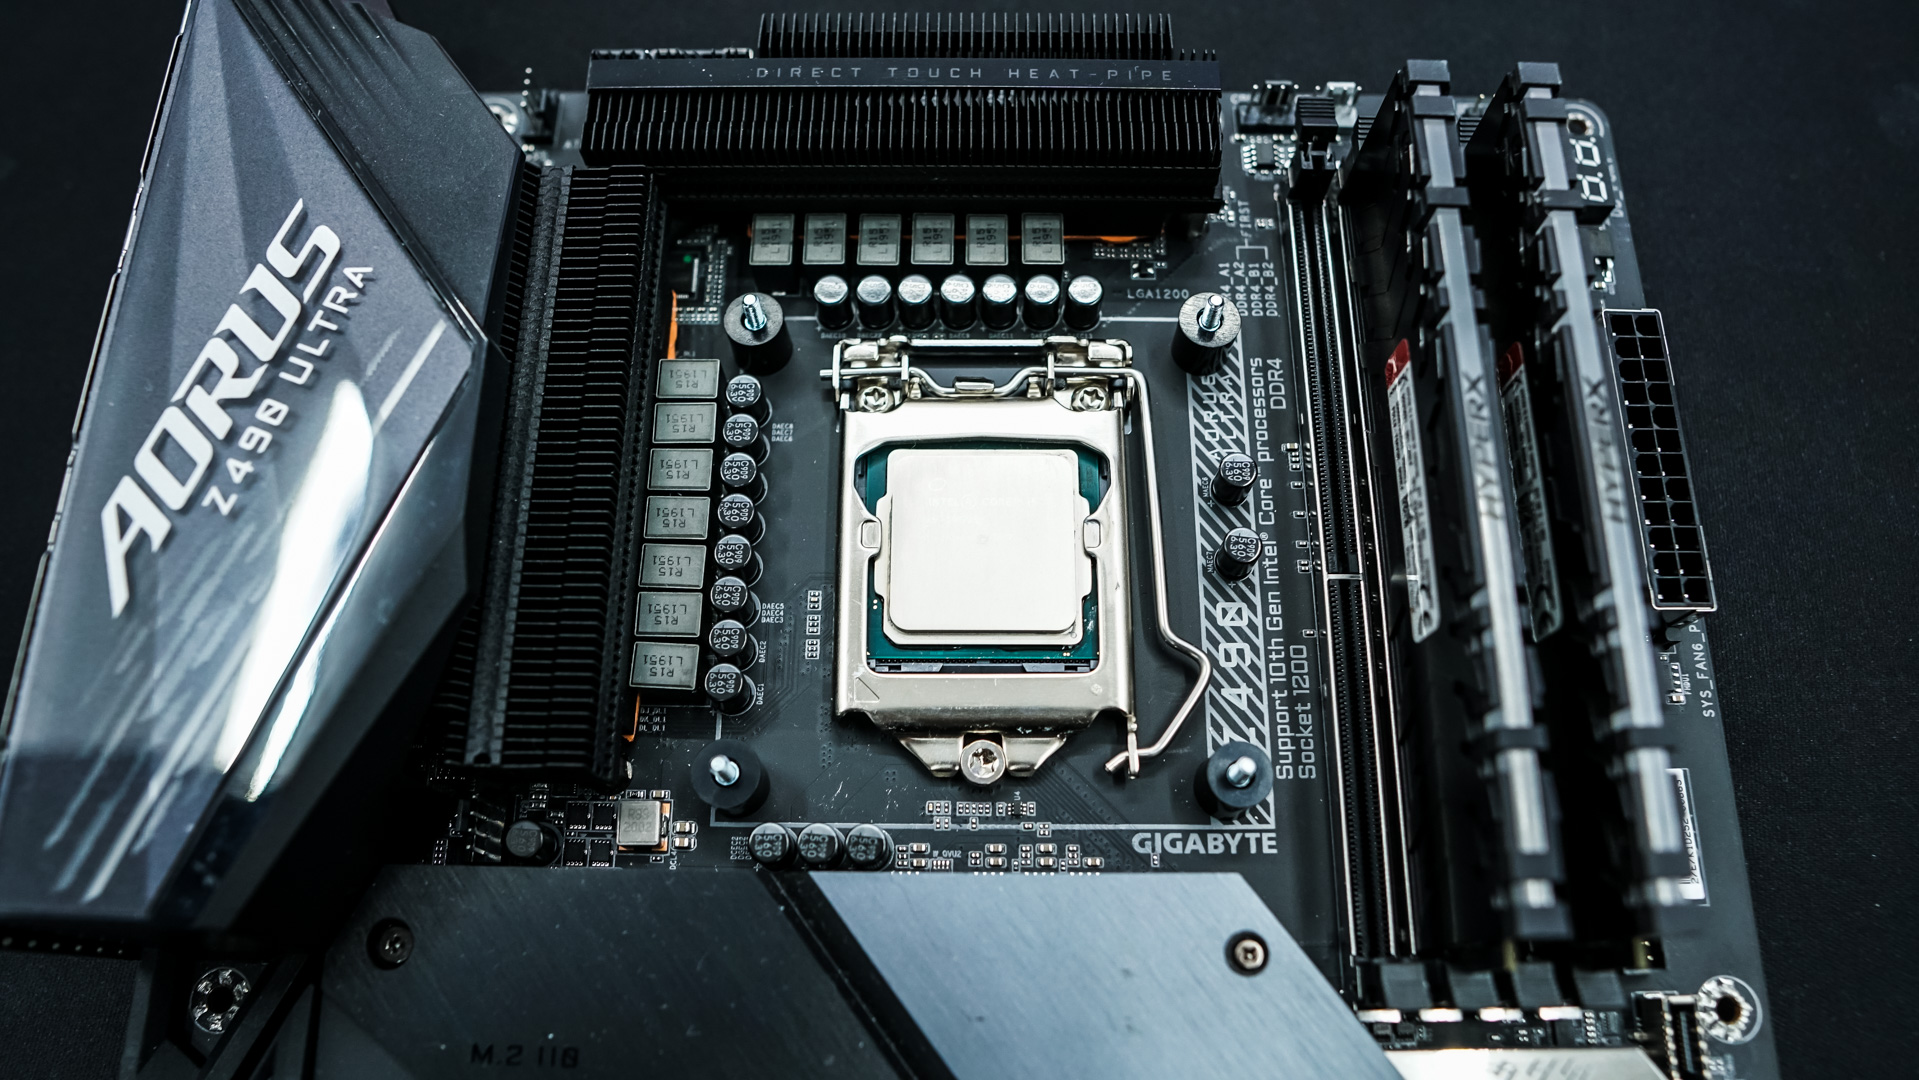
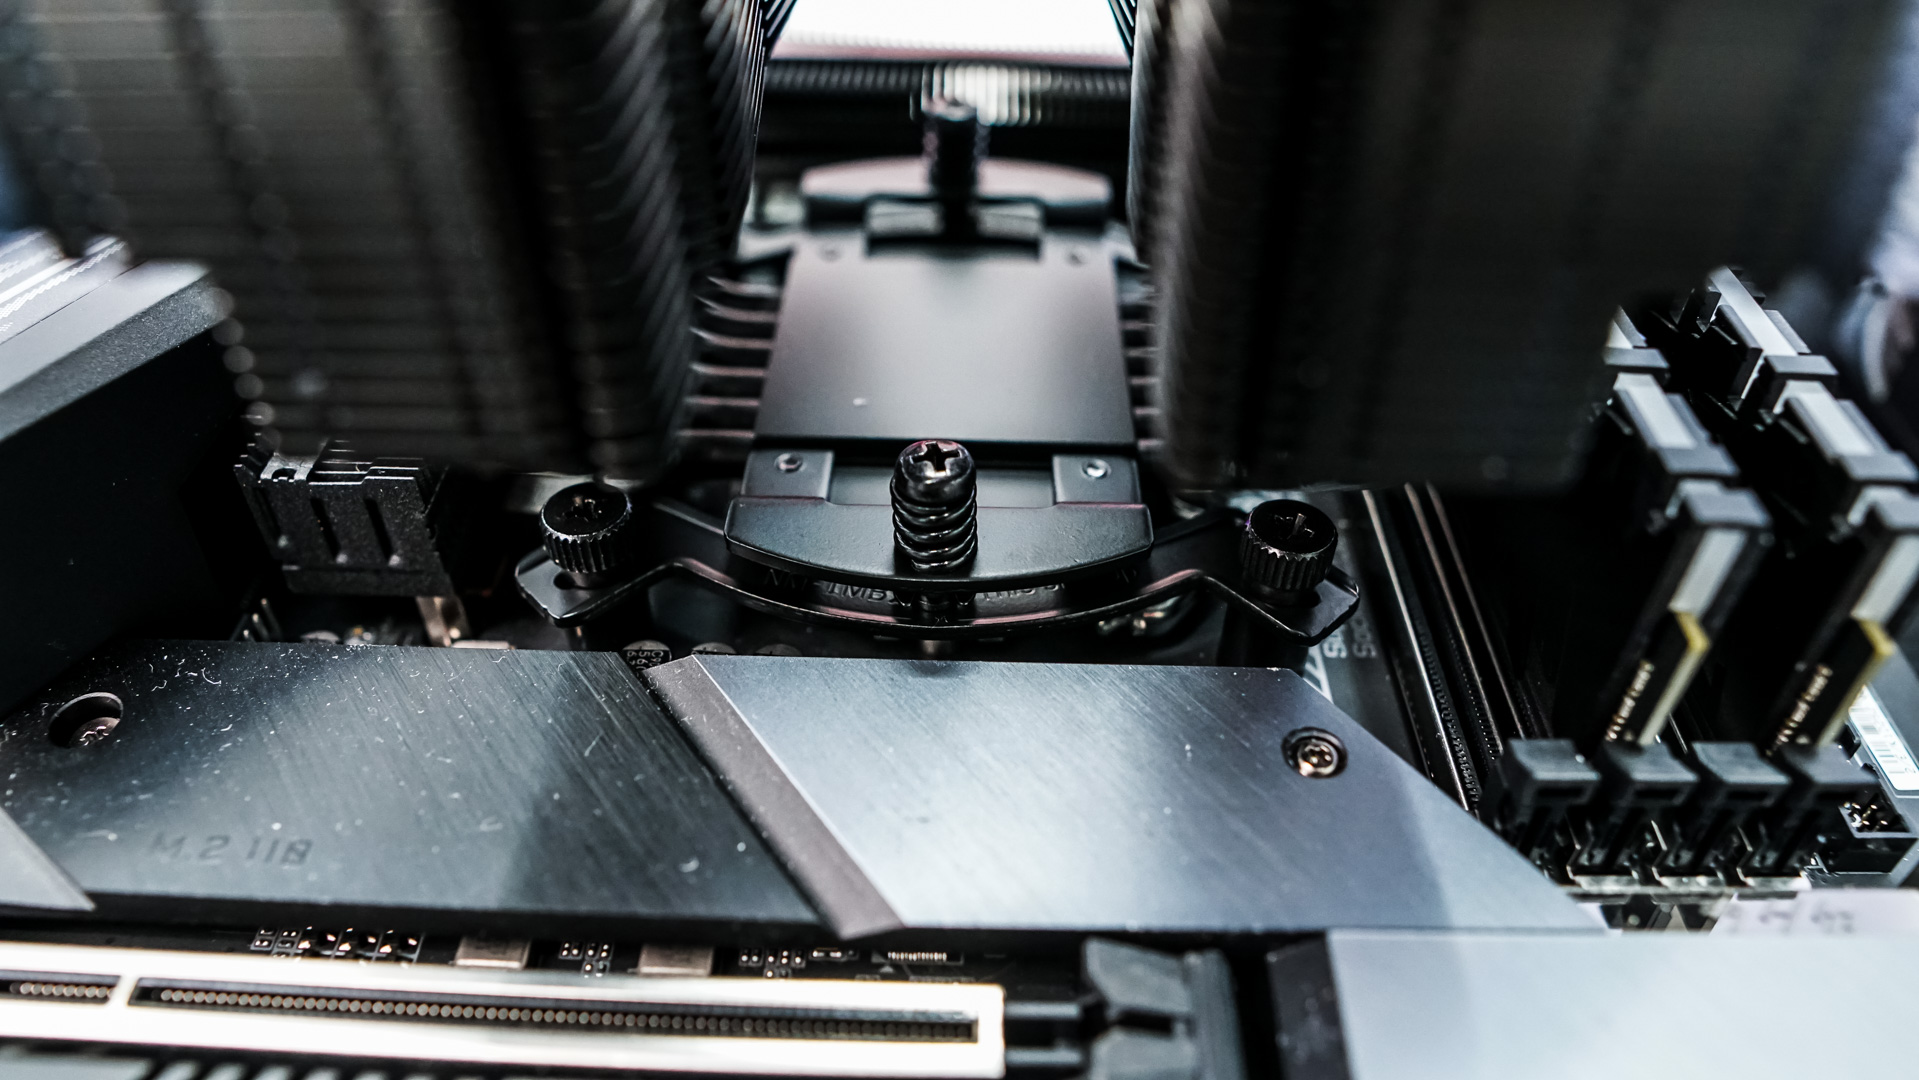
Next install the black spacers, then the mounting bars on top of them securing them with the included thumbscrews. Depending on the orientation you want the cooler you can either install the mounting bars on the top and bottom or sides of the CPU socket. The orientation you see below is to have the cooler exhausting out of the back of our case.
Apply the included thermal paste and then remove at least the center fan from the cooler. I removed both just to make things easier. Now carefully place the cooler on top of your CPU lining up the screws with the threads on the mounting bars. With the included screwdriver secure the cooler.
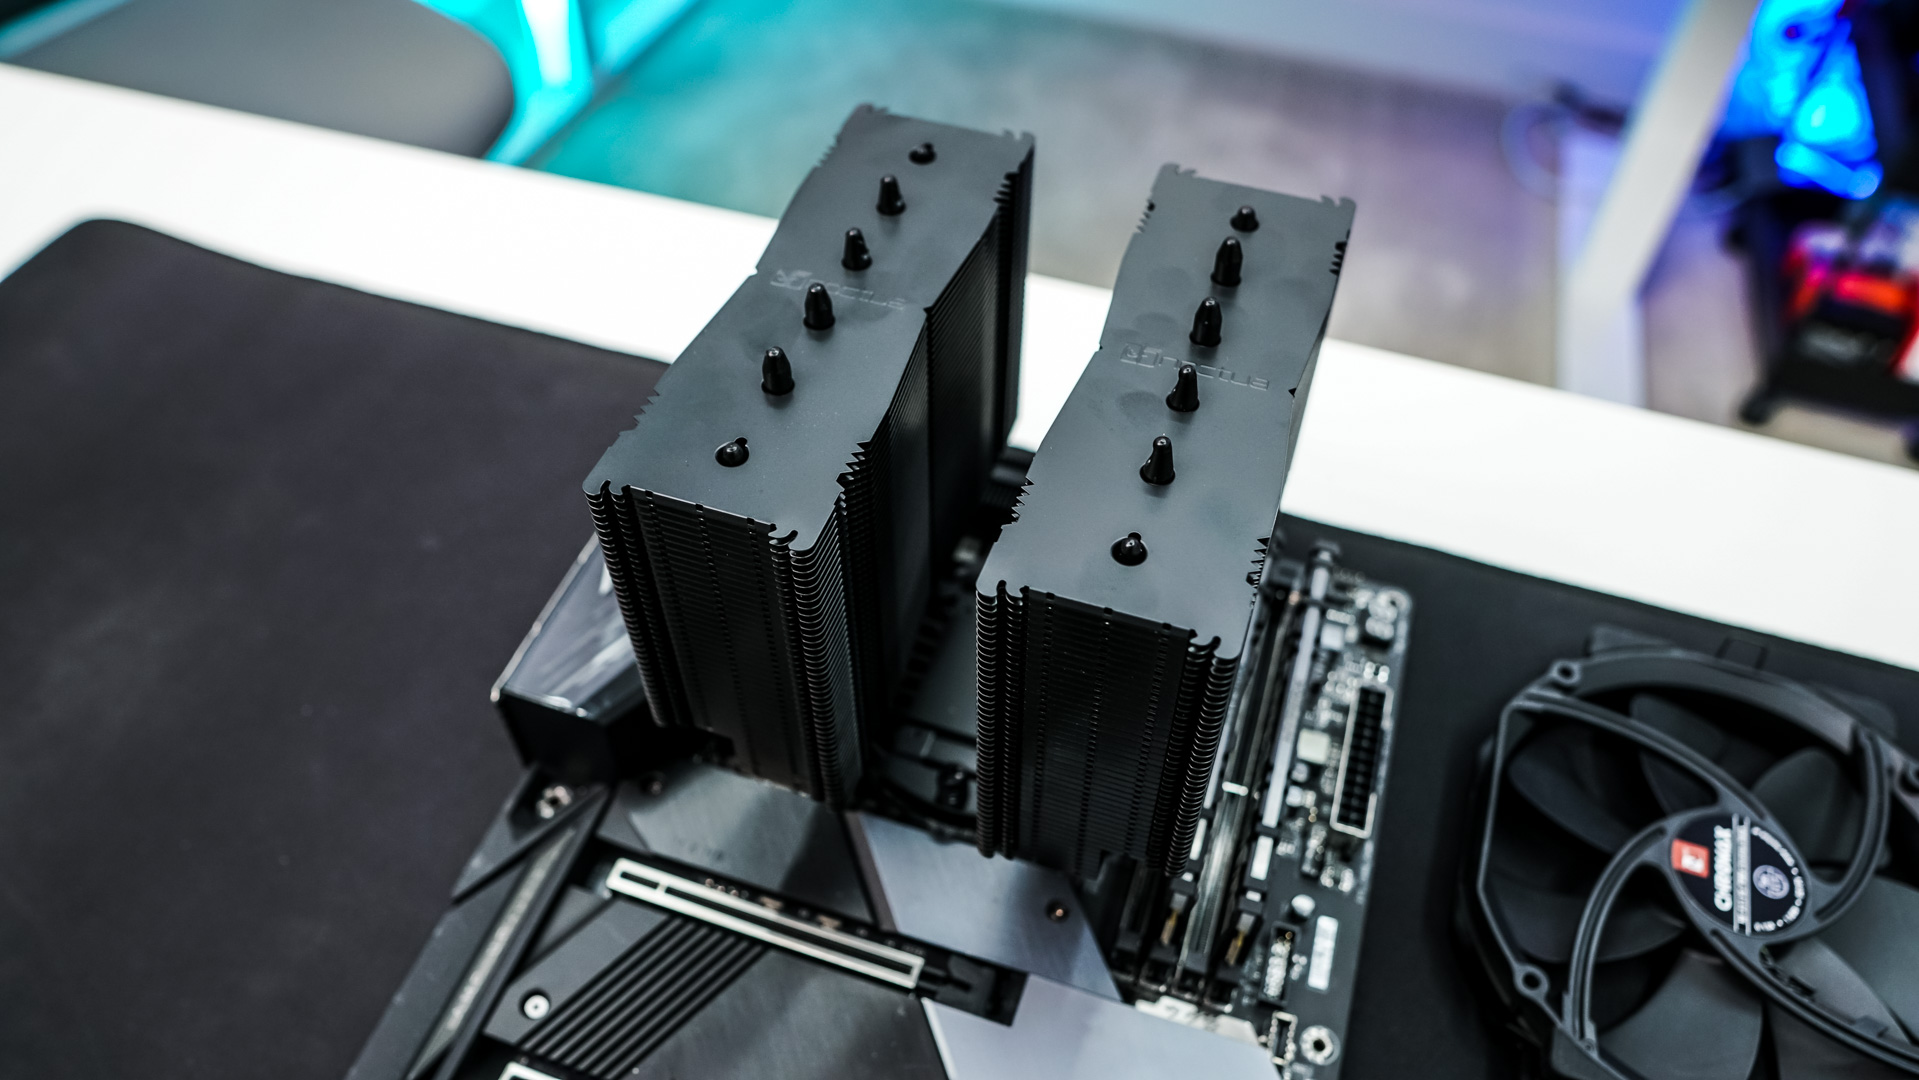
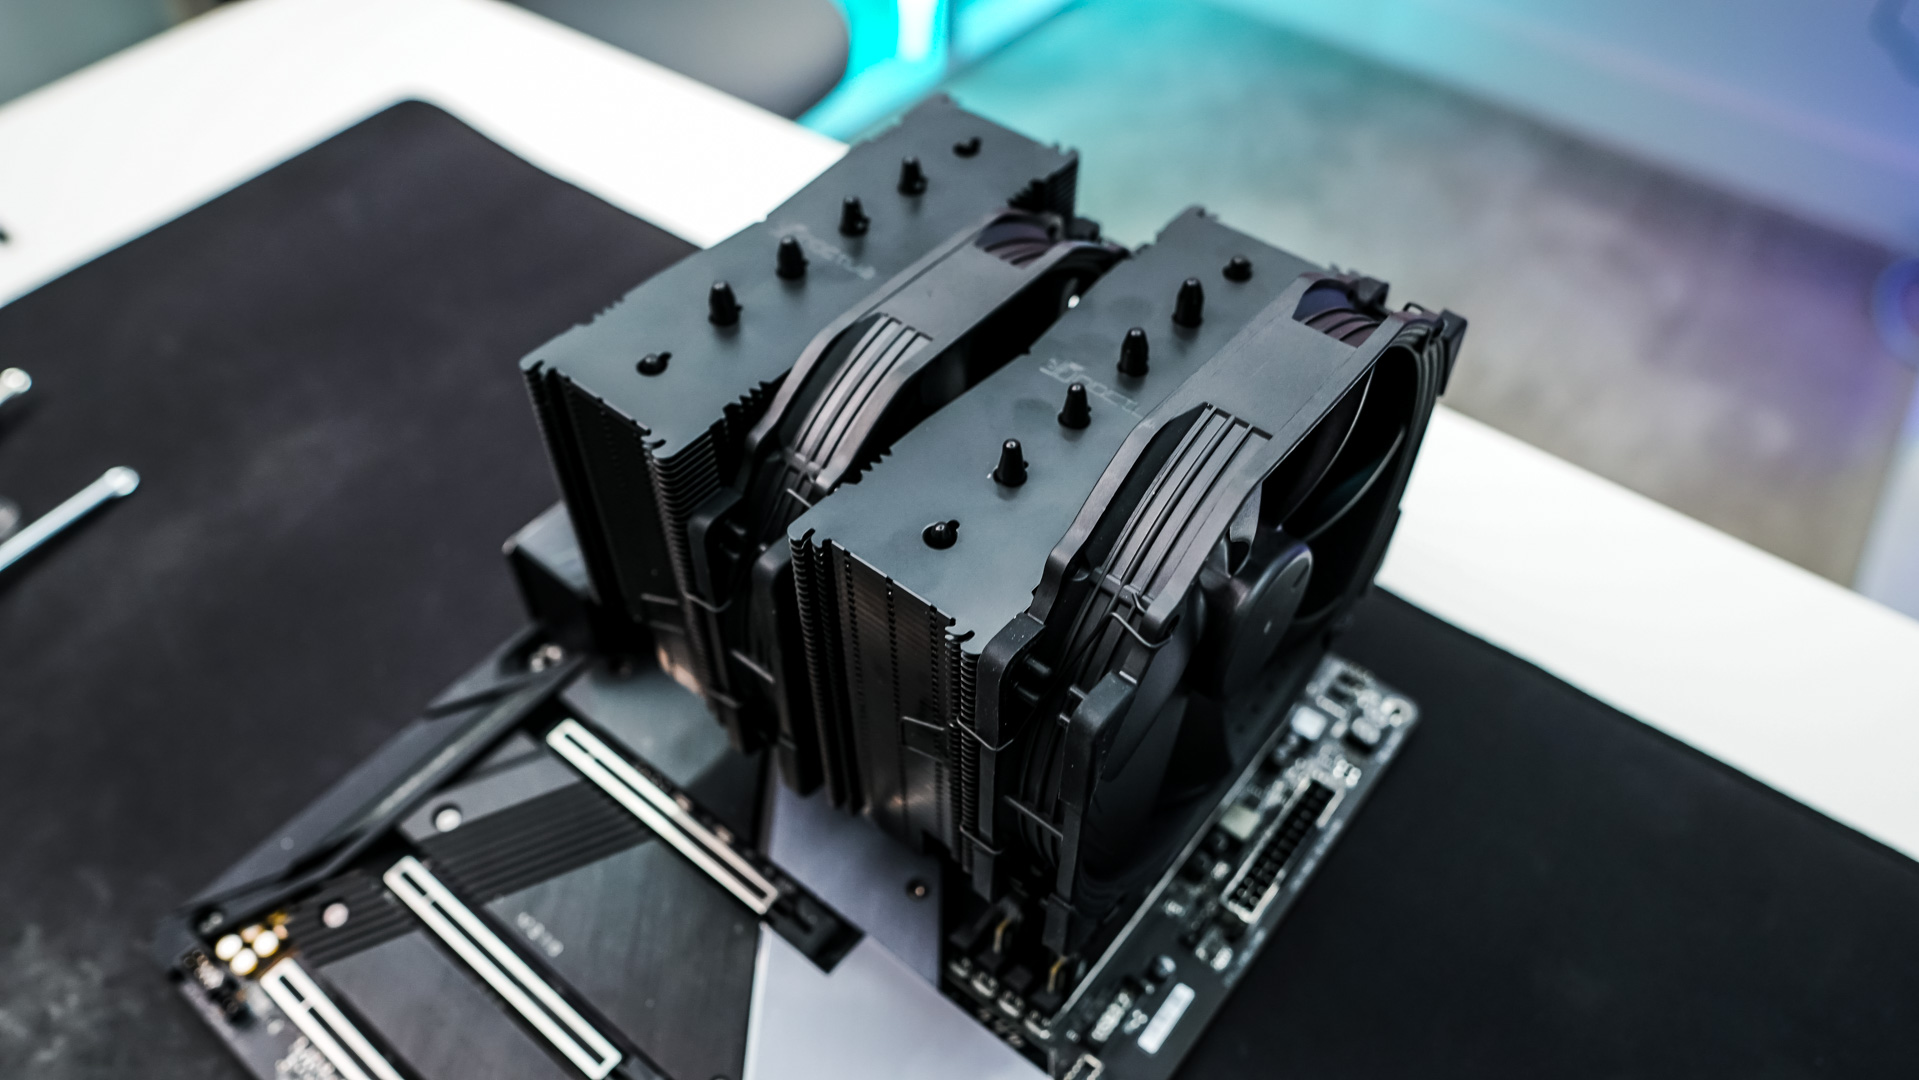
Now re-install your fans and then connect them to the supplied Y-connector. Finally connect the Y-connector to the CPU fan header on your motherboard.