Installation
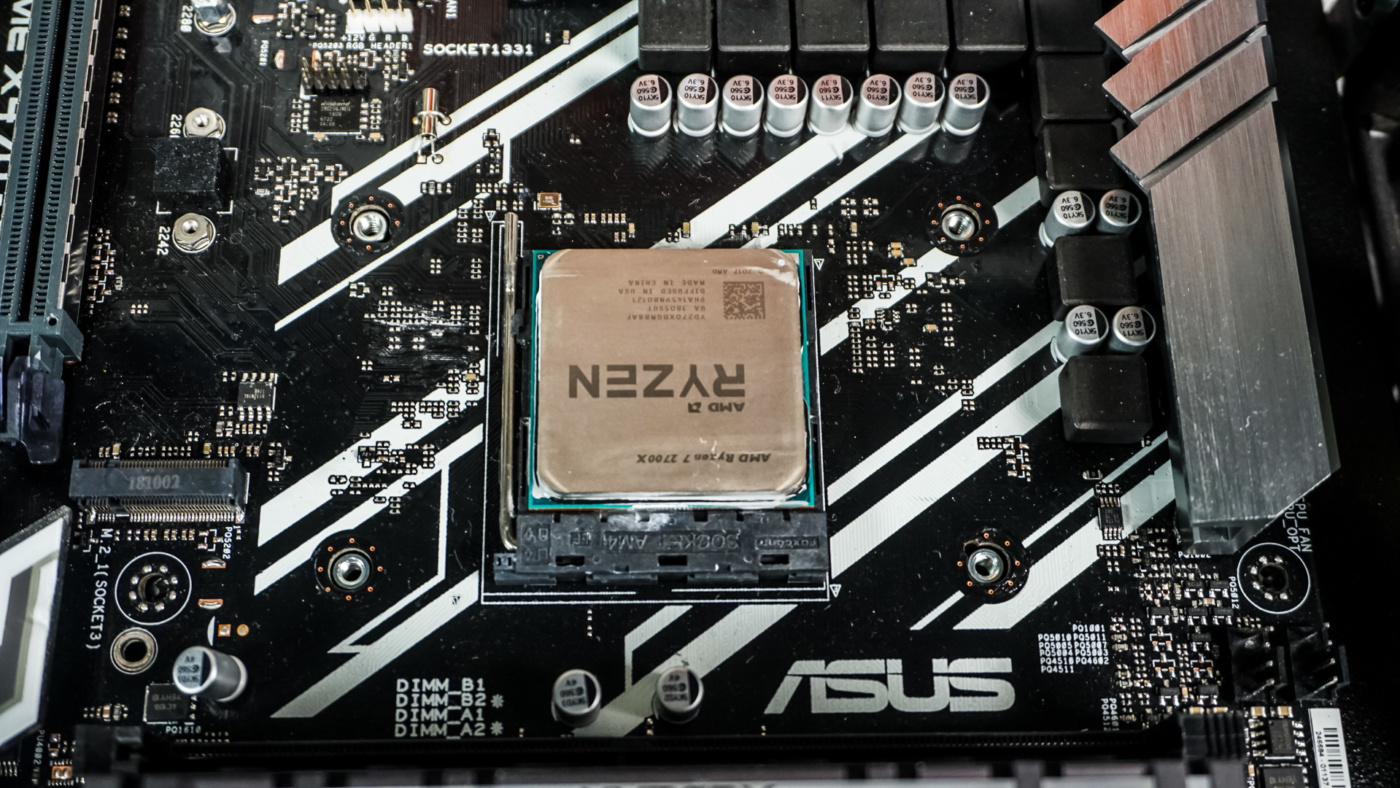
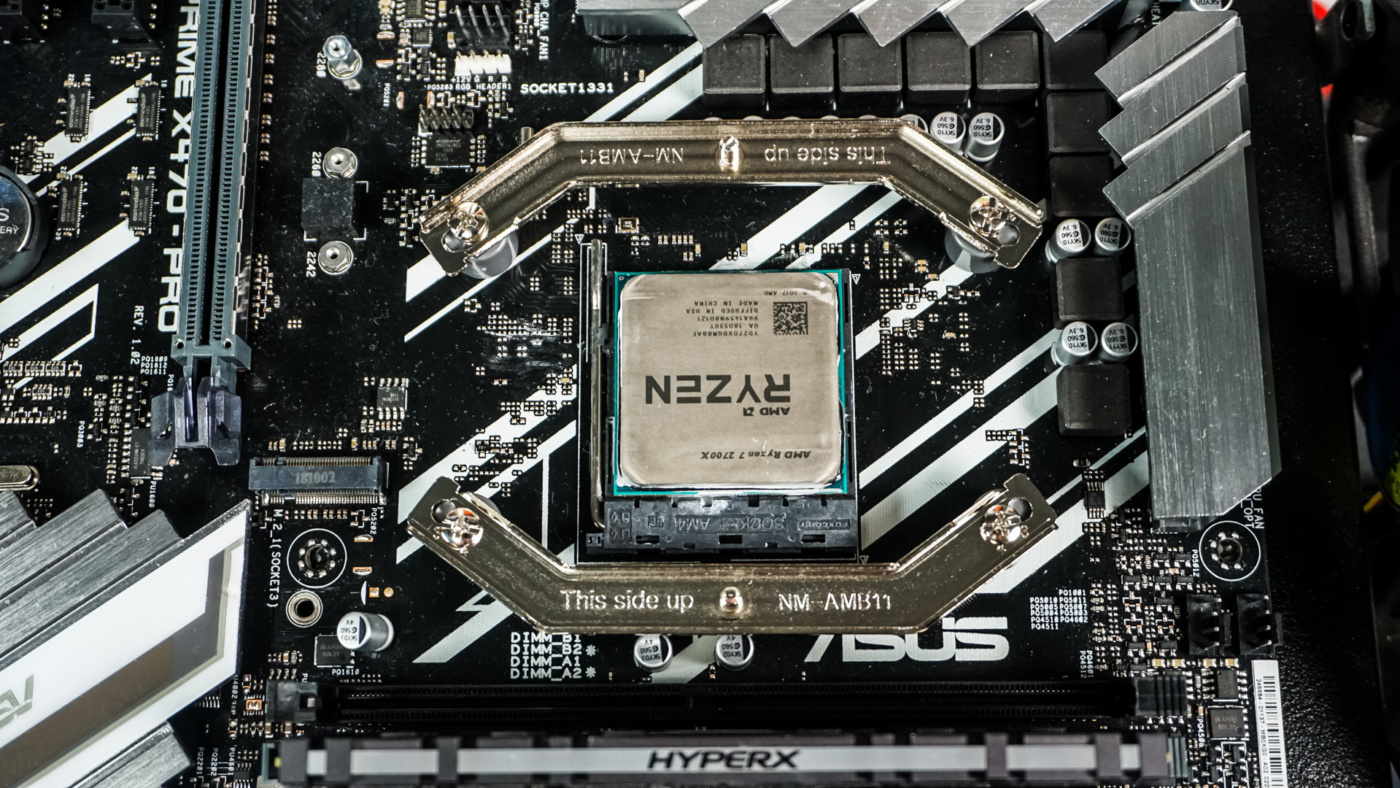
We will be installing the Noctua NH-U12A in our Ryzen system, so the following installation will be for the AM4 socket. The first thing that you are going to want to do is remove the stock retention modules on each side of the CPU socket. Keep the stock backplate in place as you’ll be mounting directly to it.
Now you’ll want to install the mounting bars. There is a specific set of mounting bars and plastic spacers for AM4. Place the spacers on top of the holes in your motherboard and screw in the mounting bars. For AM4 the ends need to be facing in and you’ll use the holes closest to the center of the mounting bar. The mounting bars also say “This side up” on them so you know if you are installing them correctly or not.
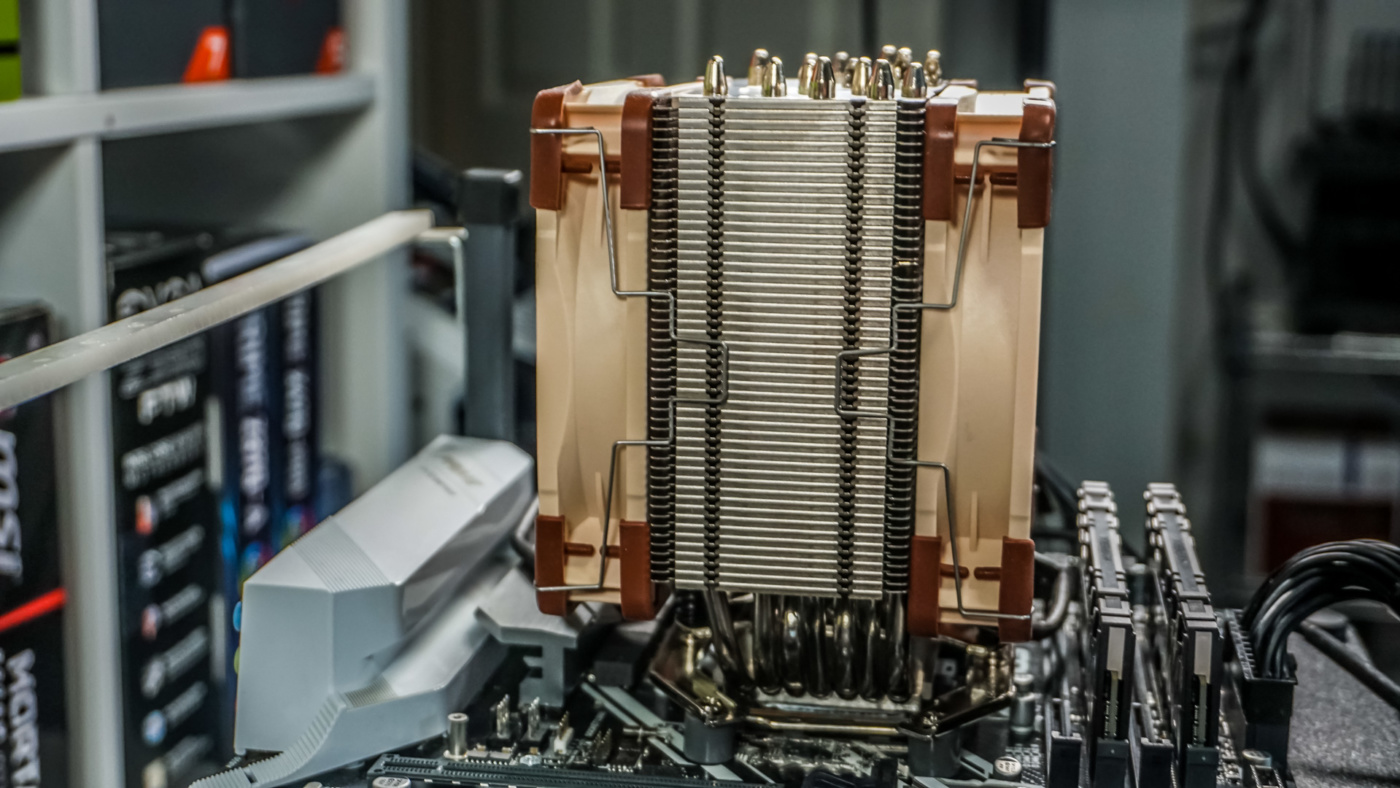
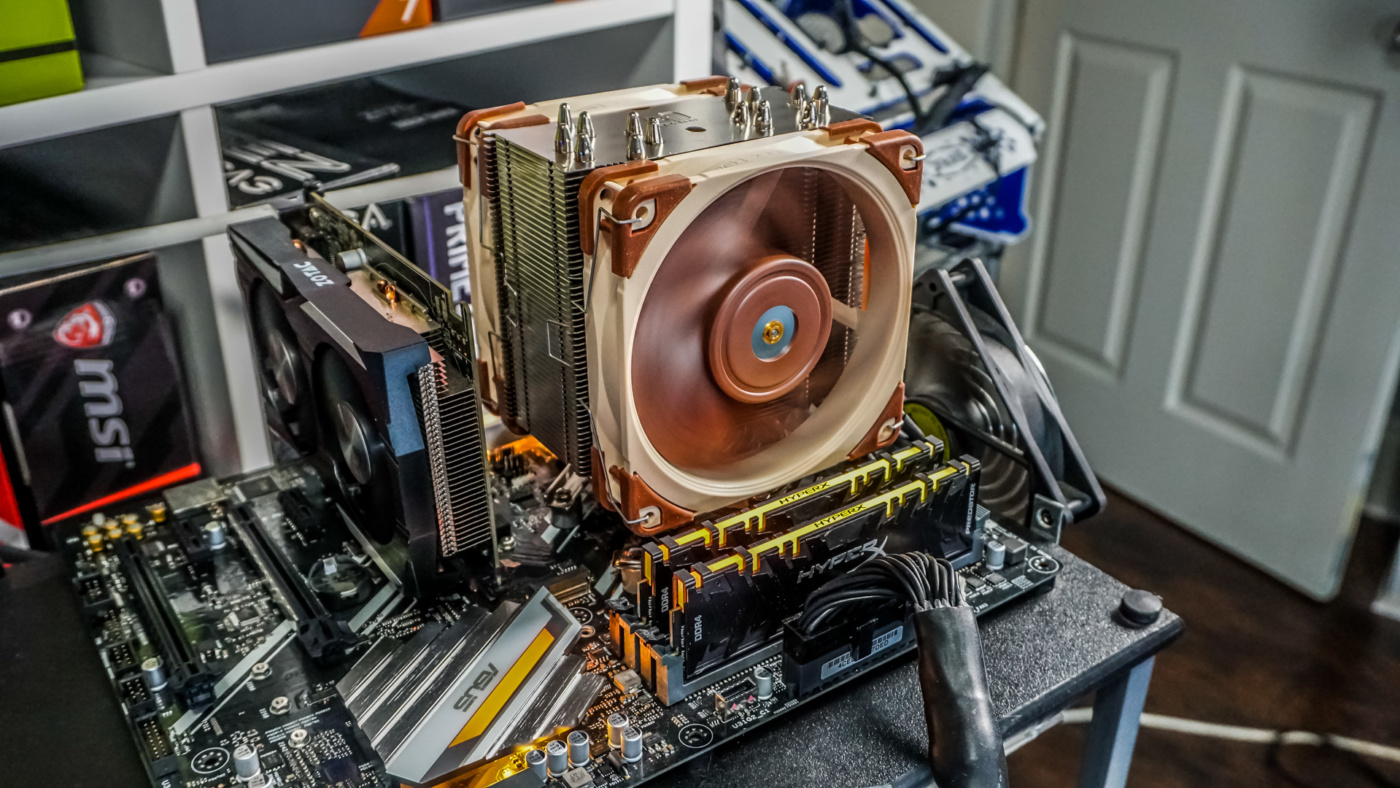
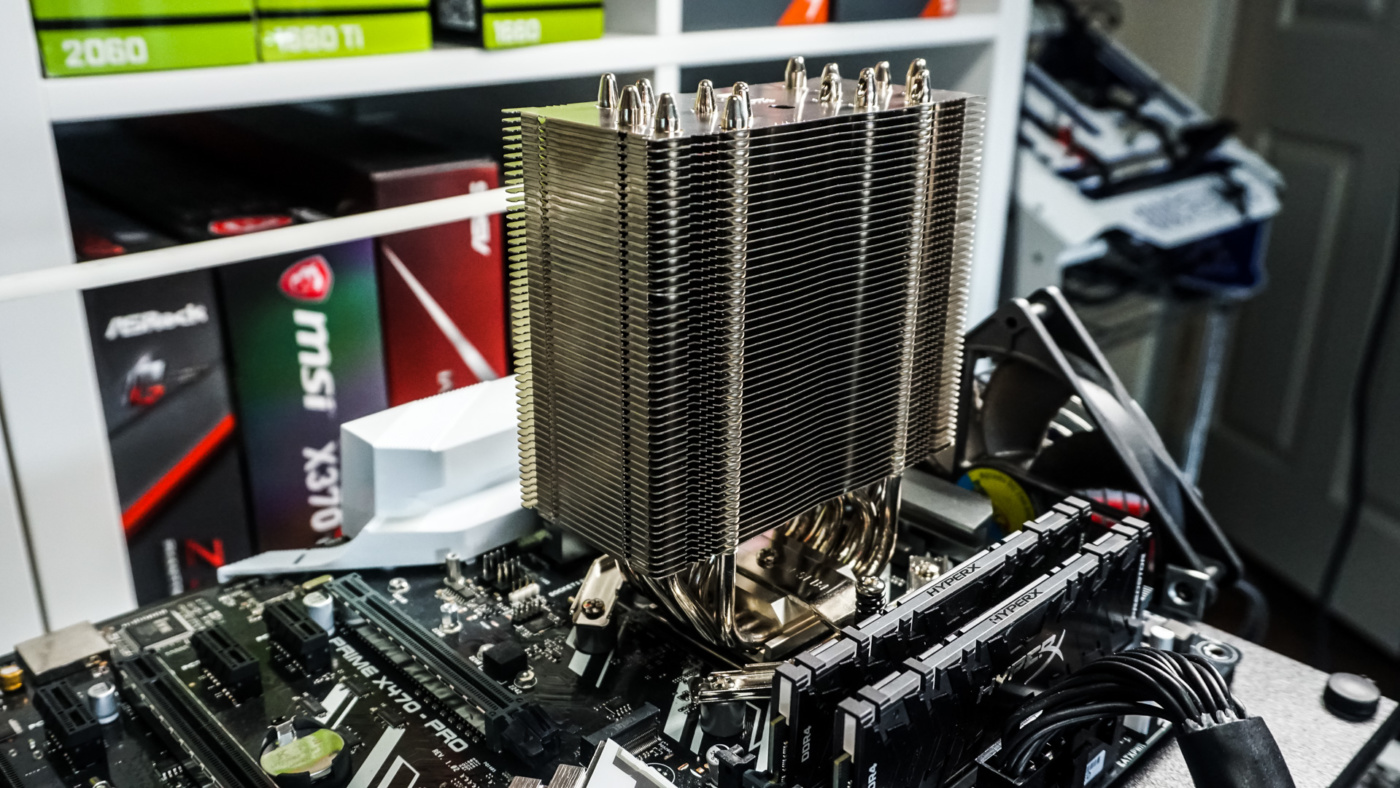
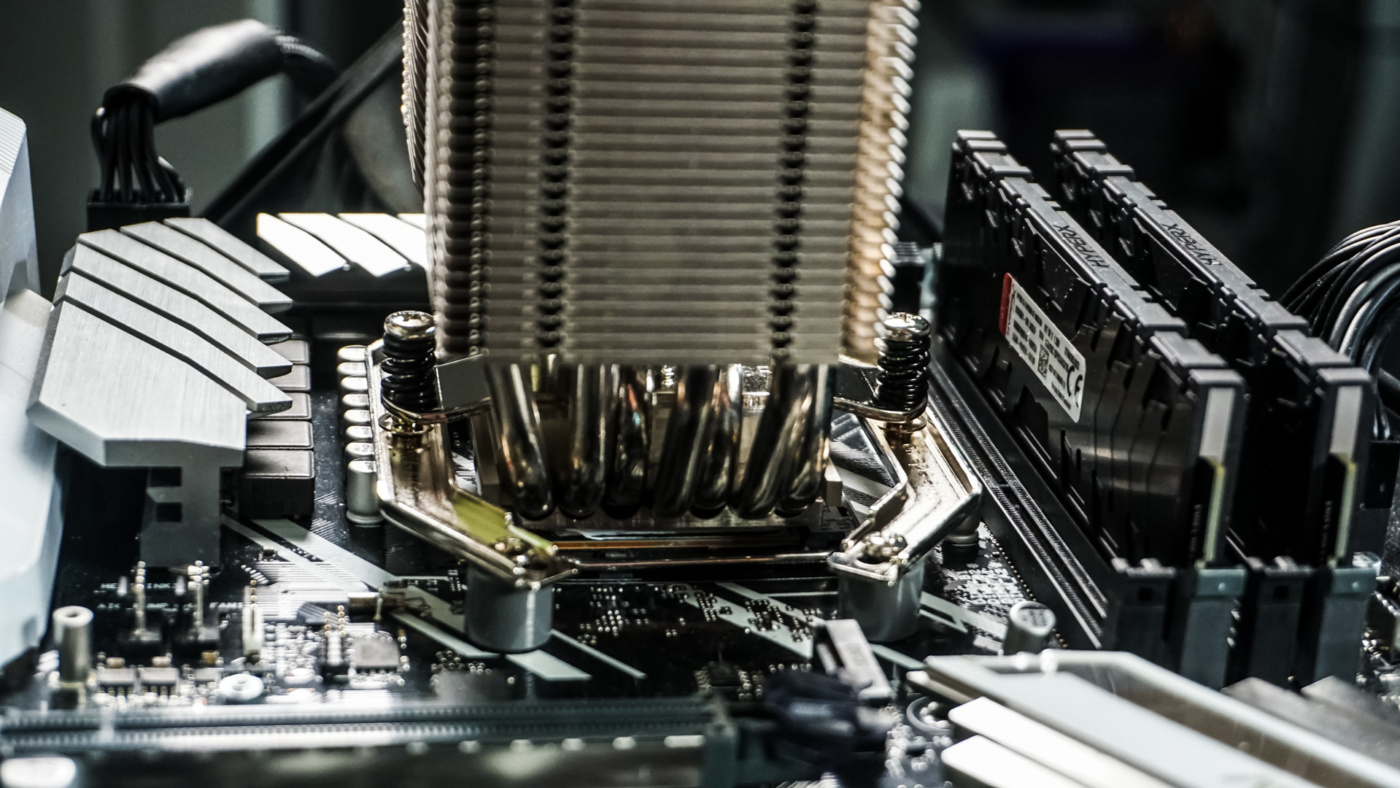
Carefully apply the included thermal paste and then remove the two fans from the heatsink. Carefully take the bare heatsink and set it on top of your CPU lining up the screws with the threads on the mounting bars. With everything lined up secure the heatsink by screwing both screws in.
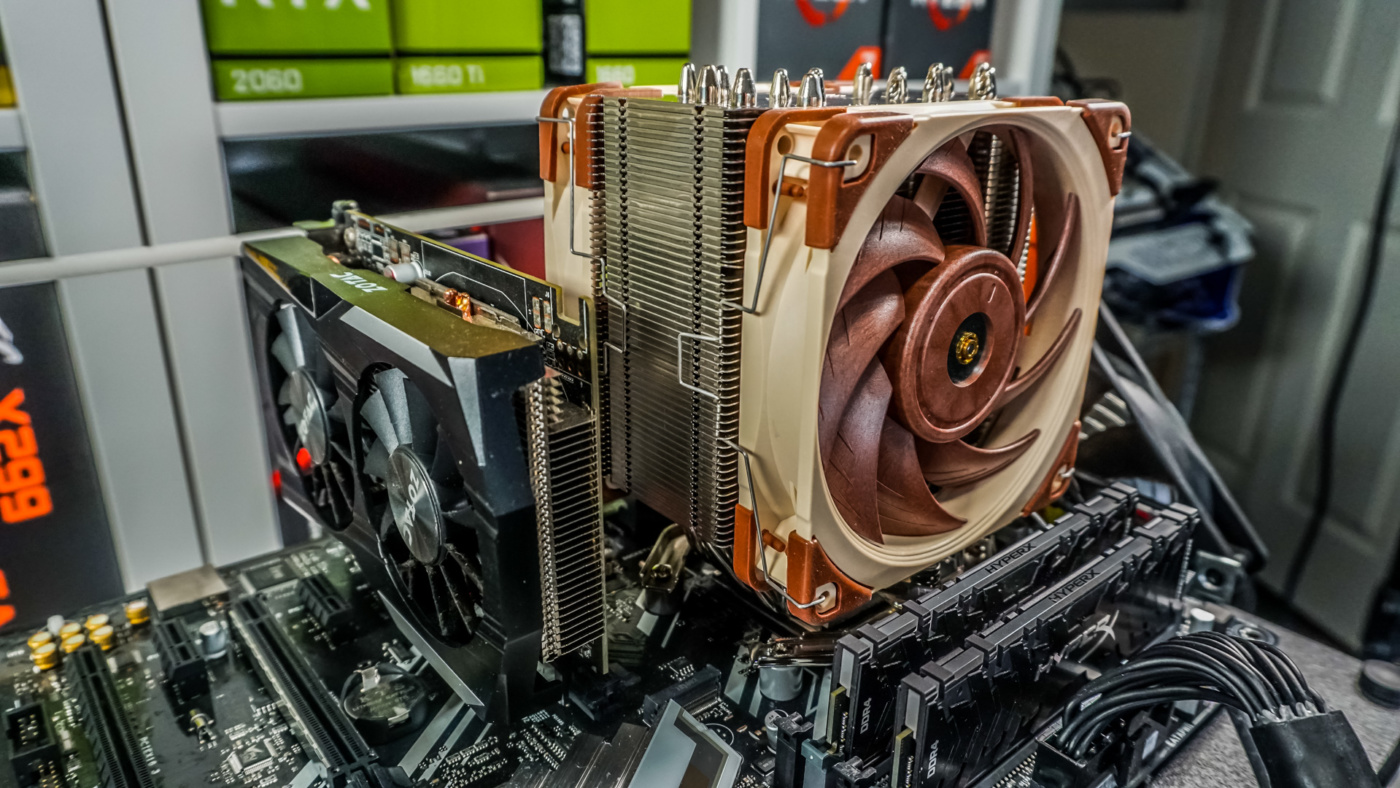
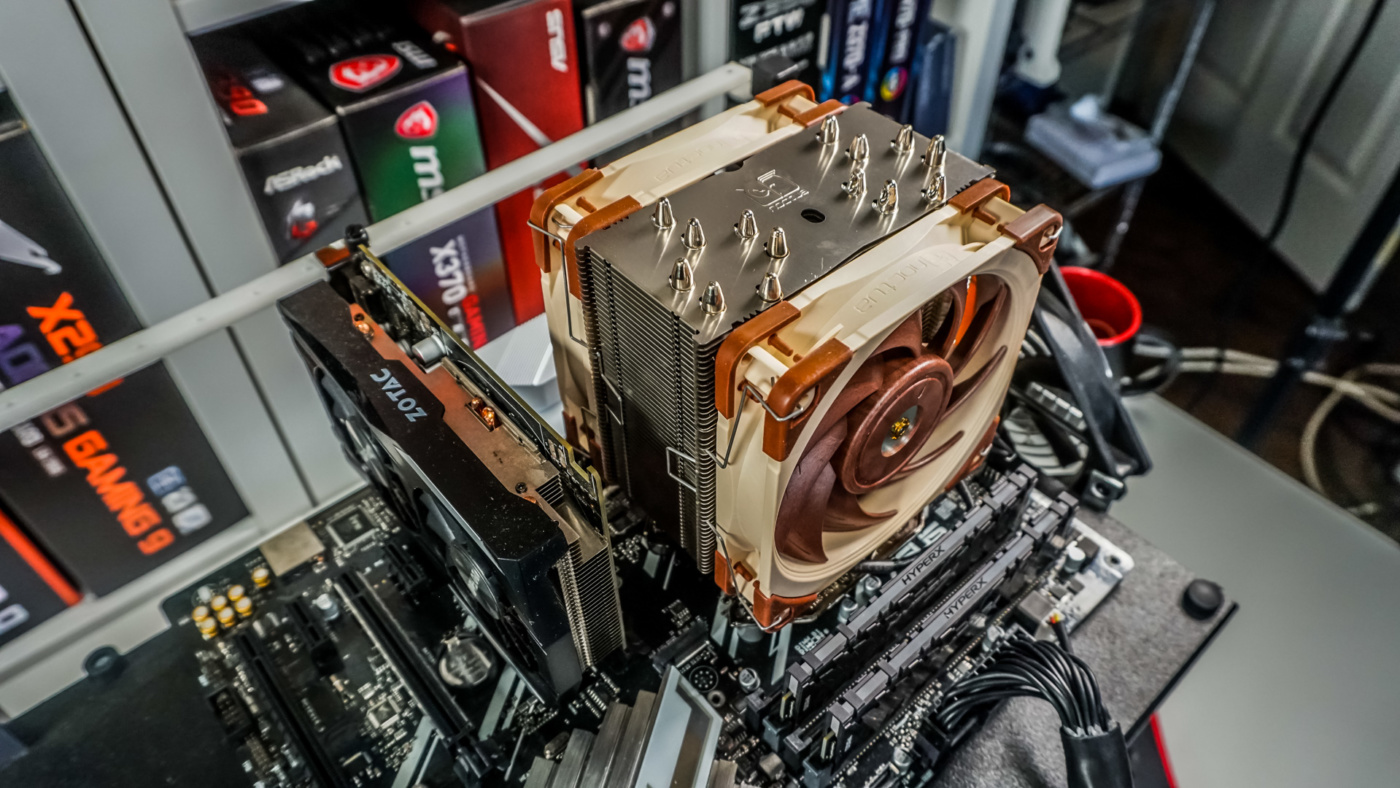
Finally re-install both of the fans and use the included Y-connector to connect them to the CPU fan header on your motherboard. With both fans installed you can see there are no clearance issues with our memory or graphics card.