A Look Inside
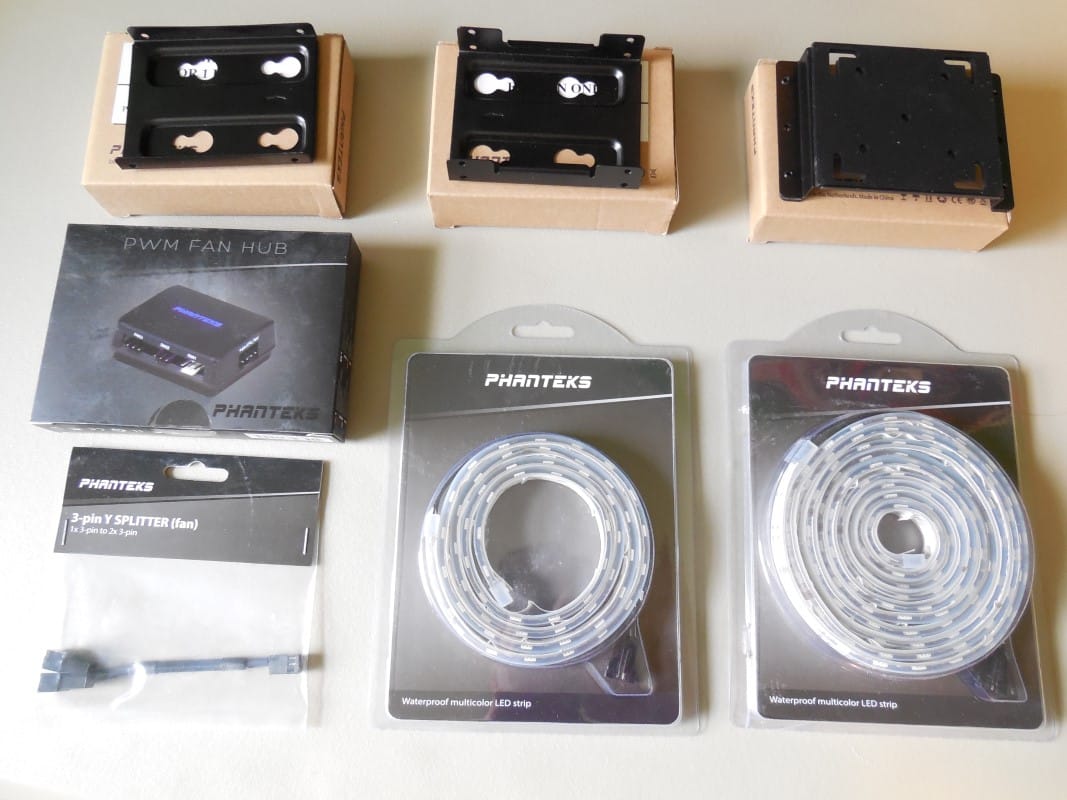
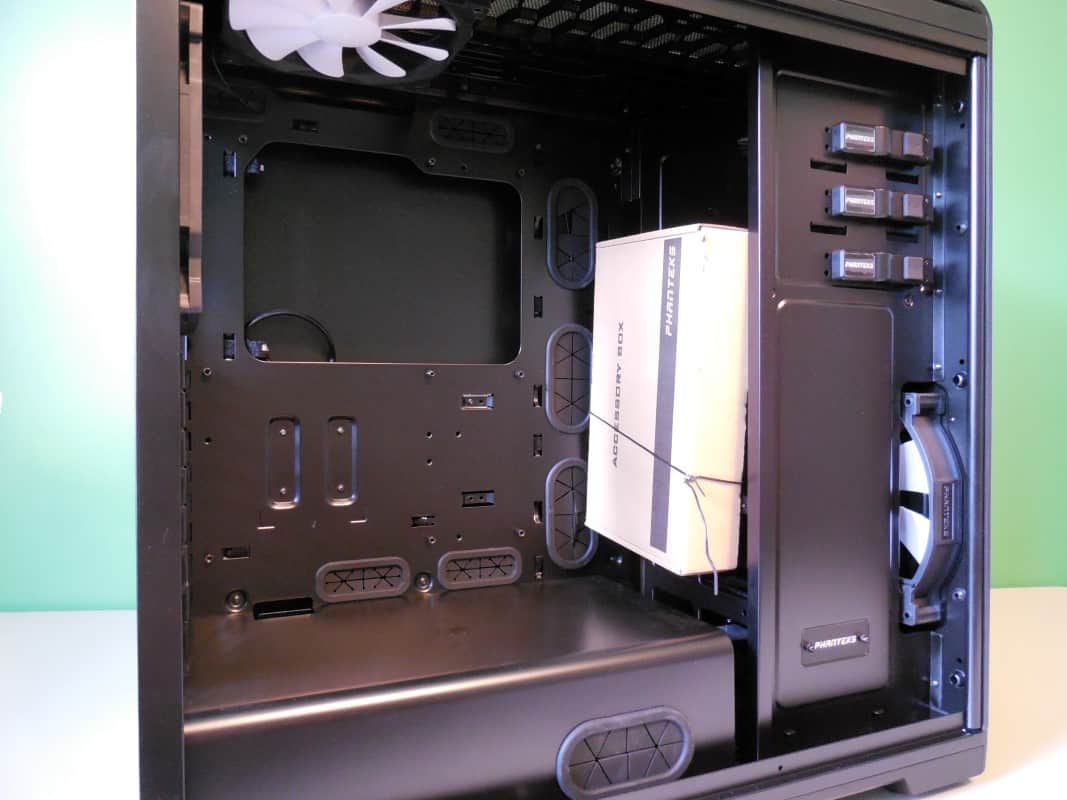
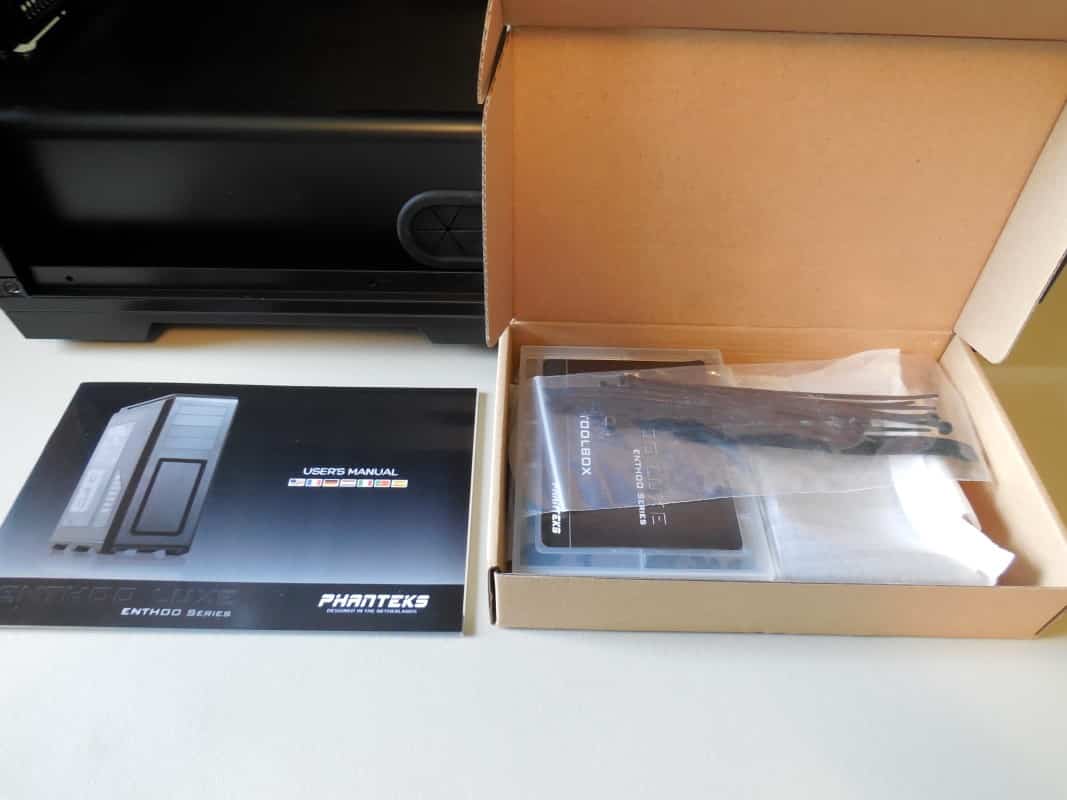
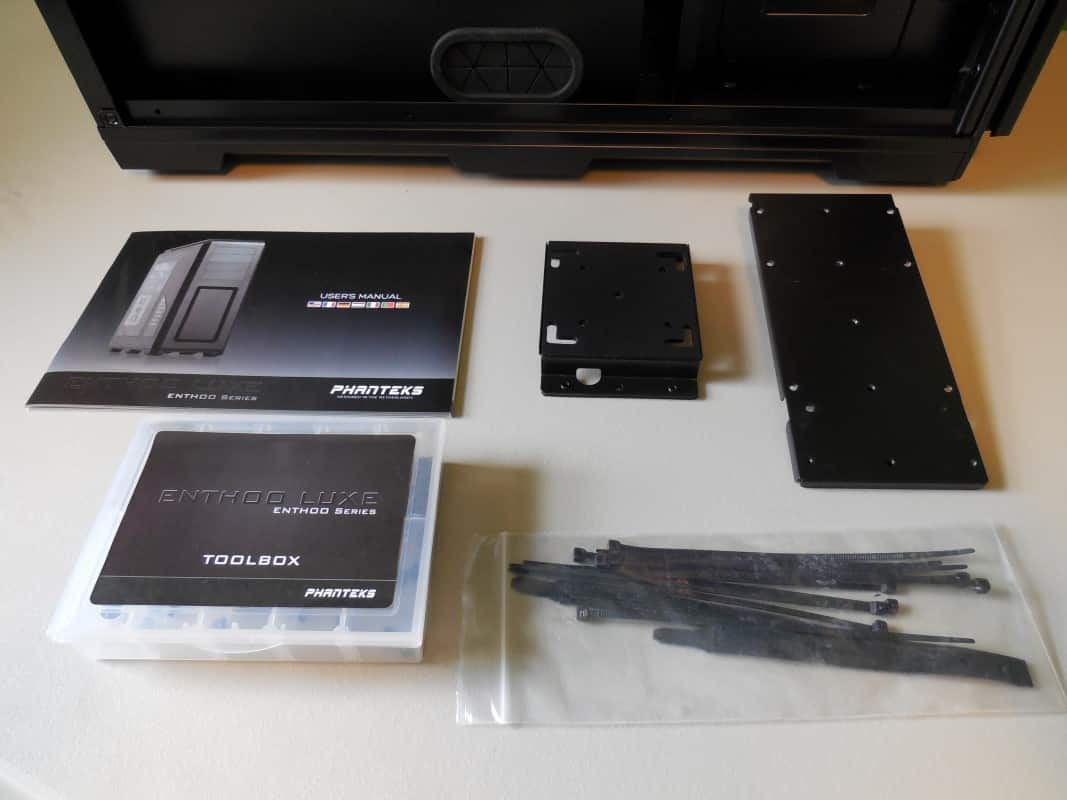
Removing the panels and moving inside you will first find the accessory box secured inside the main compartment. For accessories the Luxe comes completely equipped with everything you will need. This includes their now standard toolbox with all the spare screws you should need. Some spare velcro straps and zip ties can be found in the plastic bag. And since the Luxe has the same chassis/interior as the Pro we find the same reservoir bracket, but unlike the Pro the Luxe comes with a pump mount bracket as well. Of course you will find the typical Phanteks user manual with complete instructions for everything from basic installation to taking the chassis apart.
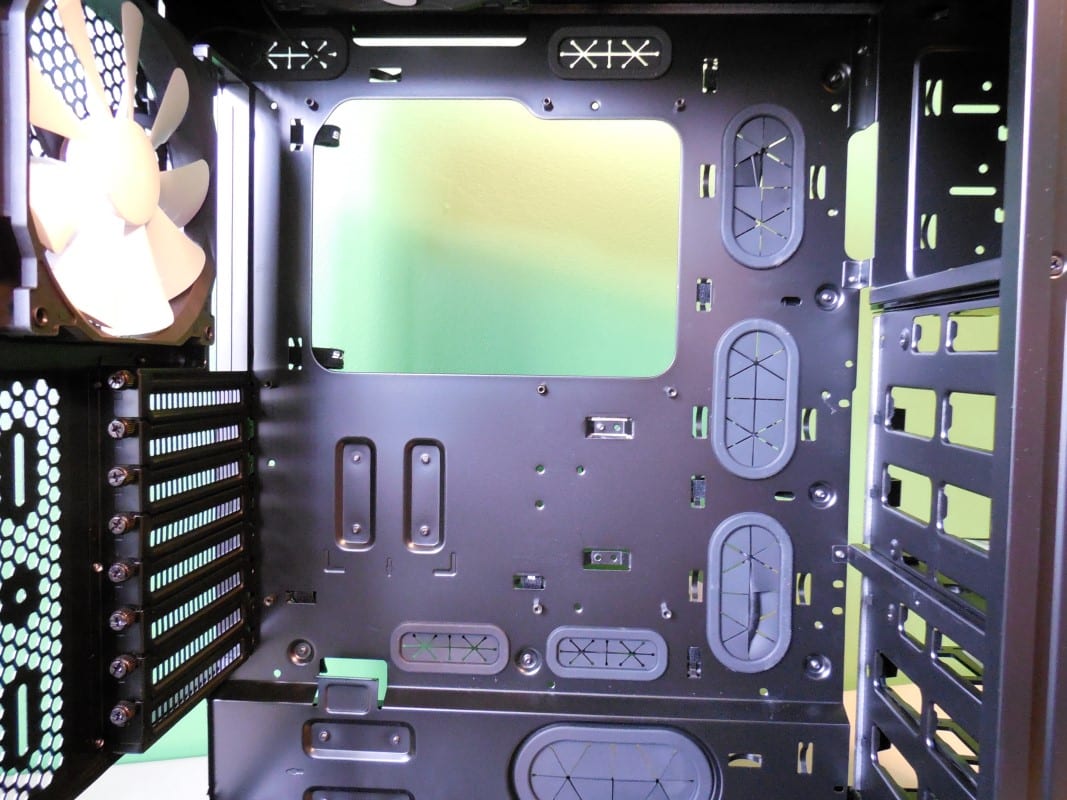
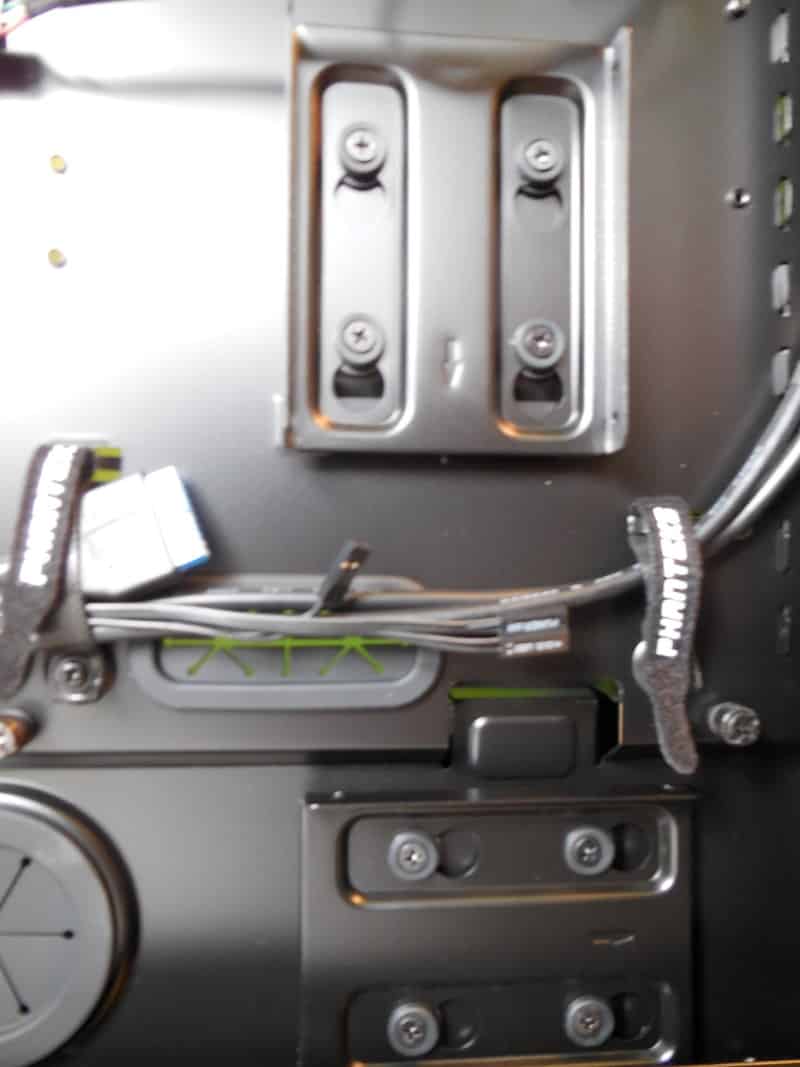
On the back of the case we discover the same tidy backpanel we’ve come to expect from Phanteks. Everywhere you would expect to find a tie down there is a velcro strap or at the very least a ring to secure a zip to. The main difference we find between the Pro and the Luxe here is the inclusion of a second SSD mount. Other than that you get the same oversized CPU cutout, grommets in all pass throughs and a six HDD mounting system.

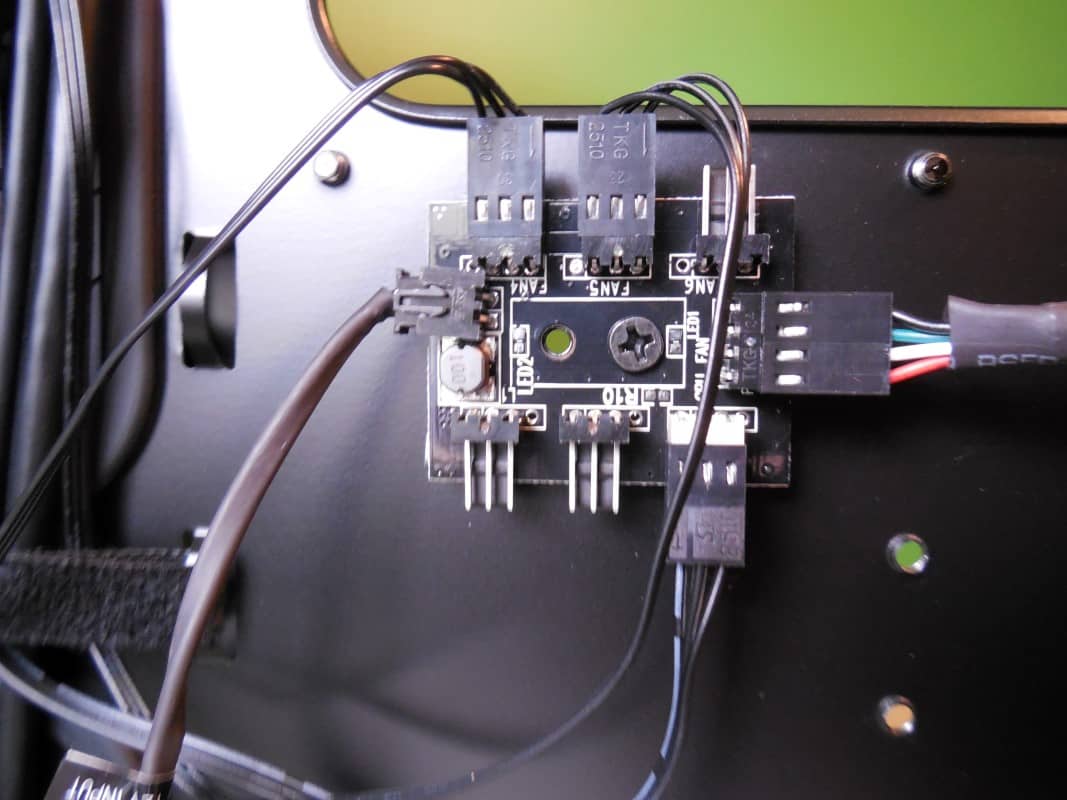
Of course the Luxe also has the standard PWM controlled fan hub we’ve come to expect on all Phanteks cases.
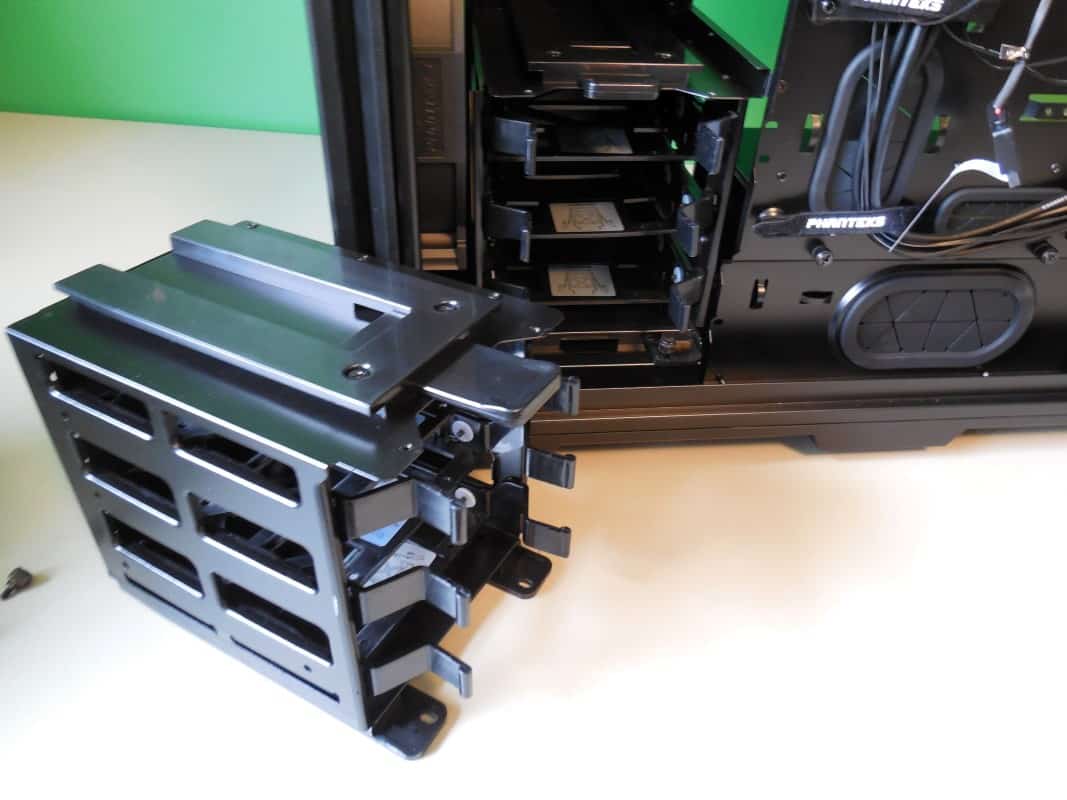
As we’ve showcased in the past the HDD mounting system is well designed both for use and for those wanting to simply remove it. The cages are secured with thumb screws and are easily removed in minutes.

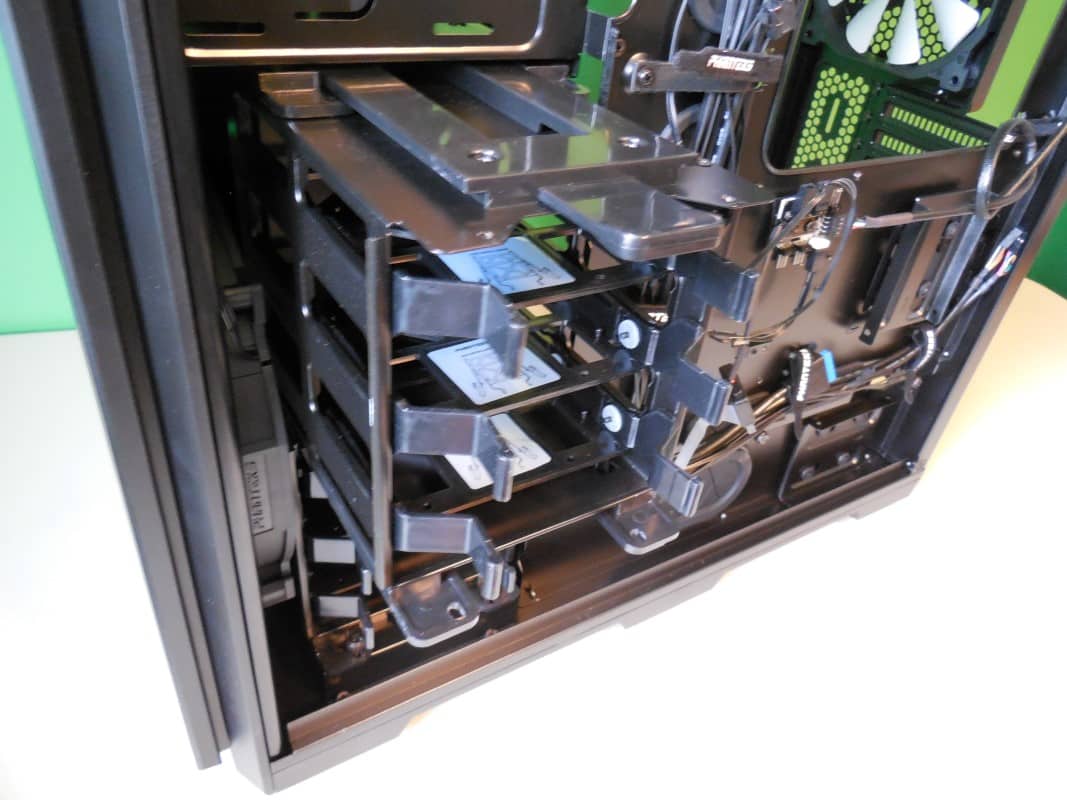
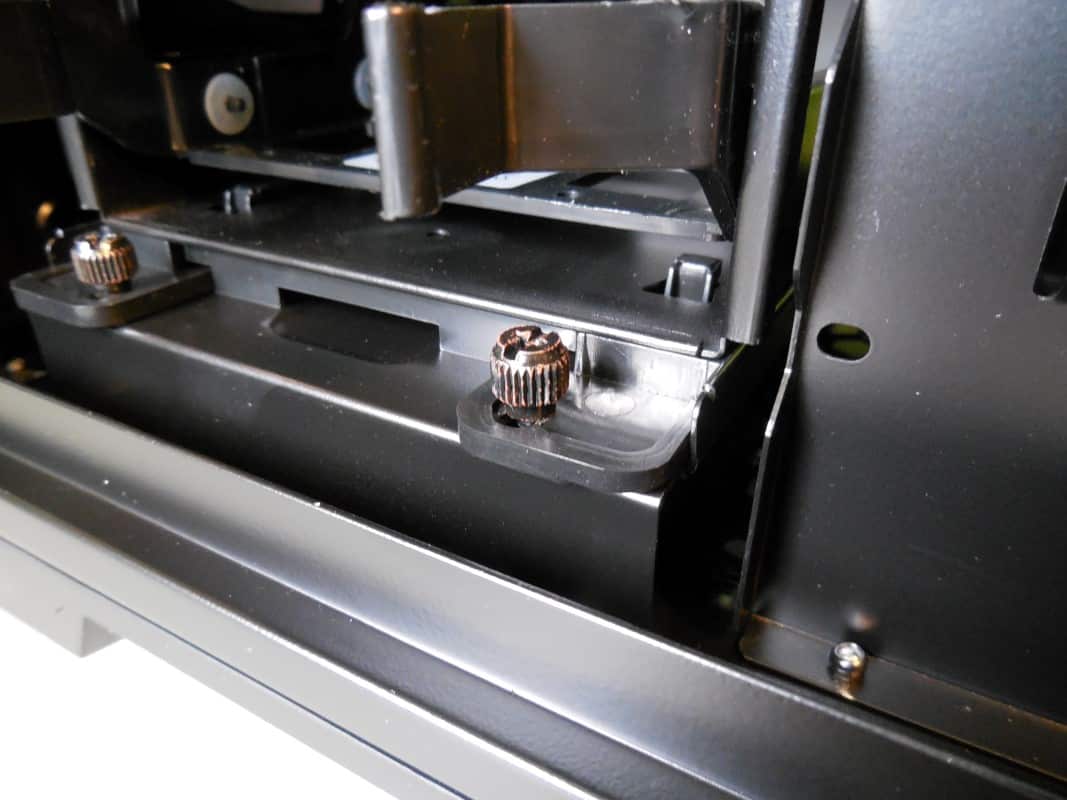
Something we haven’t seen in the past with any Phanteks product is poor finishing. As you can see in this photo the thumb screws on the HDD cage don’t seem to have been finished correctly with the black paint. These are the only thumb screws we have found to have this issue and the one in foreground of the photo is the worst. We know this is a hidden part of the case, but not something we expected to find on a Phanteks product.
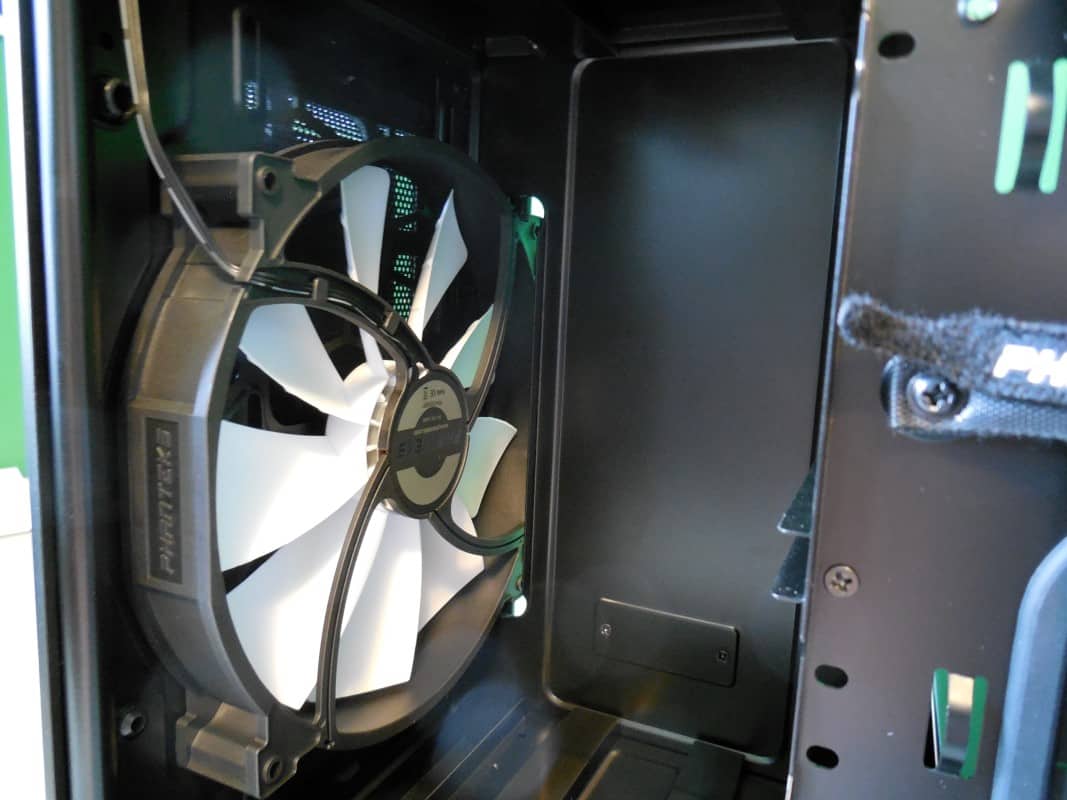
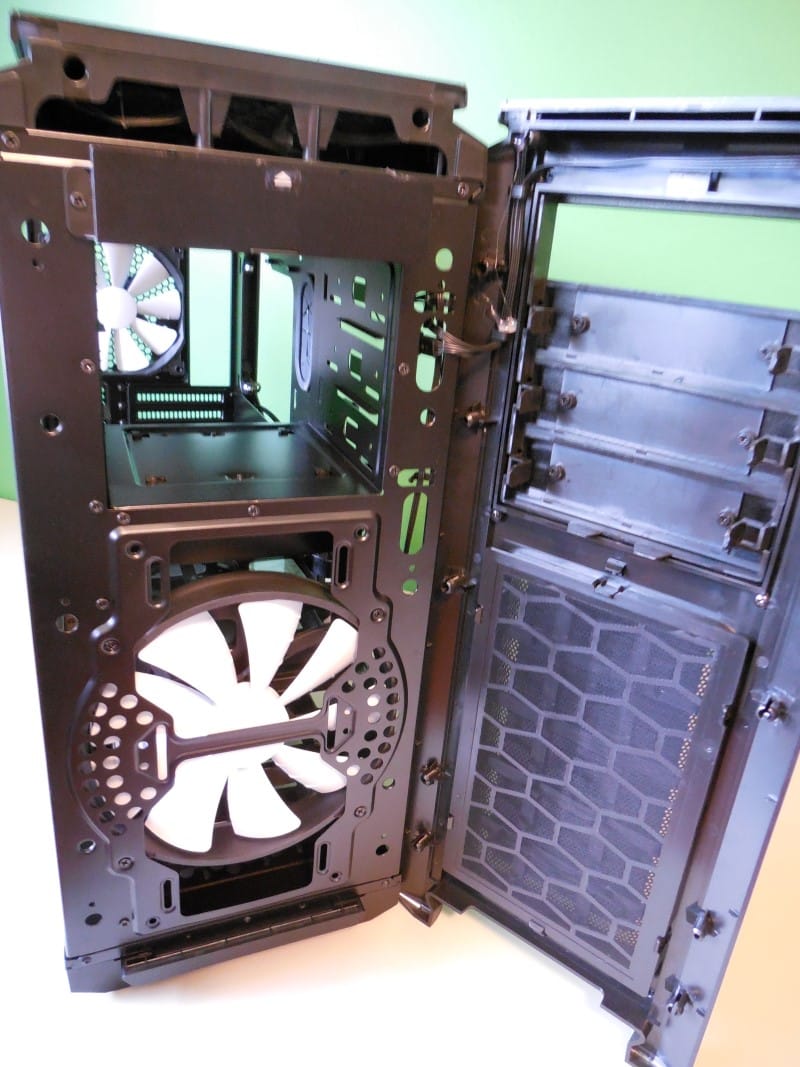
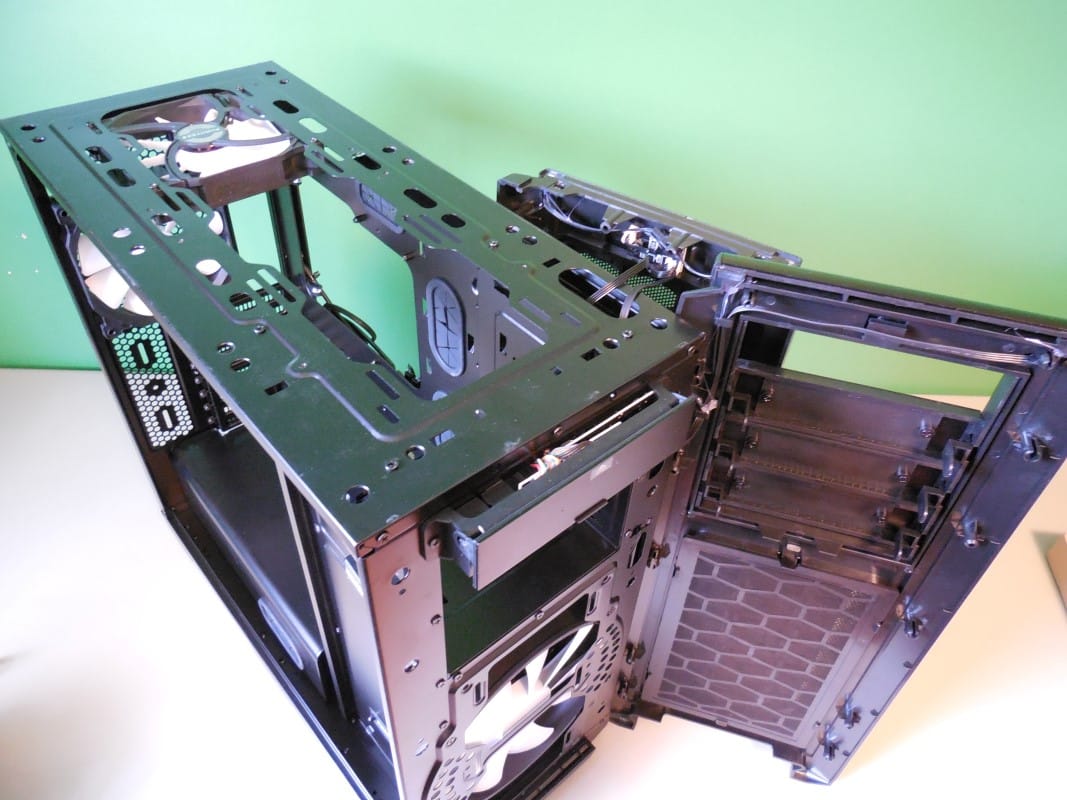
Removing both cages will give you access to the 200mm front intake fan. For those that don’t need the drive space removing them will give you better intake flow as well. Additionally you can remove the fan and front mount up to a 240mm radiator. There is plenty of space up here for mounting even the thickest rads on the market.
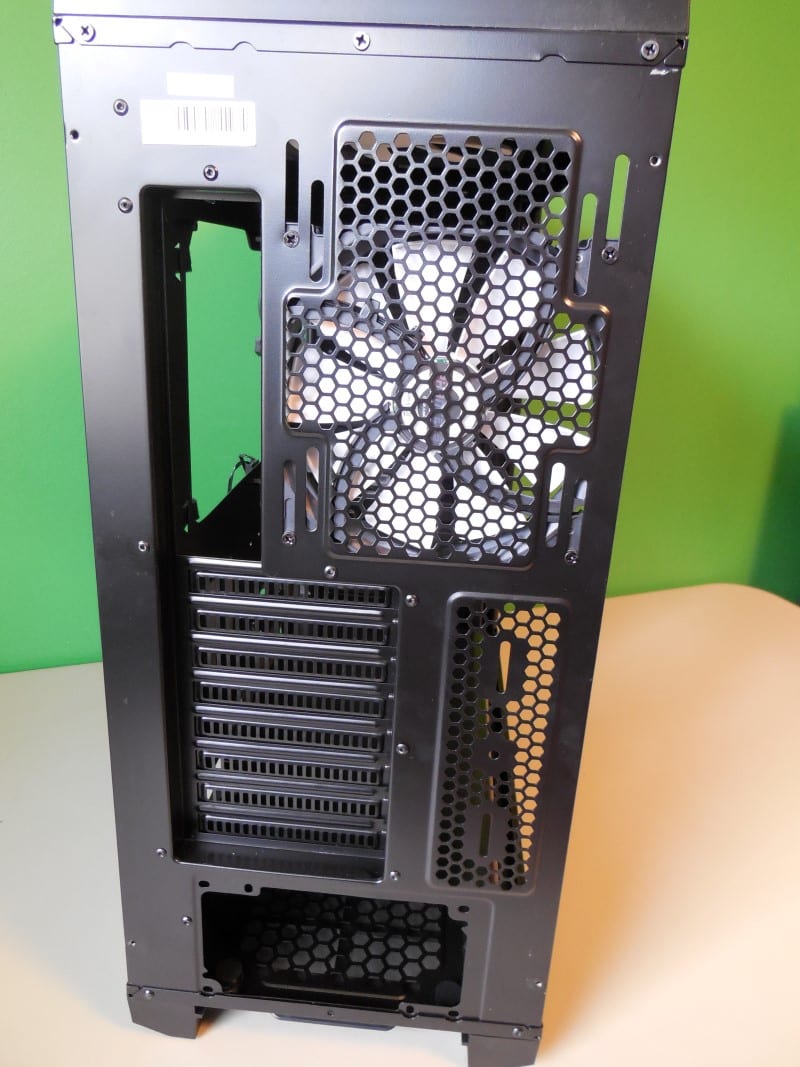
The back panel is the same as the Pro, you find the mounting bracket for the PSU on the bottom, a 140mm exhaust fan mounted in slide-able holes on the top, 8 expansion slots, and a reservoir mounting location as well.
To remove the front/top panels simply start with the front and pull gently on the bottom until it pops loose. You will then be able to do the same for the top panel.
One thing to be careful of when removing these panels is the wiring behind them. While it is wisely designed to be easily disconnected, you will want to still use caution so you do not cause damage. In order to install a drive into one of the three 5.25” bays you simply remove the front panel and unclip the spacers.

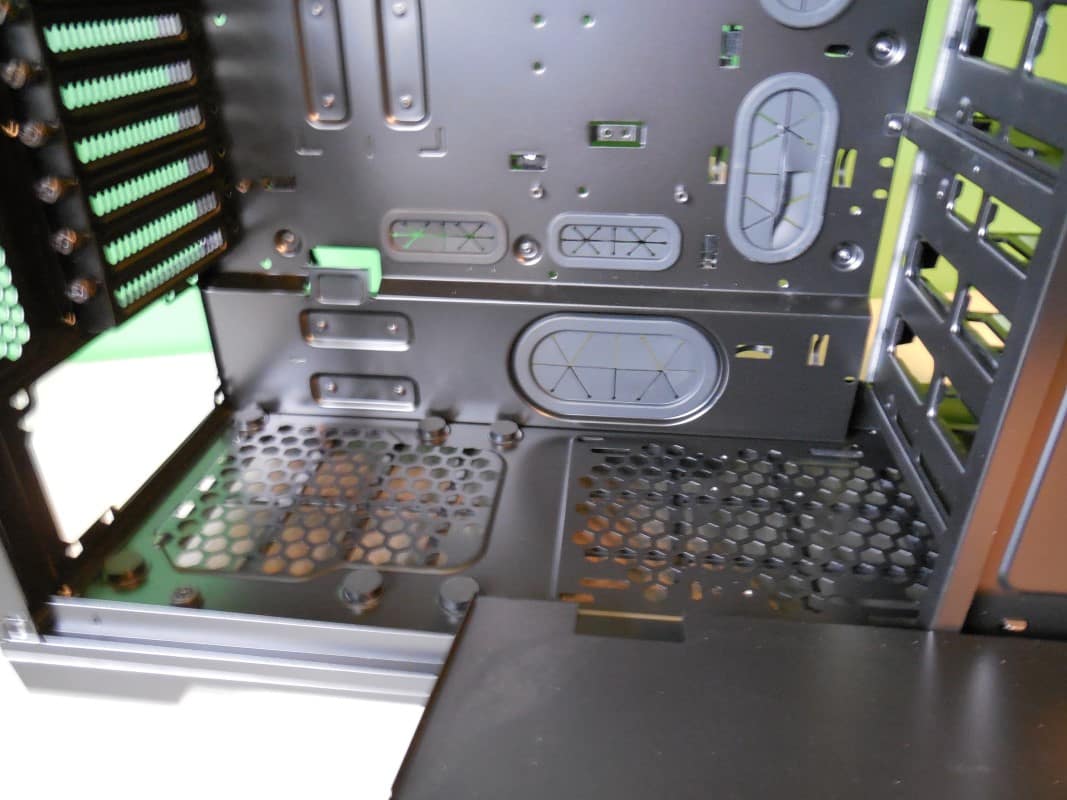
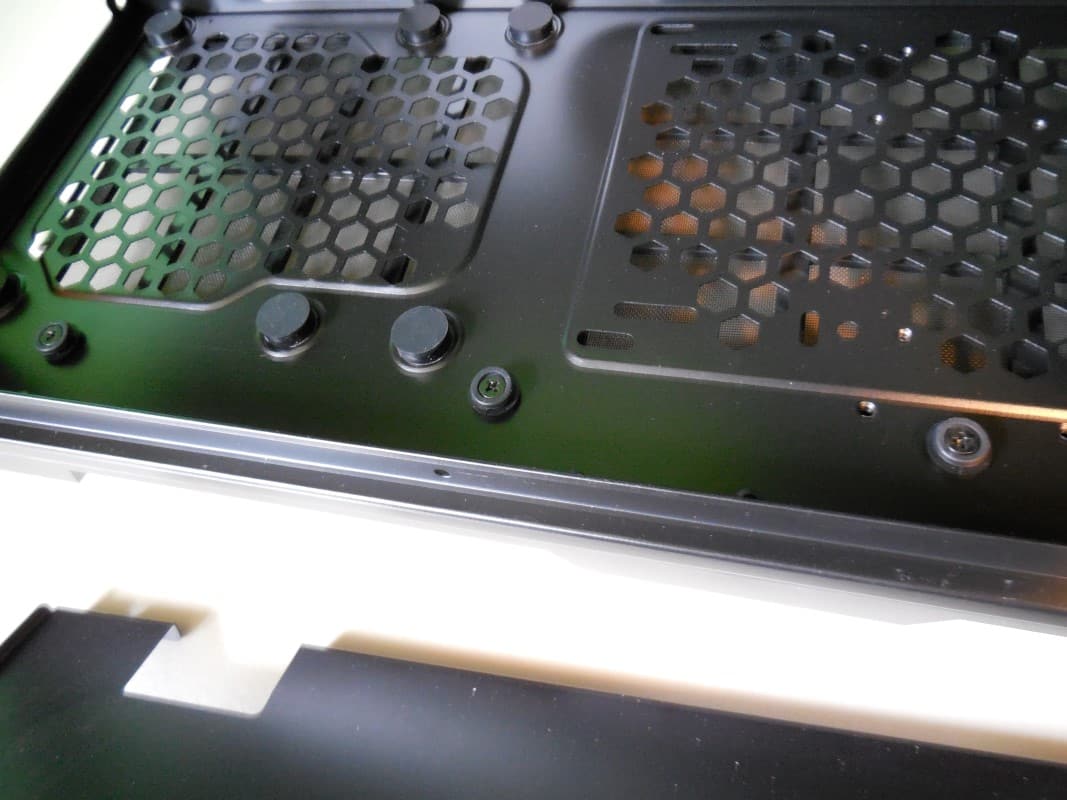
Just like the Pro there is a nice removable PSU shroud. The shroud is attached with thumbscrews on the back of the case and the bottom notches into rubber posts. It’s a very elegant solution to securing the shroud to be sure.
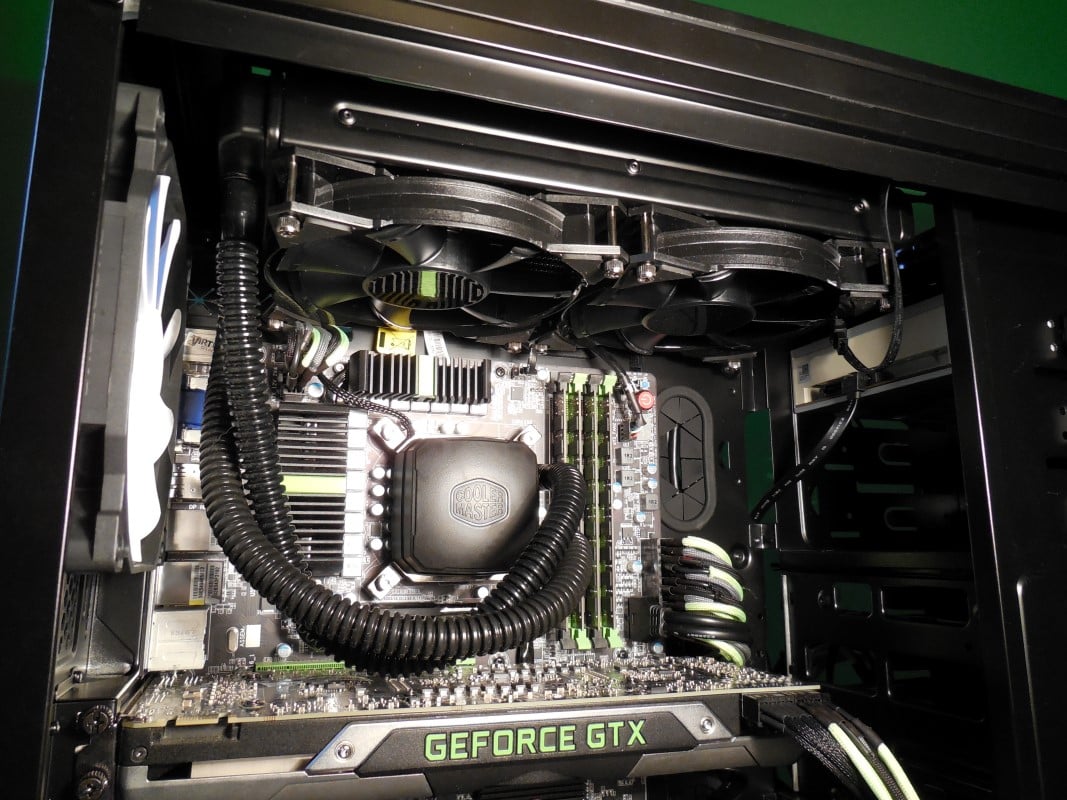
As mentioned there is a generous cut out for the motherboard and the Luxe will support up to an E-ATX motherboard. Longer graphics cards shouldn’t be an issue either with support for cards up to 347mm with the HDD cages and 472 mm without. The included reservoir bracket mounts on the outside of the HDD cages on the installed bars.