Hardware Installation
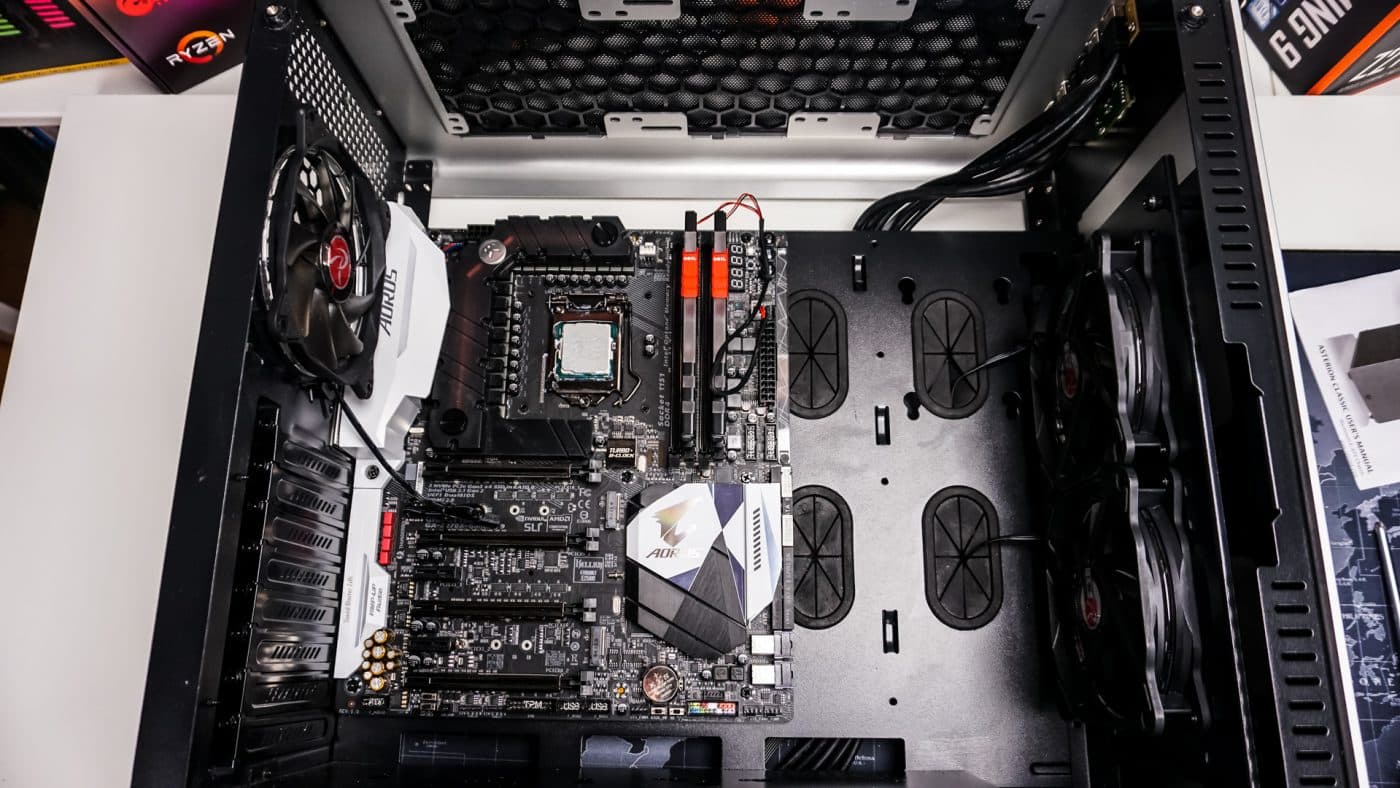
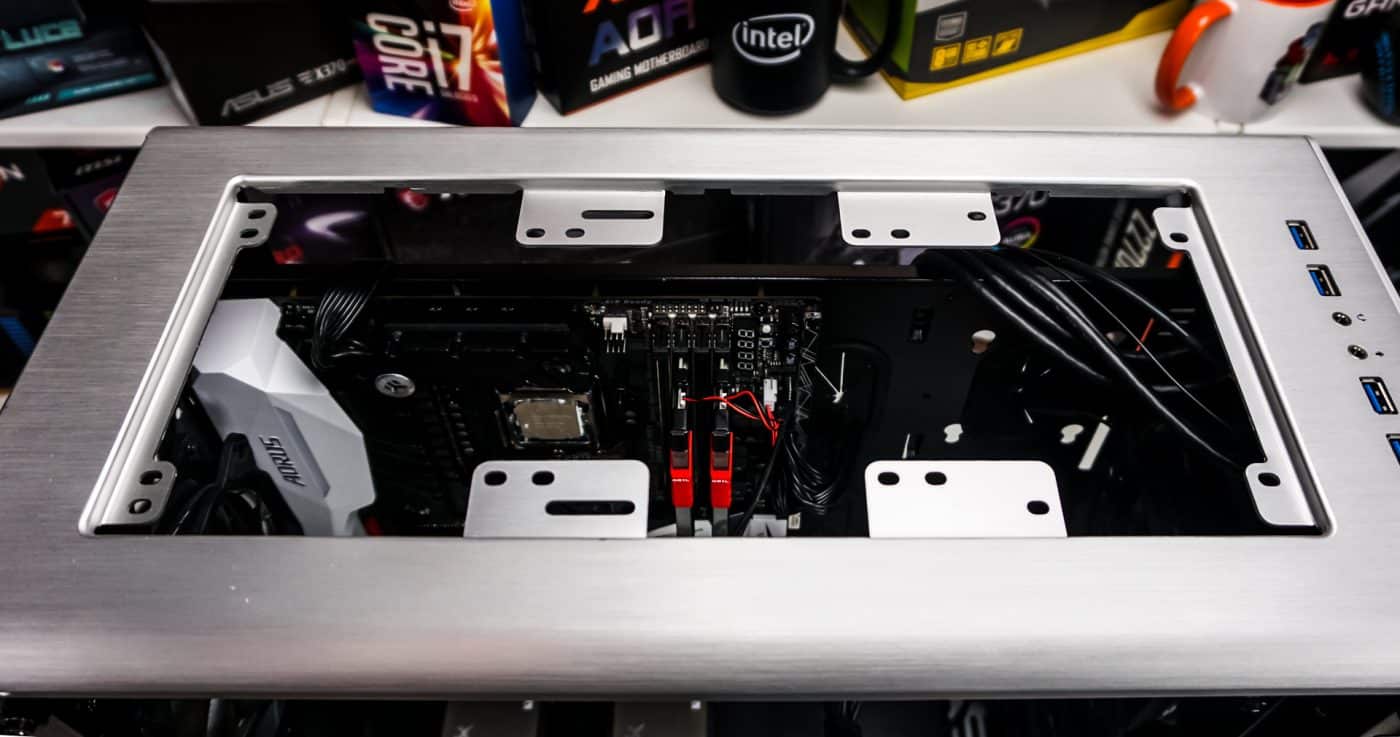
To start off our installation we are going to install our motherboard. Since the Asterion Classic has an open design we had no issues getting our motherboard inside. The standoffs are pre-installed so all you have to do is line them up with your motherboard and secure your motherboard with the included screws.
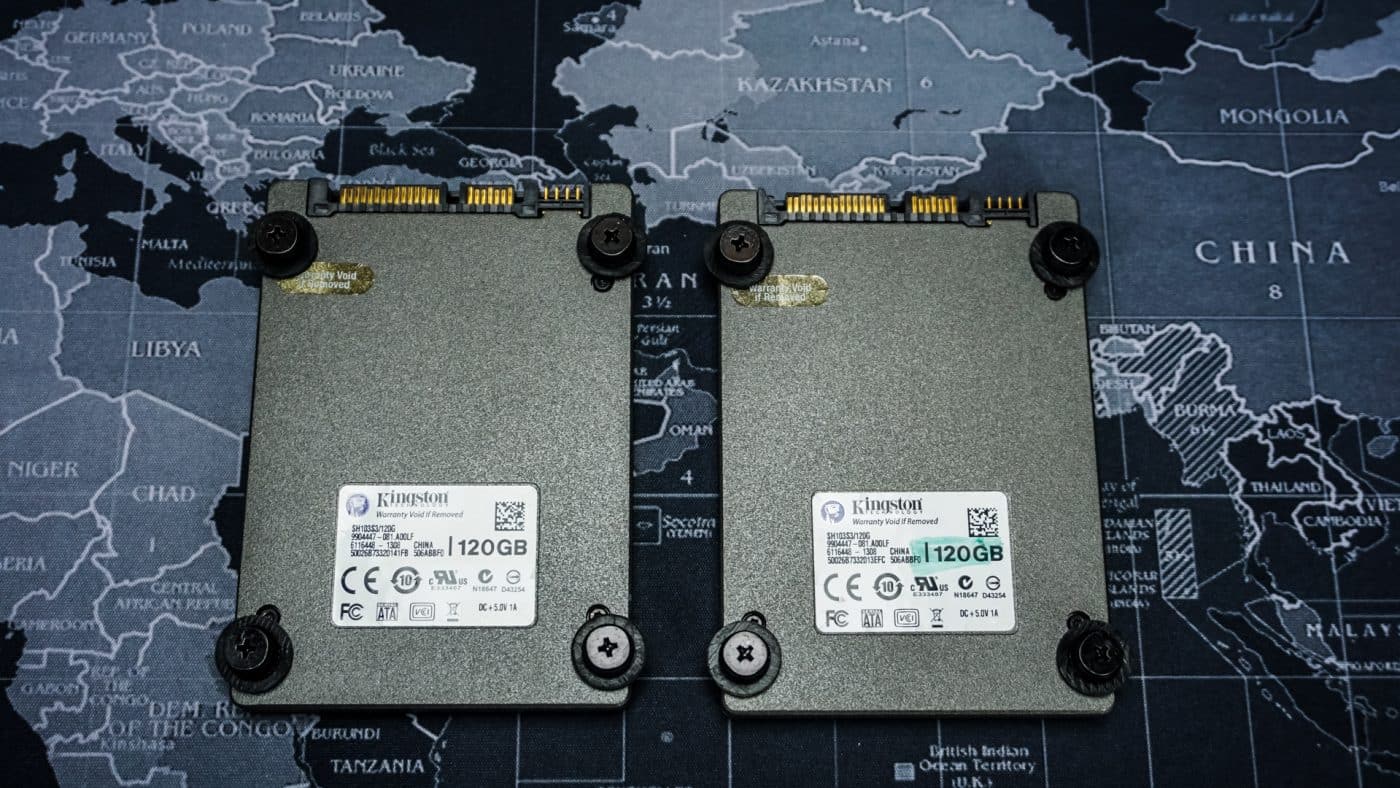
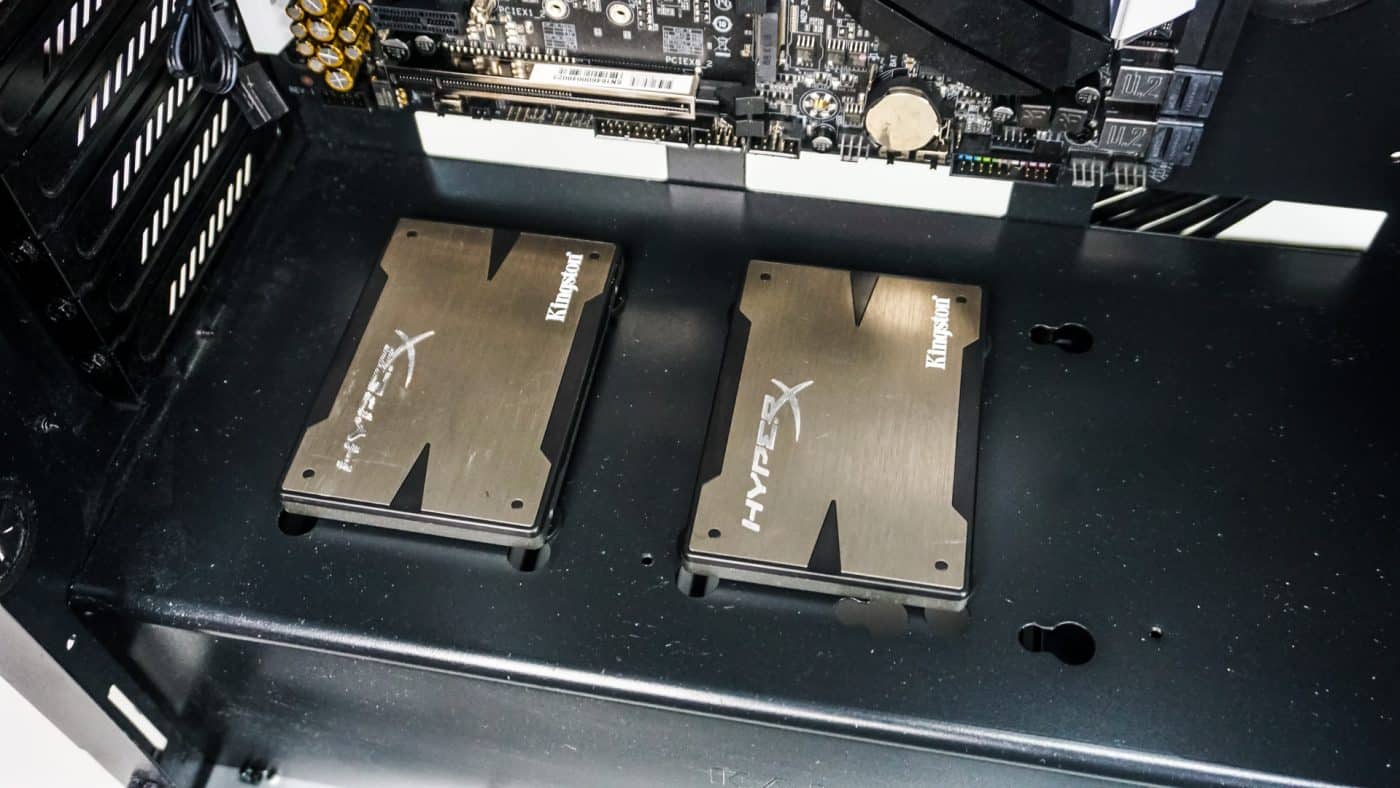
Next we have our hard drives, we are going to start with the SSDs, we will be installing them on the power supply cover. So all you have to do is take the included screws with grommets on them and install them on the bottom of each SSD. Then simply line them up and slide them into place on the power supply cover. It is probably a good idea to run your cables and connect them before you lock these drive into place.
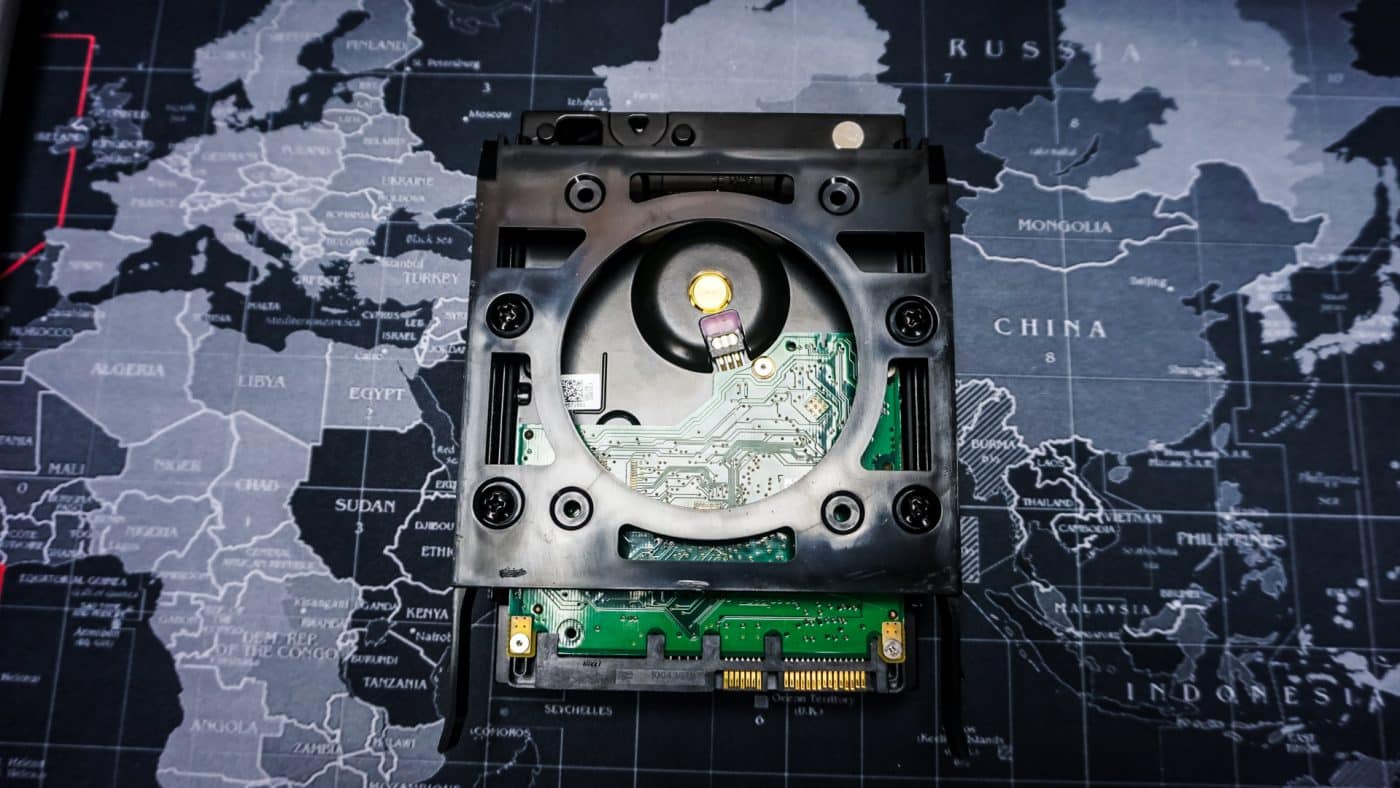
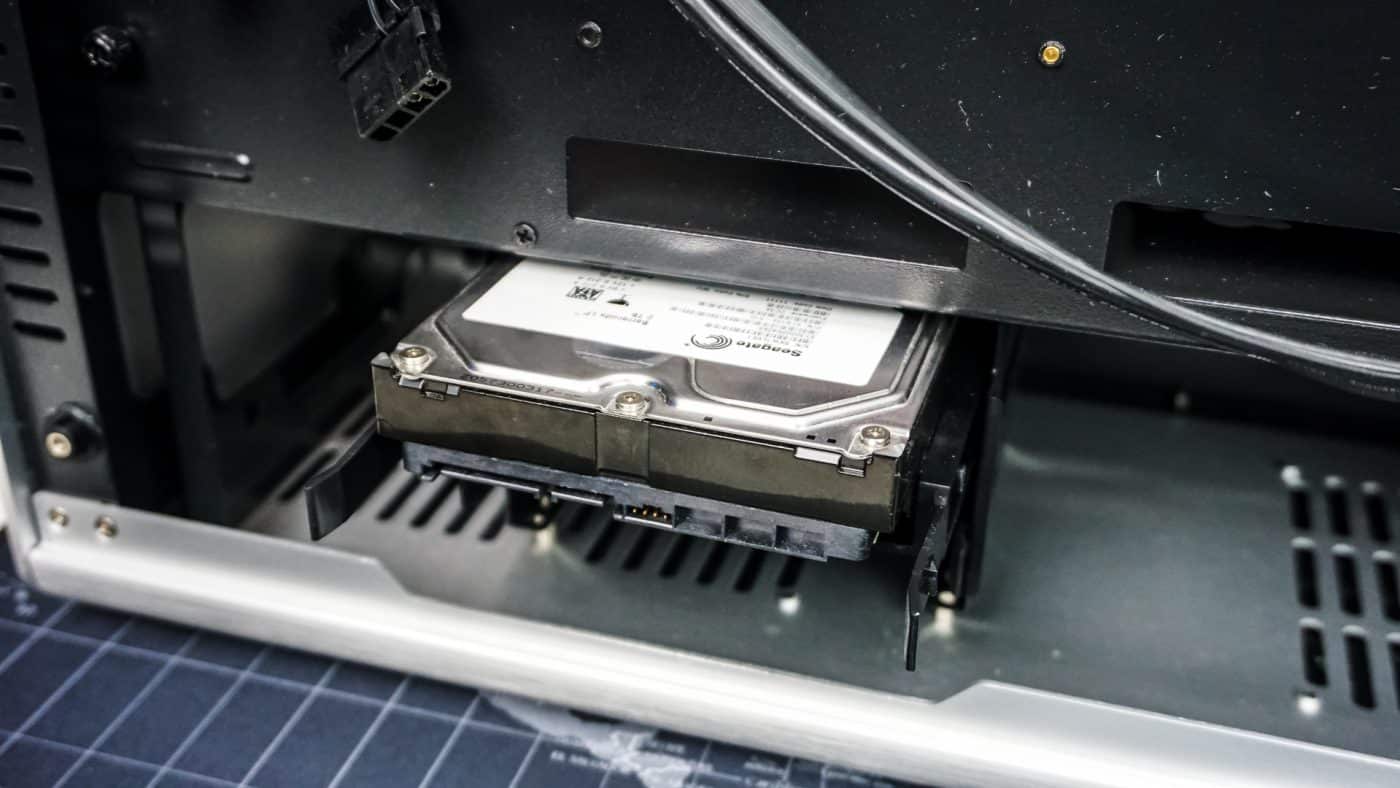
If you do plan on installing a 3.5-inch drive, the removable hard drive trays are probably your best bet. You easily attach your drive to each tray and then simply slide the trays back into the case.
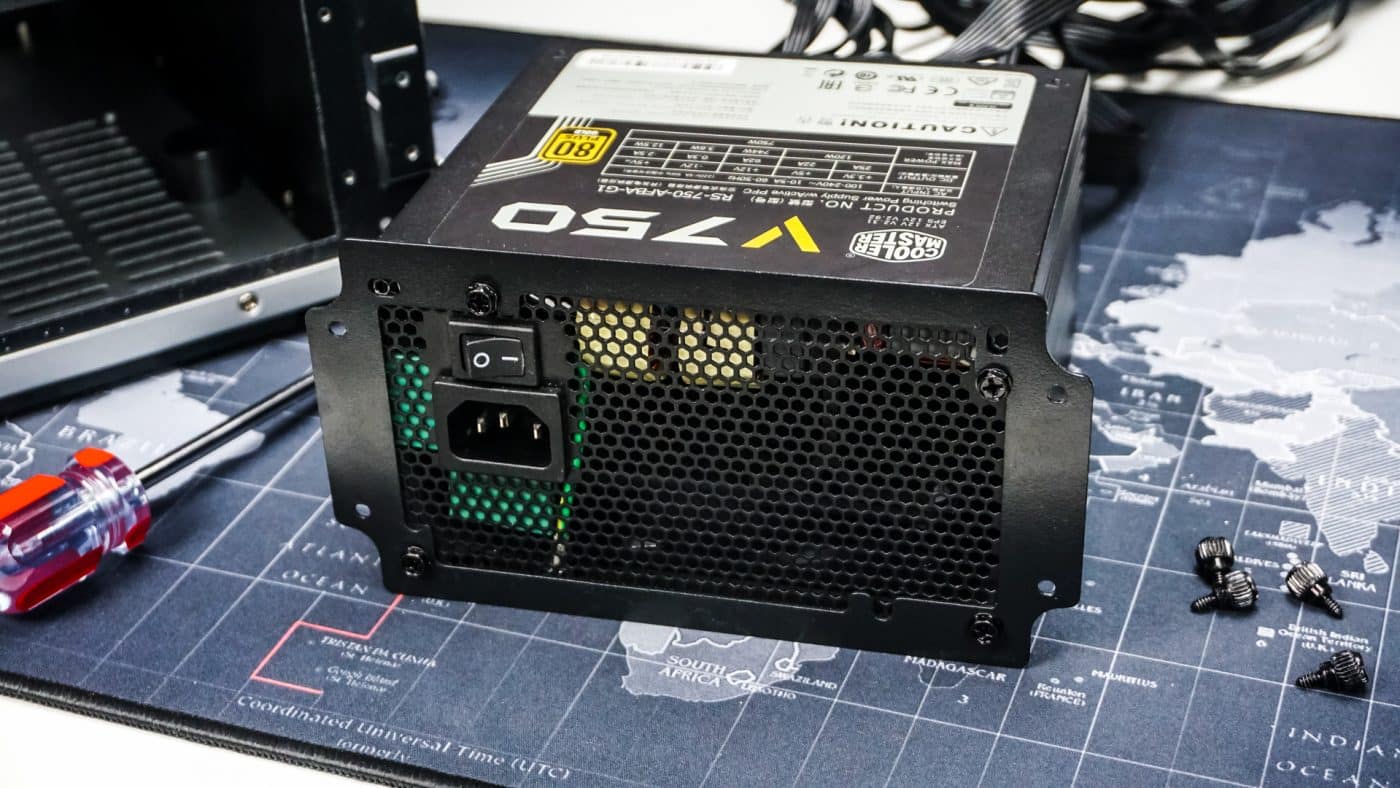
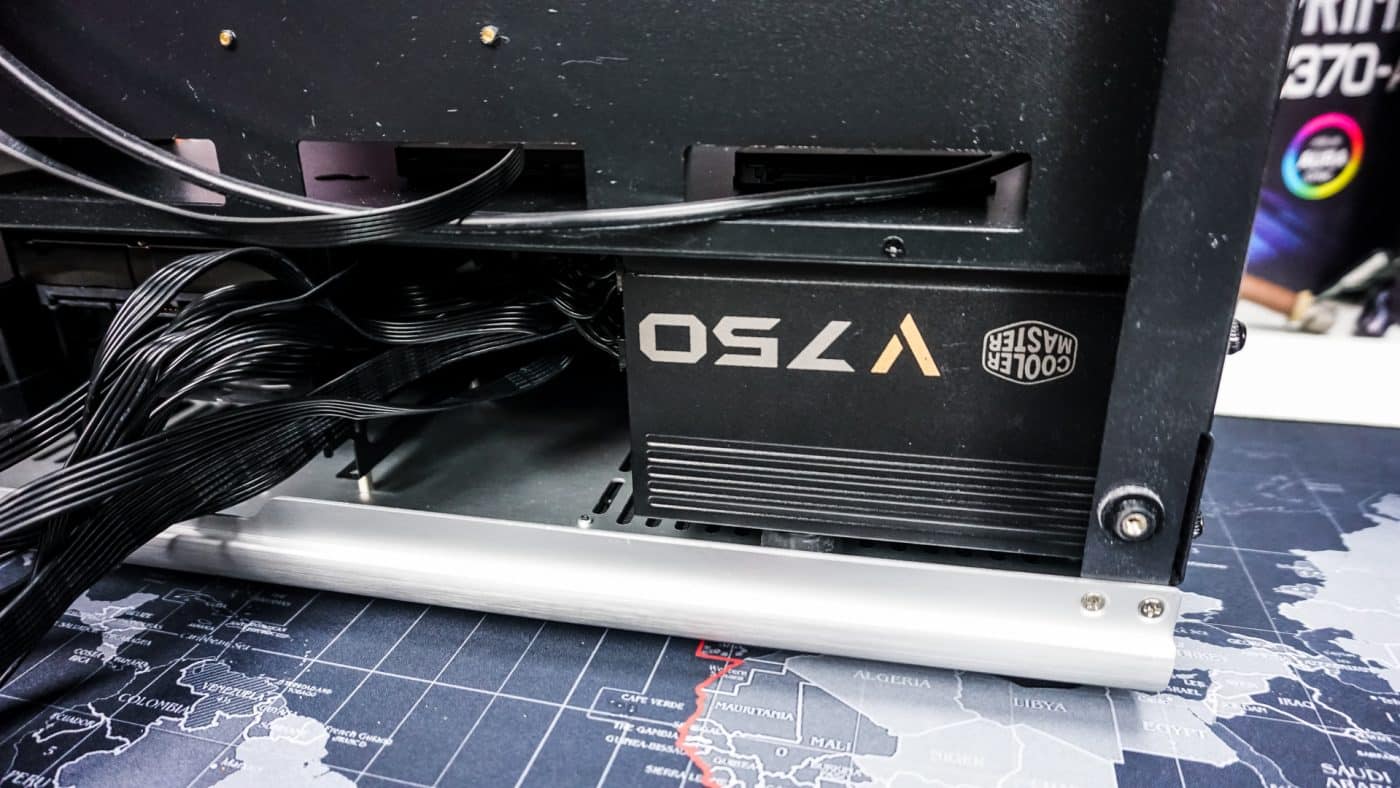
The power supply will install from the back of the case so you’ll need to remove the power supply bracket from the back of the case and install it on your power supply. Then very carefully slide your power supply back in securing the bracket to the back of the case.
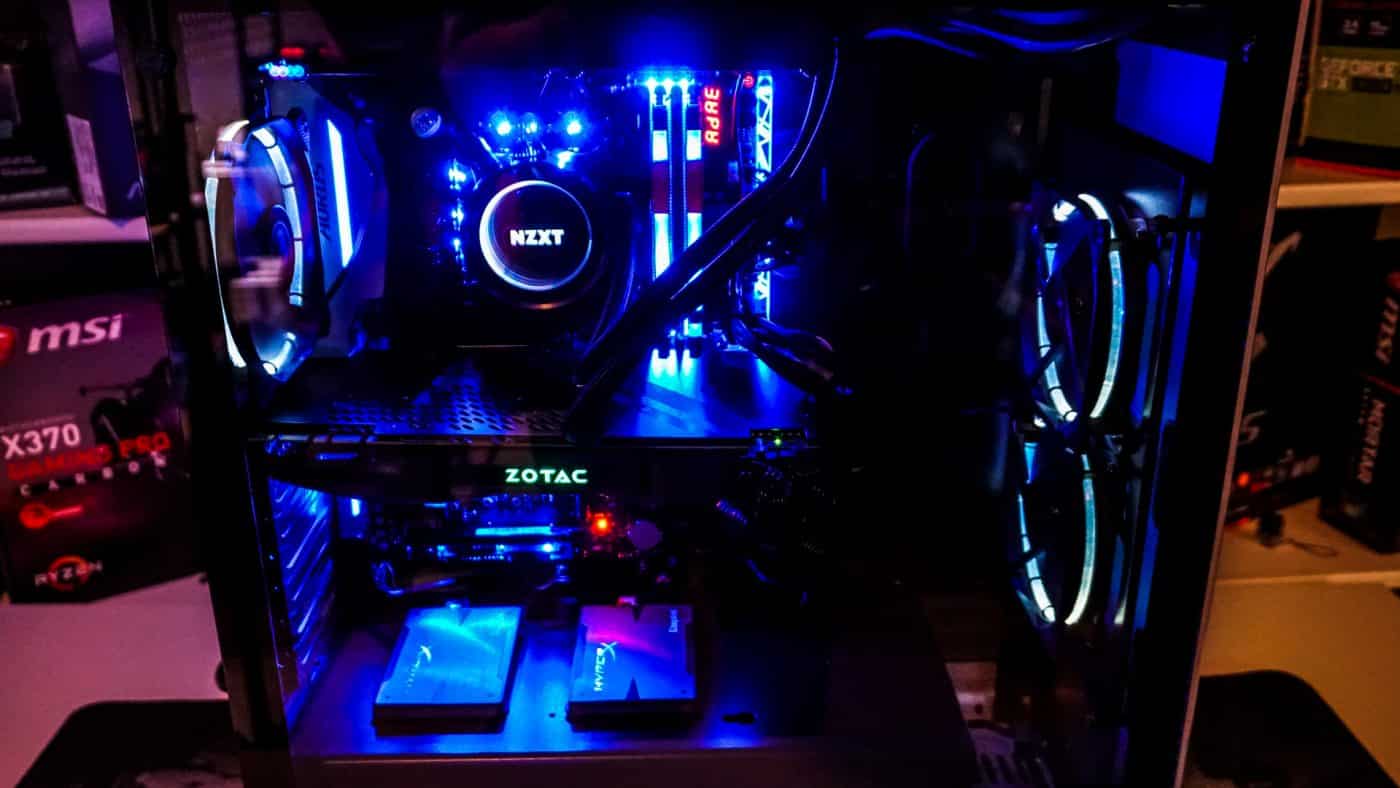
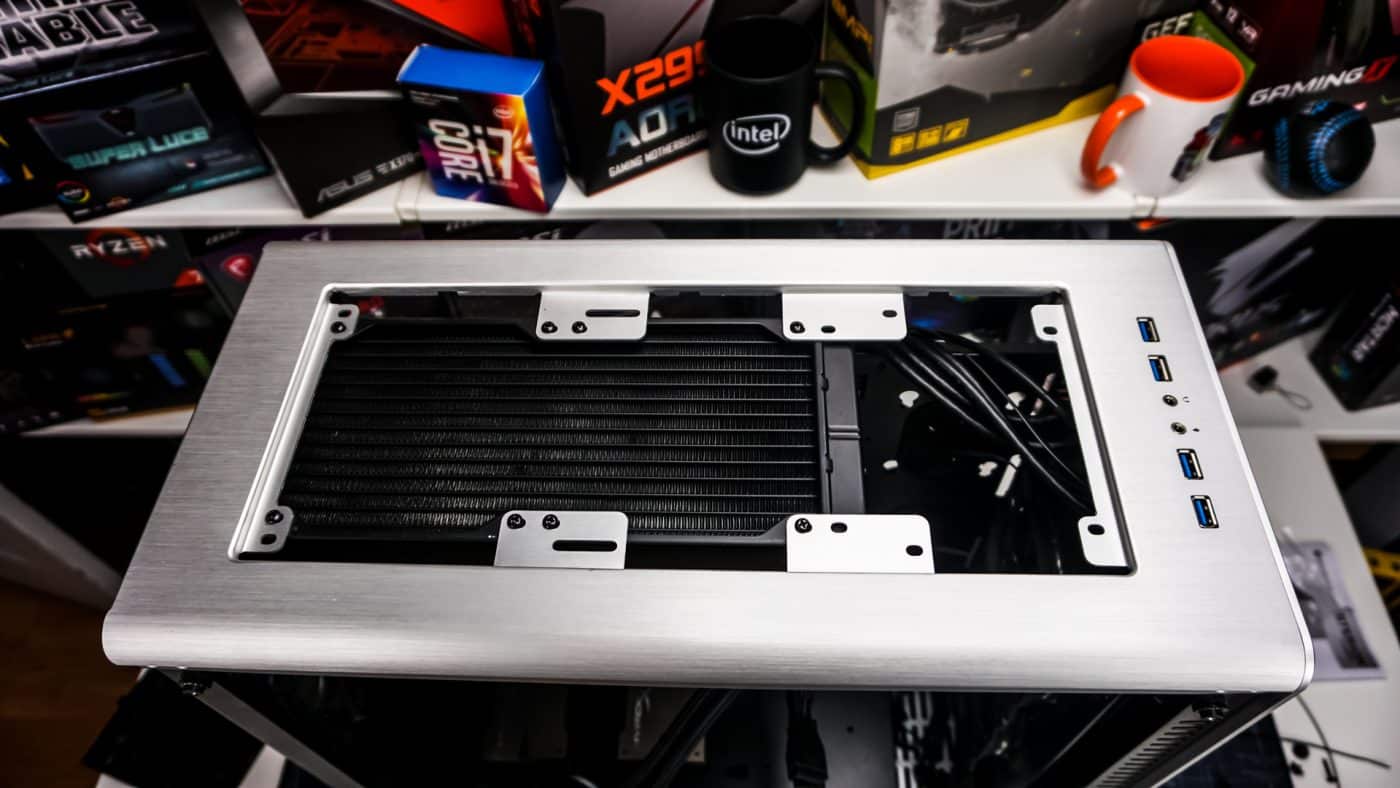
We are going to be installing an AiO in this case in the form of the NZXT Kraken X52, which is makes use of a 240 mm radiator. The top filter of the case can easily be popped out so you can install fans or radiators on the top of the case. The Kraken X52 easily installs in the included mounting points on the case.
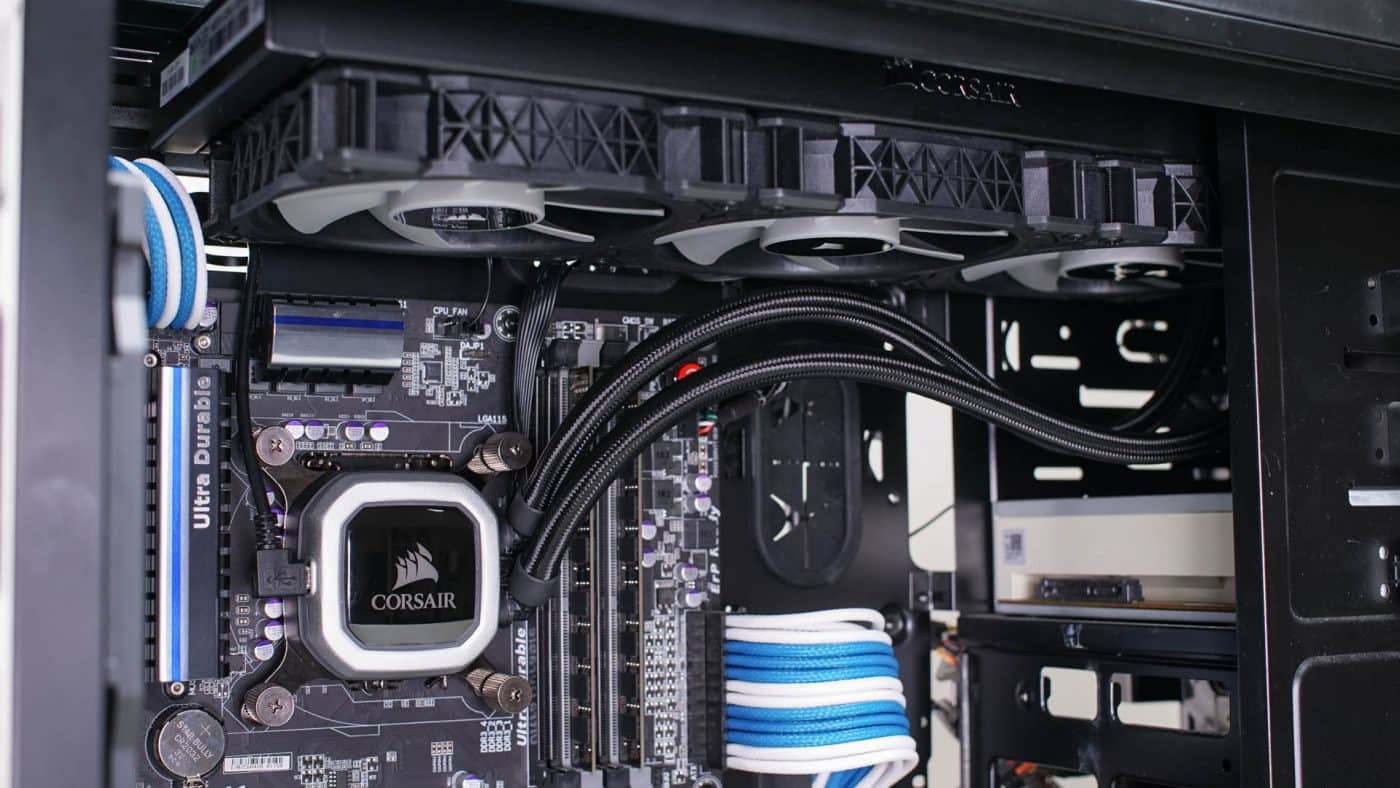
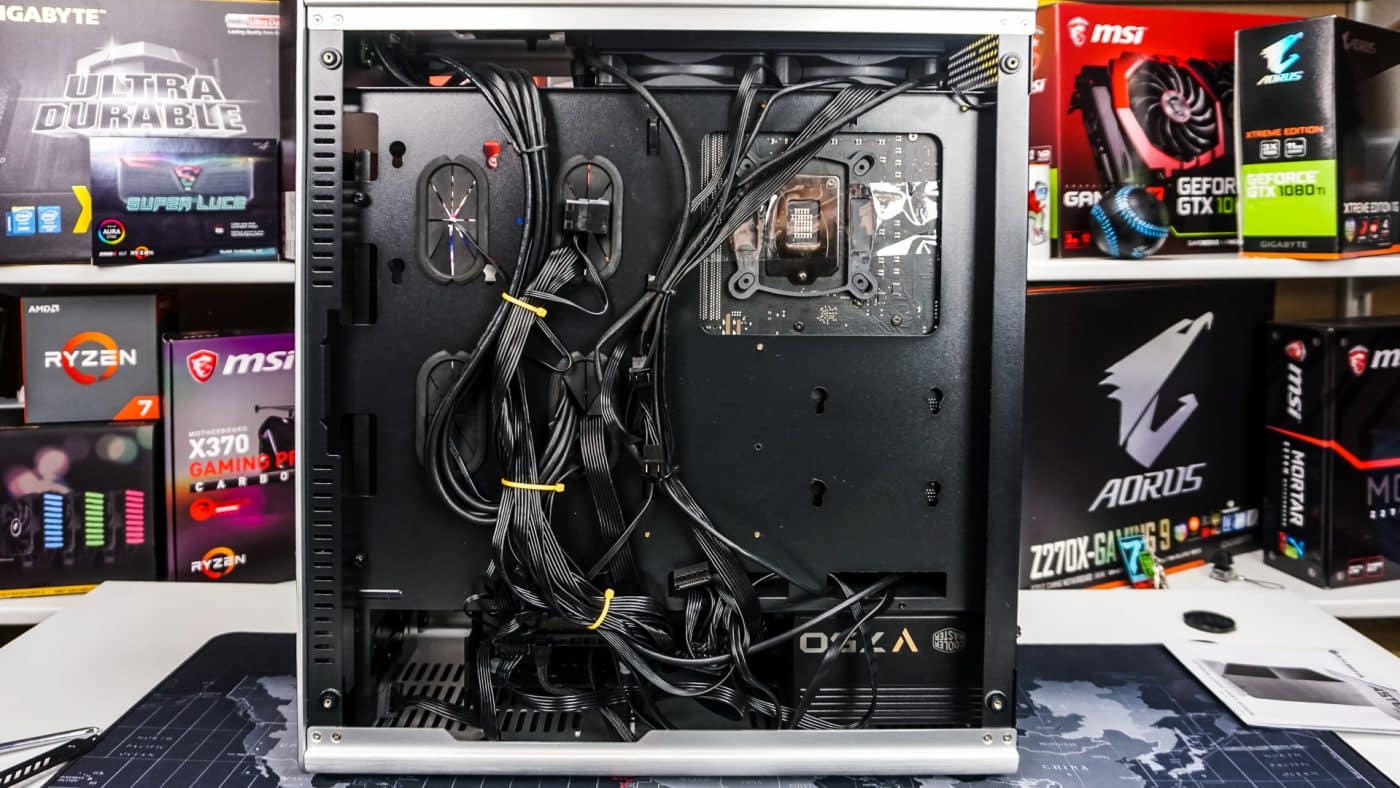
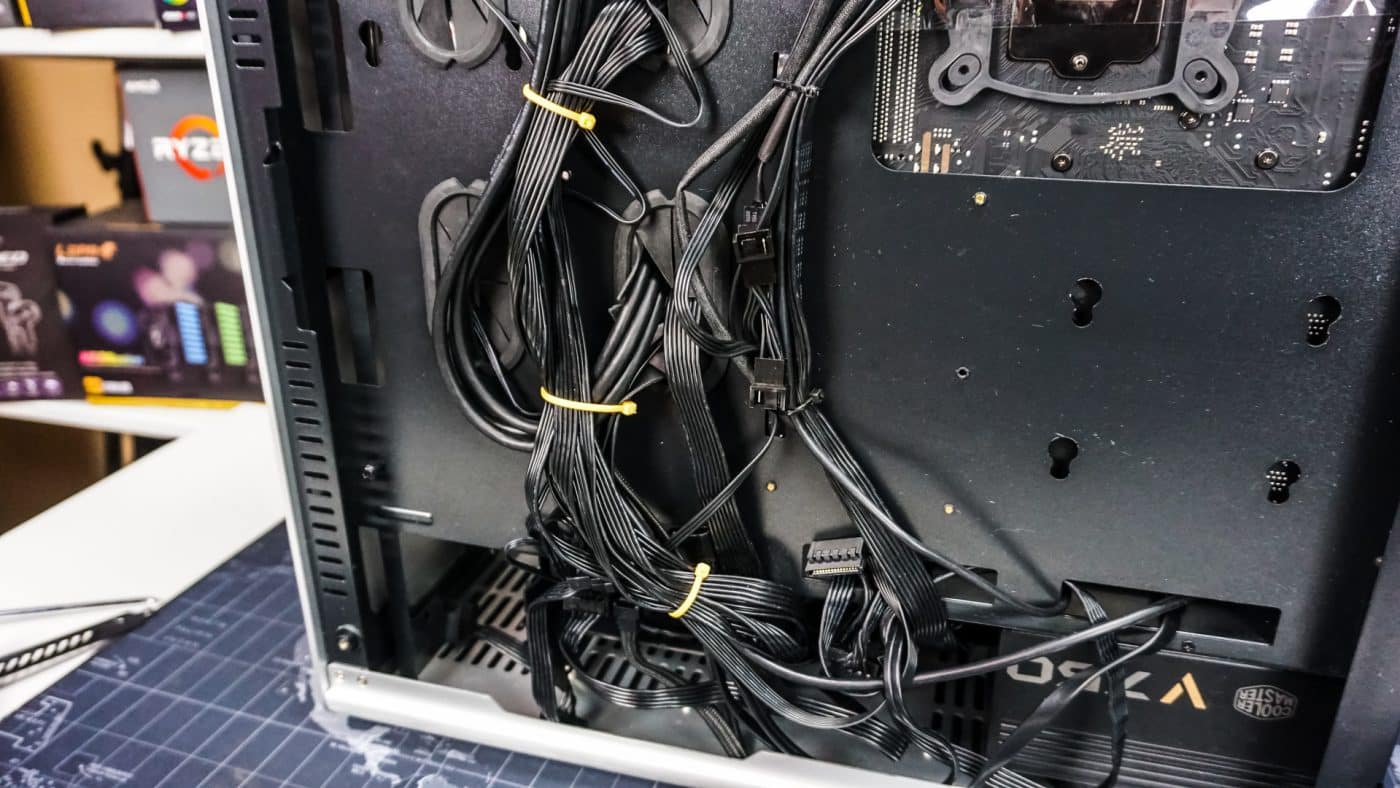
Now it is time to start wrapping up this build. First we are going to want to organize all of our cables. Raijintek only includes two cable ties with this case, which is not nearly enough. Looking at the photos below the yellow cable ties are the ones we supplied, whereas the two black ones are the only ones included with the case. Also it would have been nice if there were a few more tie-down points on the back of motherboard tray.
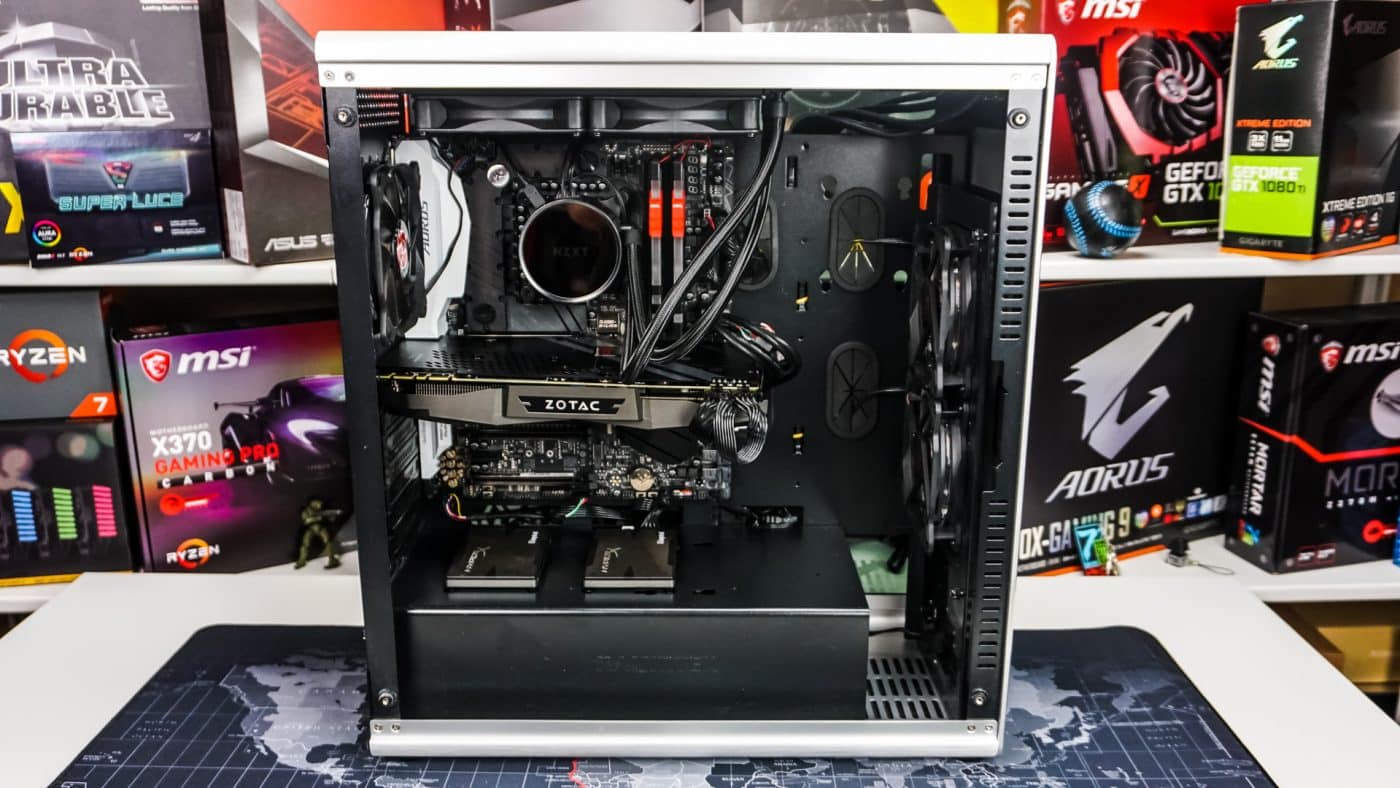
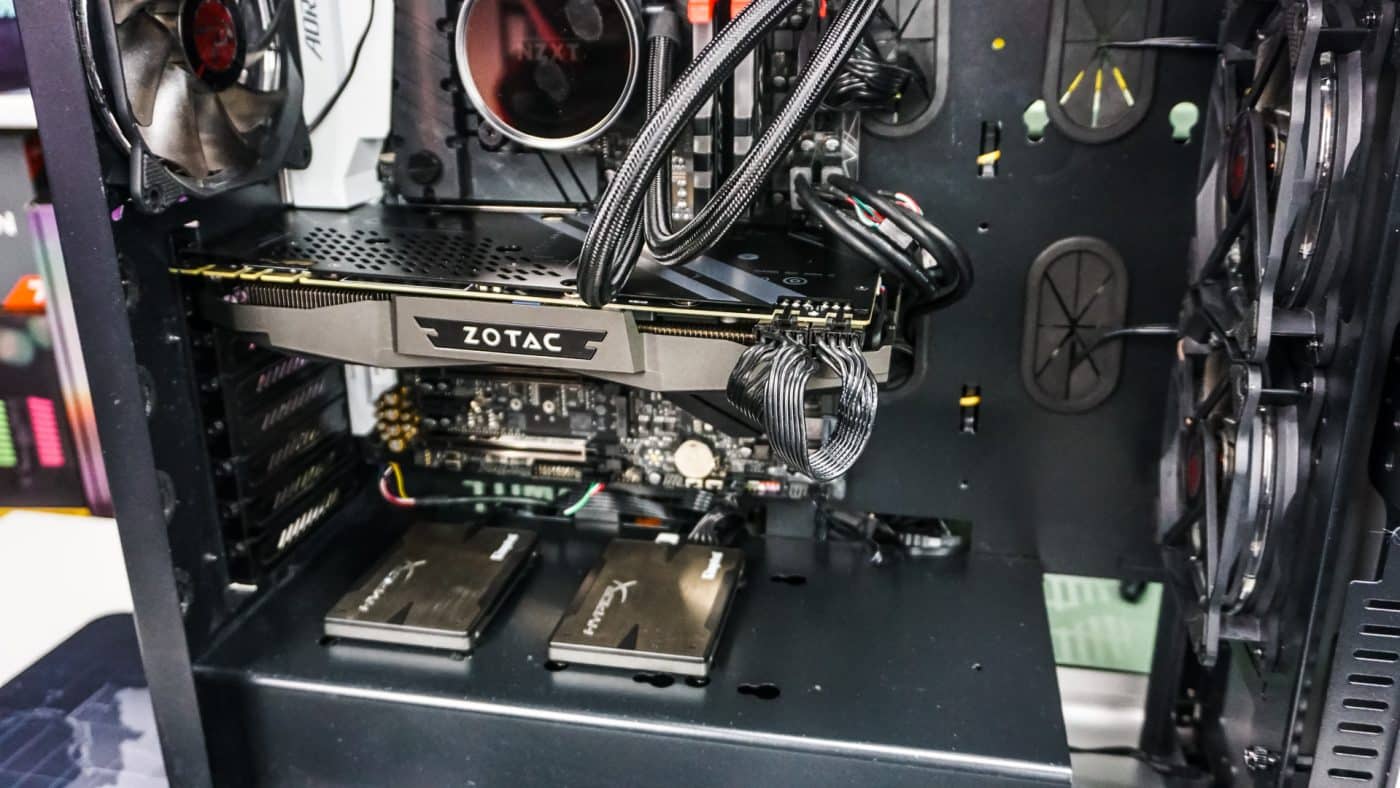
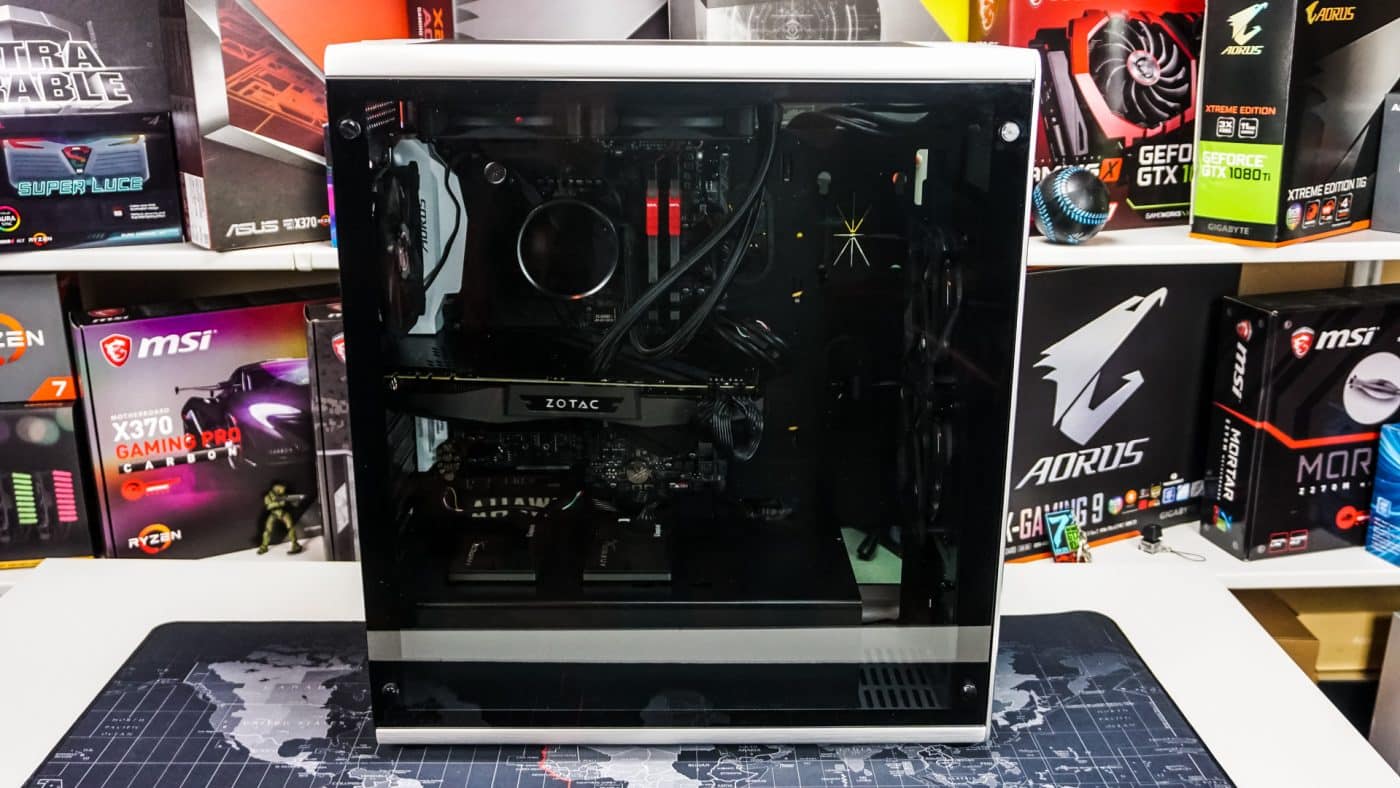
Flipping over to the opposite side of our system the last thing we need to do is install our graphics card. As you can see there is more than enough room for our Zotac GeForce GTX 1070 Ti AMP! Edition, and we have plenty of clearance too! With all of our hardware installed we have a pretty clean build and no real cable mess at all!
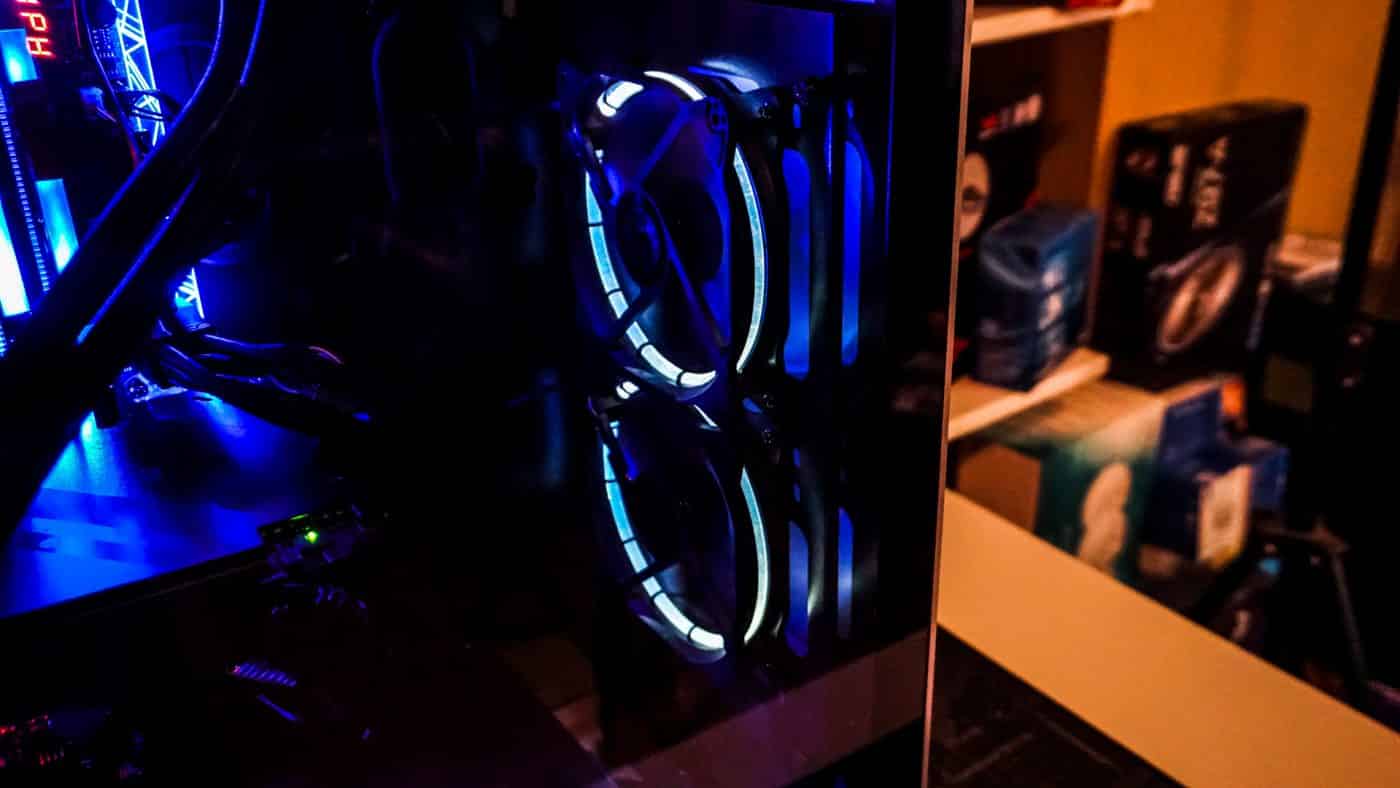
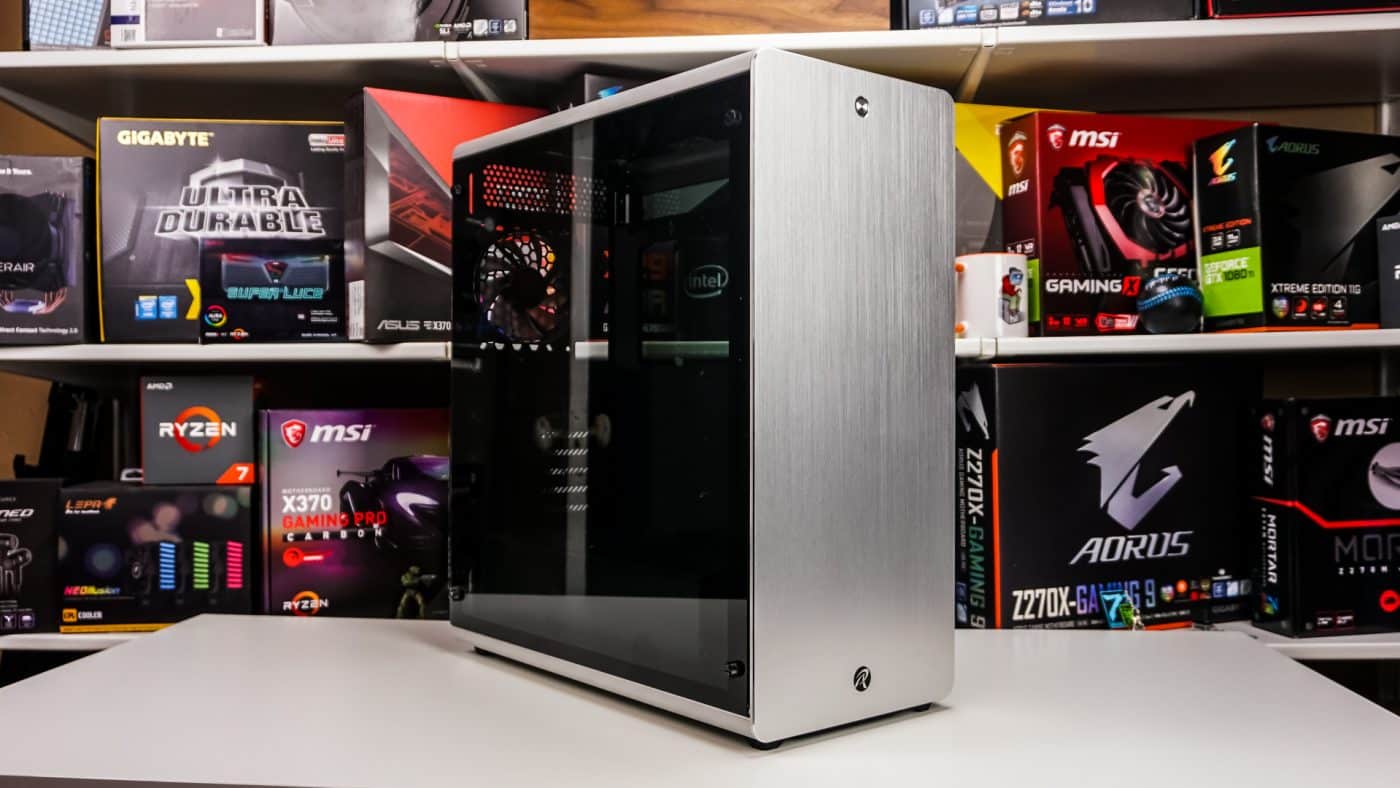
So how well can you see your hardware inside with the side panel installed? Well Raijintek has changed things up with this case compared to the Thetis Window, they have made the main side panel not as tinted so you can see your hardware better. I like this as you don’t need a few light strips to light up the inside of your system, although we would still recommend them with this case.
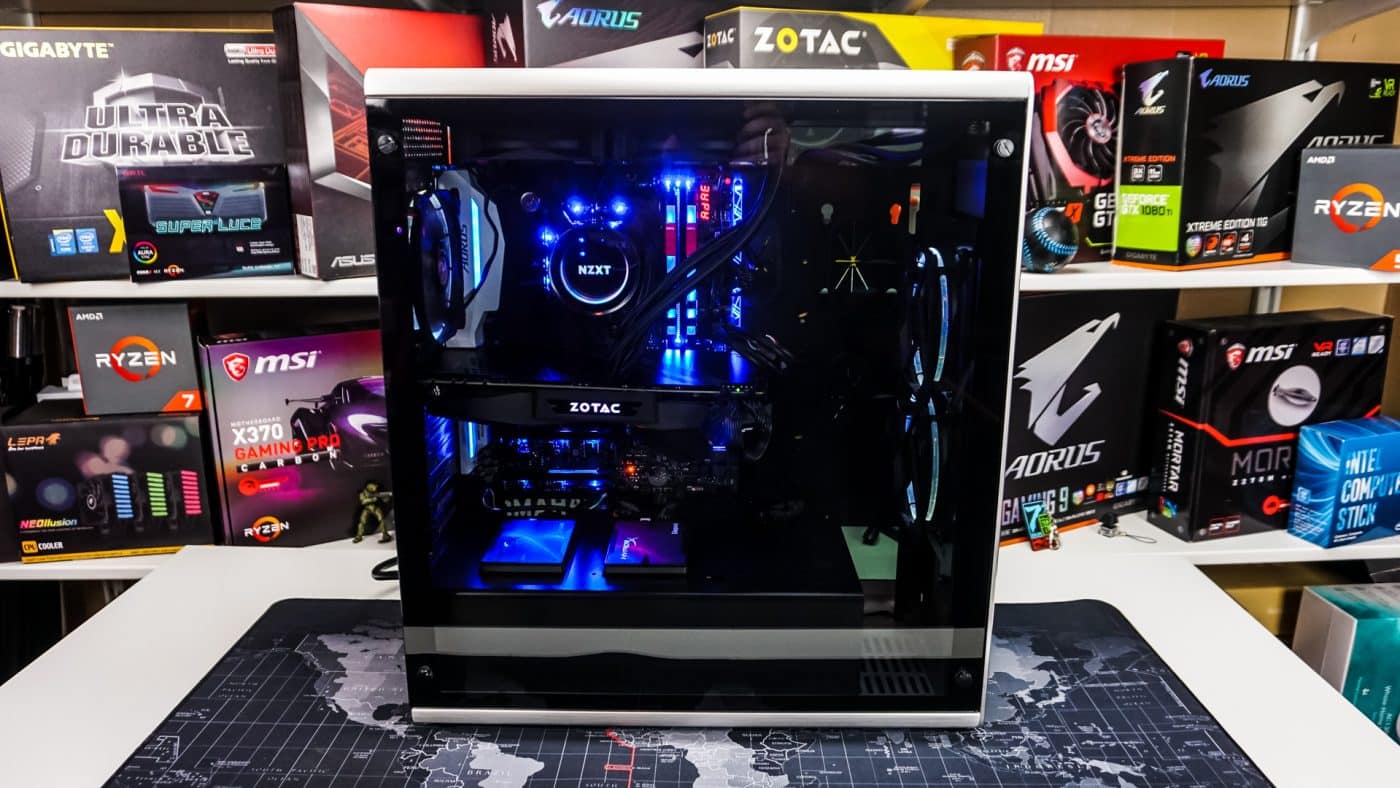
The three fans that are included with this case are Raijintek’s own AURAS 12 fans with white ring illumination. That do look pretty cool and help light up the inside of your system.