Installation
Installation is where I ran into most of my issues with this case. First off the included directions really aren’t helpful at all. Below are the only two diagrams in the directions.


As you can see these aren’t really all that helpful and I feel a beginner would have a real hard time building in this case.
I started installation with our motherboard. Since I am doing a mini-ITX installation I removed the Micro-ATX bracket. Once removed I installed my motherboard. As you can see I am using a low-profile CPU cooler. This case does support CPU coolers up to 140mm, which is quite limiting as many tower coolers are at least 150mm tall.


Next we removed our storage bracket from the back of the case. This will make power supply installation easier. We went ahead and installed our 2.5-inch SSD on the bracket with the ports facing down. This was a mistake was we learned later in our installation, but its not like the instructions helped us with that. Your power supply will slide in from the back compartment of the case. You are likely going to have to angle it in. Now I installed the Thermaltake Toughpower GF1 750W Snow, which is indeed 160mm long. While it did fit, it is extremely tight and we basically had to more or less route our cables to the section of the case where the side-mount is, which will block the airflow.


When I went to re-install the storage bracket I did realize that my SSD was installed the wrong way. Also the instructions give absolutely no indication that a 3.5-inch drive would be installed on the opposite side of the bracket. Even on the Redragon website they show a 3.5-inch SSD positioned vertically, which is not even possible because your power supply is in the way.

Moving around to the other side of the case it was time to install my graphics card. It went in no problem as this case supports graphics cards as long as 320mm. Once installed I did notice that it was sitting almost flush with the side of the case. Connecting my PCI-Express power connector to the side of my card I knew the side panel was going to get in the way. I was able to get the side panel installed, but the pressure from the side panel on the connector was actually bending the case and I was for sure not comfortable with that or the pressure in general on the PCI-Express power connector.


Redragon lists the only limitation on the graphics card is its length at 320mm, but obviously if you have a card that is larger in depth and has power connections on the side you are going to run into some issues. The card I was trying to install was a MSI RTX 3050 Gaming X 8G which is 130 mm wide. For reference a Founders Edition RTX 40 series card is 137mm wide. Interestingly enough in Redragon’s own build picture on their website they are using a Gaming X graphics card from MSI, but they have a PCI-Express power adapter that brings the connector up and over the top of the card. So it seems they know about this issue.


Now I am ok with limitations on hardware, especially on smaller cases like this, but Redragon makes no mention of this limitation anywhere on their website or on the product listing on Amazon. If I was someone building a new system, ordered all my parts, and during my build discovered the the graphics card I have wouldn’t really work with the case without some type of PCI-Express power adapter or custom cable I would be pretty upset. It is likely that I would return the case.
Now I of course had another graphics card, which was the PNY GeForce RTX 4060 Ti Verto 8GB. This card is only 112.5mm wide so we didn’t run into any issues with it.


Another thing I noticed is that the expansion slot lock once removed cannot be reinstalled. The screw hole is actually wider than the thumbscrew that is on it. Now you can place this lock back on the back of the case, but as soon as you move your case it is going to fall off. I really don’t have an explanation for this one.


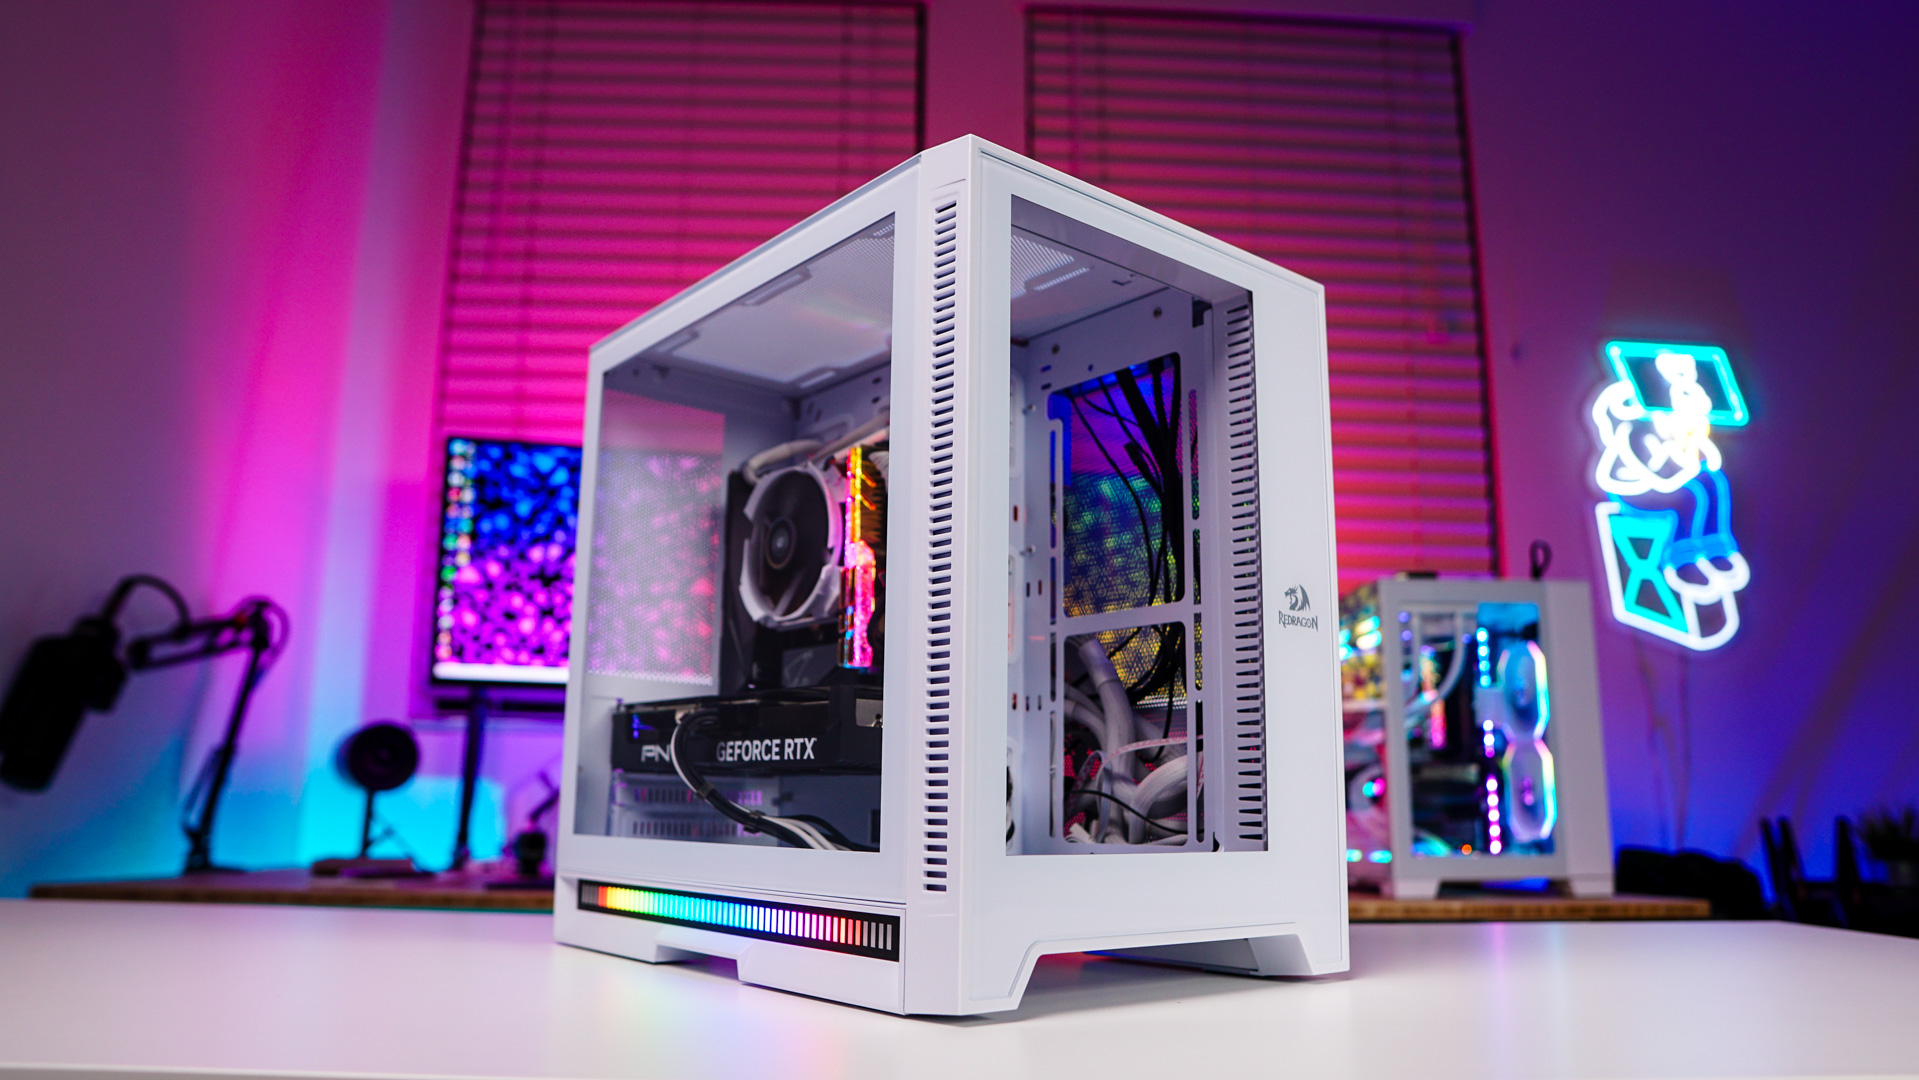
With everything installed we do have a very clean system.