Assembly of the Silverstone ECM24-ARGB
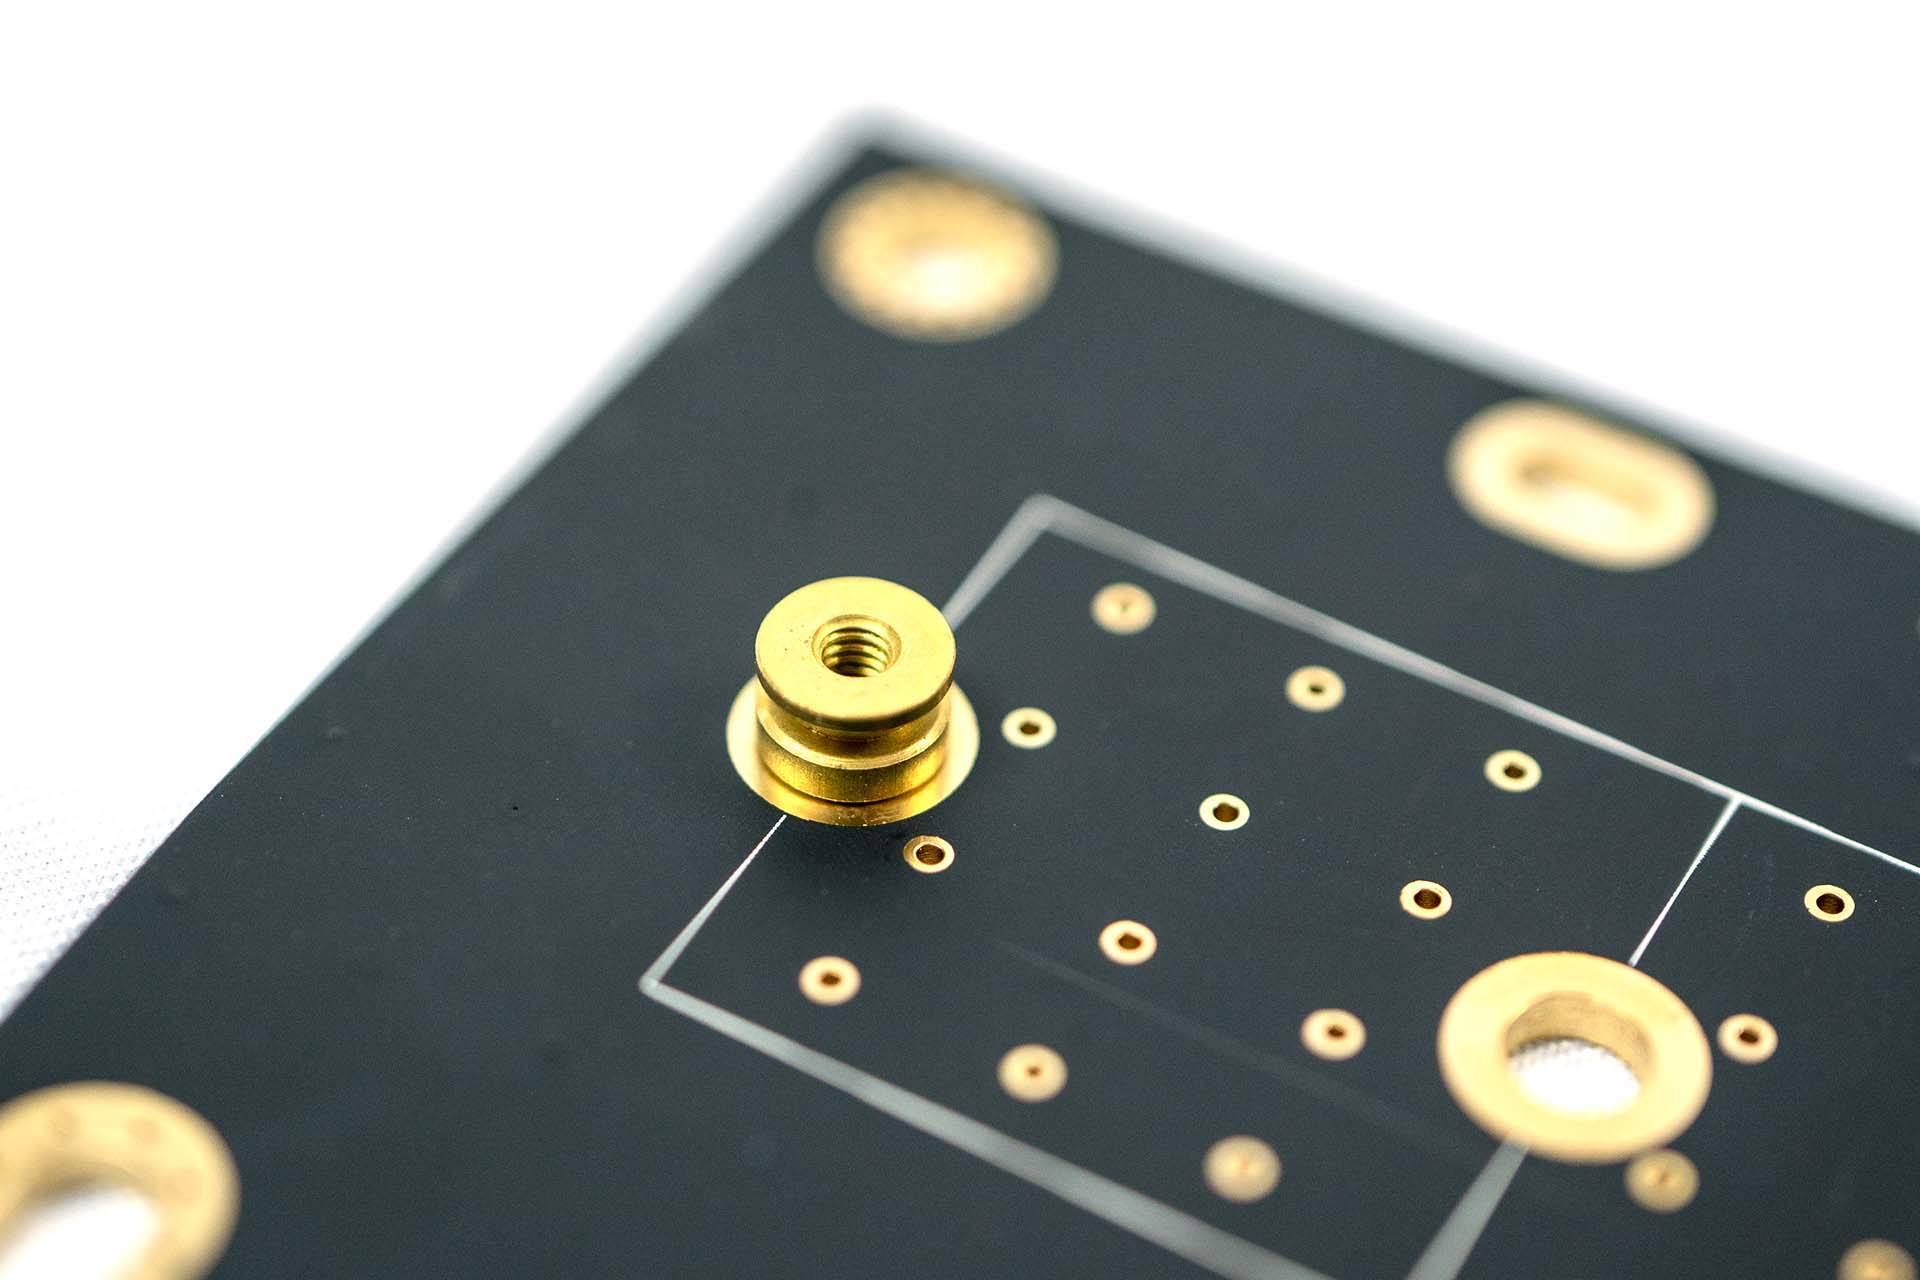
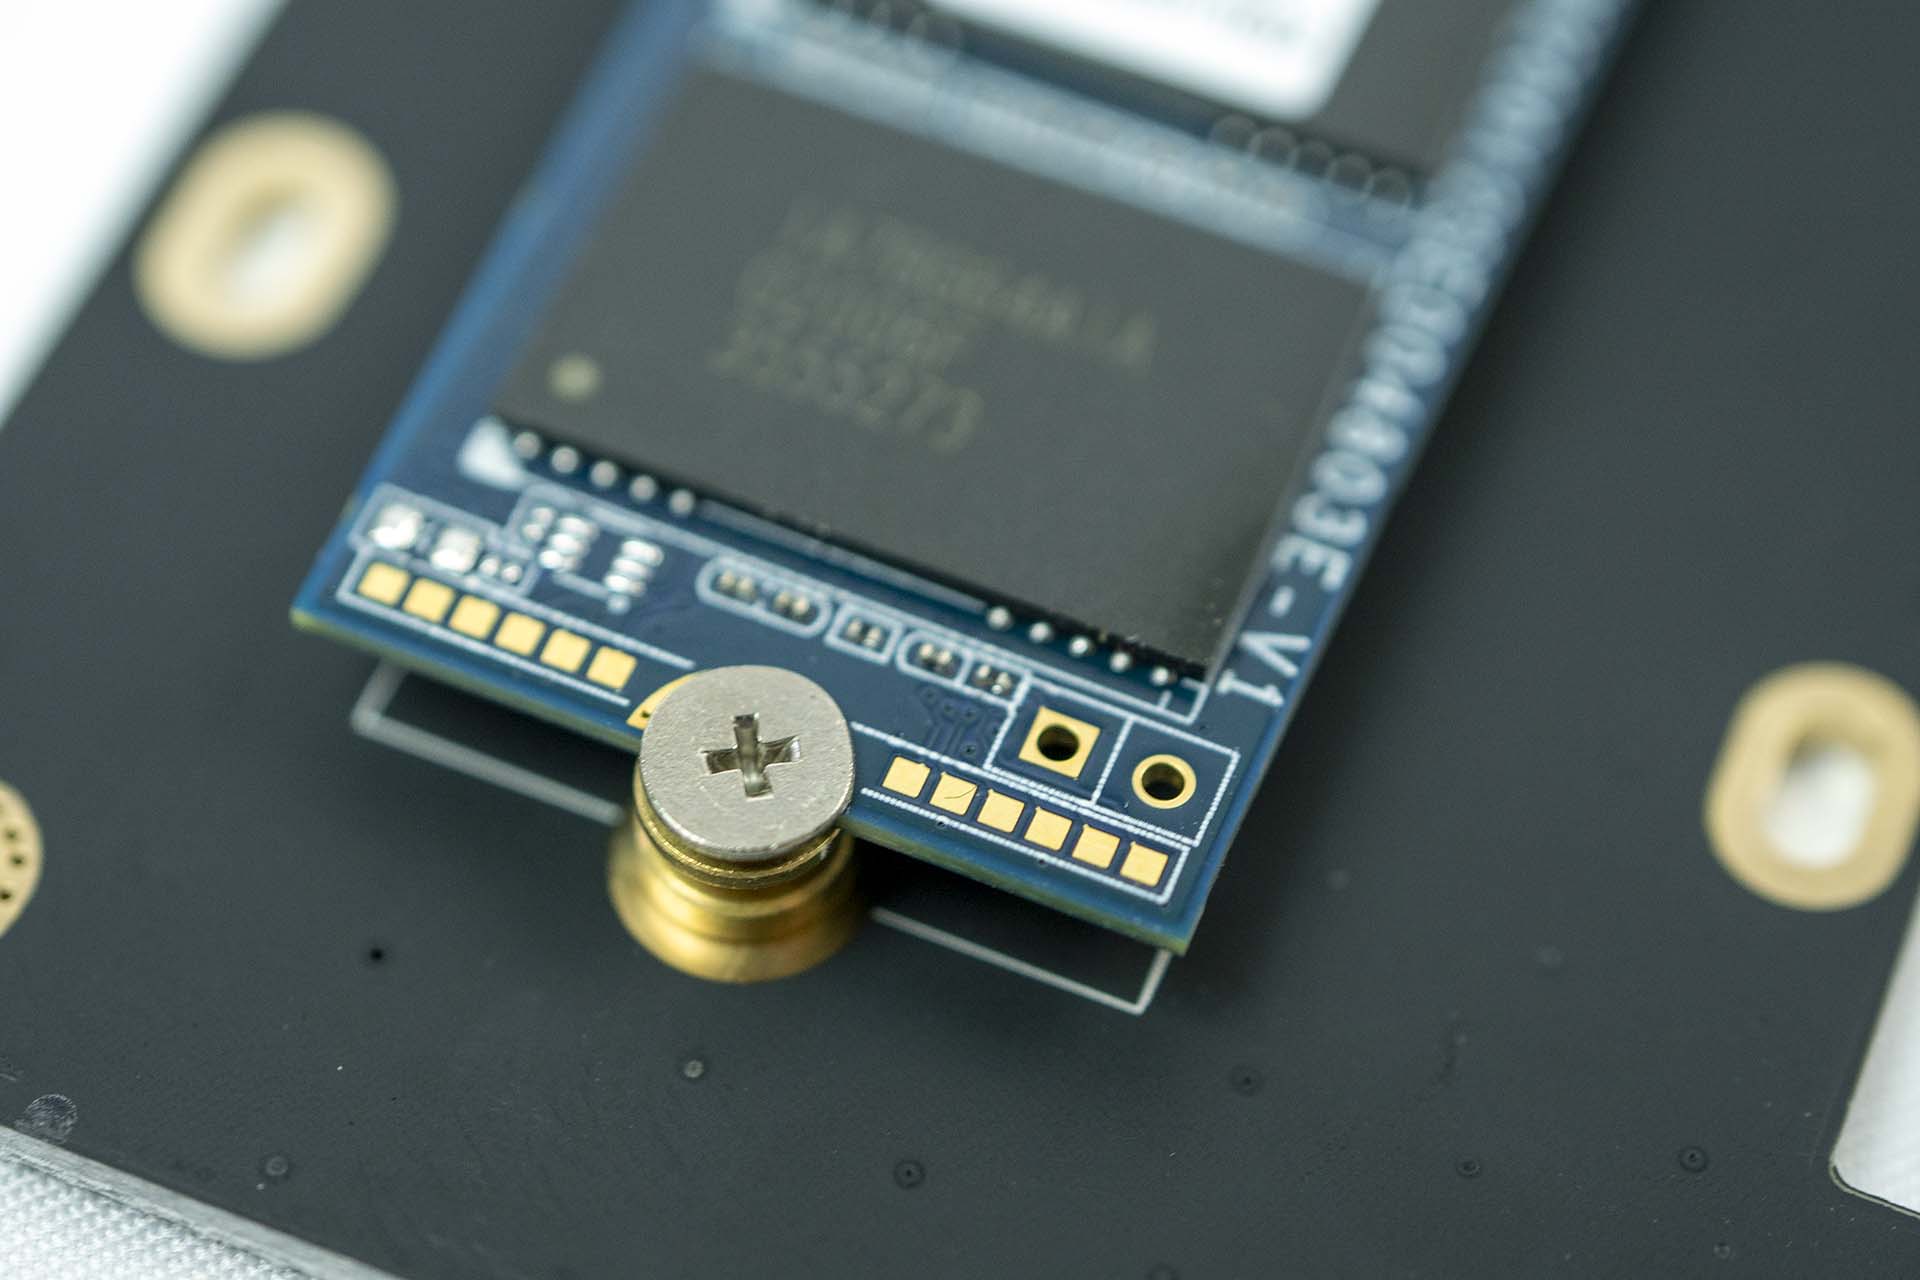
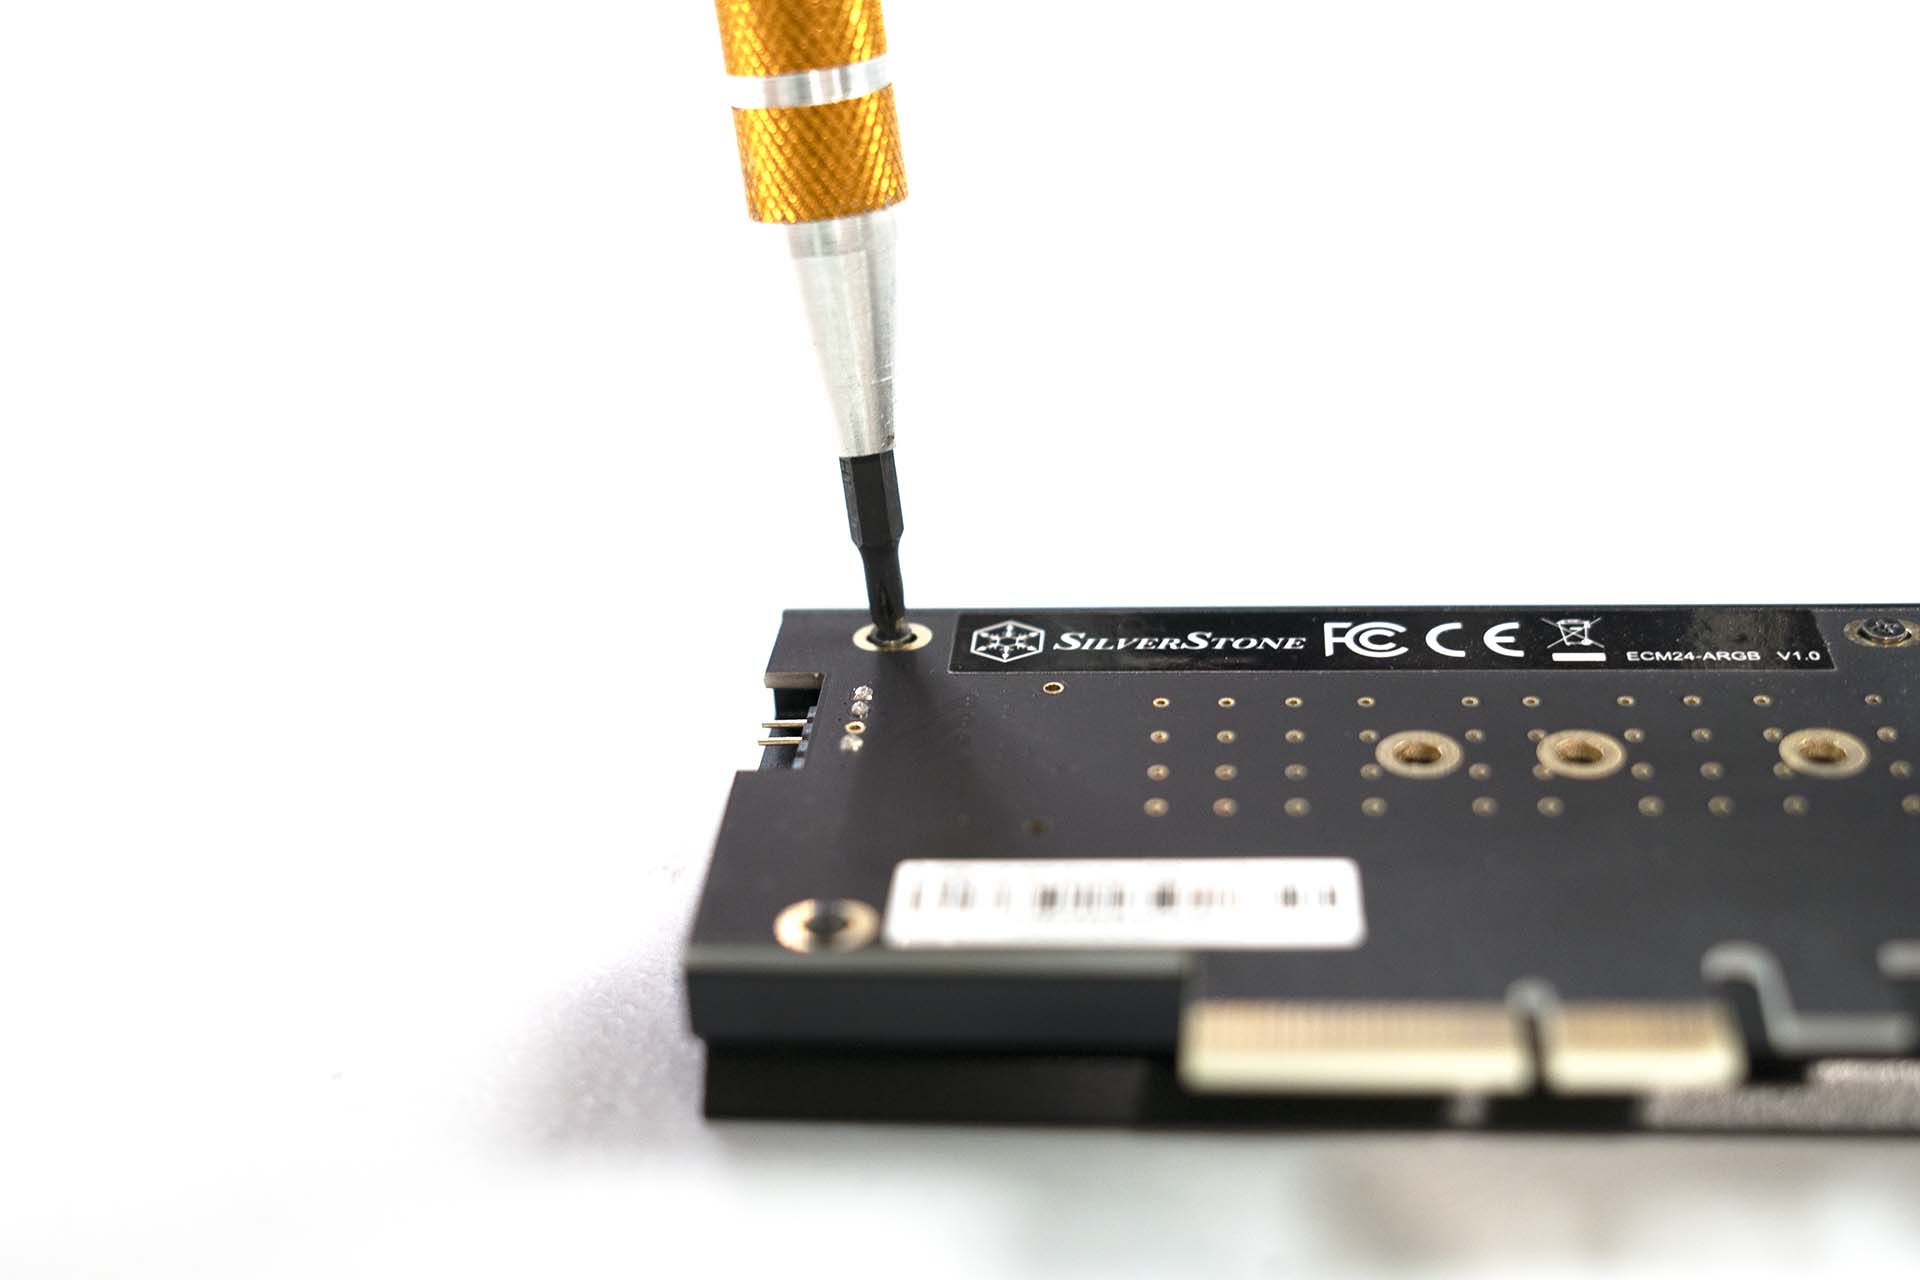
The Silverstone ECM24-ARGB is easy to assemble. Once the anchor is attached, we can install the M.2. Next, use the included M.2 screw to affix the M.2 in place.
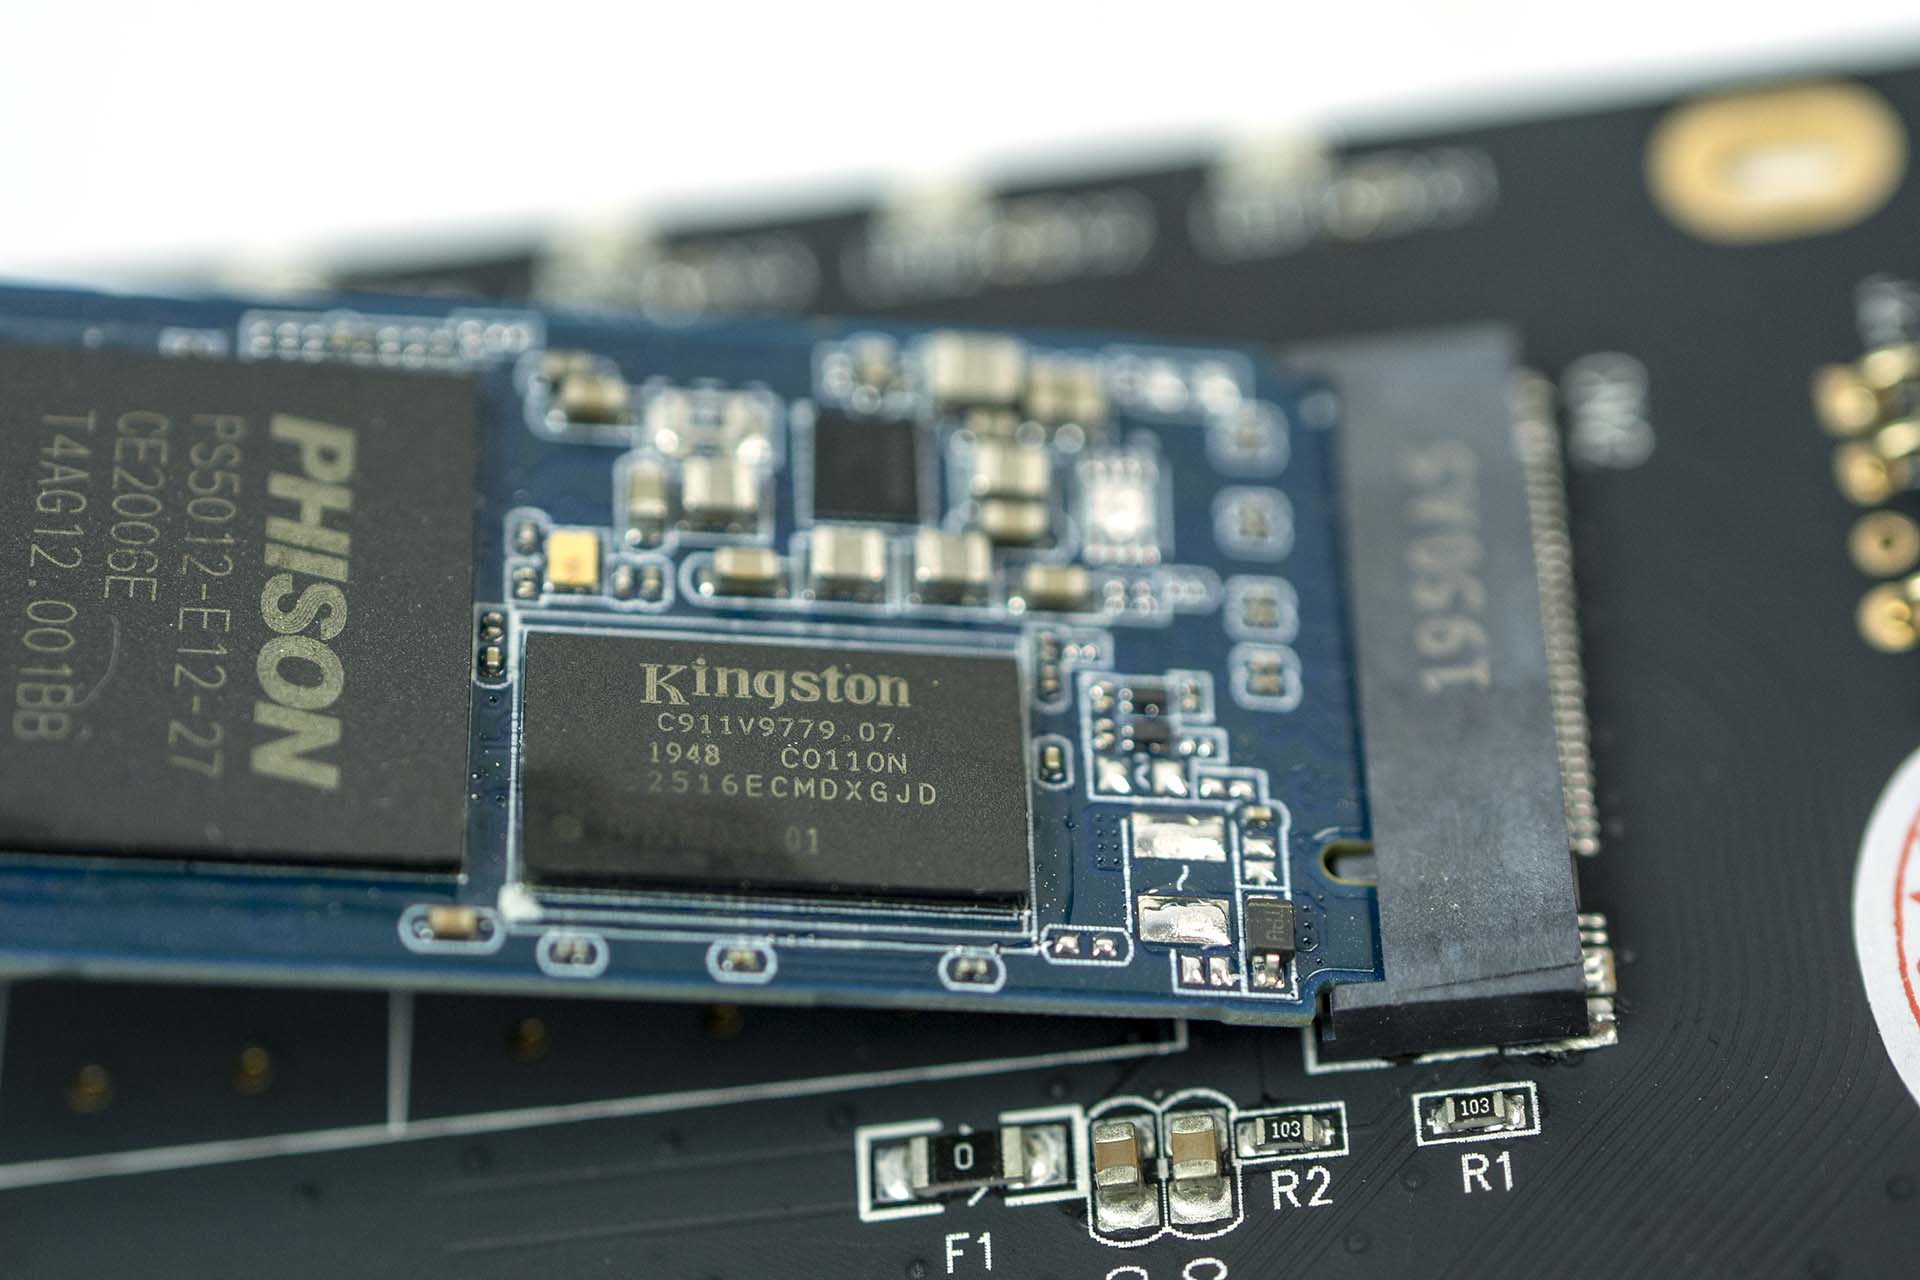
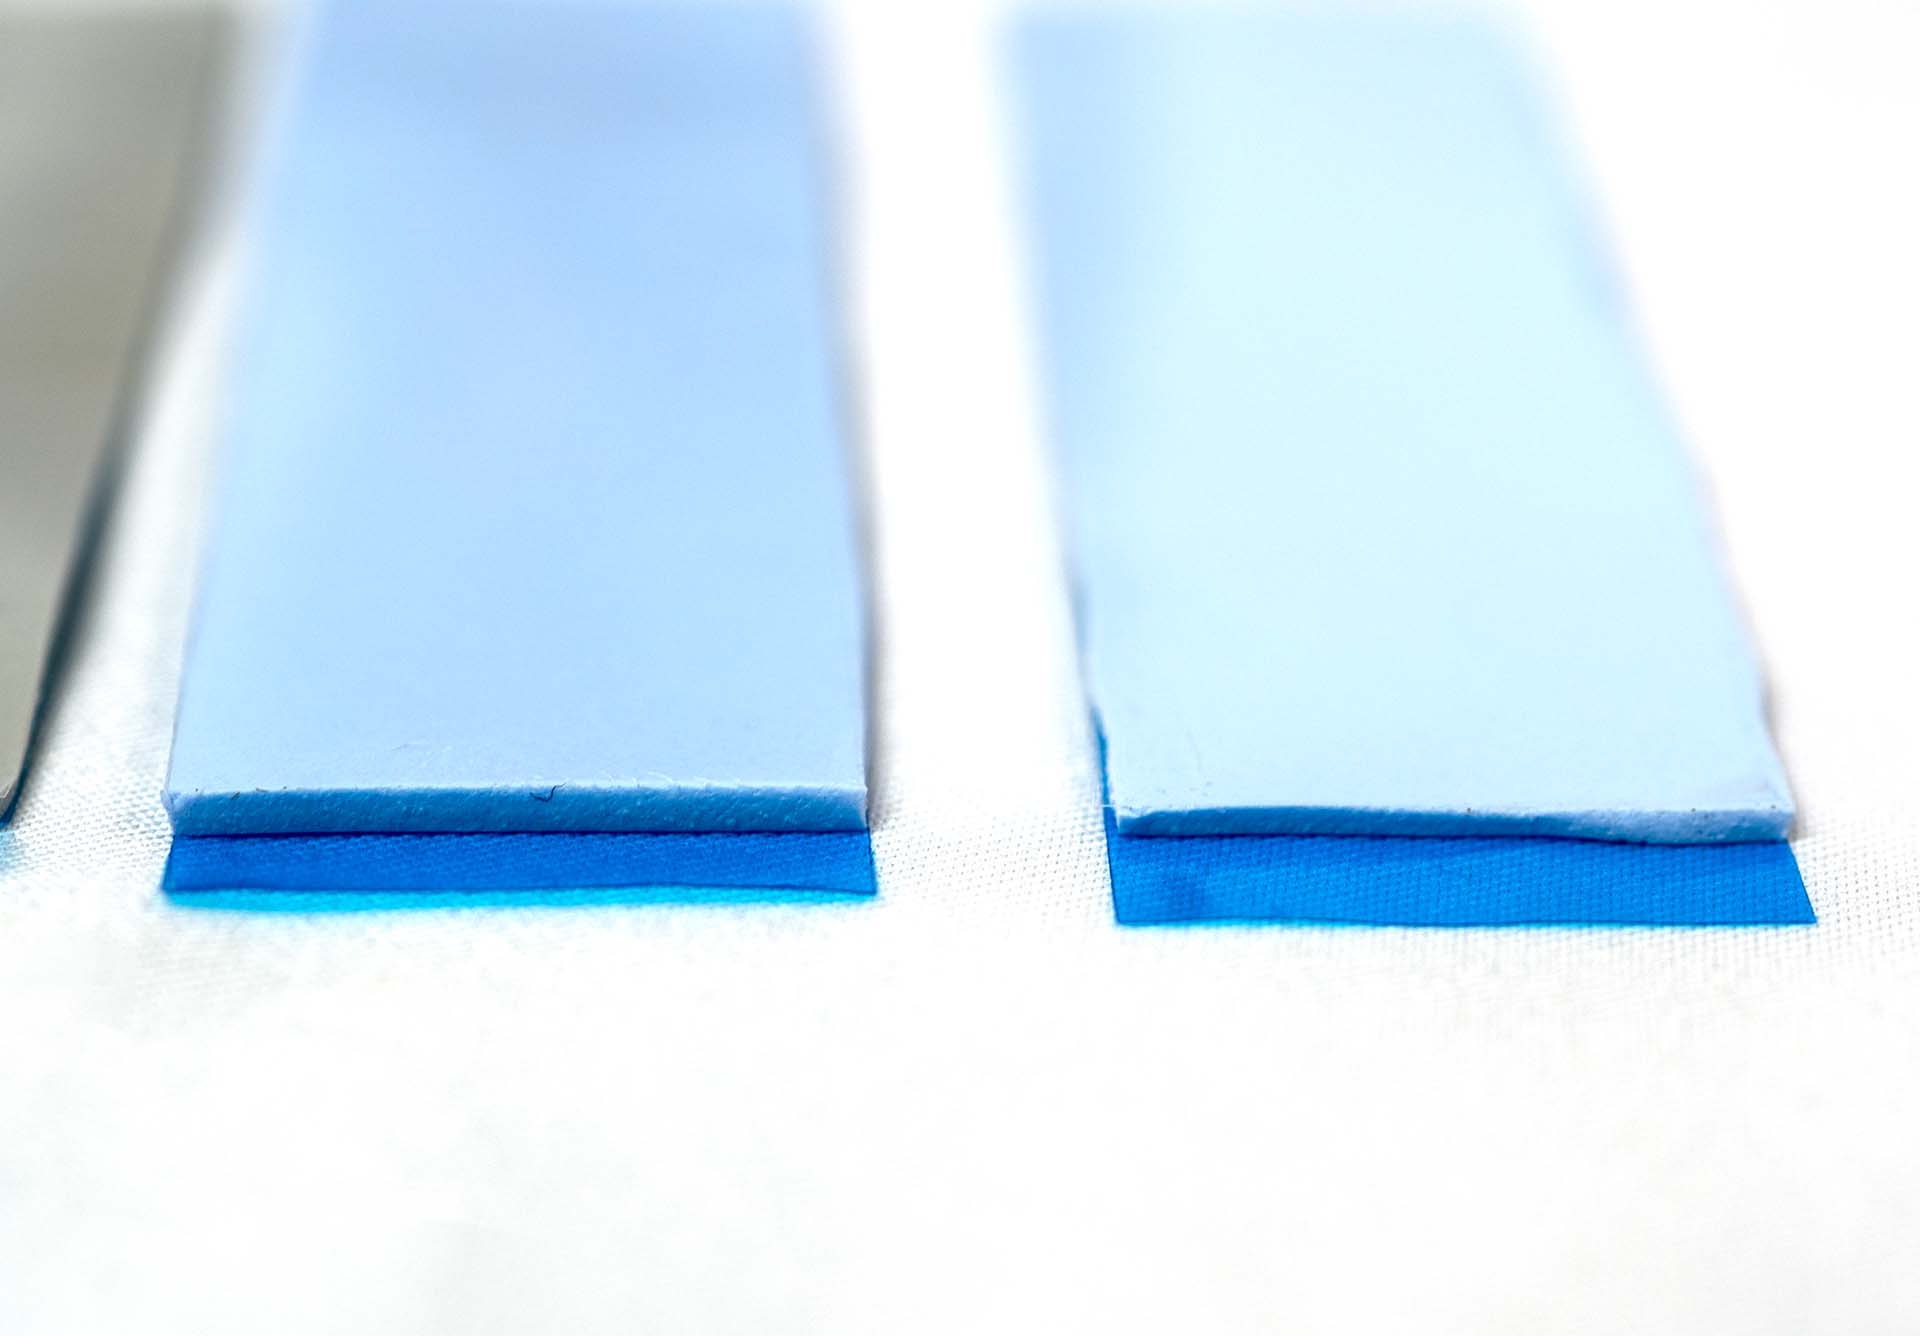
Before we attach the heatsink, we must out the thermal pads in place. There are two different colored thermal pads included with the Silverstone ECM24-ARGB. These thermal pads are blue and gray. The gray thermal pad is placed on the underside of the M.2 and the blue one is placed on the top of the M.2, in between the drive and the heatsink.

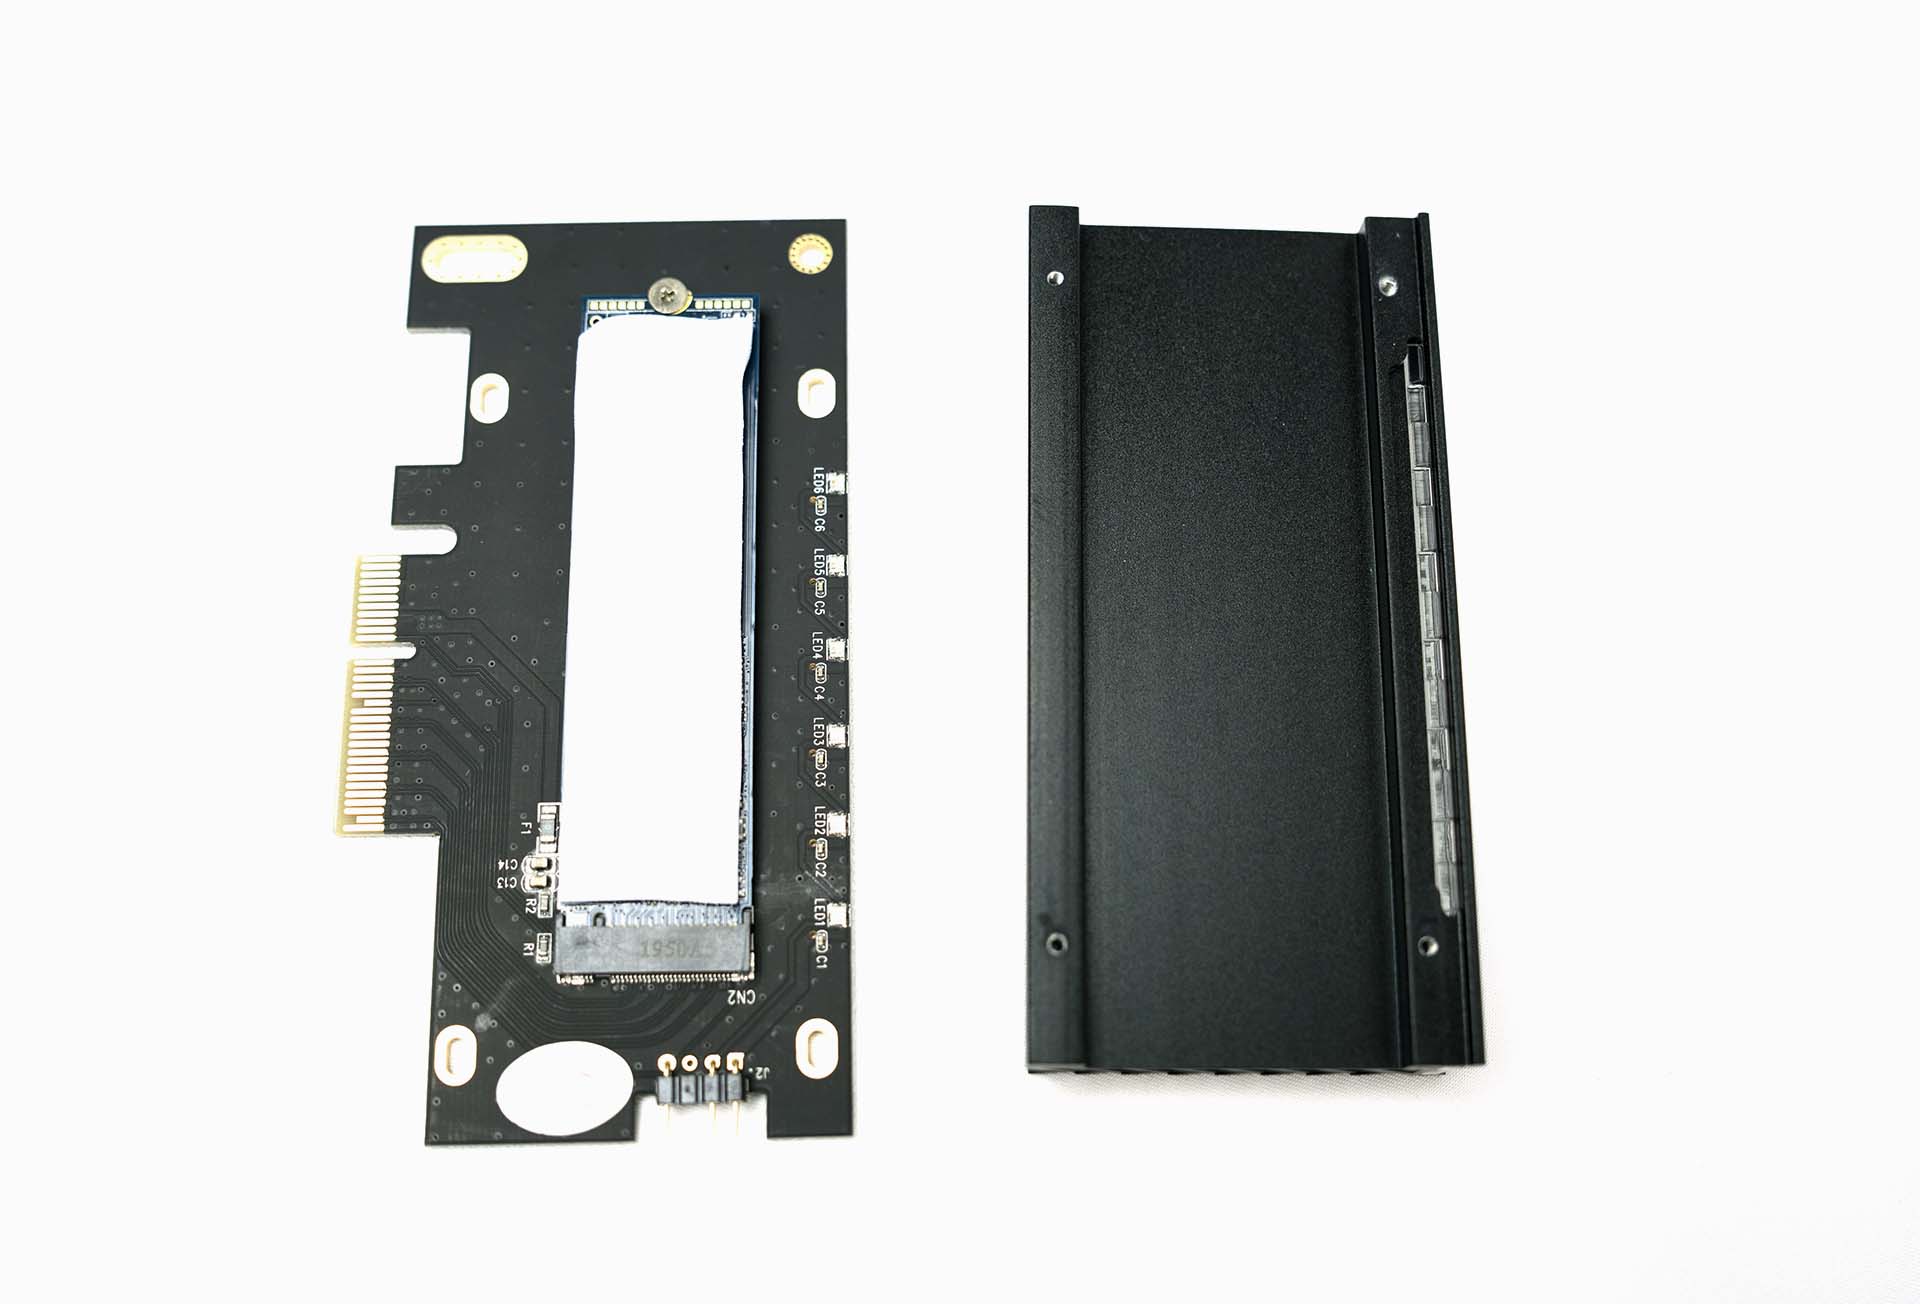
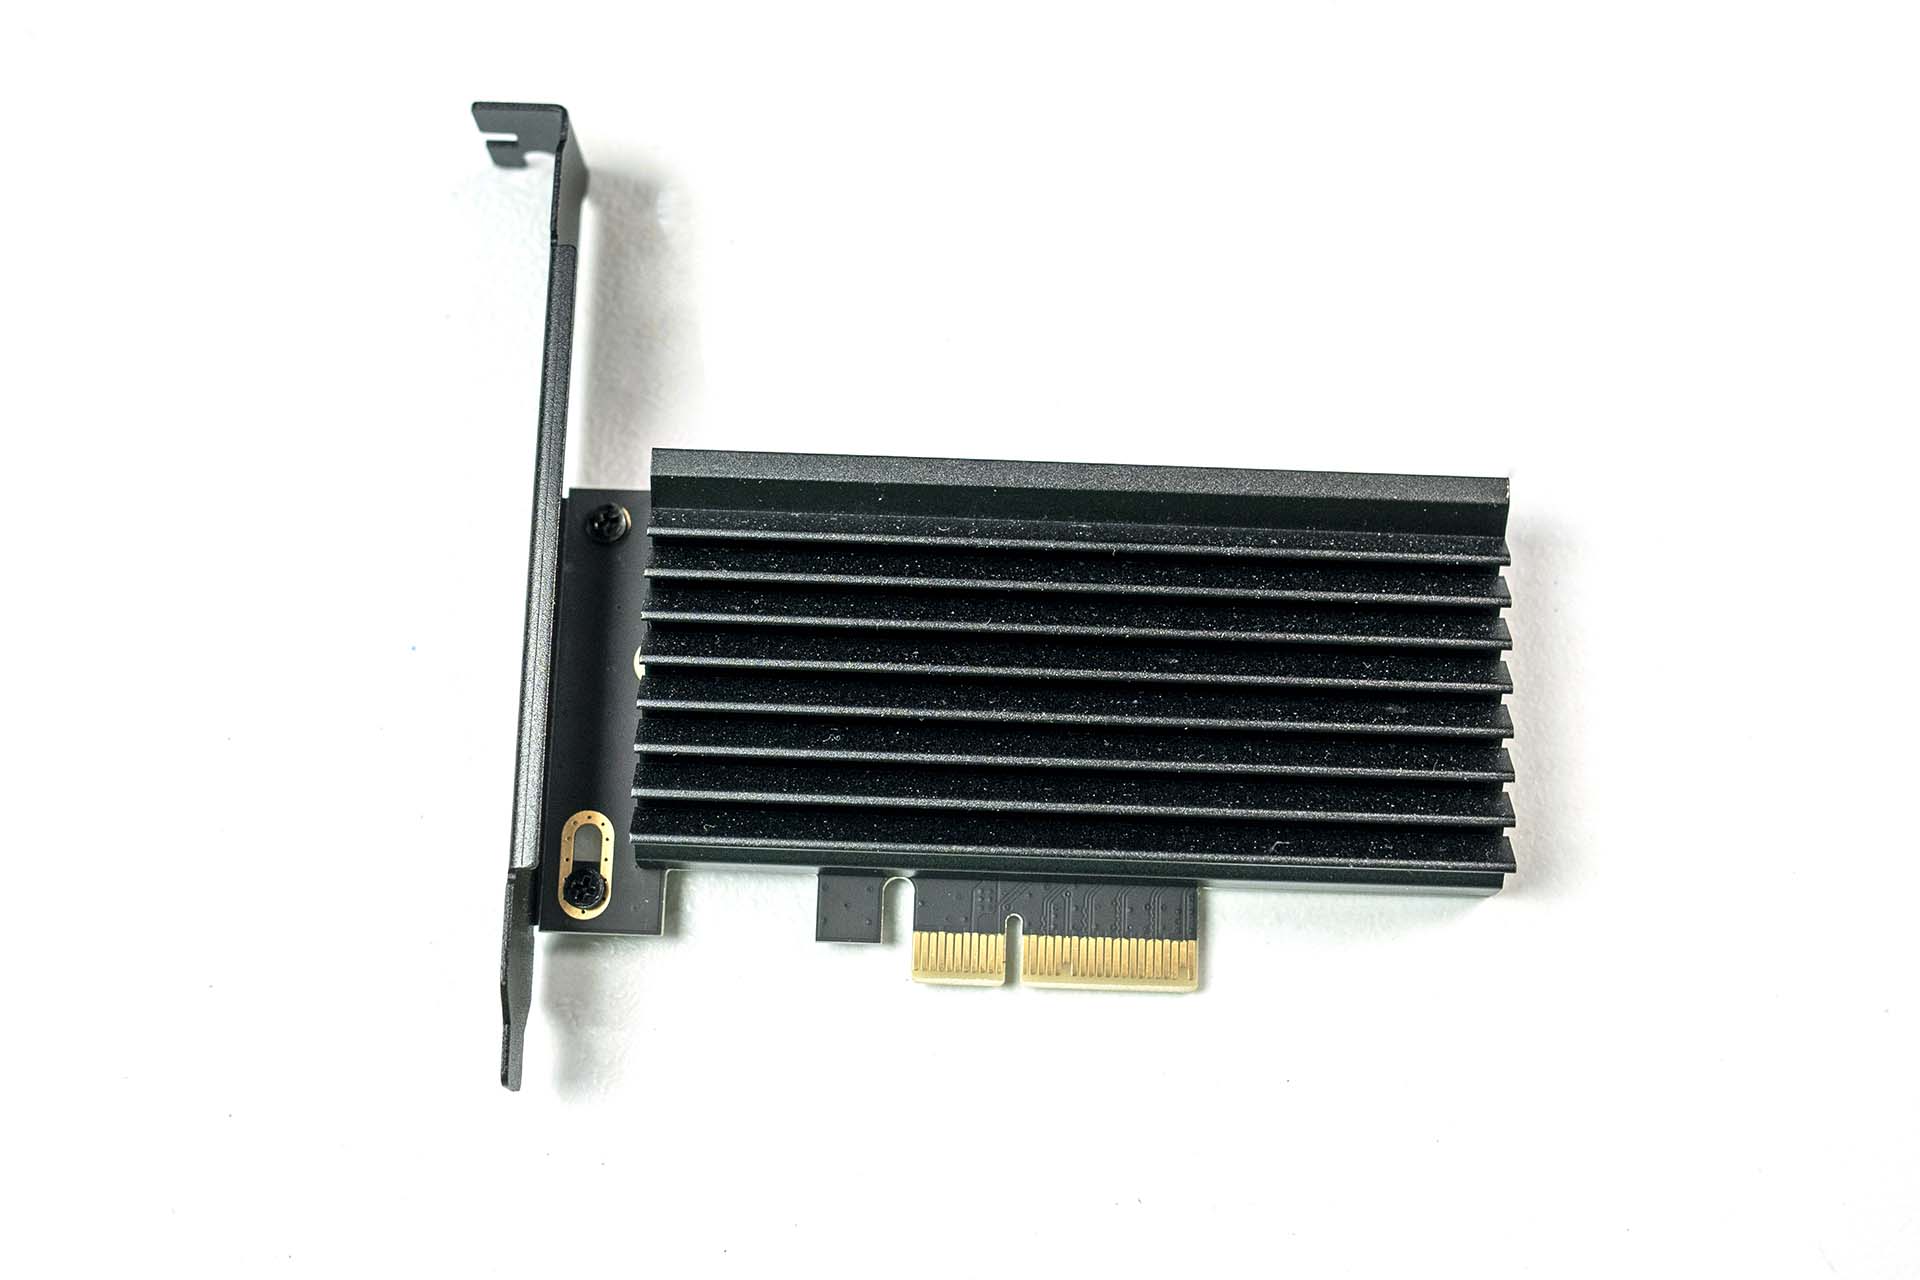
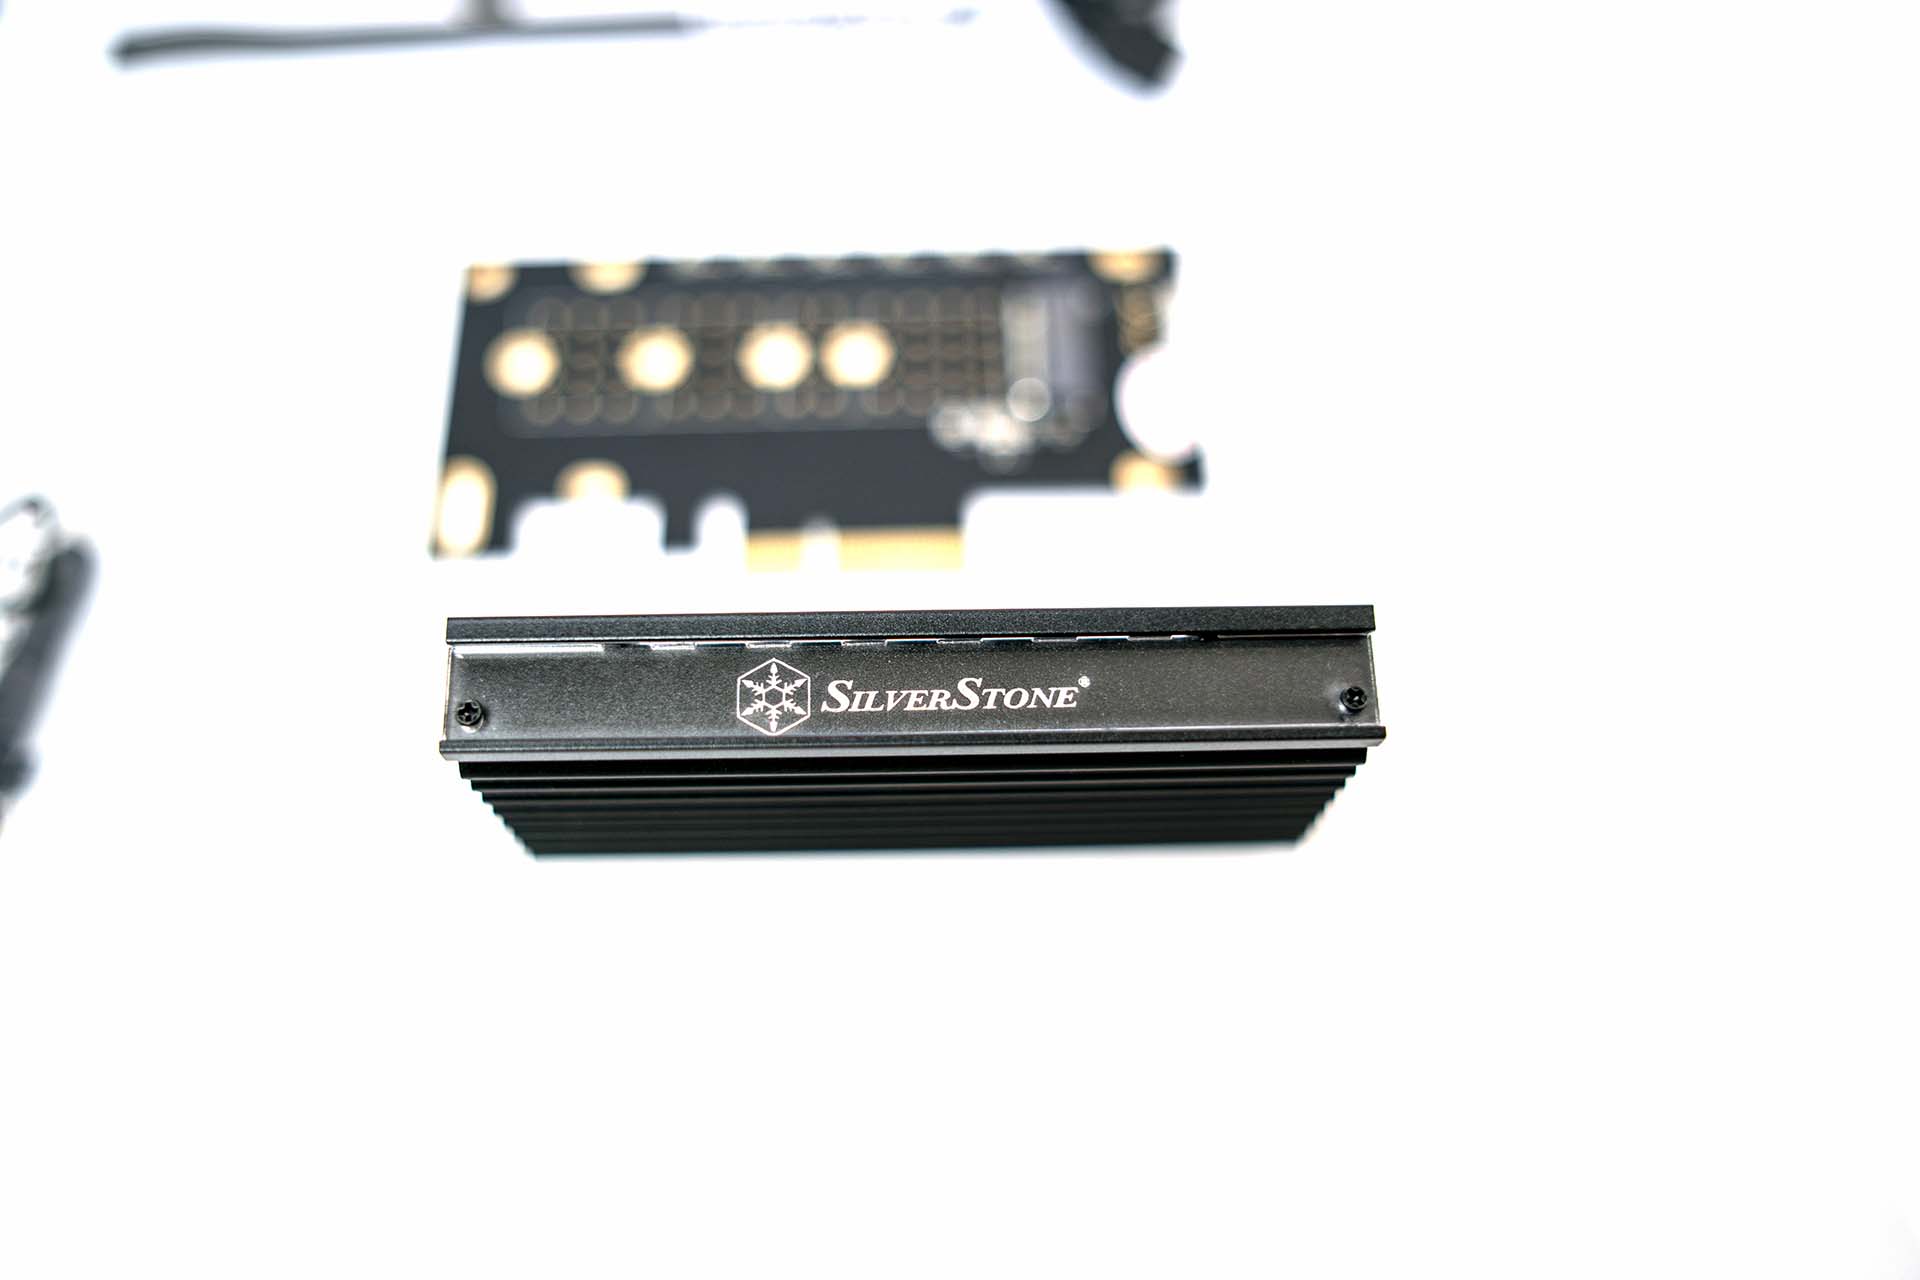
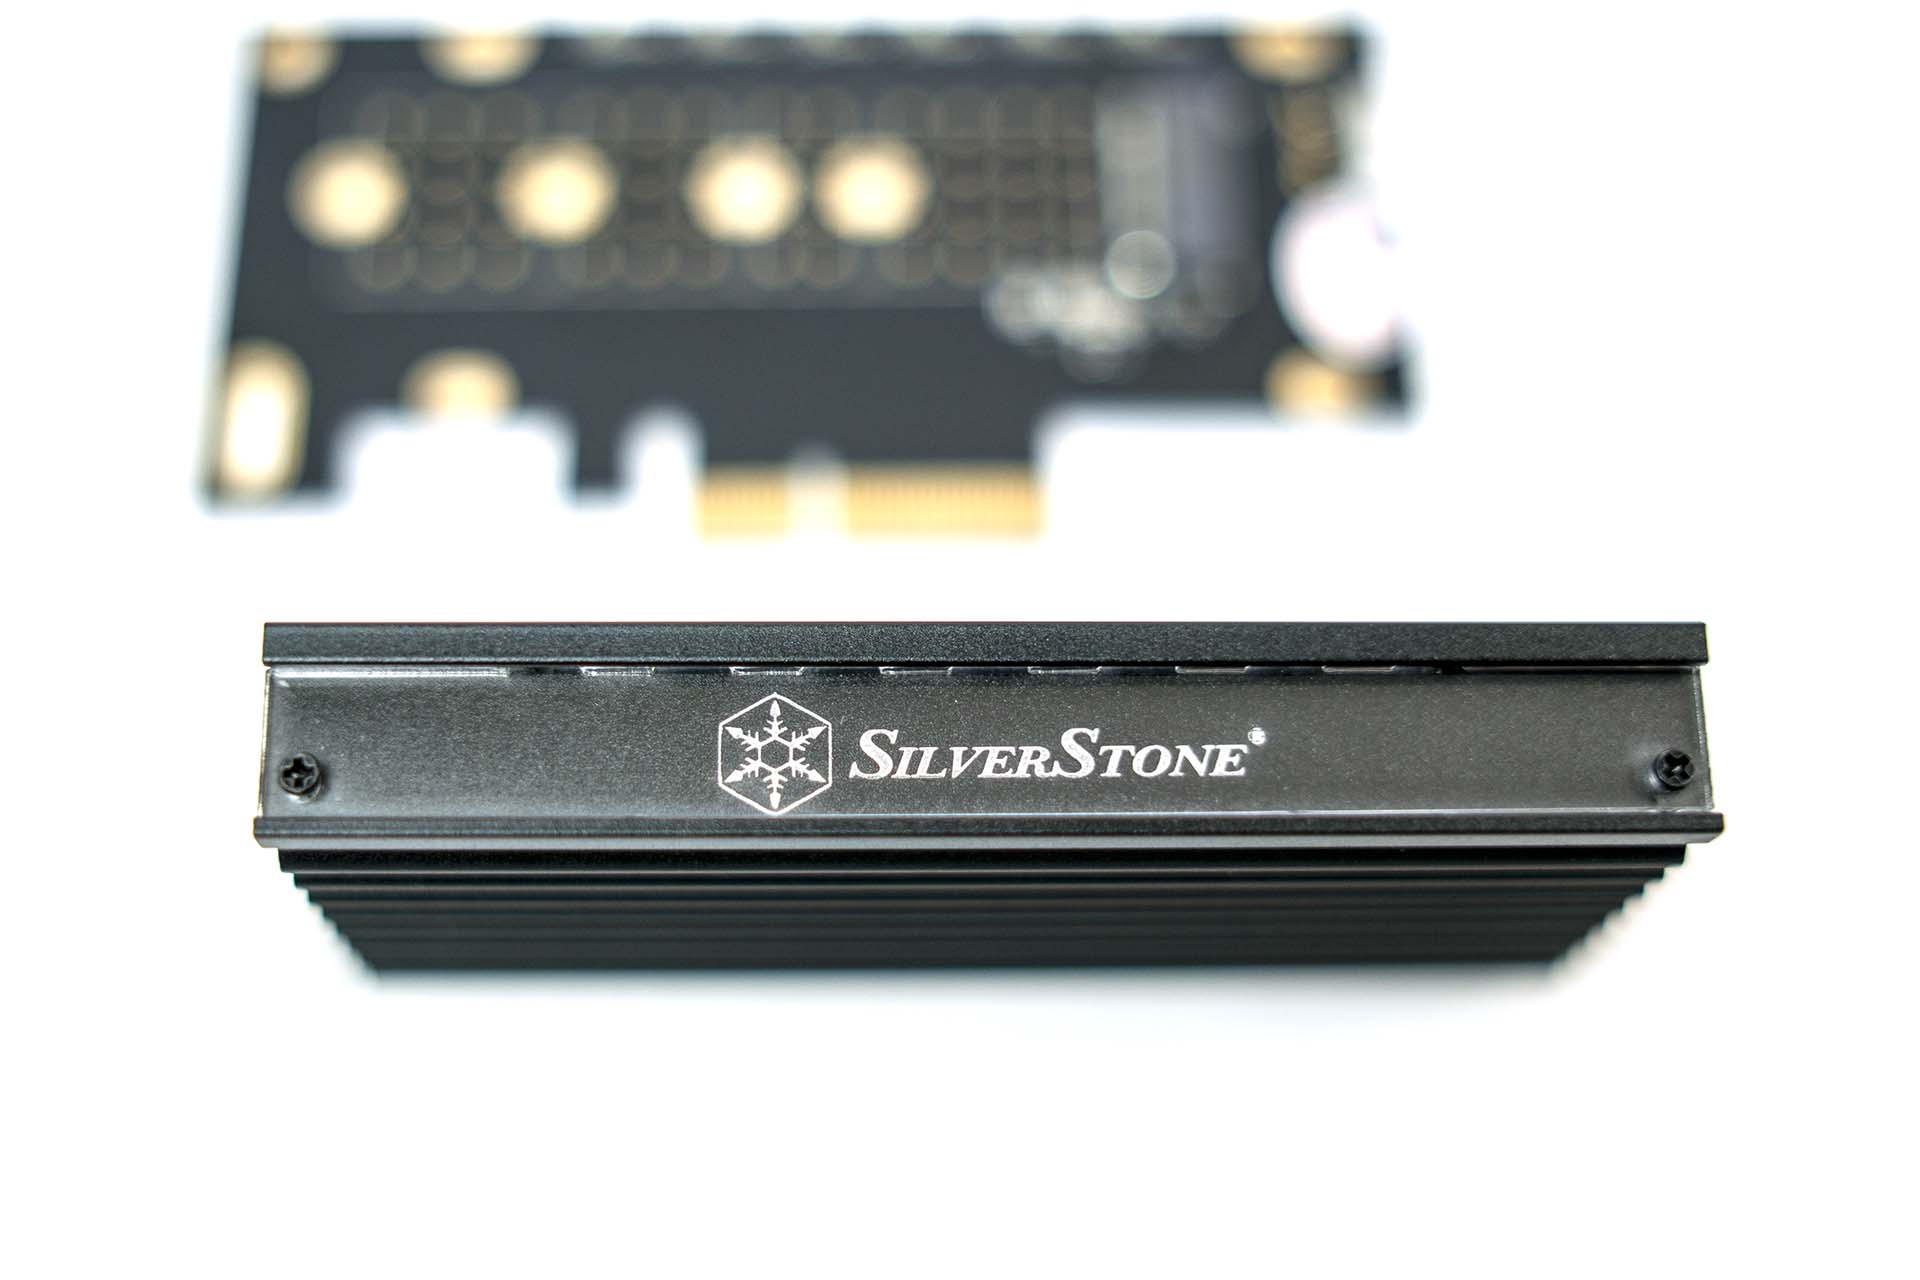
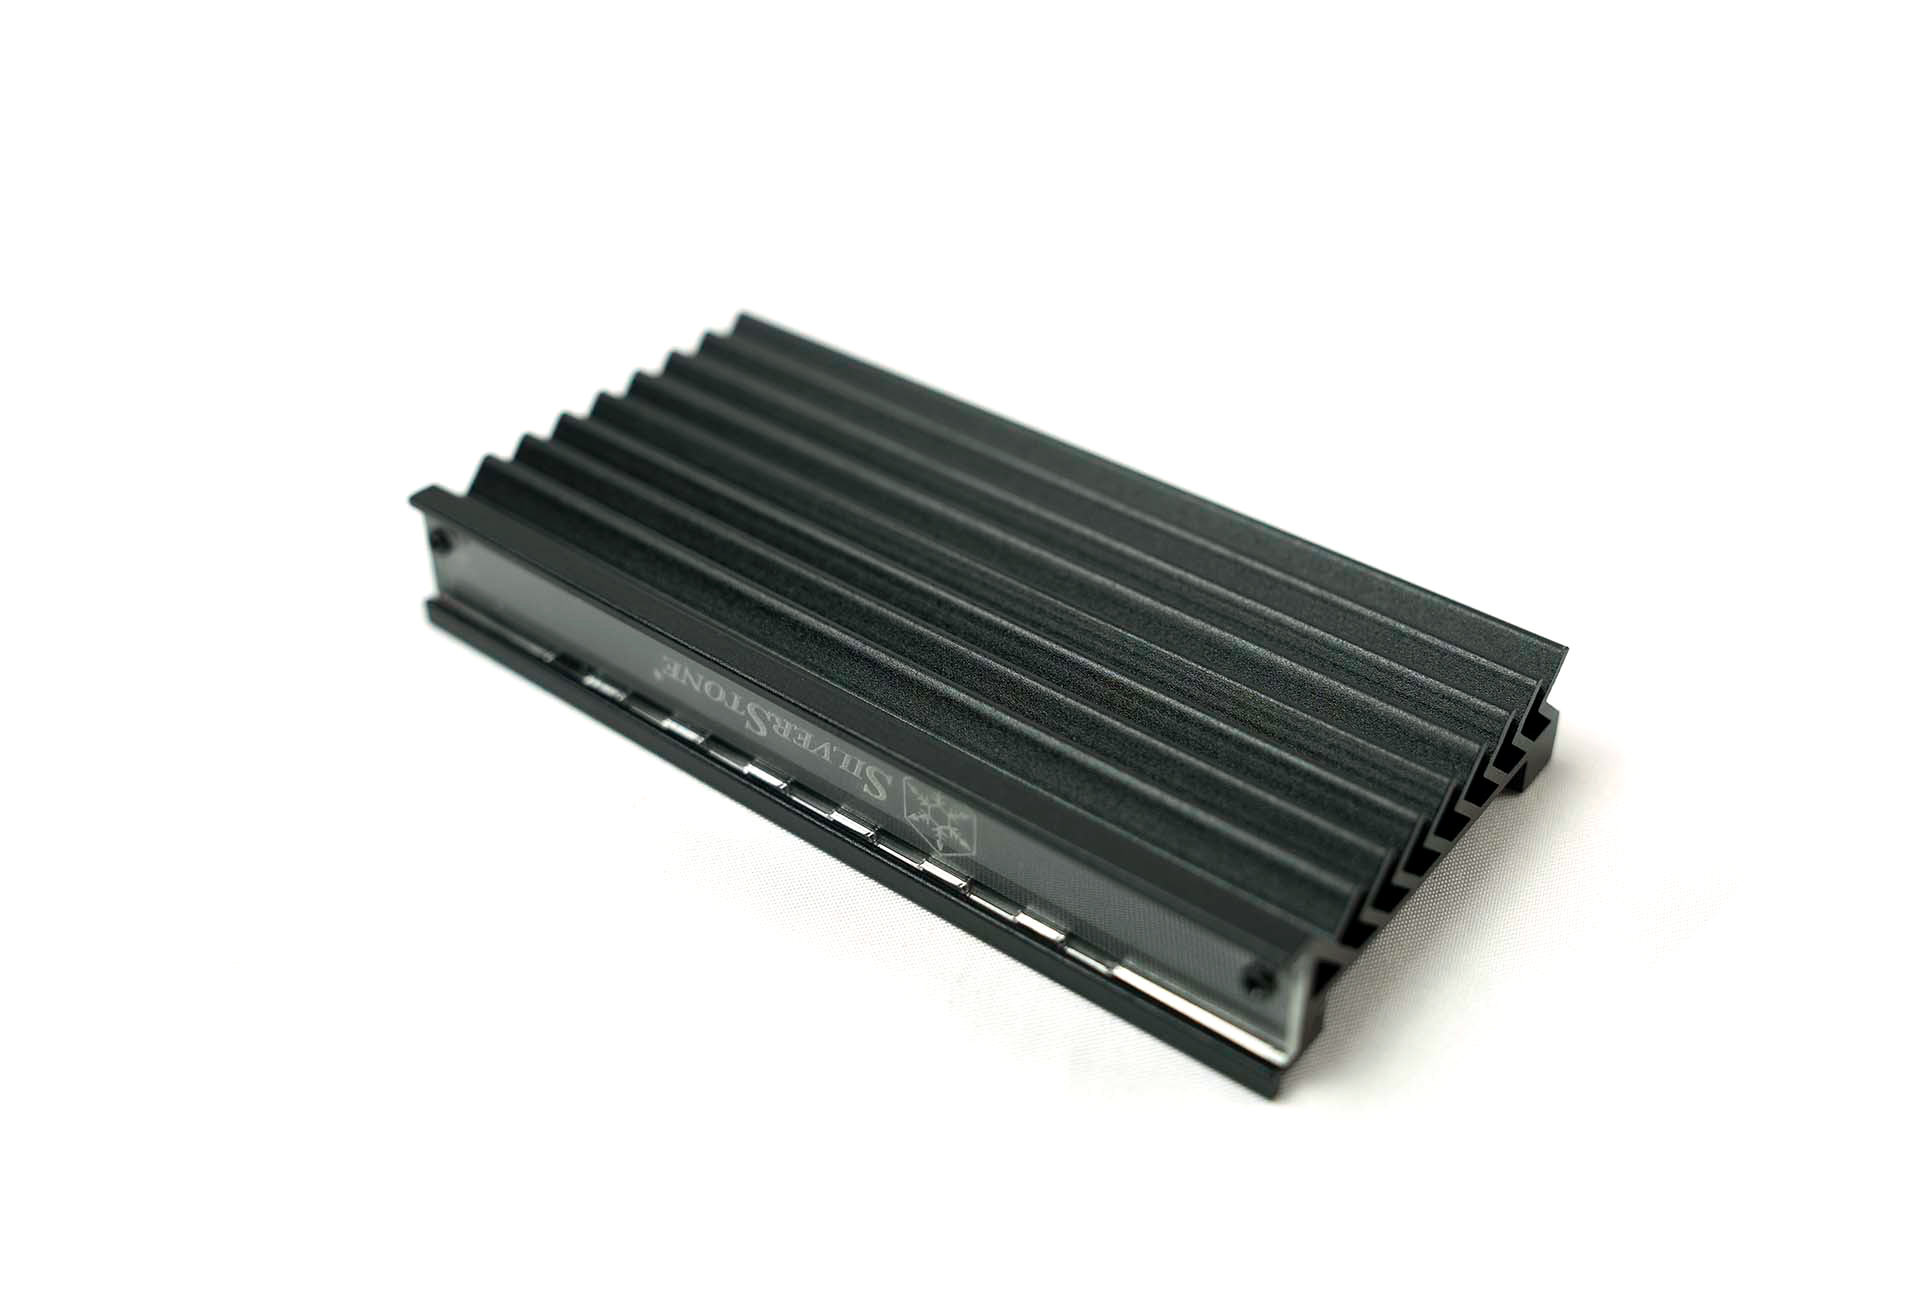
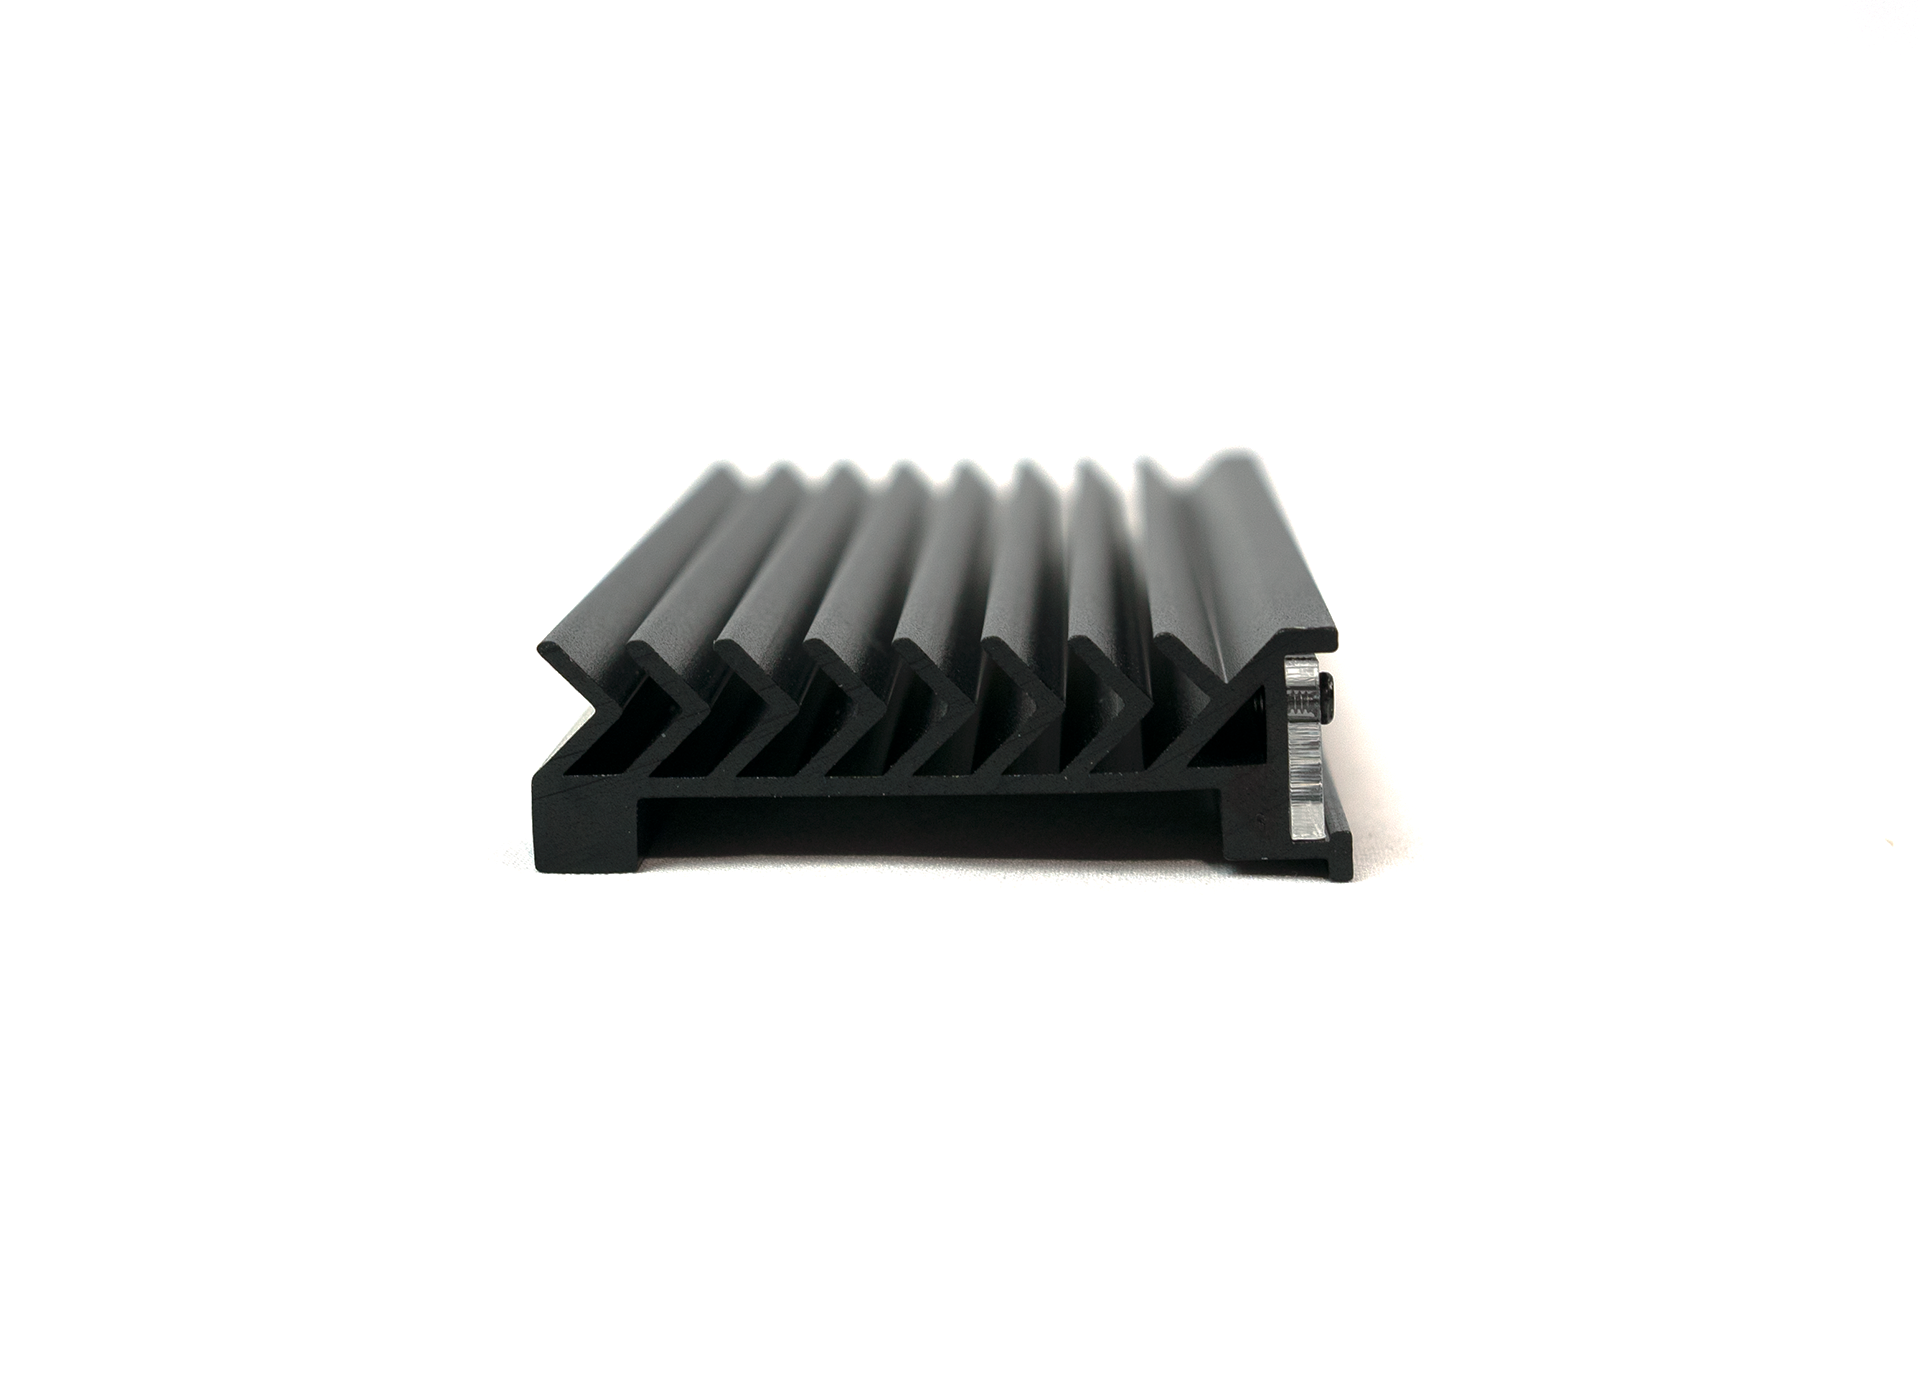
Once the M.2 is installed on the Silverstone ECM24-ARGB, we can attach the heatsink. Now as we mentioned earlier, you can run the Silverstone ECM24-ARGB without the heatsink. But, the heatsink has more than one advantage. Not only does it keep the temps down, but it also diffuses the RGB lighting on the PCB. On the top edge of the heatsink is where we see the diffuser. The Silverstone logo is placed in the center of the diffuser. to attach the heatsink to the PCB, there is a series of four screws.
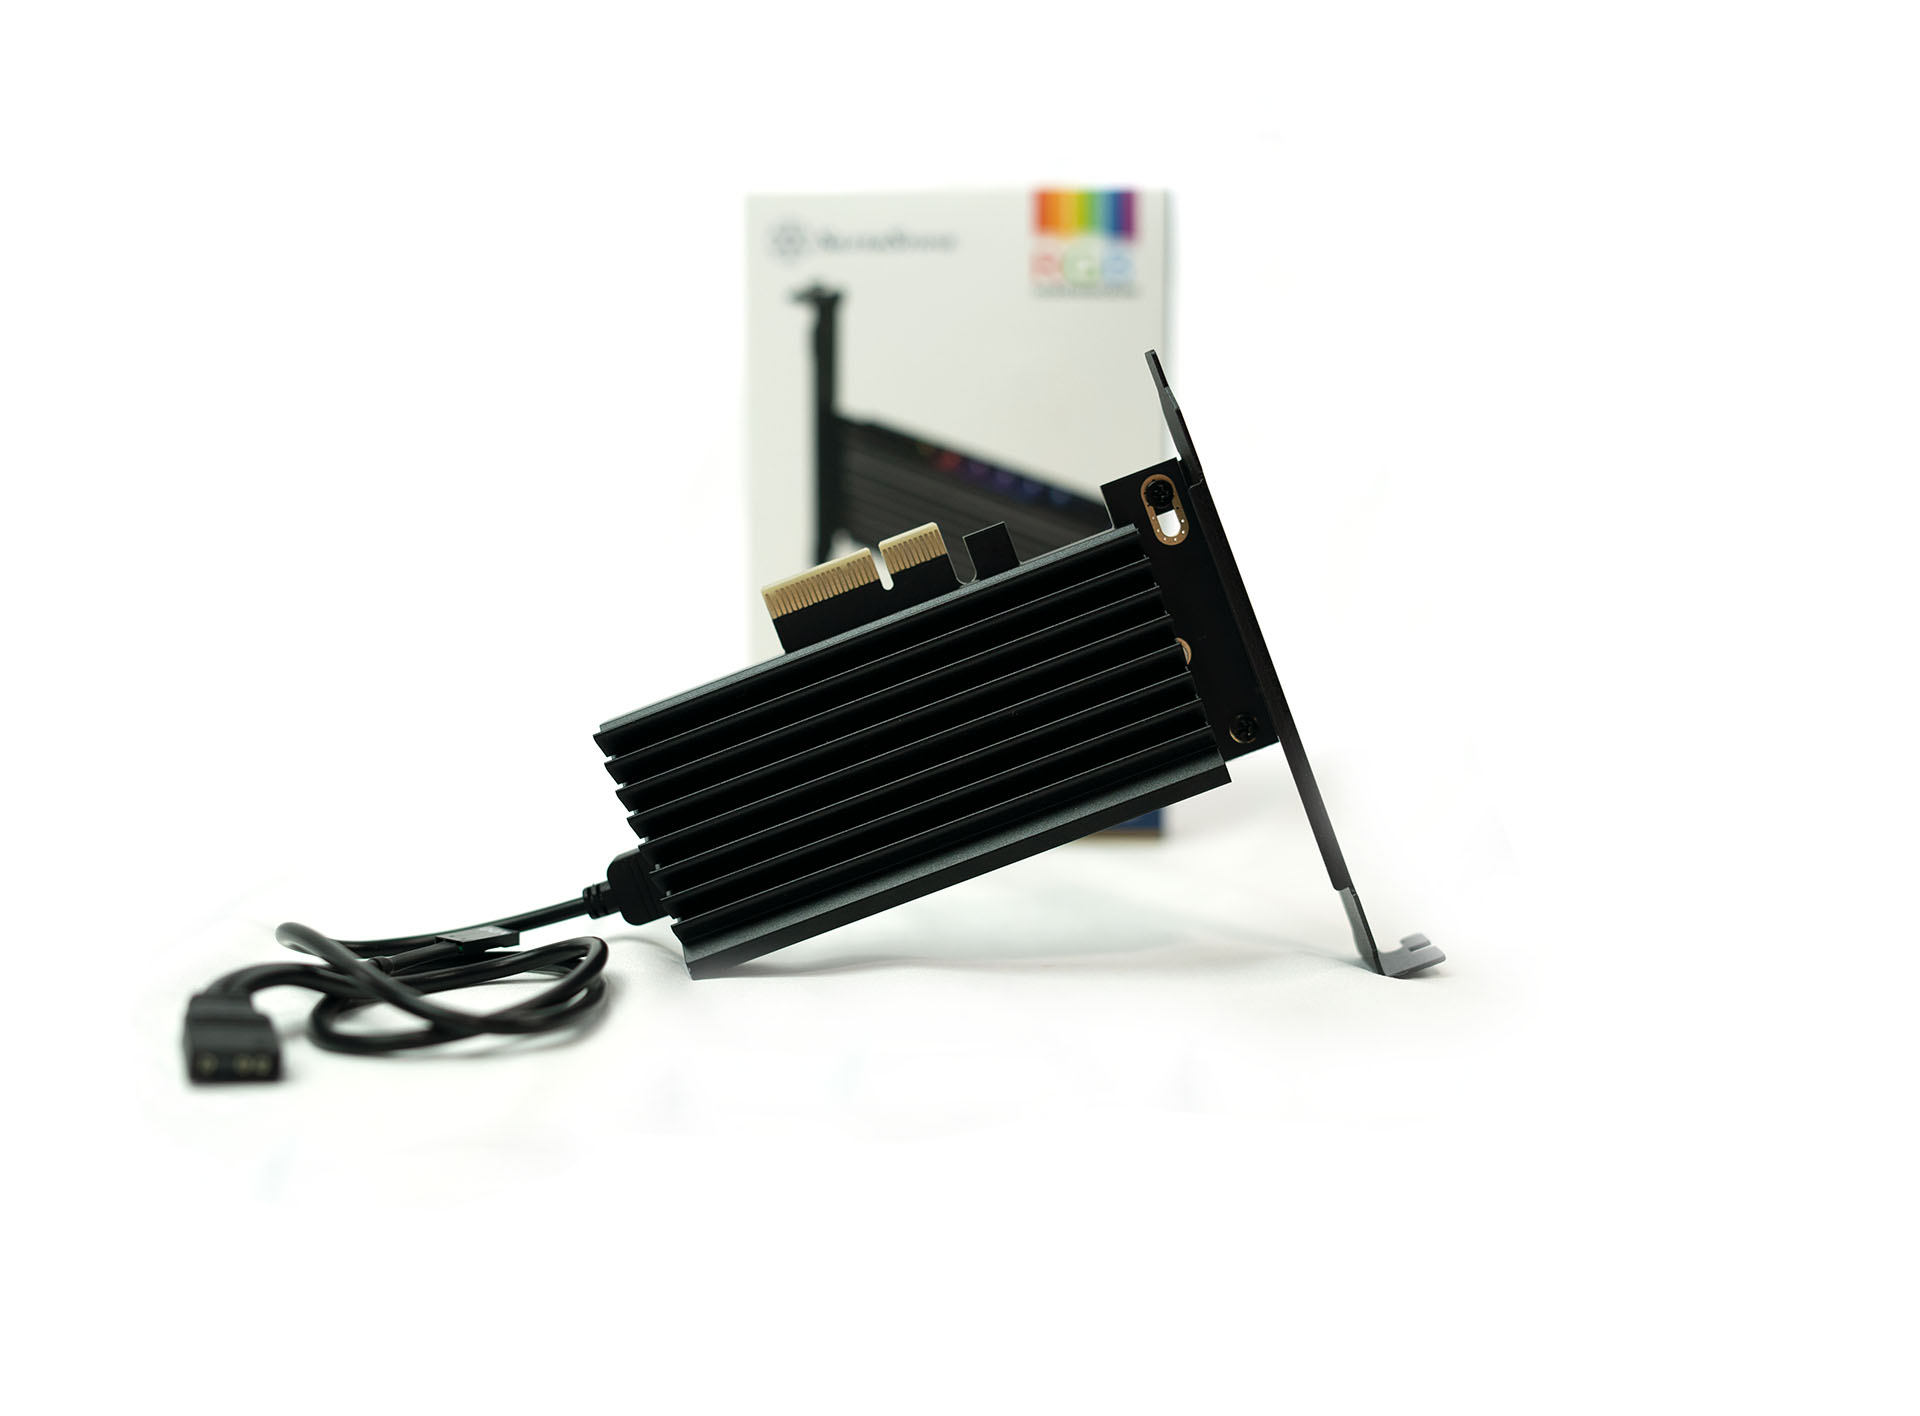
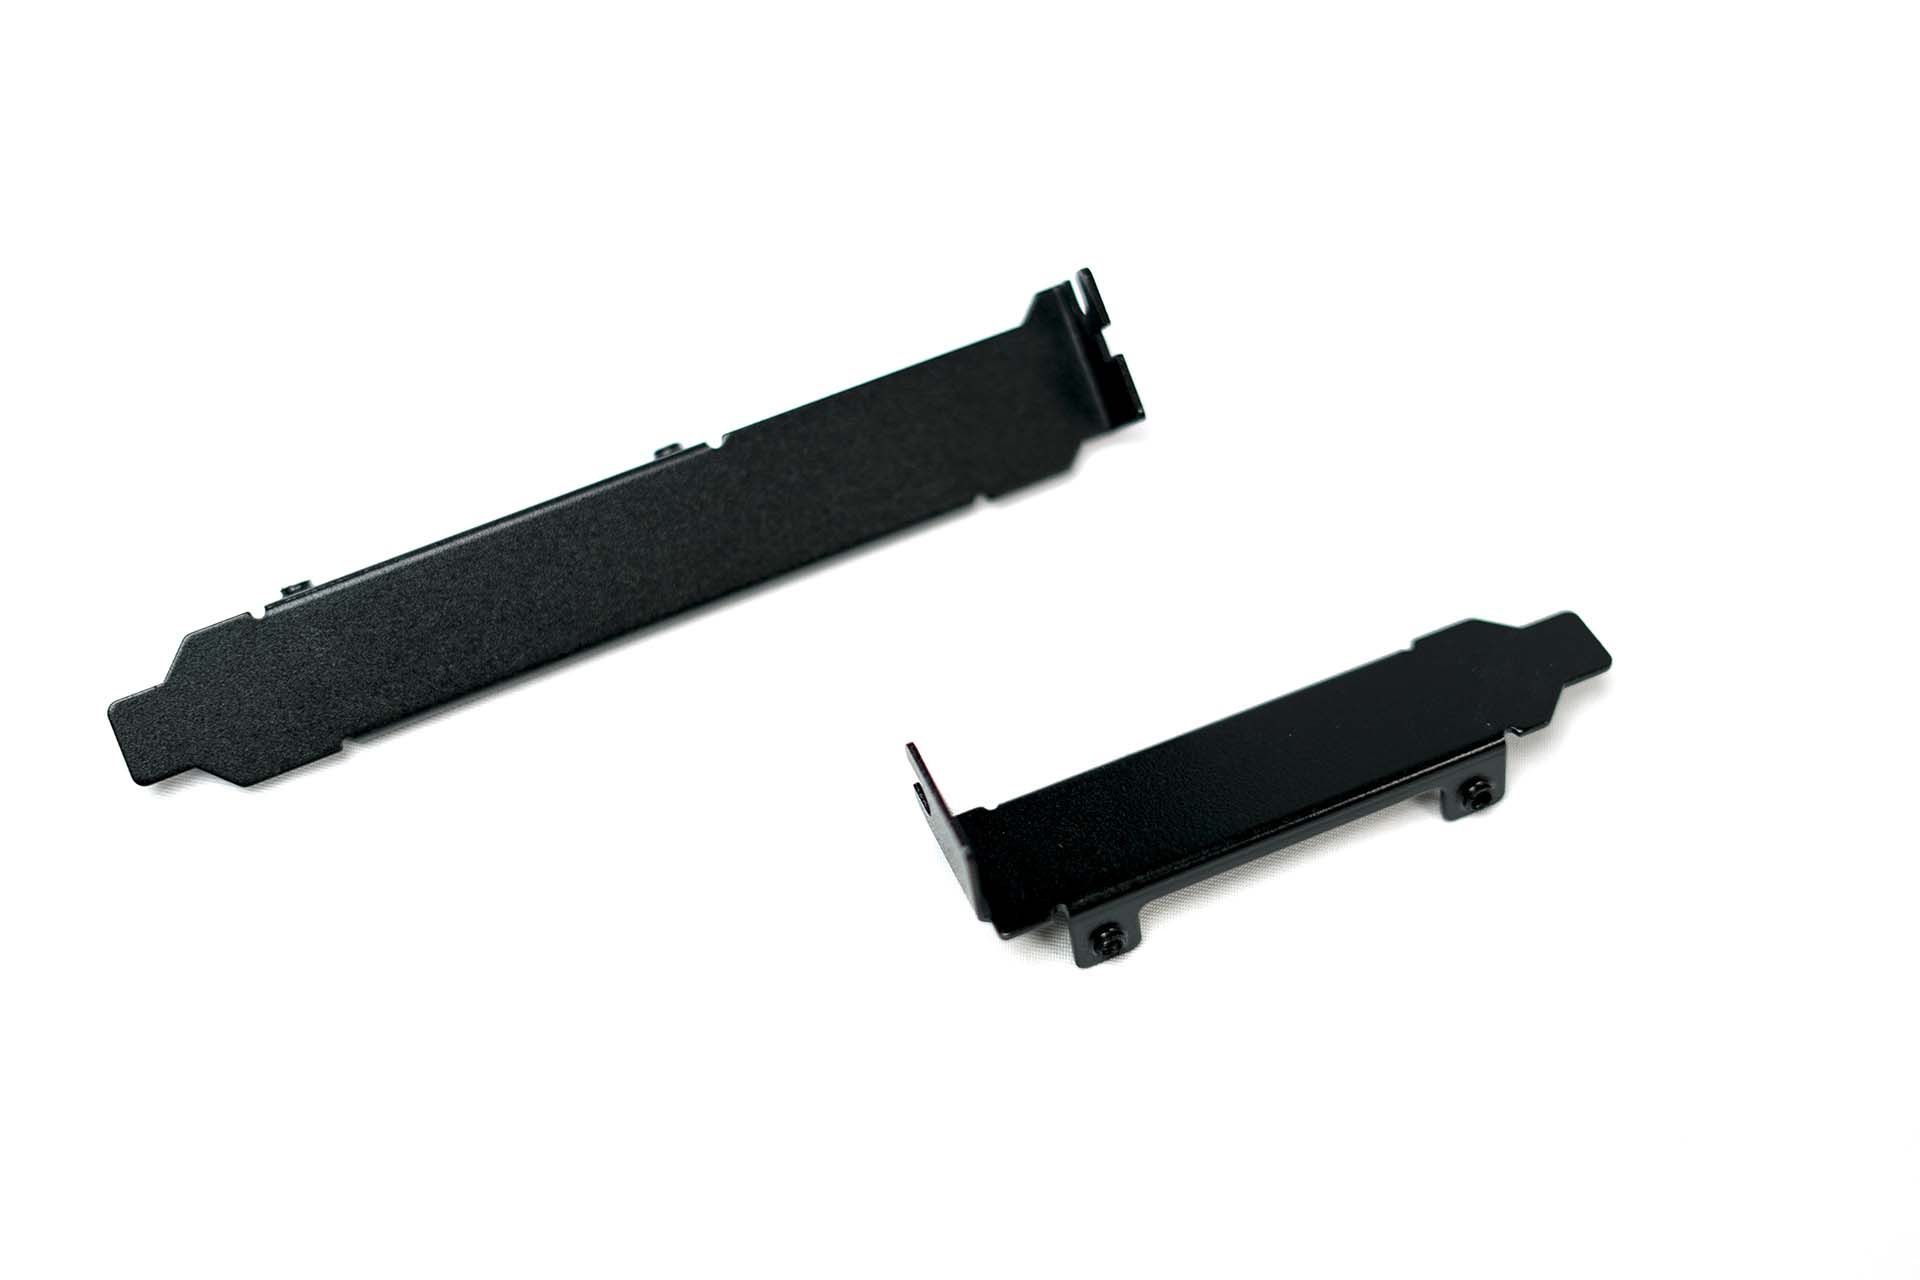
Once the heatsink is attached to the Silverstone ECM24-ARGB M.2 adapter card, we have to add in the PCIe bracket. If you’re installing the Silverstone ECM24-ARGB adapter card in a standard case, you would use the standard bracket. However, there is also a low profile bracket included with the Silverstone ECM24-ARGB.
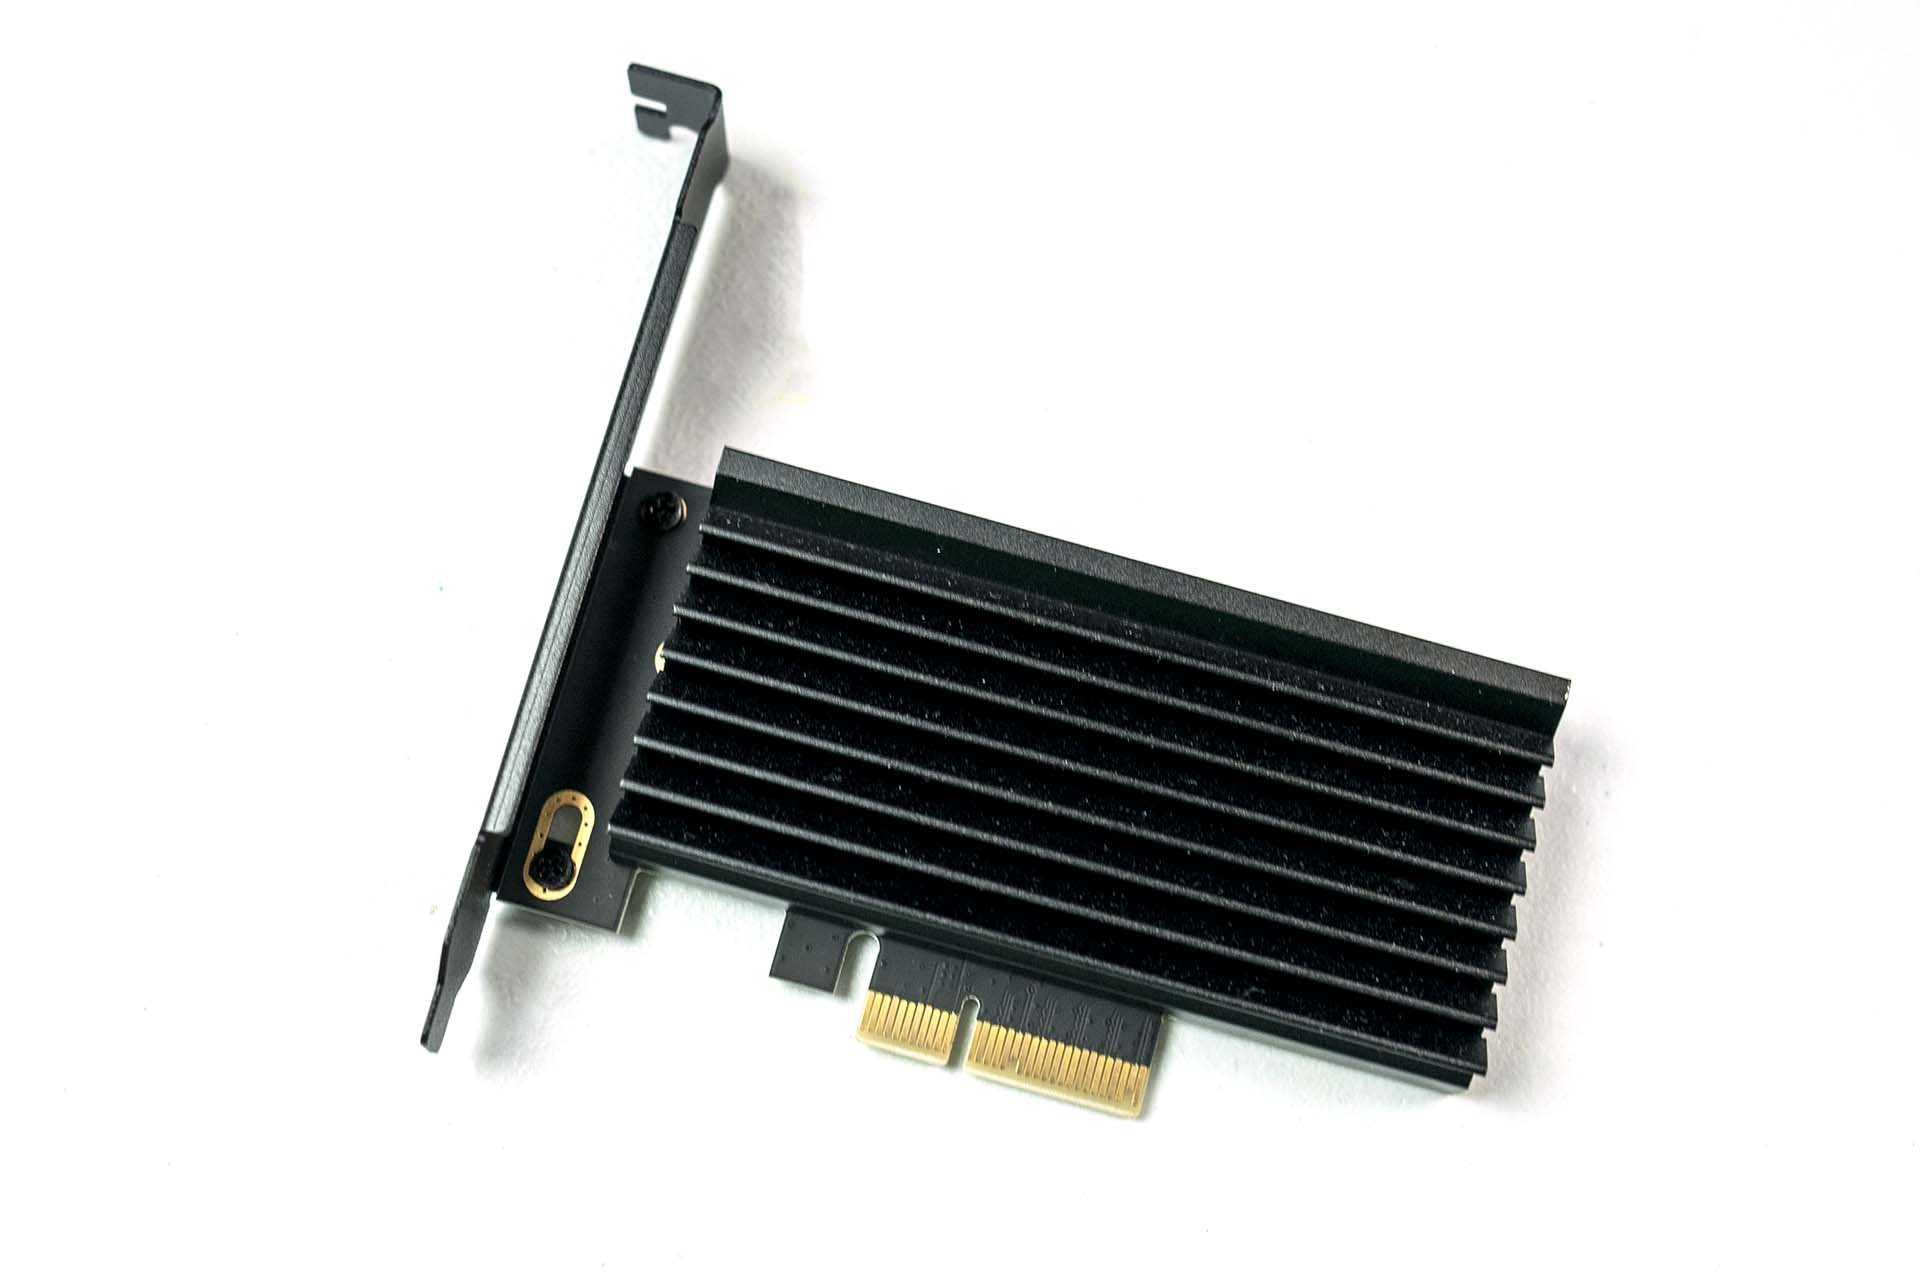
Once the heatsink and bracket are attached, its time to install the Silverstone ECM24-ARGB and start testing.