Installation and Use
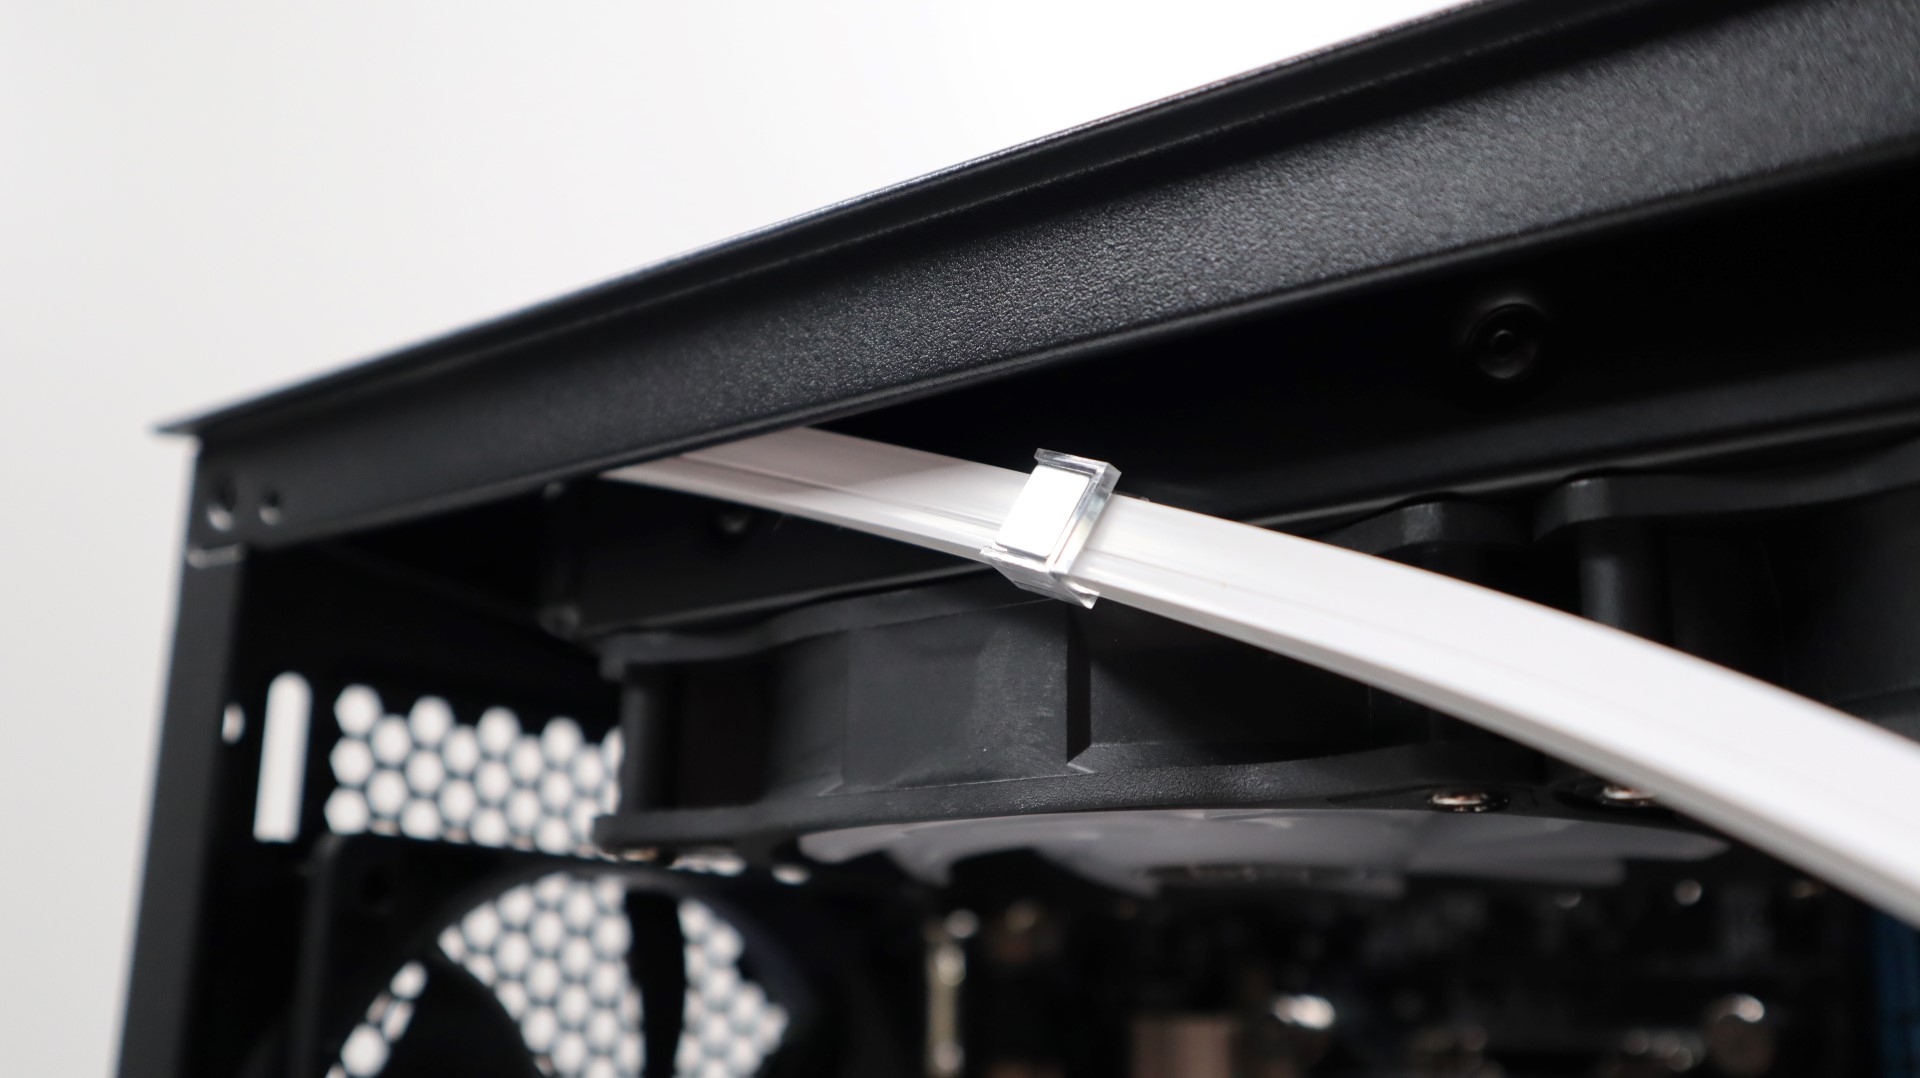
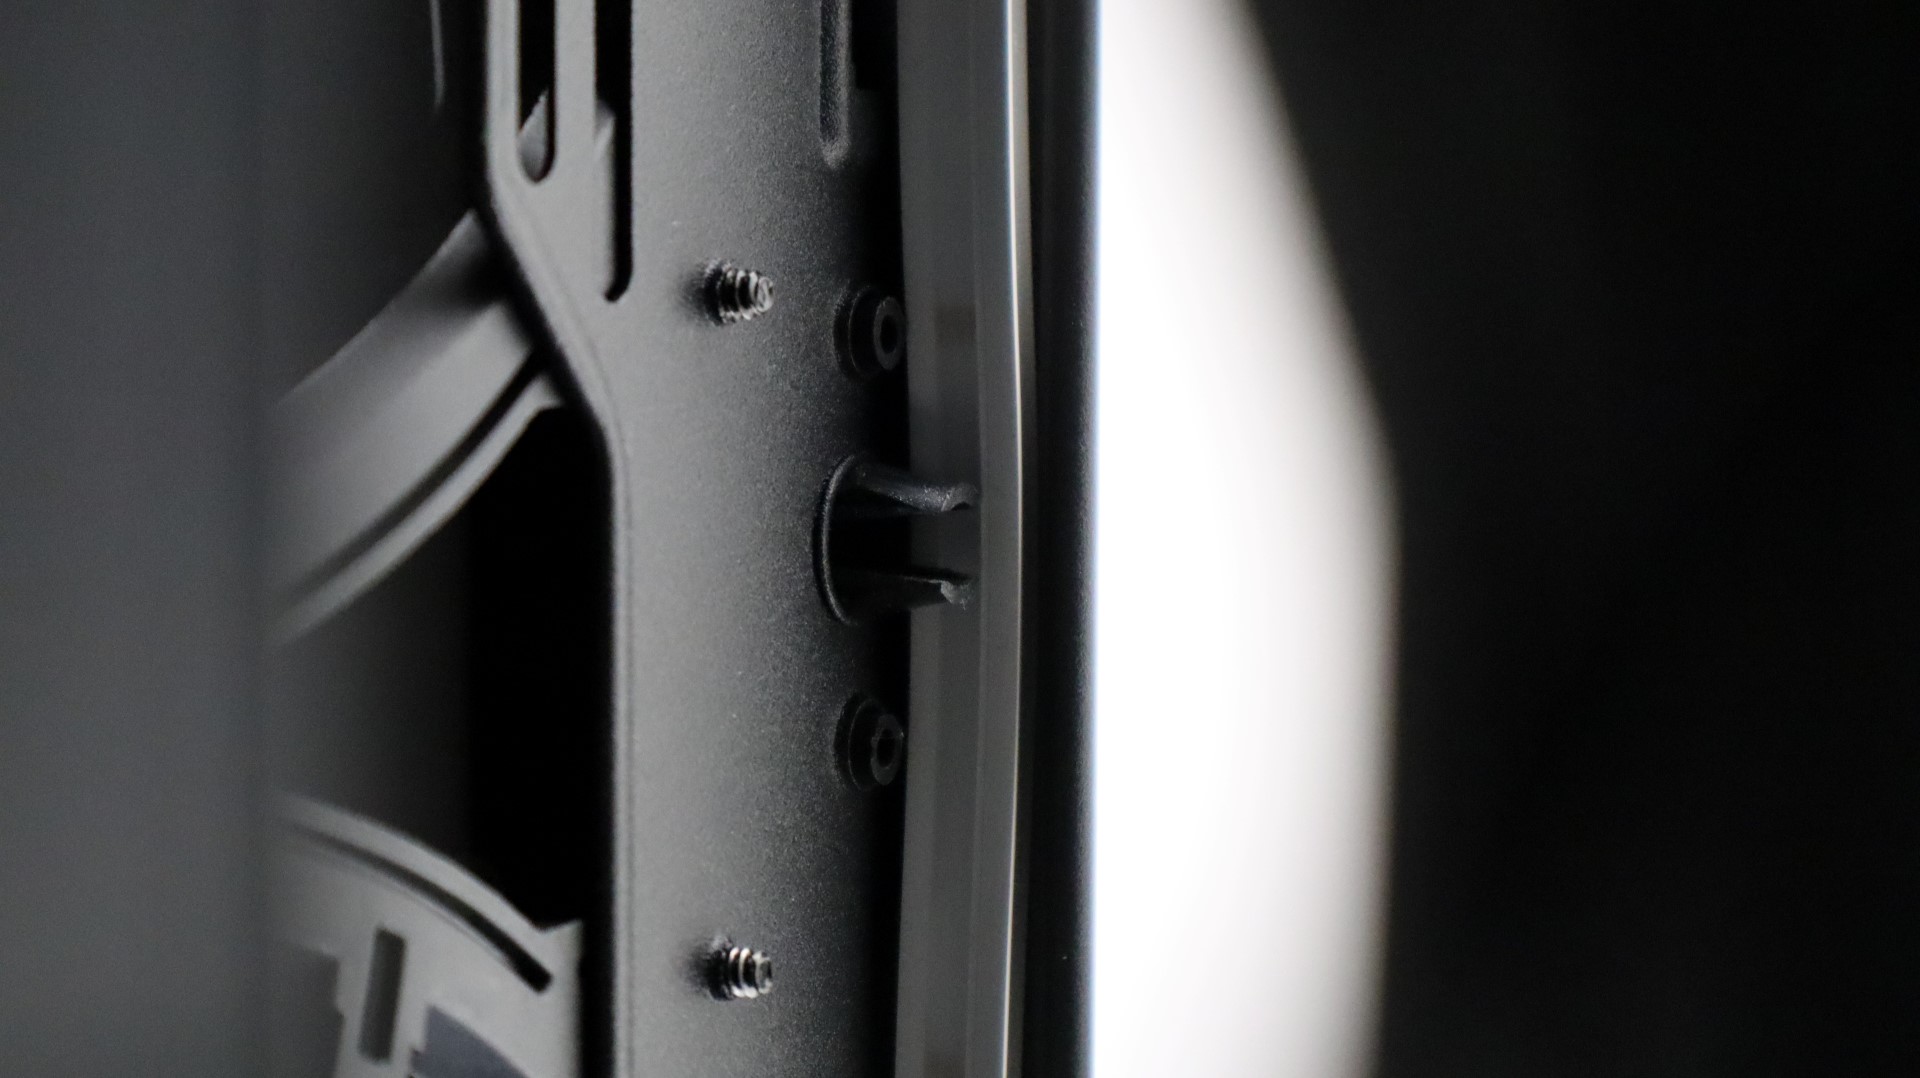
Installation of the LS04 strips themselves is really quite simple. The real hard part is figuring out what portions of your case you want to light up. With that being the case, once you know where you want to mount your strips, all it takes is to slide the light strips into the magnetic clips, and then attach the strips to your case panels.
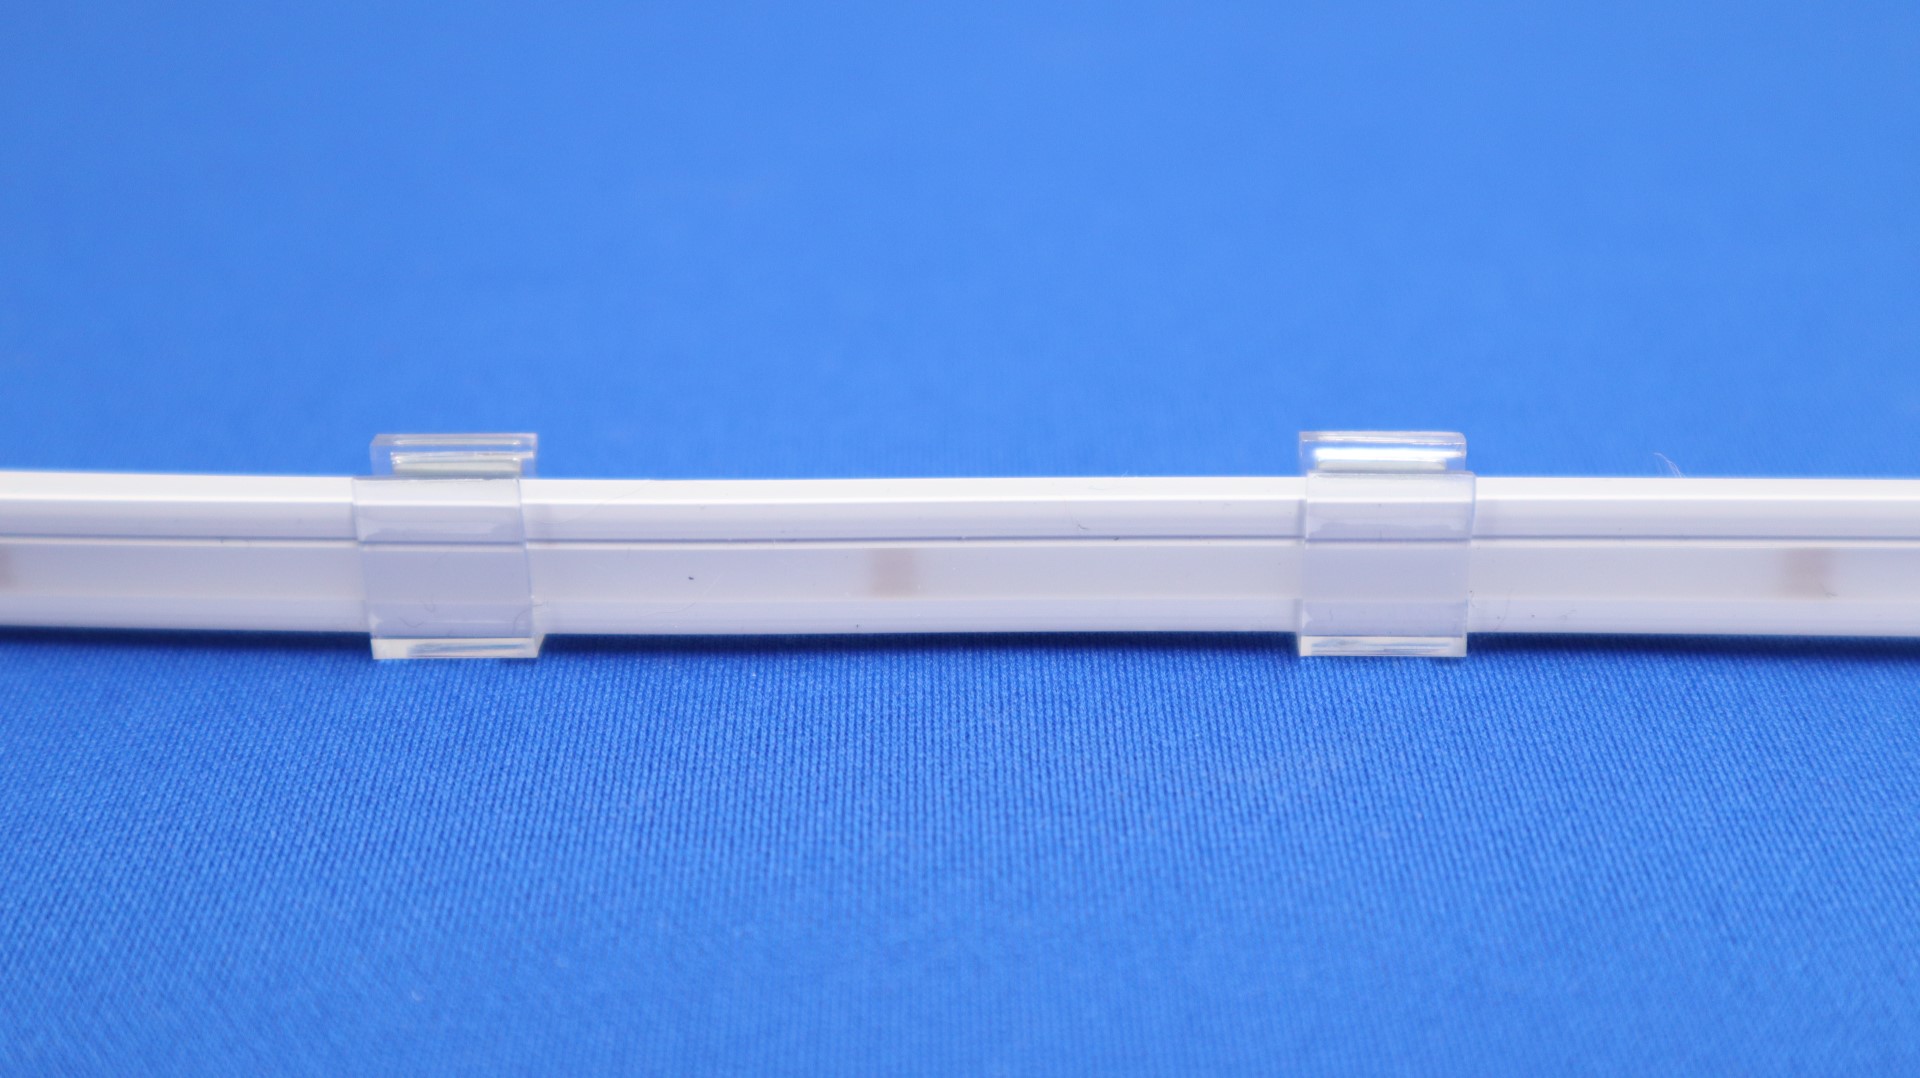
This of course assumes that you have a case made of steel that the magnets will attach to. If you are working with aluminum or another material that isn’t so compatible with magnets, you will need to utilize some form of adhesive like a double-sided tape in order to securely install these strips.
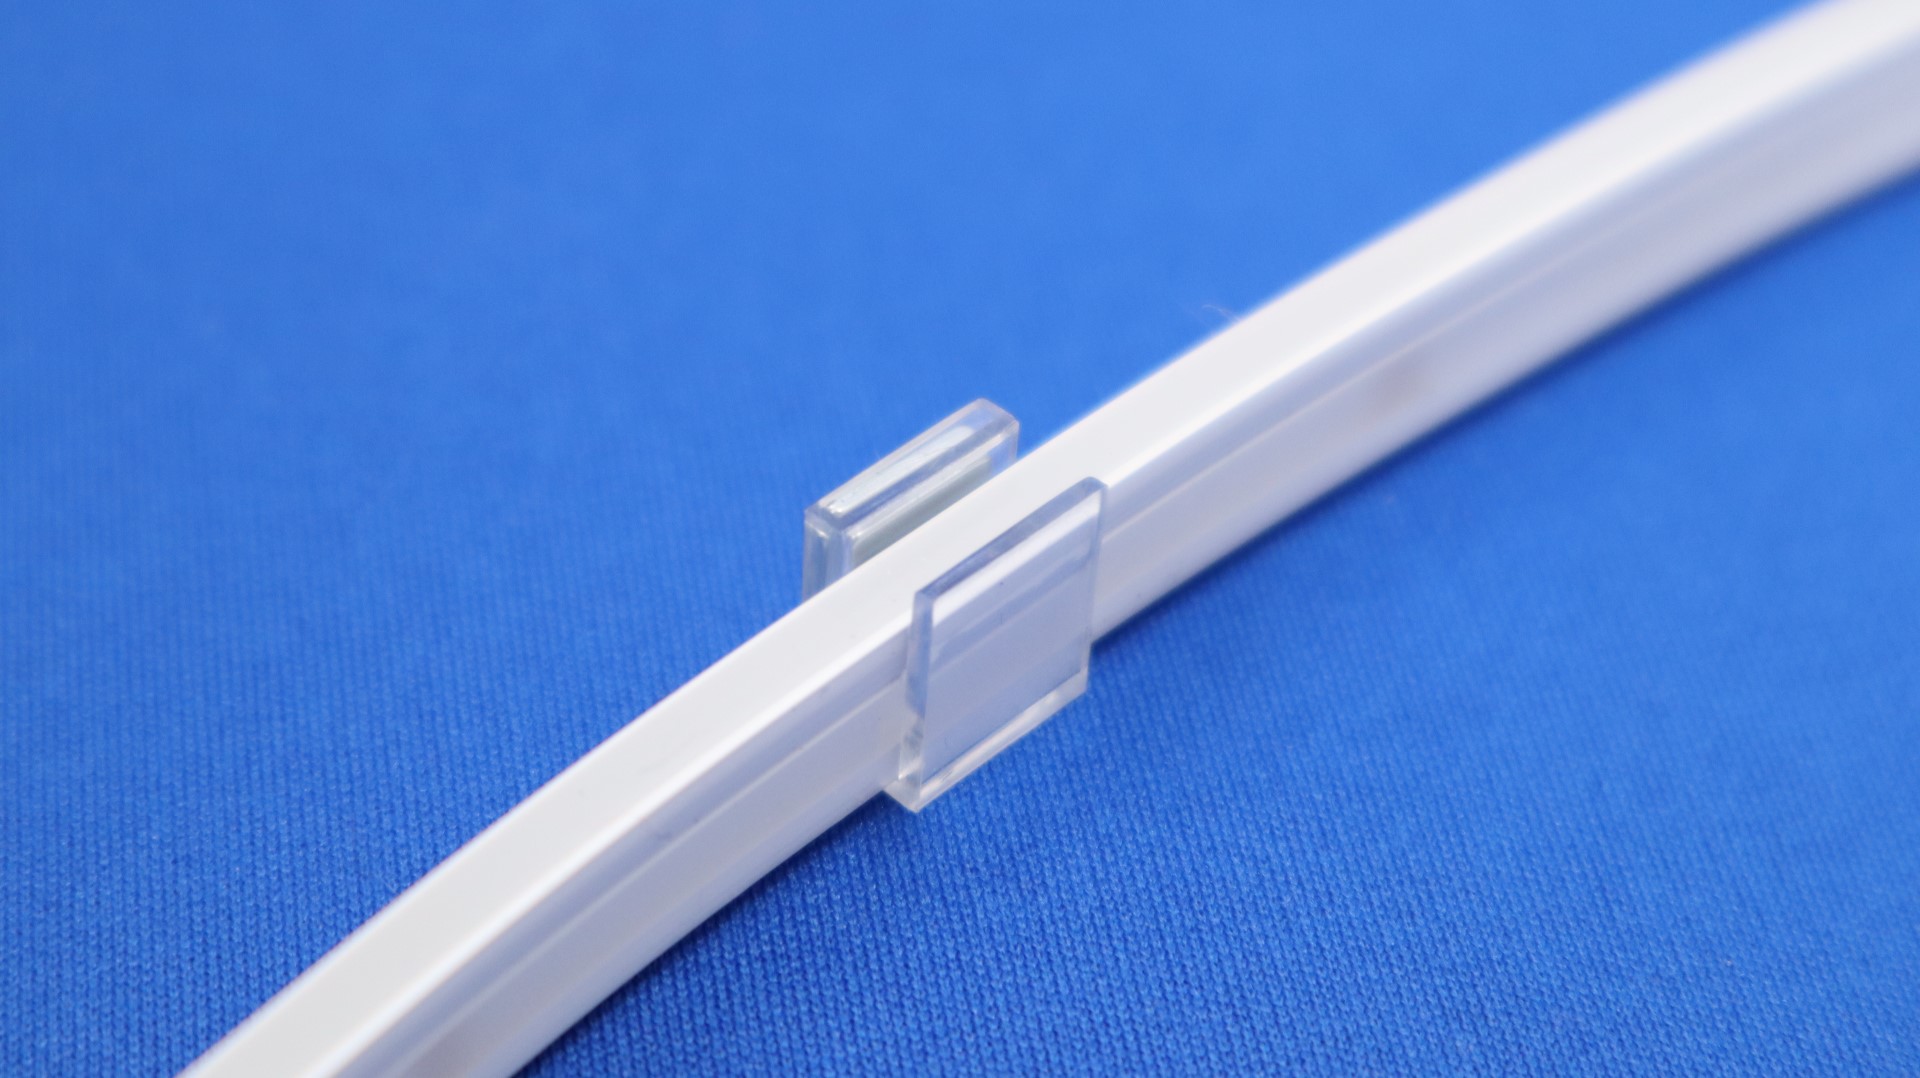
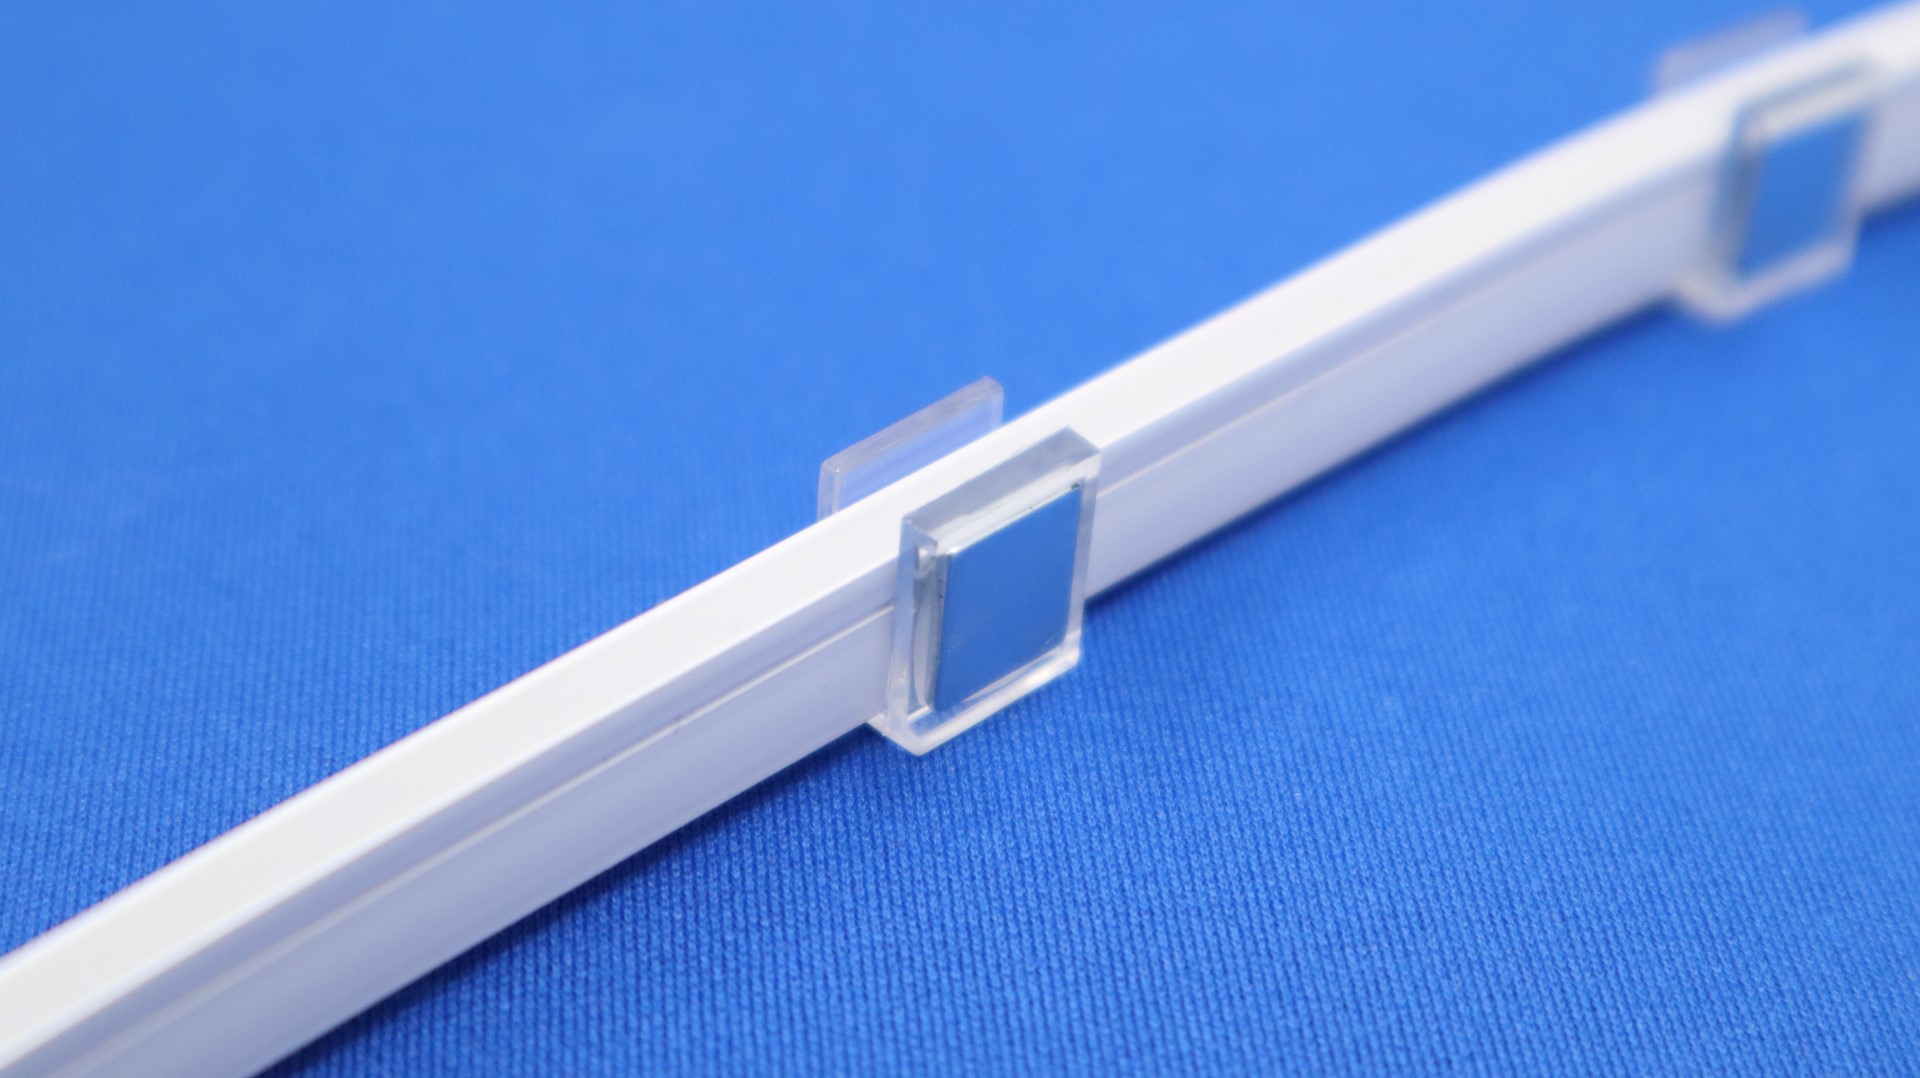
This is one fault we have with the LS04 strips, though we realize having an adhesive strip would limit the strips’ flexibility.
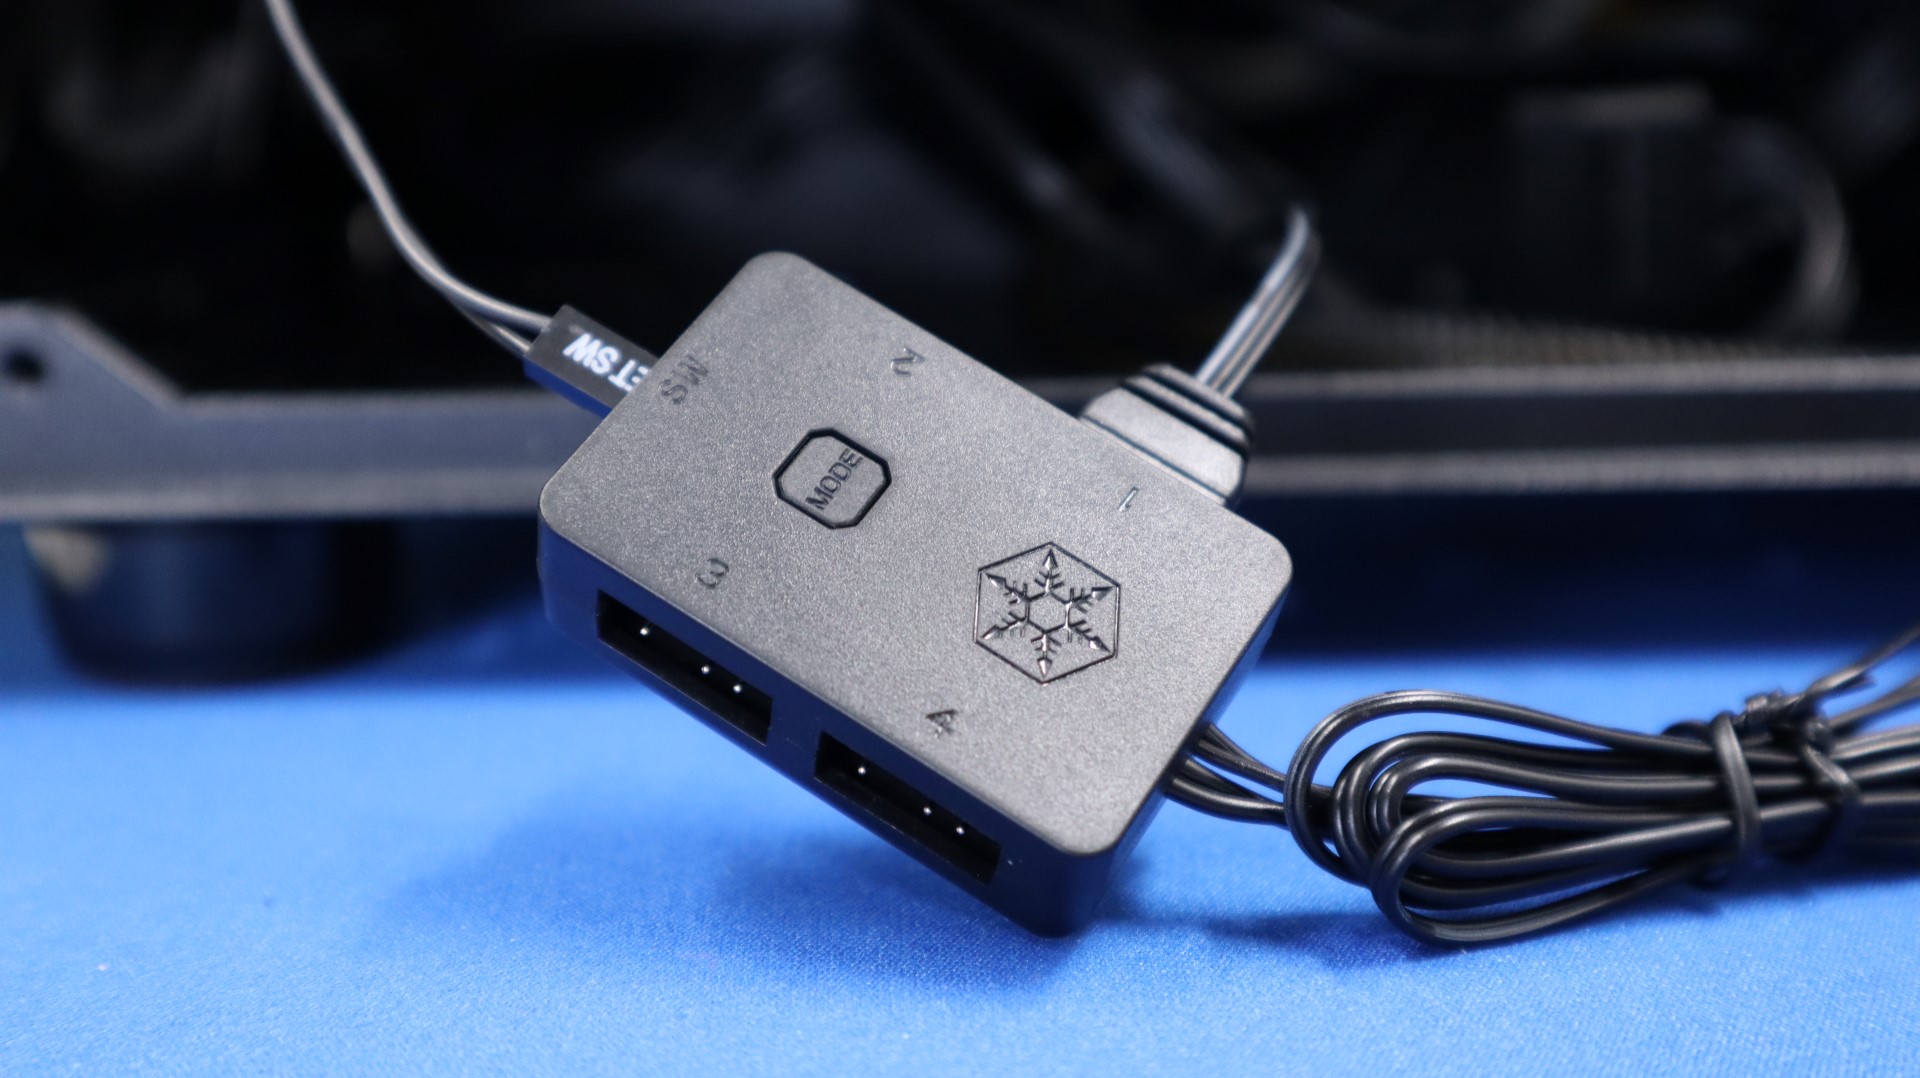
With the strips in place, simply connecting the ends of the strips to your lighting controller is all that is left.
Speaking of controllers, it is here that we would like to note that the number of LEDs that a controller can handle is different across models. As the LS04 strips contain 40 LEDs each, some controllers may not support lighting patterns across the full length of a strip, let alone two strips in series. This is another spot where knowing the specifications of your components is important to getting your lighting just right.
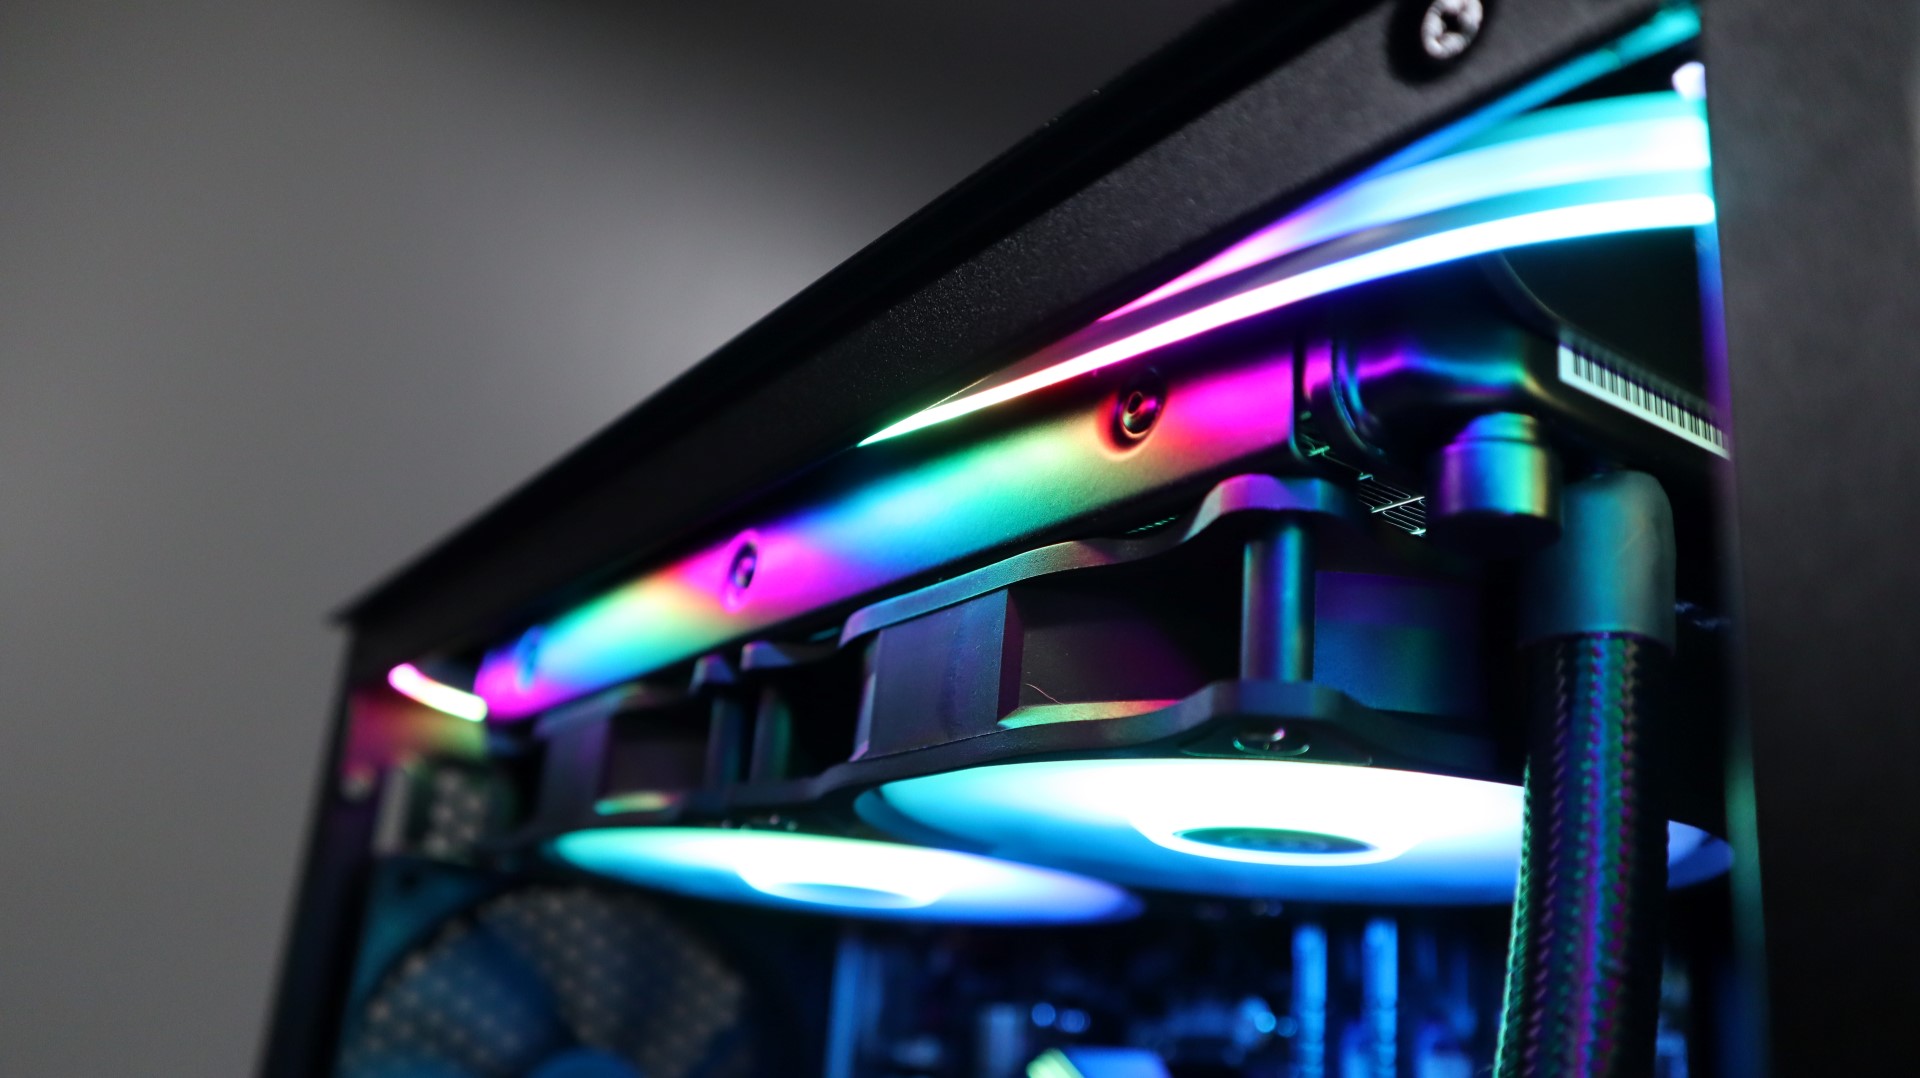
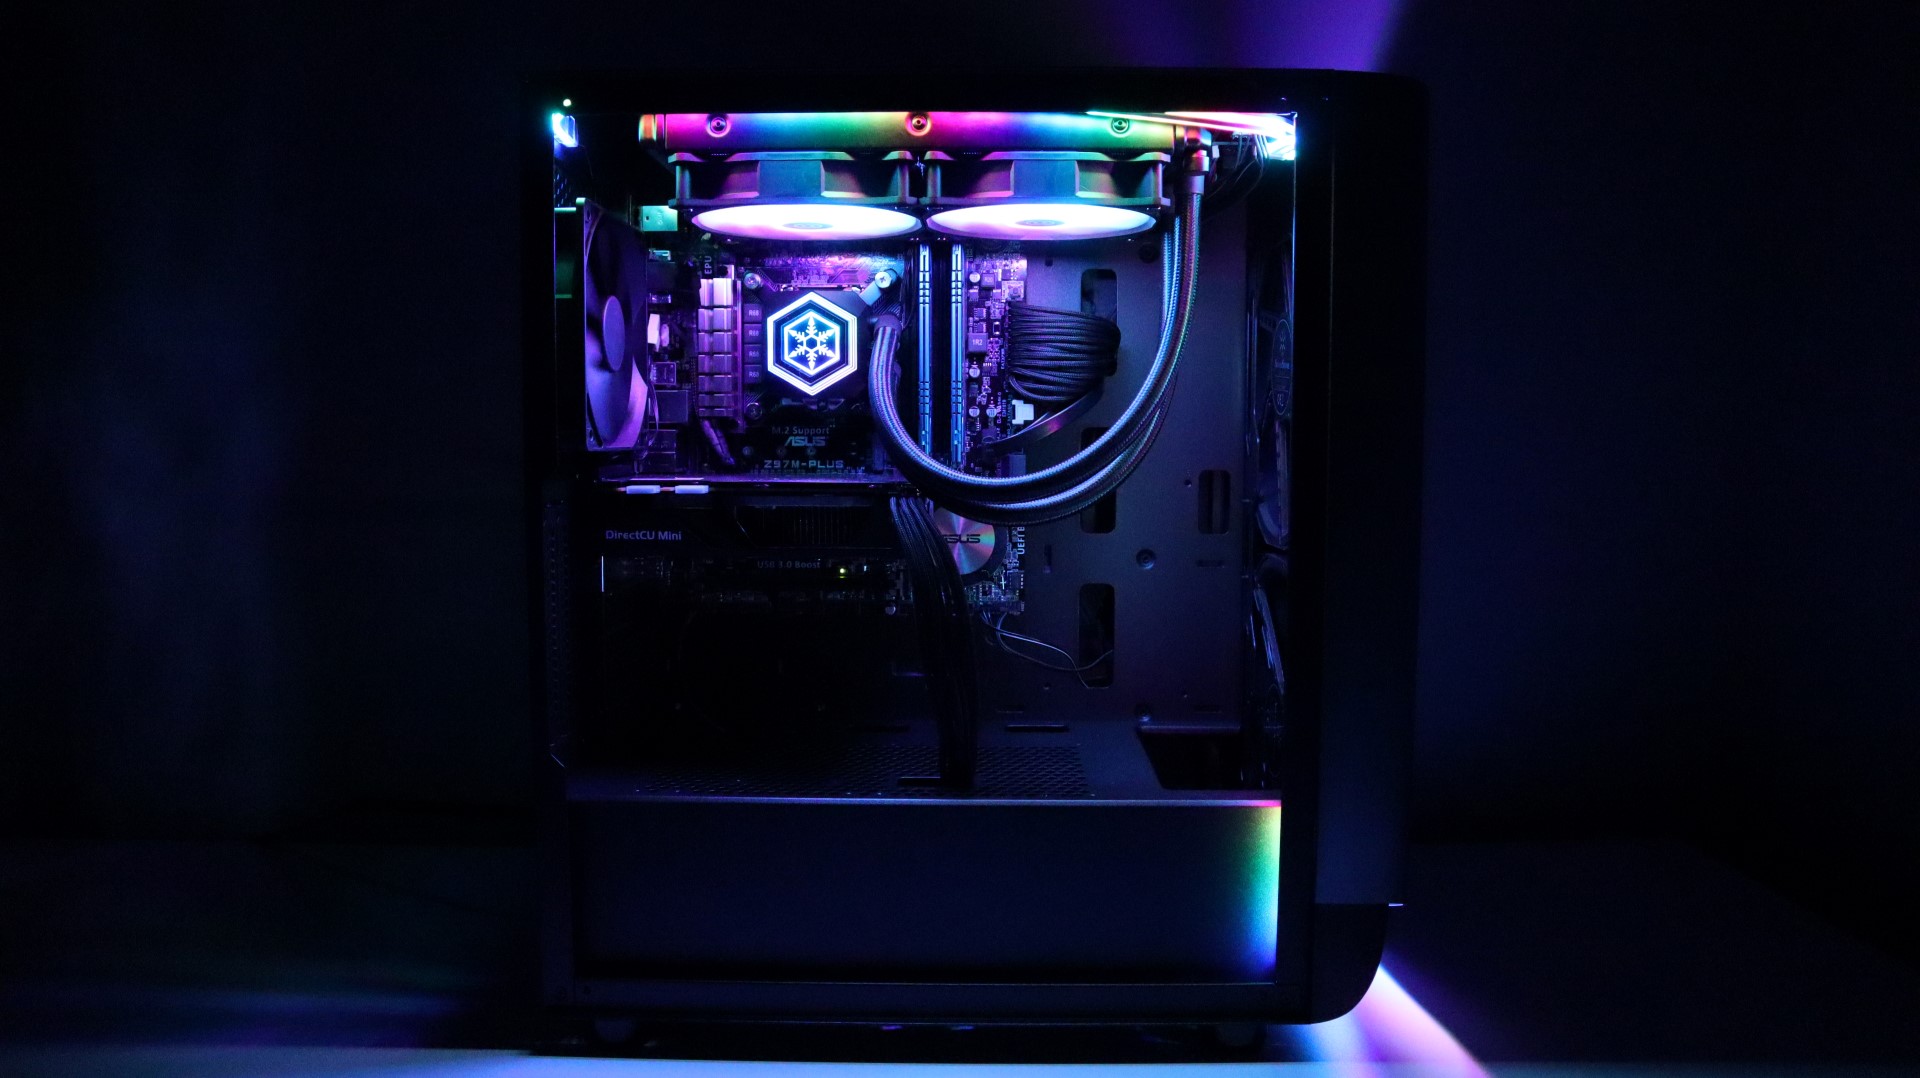
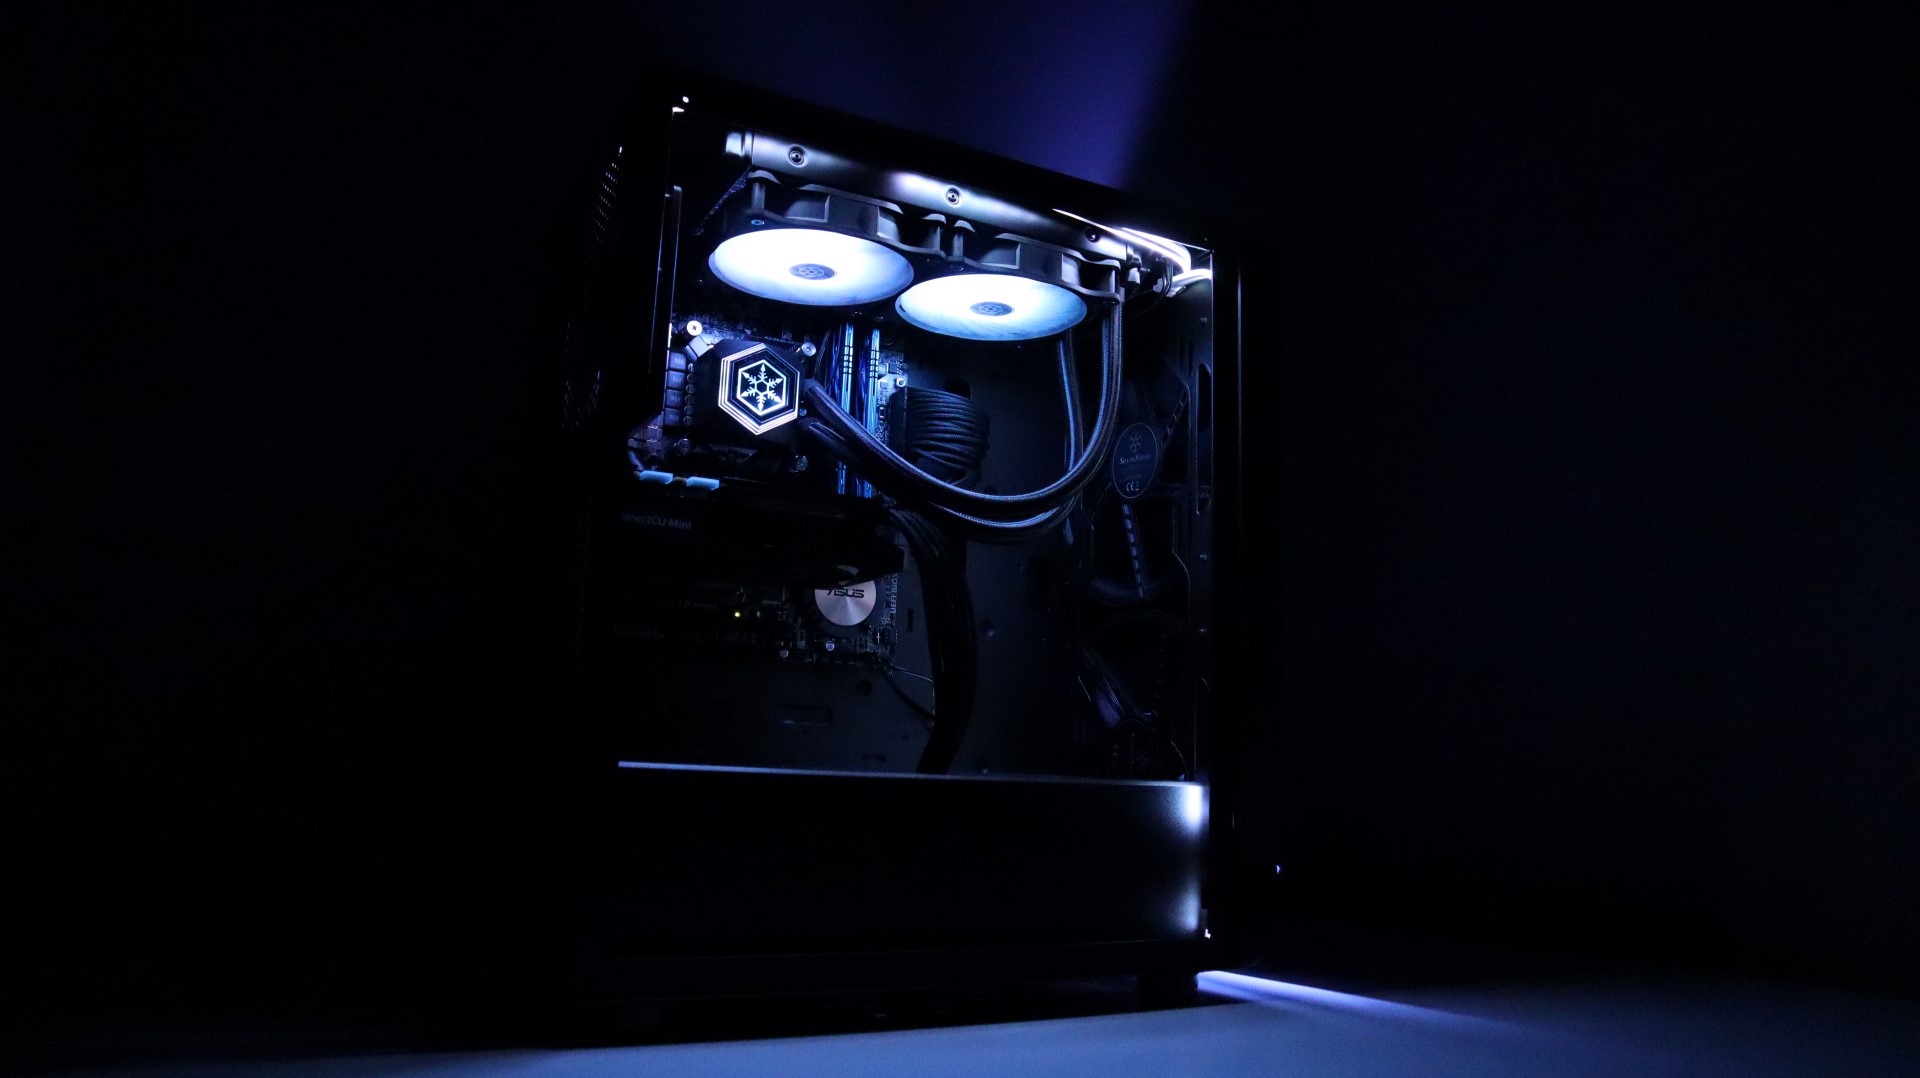
For our installation, we used the aforementioned SilverStone SETA A1 case, which comes with its own ARGB LED controller with four lighting channels. Each channel on this case’s controller supports up to 48 LEDs, so we placed a single strip on its own channel to ensure compatibility. The remaining lighting channels on the SETA A1 controller were dedicated to the case’s integrated RGB strips, as well as the RGB lighting of the PF240-ARGB liquid cooler. This configuration allowed us to synchronize the lighting of all of our components, and to adjust them via the case’s reset button.
Check out a few shots of the LS04 light strips below.