A Look Inside
Getting inside the case takes removing two thumbscrews as well as two normal screws. Thermaltake tells us that the two extra screws give the side panels more support since they are so heavy. Taking the main side panel off we can see that it has sound dampening material installed on it, which obviously makes it heavier.

Taking a look inside the case we can see a very simple layout, which is very similar to the F51.
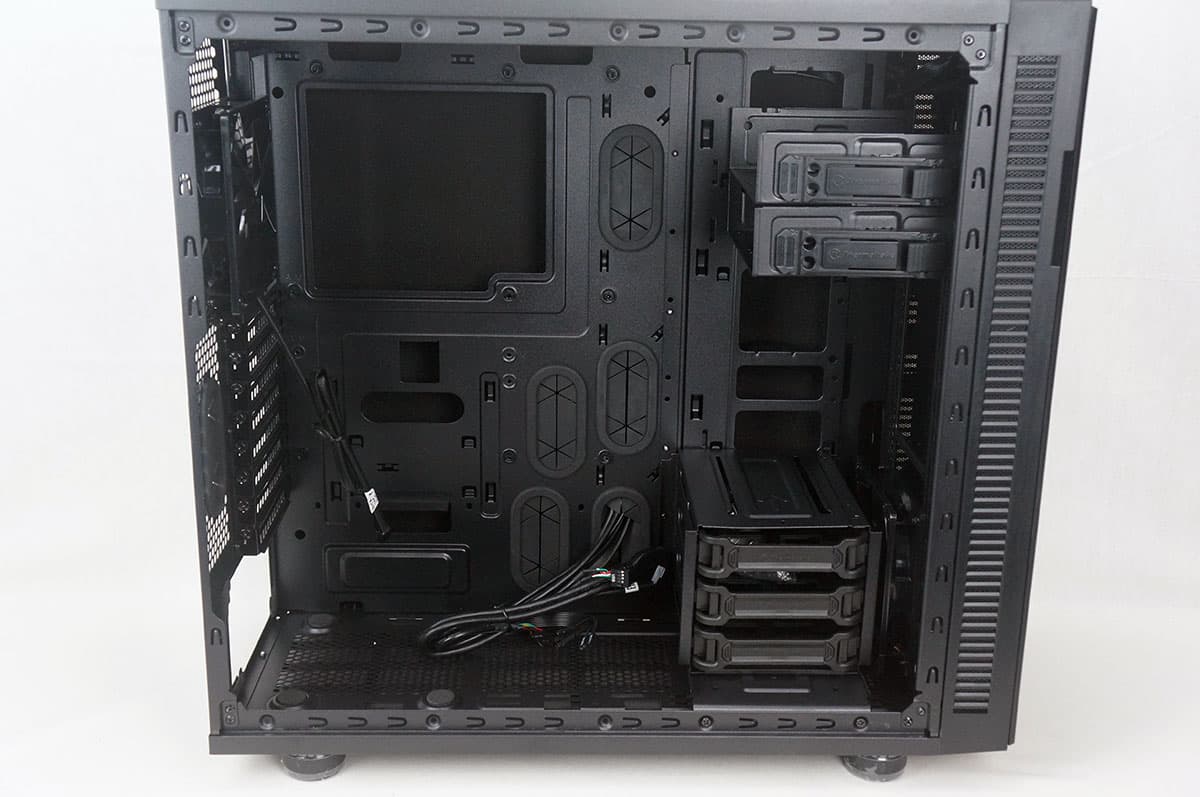
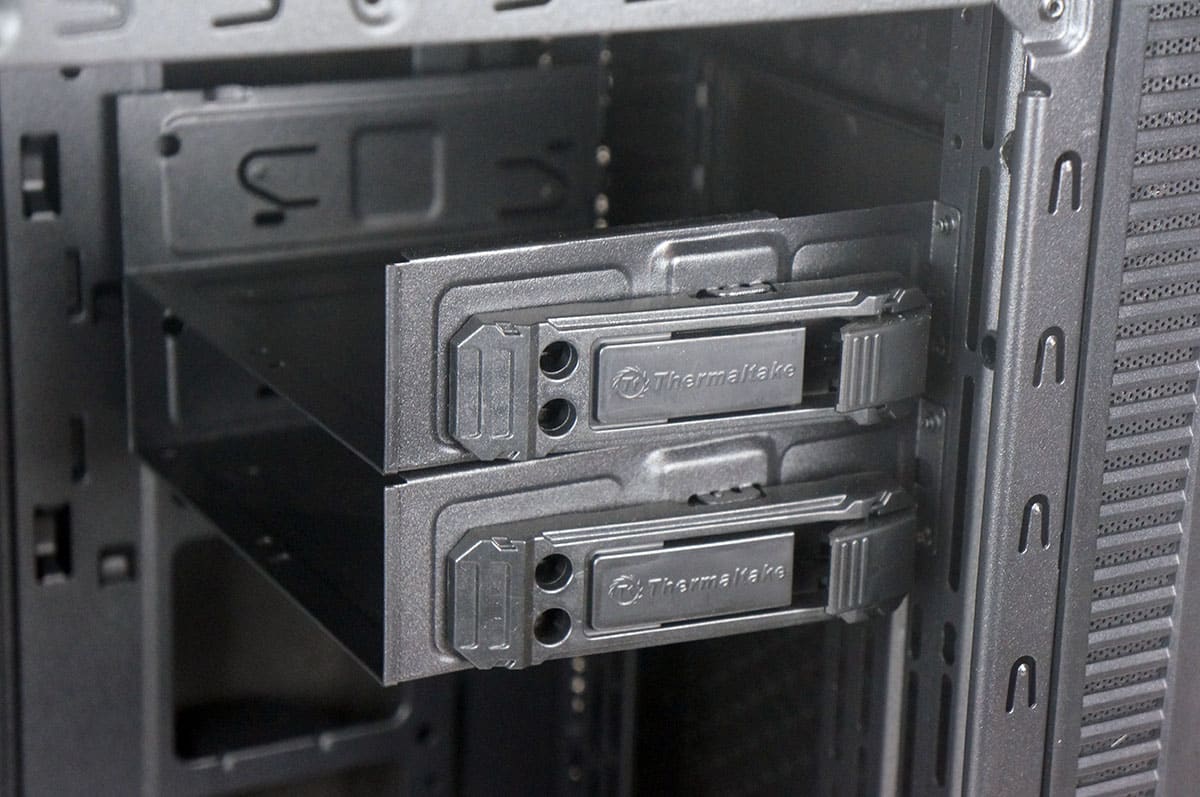
Starting at the front of the case we have the two 5.25-inch drive bays. These use a tool-less locking system, but you can remove it if you just want to use screws. You can also remove both 5.25-inch drive bays to make room for watercooling. The 5.25-inch drive bays double as storage space, each one can fit two 2.5-inch drive bays.
Moving down there is a single hard drive cage (compared to the two on the F51) with three hard drive trays. These trays have also been re-tooled since the F51.
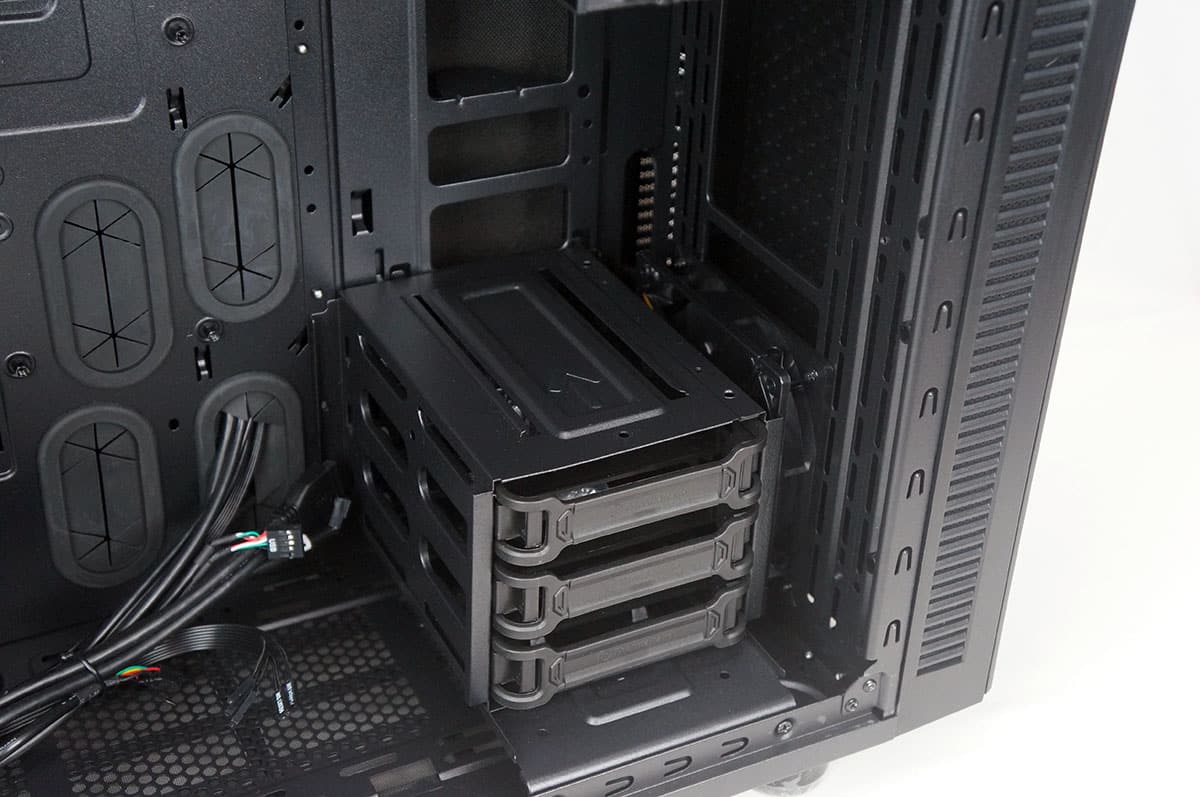
These trays can be removed by pressing in on each side. When removed you can see that each tray will support either 3.5-inch or 2.5-inch hard drives. These trays also can be mounted on the backside of the case. Themaltake has made room for all three of them to be installed back there.
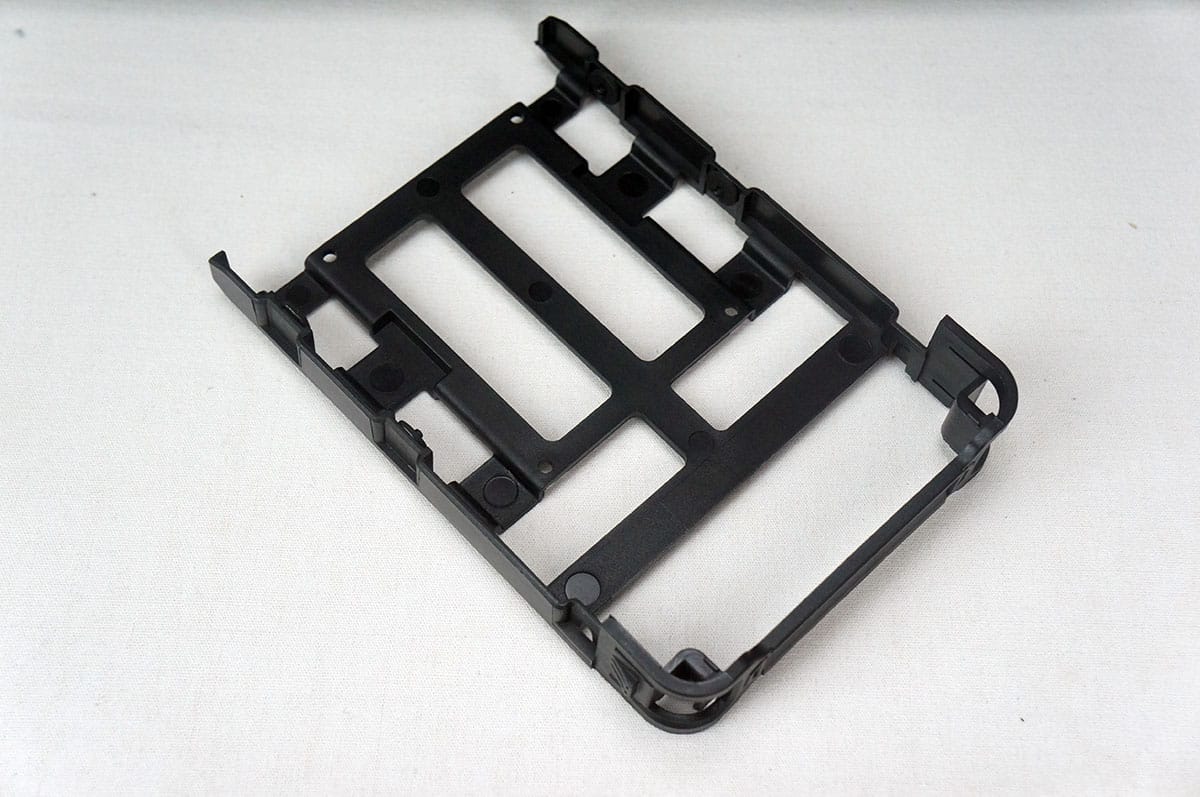
If you remove two screws on the backside of the case you can actually slide the entire hard drive tray completely out of the case. This makes room for watercooling and other things to be installed.

The entire bottom of the case is ventilated so you can install fans or watercooling radiators on the bottom.
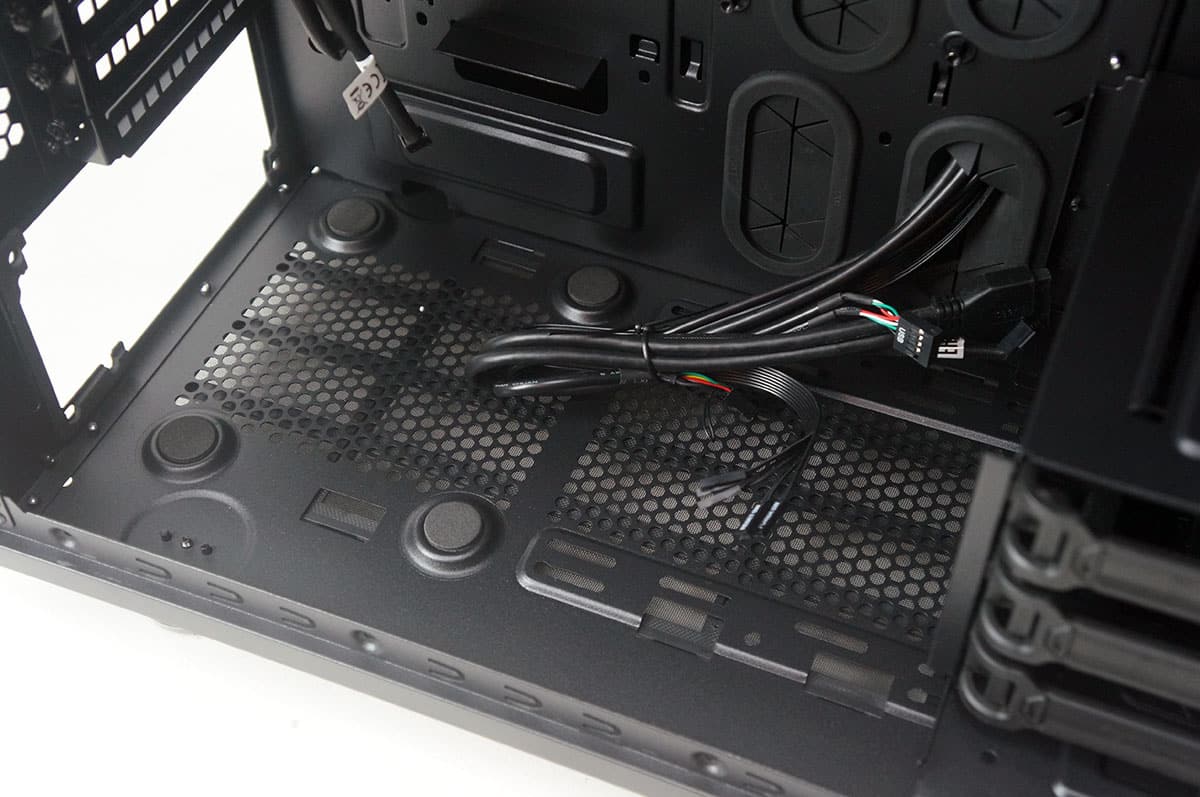
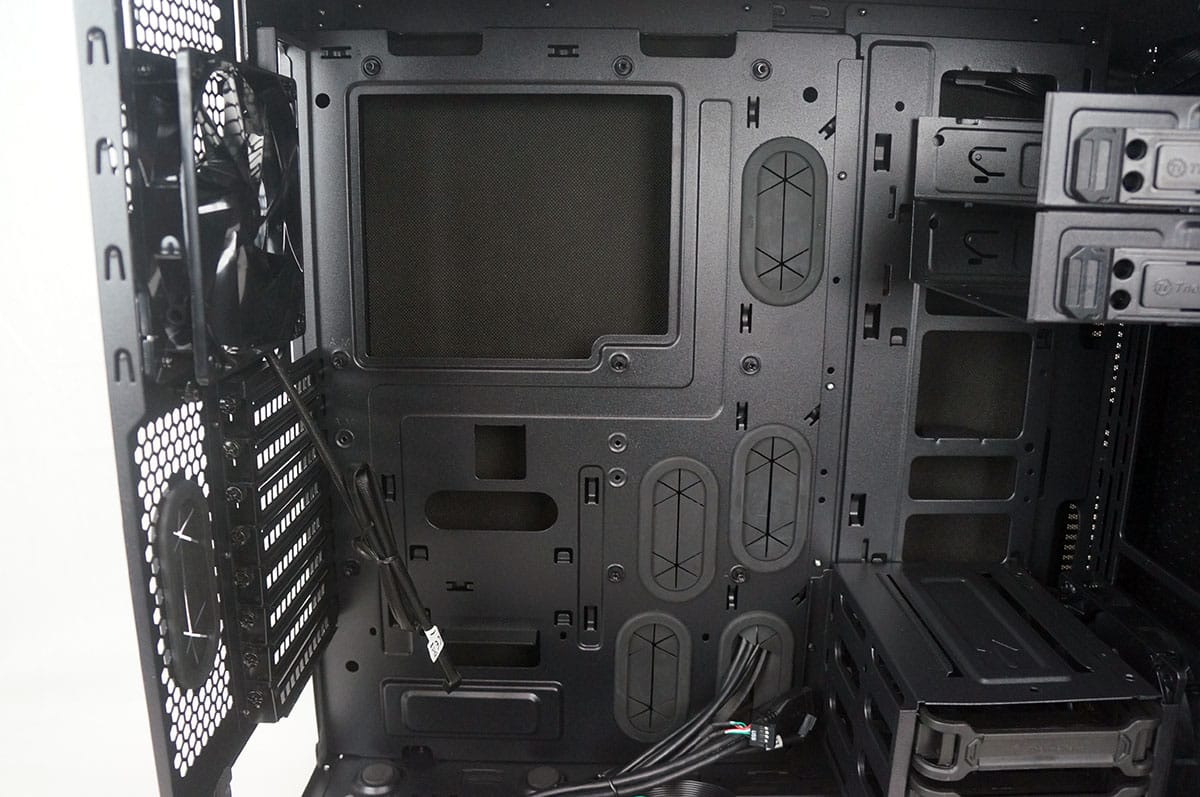
Taking a look at the motherboard tray itself we can see a very large CPU cutout and quite a few different cable routing holes, many of which have the rubber inserts installed which will prevent you from ripping or tearing your cables.
At the top of the case we can see the three sound-dampening covers. Remember these can be removed one-by-one so if you only have one or two fans you can still get the sound-dampening features.

The opposite side panel also has the sound dampening material installed as the other side panel.
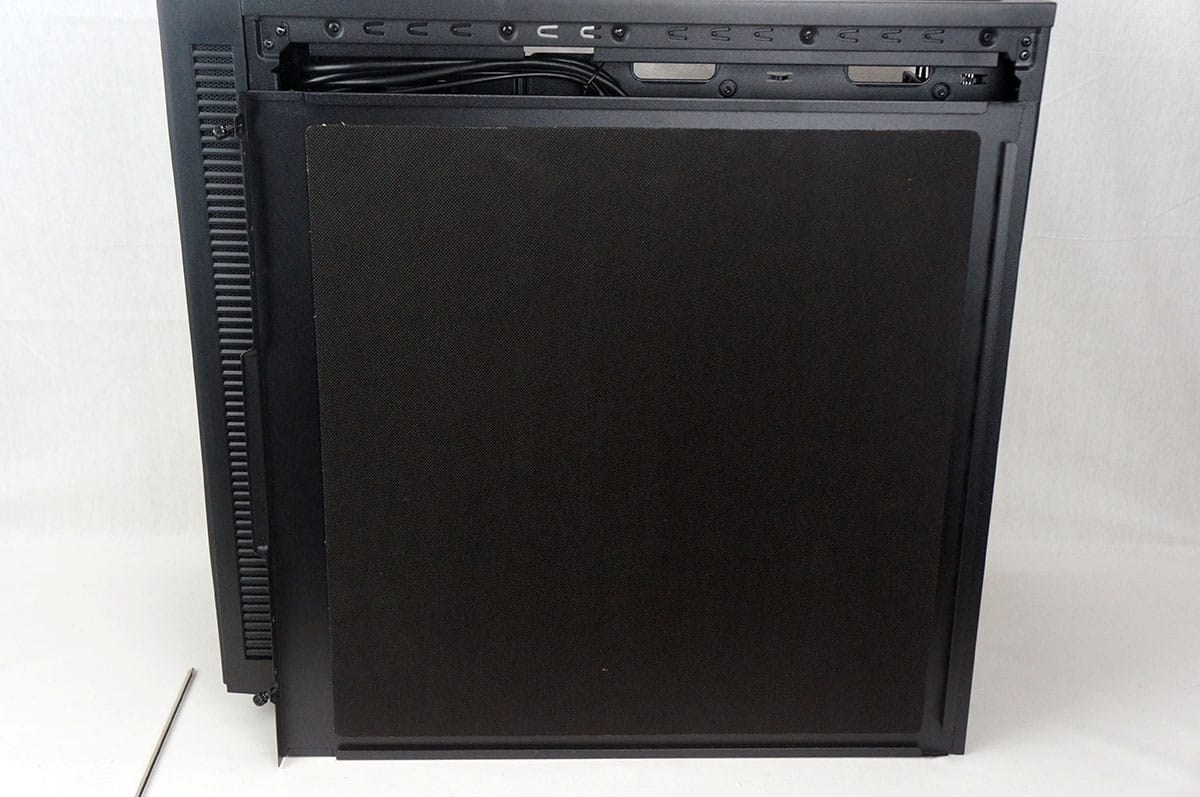
Taking a look at the opposite side of the case we can see how everything is layed out. One thing that Thermaltake did with the F31 is actually make it wider. This way you should have no problem routing your cables behind the motherboard tray or even routing watercooling back there. There is almost an inch and a half of space back there!


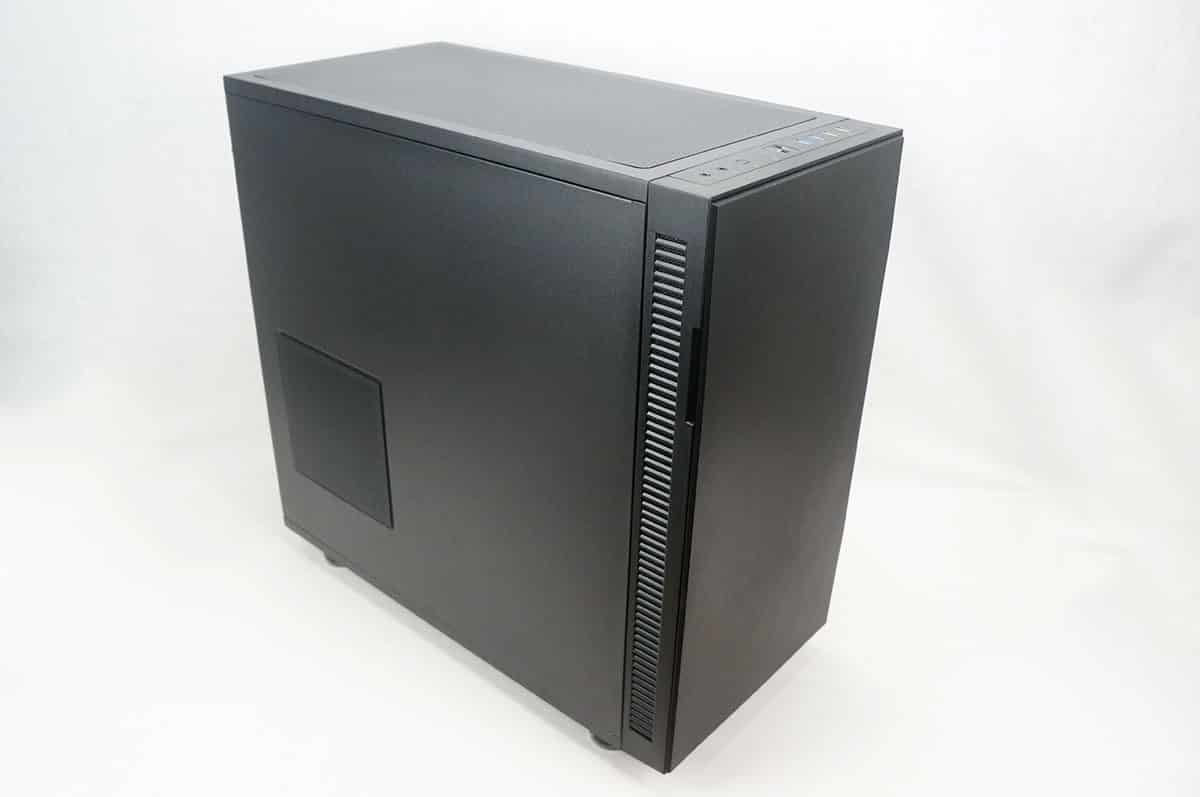
OMG…that’s a Fractal Case…….
I just bought the window version of this case, love it.