Installation
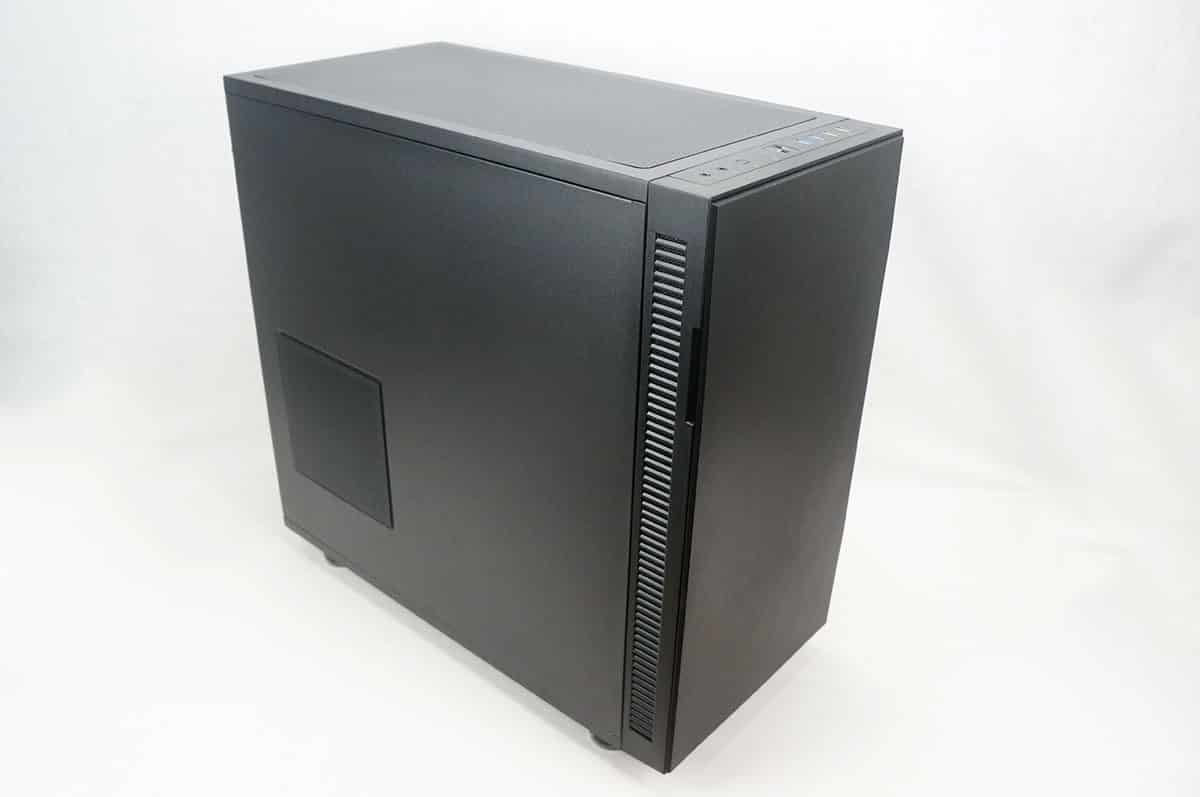
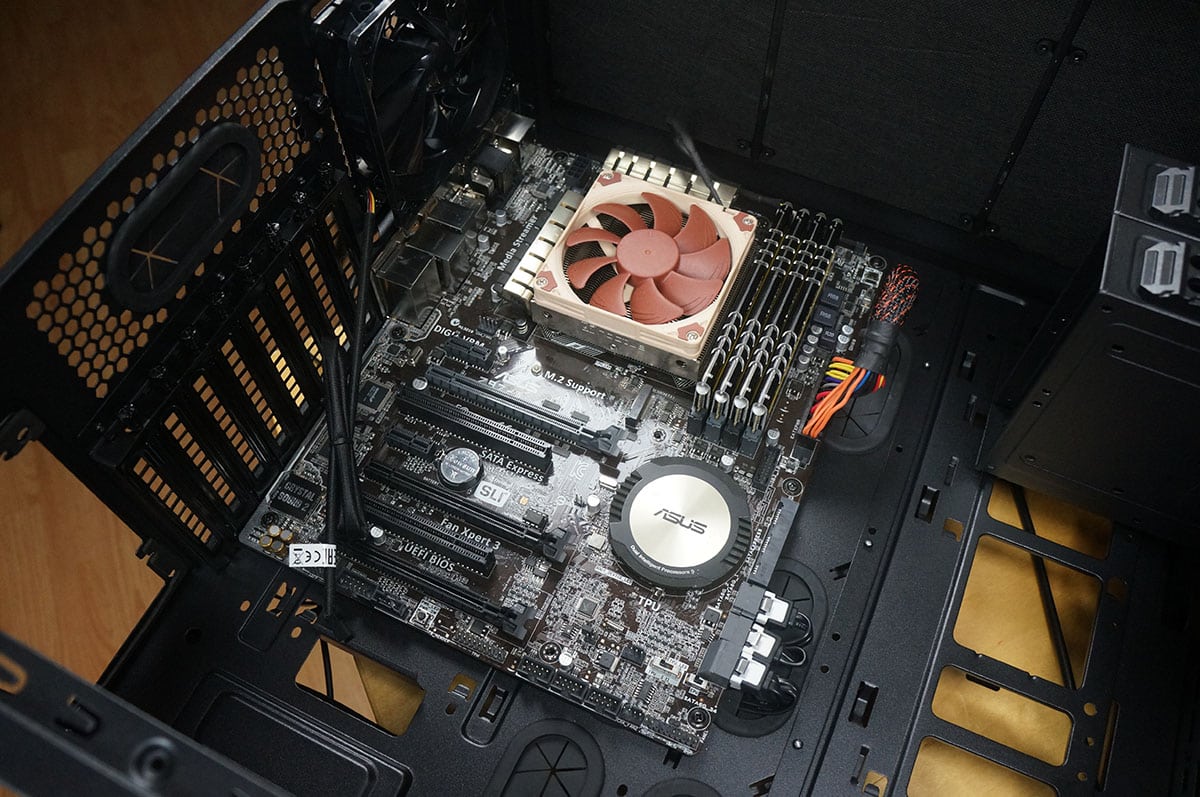
Just like with the F51 the F31 has quite a lot of room inside so it is easy to work with. The first thing we always install is our motherboard, which easily fits inside this case. It is nice that Thermaltake has pre-installed the motherboard standoffs.
Hard drives are next, we are going all SSDs on this build! These drives easily install in the included trays.

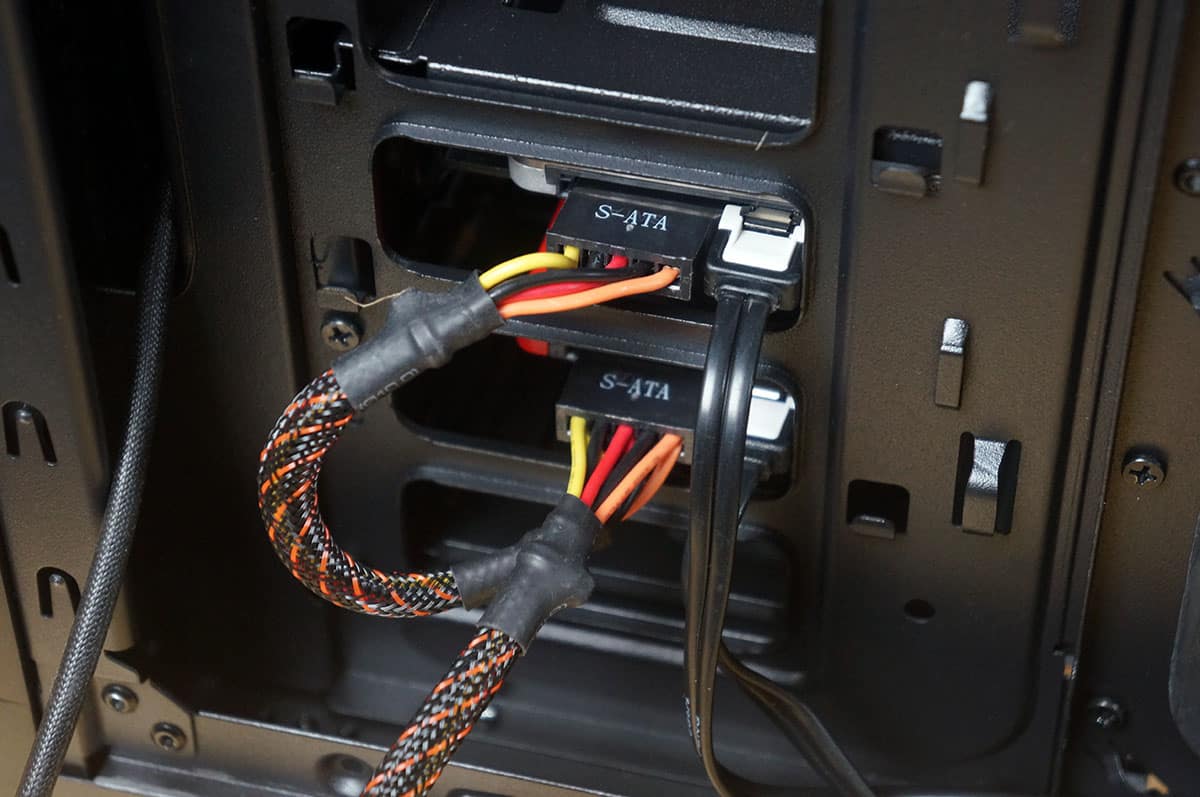
I installed the trays in the hard drive cage and put it back in the case. From here there are openings on the back of the case for you to connect power and SATA cables to the drive.
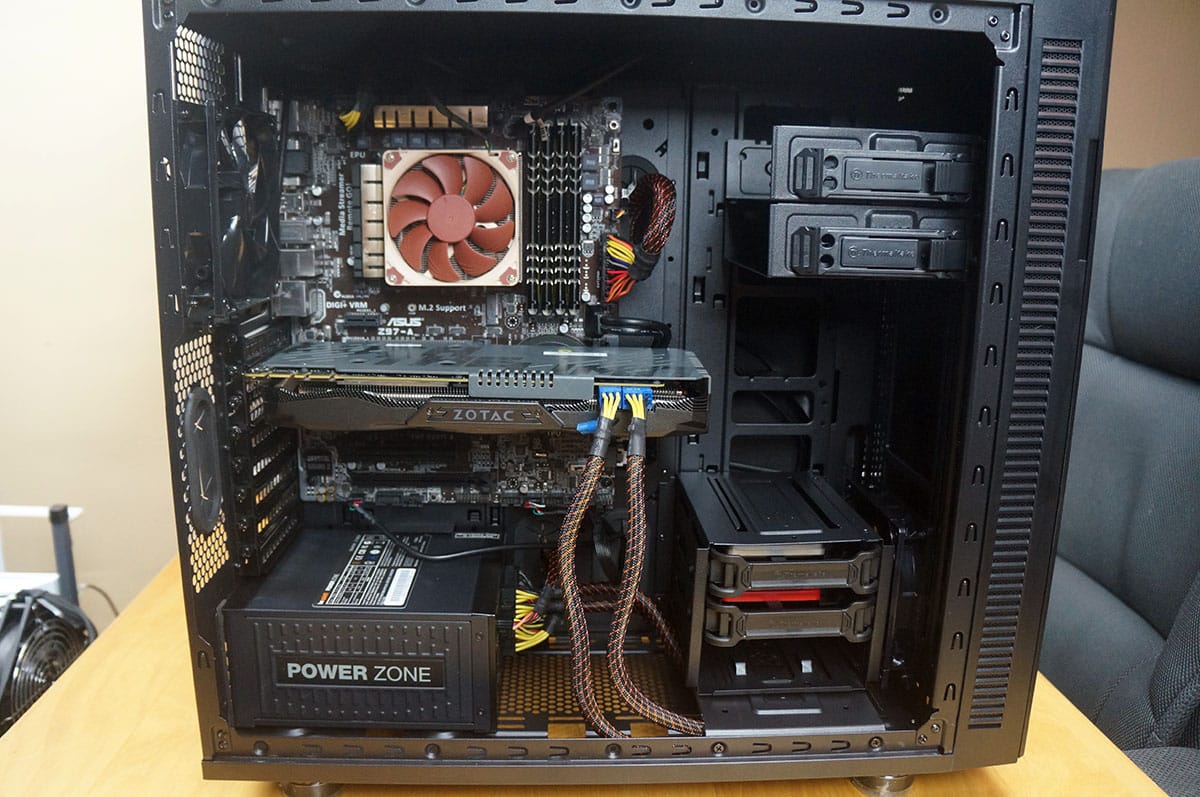
The power supply is next and it is extremely easy to install since the bottom of the case is open. Just slide it is and secure it with screws.

Moving up we have our graphics card which easily goes in without any issues as we have more than enough room here.

Wiring everything up is very easy with this case as there is quite a lot of room behind the motherboard tray. So much room in fact that if you are lazy like I was for this build you really don’t need to tie down your cables.

With everything connected we have a very clean and nice looking build.


OMG…that’s a Fractal Case…….
I just bought the window version of this case, love it.