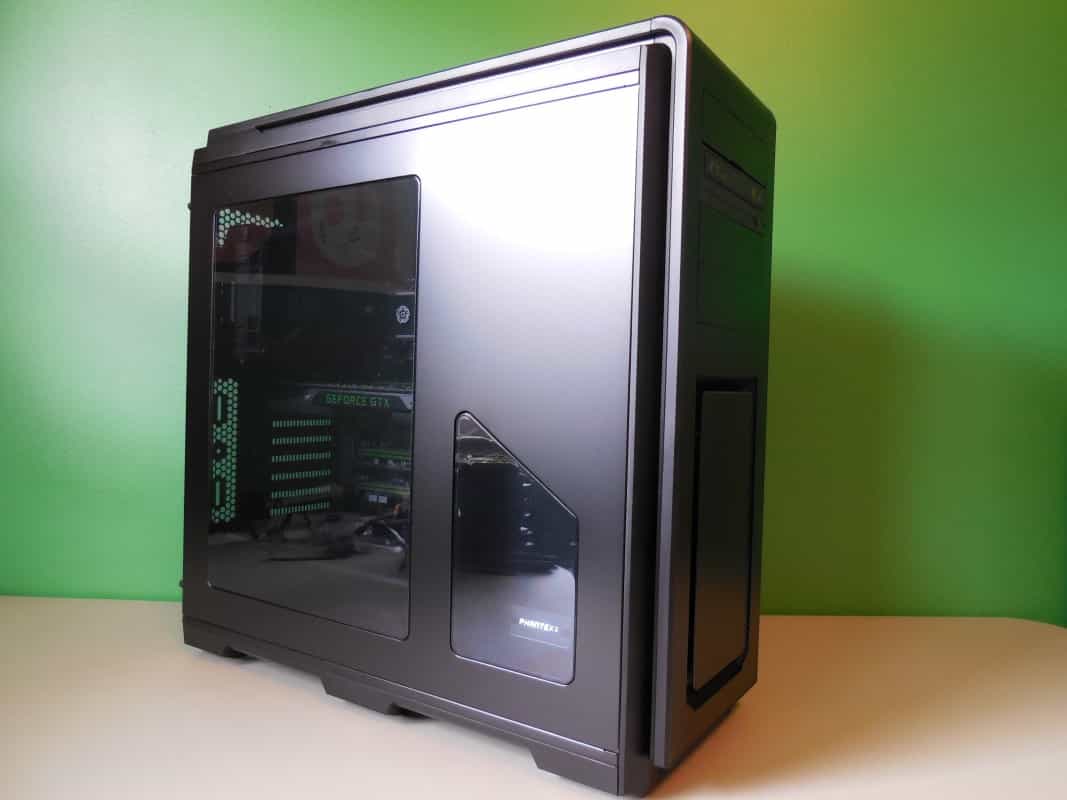
A Look Inside
Getting inside the case is pretty easy, make sure the side panel is unlocked and then press the button on the bottom of the case to release the door with the window on it. It swings open quite easily. Press the button again to release the smaller door and reveal all of the storage.
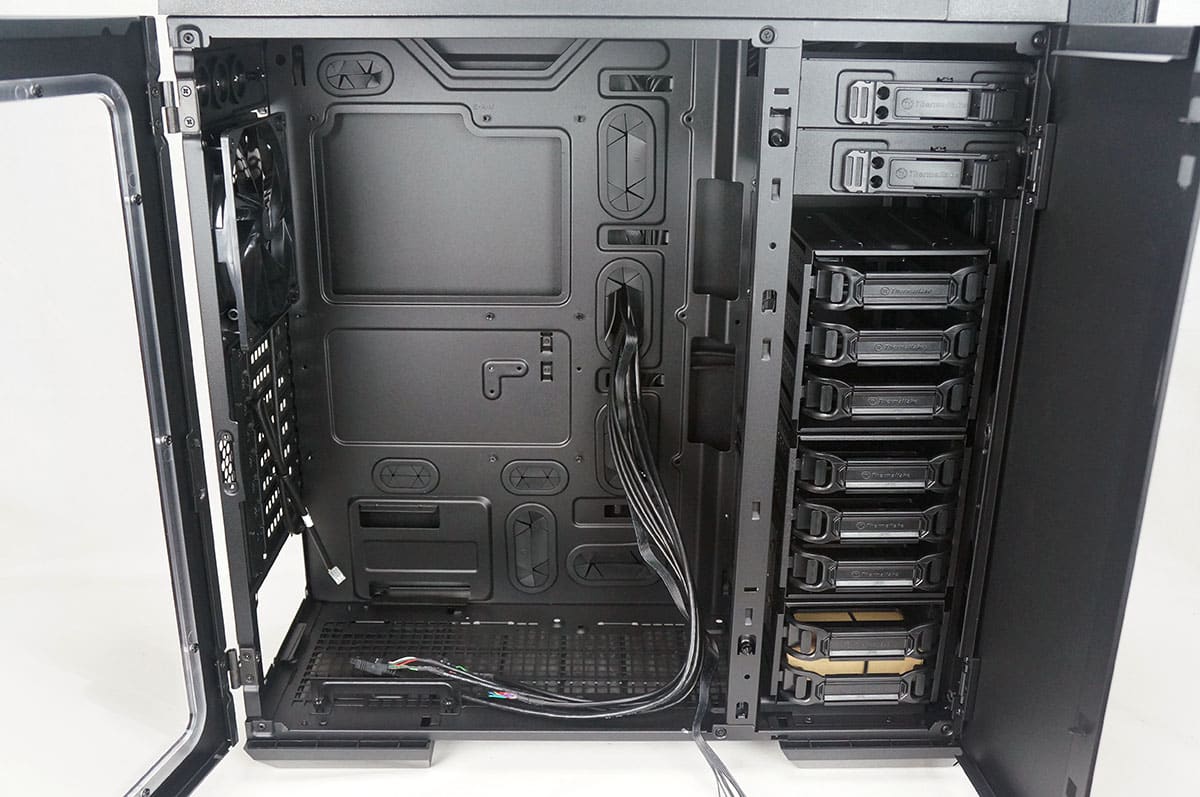
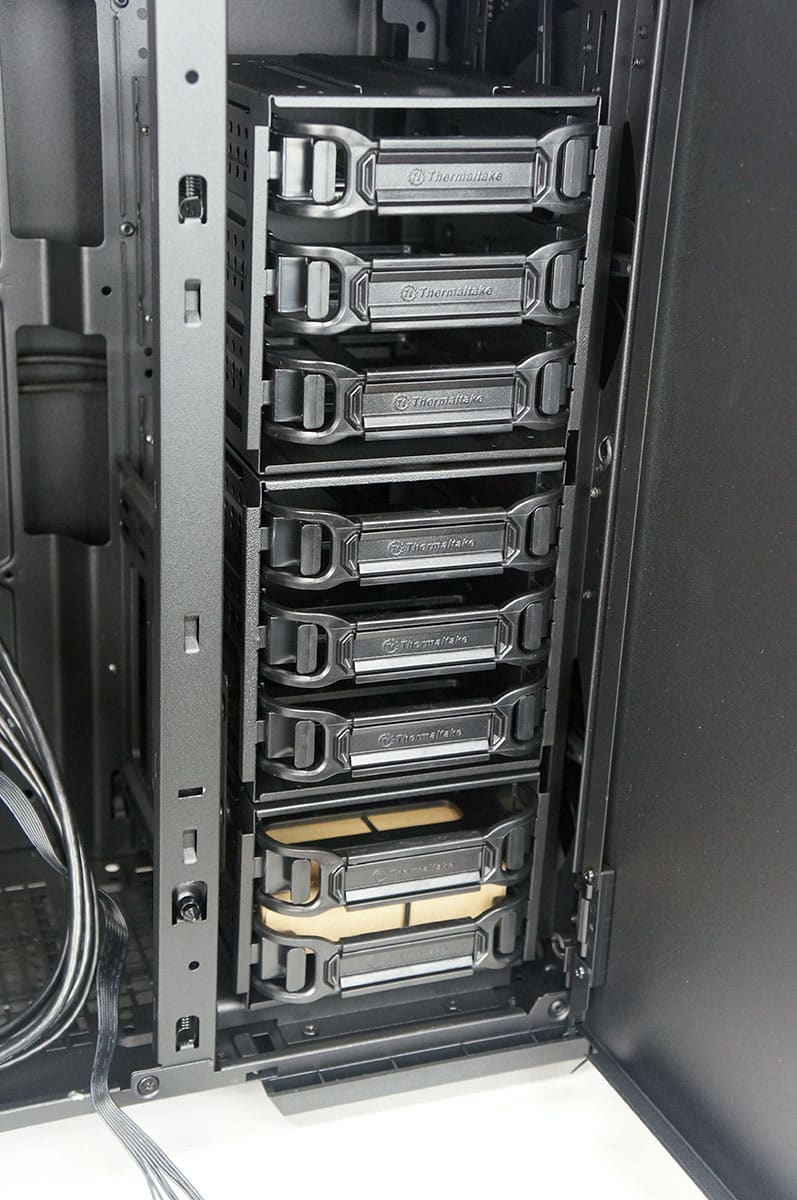
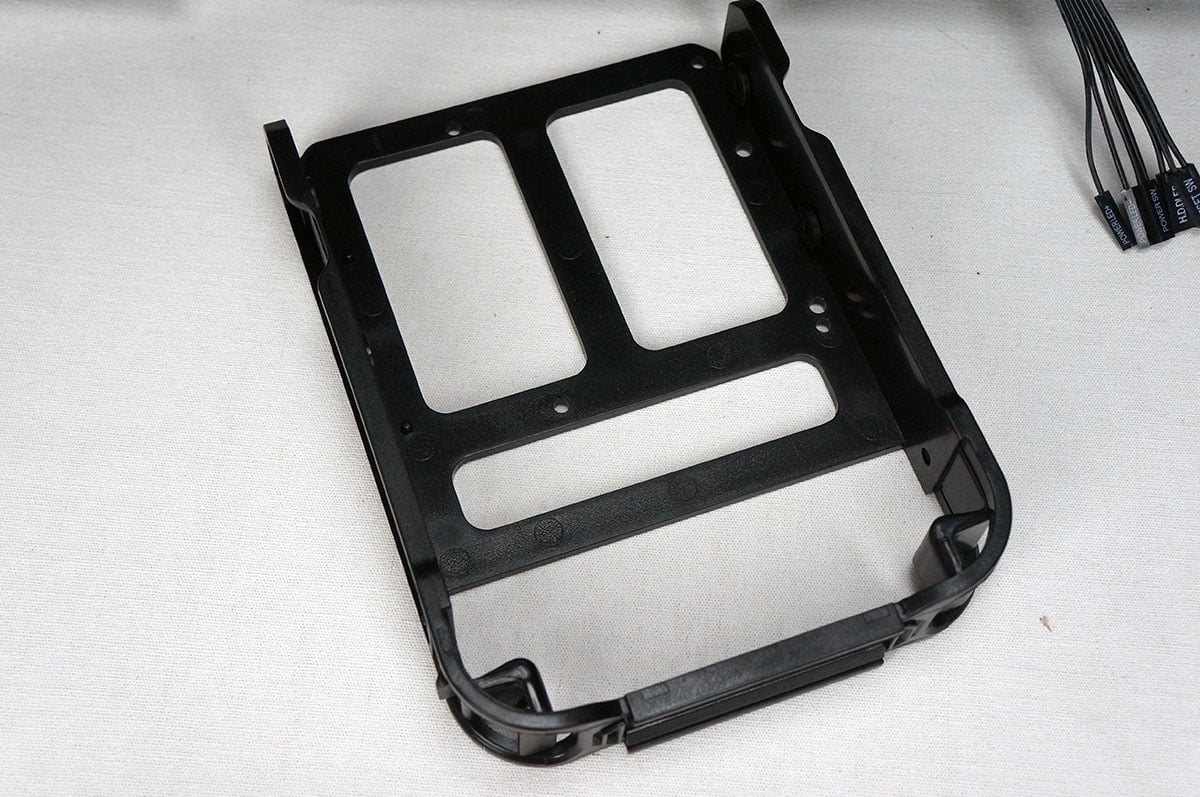
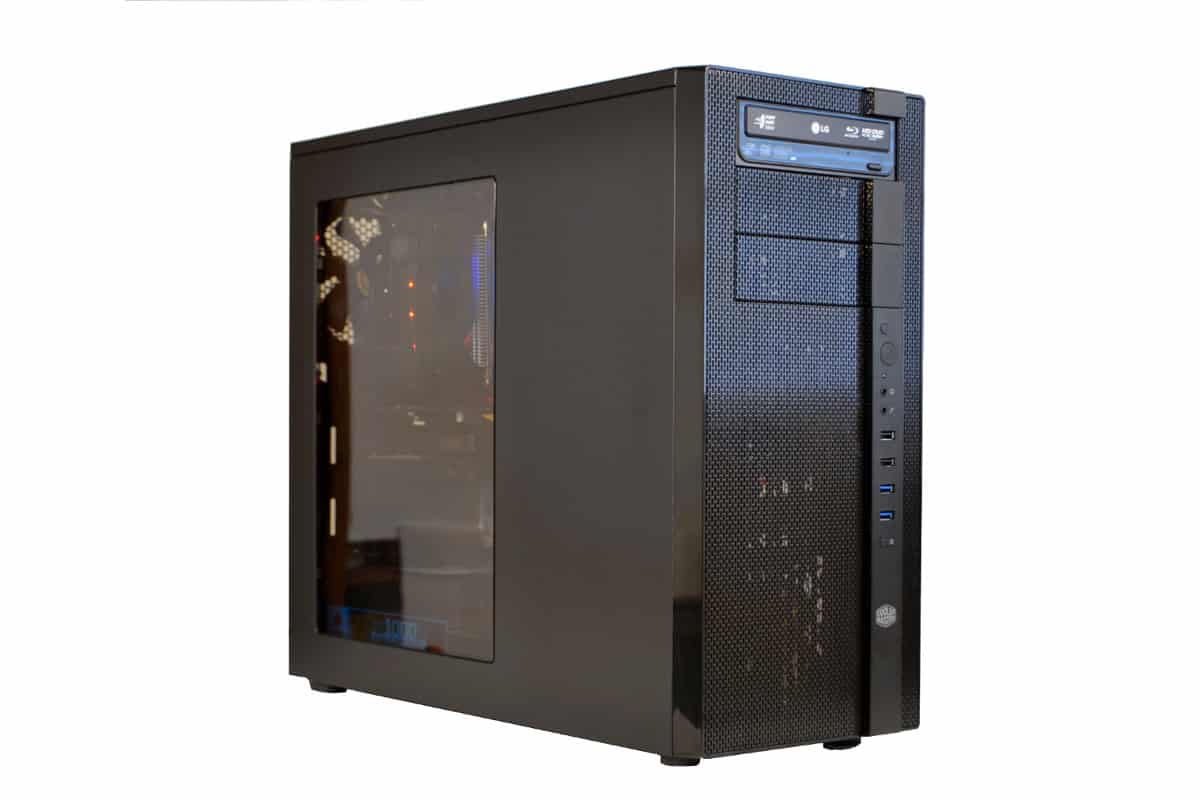
Starting with your storage at the top you have the two 5.25-inch drive bays. These use a tool-less locking system, but it can be removed if you choose not to use it. Moving down there are three hard drive cages. The top two cages have room for three drives each and the bottom one has room for two, giving you a total of eight drives. The cages use easily removable trays that support both 2.5-inch and 3.5-inch hard drives. All of the drive cages and even the top 5.25-inch drive bays can be removed from the case completely. The cages can then be rearranged how you like them to make room for watercooling components and other hardware.

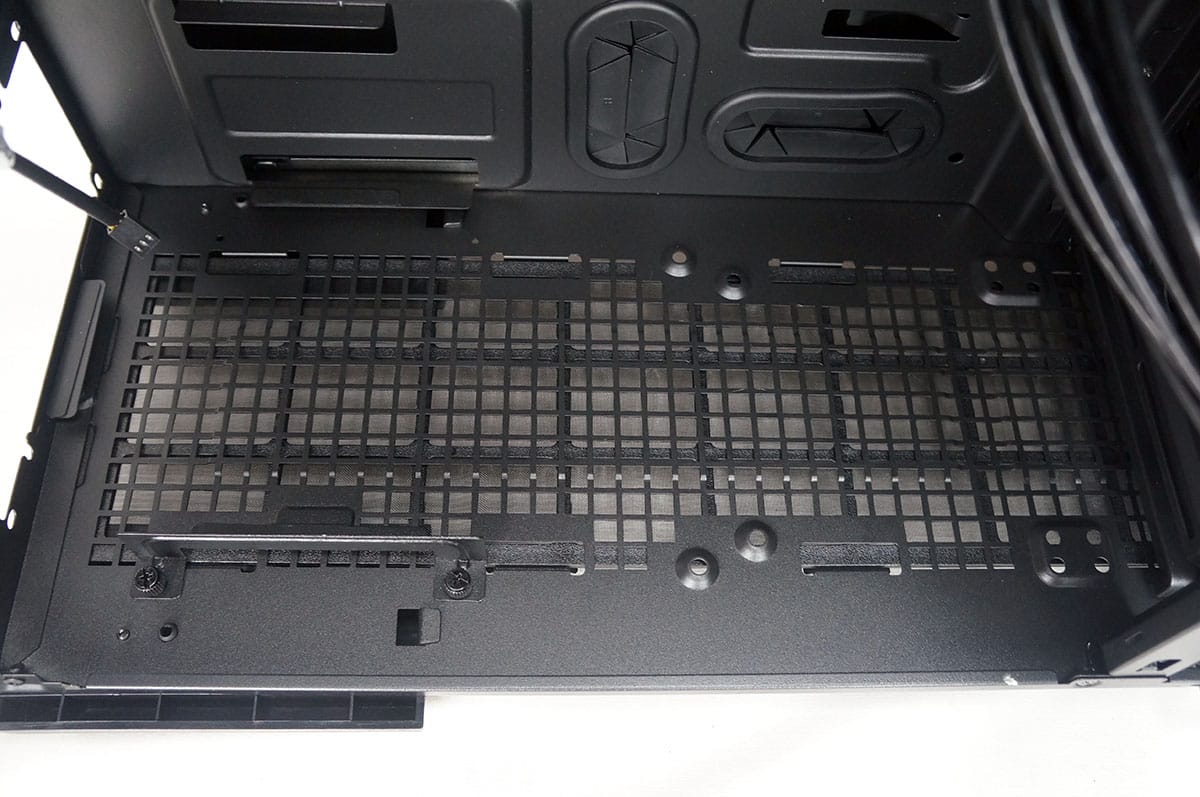
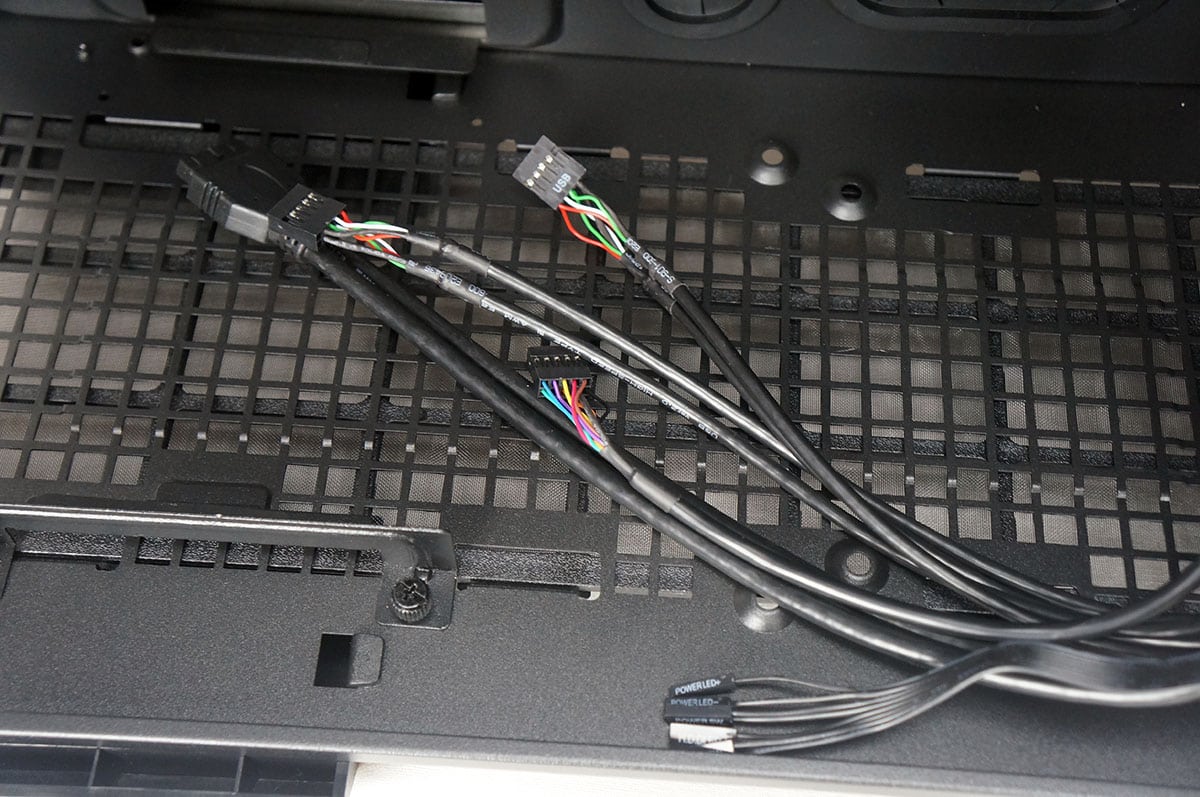
The bottom of the case is completely ventilated and actually has room for a 140 / 120 mm fan if your power supply is not that long. As far as internal connections you have your USB 3.0 header connection, two USB 2.0 header connectors, HD audio and your front panel connections.
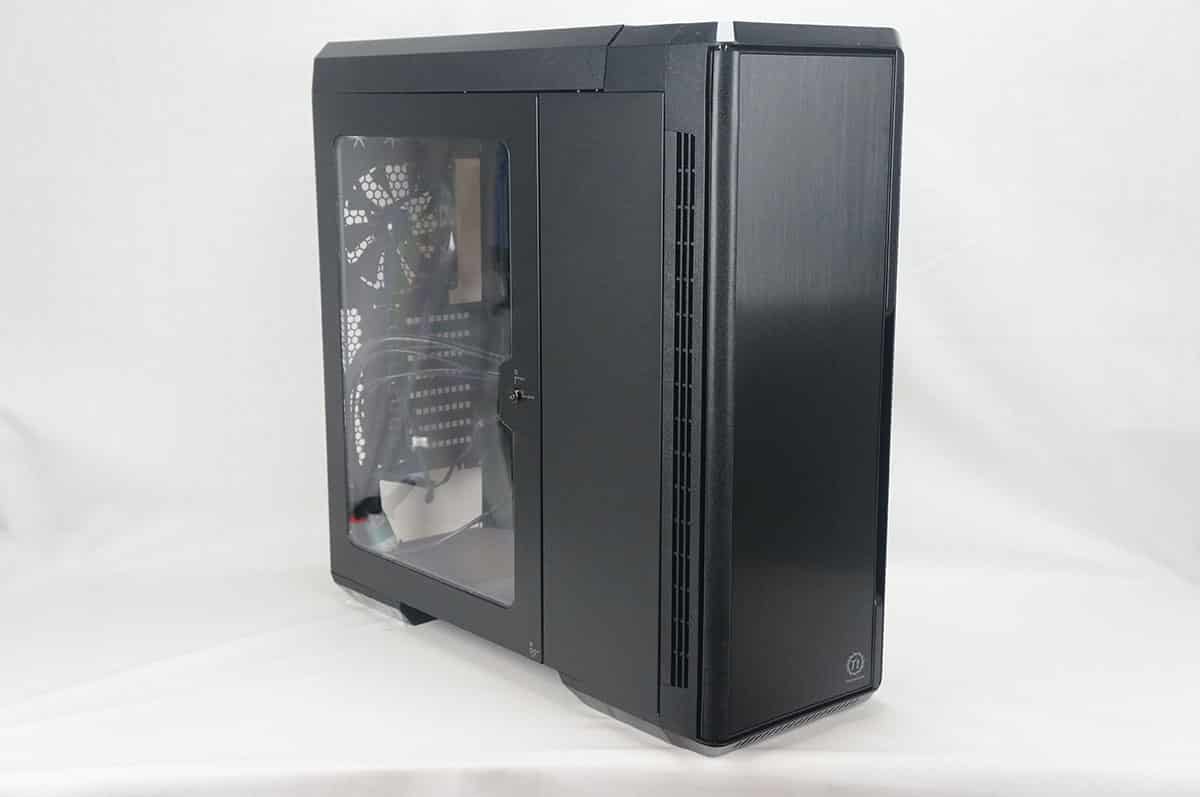
The case has eight expansion slots so it supports both ATX and E-ATX motherboards. The expansions slots are designed in a way that you need to remove a safety panel to remove installed cards. Moving up we can see both the 140 mm exhaust fan and 200 mm top mounted fan.
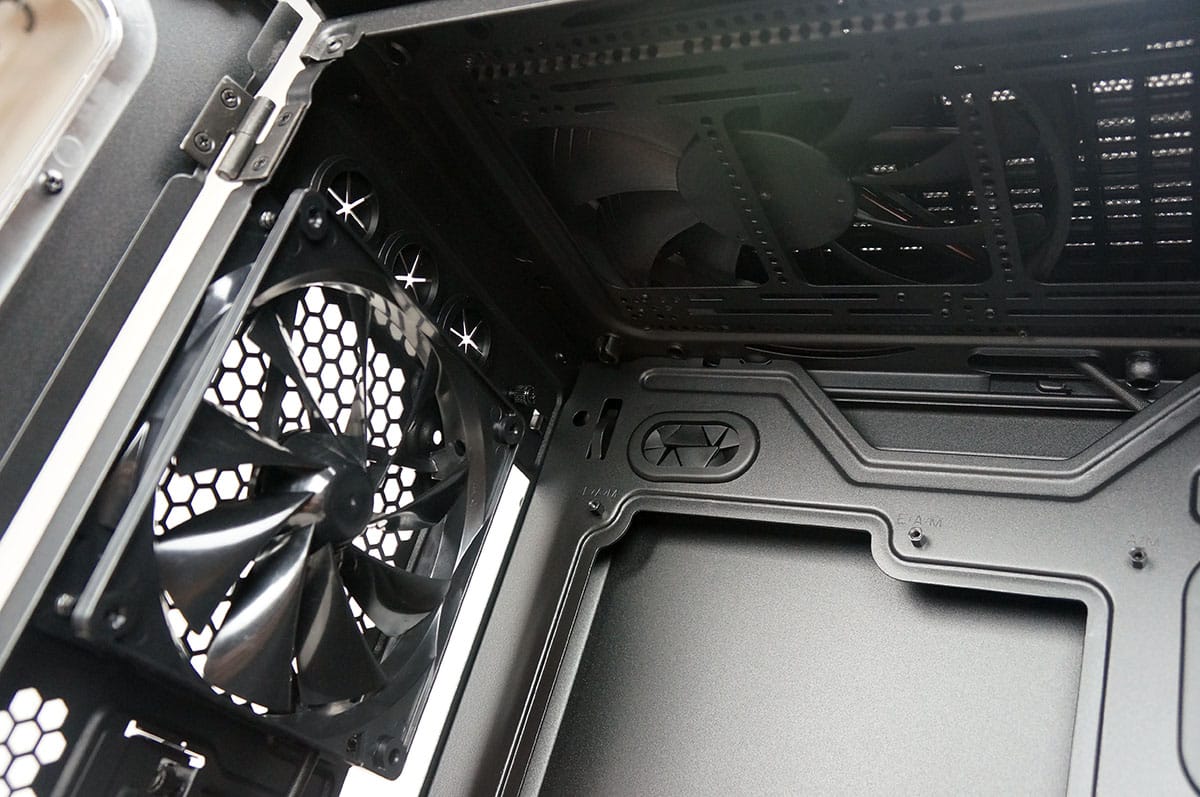
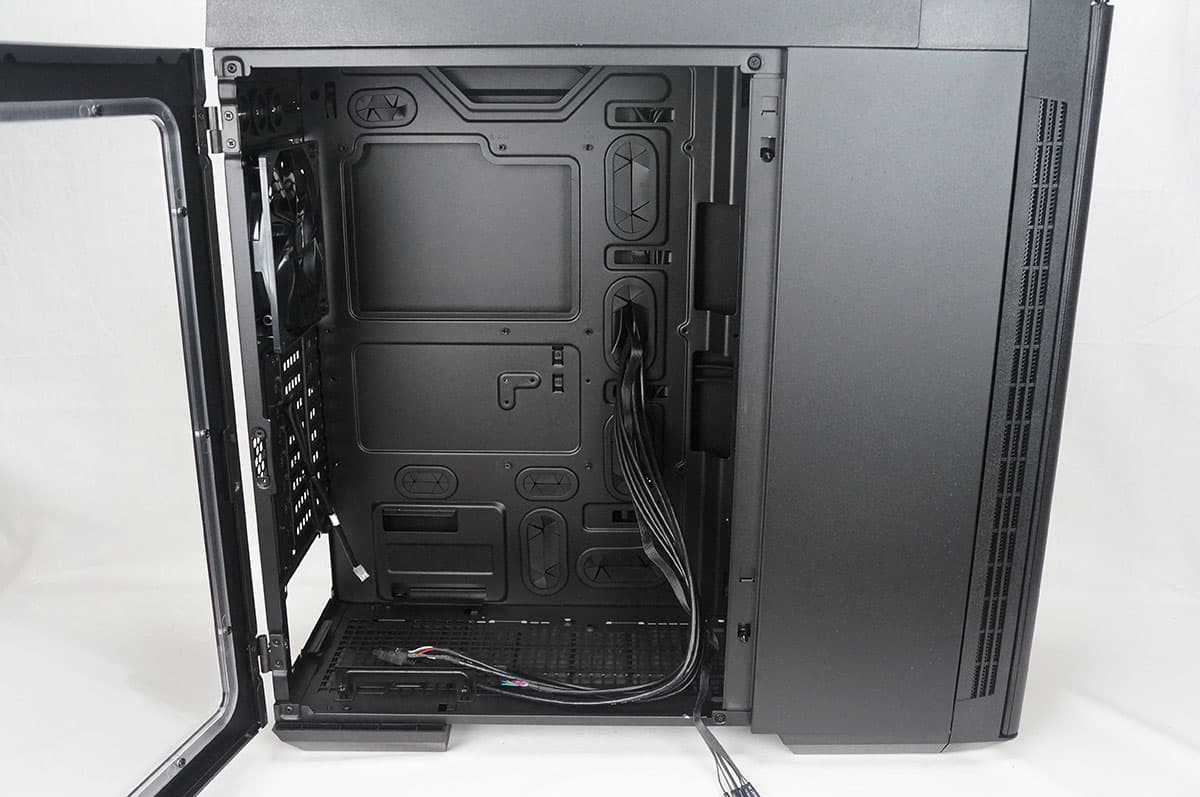
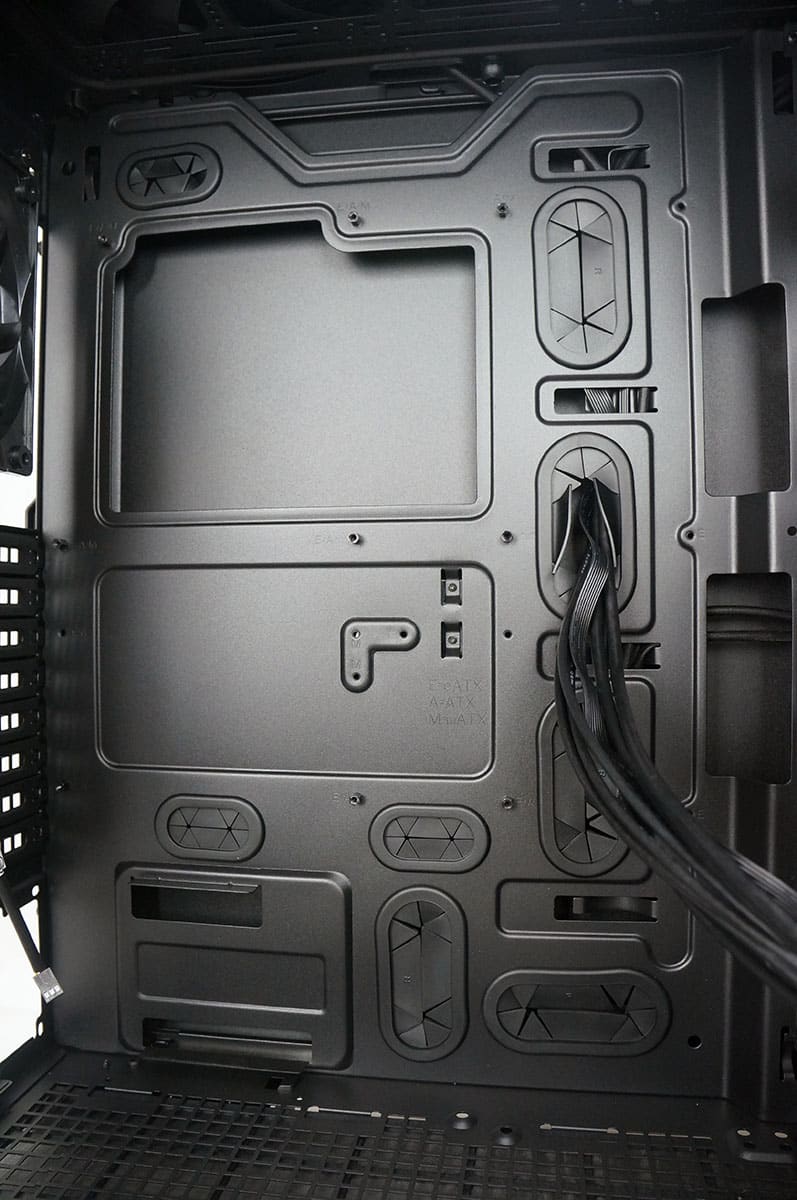
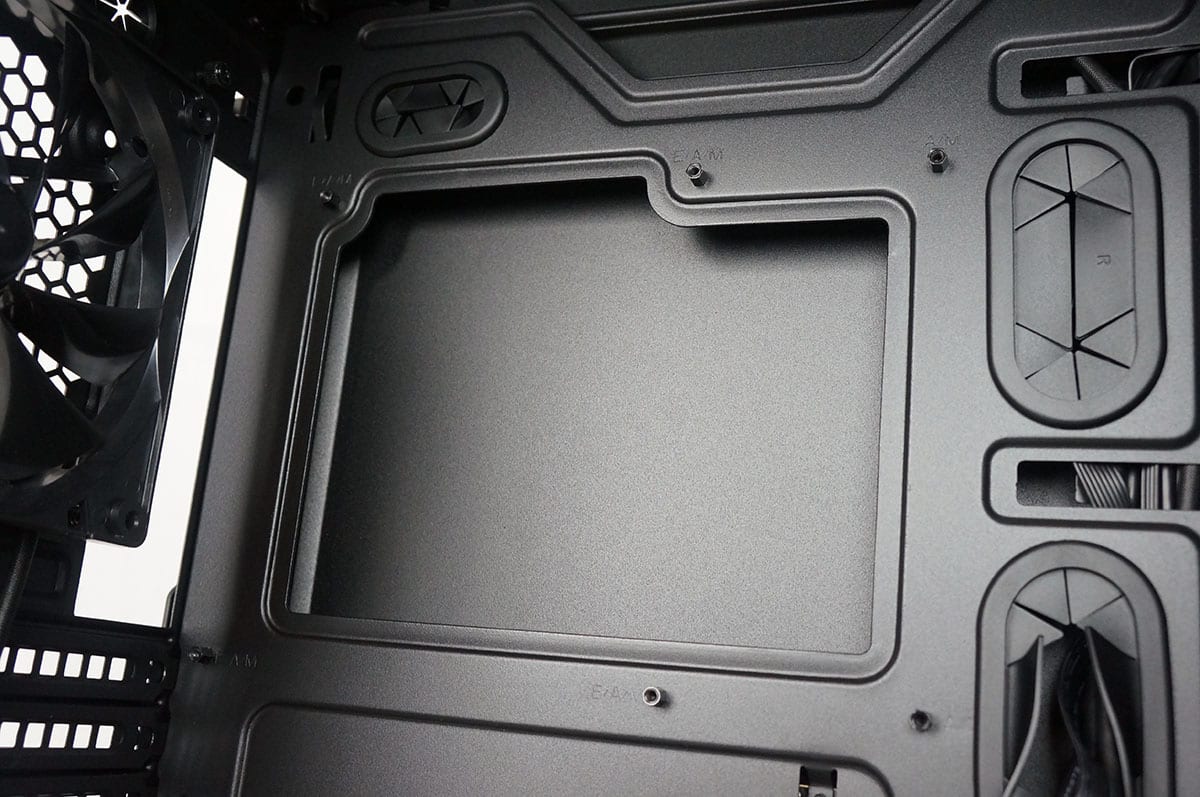
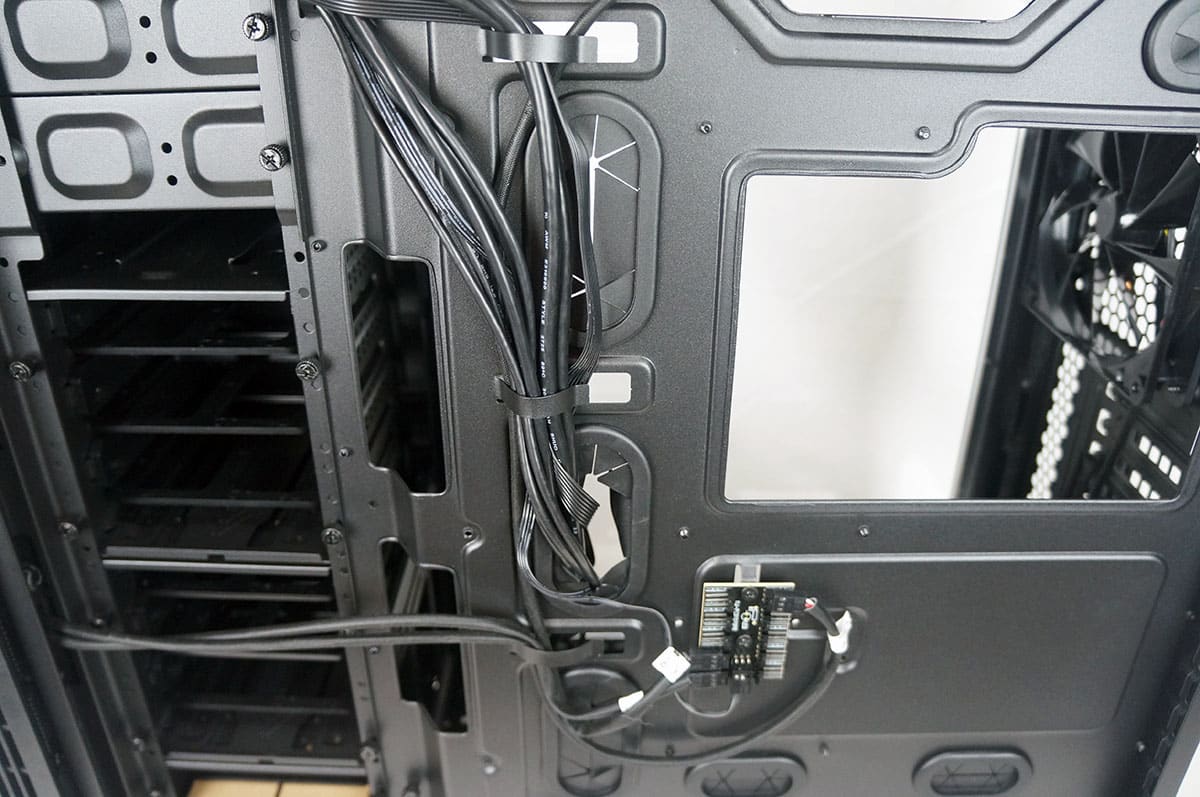
Looking at the motherboard tray there are quite a few cable routing holes, eight total and they do have rubber inserts installed so you won’t rip or tear your cables. The motherboard tray also has a large CPU cutout, which will allow you to install an aftermarket CPU cooler without having to remove your motherboard from the case.
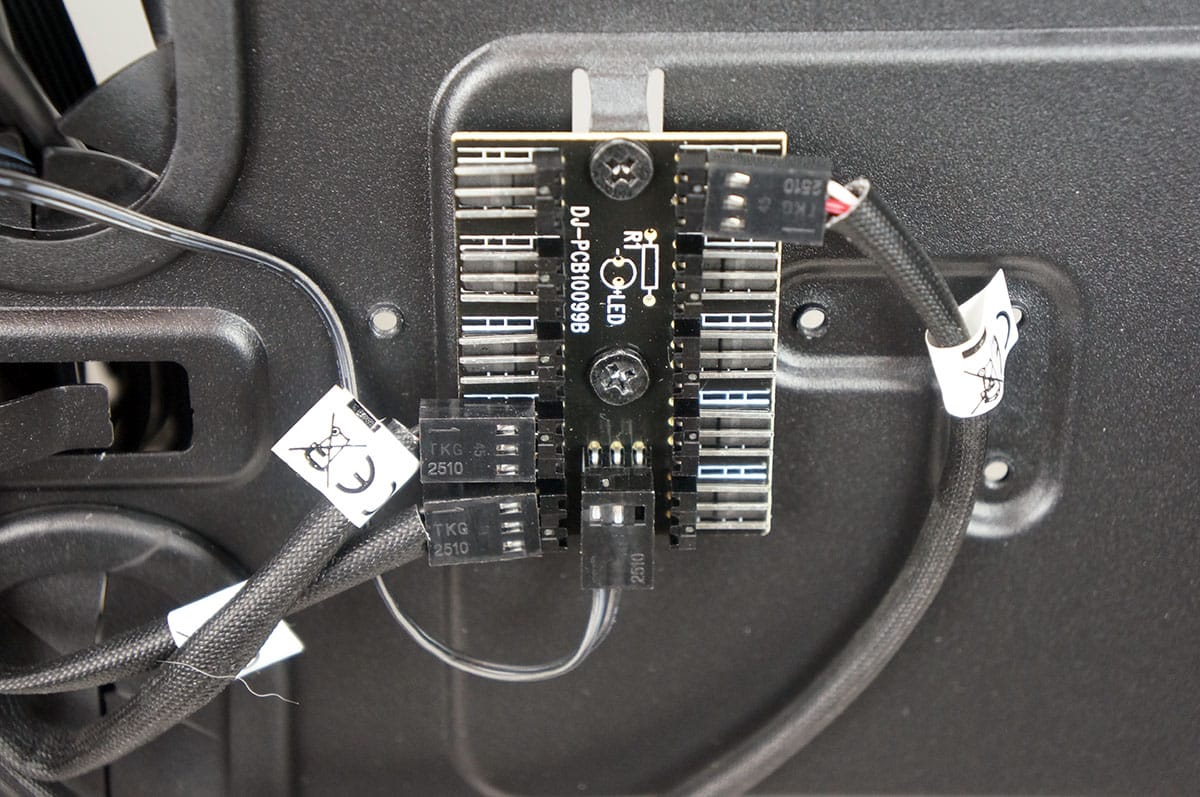
Removing the opposite side panel of the case we can see how the backside of the case is setup. The first thing that I noticed was the centrally-located fan controller. This controller can support up to 10 fans and is controlled by the high / low buttons on the top of the case.
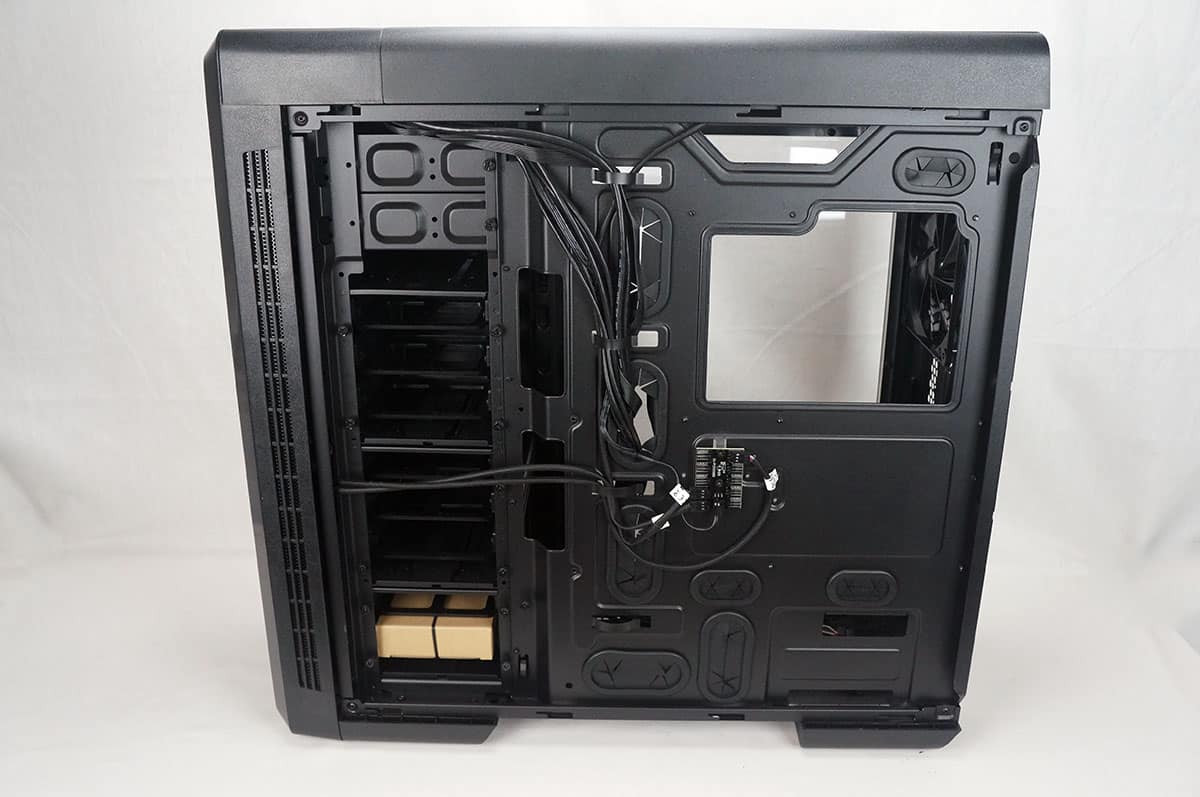
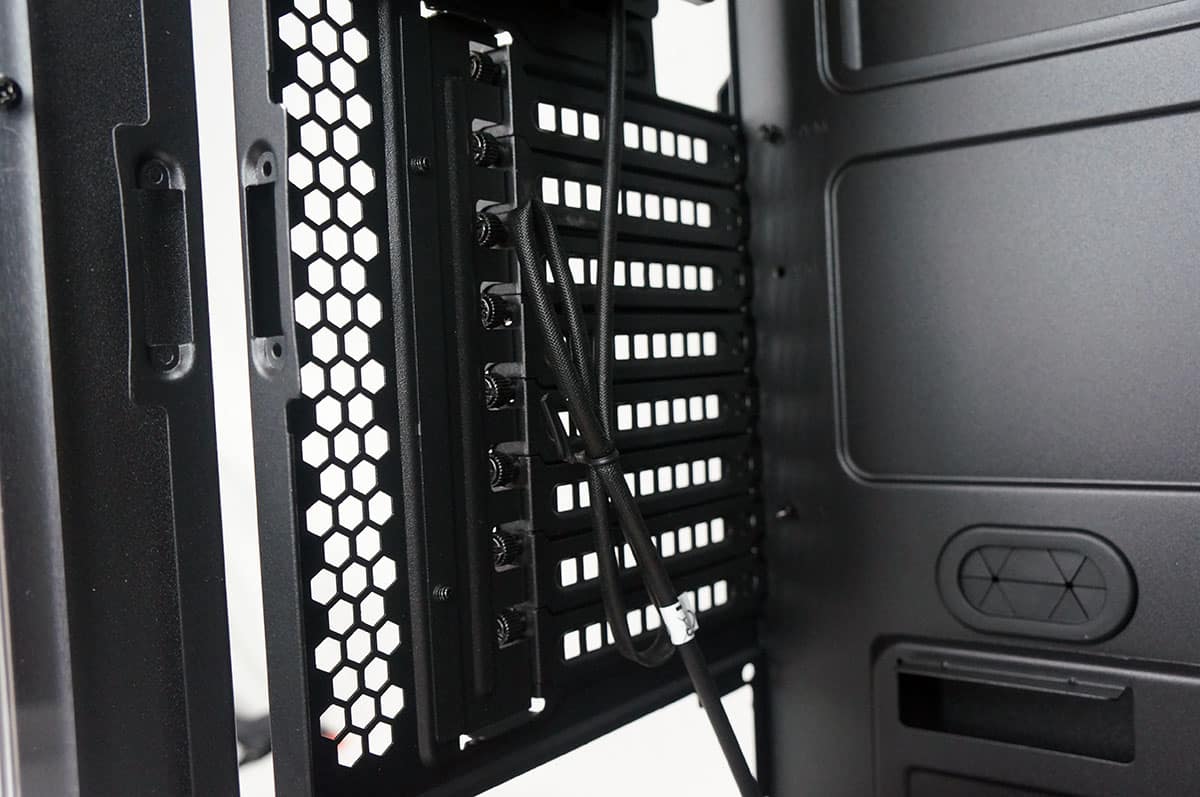
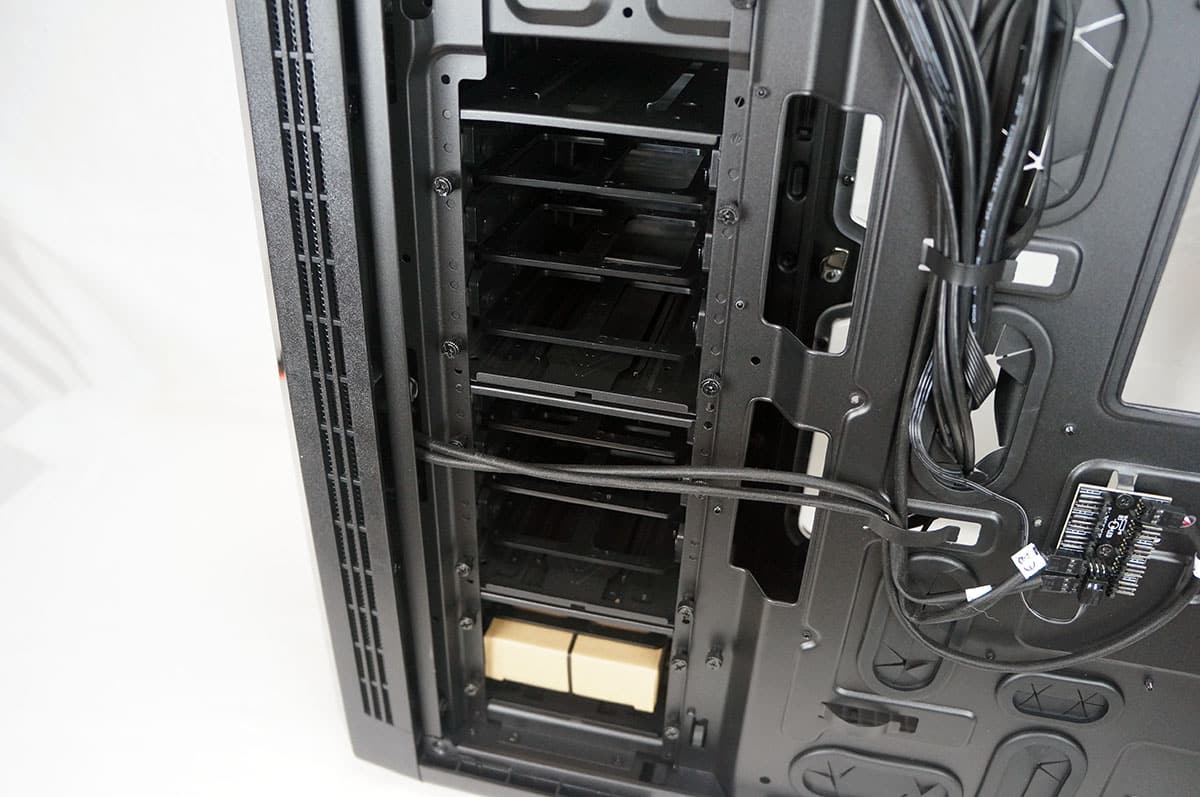
The case has built in metal cable organizers, which should help with routing all of your cables. I would have liked to have seen a few cable tie-down on the backside of the case though. If we look at the storage section from the back we can see how the modular section works. All of the cages are held into place with thumbscrews and can be moved however you see fit.
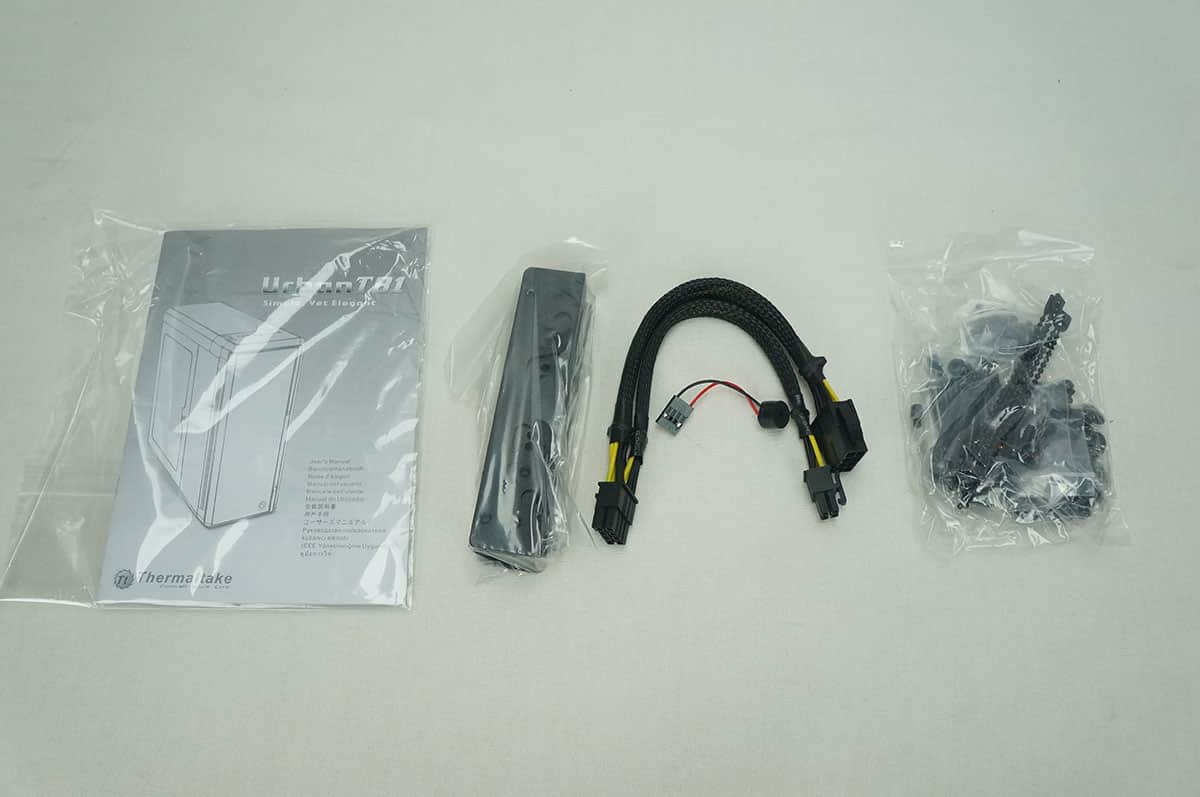
Included with the case is a user’s guide and box of goodies that includes a EPS power extension cable, 3.5-inch drive adapter rails, mounting hardware and a case speaker.


I’ve said it before (on other review sites), and I’ll say it again; while it’s very informative – and welcomed – to see the maximum size radiator that will fit inside a particular chassis, it would be even more helpful if manufacturers would state the maximum thickness a radiator could be in a chassis.
For example; this chassis can have a 420 mm (3 x 140 mm) radiator in the roof or in the front, but what is the thickest radiator that can be installed above the motherboard. If the thickest radiator that will fit is going to be a slim rad (like the AIO’s), then I’ll be looking somewhere else; but if this chassis will house a standard 64 mm radiator (e.g. EKWB XTX series, or XSPC RX series, Alphacool’s UT60 series), then I might consider it.
Secondly; what is the clearance like behind the motherboard, is there enough room for the 24 pin power cable without having to force the back panel on (forcing the panel to bulge).
Little things like these can make or break a deal for me, and is why they’re questions that need answers.
Brechan thanks for your comments. This case will infact fit a 64mm radiator up top. Here is a detailed diagram for watercooling in the top of the case: http://bit.ly/UELaA8.
When it comes to the back of the motherboard tray if you use the metal cable organizers you will have no problem closing the back side panel at all. Hope that helps!