Overview & Installation
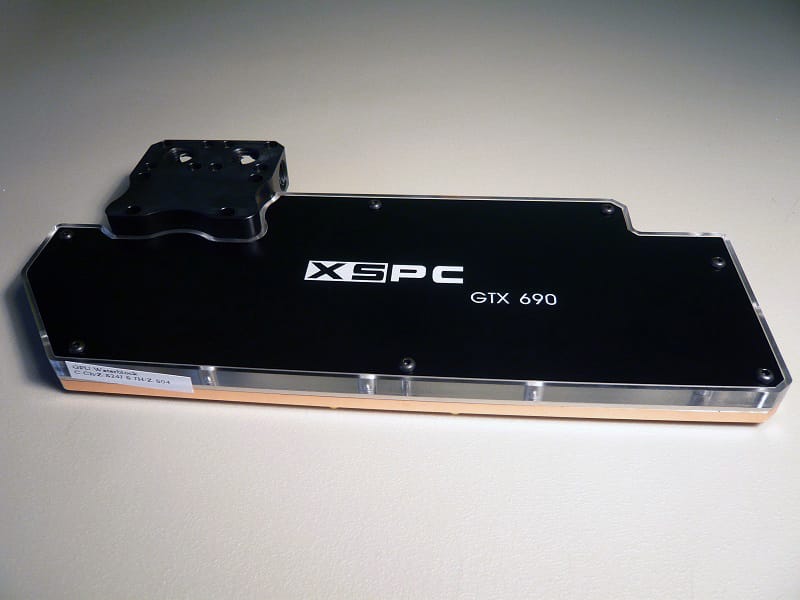
Taking the bottom plate out of the bubble wrap you will find a well painted simplistic design that seems just heavy enough to do it’s job. The plate is mostly matte black with the exception of the XSPC logo painted in white on the front side of the plate. There are four holes drilled for installation. Flipping the plate over you will find these to be countersunk, you won’t have to worry about an uneven set screw making things unstable.


The Torx screwdriver seems fine, if just a little cheap, but that’s sort of what you expect from an included tool. And the foam pads are pretty standard circle pads with adhesive tape on one side.

The plate has a tapered edge all around and is 5mm thick, which seem just about right for stability, weight, and bulk. All in all it seems to be a decently thought out and machined piece.
Installation
Now for the fun part! There are no included directions with the plate, but just the same this is very novice level. I think anyone should be able to figure it out.
First thing you need to do is remove the four screws from whichever side of your AX radiator you want to be on the bottom. Plan this out as it will impact which side the ports will be on as well which direction the XSPC logo will face. With those things in mind lay the radiator flat and begin removing the screws with the Torx screwdriver.


They come out quite easily which shows that XSPC definitely intended them to be removed.
With all screws removed the bottom plate comes off easily. You can now see the core of the radiator within that can be easily removed itself. One nice touch here is the foam pads that keep the core snug and help keep it silent as well.

I did run into a snag while removing the Torx screws. The included screwdriver is several sizes too small. I got three of the four screws out, but the fourth was too stuck and started to strip. I would recommend getting the correct size screwdriver if you have one available. In the photo the correct size is the one on the left nearest the camera.

With the radiator bottom plate removed you can now install the stand. I found it easiest to place the radiator on the edge of my table and line the holes up that way. It is simply a matter of reinstalling the four screws back in place. Make sure they are snug, as this is going to be holding the weight of the radiator, fans, and water.

At this point you can also attach the foam pads to the base where you desire.
This concludes the installation of the external rad plate for the AX series radiators. The rest of the installation is simply installing the radiator into your loop. If you need help with setting up a loop please read our review of the XSPC RayStorm 750 RS240 kit. One thing I would like to suggest which I did not have available for this installation is the use of quick disconnects, or QDC’s. These allow you to disconnect a part of your loop from the rest without draining and starting over. These are especially useful for externally installed radiators as they are not attached to the case and make it difficult to move your whole setup around.