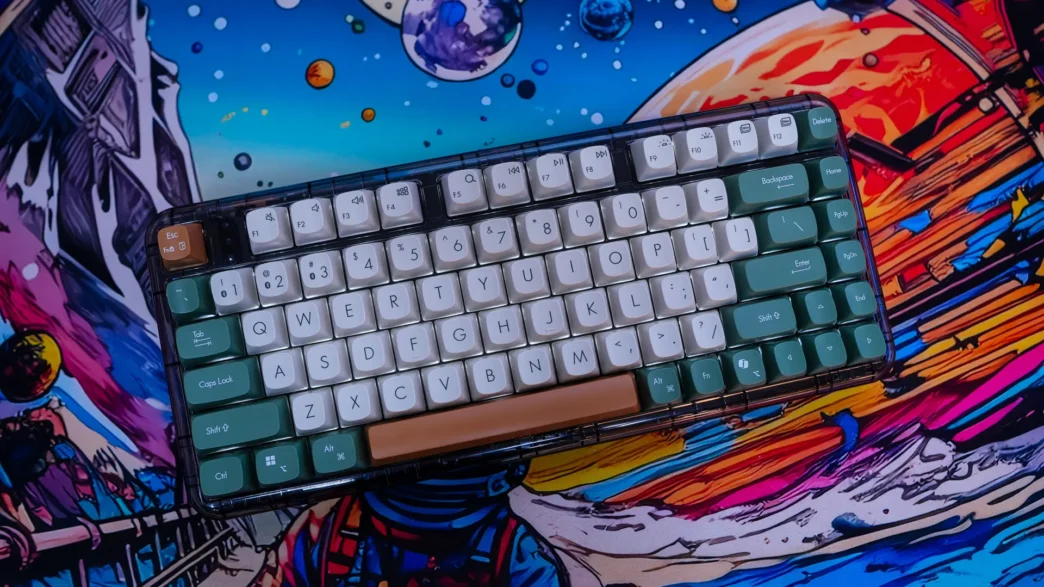
Setup & Using the ASUS Jelly75 Keyboard (KD201)
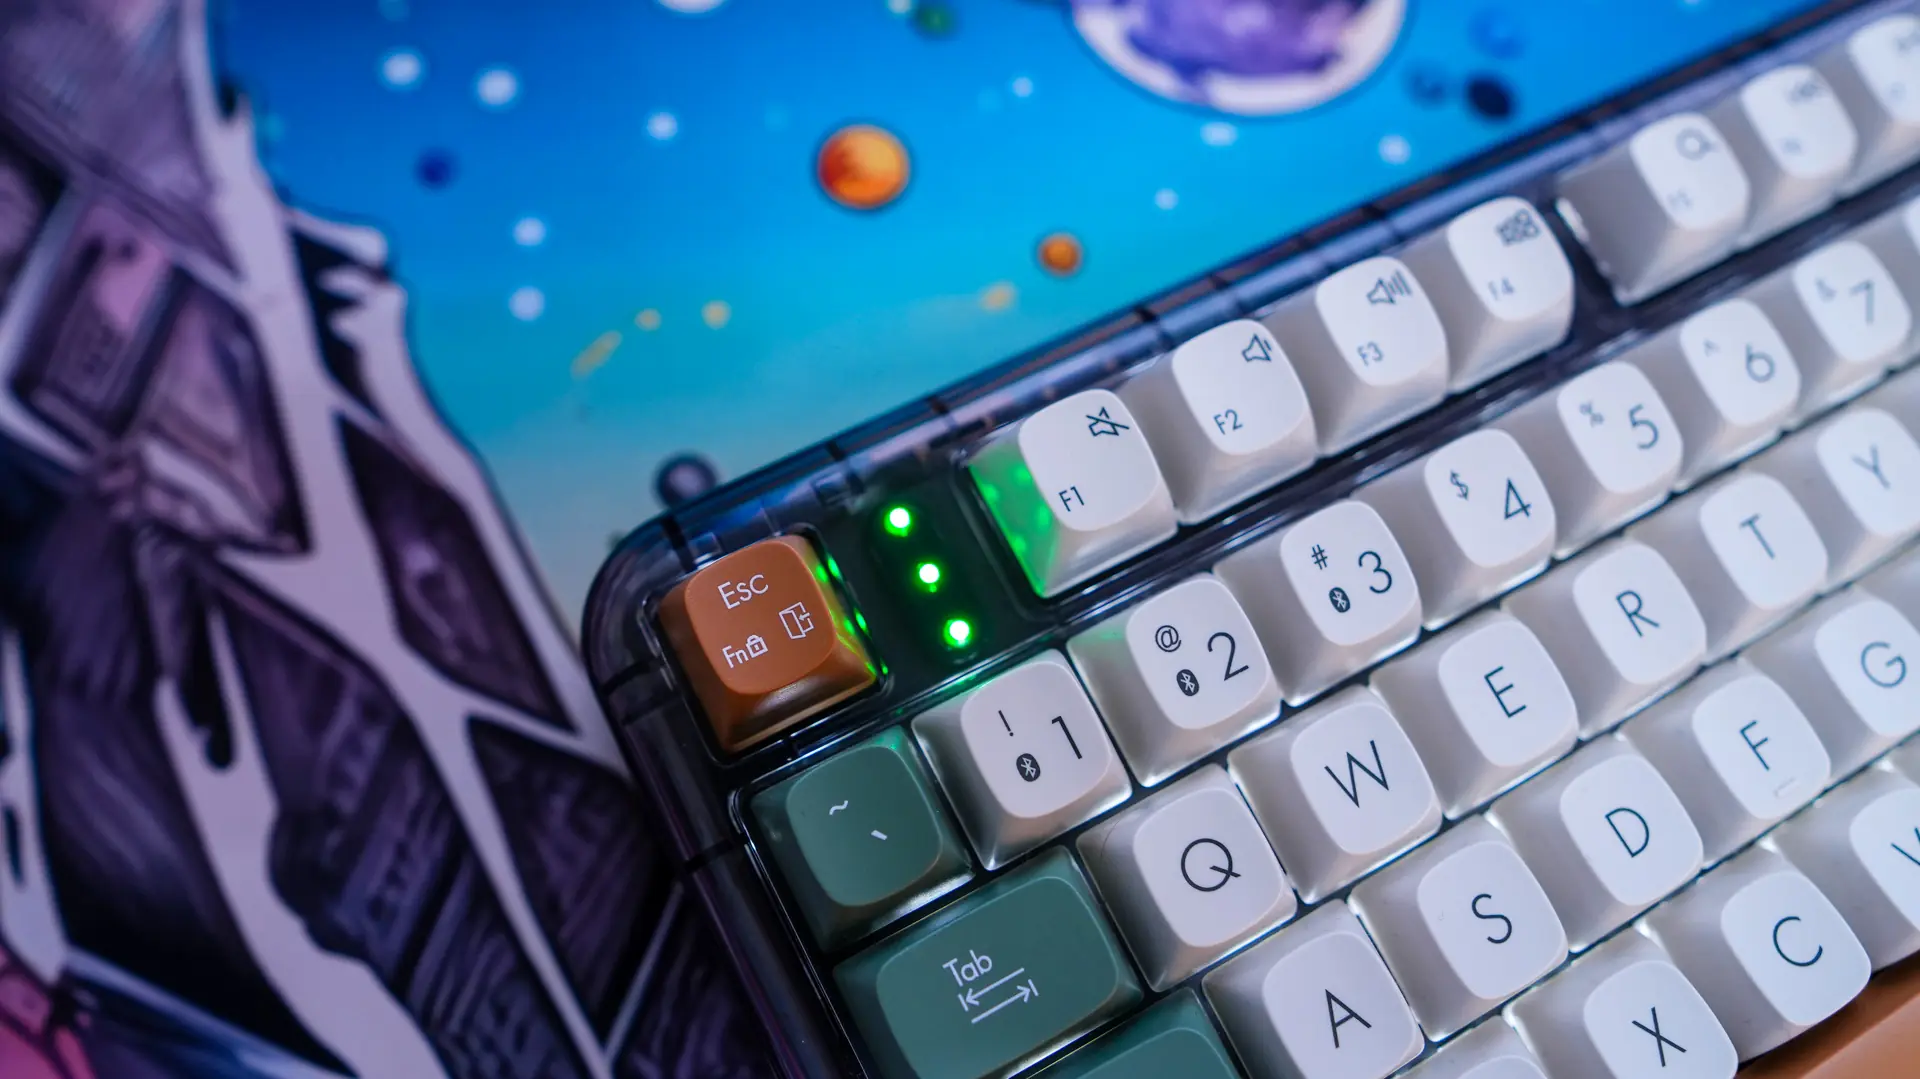
Getting the Jelly75 setup and ready to use is quite simple. If you plan on using the keyboard using the 2.4 GHz dongle just plug it into your PC and move the slider over to 2.4 GHz mode. It will automatically connect and you’ll be good to go. The three LEDs on the keyboard will light up green letting you know the connection is good.
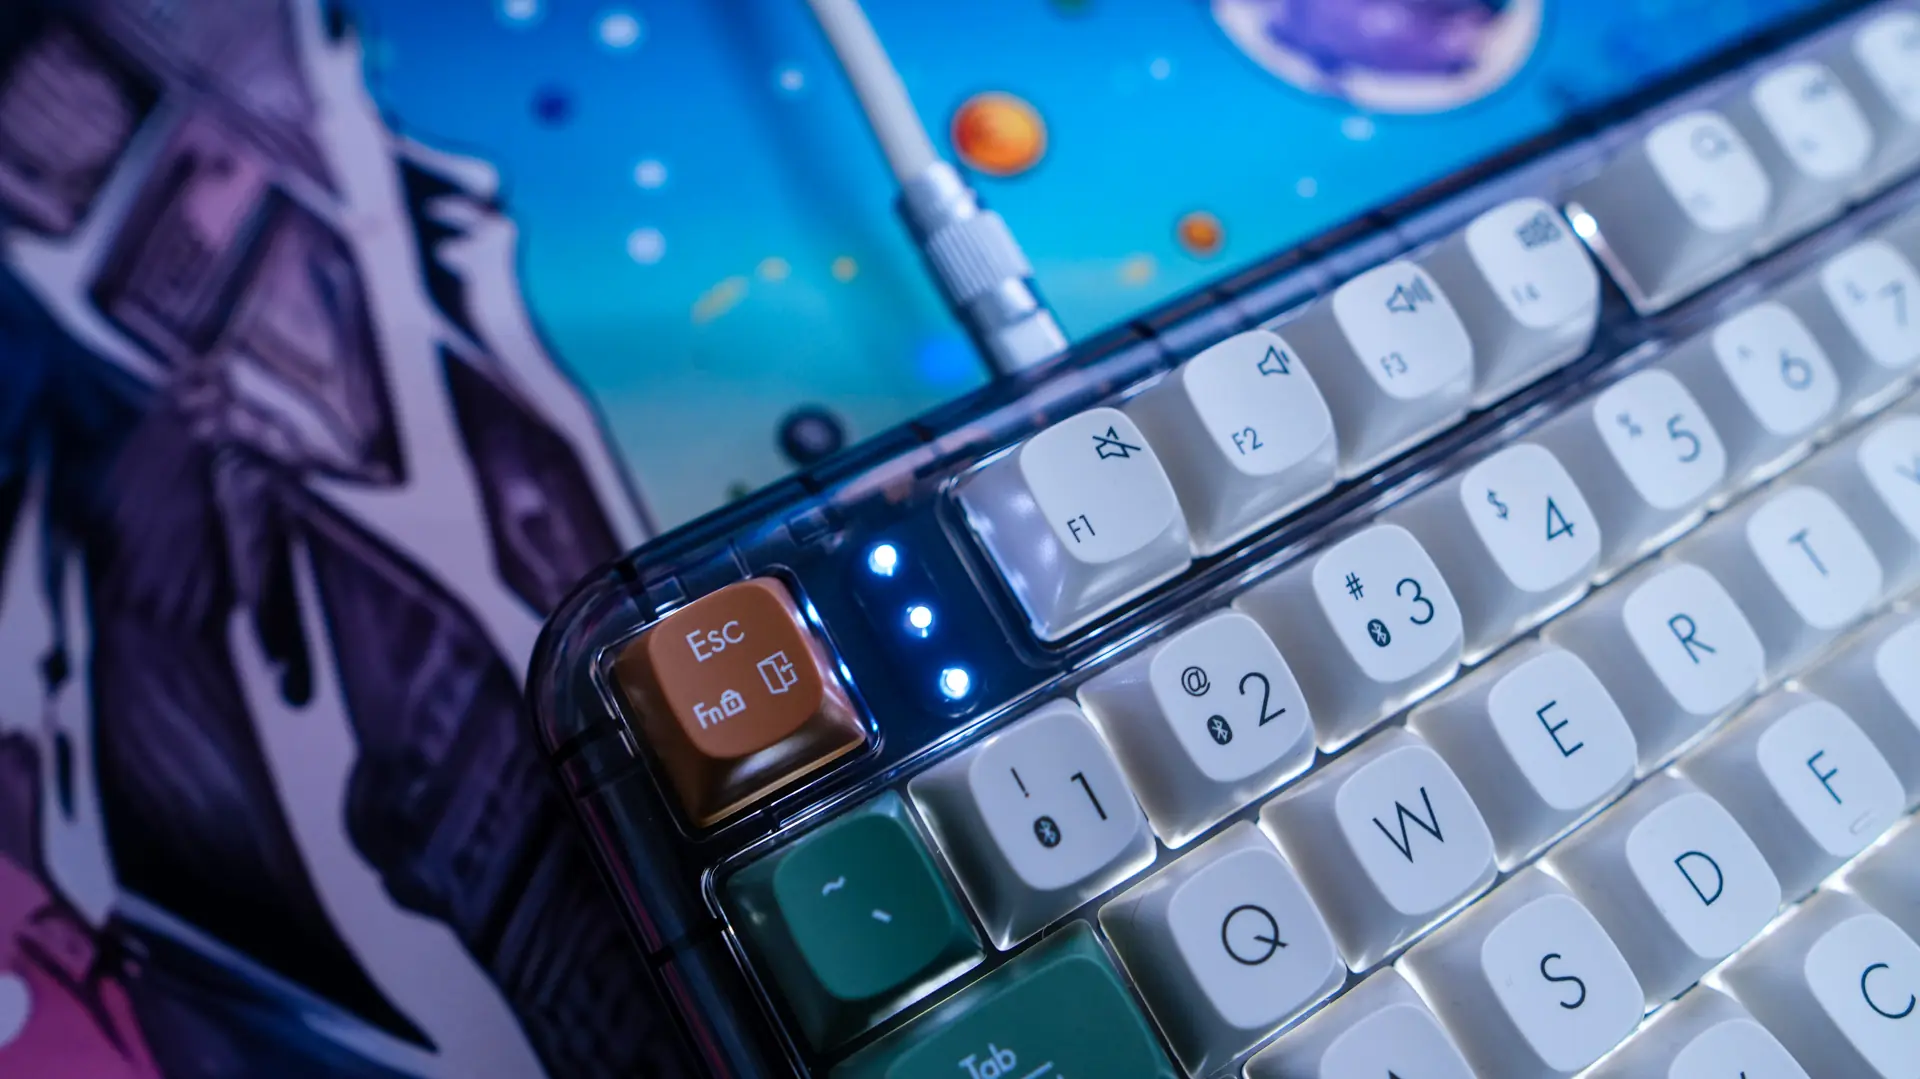
Now one thing I did notice about these LEDs was that they remained solid white when using the keyboard in wired mode, which was a bit annoying. Also they don’t light up at all and there is no indication anywhere else to let you know if Caps Lock is on, which was a bit frustrating.
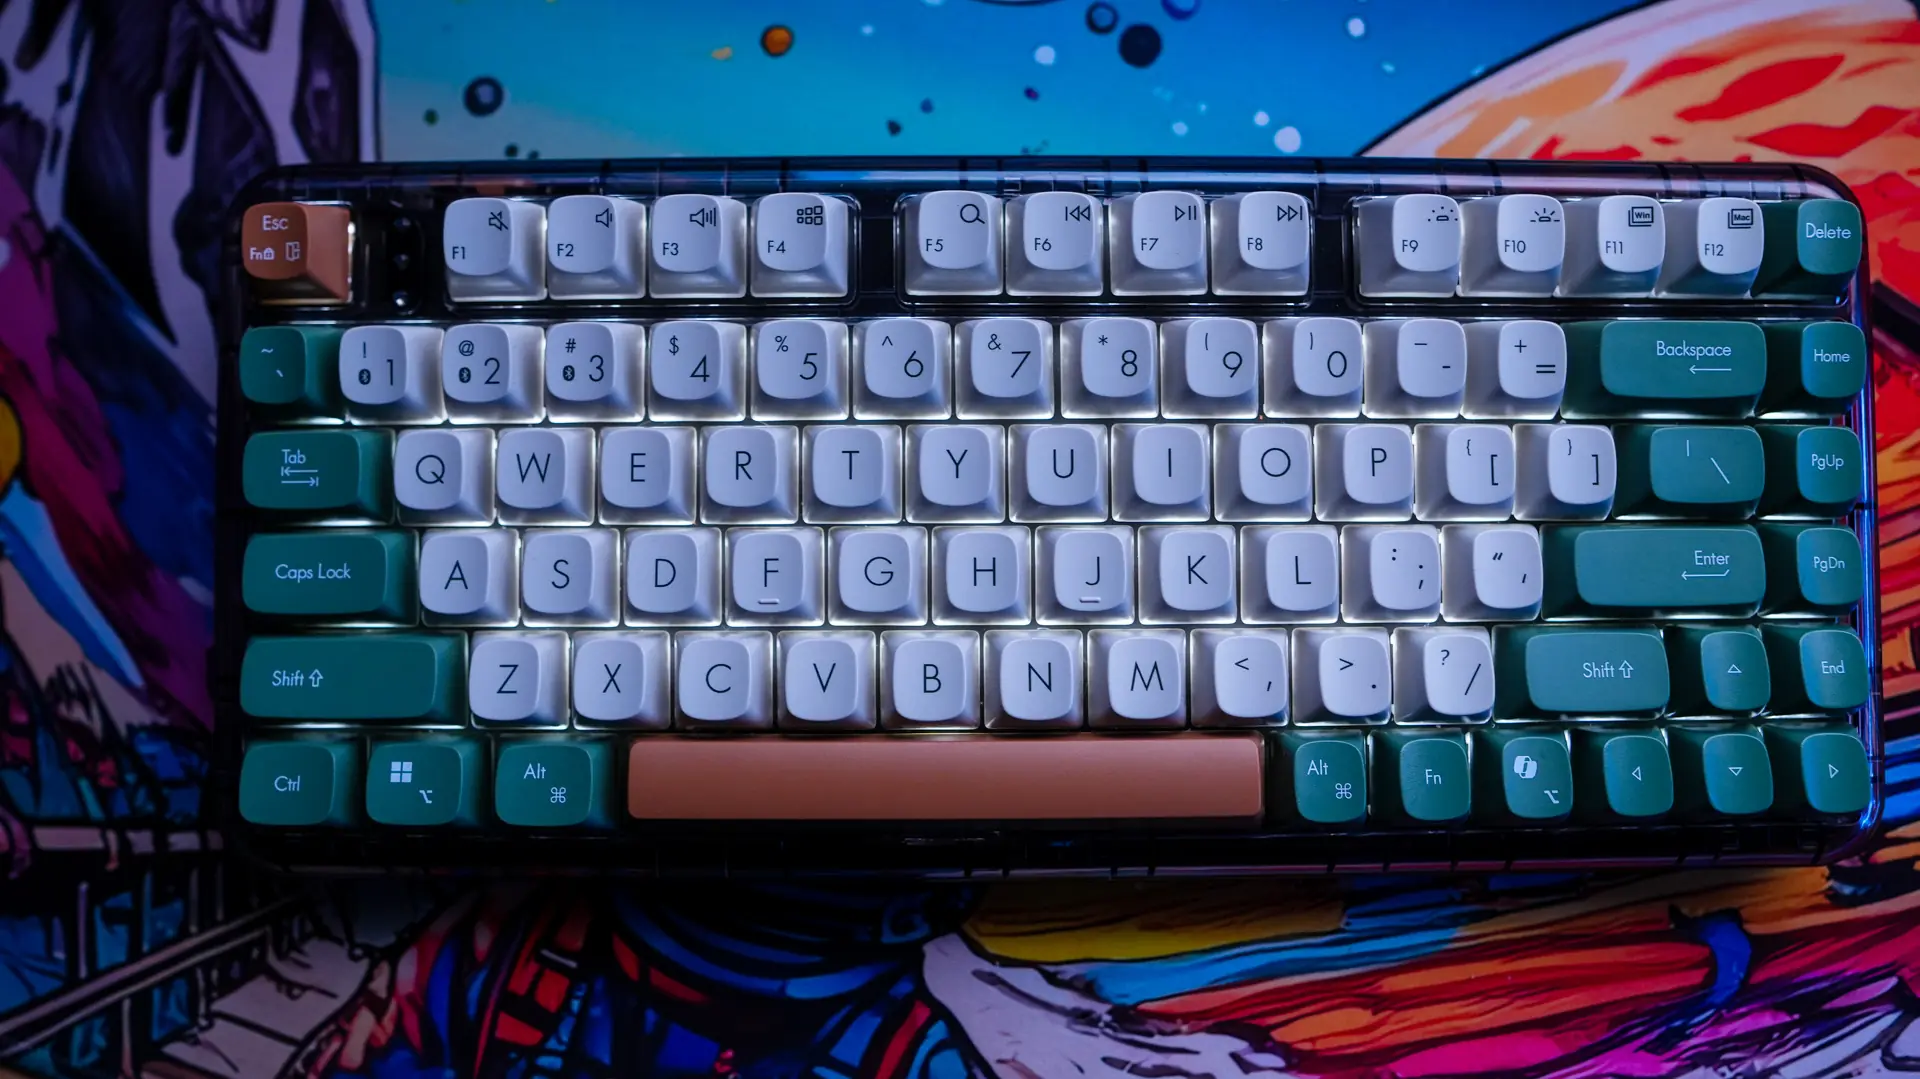
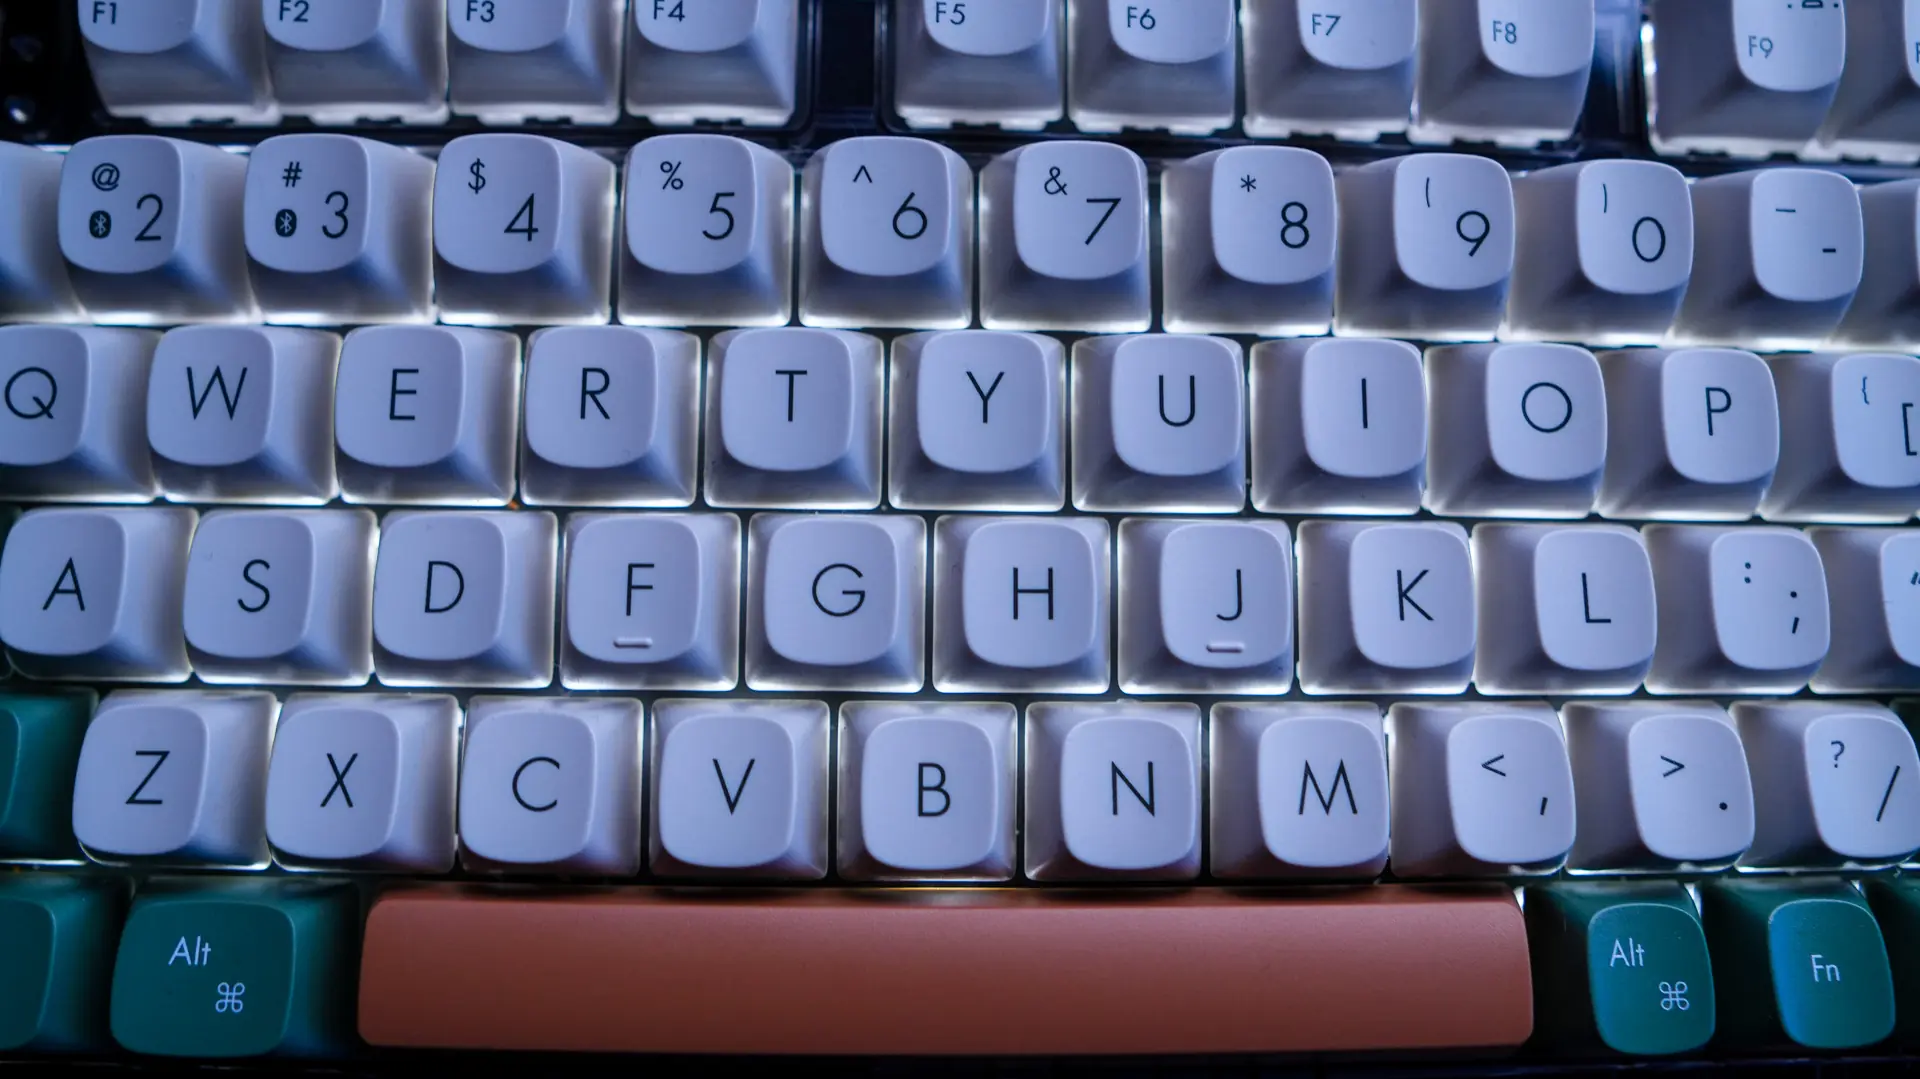
When you do power on the keyboard there is white backlighting with four different brightness levels. This is a nice little touch, but you are not going to get any type of crazy illumination as you don’t have see-through legends.


If you are wondering there is no type of customization software, so unfortunately you can not reprogram the keyboard. I run an ASUS system so I was wondering if it would show up in Armoury Crate, but it does not.
The keyboard has a really great typing experience though. Not only is it comfortable, it has a great sound profile as well. Below is a sound testing typing on the keyboard.