Build Layout and Techniques
The procedure I used to build this AZZA-Z-CSAS-103 may not be the best way or the only way to build it.
1. Make sure that before you build with this case that you have 2 of three of the following Items list below.
A. (SYBA CL-CAB40042 6″ 37″/6″ Mini SATA Data/Power Cable with Molex Power Adapter) because the only CD/DVD/BLU-RAY drive that will fit into this build is a slot loader or standard loader (Laptop drive).

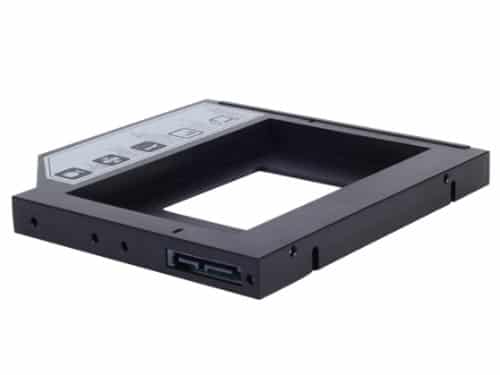
B. An SSD laptop adapter like this SilverStone TS09 12.7mm Height 2.5″ SATA HDD/SSD Caddy for Laptop / 2.5″ SSD/HDD Conversion Tray (Black)

C. If you want to use a DVD drive then you will need to purchase an internal DVD/CD laptop drive if you don’t get the above converters. We would recommend the Model DS-8ABSH-01 internal OEM replacement DVD/CD Writer as it is the least expensive with the best ratings.

D. If the builder desires to just get it done as soon as possible then mount the SSD with some double sided tape or a single screw and forget the CD/DVD drive all together. There will be no need for the mini SATA adapter with this solution. Fast and simple and most games are on STEAM or on a internal drive anyway.

E. REMEMBER TO INSTALL the Power plug adapter into your Graphics card before mounting the card or you will be taking it back out again to get it right. (Thinkcomputers.org recommends that you use a modular power supply with this build preferably with the ribbon type wiring for best wire management spacing. Then you can simply plug in the card side of the modular wire to the card and leave the rest hanging out of the way for later hook up into the power supply.

Tools
The Tools I used were pretty simple. I used a small head Phillip’s head screw driver, a pair of side cutter for cutting the wire ties and a roll of black electrical tape and then I used two wire ties for the entire build.

Some Simple Advise
Makes sure you give yourself plenty of room for building. Keep your tools and parts in different places and when not using them put them in the place you designate for easy building. A typical build will take about a 4 x 4 foot work space or one sqare meter. Build time may vary depending on parts and experience with small builds but it took me 3 hours, but I did take pictures and answer a phone that would not stop ringing. In all your time will vary, m-itx builds are not easy to build so if this is your first build, I suggest that you take your time and think about every step you make three times before executing the move and don’t do multiple tasks and try to think two moves ahead. Finish one thing at a time and confirm you got it right, then proceed to the next step. “Its best to do it once right; than to do it 3 times the wrong way.” Its very simple to putting together a jigsaw puzzle and these mini builds have techniques that will vary with every part you use, but I really did not have too much problem with fitting everything together, I just like to take my time and do it right.
The Build Begins
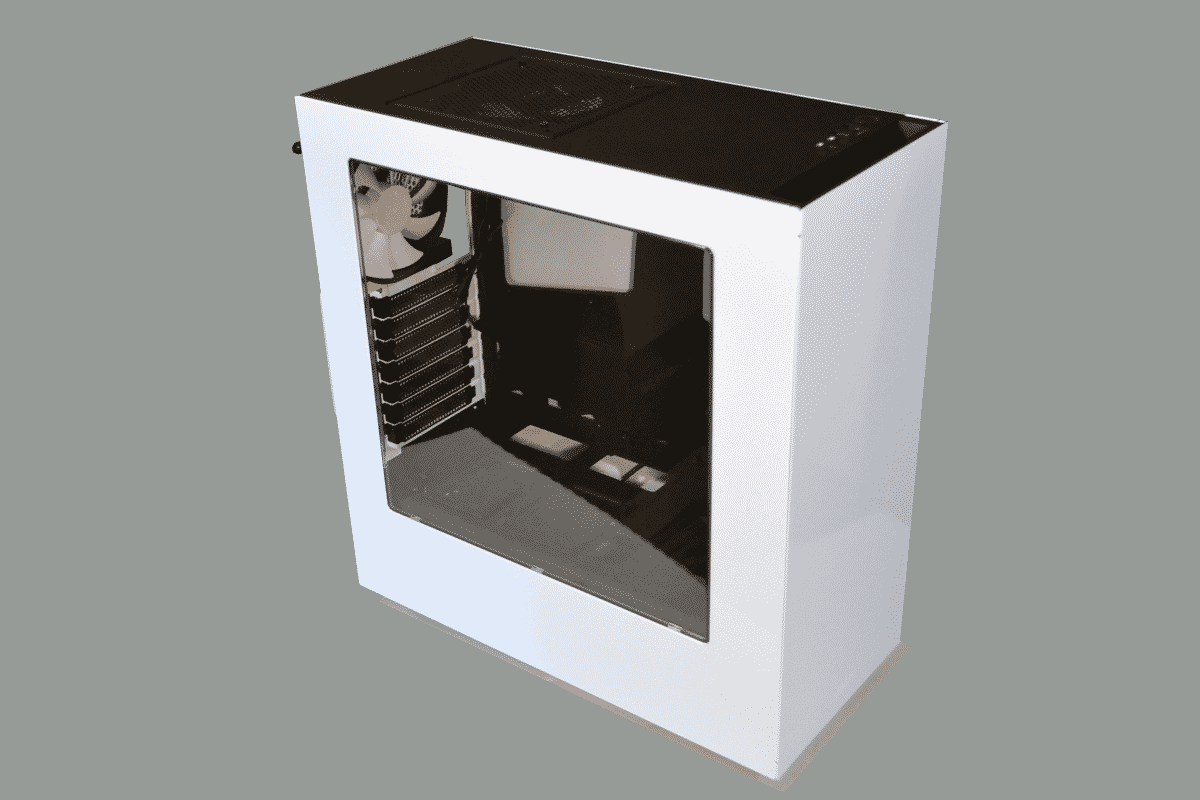
First thing I did was take off the front face cover that has the control wires and lay it aside then I separated the drive bay and the top structural rods all in one step. The secret is the four drive bay screws on the bottom of the case. Once those back screws are removed then start to remove the flat-top screws at the top ends of the struts. It should all come off easy and in one piece. (Use a small shot glass to hold your screw while you work. This will help you find all the screws you need when you are placing the structure back together on final assembly.

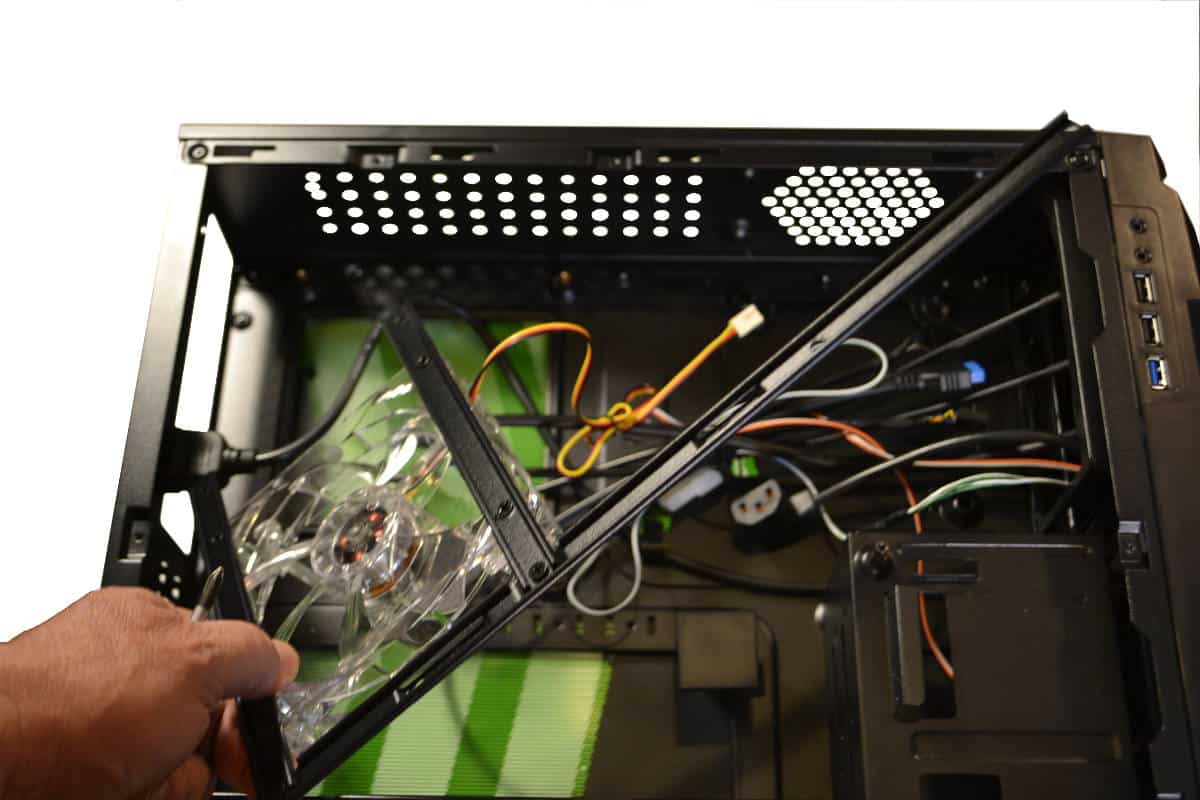
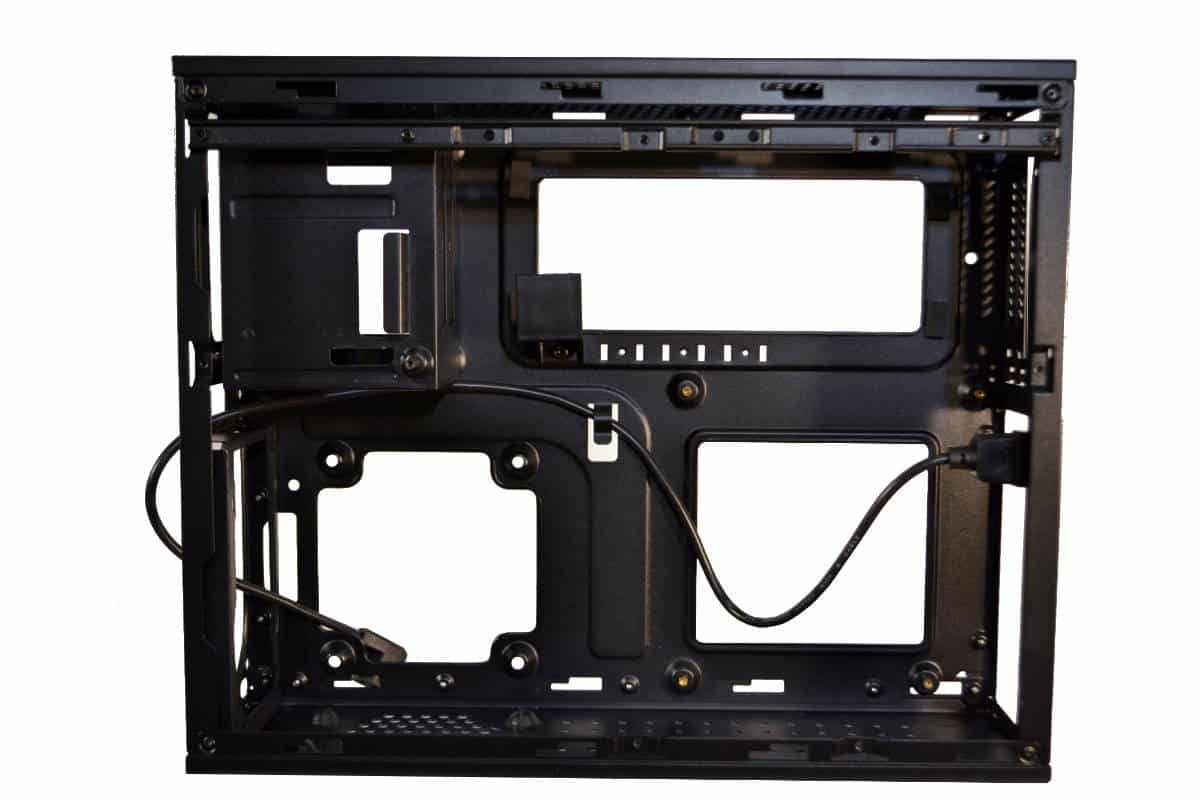
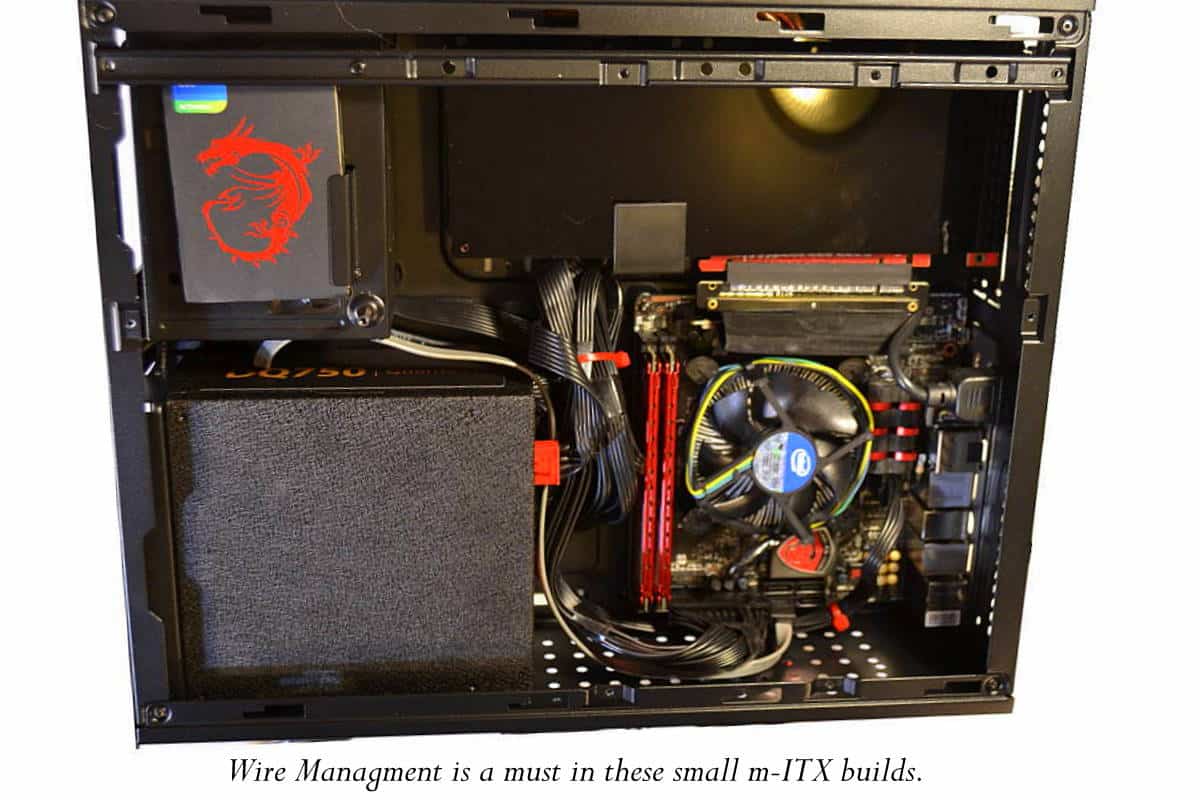
When you finish you should have a clean area That is like the picture below.
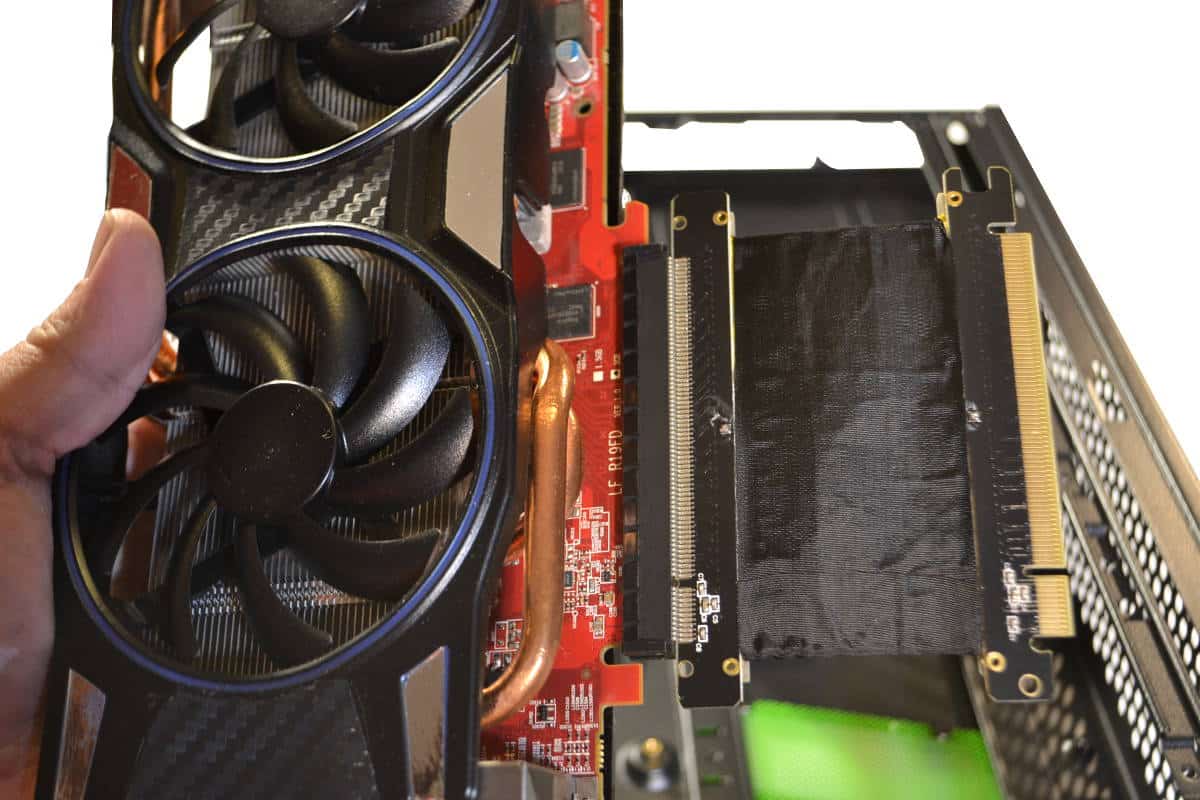
I installed the graphics card first. Since the structure rods were out of the way then it was super easy to mount the PCIe extension and (DO NOT) forget to put the power wire extension on the card first so you only have to mount this part one time. As you can see the writer did not do this and I want you to learn from my mistake.
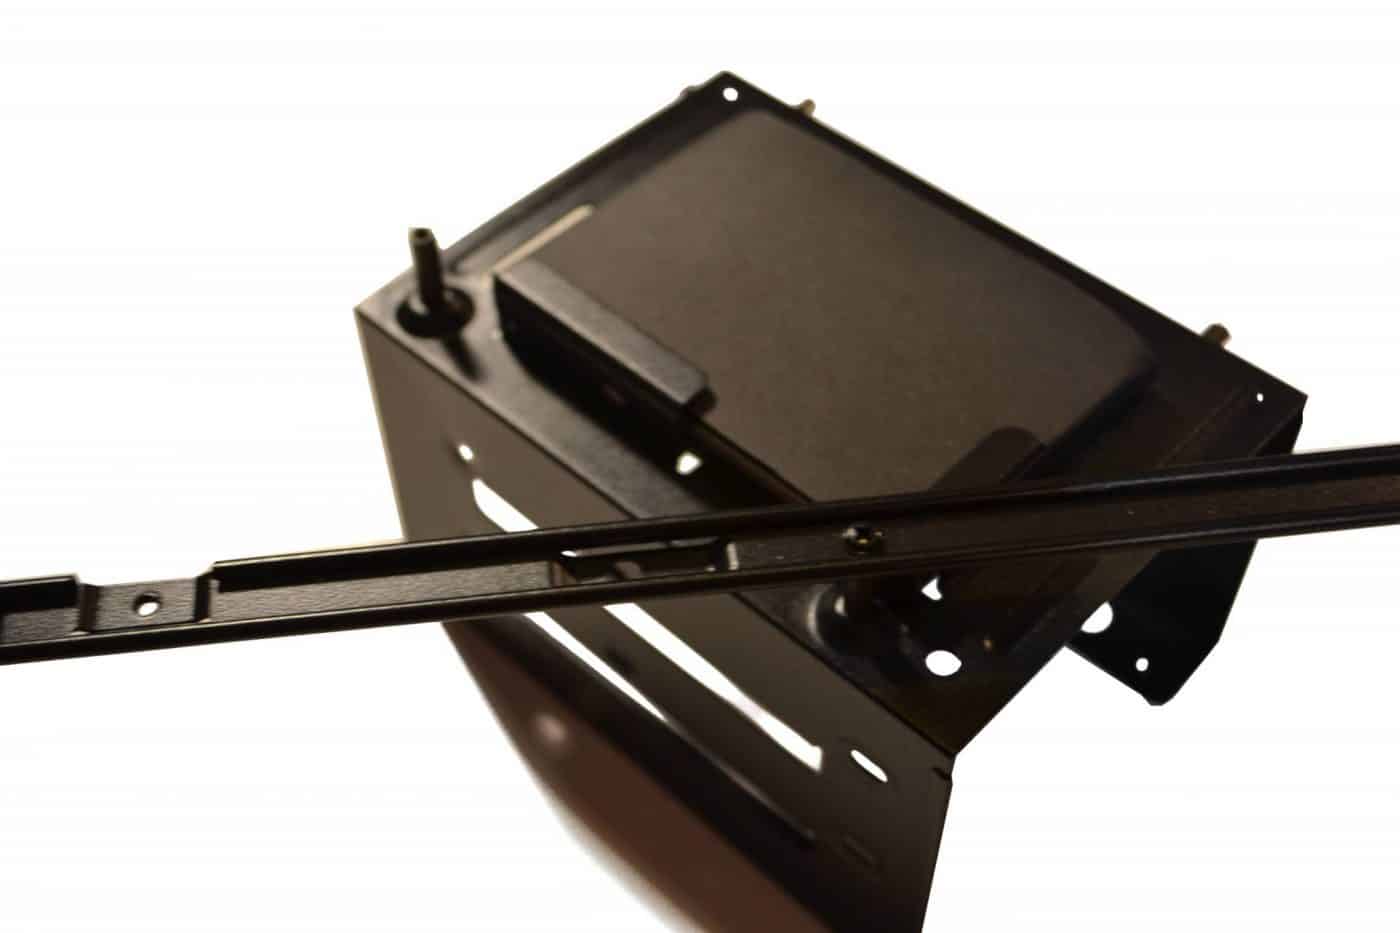
I then worked on my drive bay. As the drive bay was out of the way it was easy to mount my mechanical data drive and my SSD. This is going to require the builder to have some creative thought processing ability. Think about how your drives plug in and try to use the 90 degree sata plugs here the drives you plan to use will take up lots of space and that bend in the sata cable will help them to fit in nicely.
You have 2 drive bays down low, then some air gapping for cooling and then on top you have the options of doing like I did and just add the SSD on the top or you can add the DVD drive with the mini sata to sata adapter. Make sure you plug in any adapters into the unit immediately after you secure the device so you don’t miss anything at the end when you are making all your wire connections.
I mounted the power supply into the front of the case skeleton next. the front of the main power plug can be tough so make sure you can plug in the AZZA Z power extension cable in the front of the unit. The power supply goes in like any other with the customary four screws to the bare front of the case. Then secure the power adapter cable into the power supply.
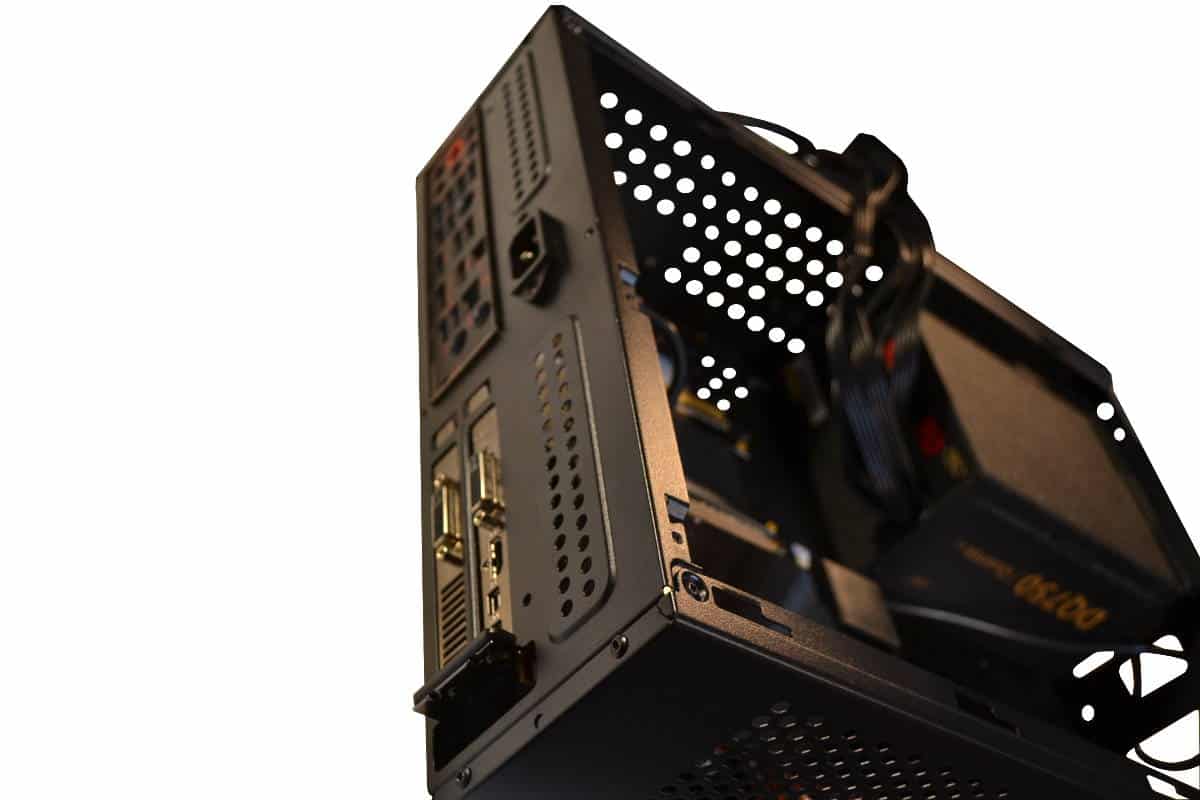
Once you have your power supply mounted and the wire extension plugged in the front then this is a great time to add your motherboard back plate to the case back. This can be a forgotten step so get it right the first time and do it now while the time is right.

When wires start to accumulate it is best to start taking care of them as soon as possible. Route under or through or unite them with others even find creative ways to hide them by finding access points that you will find as you’re working. Small wires generally go low, big wires stay on top. Since there are no windows in the unit its easy to use black electrical tape for cheap wire tie solution. Its easy; just cut some three inch strips and wrap your cables with the strips in the way that you want to route and bend the wire into position and distance your tape every 3 inch in distance. You will not be able to complete the wire management until the end but its best to have your plan laid out by this time and to take care of the big wires first to get them ready to be out of the way of that top fan that is on the structure.

The AZZA-Z case power wire extension is really tricky to route and I found that the best way to keep it away from your motherboard is the route the cord under the PCIe extension and the black plastic card holder. If the builder routes the cable under this PCIe extension you will be ready to manage it before the motherboard is installed.
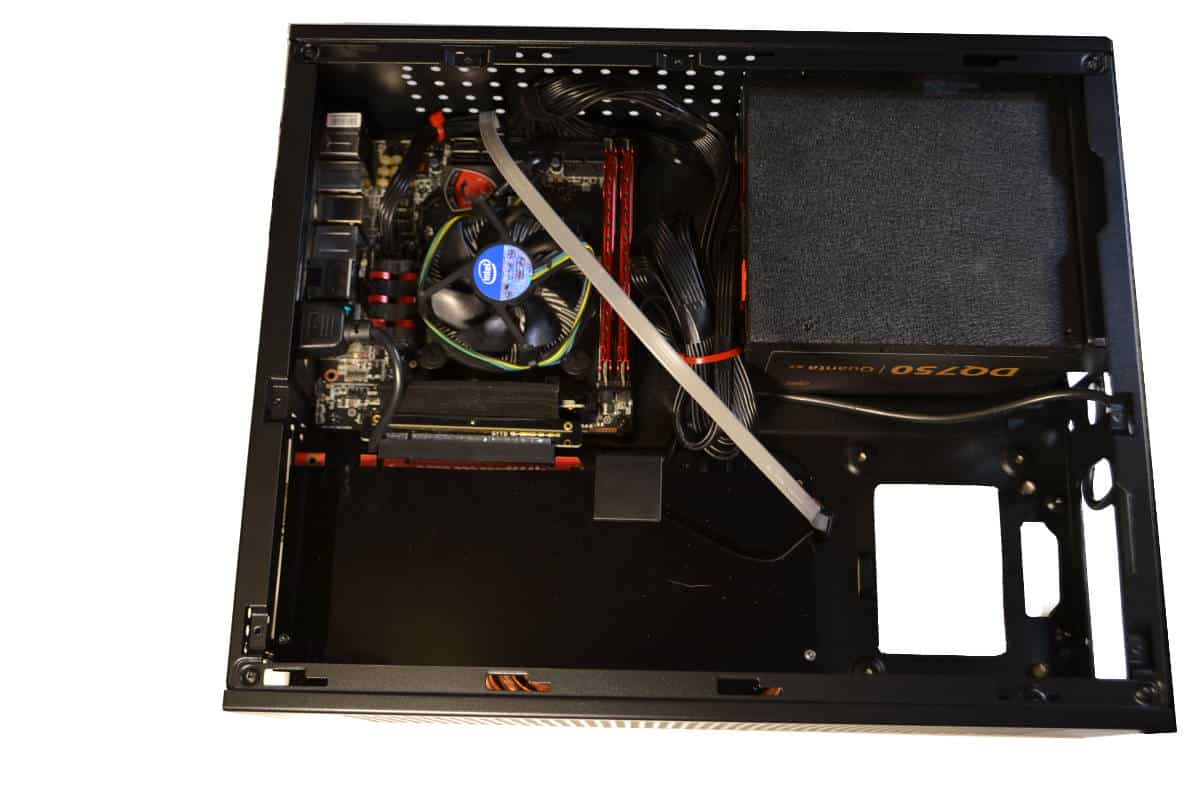
Now time to mount the Motherboard. Make sure to install your CPU processor in the board and mount your air cooling solution at this time. I usually wait for the memory install after the board gets mounted because of control wires and fan connections can be harsh if the memory sticks are in place. I used the simple OEM cooler that Intel gives with the 4770S processor since I won’t be overclocking. The Intel factor cooler is just fine for the AZZA Z case and the supplemental 120 clear strut fan.
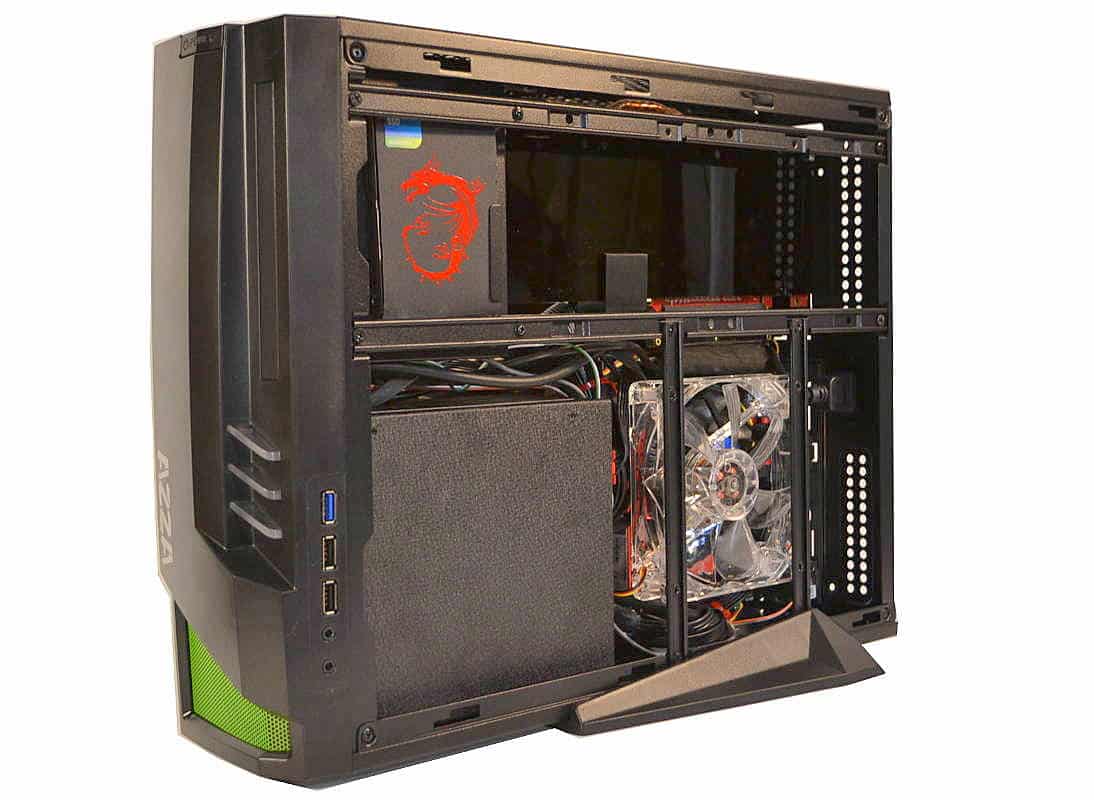
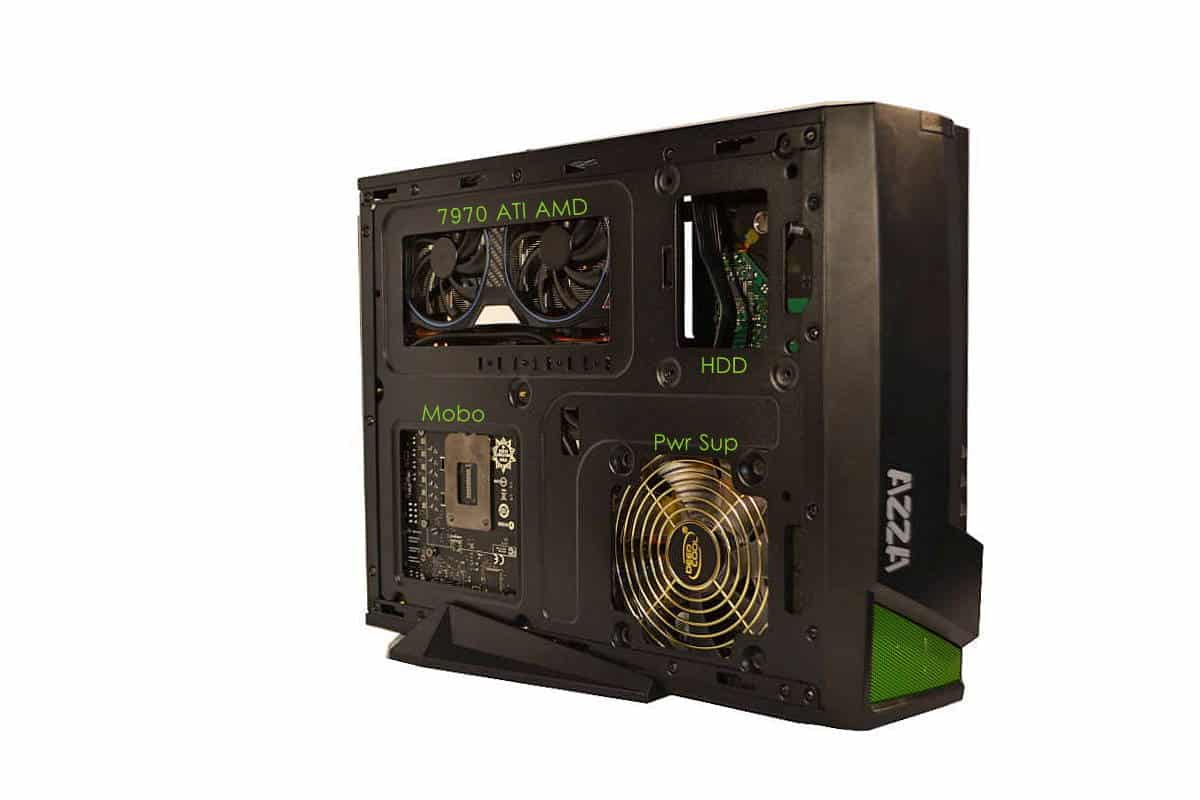
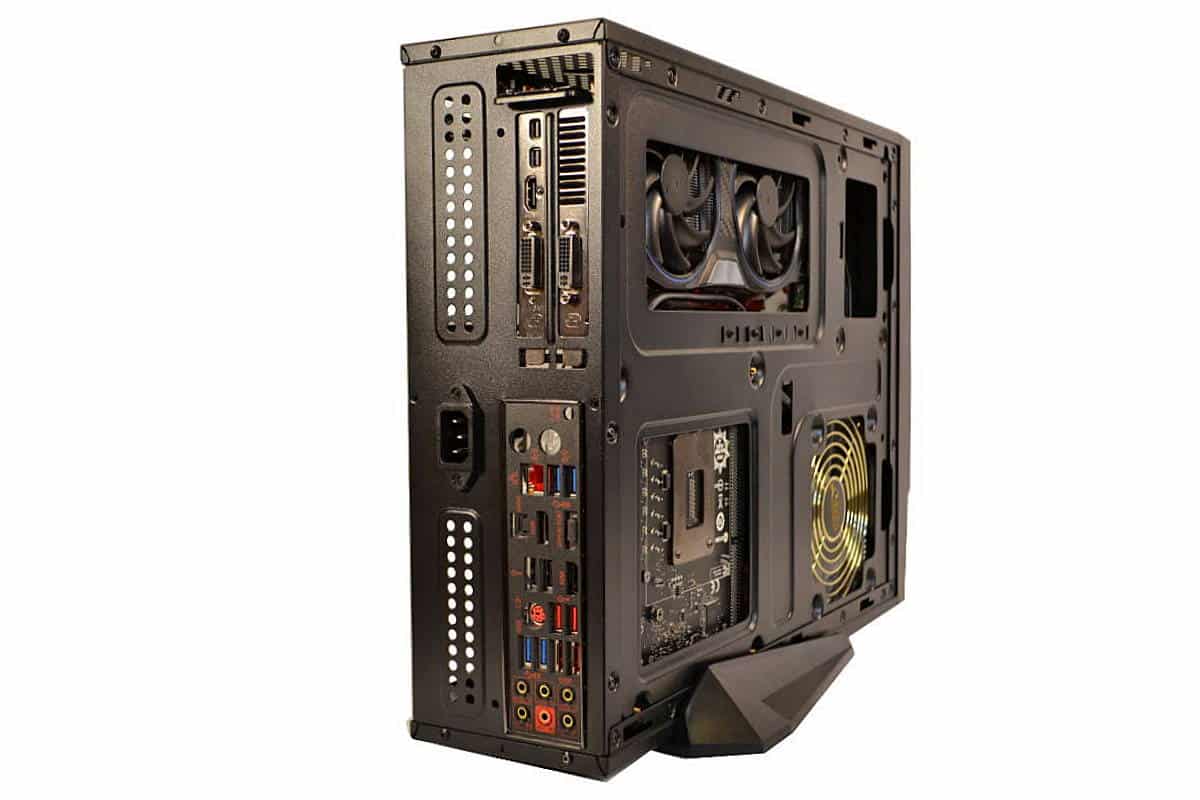
Here is a few shots of the build after completion. This was a tough build and like I said before if you are not good with your hands or this is your first case build then get someone to help that has some knowledge of computer building and wire management or you may increase your build time by at least another hour or two.


I actually just moved my pc into this case. The process was pretty much similar to yours. I found that the case was difficult to wire considering how awkward the psu has to sit.