Installation
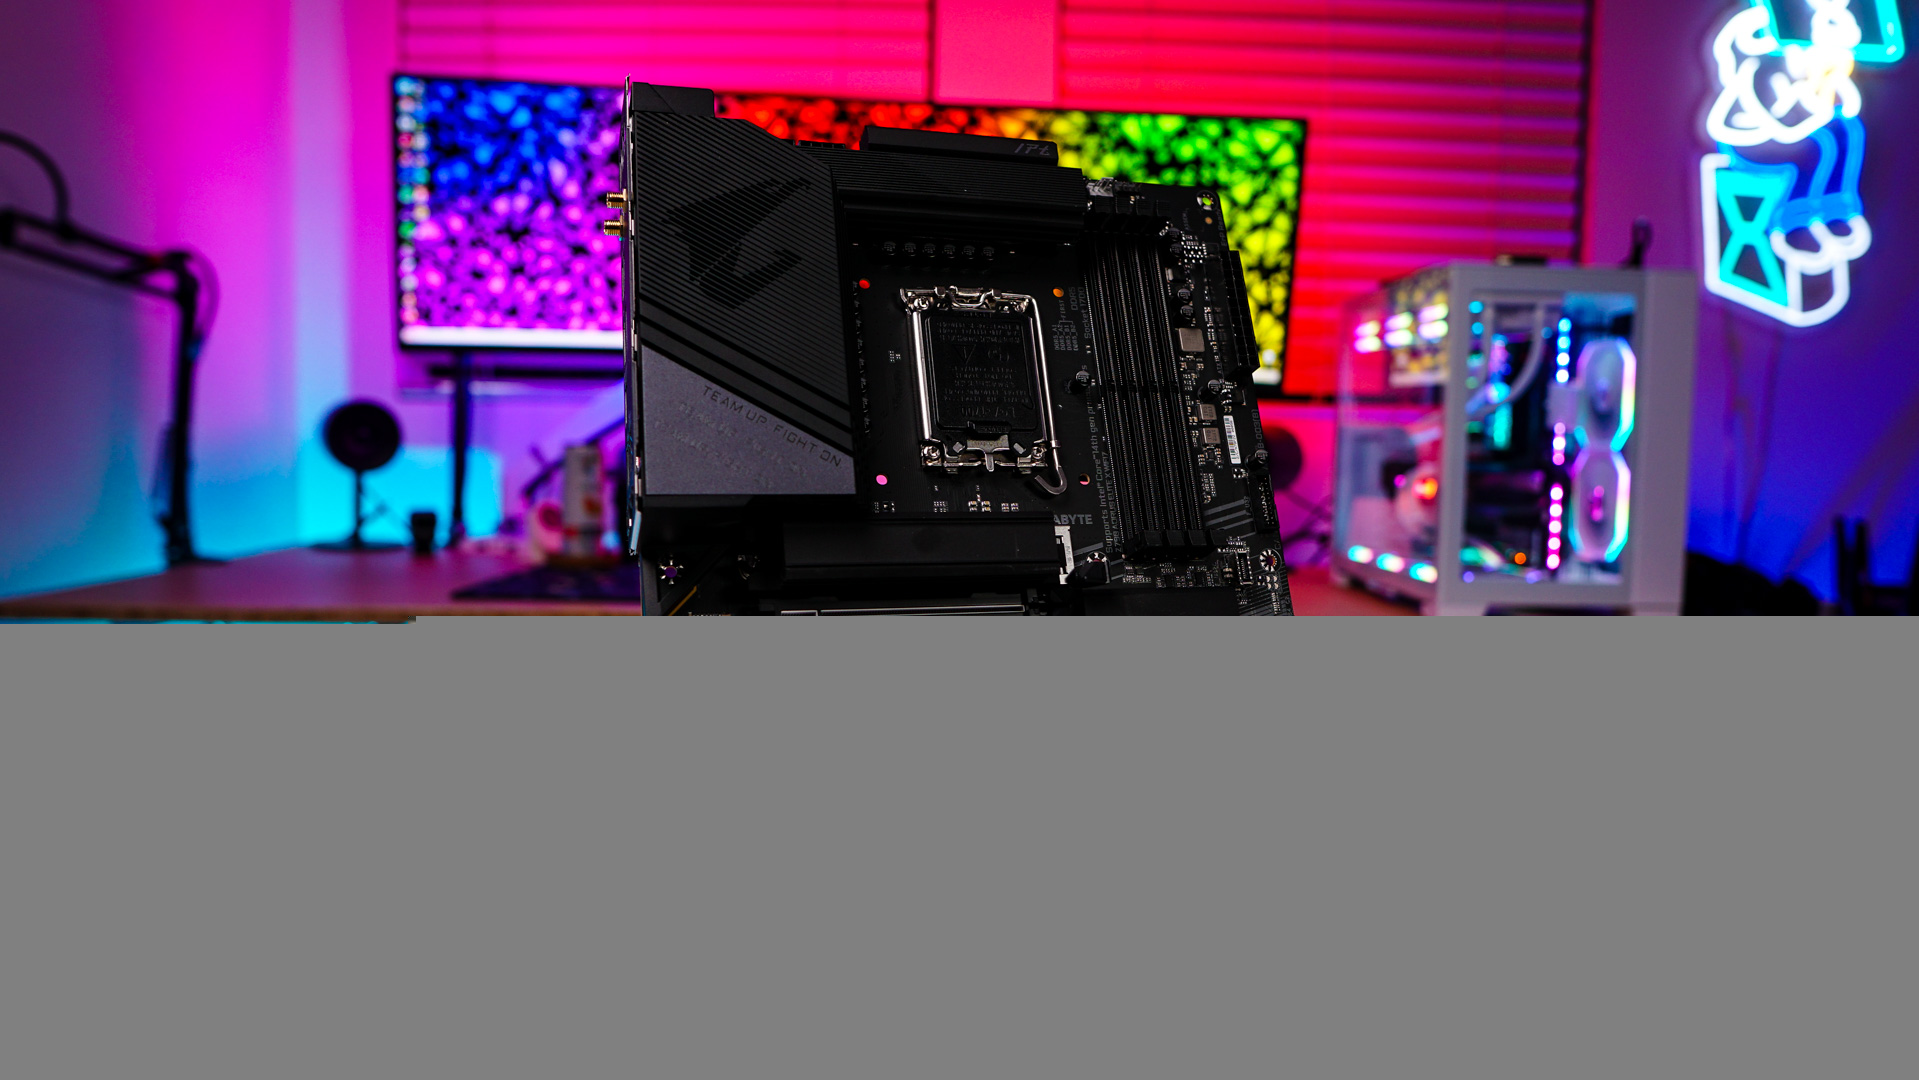
Starting off our installation we’ll be installing our motherboard, which goes in no problem. If you want to you can remove the motherboard tray from the case to do your installation, but it is not necessary.

For storage I’ll be using a 2.5-inch solid state drive so I’ll be installing it on the backside of the motherboard tray. Since those mounts are removable you simply remove the mount, install your hard drive, and then reinstall the mount.


When it comes to installing your power supply you’ll want to remove the power supply bracket from the back of the case and install it on your power supply. Then go ahead and slide your power supply in from the back of the case. Using the thumbscrews on the power supply bracket go ahead and secure your power supply.


The last thing we need to install is our graphics card. We have a pretty small graphics card, but even if you have the largest graphics card out there it is going to fit in this case. be quiet! also includes a graphics card support bracket, that also helps you hide your power cables.


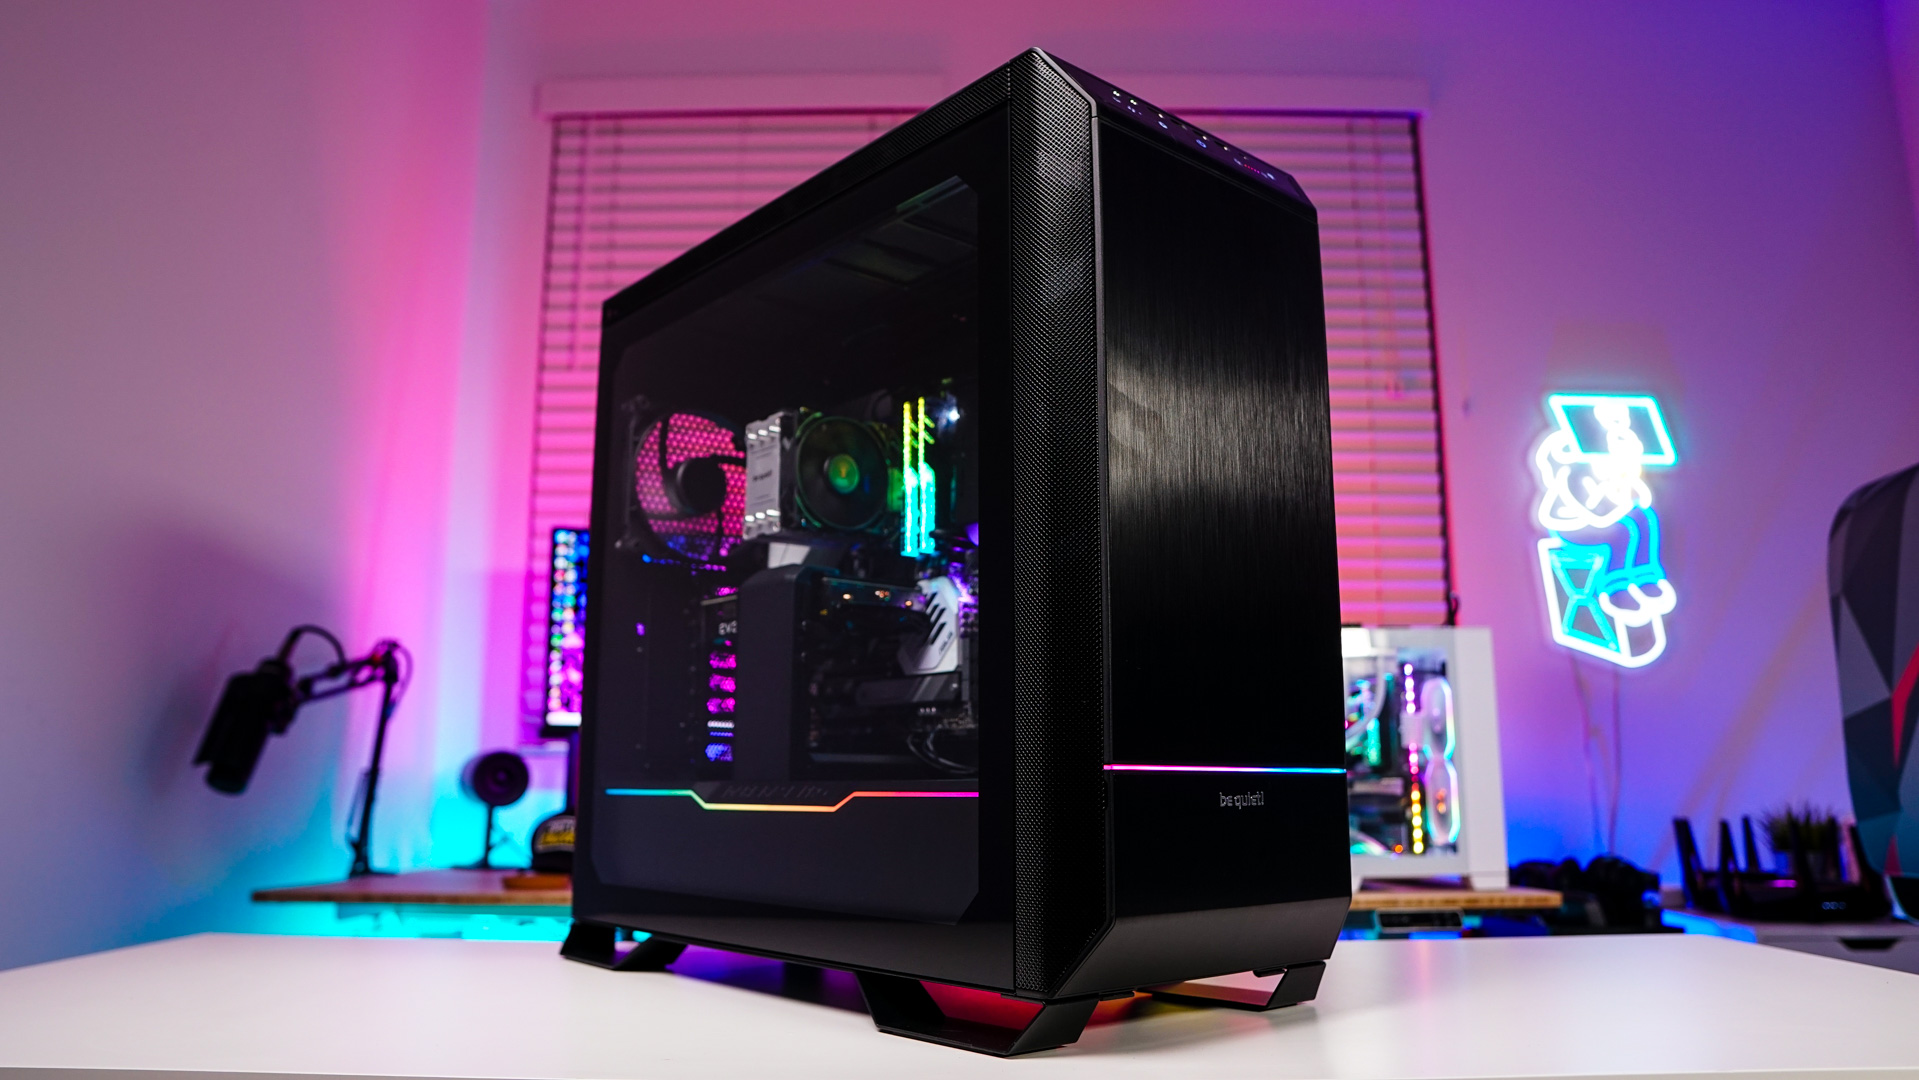
With all of our hardware installed it is time to wire everything up. All of the cable routing channels on the back of the motherboard tray really made organizing things quite easy. On the main side of the case we have an extremely clean build.