Installation
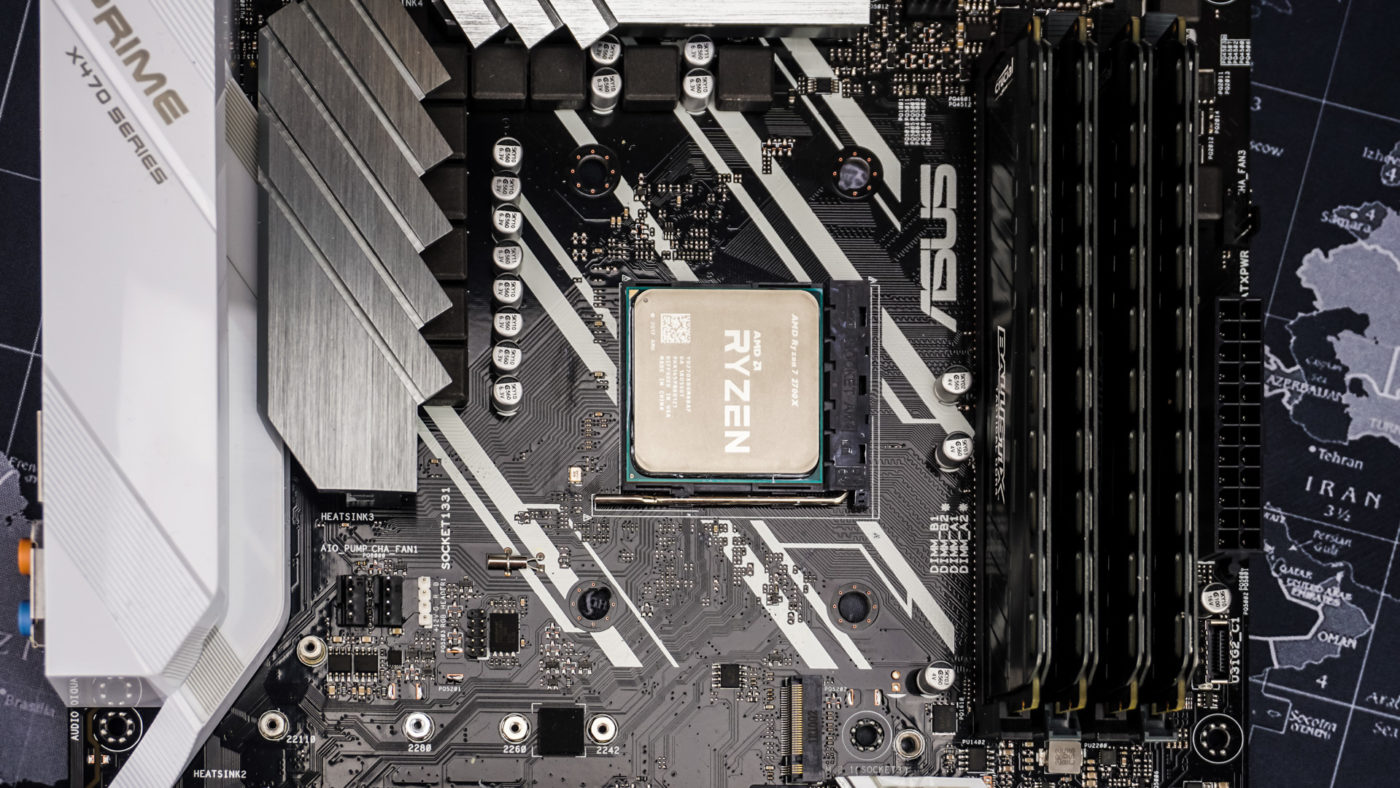
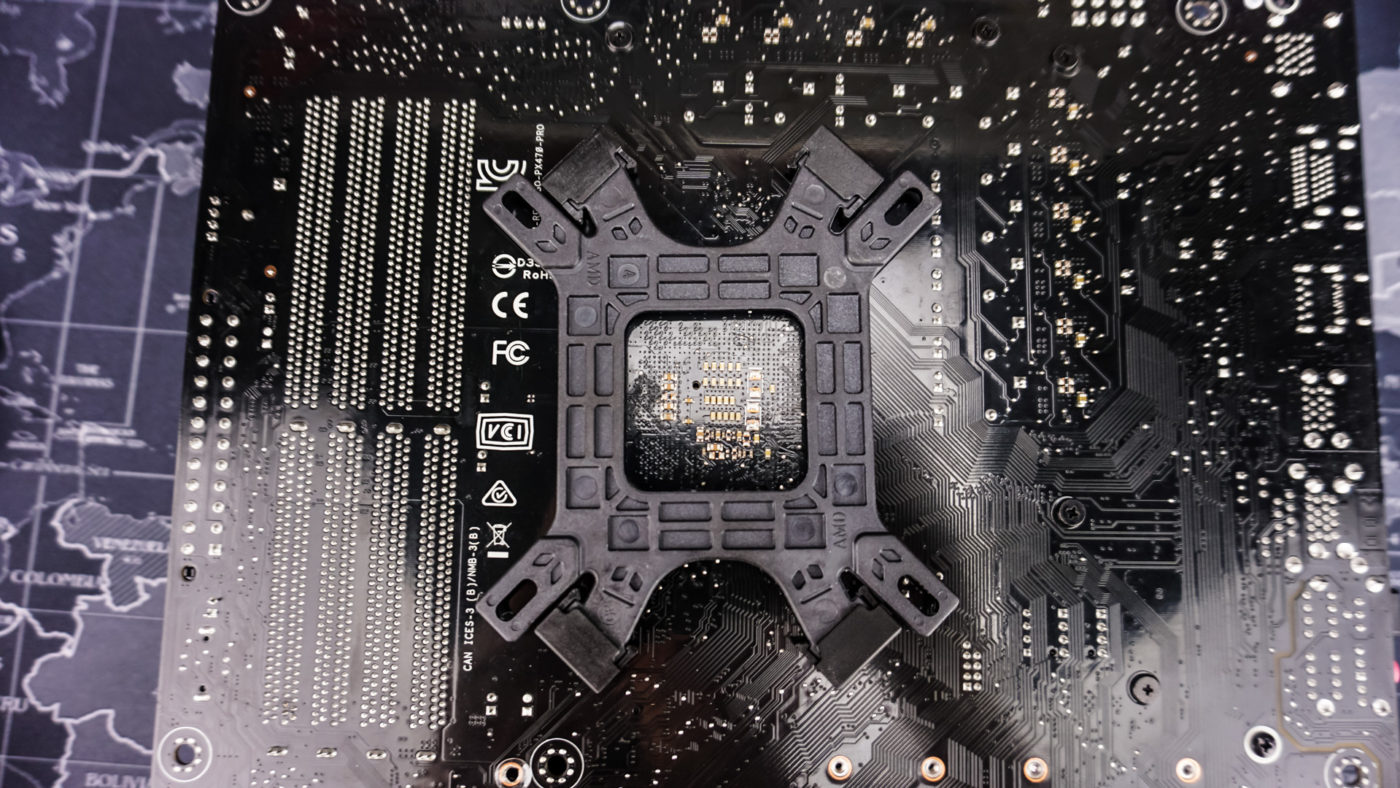
So we’ve gone ahead and changed our test system for air CPU coolers! We are going for a Ryzen build! So installation will be on AM4. To start things off you are going to want to remove the stock AM4 mounting and backplate from your motherboard.
Next you’ll want to take the supplied backplate and install it on the backside of your motherboard. For AM4 installation make sure that you have the “AMD” side facing towards you. Place the pins on each corner, through the holes then cap them with the included covers.
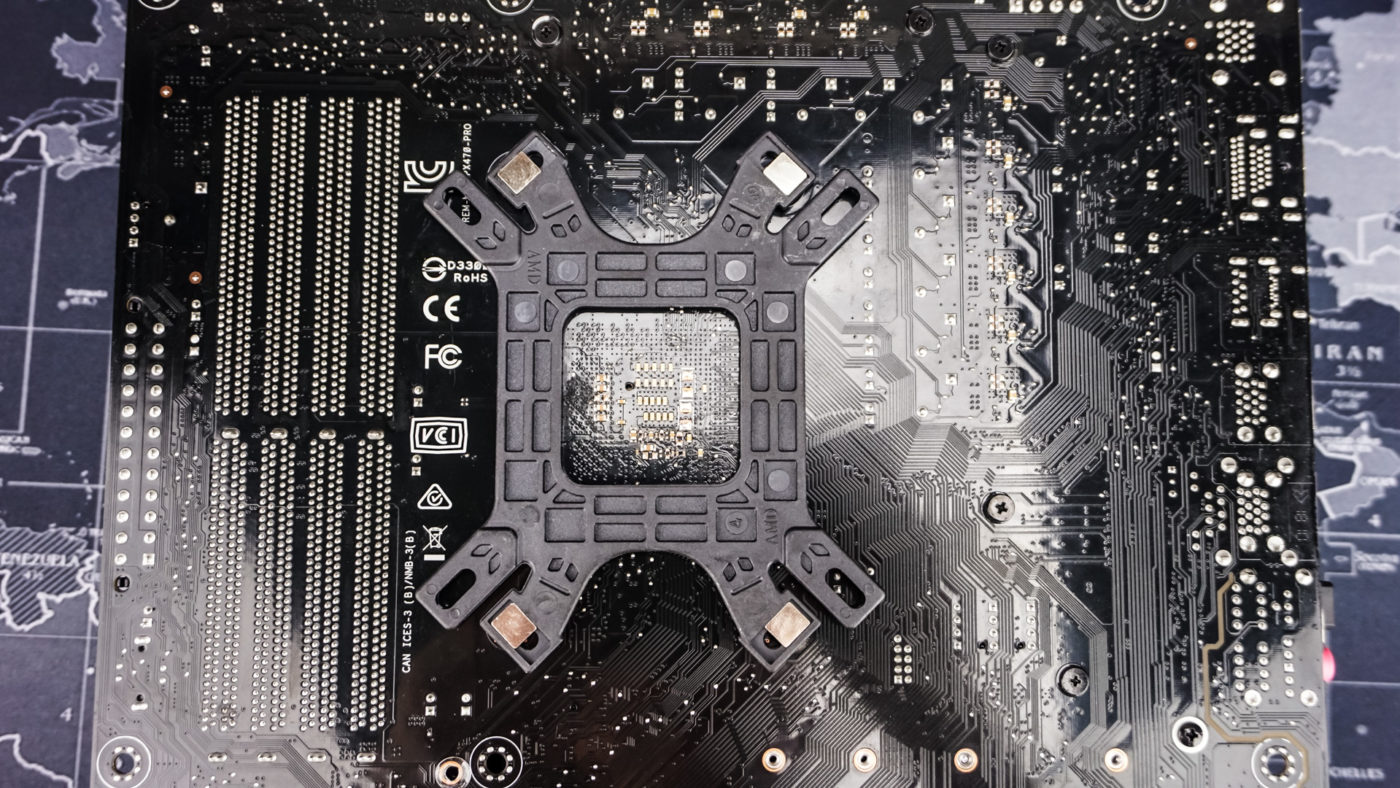
Now flipping the board over install the mounting bolts. Once you’ve done that you are going to want to install the mounting bars on the bottom of the cooler.
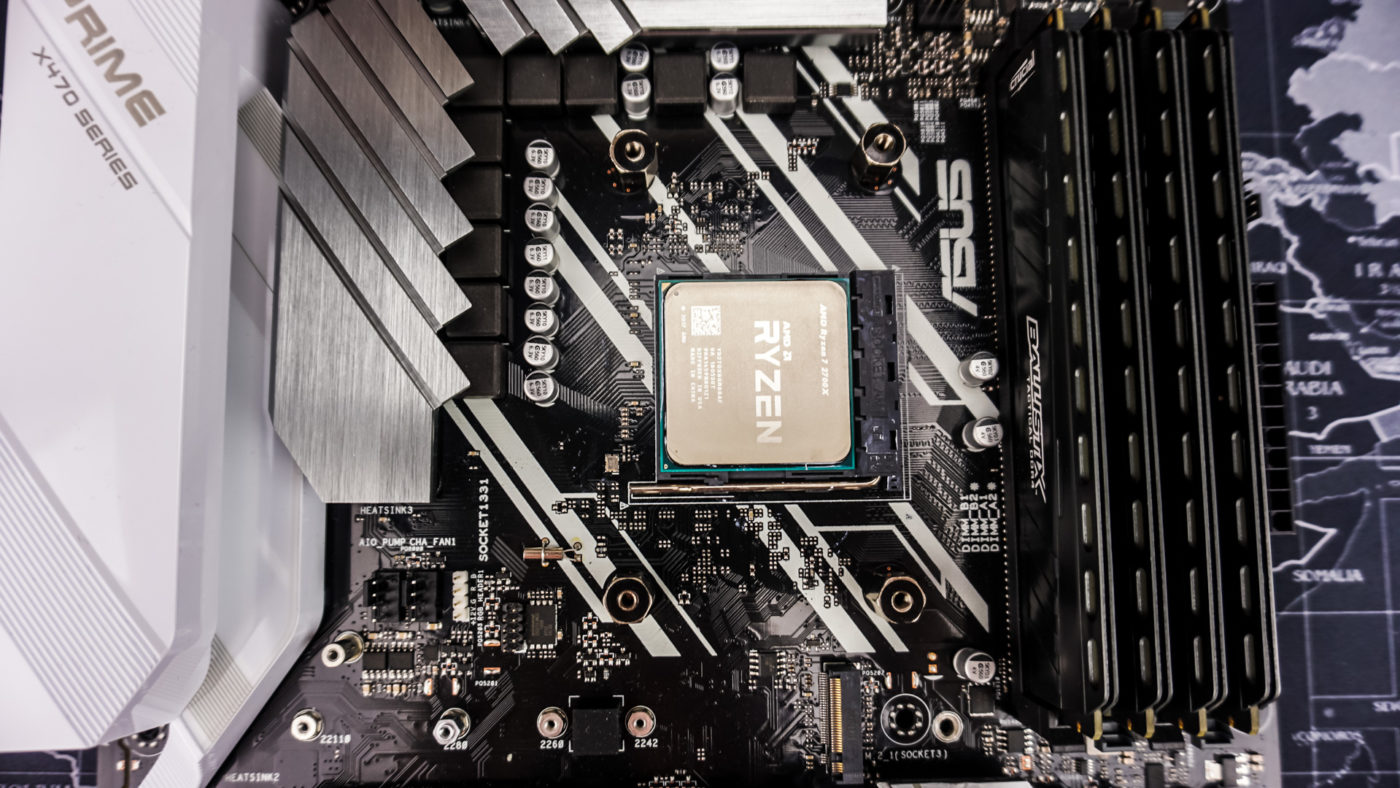
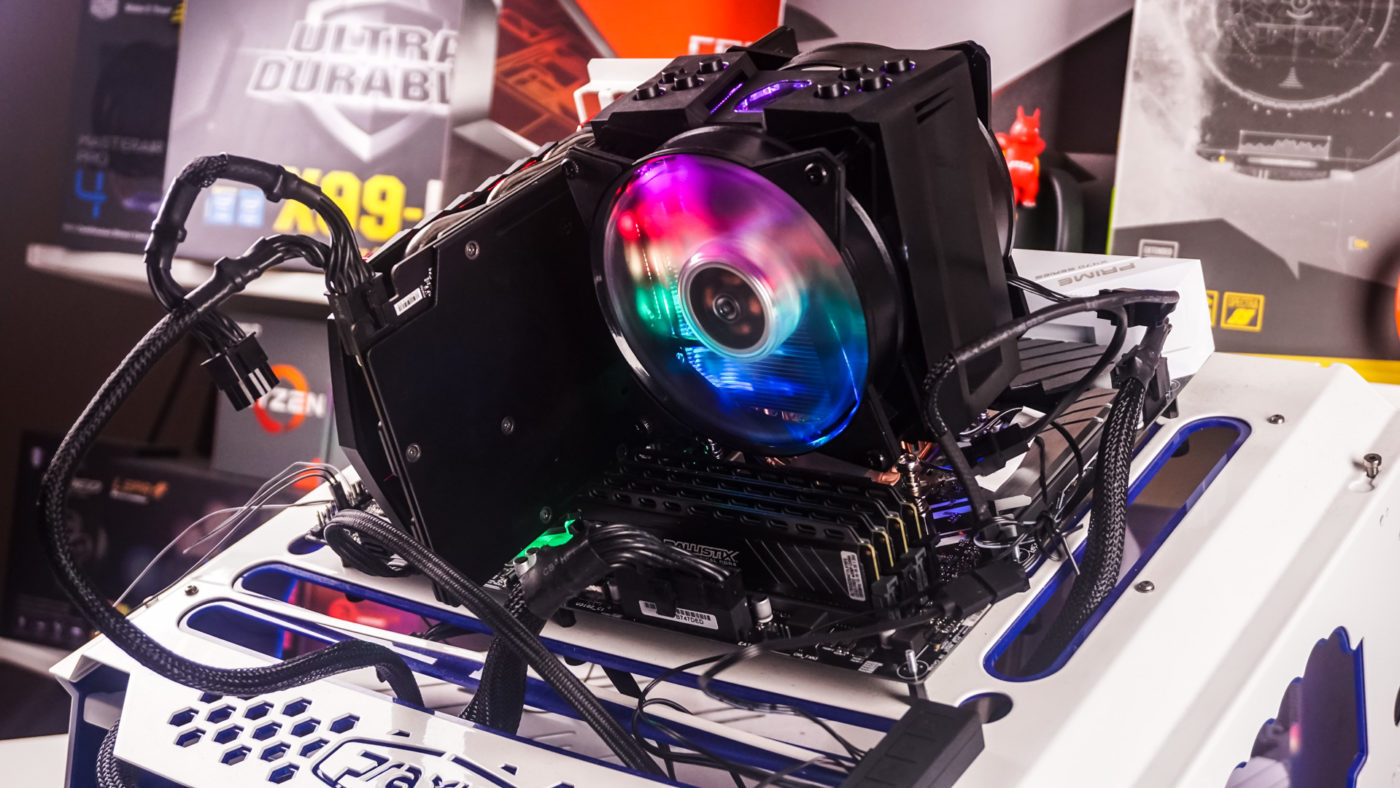
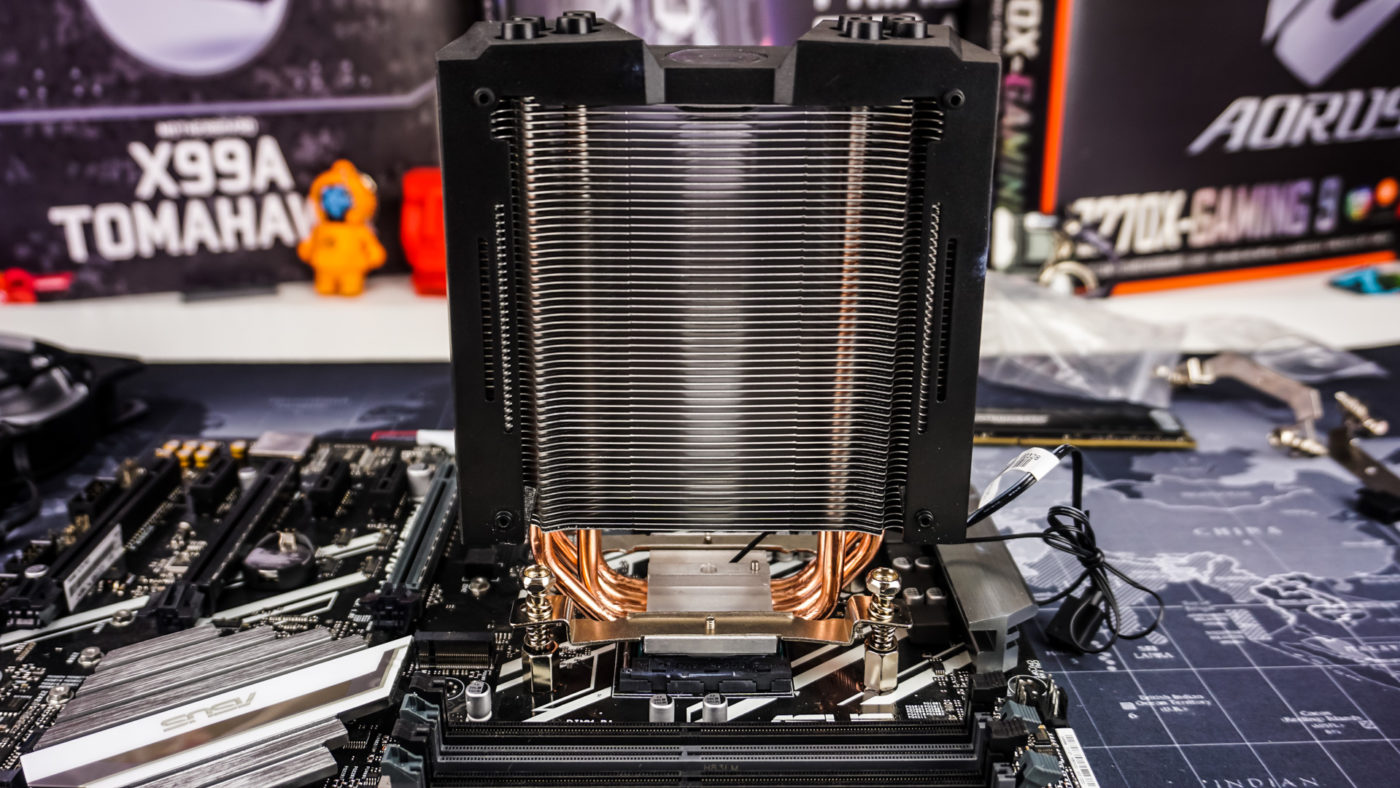
Before you mount the cooler on your CPU be sure to install the included thermal paste. Then carefully place the cooler on top of your CPU, lining up the screws on the mounting bars with the holes in the mounting bolts. Cooler Master includes a wrench to install and tighten the screws, but it is very awkward and hard to get them in the holes that way. I found it was easier to remove the fans than then screw them in by hand, only using the wrench to secure them at the end. We installed this cooler outside of a case and it was a little tedious, so I couldn’t image having to install this cooler in a case. Cooler Master’s mounting system just seems a little over-complicated for what it is.
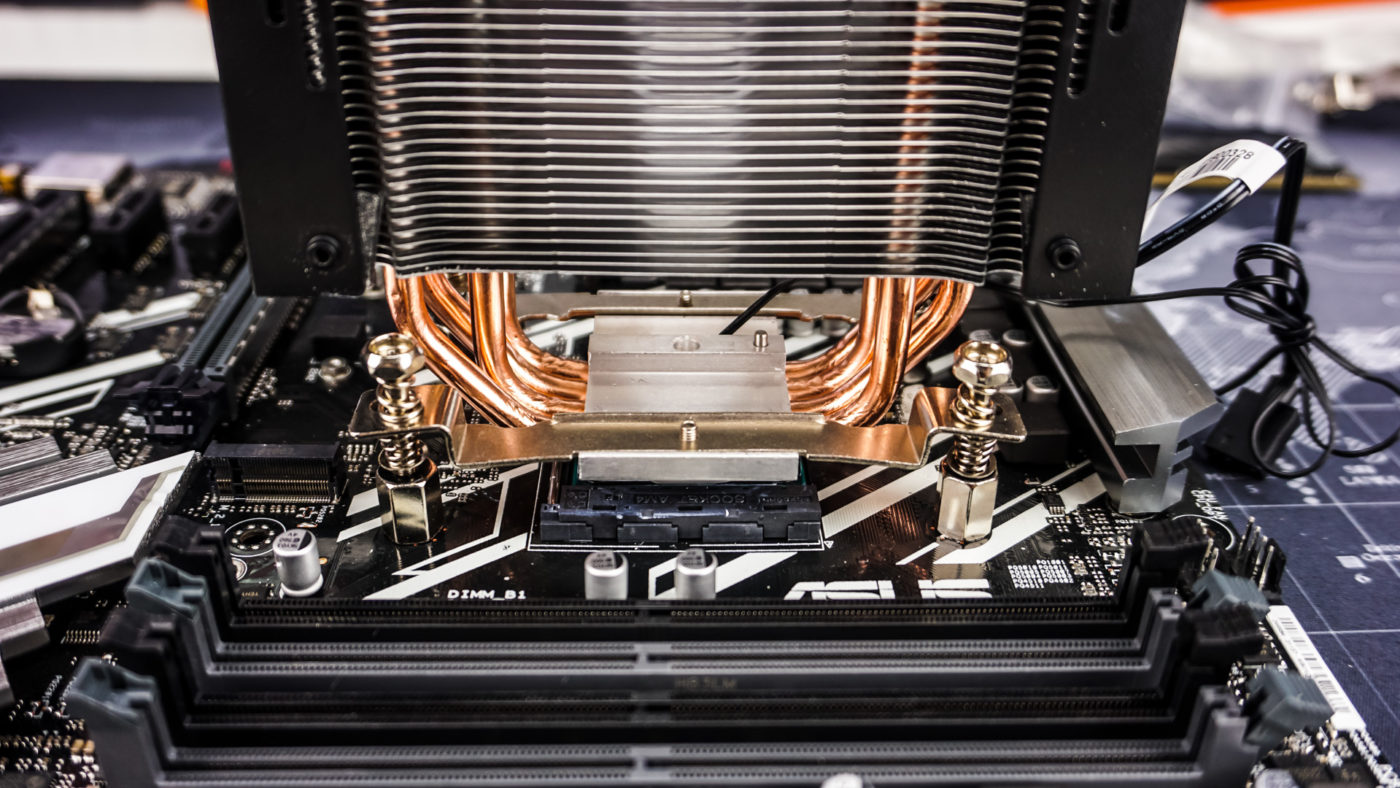
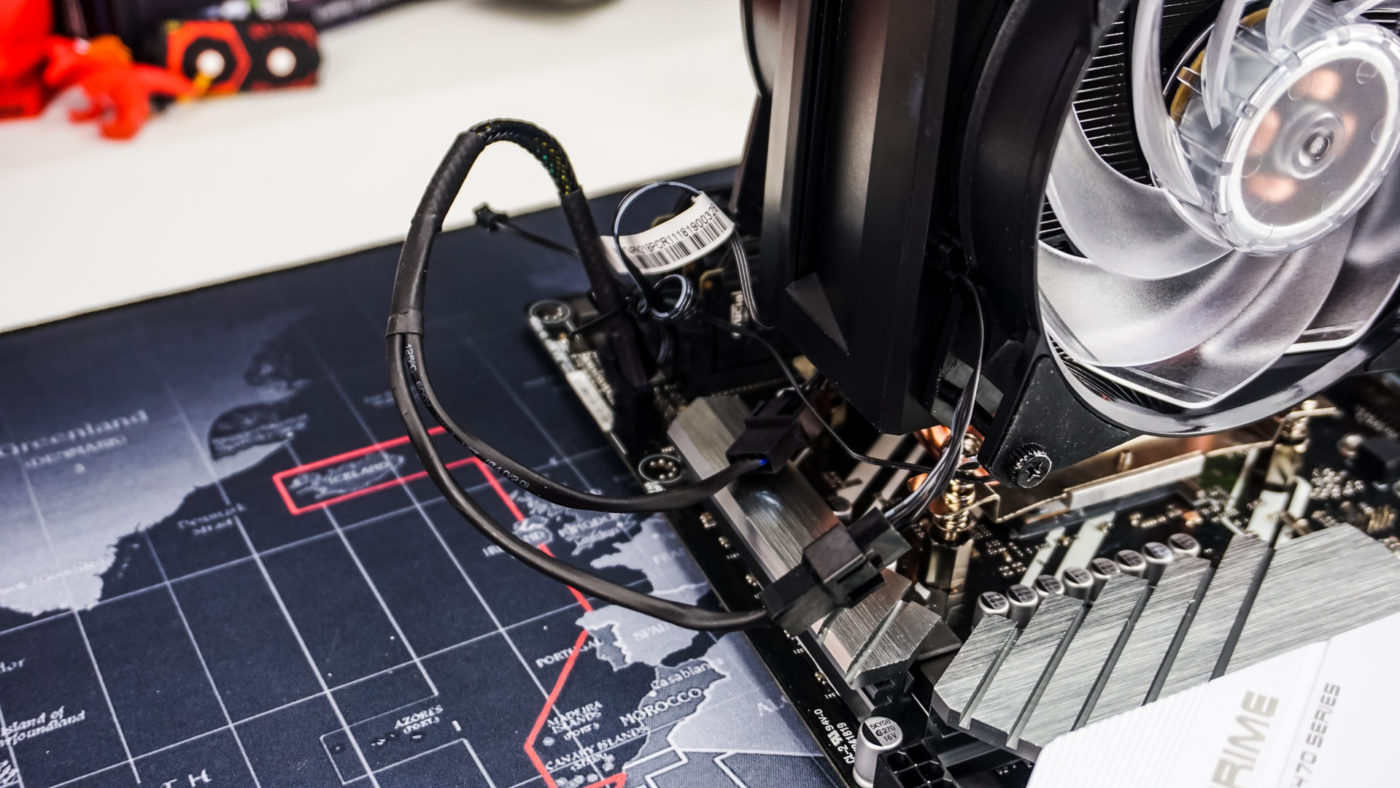
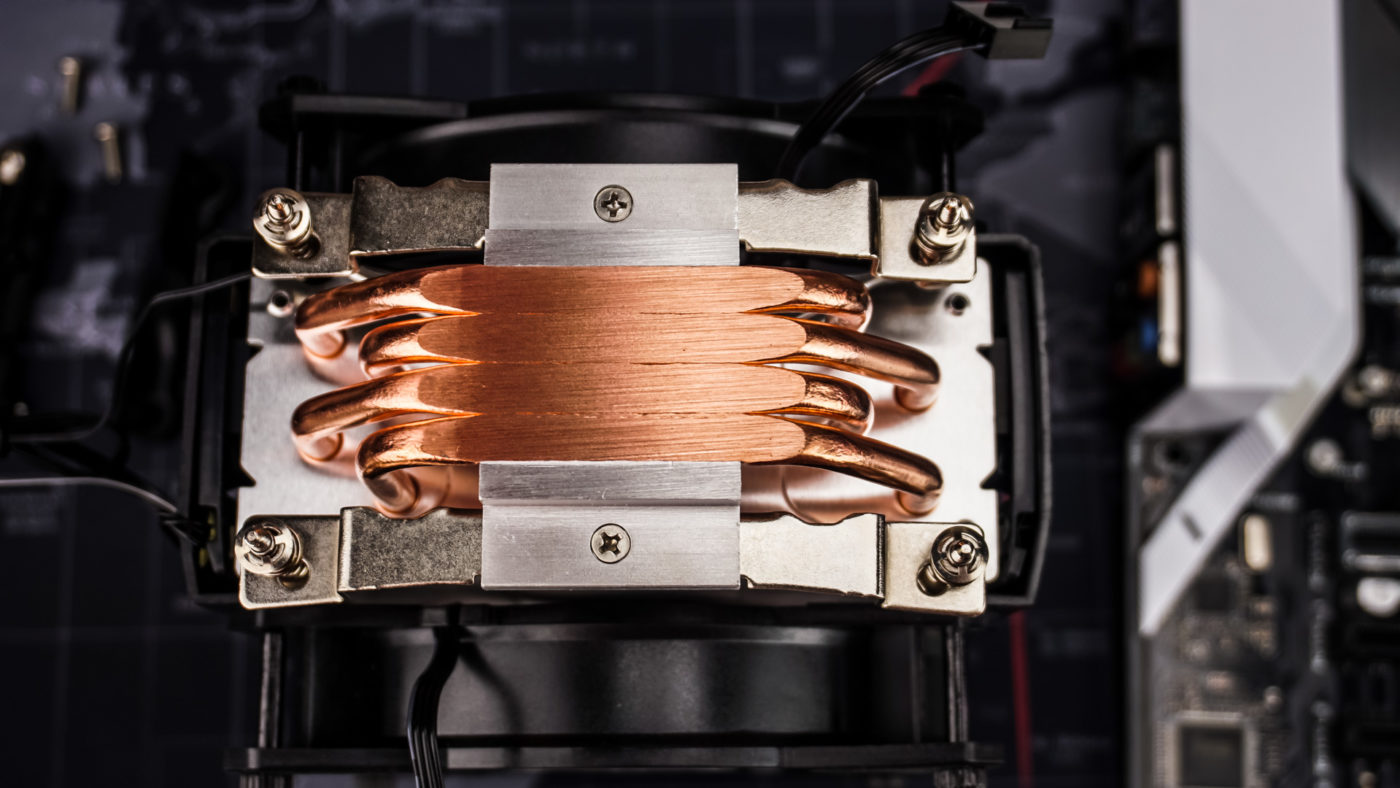
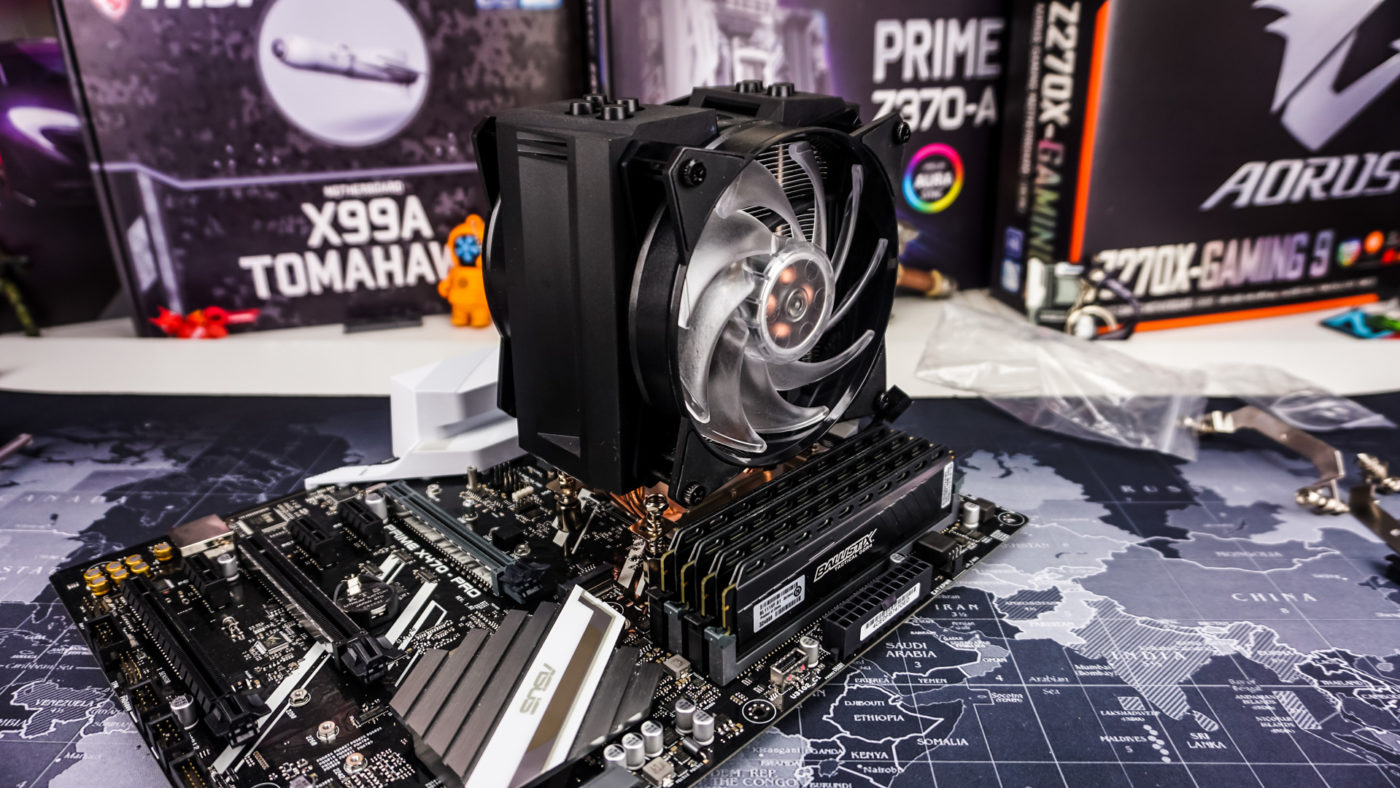
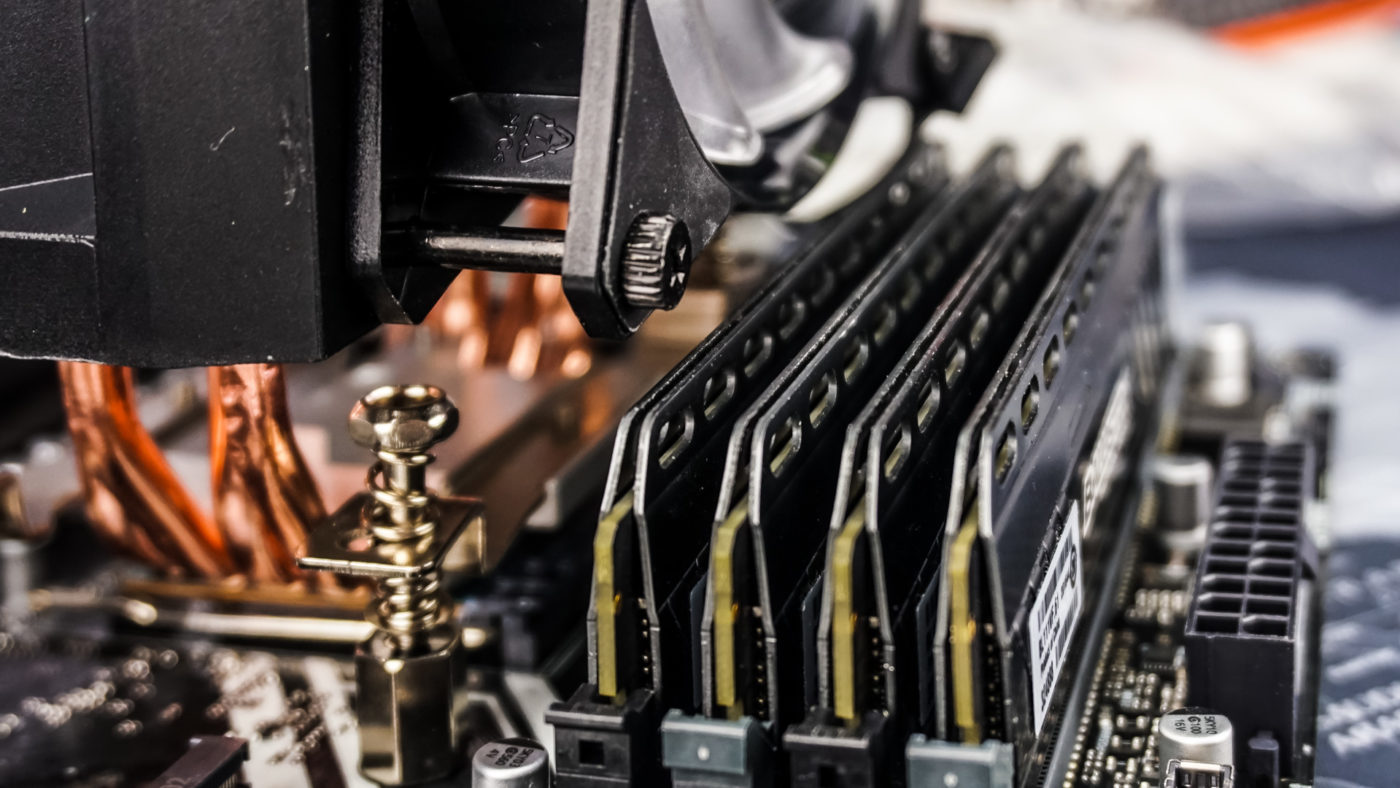
With the fans re-installed you can see we don’t have any clearance issues, but it does appear that if you have larger memory modules the end of the thumbscrews on the front fan could block the first memory slot.
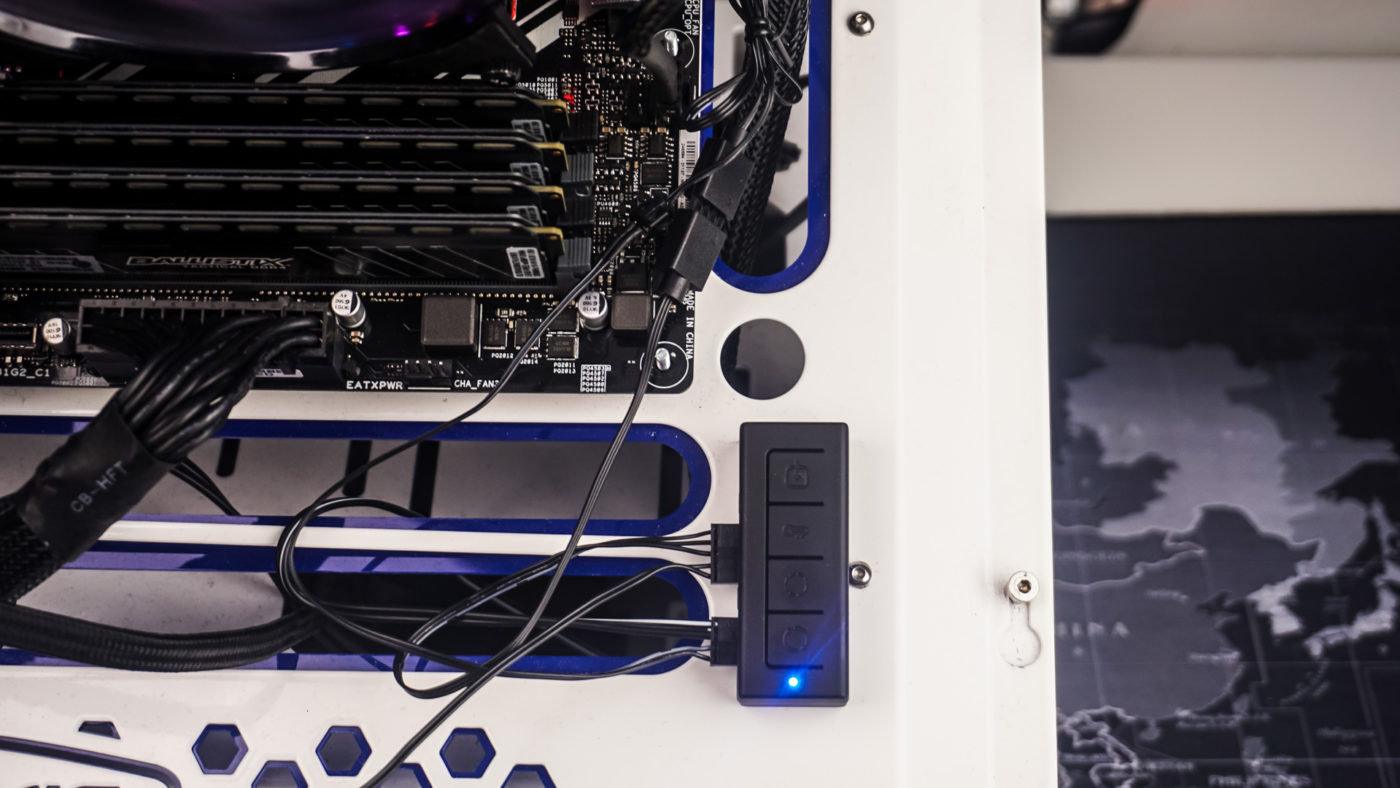
The last thing you are going to want to do is connect the proper cables. First there is a simply Y-connector for the two fans. Then we have the RGB controller. You are first going to want to connect to RGB cable from the cooler to the included RGB cable, which you then connect to the controller itself. You are then going to connect the second cable to the controller, which can be connect to your motherboard, if you motherboard has an addressable RGB header. In our case our motherboard did have a normal 4-pin RGB header, but not an addressable RGB header (3-pin). The RGB controller has a magnet built into it so it should be easy to mount inside or outside of your system.