Installation
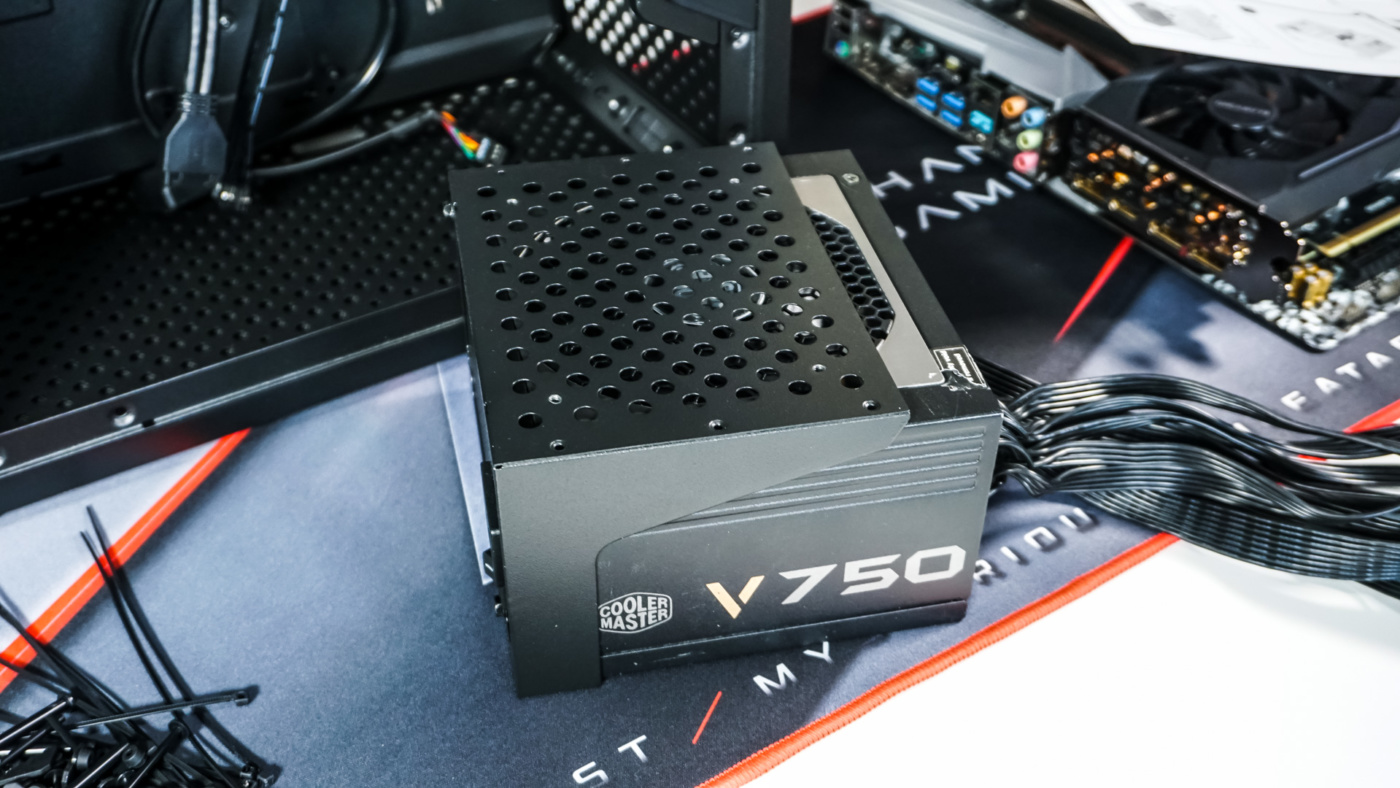
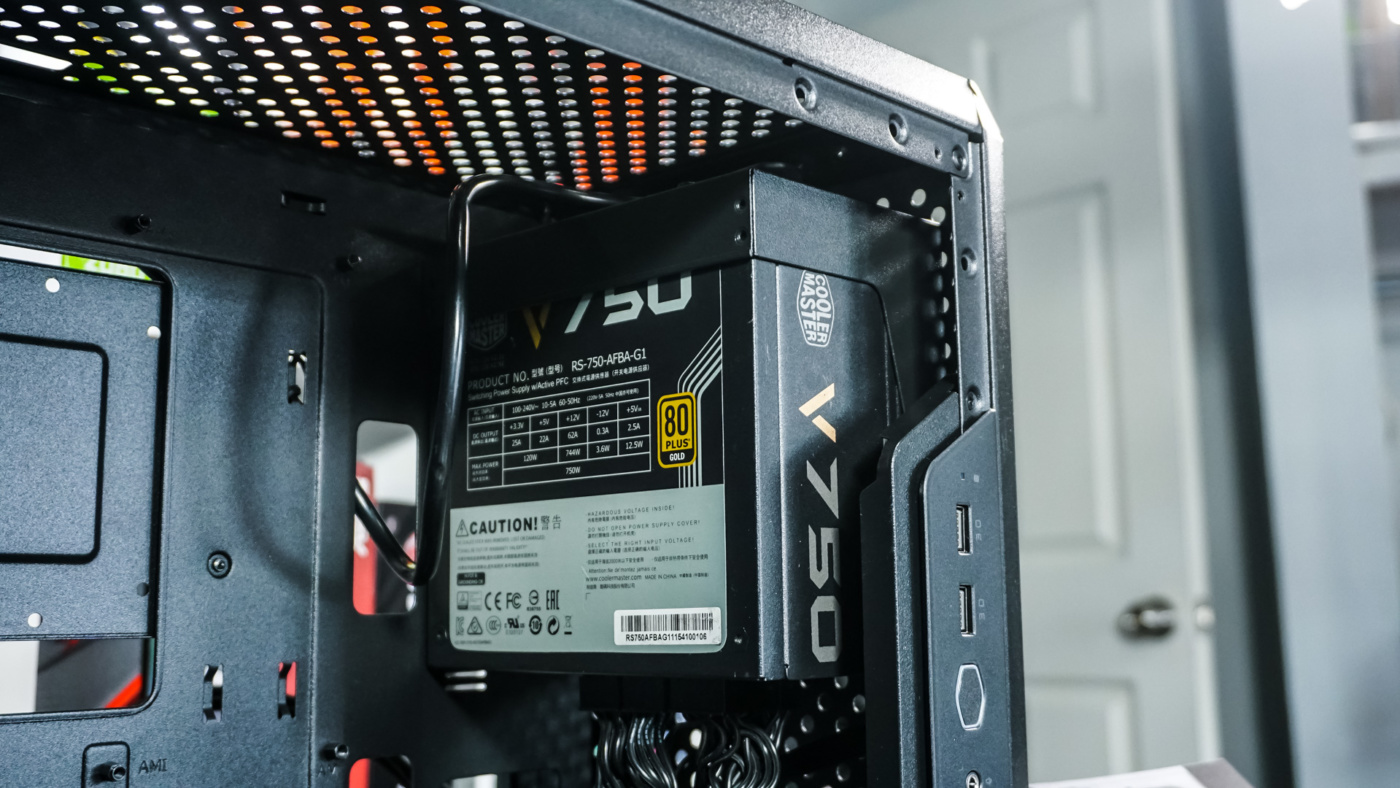
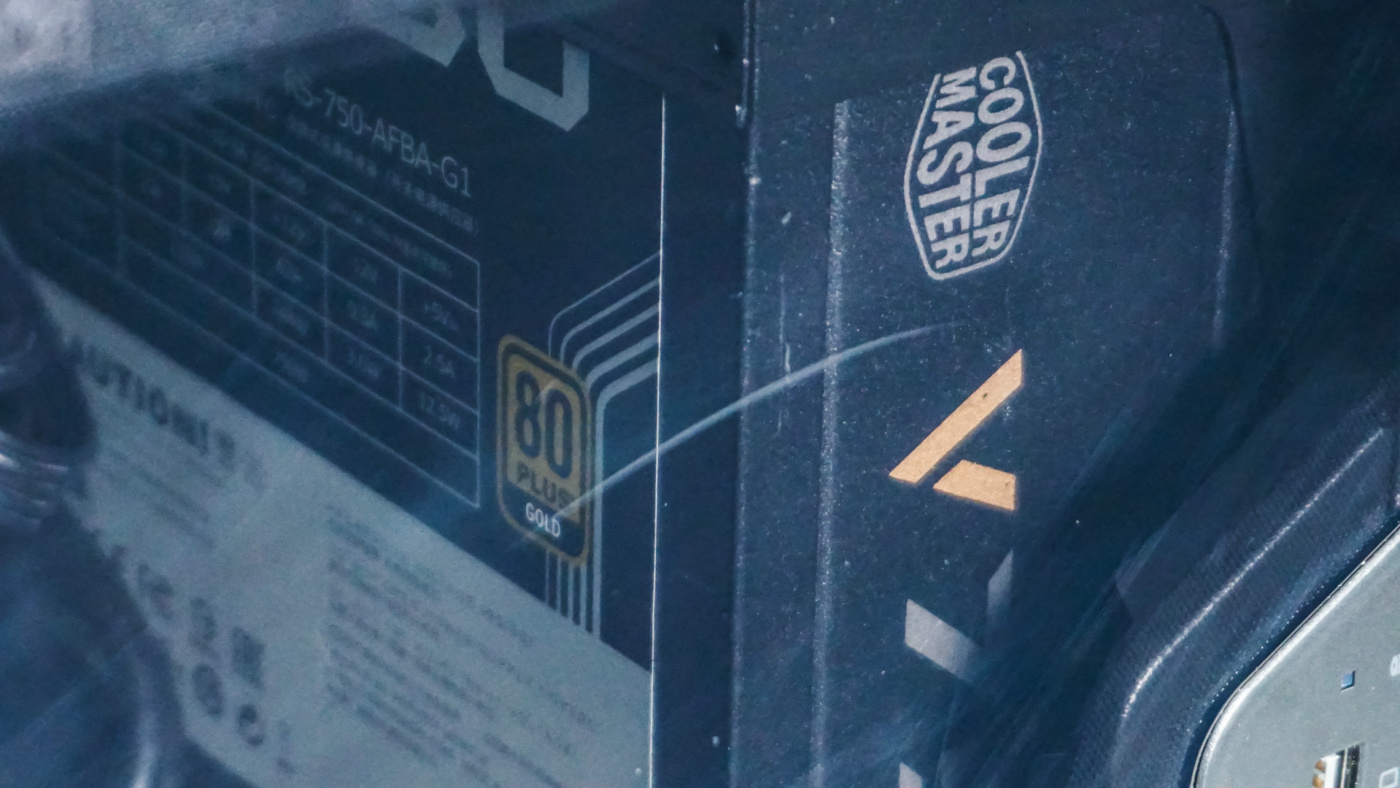
Hardware installation is pretty straight-forward for this case. The first thing you are going to want to do is install the power supply. The mount on the front part of the case is removable by a handful of screws that are revealed under the front filter. With the mount removed you can easily install your power supply and then reinstall the mount. You are going to want to make sure the fan of your power supply is facing the front of the case and be sure to connect the power extension cable from inside of the case.
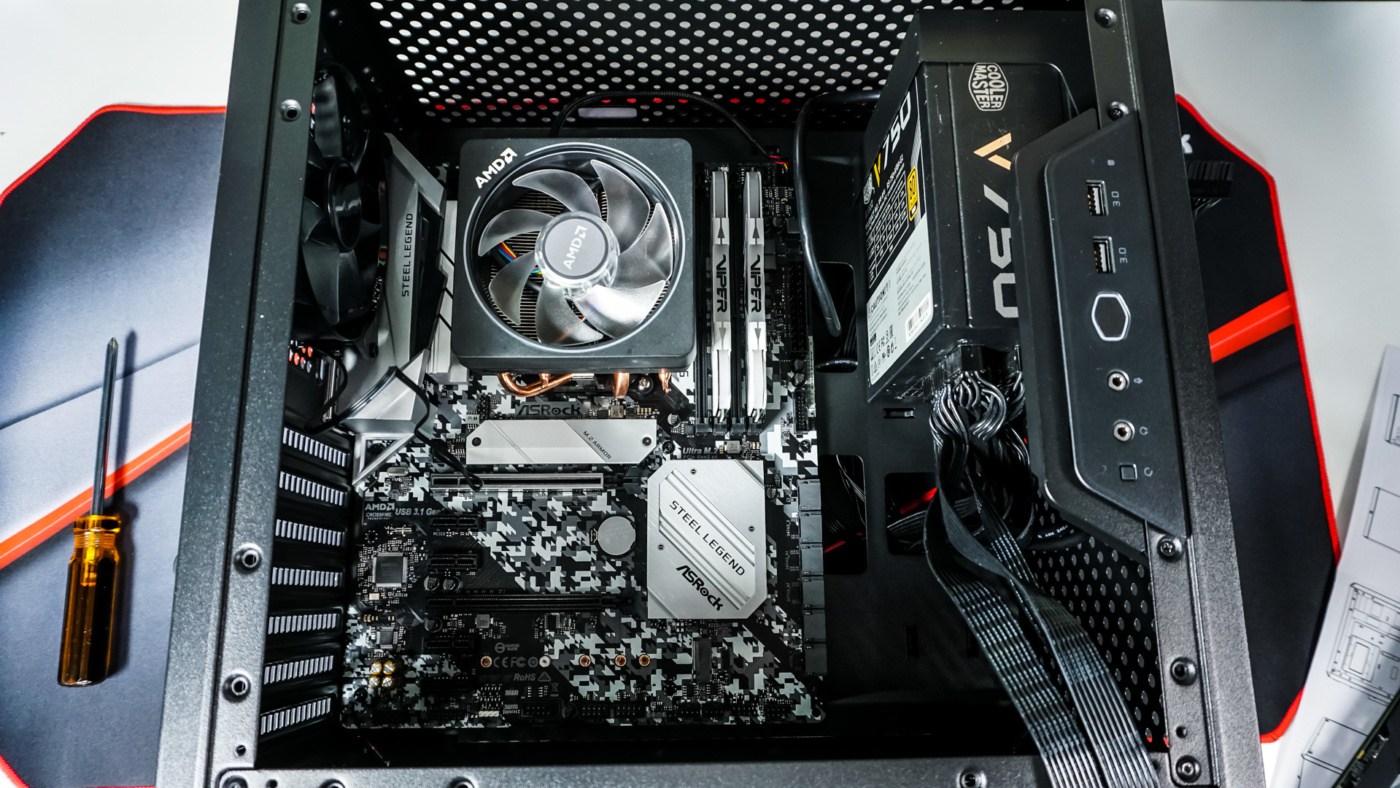
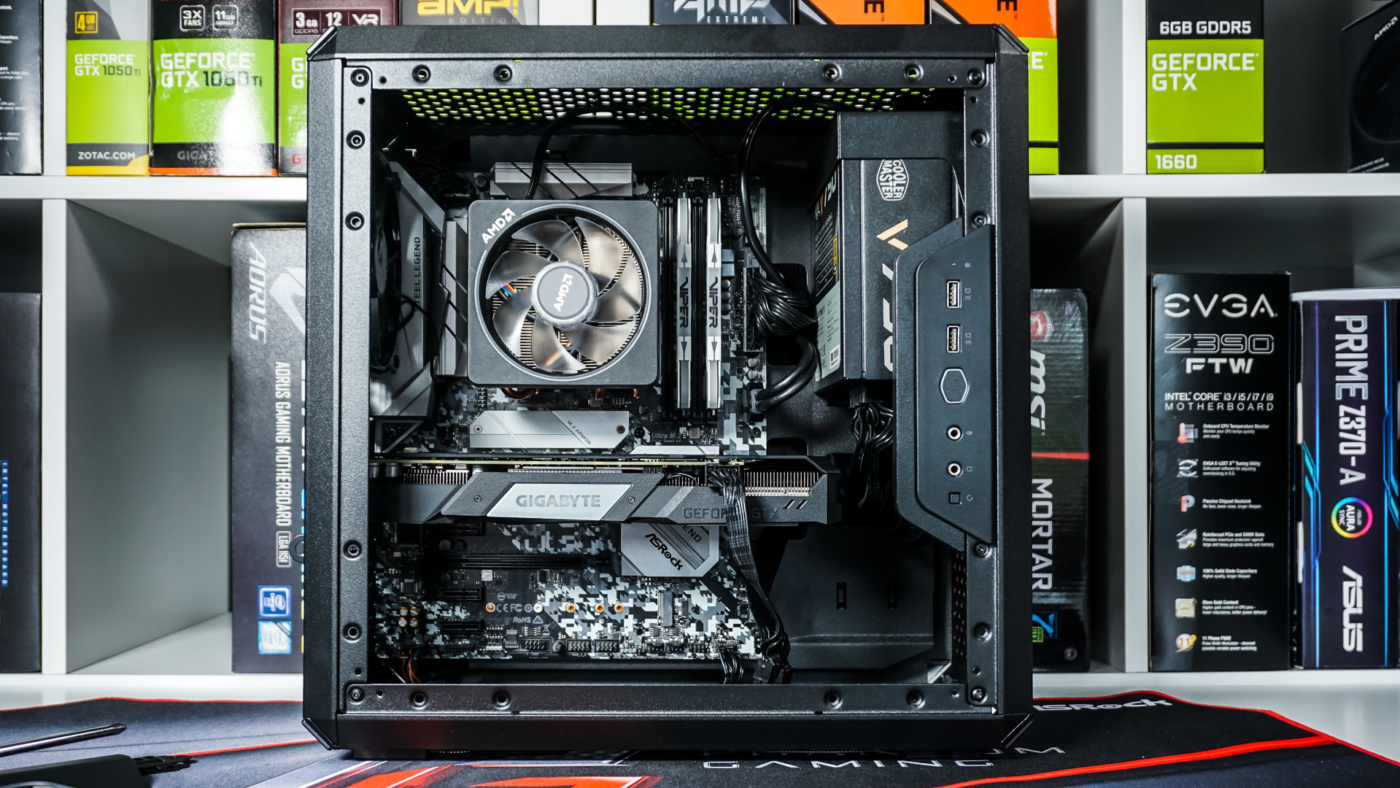
Up next is our motherboard. It goes in no problem, but it is a bit of a snug fit. I do have to say there is a little more room for the motherboard than what we saw in the NZXT H500i in terms of space below the motherboard.
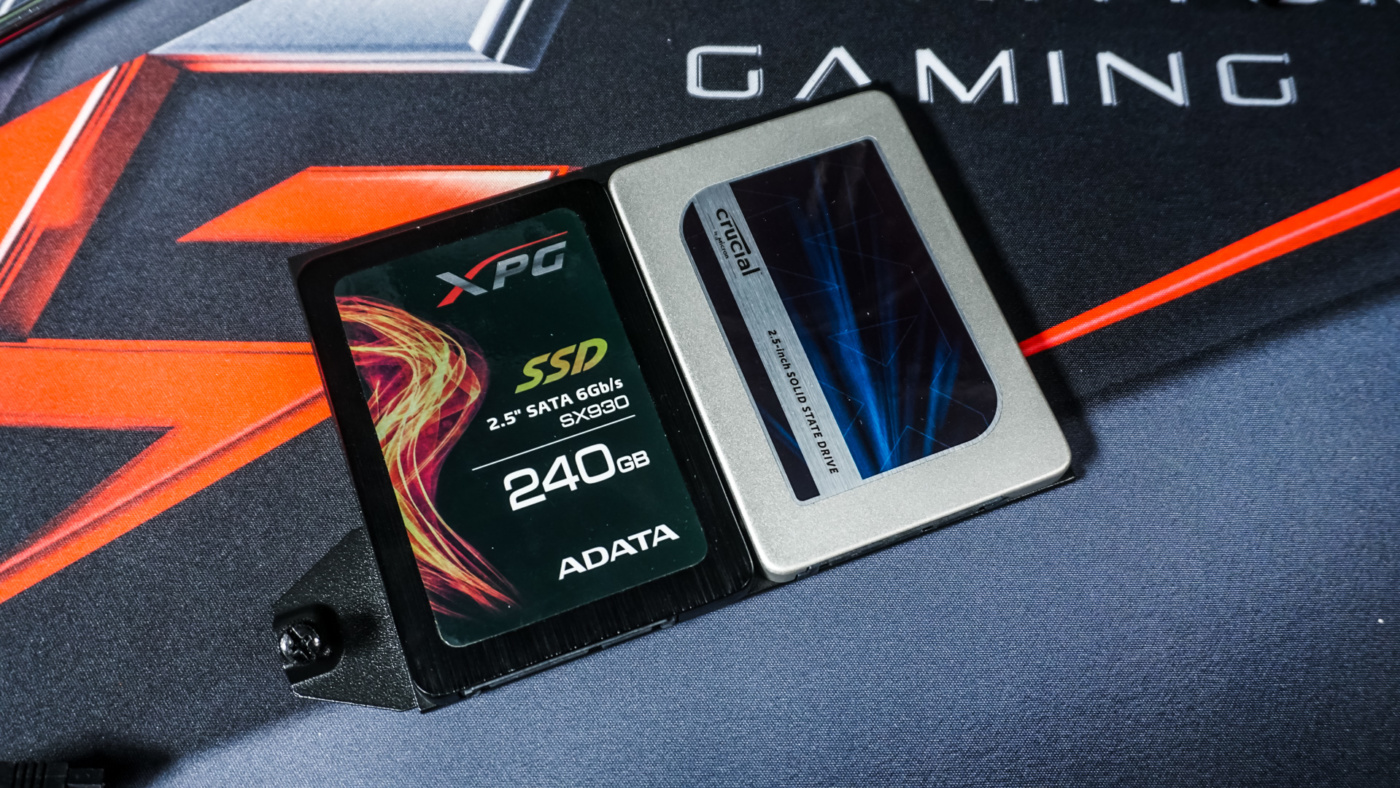
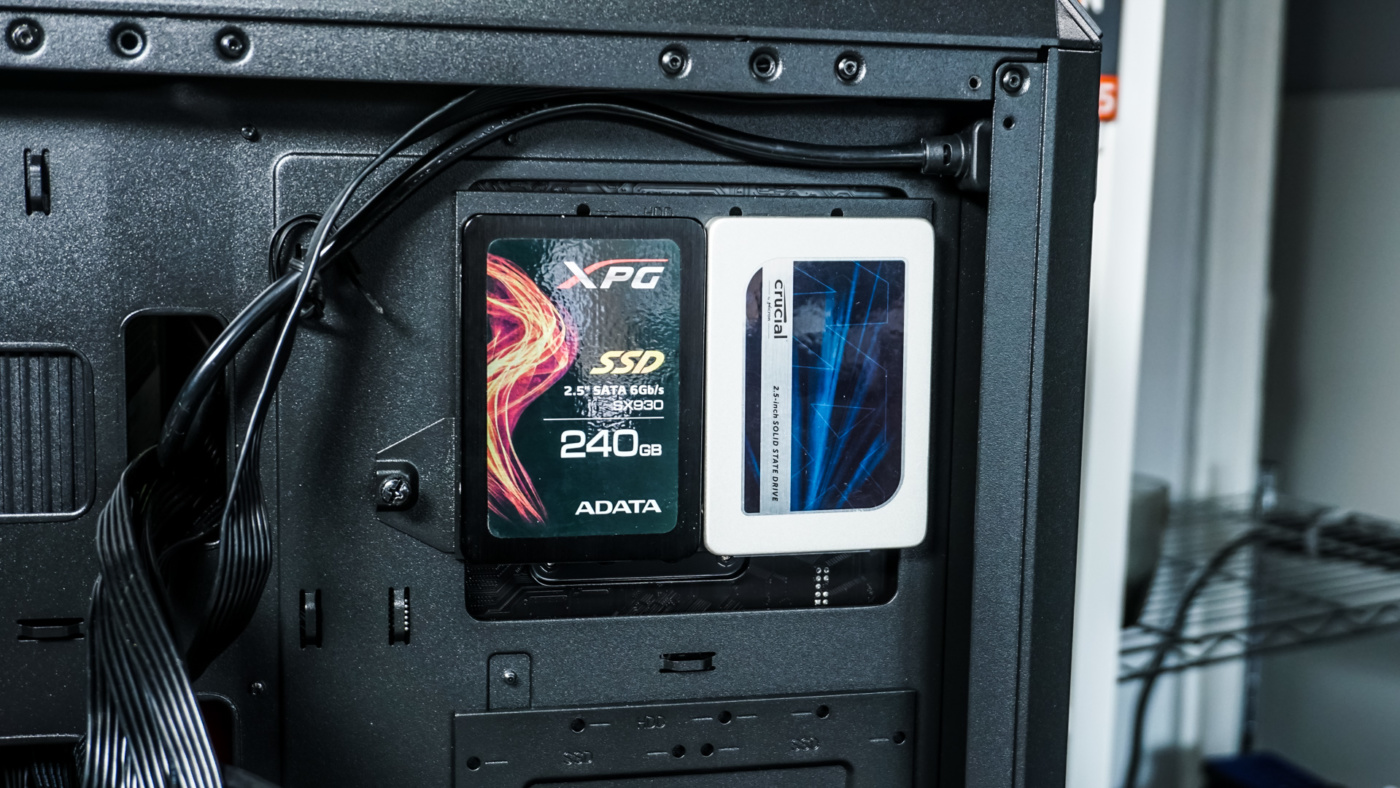
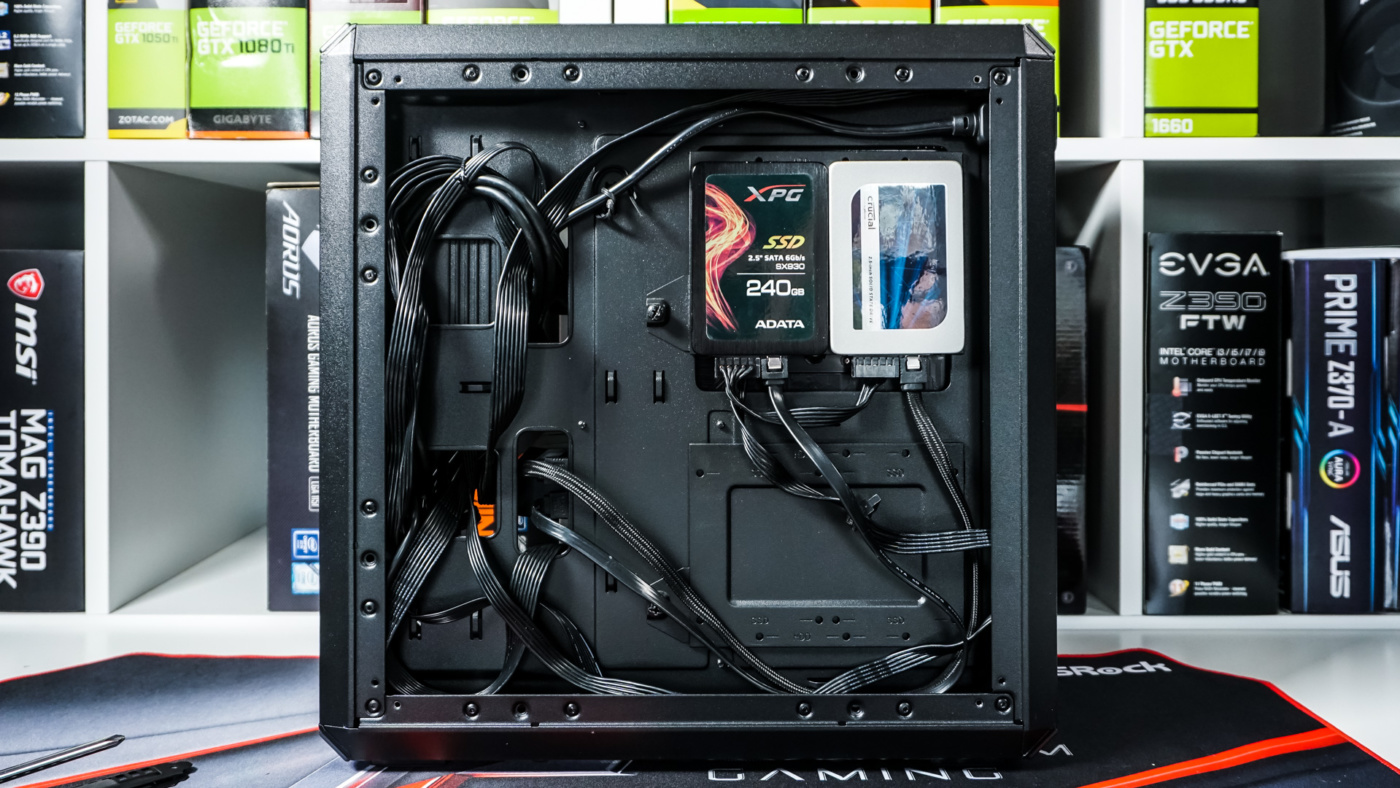
For storage we will be installing two 2.5-inch solid state drives. The two hard drive mounts are removable and we can easily install our two drives outside of the case and then just simply reinstall the hard drive mount.
Before we get our graphics card installed you are going to want to start connecting and routing your cables. Even with the power supply in there you have more than enough room with the supplied routing holes to easily route everything.

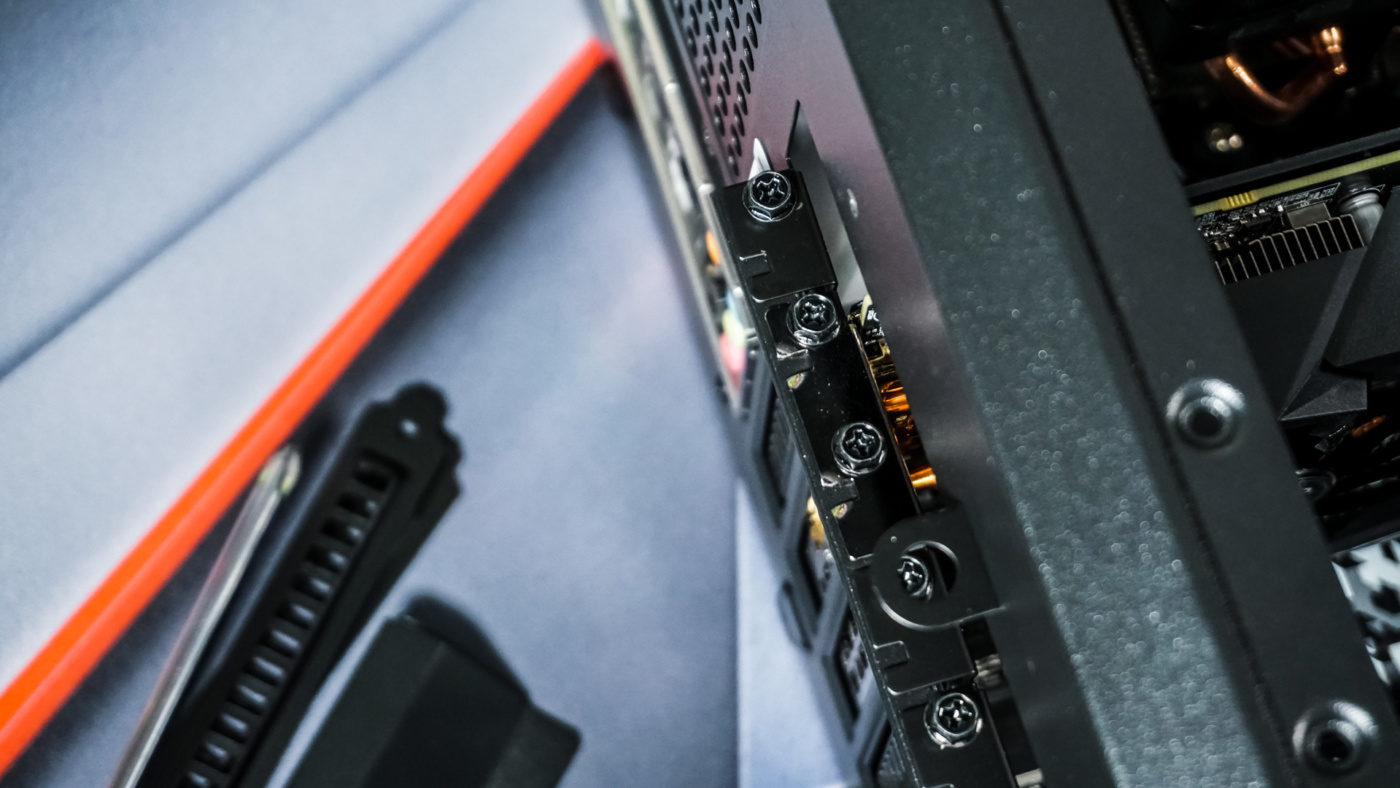
Graphics card installation has one extra step, but for good reason. You first need to remove the I/O lock on the case. This actually prevents someone from getting at your expansion cards say if you are at a LAN event. Once removed we can easily install our graphics card. You might need to push your power supply cables out of the way a little bit, but you should have no problem getting even a longer graphics card installed.
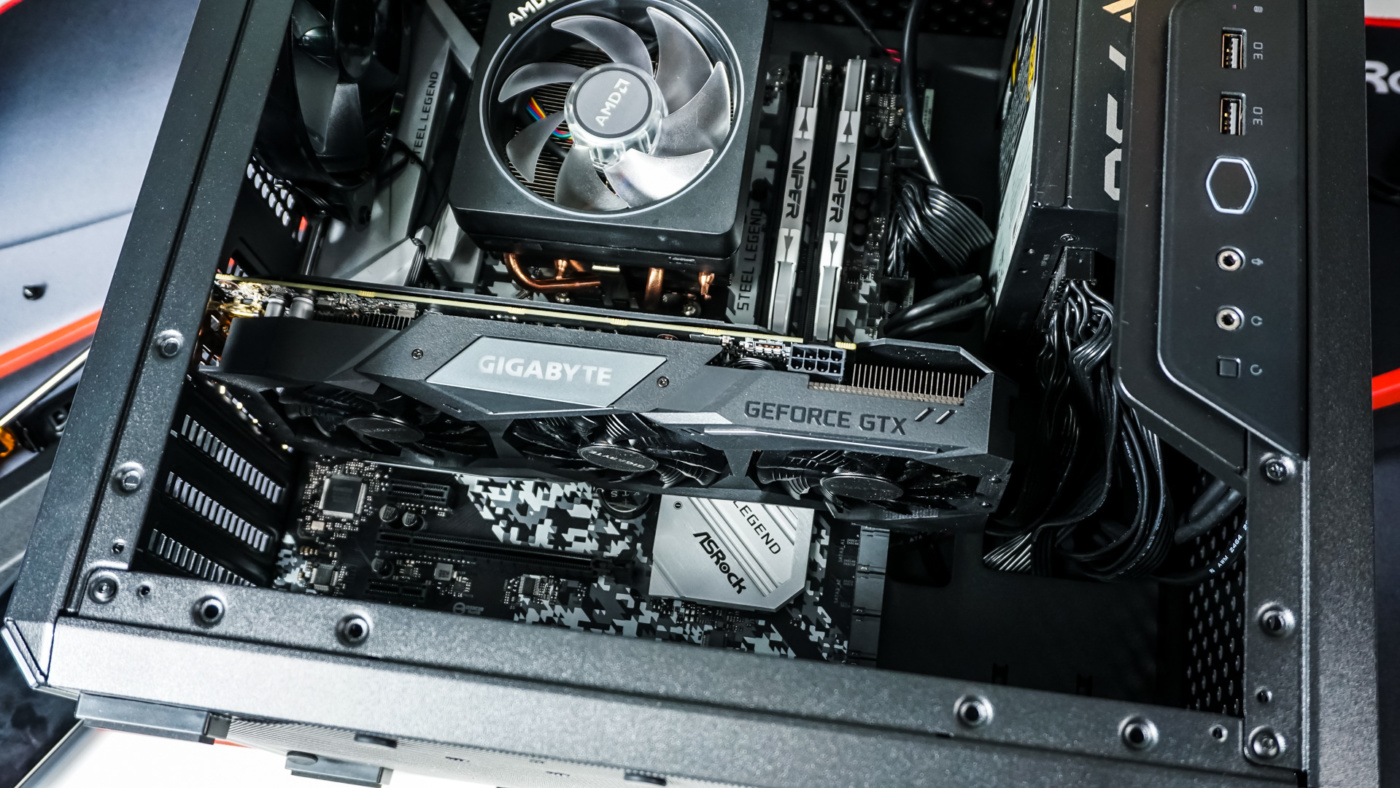
With all of our hardware installed it is time to connect everything and wrap things up. There are ample tie-down points on the backside of the motherboard tray for your cables, we actually ended up only using two. With everything connected we have a very clean build.
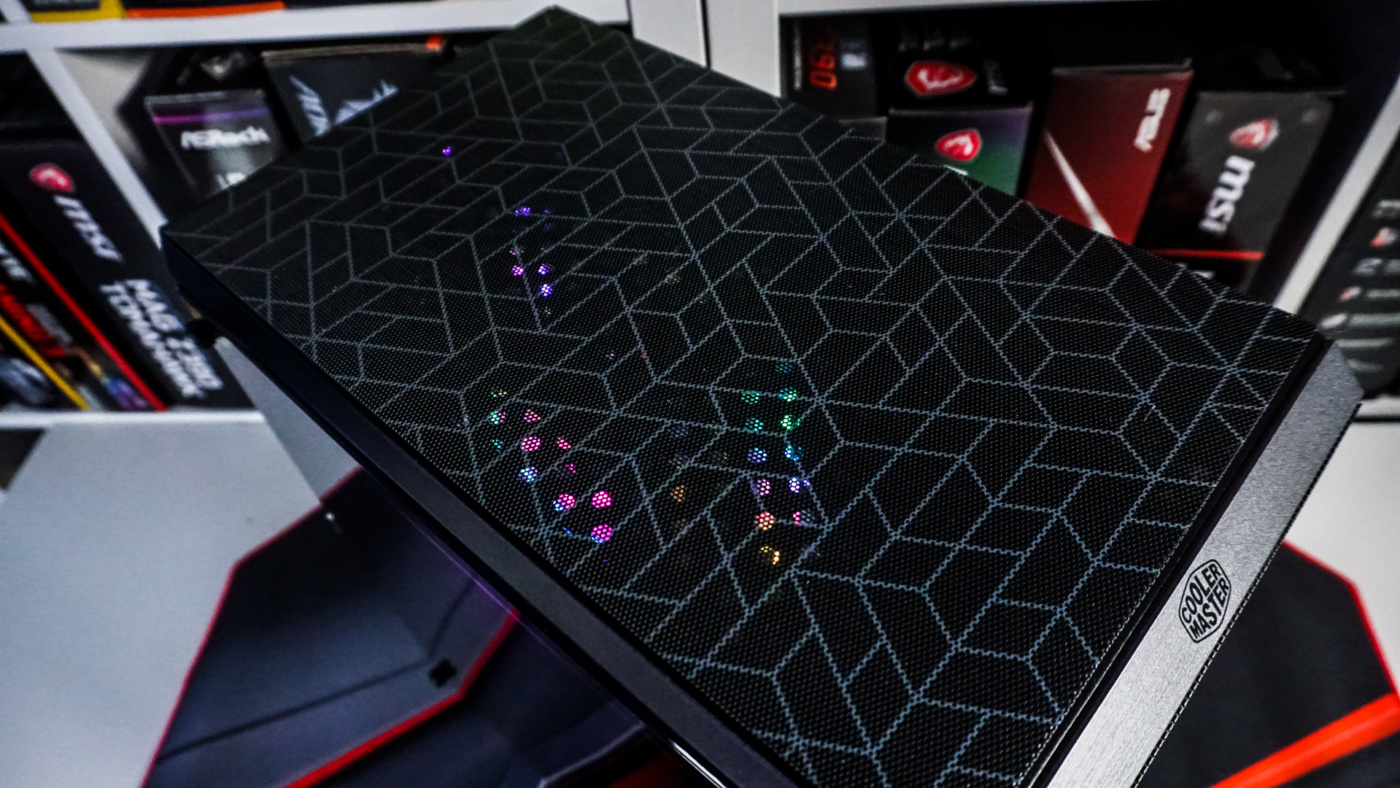
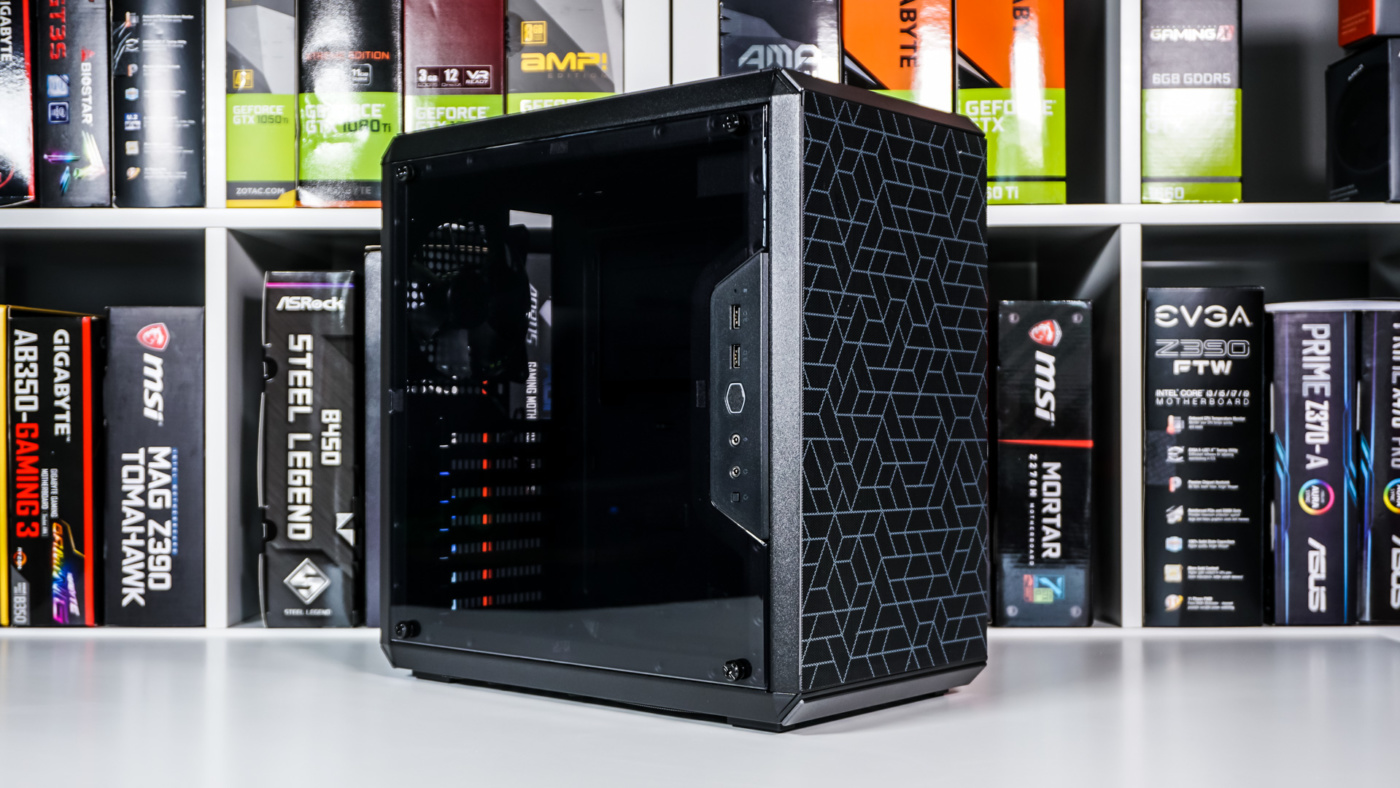
Upon re=installing the acrylic side panel it ended up getting scratched. Acrylic can get scratches and nicks in it so easily you can see why many companies have moved to tempered glass. While acrylic is cheaper, you are likely to scratch it almost immediately.
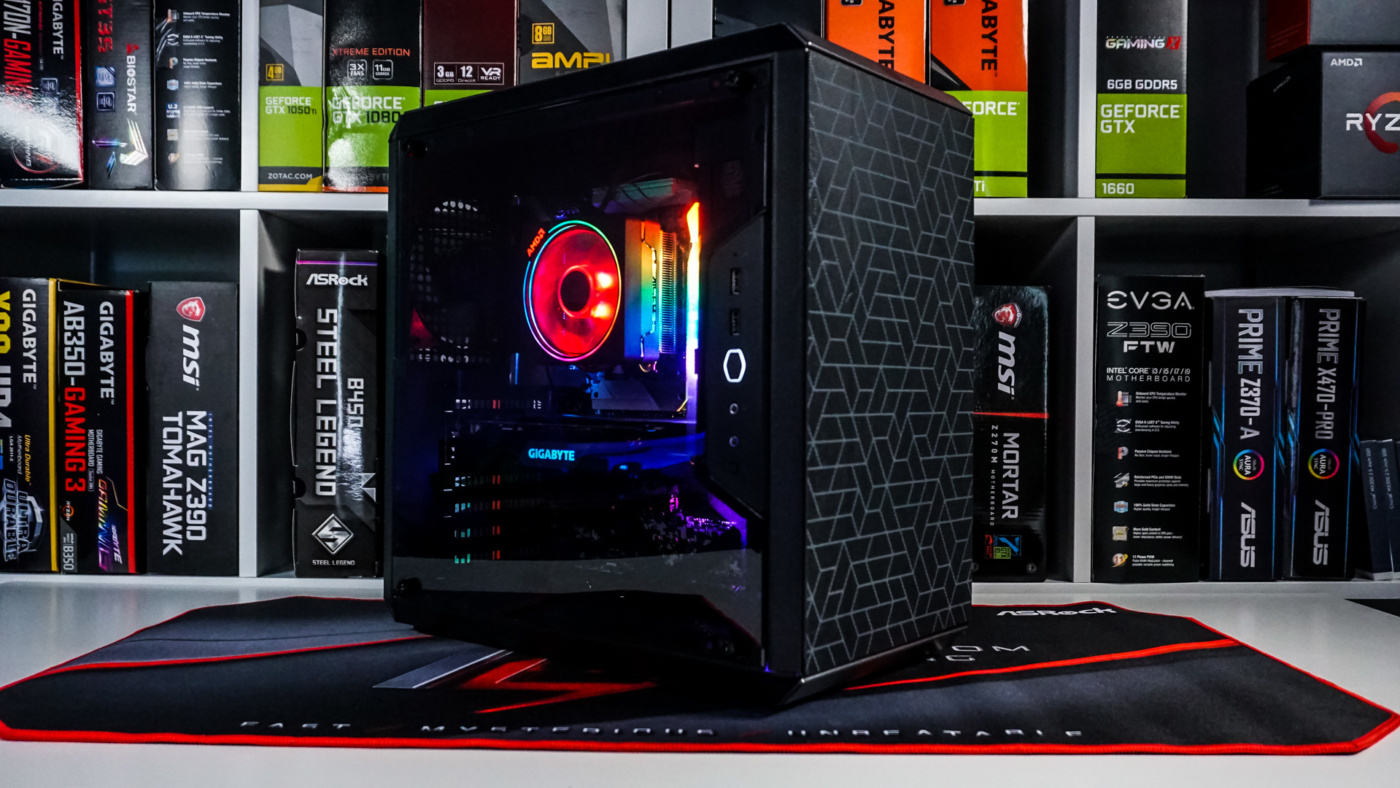
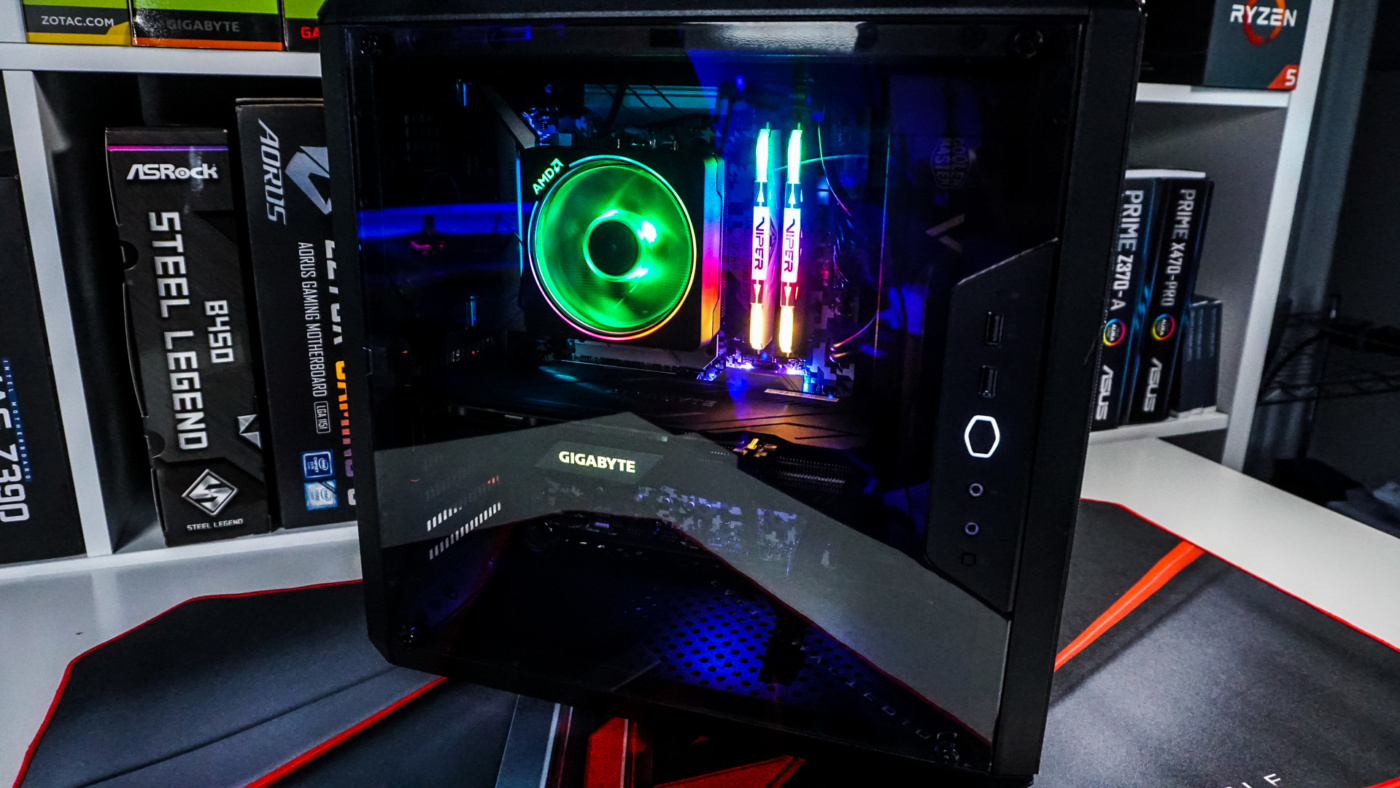
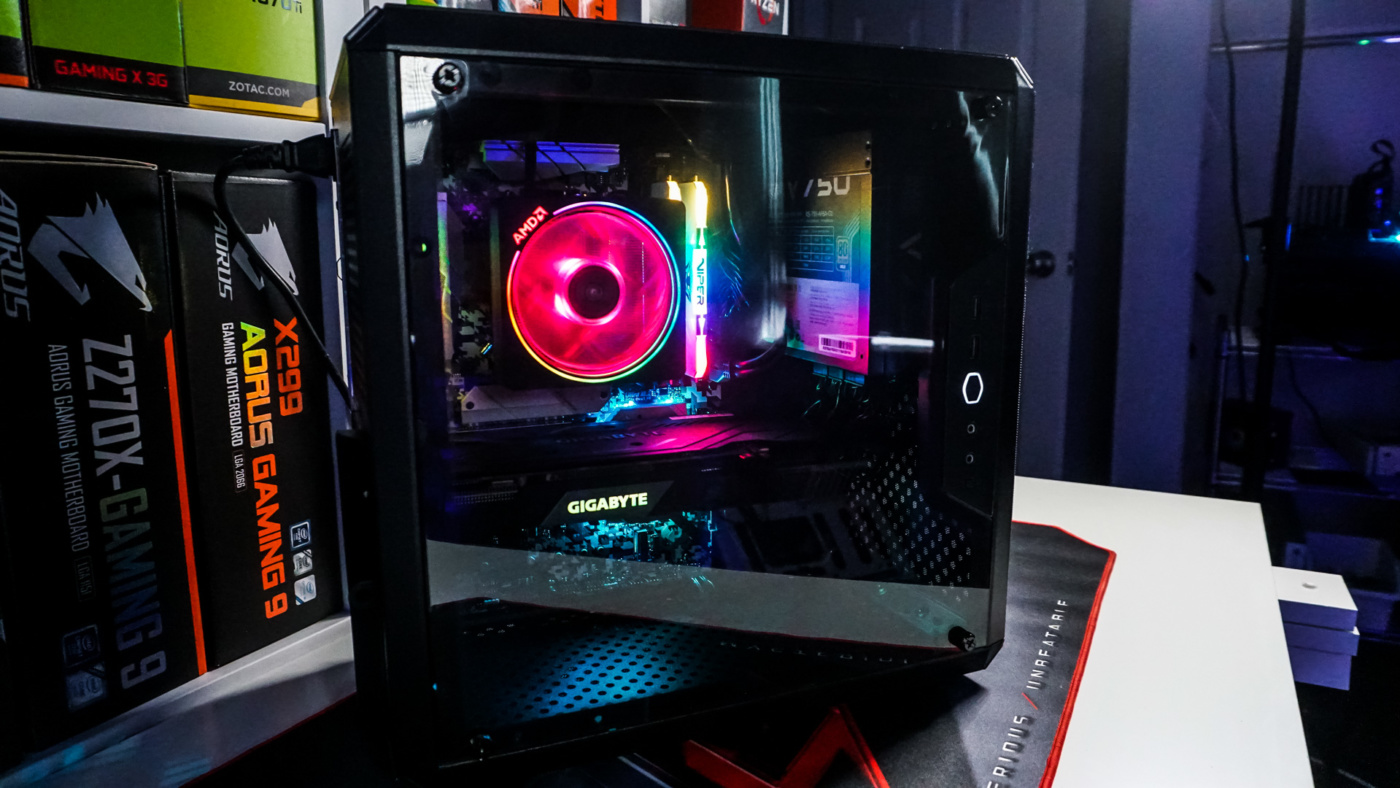
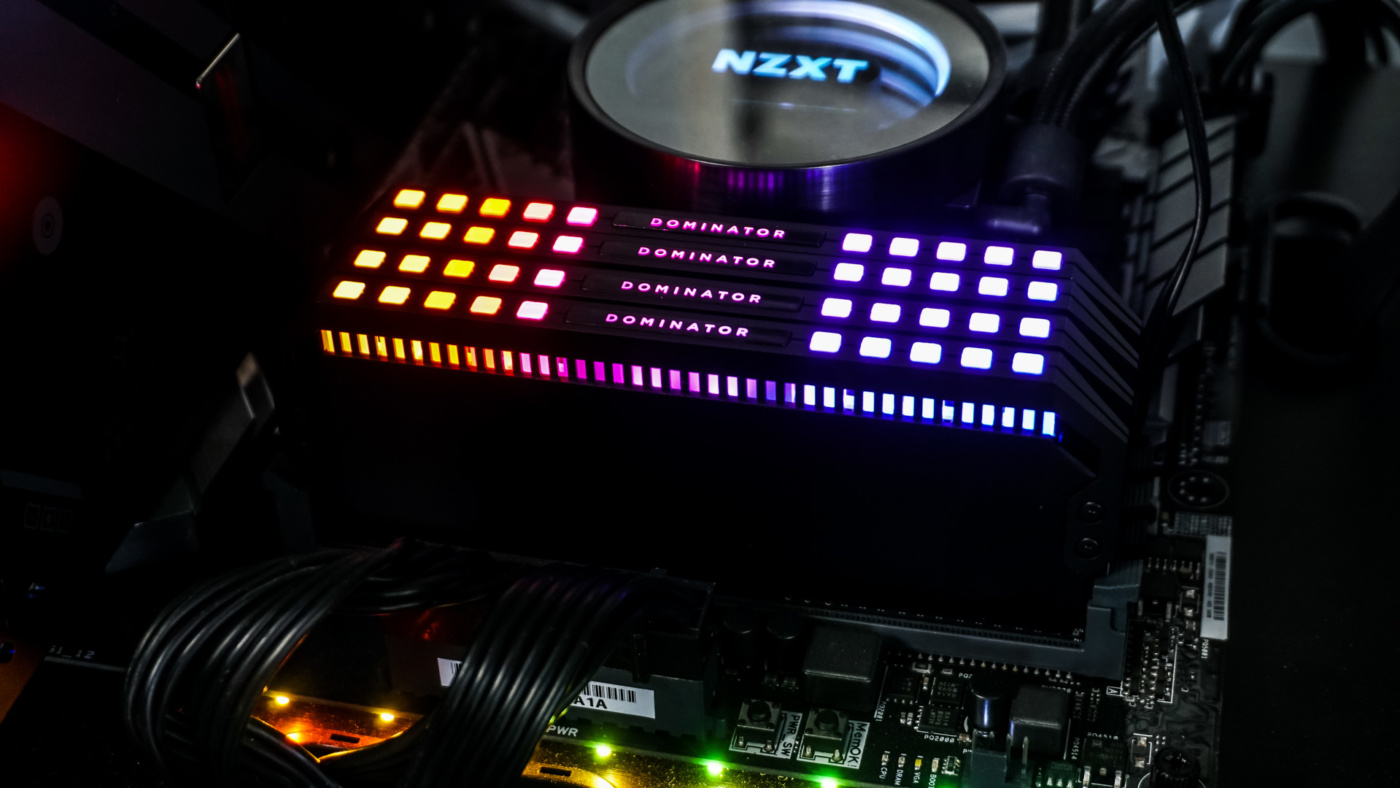
With the side panels back on our system we power it on and the lights on our CPU cooler, motherboard and memory light up the the case. While you can see that hardware quite good through the acrylic panel we would have preferred a tempered glass panel.