Installation
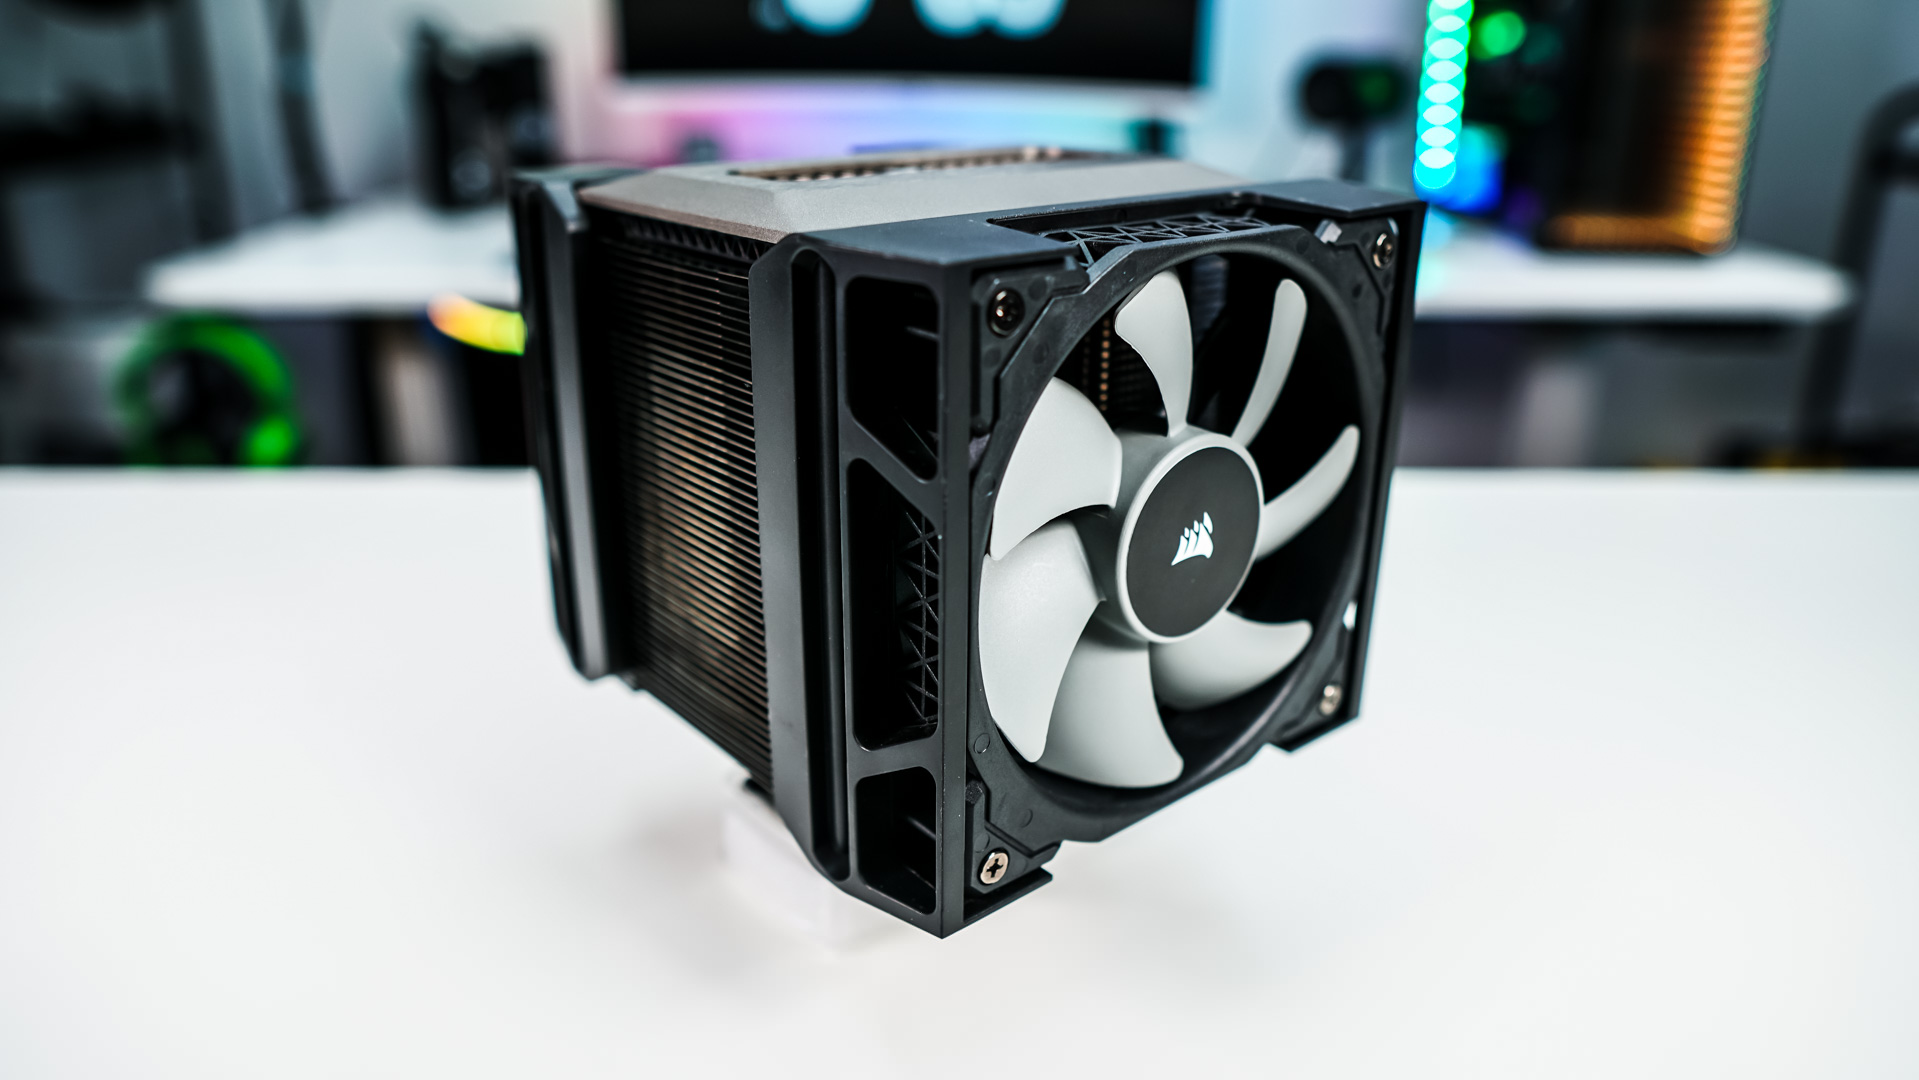
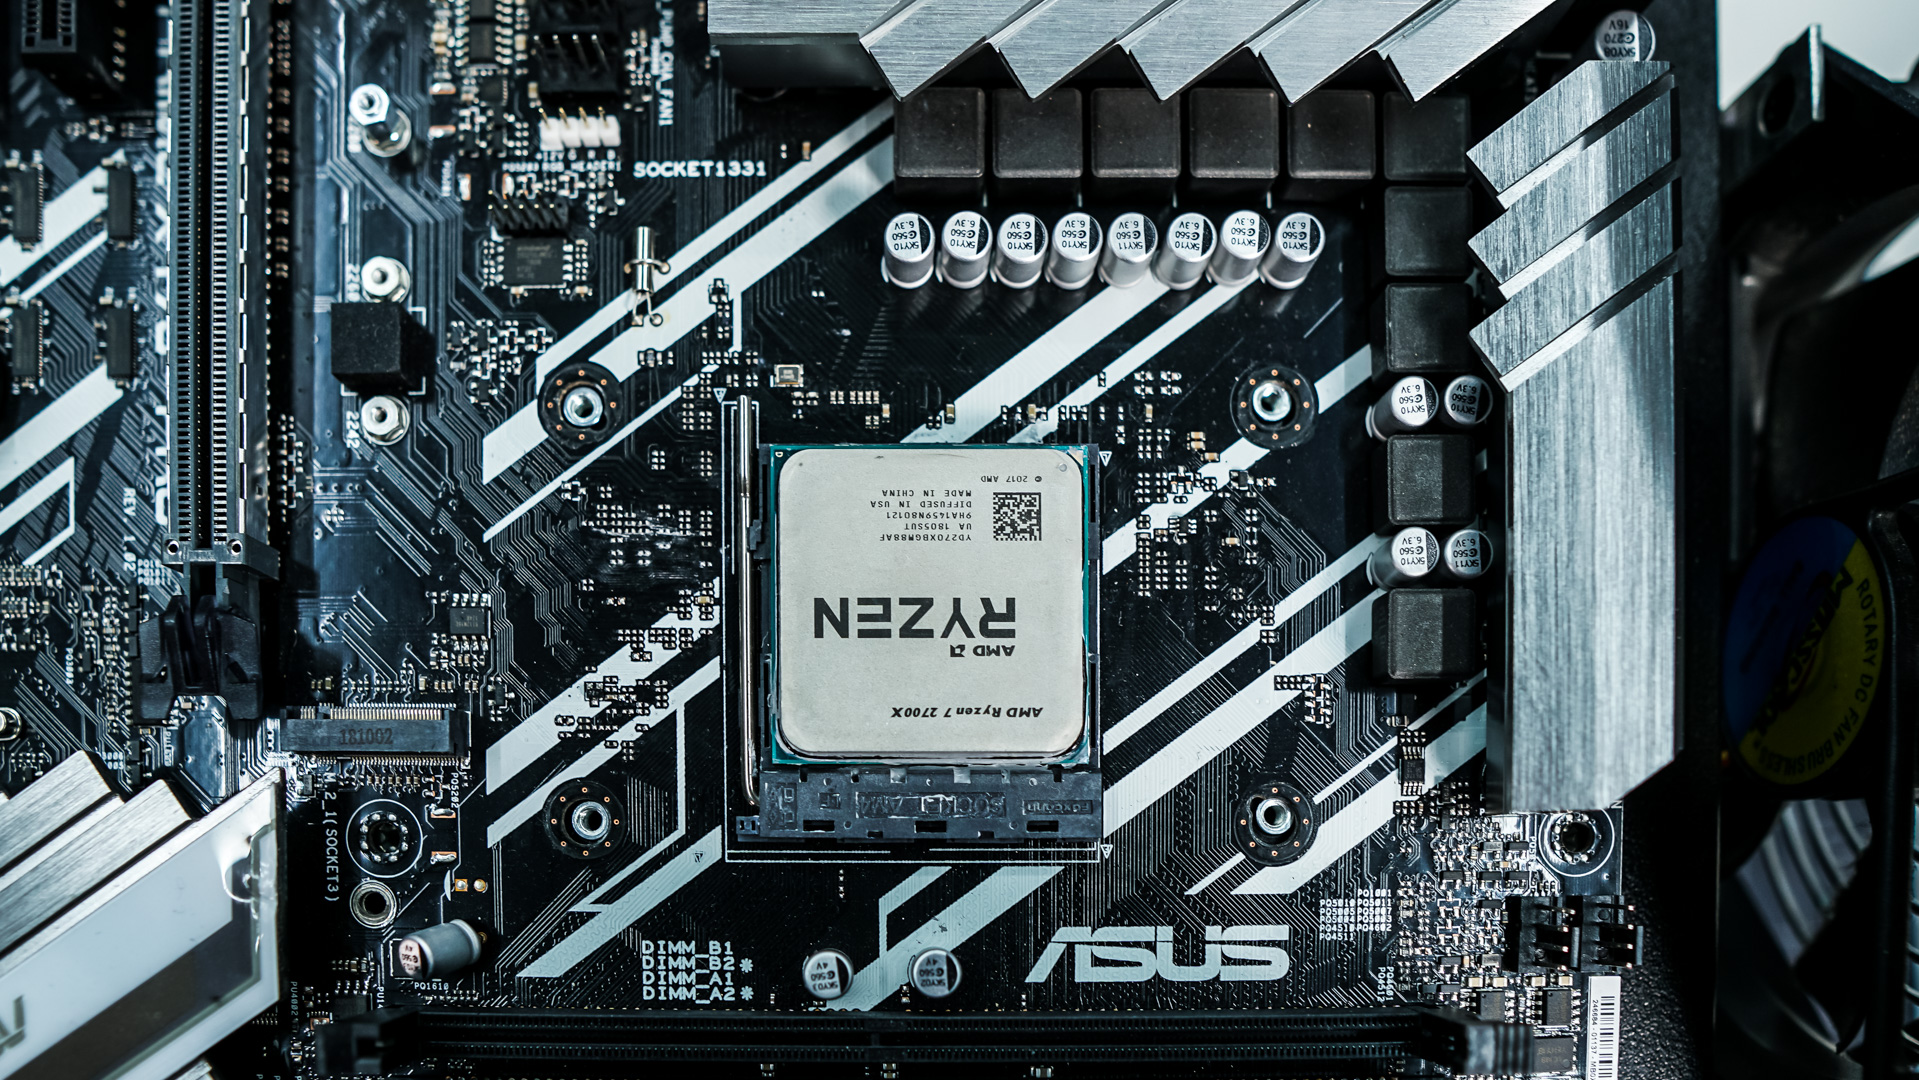
Getting the A500 installed in your system is actually quite easy, even though it is one of the largest CPU coolers we’ve reviewed so far this year. We will be installing in our Ryzen test system so our installation introductions will be for the AM4 socket. The first thing you are going to want to do is remove the AMD mounting brackets on your motherboard, but not the backplate. So once you remove the mounting brackets you’ll just have the backplate sitting behind your motherboard.
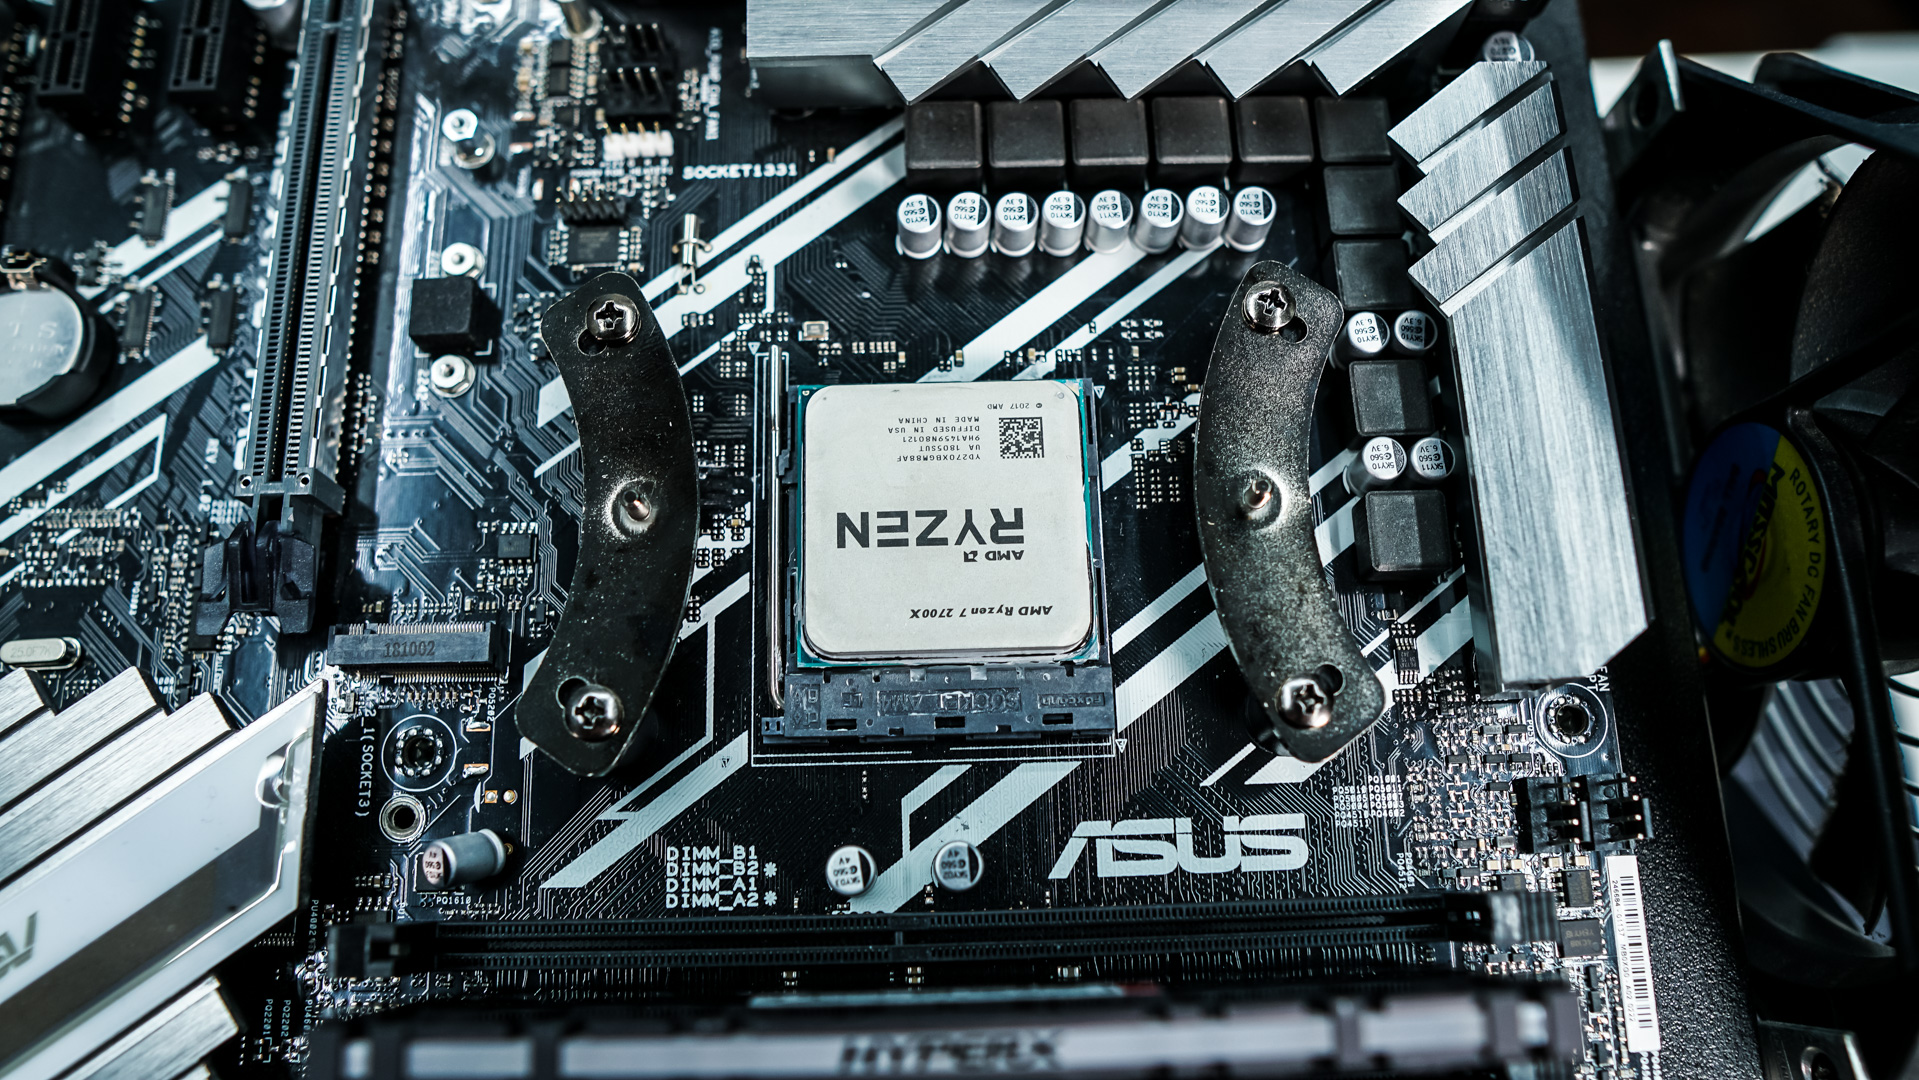
The next thing you are going to want to do is install the AMD spacers and then on top of those install the AMD mounting brackets. They should look like what you see in the photo below.
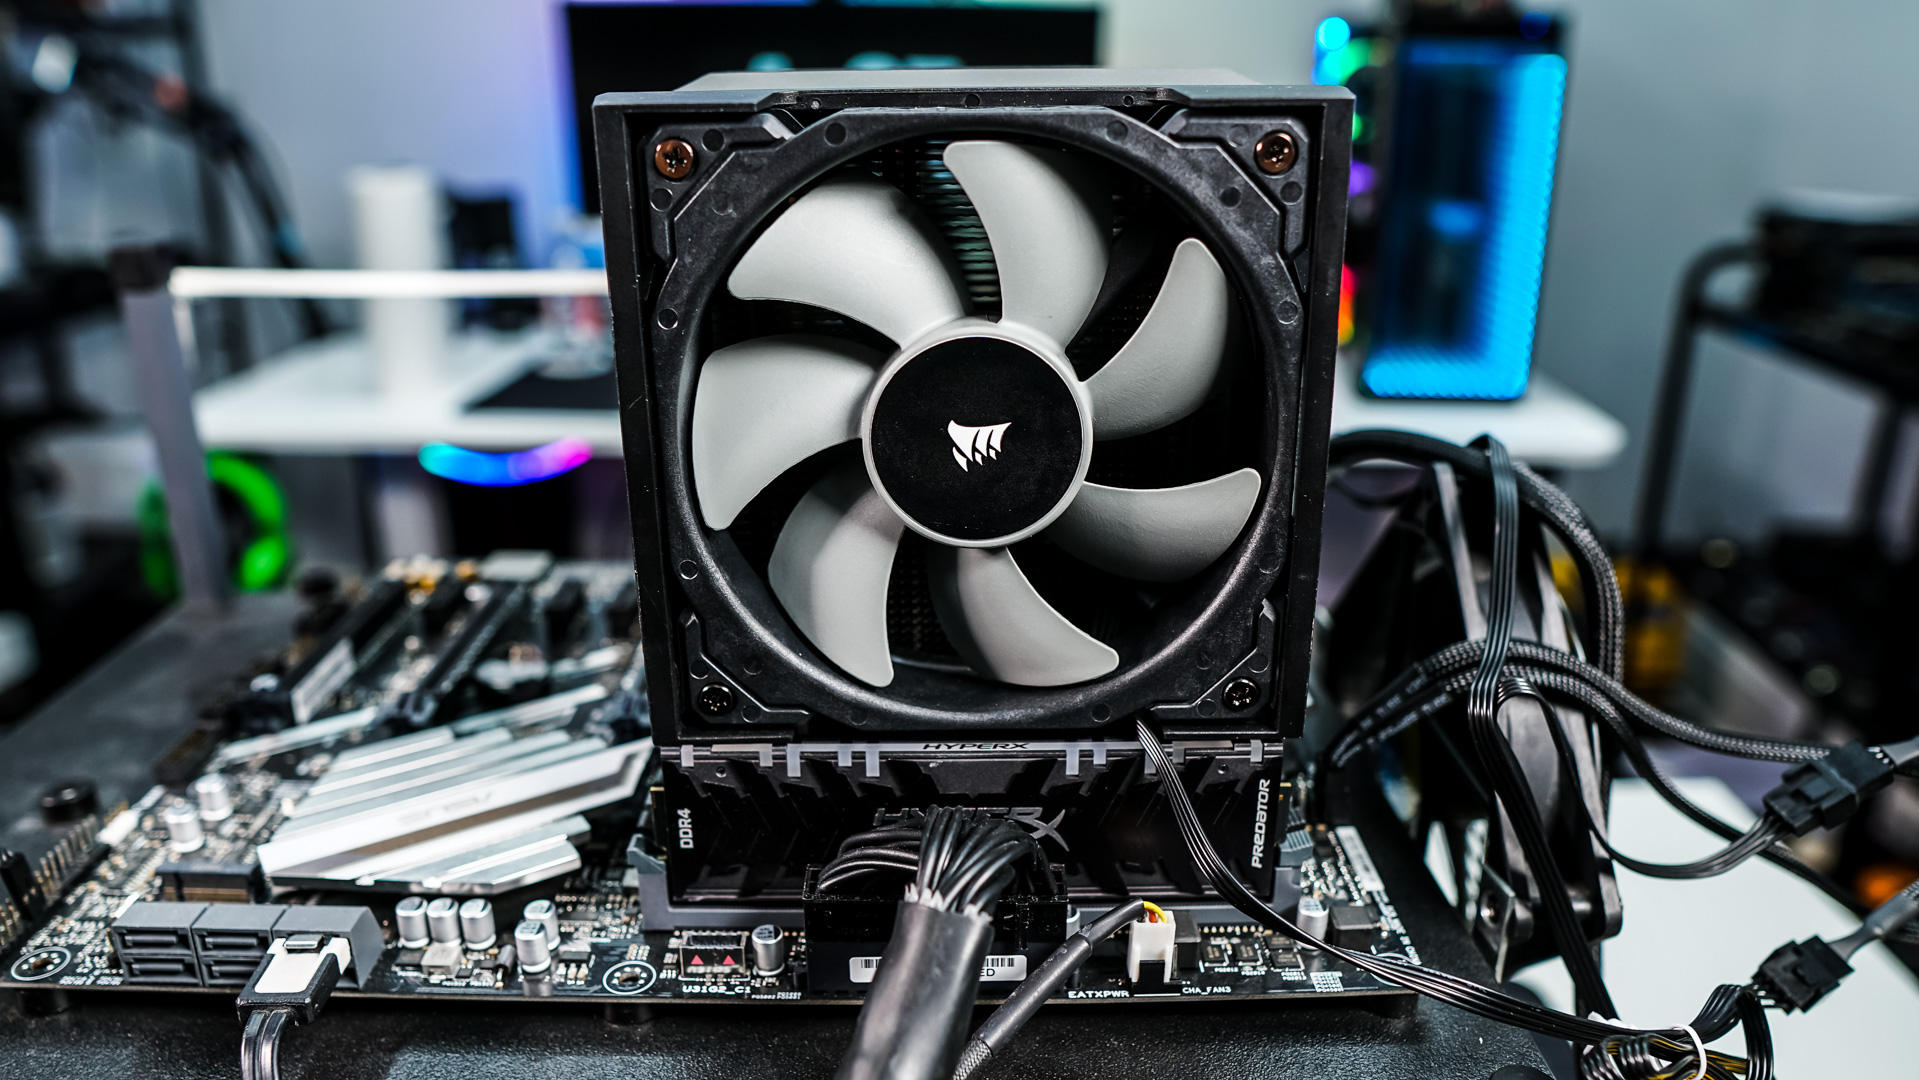
Now carefully take the A500 cooler and remove the center top cap. Then place it on top of your CPU lining up the screws with the pegs in the AMD mounting bracket. Take the included screwdriver and put it down through the center of the cooler to tighten the screws. You may need to move the fans up on either side of the cooler if you have larger VRMs or memory.

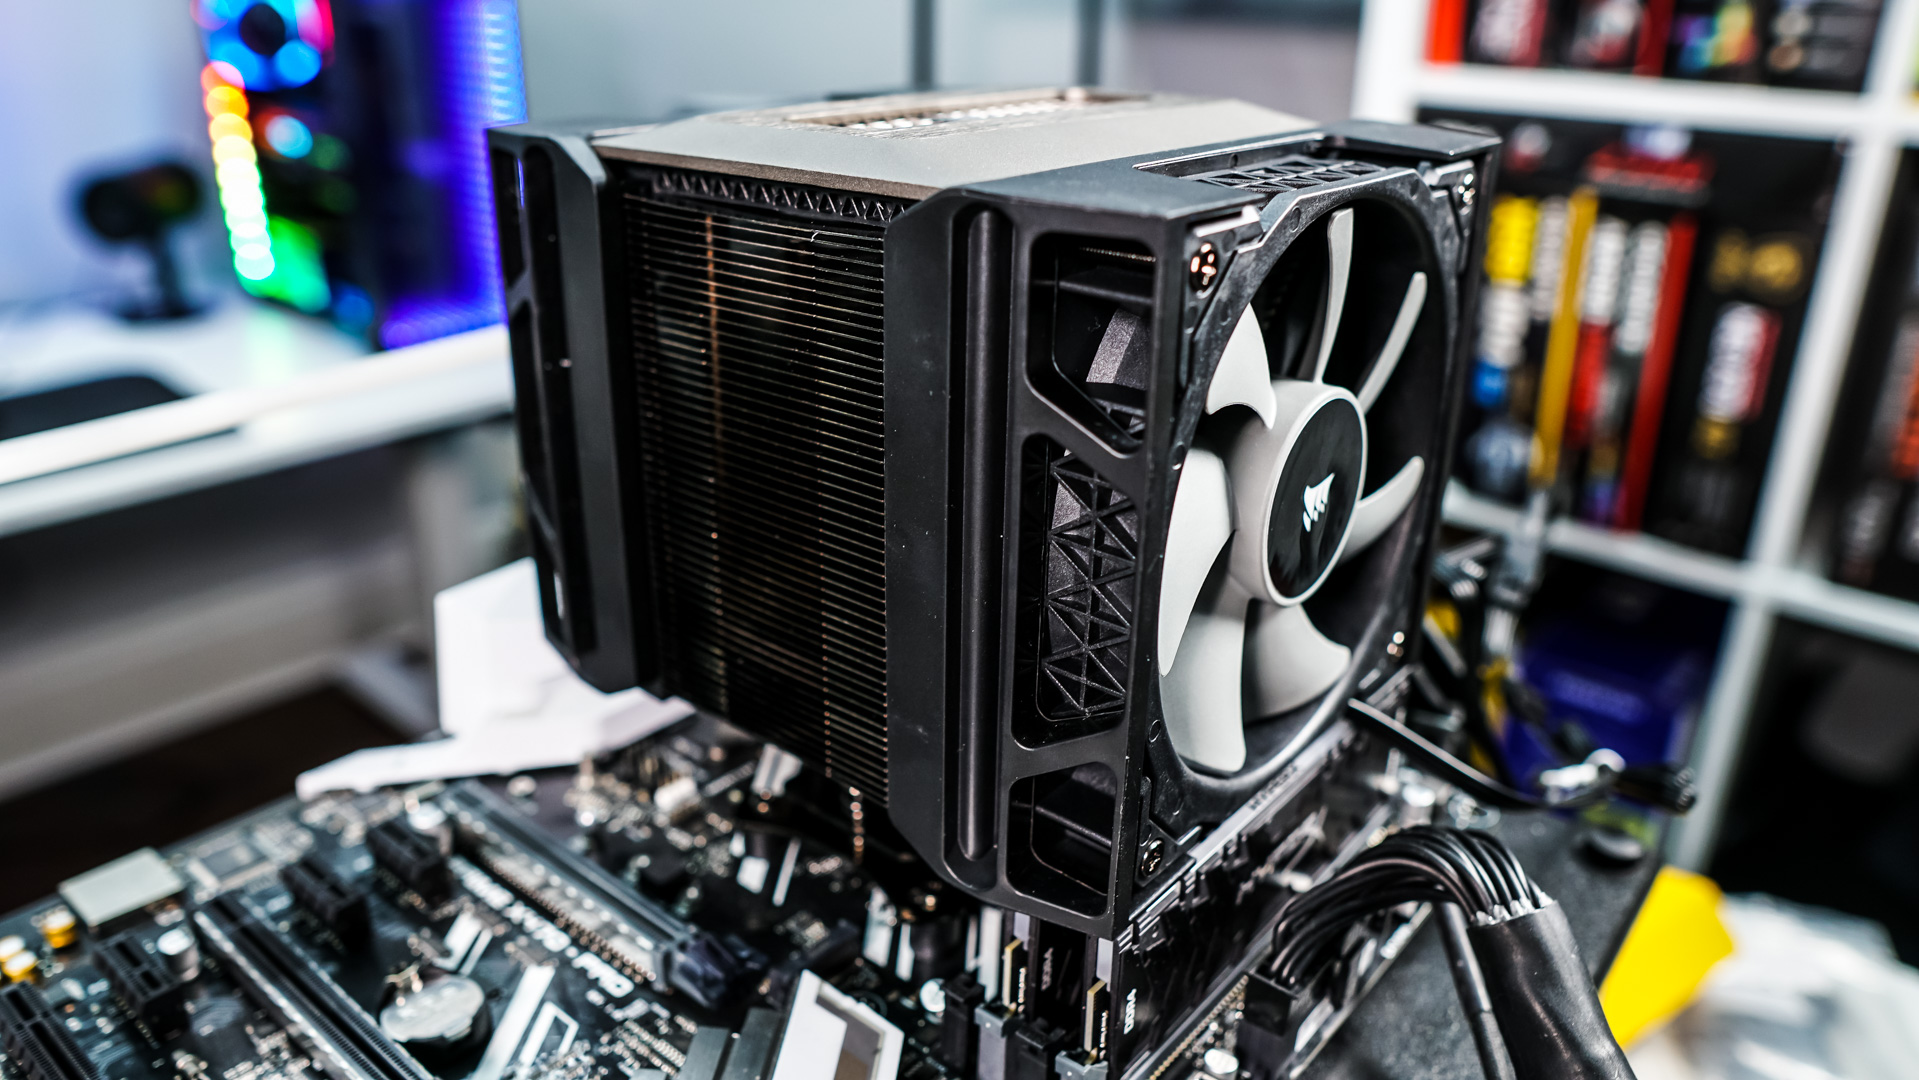
Now just put the top cap back on the cooler and use the included Y-cable to connect the two fans to the CPU fan header on your motherboard. This definitely is a large cooler and the fans will cover your memory, so if you have RGB memory it will more or less be dwarfed by this cooler.