Installation
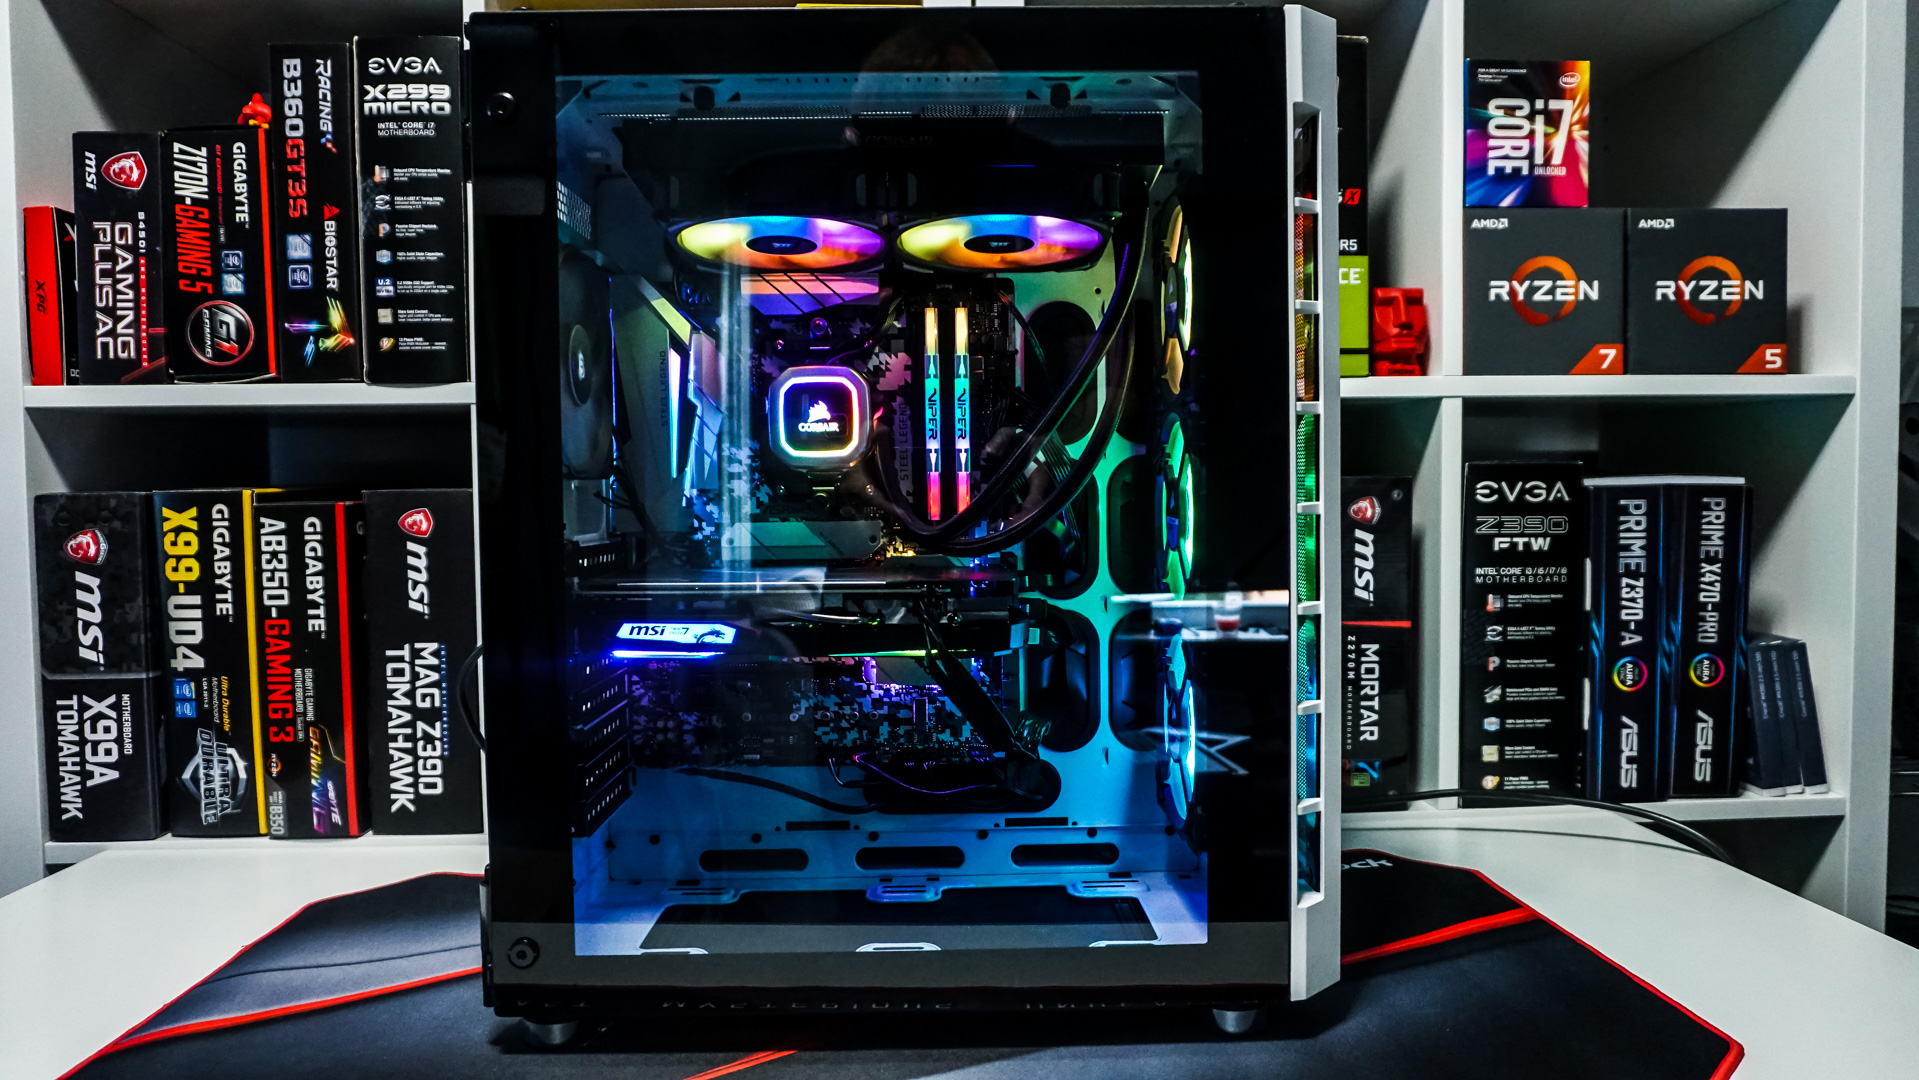
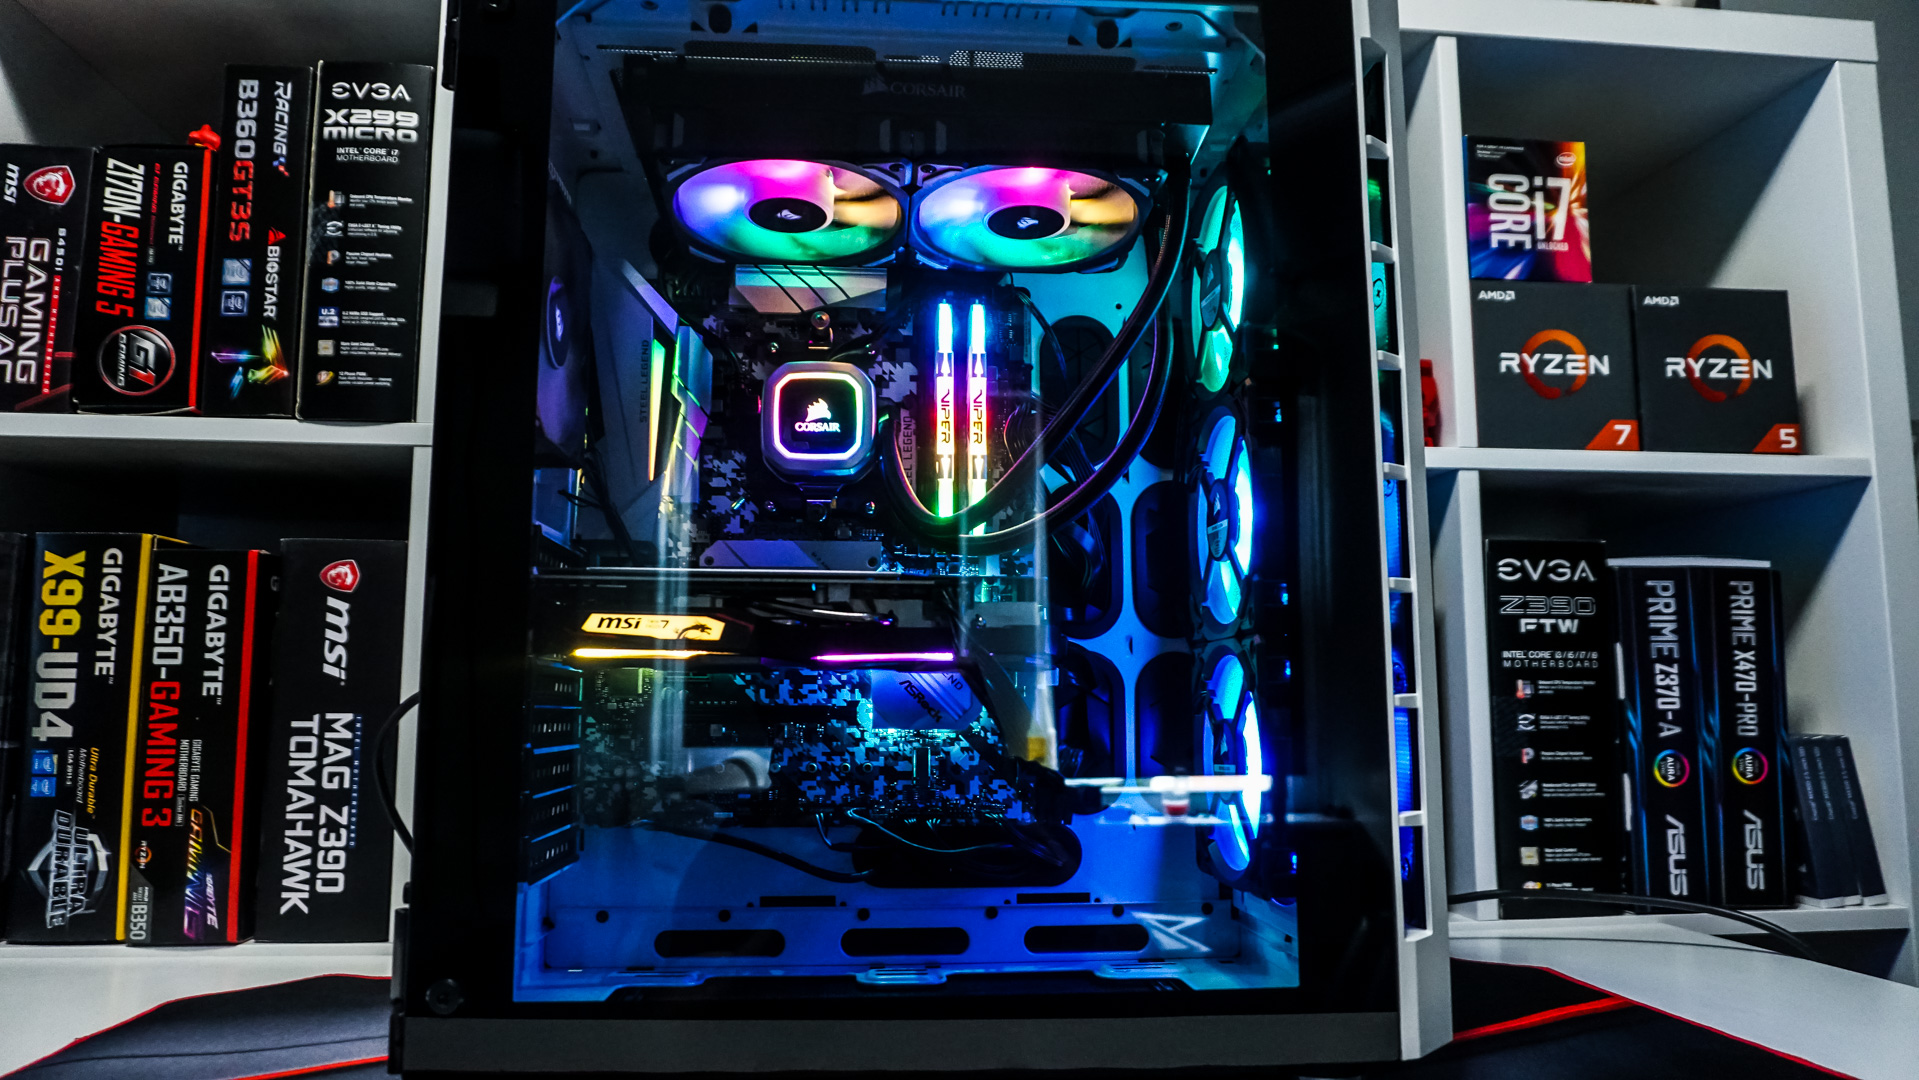
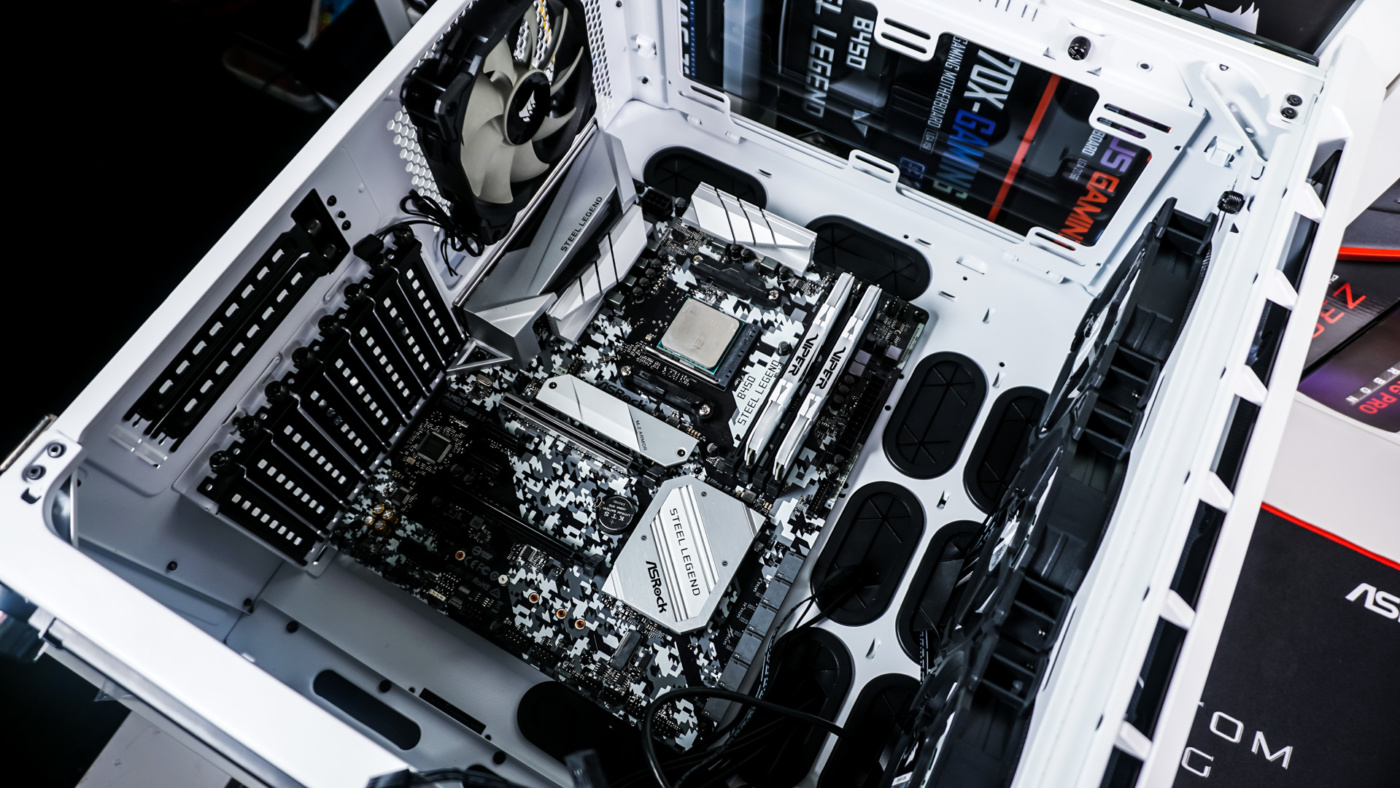
We will be starting installation as we always do on cases with our motherboard first. It does in no problem as we have quite a lot of room in the main compartment of the case. It was also nice that the standoffs were already pre-installed.
Next we have our hard drives. We will be installing both 2.5-inch and 3.5-inch drives. Since the 2.5-inch trays are removable you would think you could just install the drives outside of the case, but they do not work that way. If you try to install the drives in the trays outside of the case they will actually pop out. You can either leave all of the 2.5-inch trays in or remove the ones you won’t be needing, then simply slide your drives in.

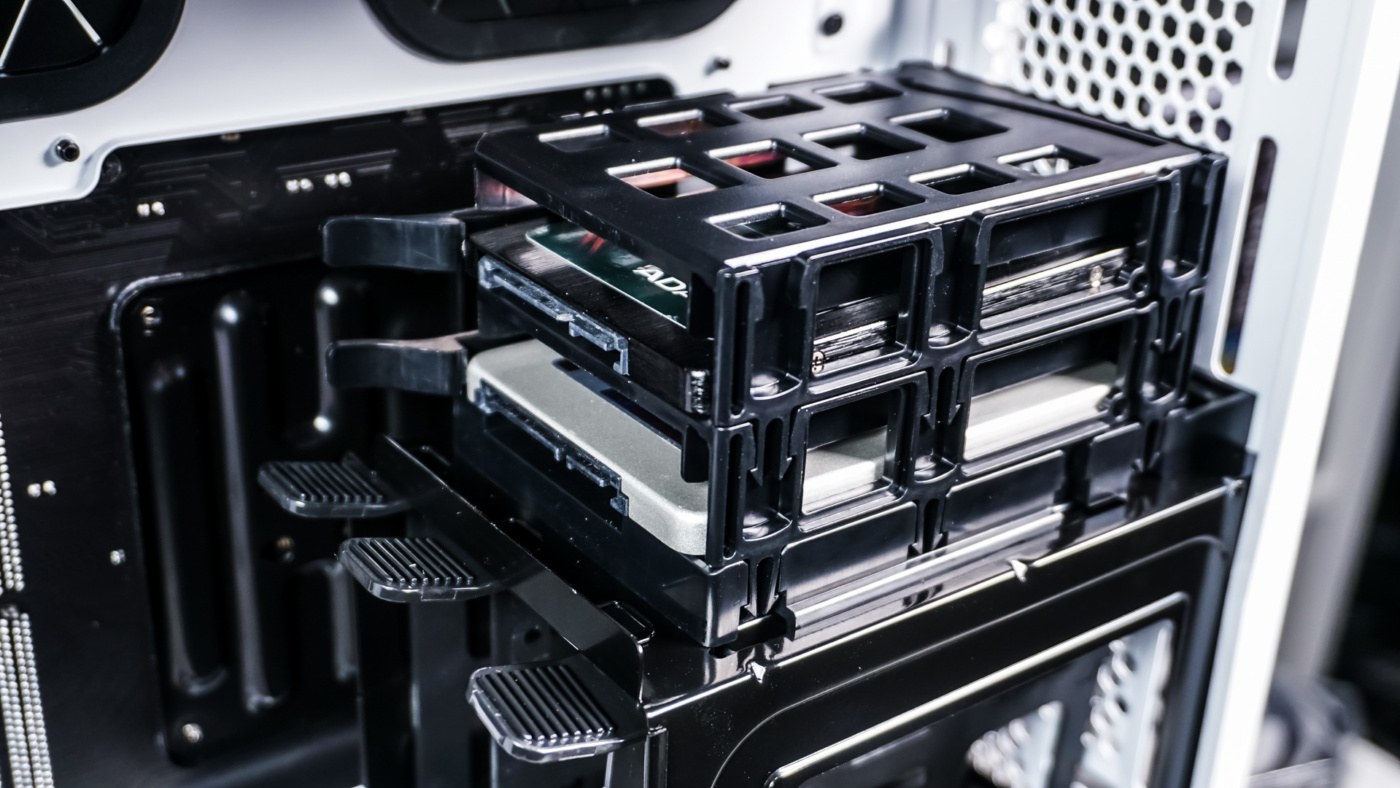
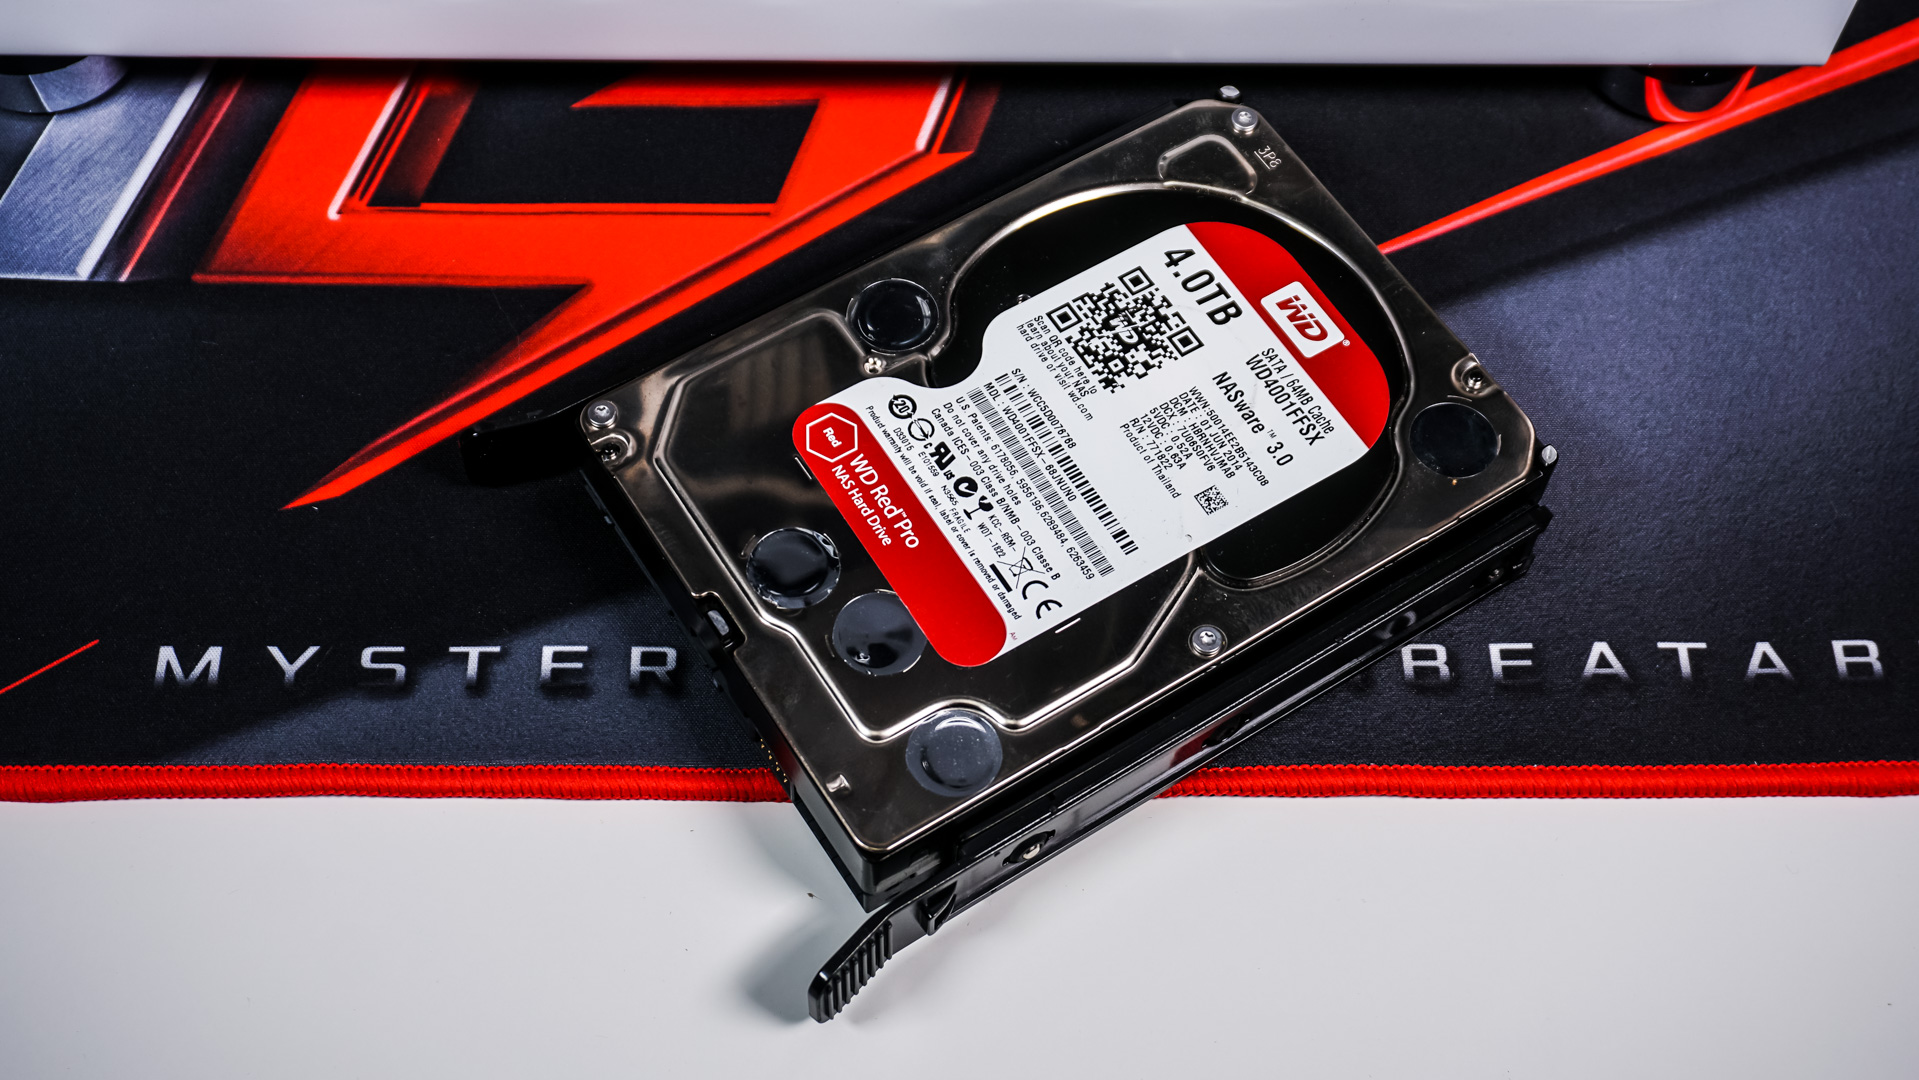
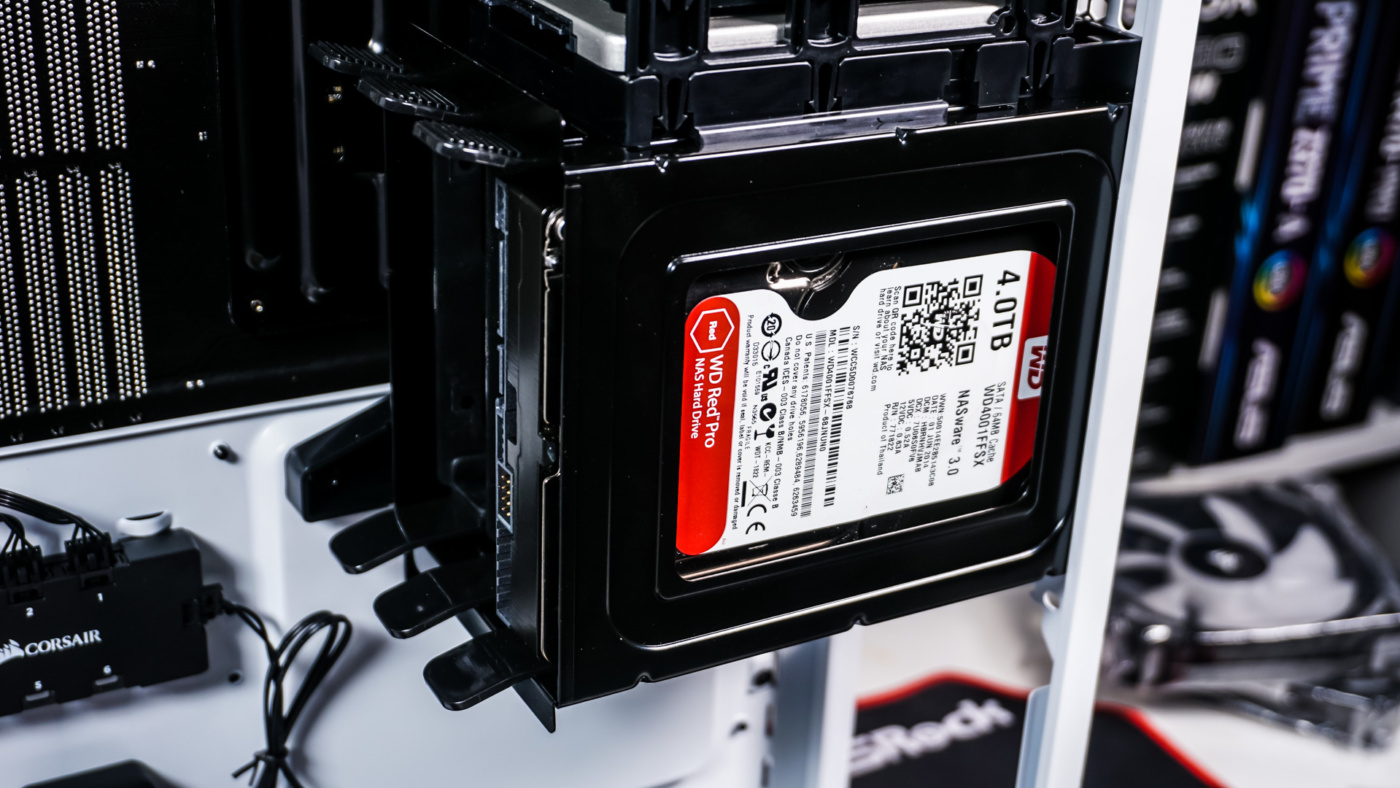
For 3.5-inch drives you simply remove one of the trays from the main cage and slide your drive in. 3.5-inch drive installation in these trays is completely tool-less. With your drive secured in the tray simply side it right back into the cage.
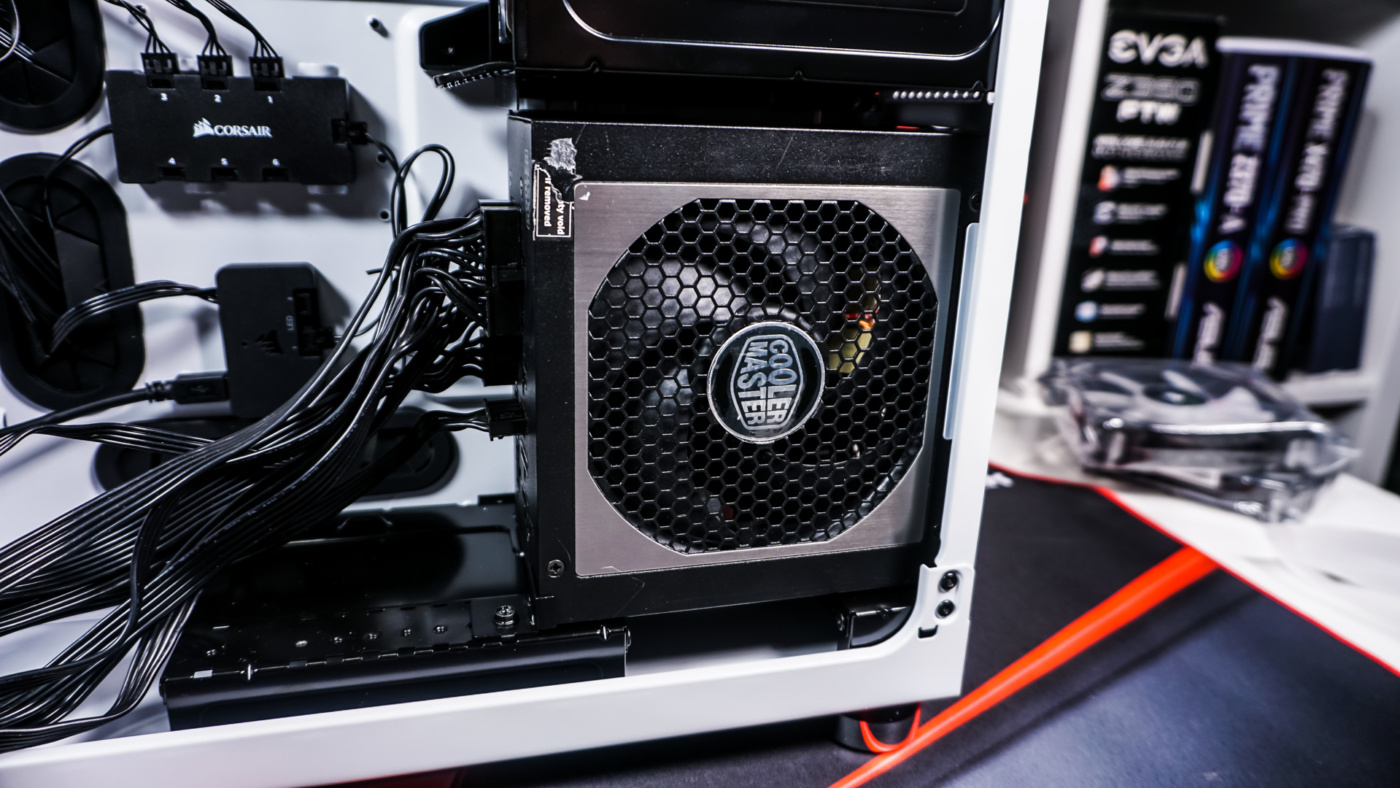
The power supply easily slots in and there is a small bracket that you can move to the size of your power supply to fully secure everything.

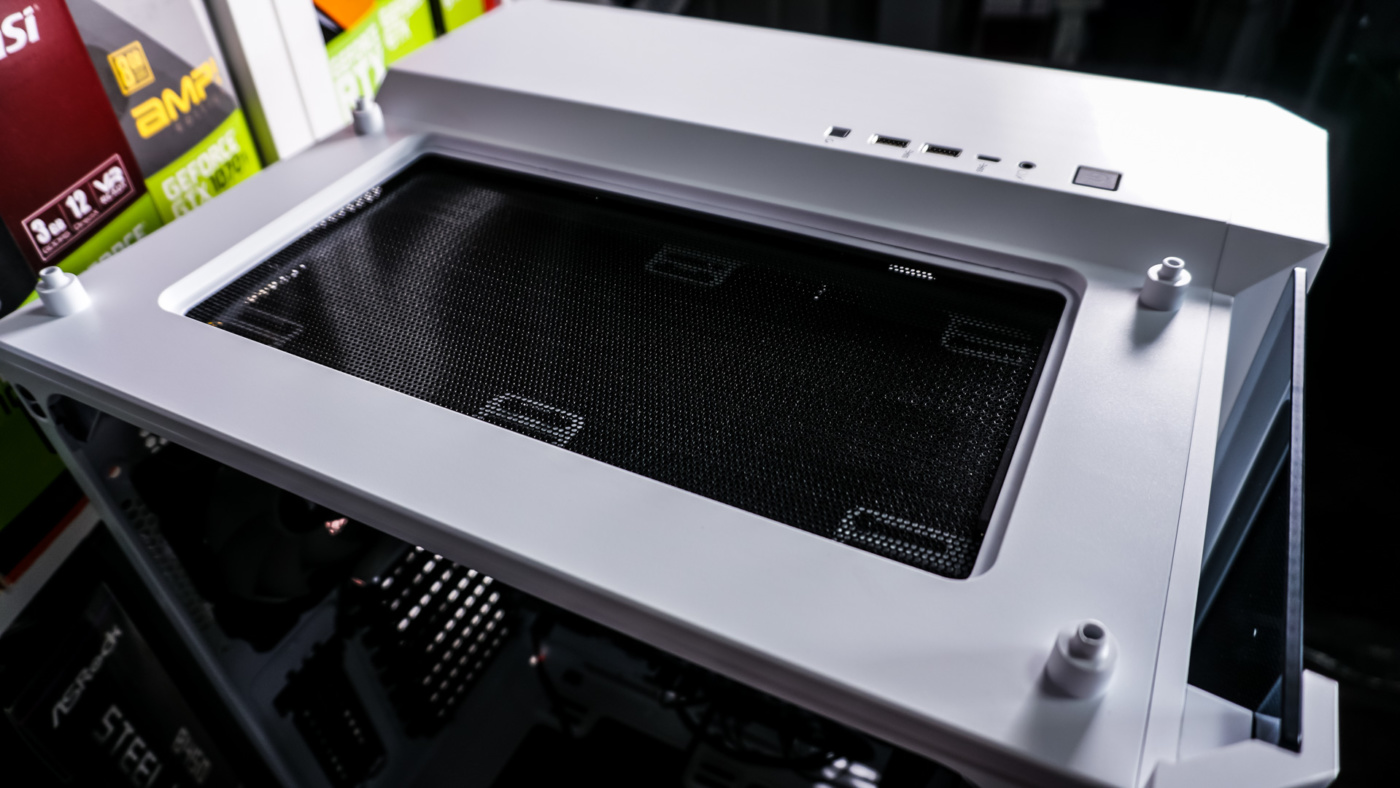
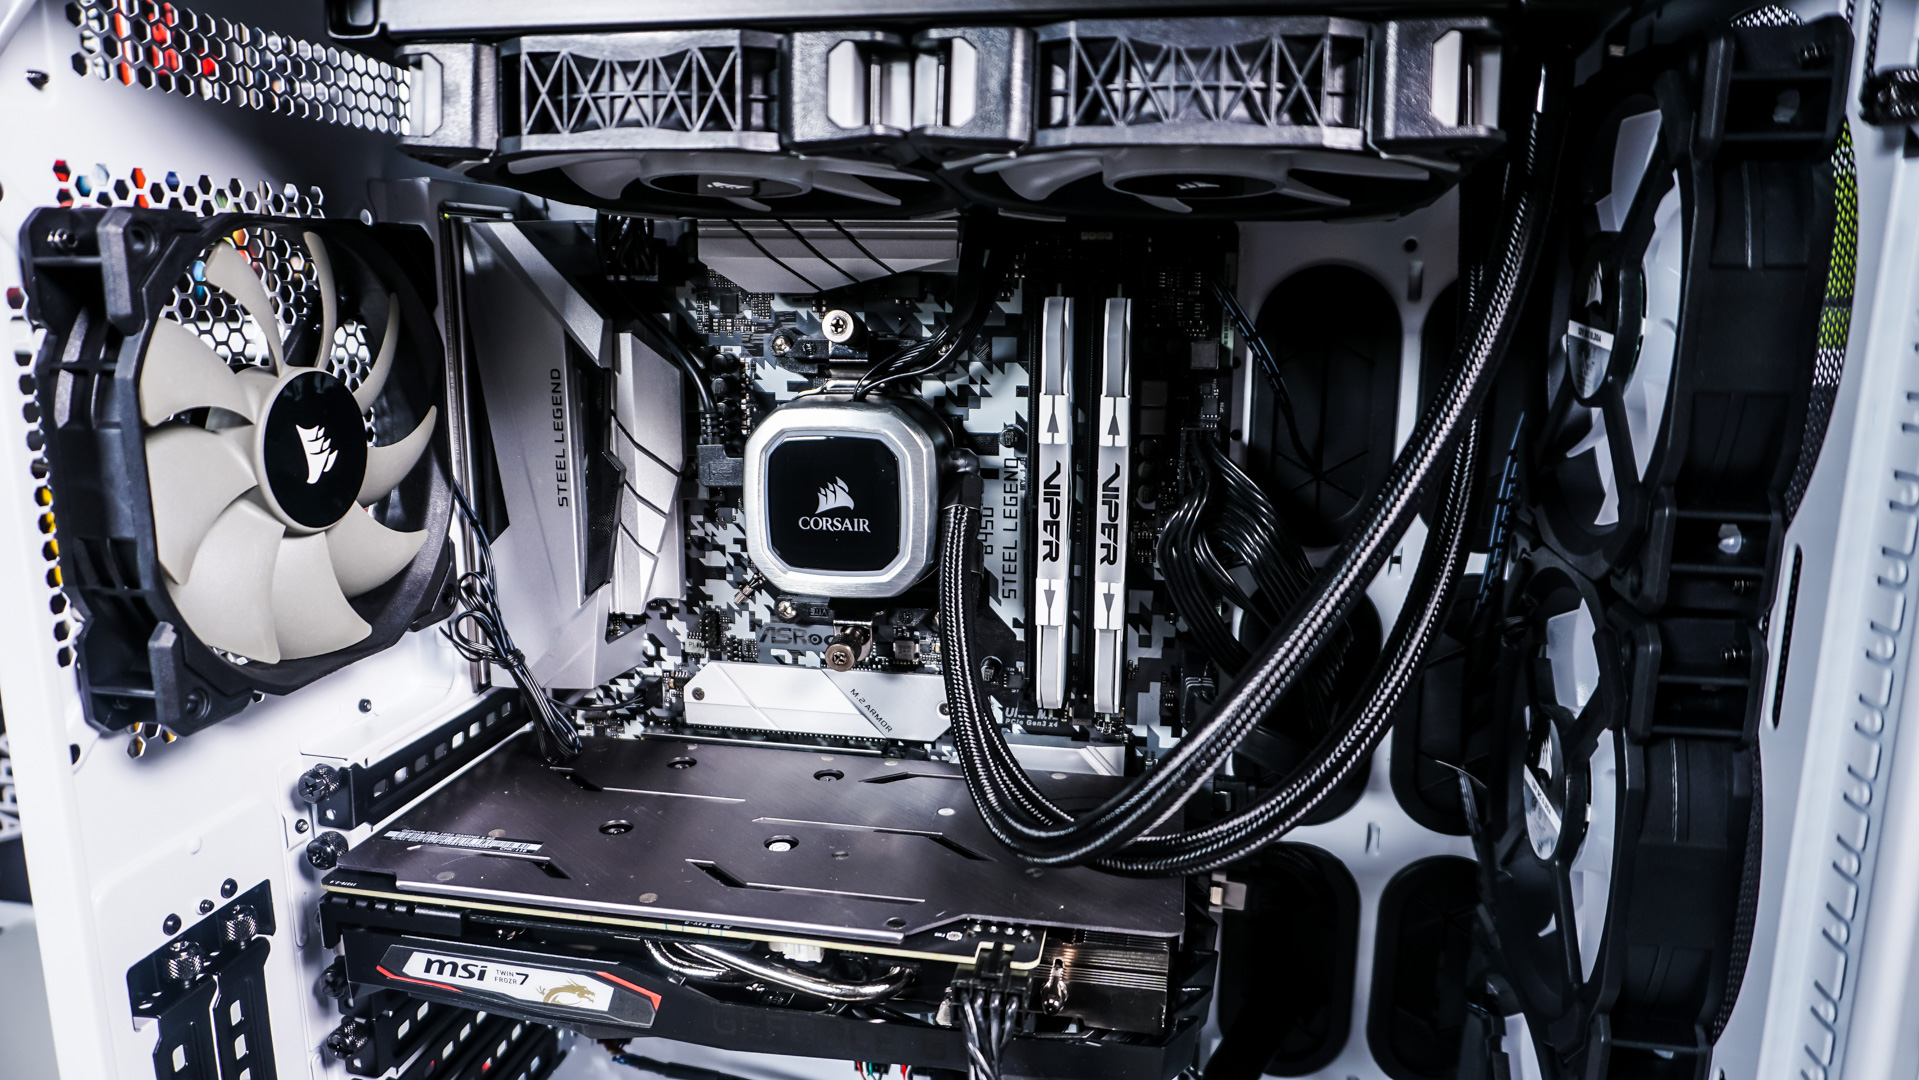
I’ve decided to install the Corsair H100i RGB Platinum in this case. As I mentioned the top cooling bracket is fully removable from the case so that makes mounting the radiator to the top of the case very easy. If you plan on installing cooling on the top of the case be sure to install the included filter.

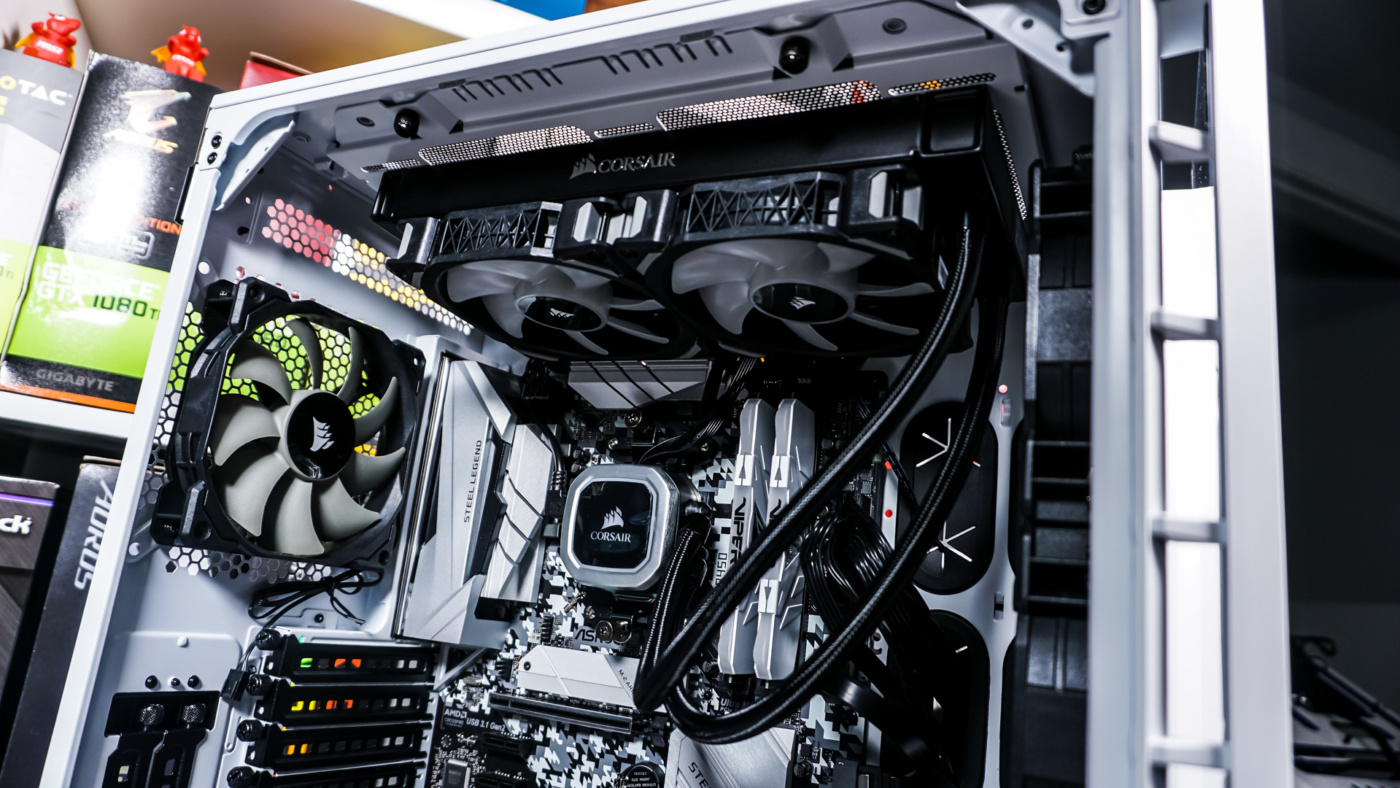
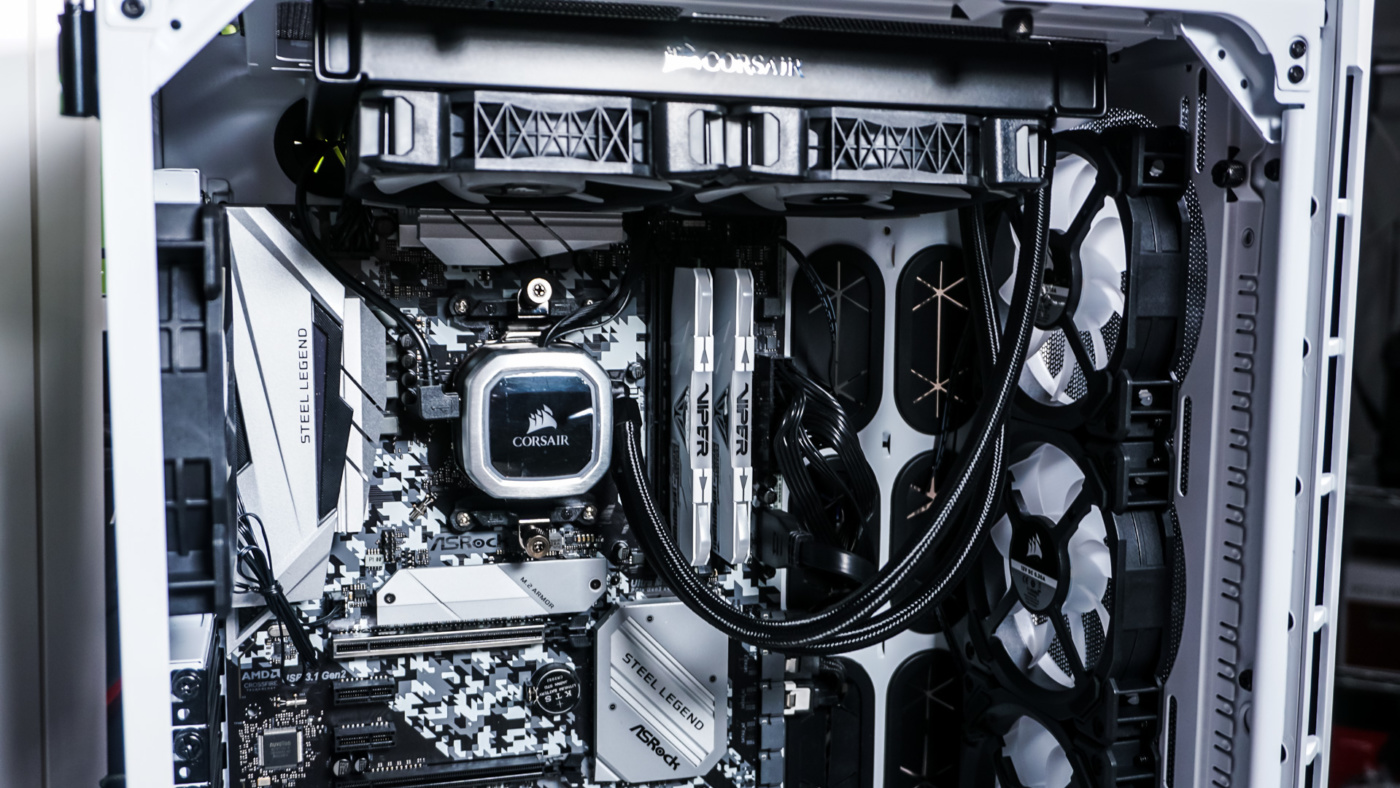
The last thing to install is our graphics card, it goes in no problem, with plenty of clearance. For those wondering this case has room for graphics cards as long as 330 mm.
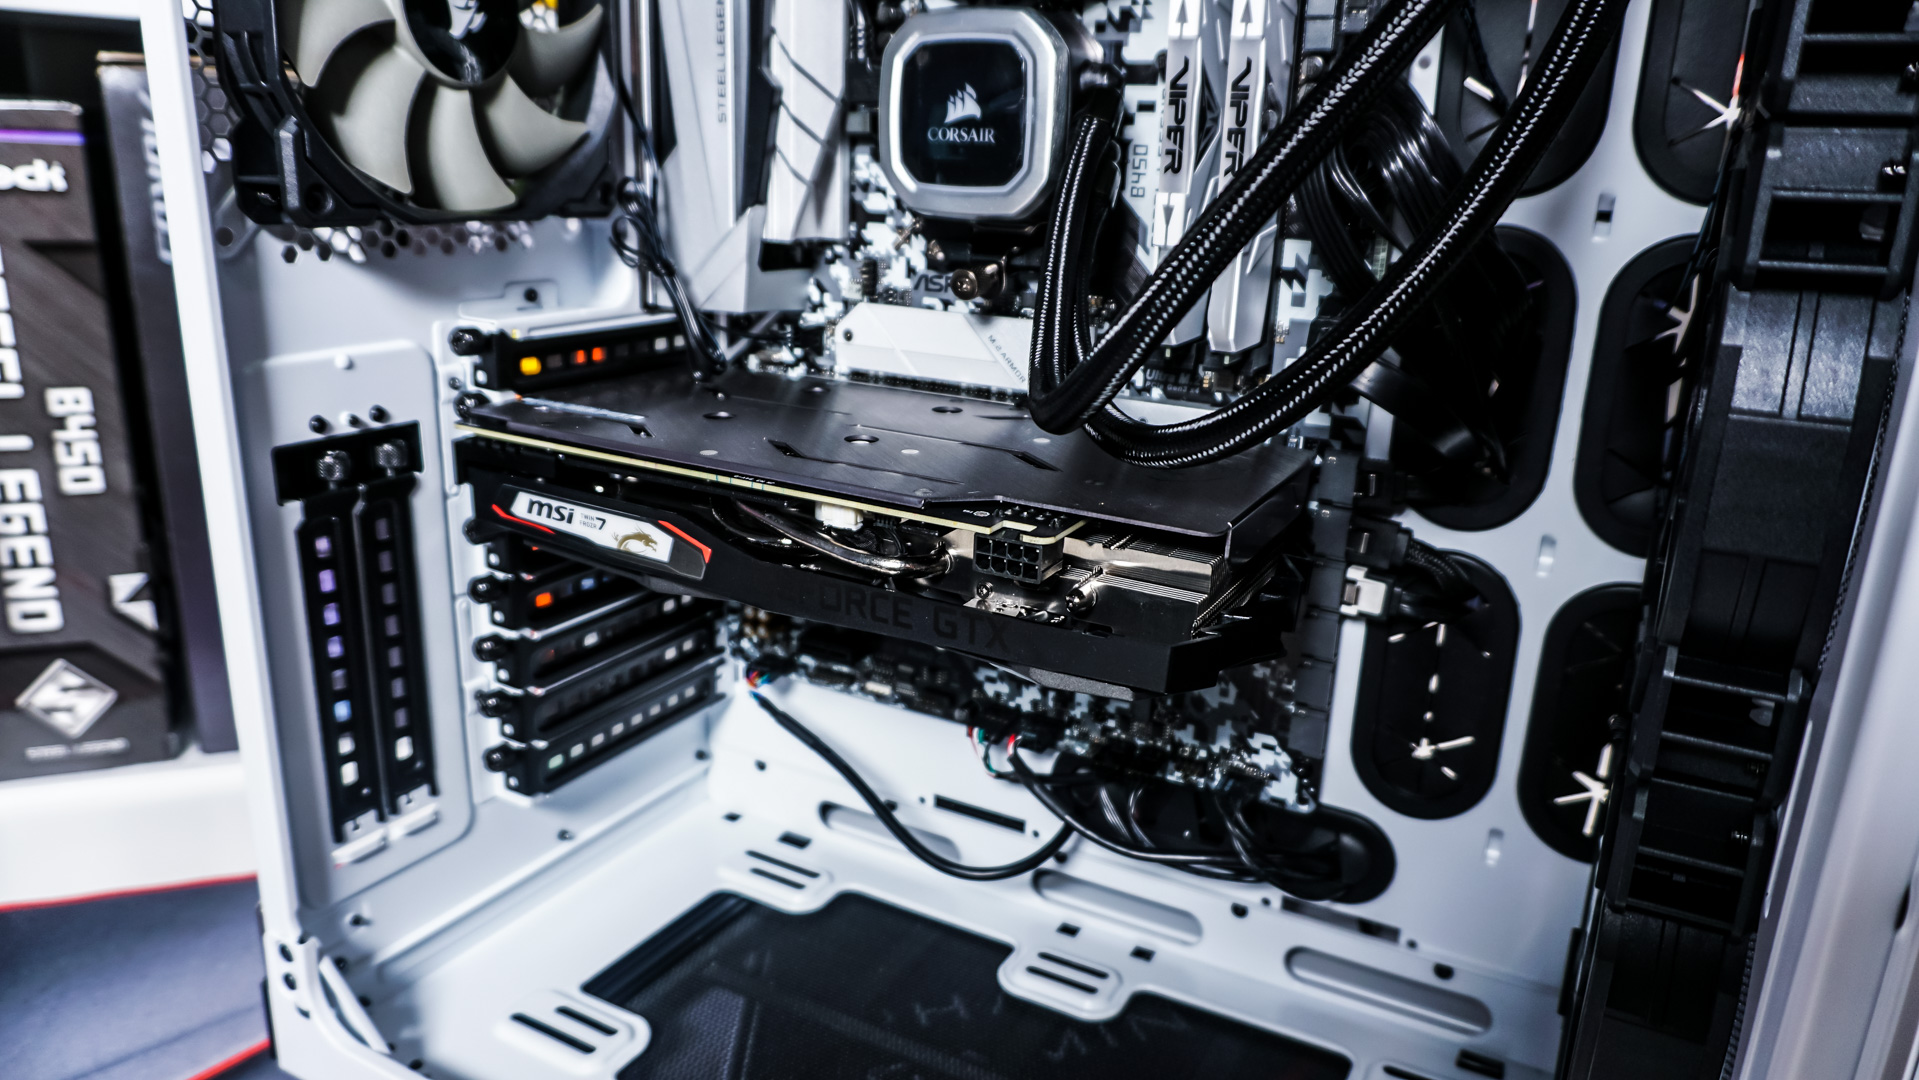
Finally it is time to connect everything. I was a little disappointed that the case did not come with a fan hub. Having four included fans you would think that there would be one, but we had to connect all four fans to our motherboard. Using the ASRock B450 Steel Legend that meant maxing out our available fan headers, so if we wanted to add another fan we would either have to get some type of splitter or fan hub. Having a centrally located fan hub included with the case would have made things so much easier. Our build is very clean, this is because most of our cables are hidden in the rear compartment.
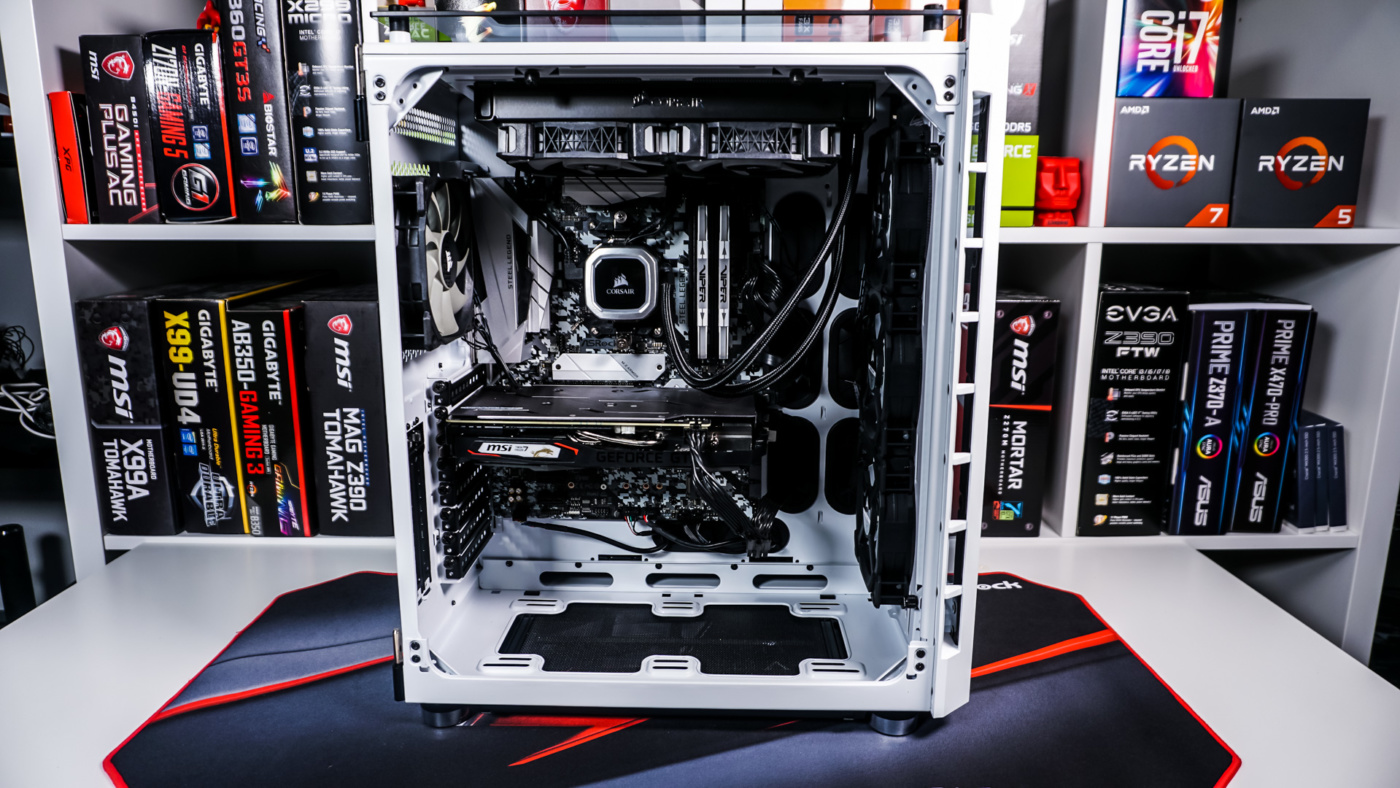
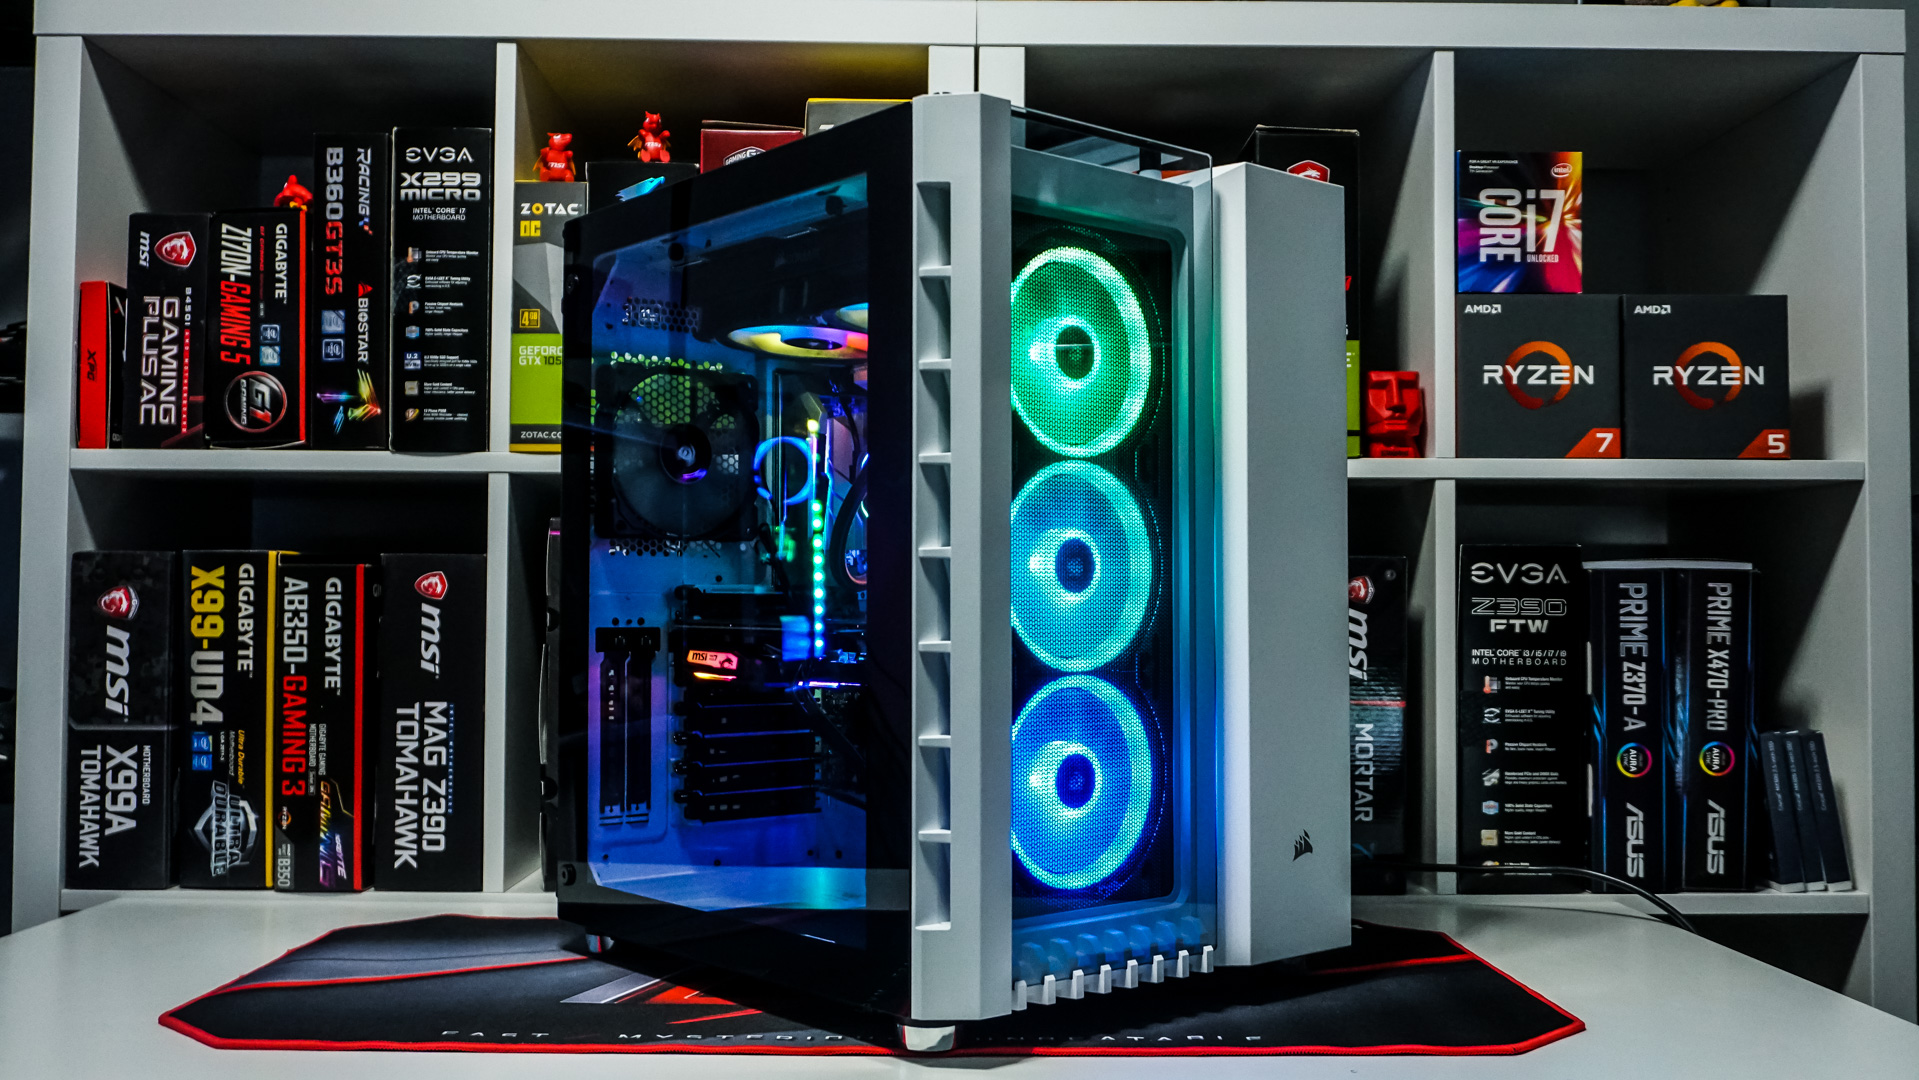
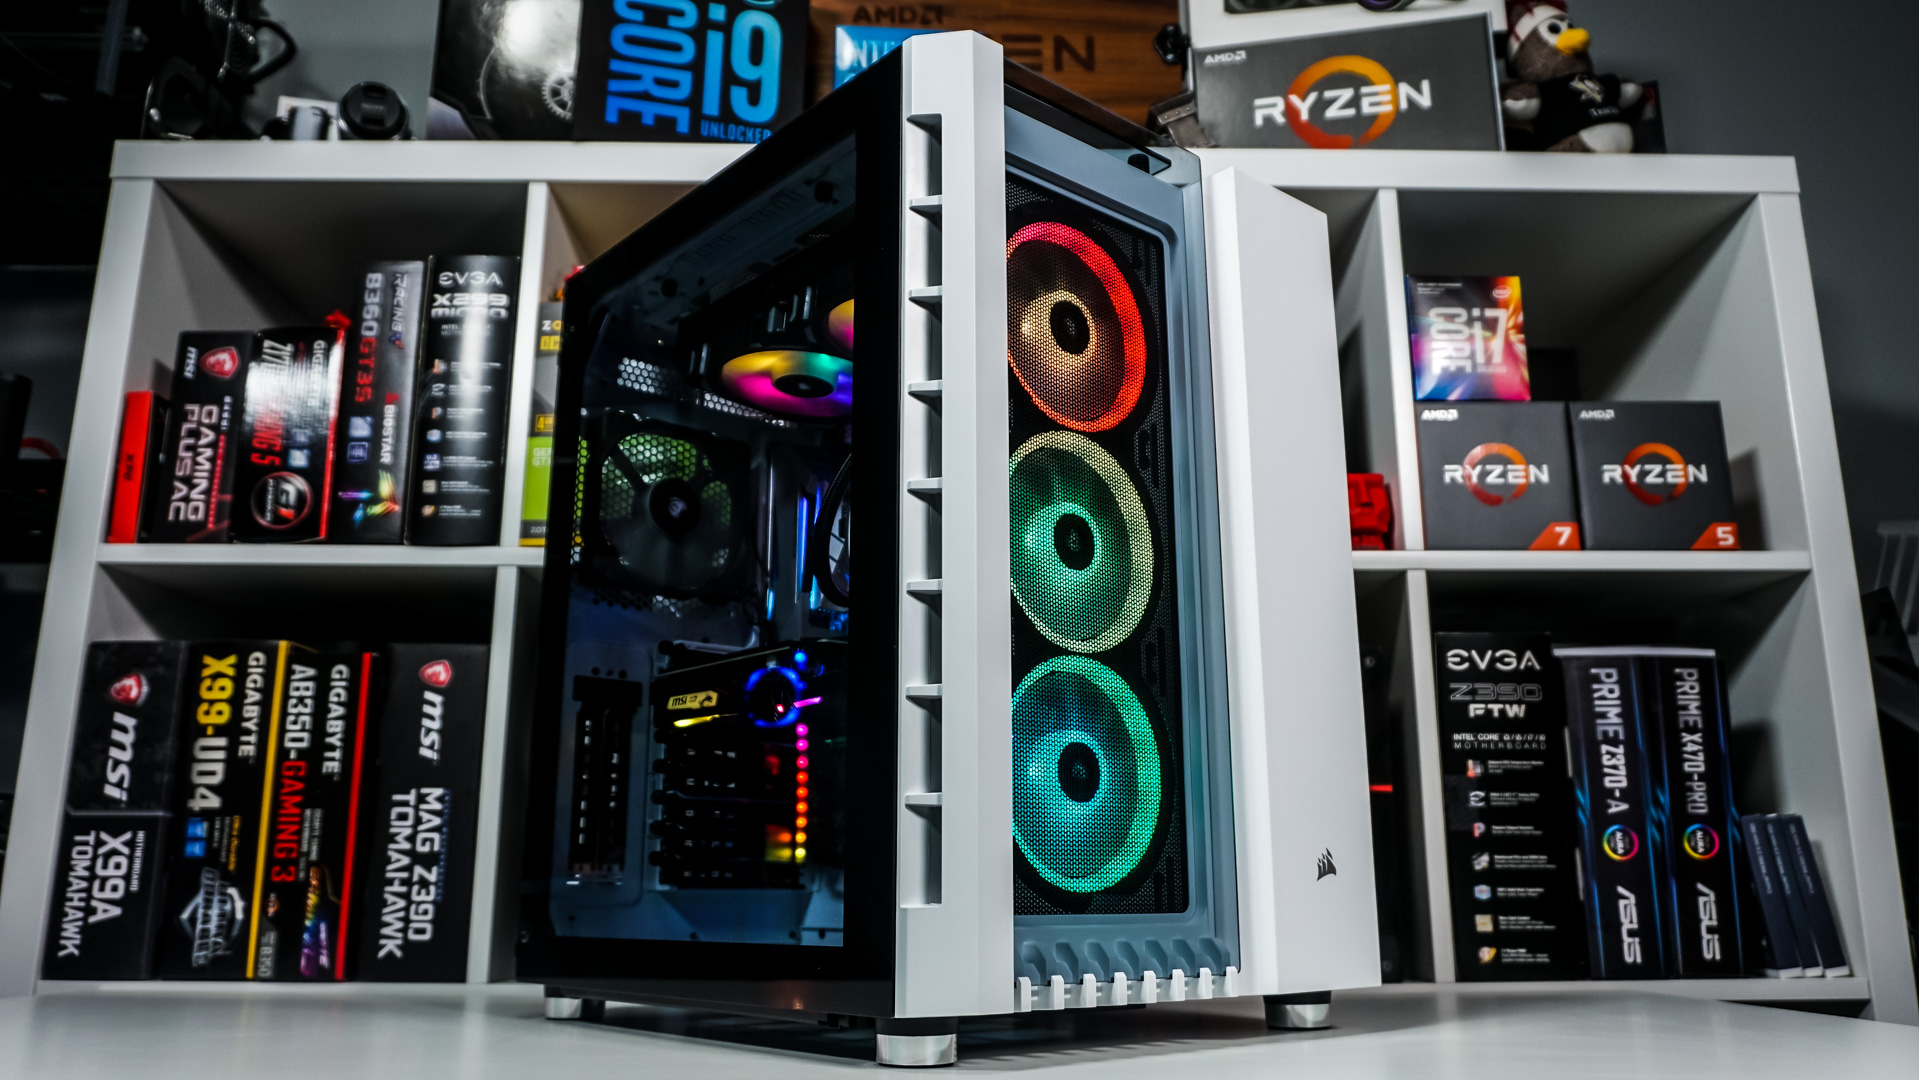
When you power on your system you’ll see the front three fans light up as well as any other RGB elements you have. The side panel window does a great job at showing off your build. Of course you can control the RGB effects of the three front fans using Corsair’s iCUE software.